
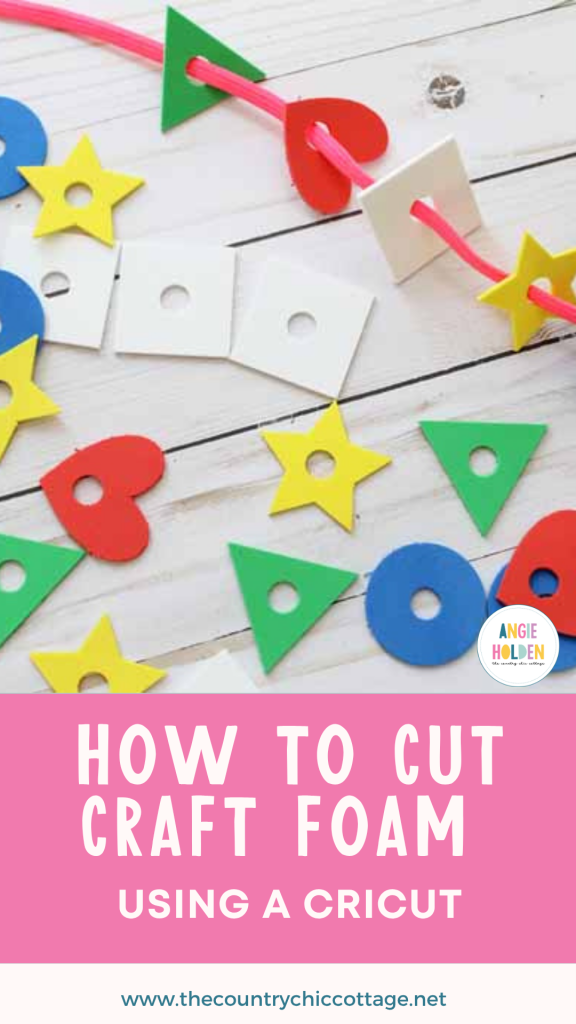
Craft foam is often seen as a staple for children's art projects, but it's time to rethink this versatile material! If you own a Cricut machine, you can unlock a whole new world of creative possibilities by learning how to cut craft foam. From custom decorations to unique gifts, the uses for foam are endless. In this blog post, I'll share essential tips and tricks to help you navigate the process of cutting craft foam with your Cricut. Whether you're wondering which blade to use, what mat works best, or what project to tackle first, I've got you covered. Let’s dive in and explore the amazing potential of craft foam!

Which blade is best for cutting Cricut craft foam?
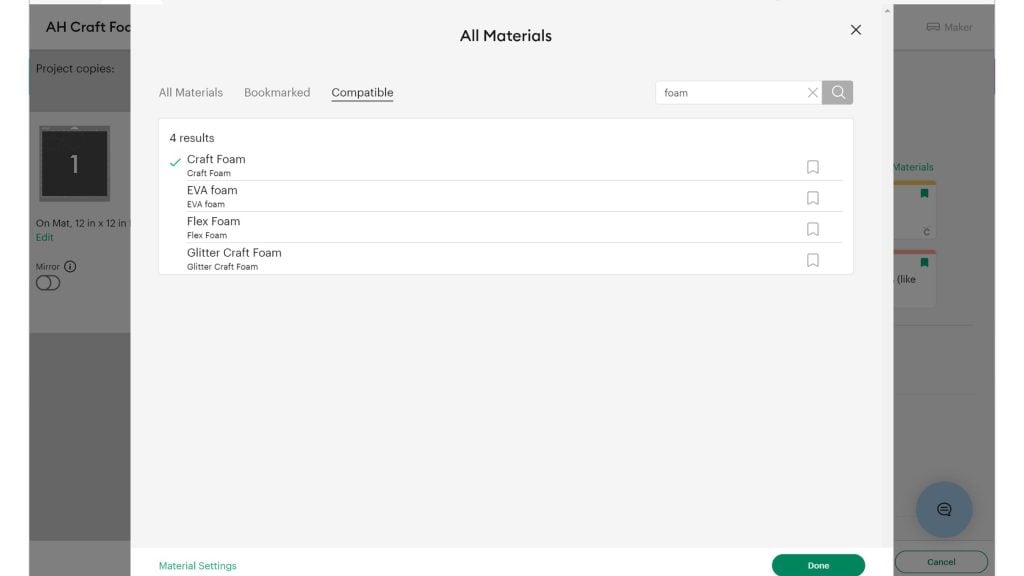
There are two options when cutting craft foam with a Cricut. Your machine will default to the deep point blade. This blade works on the Cricut Explore series as well as the Cricut Maker series. So, if cutting foam with your Explore, you will need to use the deep point blade. If you have a Cricut Maker, however, you can click “edit tools” and change the blade to the knife blade. I get MUCH better results from the knife blade when cutting craft foam. The cuts are so much cleaner. For my Cricut craft foam projects, I always use the knife blade on my Cricut Maker. You can read more about cutting various thicknesses of craft foam with the Cricut Maker knife blade here.
Which mat should you use when cutting craft foam with a Cricut?
Generally, the green standard grip mat will work with craft foam. However, I find that the strong grip mat works a bit better with thicker materials. Just be sure to press your craft foam down well on the mat. A brayer works well for this. You can also use masking tape around the outer edge if you find your material is moving during the cuts.
Moving the Star Wheels
Craft foam will get marred by the star wheels on both the Cricut Explore series and the Cricut Maker. These are the white wheels that are on the roller. These can be moved to prevent marring. Just push them all the way over to the right-hand side of your machine. Then you will need to cut your material to 11 inches wide so it does not run under the wheels.
How to Cut Craft Foam with a Cricut Machine
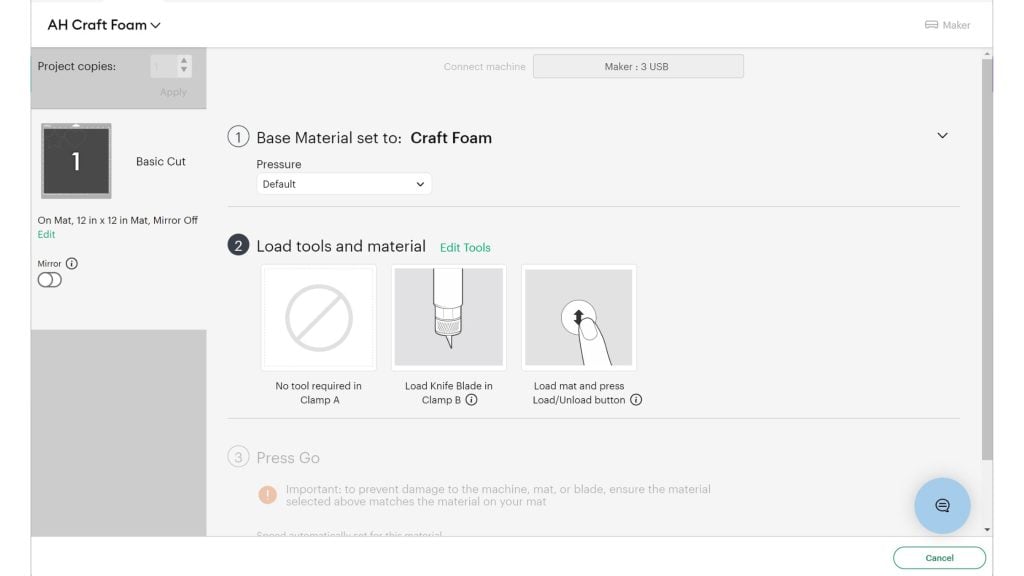
Here is a simple breakdown for cutting craft foam with a Cricut. Create your design in Cricut Design Space. Make sure your design is simple; intricate designs do not cut well.
Step 1
Attach your foam to your mat. A strong grip mat is preferred. Be sure to press down firmly and/or use a brayer to ensure it adheres to the mat.
Step 2
Move the star wheels on your machine all the way to the right to prevent material marring.
Step 3
Click “Make” in Cricut Design Space and choose your material.
Step 4
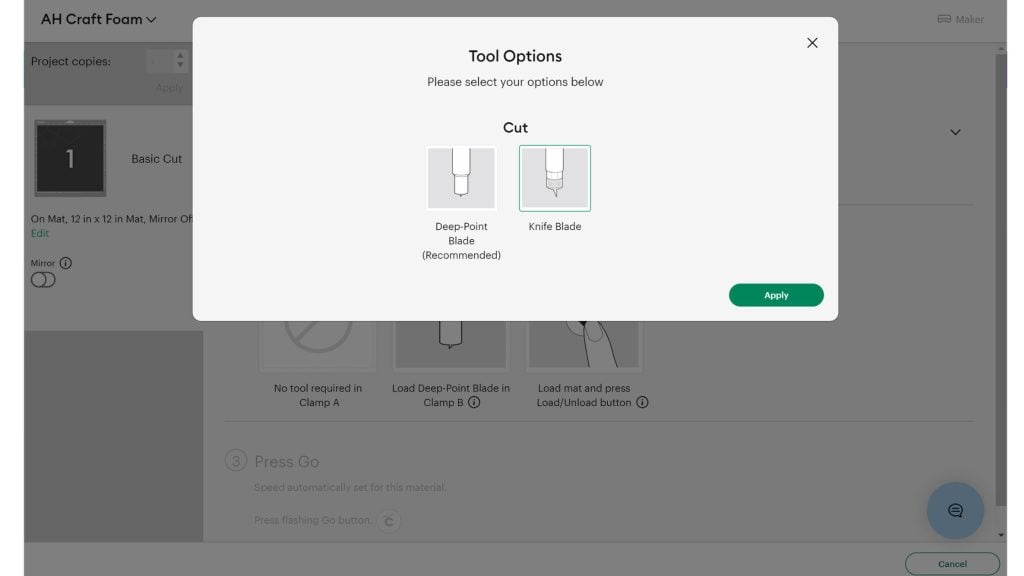
Click “Edit Tools” if you have a Cricut Maker, then select the knife blade. Design Space will prompt you to change out your blade. Otherwise, you can use the deep point blade.
Step 5
Cut the craft foam into your desired shape. Please note that Cricut does not recommend intricate images smaller than 2 inches by 2 inches when cutting craft foam.
Another blade option
You can also use the perforating tip to make perforated lines in craft foam for even more project ideas.
Craft Foam Projects for Your Cricut
Now, are you ready to try some projects? I thought so! Once you know how to cut craft foam with a Cricut machine, you will definitely want to make all the things. Here are a few ideas to get you started:
- Foam Lacing Game for Kids
- Craft Foam Kids Game
- Ghost Napkin Rings
- Cricut Craft Foam Earrings
- Craft Foam Bookmarks
- Making Foam Stamps
- Personalized Name Ornaments
- DIY Unicorn Headband
- Family Superhero Costumes
So, which project will you try first? Do you have any questions for me? Be sure to join our Cricut Facebook group to share your successes and ask any questions that you may have. Then use this tutorial on how to cut craft foam with a Cricut to get started on your own creations!


Thank you for this information. I always enjoy your videos and posts. You are very thorough and I need that as a newbie. I recently made a puzzle with a foam backing. I used a full-page white label to print my picture and put a sheet of laminate over it to protect it. I was able to change the blade setting to knife blade by adding a new foam material. However, I tried to edit the setting the next day and the option to choose the knife blade had disappeared. It seems Cricut changed this ability over night. When I used the deep point blade it tore the material. I tried it several ways with the deep point and they all failed. The knife blade did a better job. Is there a way to change to knife blade?
Thank you.
You can’t make a custom material with the knife blade. I would just pick something similar that does use the knife blade and watch it.
Thank you. In your video, you cut foam with both the deep and knife blades. What setting did you use for the knife blade?
Pretty sure one of the foam settings gives you the option to pick the knife blade.
Just to follow up, I did go back into materials and try to edit the craft foam to the knife blade, and this time it did let me do it. It didn’t come up under blade options, but when I changed the number of cuts, it switched it to knife blade. It’s a fickle process, as I tried it a few days earlier, but couldn’t. All good now, though. Thanks for all your videos. I really like how you explain things.
Oh good!
Which blade is best for glitter craft foam?? I am at a stand still on making my project until I find out. Thank you for your instruction, it is quite helpful.
I would follow the same advice above. I am actually not sure if I have cut glitter craft foam but I think it should work.
I have cricut expression. I love this machine but no one tells you how to do it.
This is an older machine and no longer supported by Cricut. I don’t have one and don’t make any content for it. Sorry.