

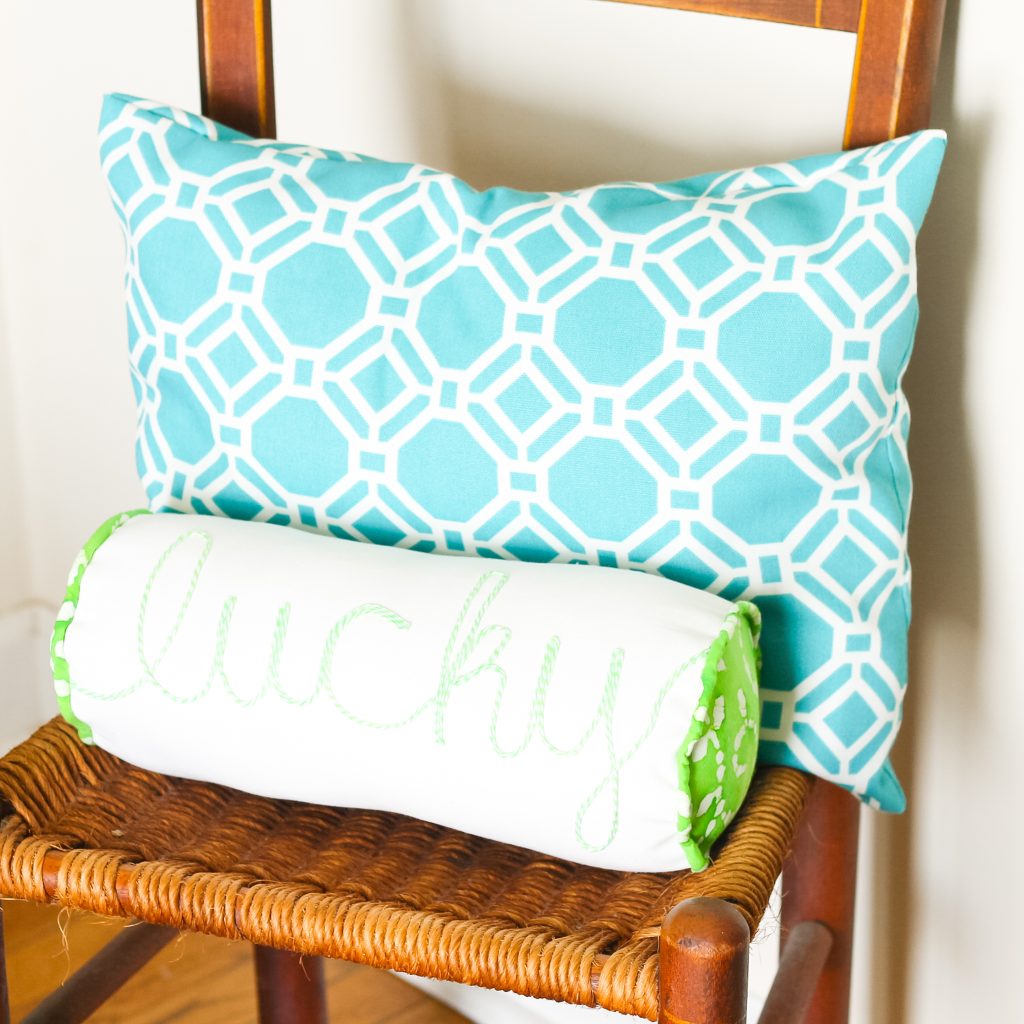
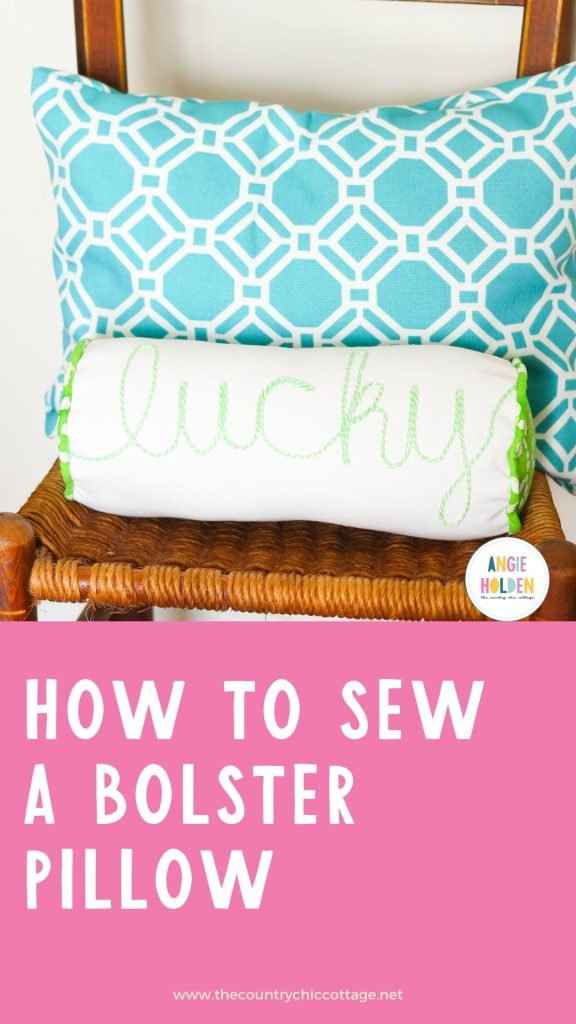
Looking to jazz up your couch? Or, add a little extra support while you sleep? A bolster pillow may be exactly what you need! Made from soft materials like cotton or down, bolster pillows are the perfect addition to any couch, bed, or lounge area. Learn how to sew your own bolster pillow- from scratch!
If you have ever wanted to learn how to sew a bolster pillow, this post is for you! Sewing a bolster pillow is actually quite easy, and only requires a few basic supplies.
I even have a hack on how to get the perfect bolster pillow shape, no matter what your size! Plus, how to add word lettering right onto the fabric.
Nope, that is not embroidery. Okay, okay- I will spoil the surprise for y'all. My secret is glue! Amazing right?
Read on to learn how to sew a bolster pillow like a pro!
How To Sew A Bolster Pillow
Sewing a bolster pillow is actually quite simple and straightforward. You just need a few materials to make your dream bolster pillow cover.
Here's a list of everything you'll need…
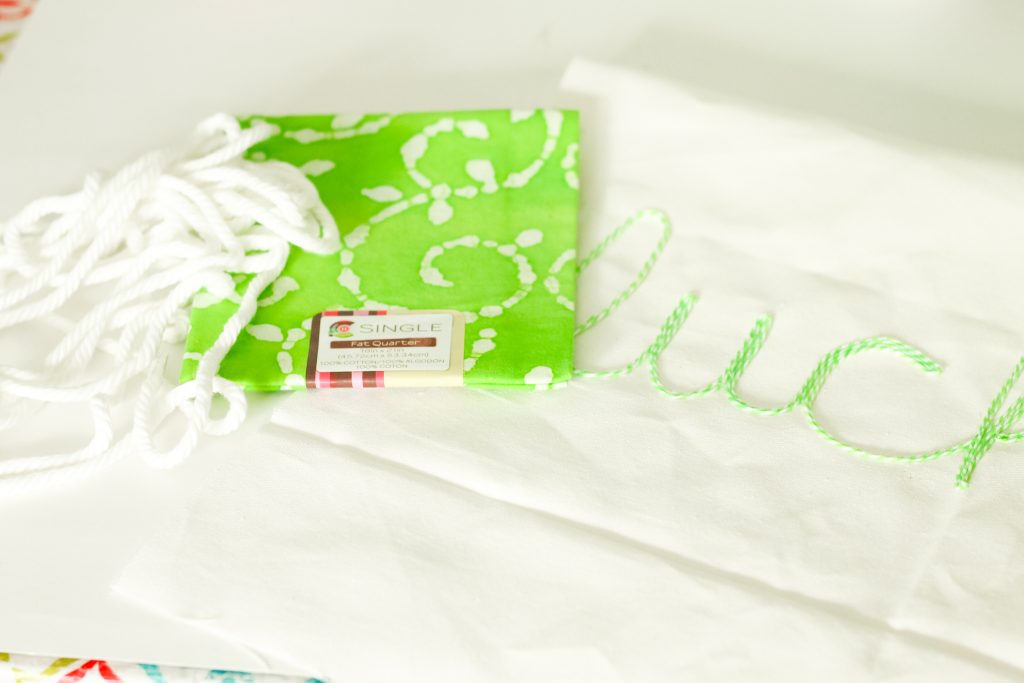
Supplies Needed
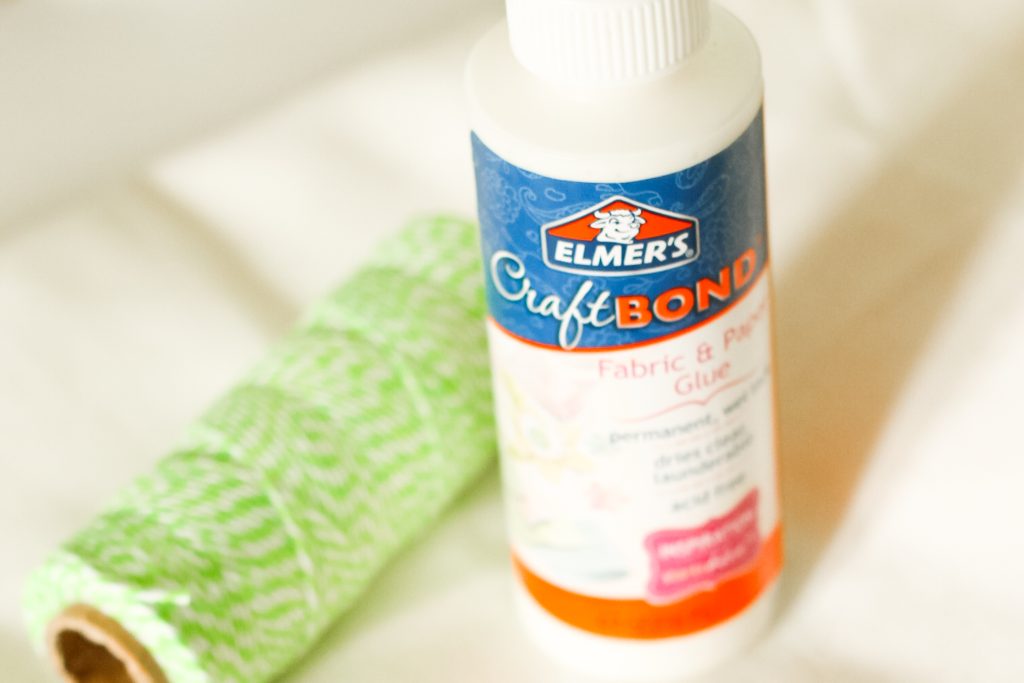
- Elmer's CraftBond fabric and paper glue
- Fabric (your color/pattern choice)
- Baker's twine
- White cotton canvas
- Sewing machine (or thread and needle)
- Circle template
- Seam ripper
- Pillow stuffing
Instructions
Here's how to make this patterned bolster pillow with decorative piping…
Step 1
Let's start with the instructions for how to add the words to the fabric.
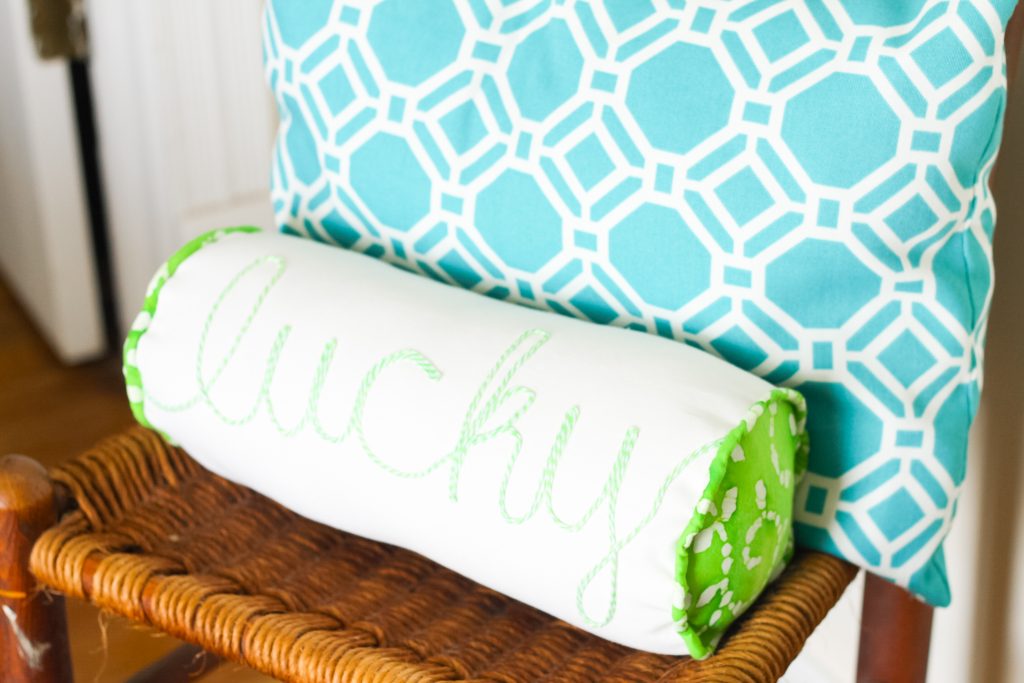
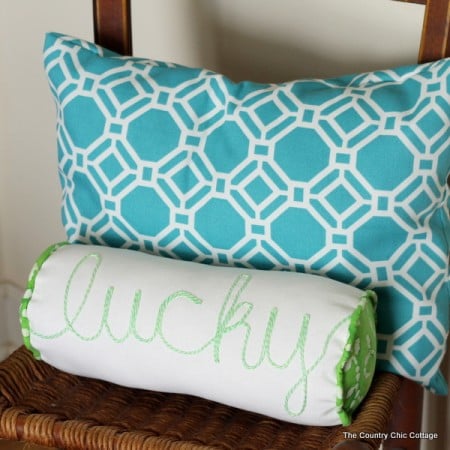
I chose the word LUCKY because Saint Patrick's Day will be here before you know it! However, you can choose any words and colors you love for this project.
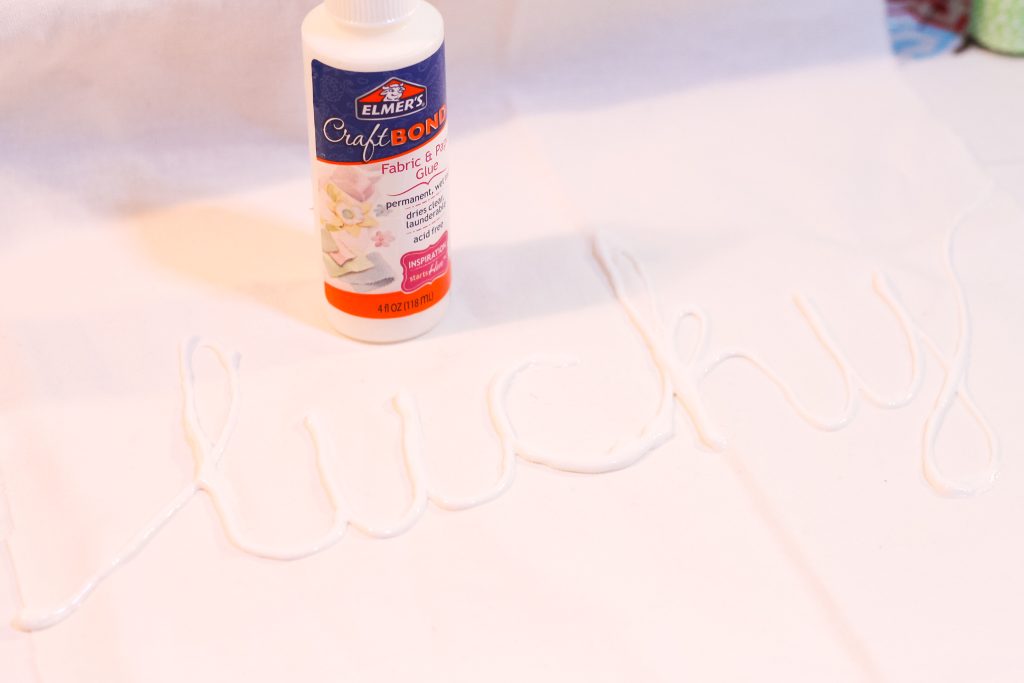
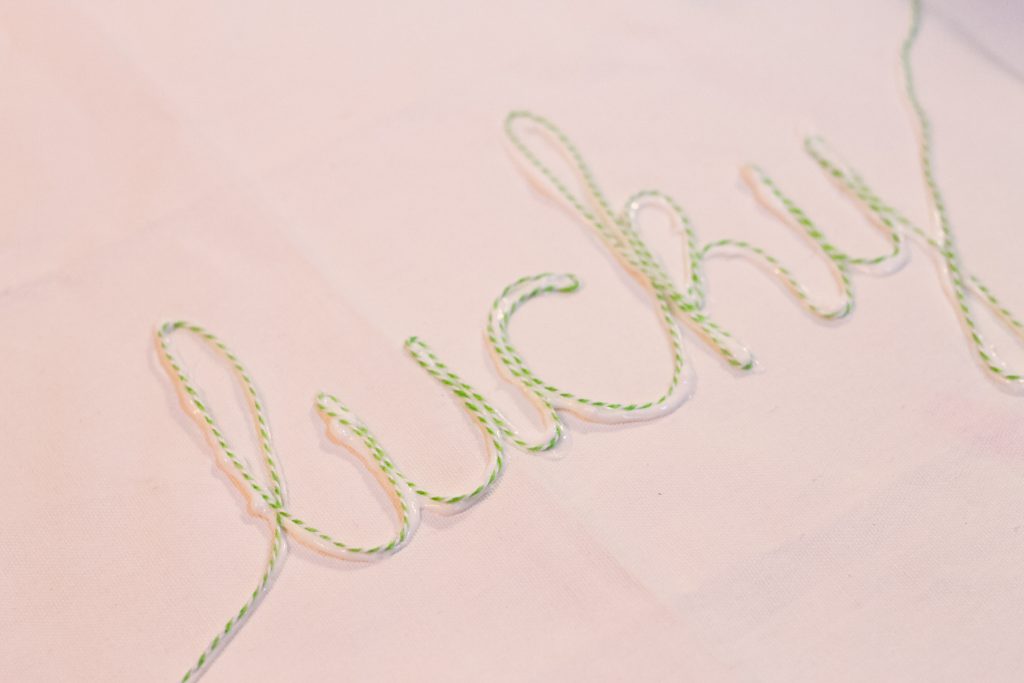
I started with a white cotton canvas for the base of my pillow. Use the CraftBond Fabric & Paper Glue to write the word of your choice in cursive.
Tip: Be sure to go from one side all the way over to the other side. If you are uncomfortable writing this freehand, feel free to use a disappearing fabric marker to write the word or trace from a printout!
Step 2
Then, start laying on the baker's twine following the same path you would take if you were writing the word with a pencil.
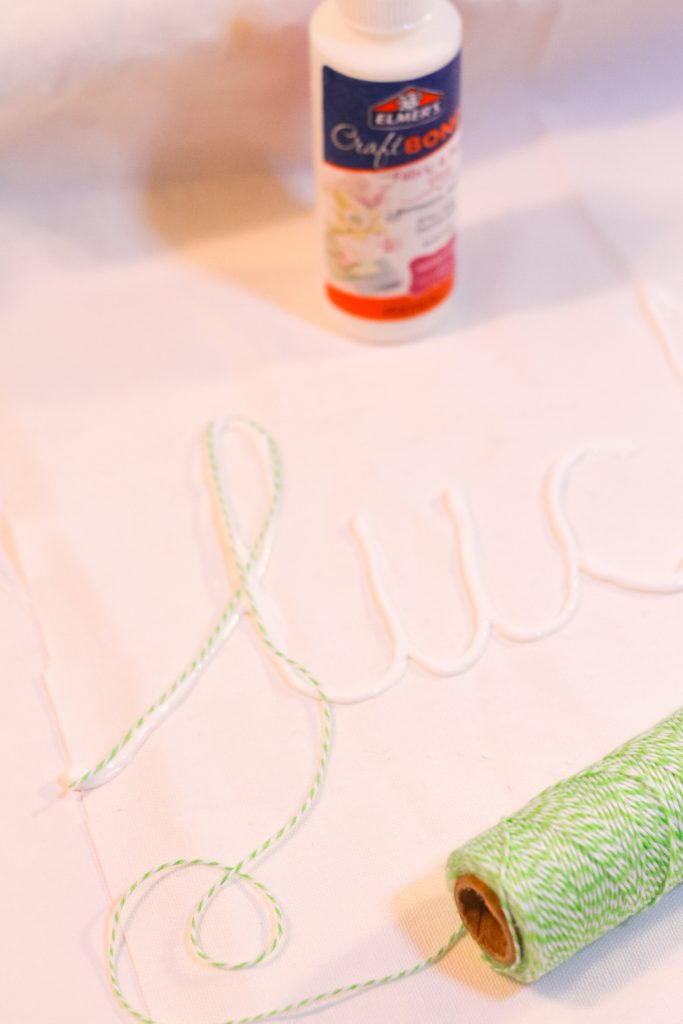
Go over the entire word once with baker's twine and then cut the string from the roll of twine.
Step 3
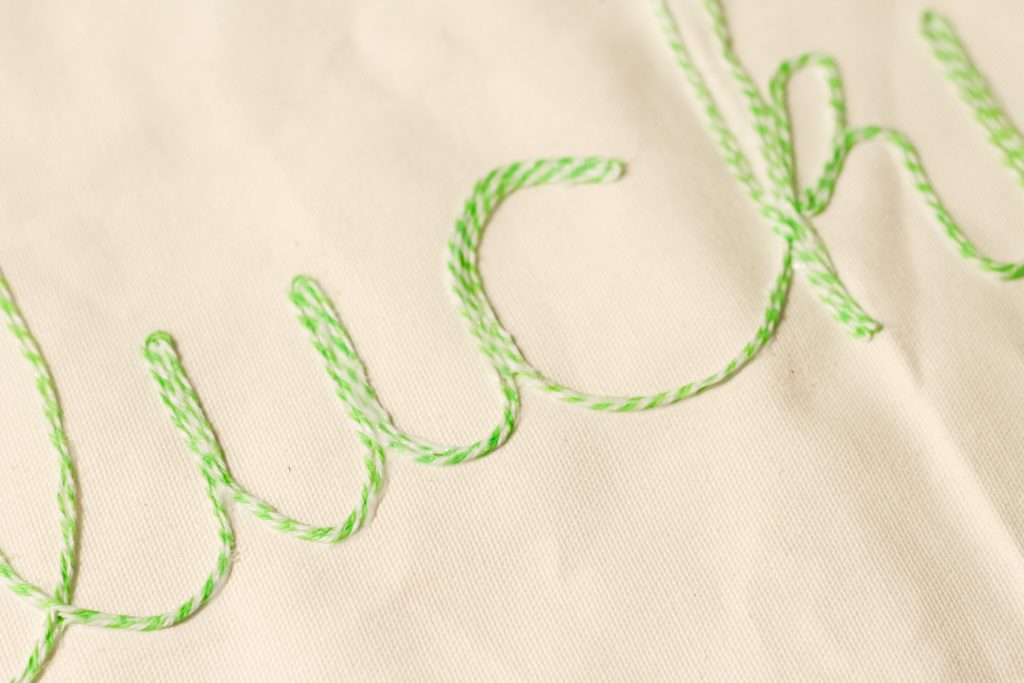
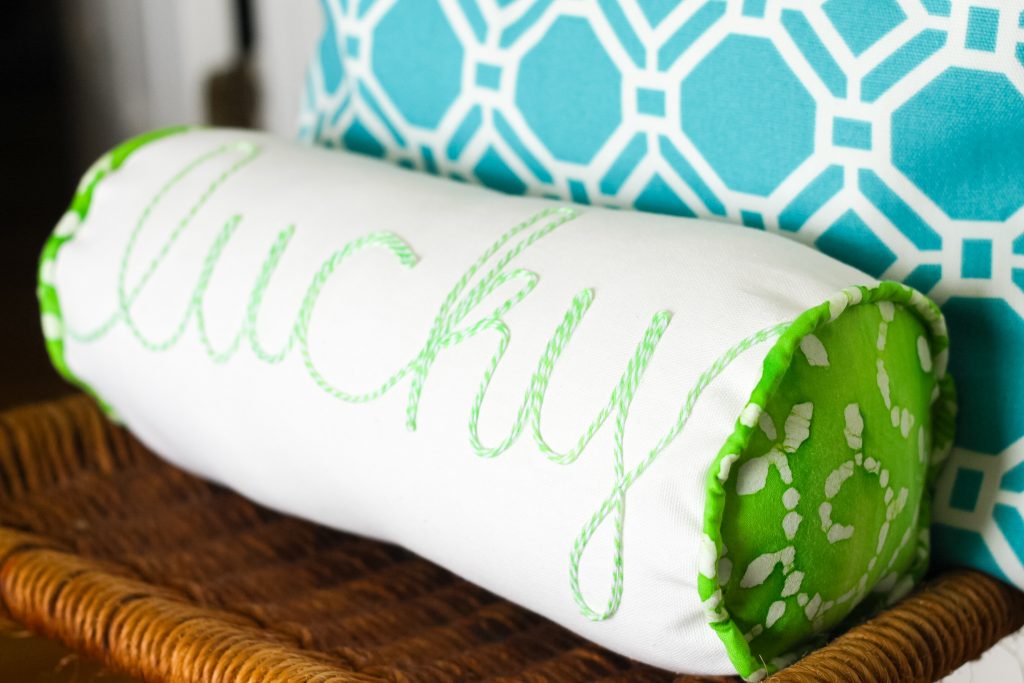
I found that the pillow actually looks better if I go over the word twice. So using the same method, go over the word a second time with your baker's twine.
This time, after you are finished, be sure to press the twine into the glue completely all over the word and clean up any excess glue.
Tip: I used a toothpick or another small pointy object to clear off the excess in hard-to-reach areas.
Step 4
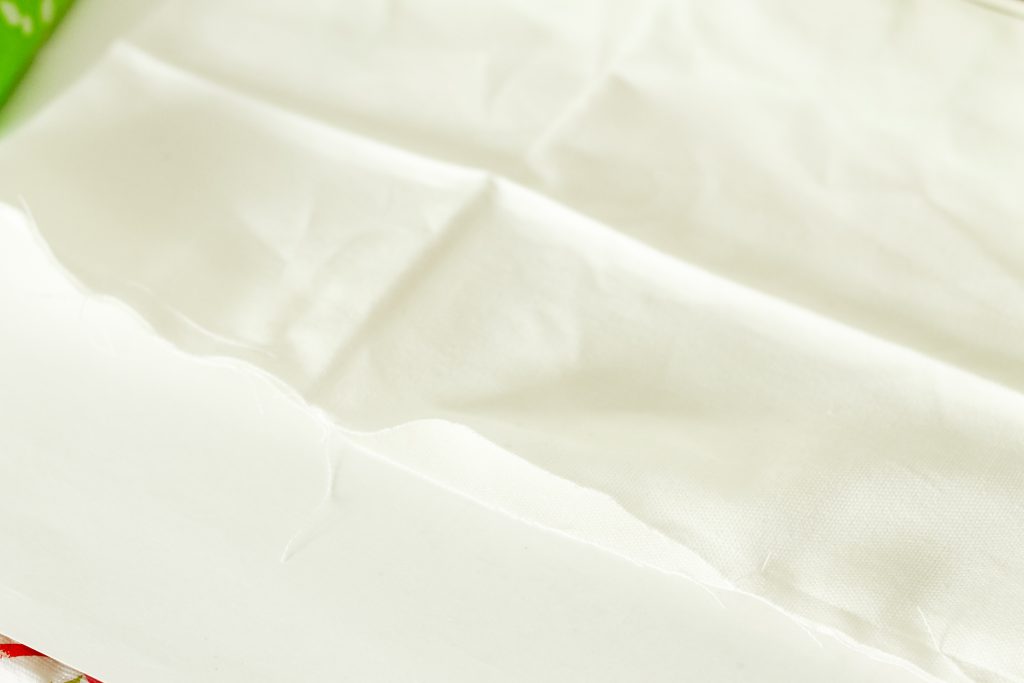
Set the entire piece of fabric aside to dry completely (I allowed it to dry overnight).
Tip: If you would like to see a short (29-second) video of the lettering process, just watch it below!
Step 5
Now it is time to learn how to sew a bolster pillow!
Grab some contrasting fabric for the ends along with a few yards of piping.
Yes, we are going to use piping on this pillow. Don't be scared! You can do this! It is actually a really simple process.
First, turn your pillow with the right sides together and sew just where the ends meet. Make sure to leave about 5 inches so we can turn this pillow right side out in a few minutes.
The ends are completely open – don't sew those closed!
Step 6
Now for that piping.
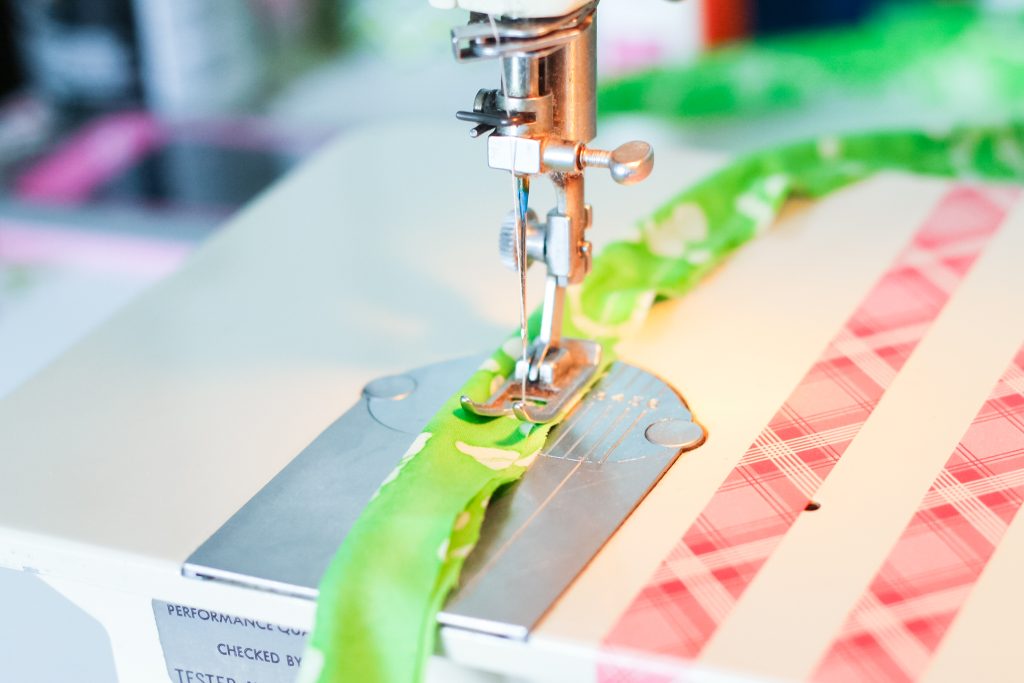
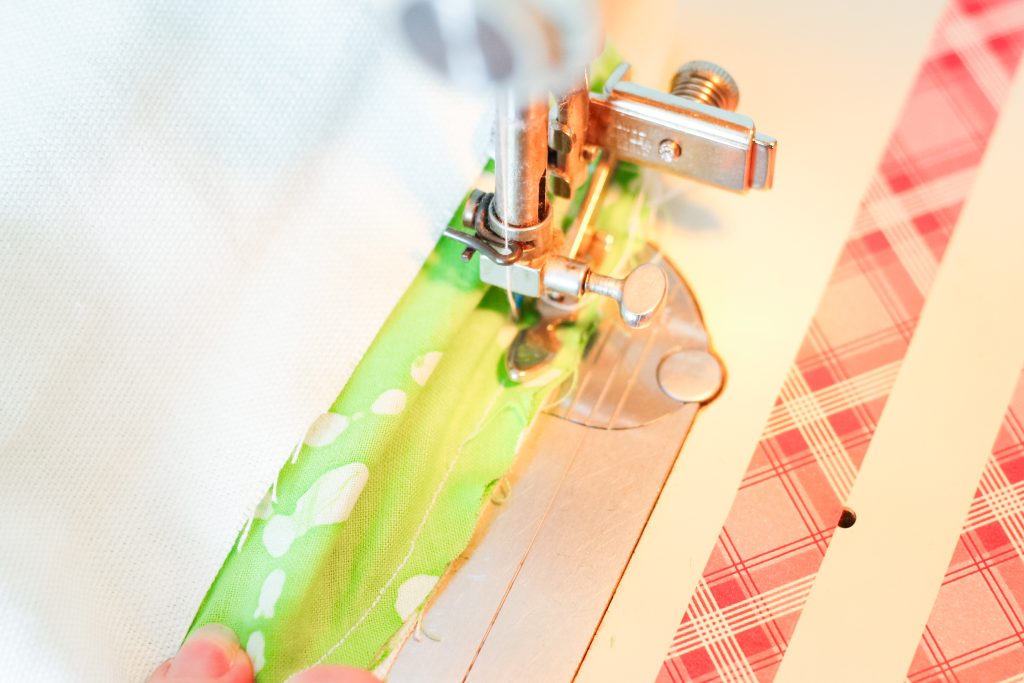
Cut some fabric into 2-inch strips. Then, sew that cord INSIDE that strip as shown below. It is okay to use your regular foot and sew loosely for now.
How much cording will you need? When your pillow is flat like the above image, measure the end you are going to be adding the cording to and double it. Then, add a few inches. This is how much cording you will need for ONE end of your pillow.
Make two separate cording pieces if your strips are long enough to not splice the fabric. Otherwise, you can sew those fabric strips together into one long continuous strip before beginning to sew the cording inside.
Step 7
Now we are going to need two fabric circles for the inside of the ends of our bolster pillow.
Again measure the end of your pillow and double it, but do not add anything this time. Divide that number by 3.14. That will give you the approximate diameter of the circle you need to cut for the ends of your pillow.
Tip: I used a circle template to cut the circles from the fabric.
Step 8
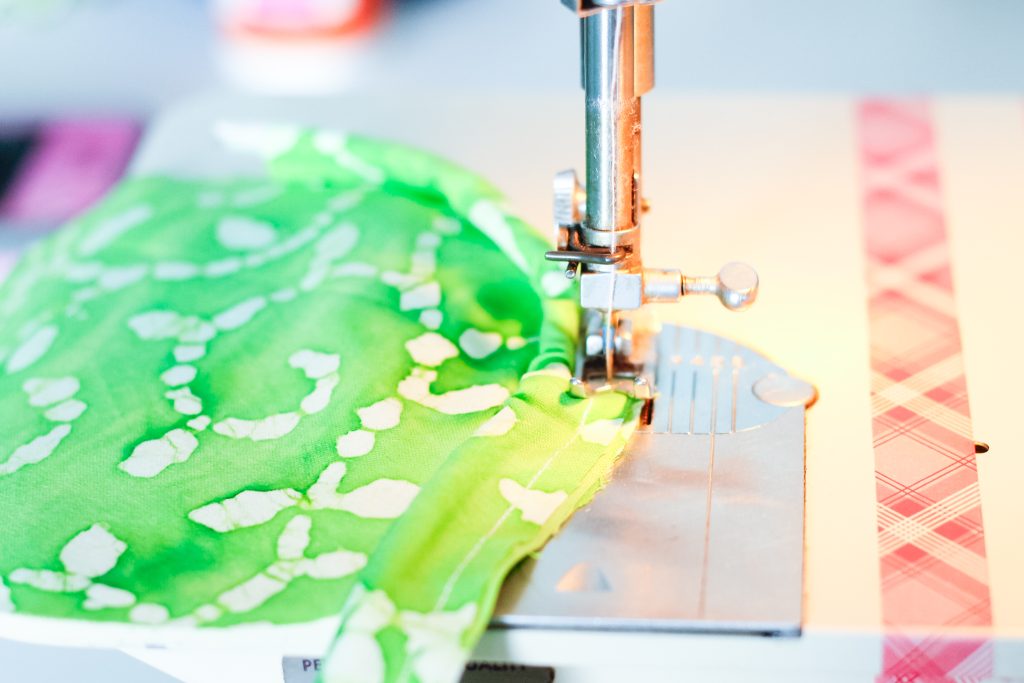
Use your regular foot to sew the piping to the circles only as shown below. Again it does not have to be tight in this step!
When you get to the end of the circle, stop sewing. Remove some of the stitches with your seam ripper. Cut the cording to where it meets exactly.
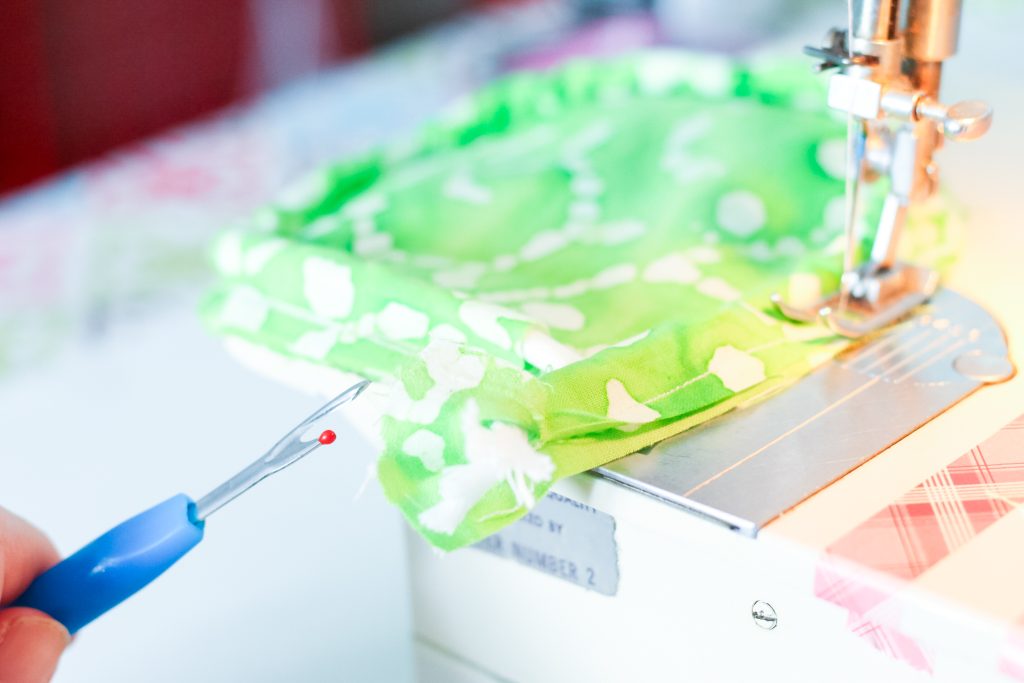
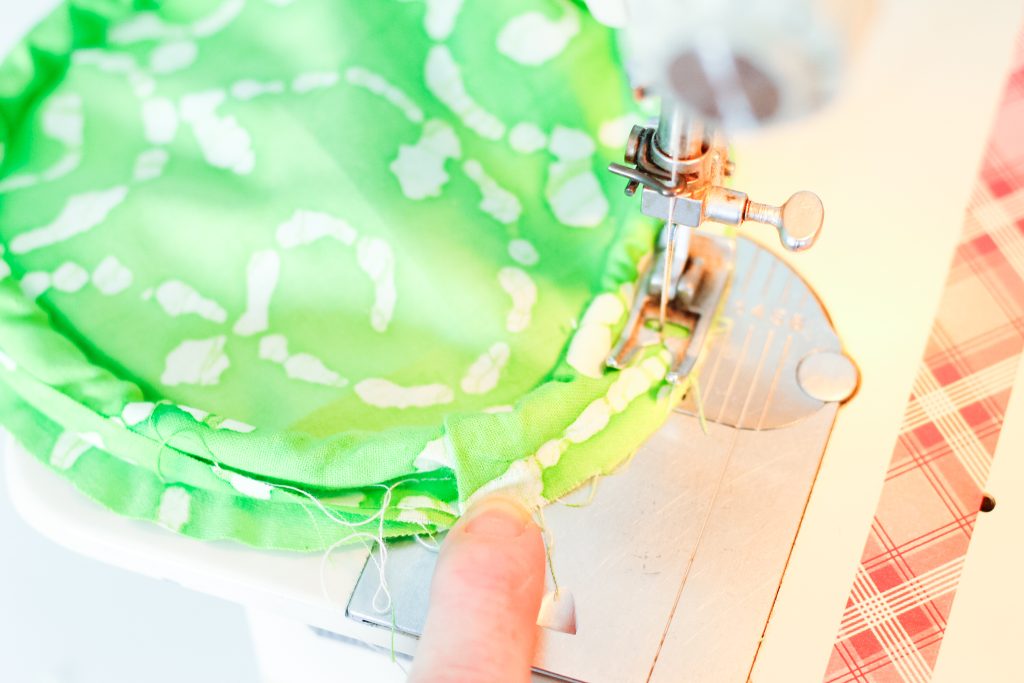
Fold over your fabric where you have a nice clean seam as shown below. Sew completely around.
Step 9
Pin this circle to the inside of your pillow (that is STILL inside out) with the PIPING facing INSIDE. Line up the seam of your pillow with the seam of the piping on your circle.
Put on your zipper foot this time and sew. Get as close to that piping as you can in this step.
Repeat on both sides of the bolster pillow.
Step 10
Turn the pillow right side out through the hole you left in the very beginning. Stuff with stuffing until it's packed in.
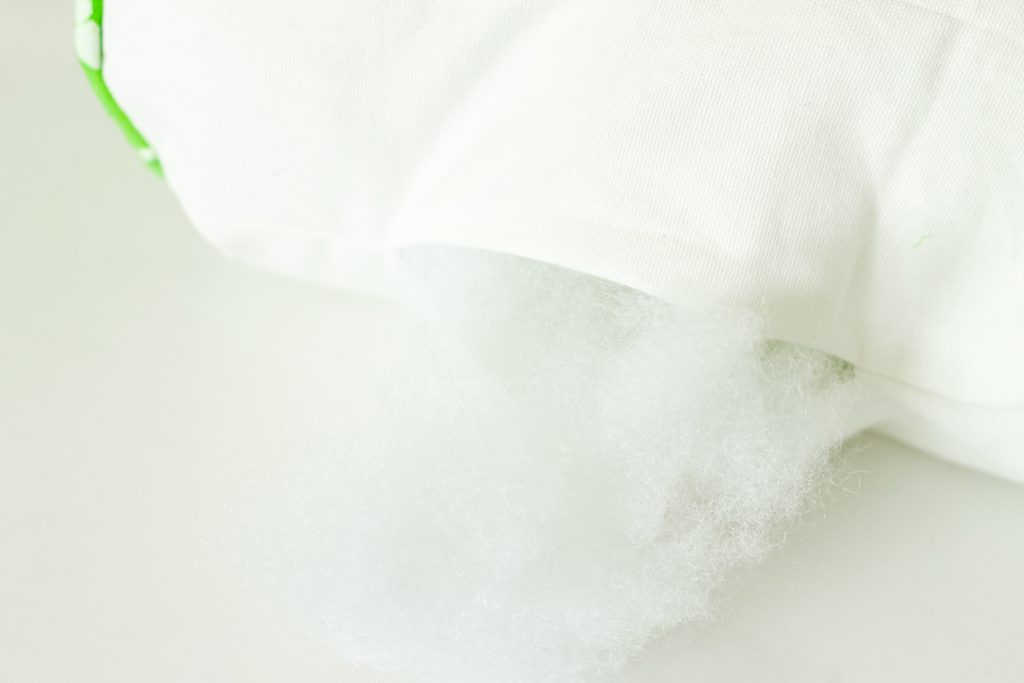
Then, sew closed the opening on your machine or by hand.
Set out your pillow for the world to see! You made that cute bolster pillow WITH piping I might add!
FAQs
Here are a couple of questions that I see readers ask about learning how to sew a bolster pillow. If you have a question, please check to see if I’ve already answered it below. Don’t see it? Leave it for me in the comments!
Is there an easier way to sew bolster pillow covers?
I get it. You want to know how to make bolster pillow covers without all of this work, right? I have some good news for you!
There is a way you can make bolster pillow covers without all of the piping, cording, and end circle work. You can make bolster pillow covers by simply cutting two rectangles that are the length you want your bolster pillow plus about 1/2-inch for seam allowance and then the width of your bolster pillow multiplied by 2.
After cutting your two rectangles, sew them right sides together along the long side and one of the short sides. Turn right side out and stuff with stuffing. You’re done!
Is the bolster pillow pattern hard to follow?
No, learning how to sew bolster pillows is actually not that difficult, especially if you have a bolster pillow pattern to follow. Just make sure to pay close attention to the steps and take your time when sewing the cording, piping, and fabric circles. Also, be sure to stuff the pillow well so that it keeps its shape.
What is a bolster pillow used for?
Bolster pillows are often used as decorative pillows, but they can also be used for sleeping or resting when you’re watching TV or reading in bed. They’re also great for kids to use as a bolster pillow for napping.
The technique for adding the word with baker's twine can be used on any pillow (hint you could even add it to a pillow that is already made from the store!).
Go crazy and put words on all of your pillows y'all. Maybe a bolster pillow for every holiday?
You too can learn how to make a bolster pillow for your home. If you are still scared of those piping steps, just eliminate all of that and sew the circles in the ends of your bolster. I promise it will still look amazing.
I hope this bolster pillow tutorial was helpful in teaching you how to sew bolster pillows! If you have any questions, please feel free to leave them for me in the comments below. Happy sewing!
More Pillow Projects To Decorate Your Home
Need some more pillow ideas to use in your home? Check out some of these projects!
- DIY Pillow Covers With Burlap and Lace
- How To Sew A Pillow
- Farmhouse Pillows: My Favorites
- Make Your Own Outdoor Pillows
- PB-Inspired Sweater Pillows
Supplies
- Elmer's CraftBond fabric and paper glue
- Fabric (your color/pattern choice)
- Baker's twine
- White cotton canvas
- Sewing machine (or thread and needle)
- Circle template
- Seam ripper
- Pillow stuffing
Instructions
- I started with a white cotton canvas for the base of my pillow. Use the CraftBond Fabric & Paper Glue to write the word of your choice in cursive.
- Start laying on the baker's twine following the same path you would take if you were writing the word with a pencil. Go over the entire word once with baker's twine and then cut the string from the roll of twine.
- Using the same method, go over the word a second time with your baker's twine. This time, after you are finished, be sure to press the twine into the glue completely all over the word and clean up any excess glue.
- Set the entire piece of fabric aside to dry completely (I allowed it to dry overnight).
- Grab some contrasting fabric for the ends along with a few yards of piping. First, turn your pillow with the right sides together and sew just where the ends meet. Make sure to leave about 5 inches so we can turn this pillow right side out in a few minutes. The ends are completely open – don't sew those closed!
- Cut some fabric into 2-inch strips. Then, sew that cord INSIDE that strip as shown below.
- We are going to need two fabric circles for the inside of the ends of our bolster pillow. Again measure the end of your pillow and double it, but do not add anything this time. Divide that number by 3.14. That will give you the approximate diameter of the circle you need to cut for the ends of your pillow.
- Use your regular foot to sew the piping to the circles. When you get to the end of the circle, stop sewing. Remove some of the stitches with your seam ripper. Cut the cording to where it meets exactly. Fold over your fabric where you have a nice clean seam as shown below. Sew completely around.
- Pin this circle to the inside of your pillow (that is STILL inside out) with the PIPING facing INSIDE. Line up the seam of your pillow with the seam of the piping on your circle. Put on your zipper foot this time and sew. Get as close to that piping as you can in this step. Repeat on both sides of the bolster pillow.
- Turn the pillow right side out through the hole you left in the very beginning. Stuff with stuffing until it's packed in. Then, sew closed the opening on your machine or by hand.Set out your pillow for the world to see! You made that cute bolster pillow WITH piping I might add!
Notes
- If you are uncomfortable writing this freehand, feel free to use a disappearing fabric marker to write the word or trace from a printout!
- I used a toothpick or another small pointy object to clear off the excess in hard-to-reach areas.
- How much cording will you need? When your pillow is flat like the above image, measure the end you are going to be adding the cording to and double it. Then, add a few inches. This is how much cording you will need for ONE end of your pillow.
Make two separate cording pieces if your strips are long enough to not splice the fabric. Otherwise, you can sew those fabric strips together into one long continuous strip before beginning to sew the cording inside. - I used a circle template to cut the circles from the fabric.


this turned out super cute! We could use a few pillows this shape in our home and I LOVE the lettering on it…. pinned to try soon!
You make it look so easy – I am a newbie at sewing this is a great tutorial. And I love how you used the glue for the wording.
This is about the cutest pillow I’ve ever seen! I’ve gotta try the craft bond on a pillow of my own…I had no idea it would be so easy!!!xo
Incredibly cute, Angie! Great way to use the Elmer’s too!
What a cute pillow. Thank you for the tutorialusing Elmers, too.
Love it.
So cute! I need some of that glue! I have a ton of Elmer’s products, but I don’t have any of that particular kind in my stash!!
I’m not great at sewing but you have inspired me to give it a try! lol
Angie this turned out so cute!!! I love it!
The baker’s twine lettering is such an outstanding idea! Thanks for the in-depth tutorial too!
How cute! I love bolster pillows!
I love bolster pillow and baker’s twine… what a fun project!
I love this idea! So simple and looks great!
So cute! It makes me think even I could sew this…. maybe 😉
What an adorable pillow!!!!! I love that you used the glue instead of having to stitch that, what a time saver. Looks great!
How adorable!! I’ve never tried glue this way! Now I will!
Super cute idea! Never thought of using baker’s twine like that!
This is so cute!! Thanks for a great tutorial!
Love the lettering. I haven’t thought of using baker’s twine in a sewing project. Looks great!
That is adorable Angie! I am in love with the twine lettering!!
This is so cool! I never thought about gluing a word to a pillow!