If you've ever struggled using a tumbler press, I think you're going to love this new machine from HTVRont. I am testing the HTVRont Auto Tumbler Press A200, and I think you're going to like it.
The benefit of the A200 is that it can press a variety of different tumbler types, including straight-sided tumblers, glass can tumblers, and 40-ounce tumblers.
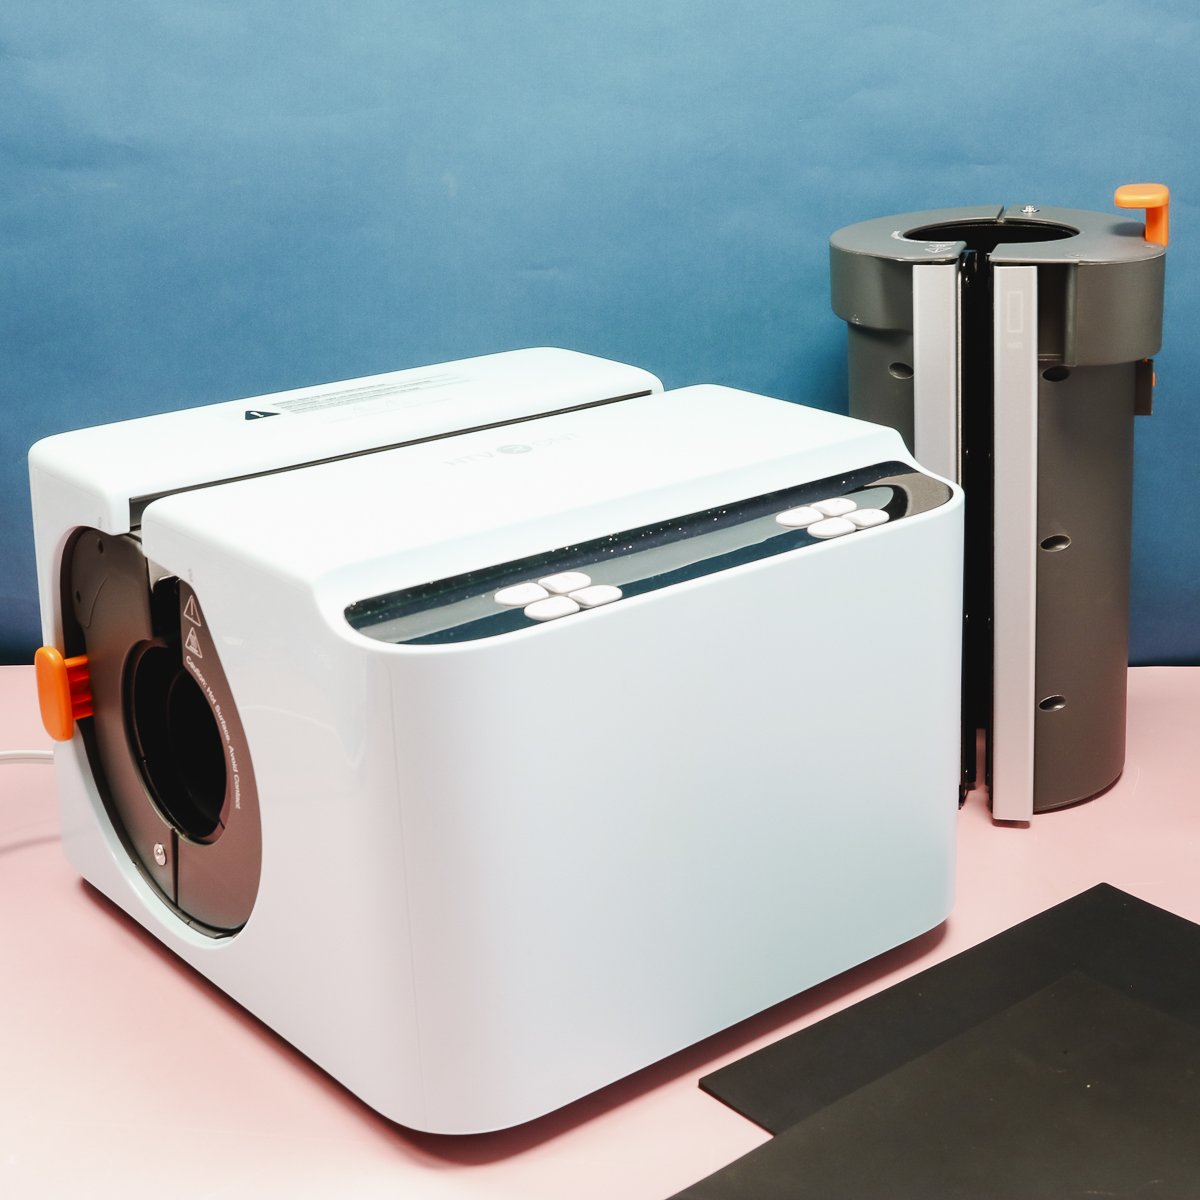
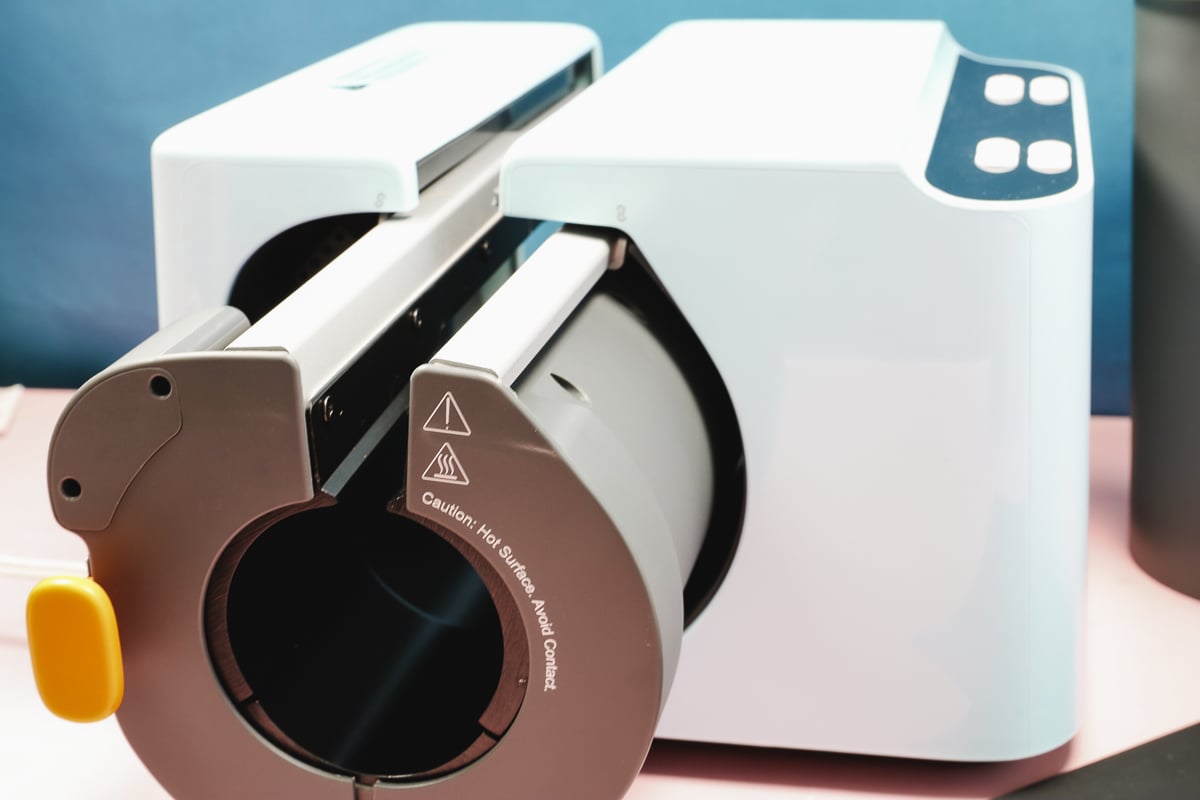
This tumbler press looks different than other tumbler presses I've used, but the way the inserts swap out corrects issues I've had with other tumbler presses, and I am a fan.
You can watch me set up the press and test it out by pressing play on the video below.
HTVRont Auto Tumbler Press
This tumbler press is different than other tumbler presses in a few different ways. One of the biggest differences is the inserts and how they are changed.
If you've seen traditional tumbler presses, they typically have a flexible heating element, and I've had issues with those bubbling, which can cause wrinkles. They also tend to smell bad as they heat up. I have not had those issues with this tumbler press.
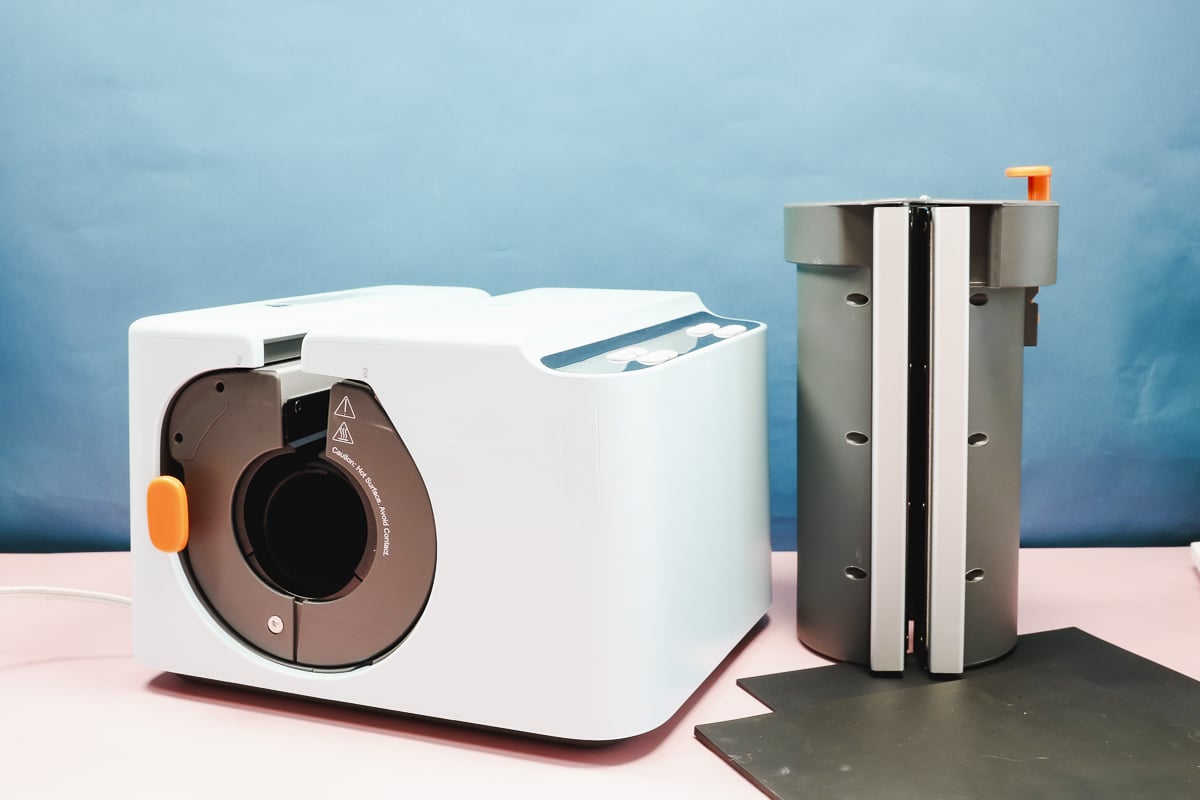
A200 Tumbler Press Inserts
When you purchase the HTVRont A200 Tumbler Press, it comes with the insert for straight tumblers. You can purchase another insert that will work for 40-ounce tumblers.
With the straight-sided insert, you can press tumblers from 2.9 inches to 3.1 inches in diameter, and the maximum height of the tumbler is 10.2 inches. IMPORTANT: With this insert, you can only do tumblers that do not have a handle.
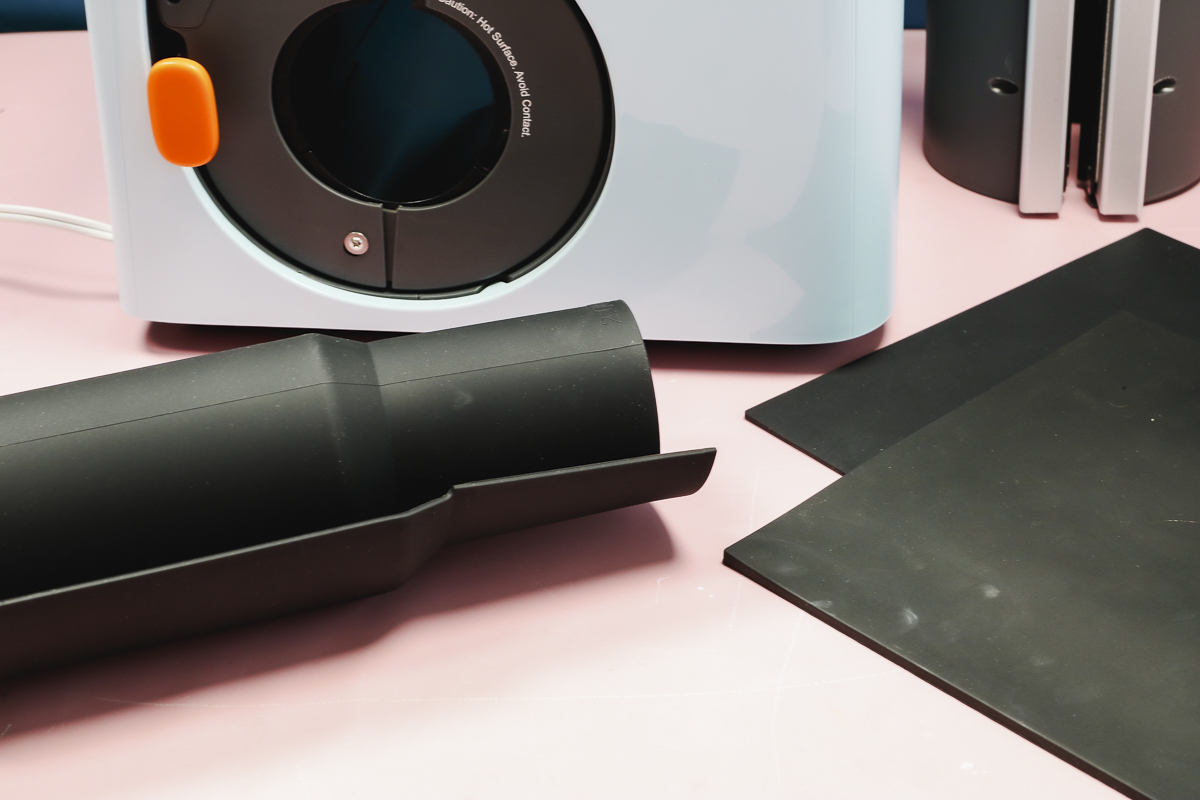
The inserts are very easy to swap and are metal. You add a mat around the tumbler before you slide it into the press.
What Comes with the Tumbler Press?
Along with the press, you get an instruction manual and documentation, heat-resistant tape, heat-resistant gloves, and 2 tumbler heat press mats.
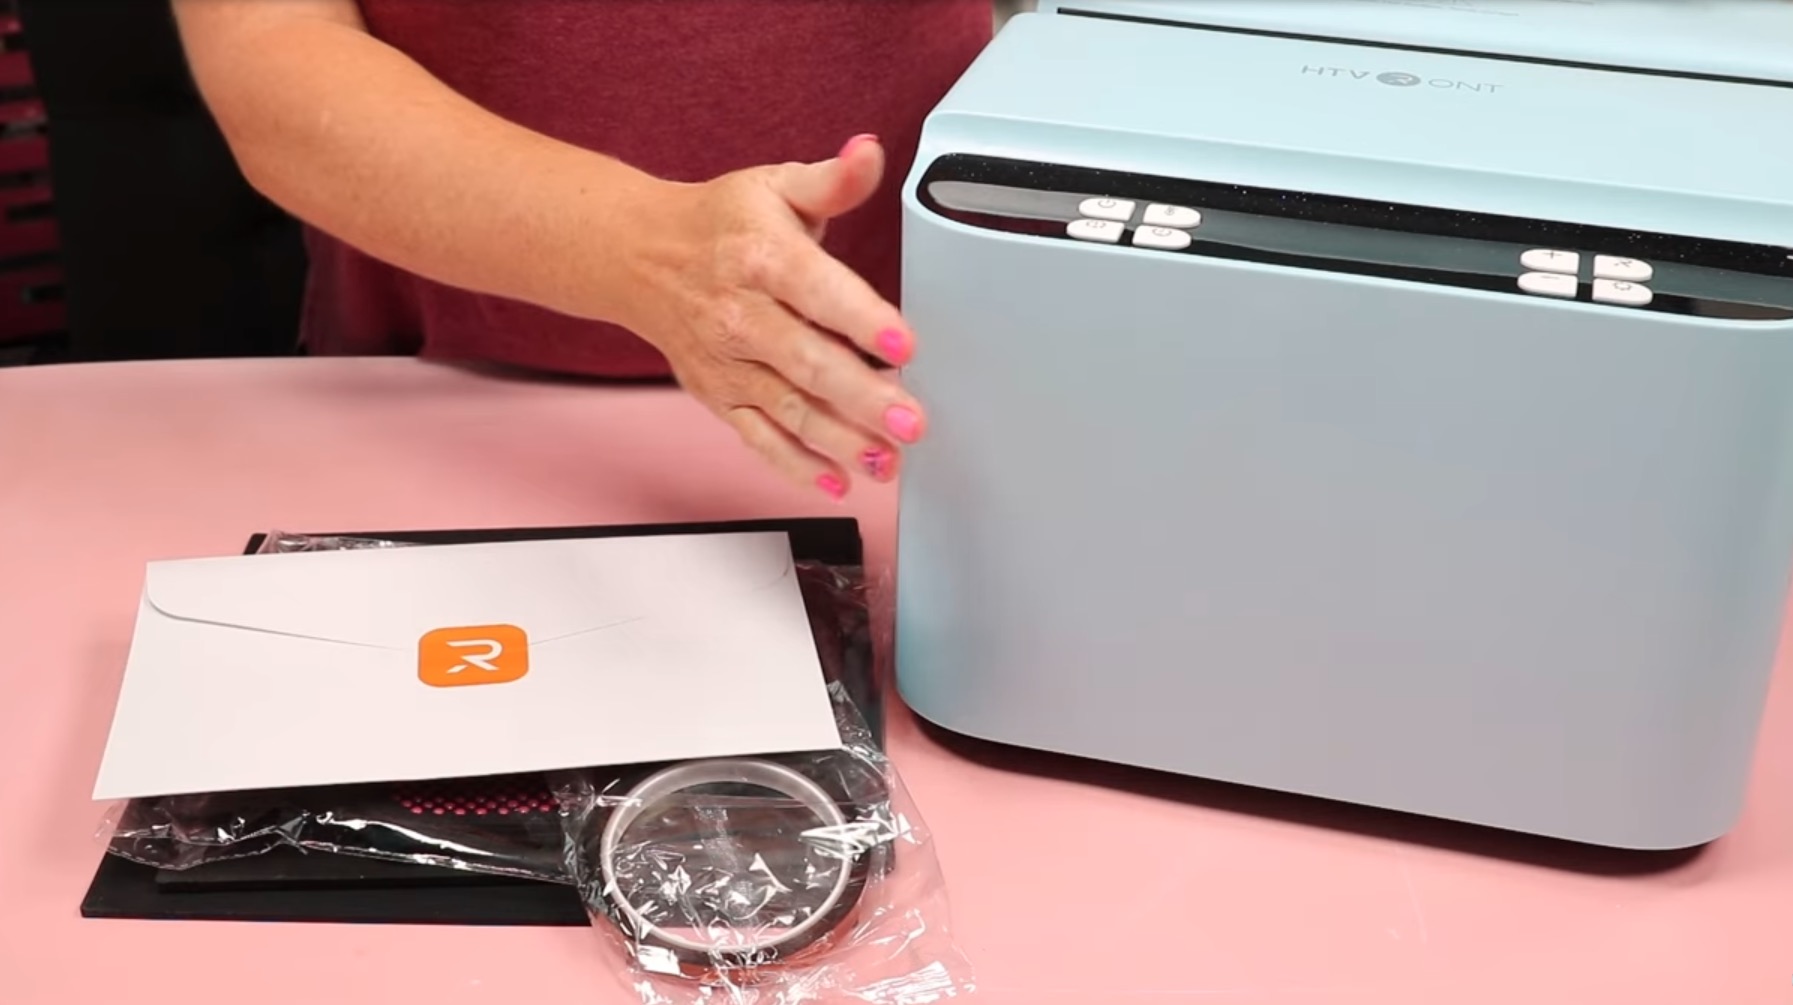
The mats are of different thicknesses, and you'll use them around the tumbler. Which one you use will depend on the tumbler you're using.
Unless you're swapping the insert, there is nothing else you need to do to set up the heat press. Simply plug it in and it's ready to go.
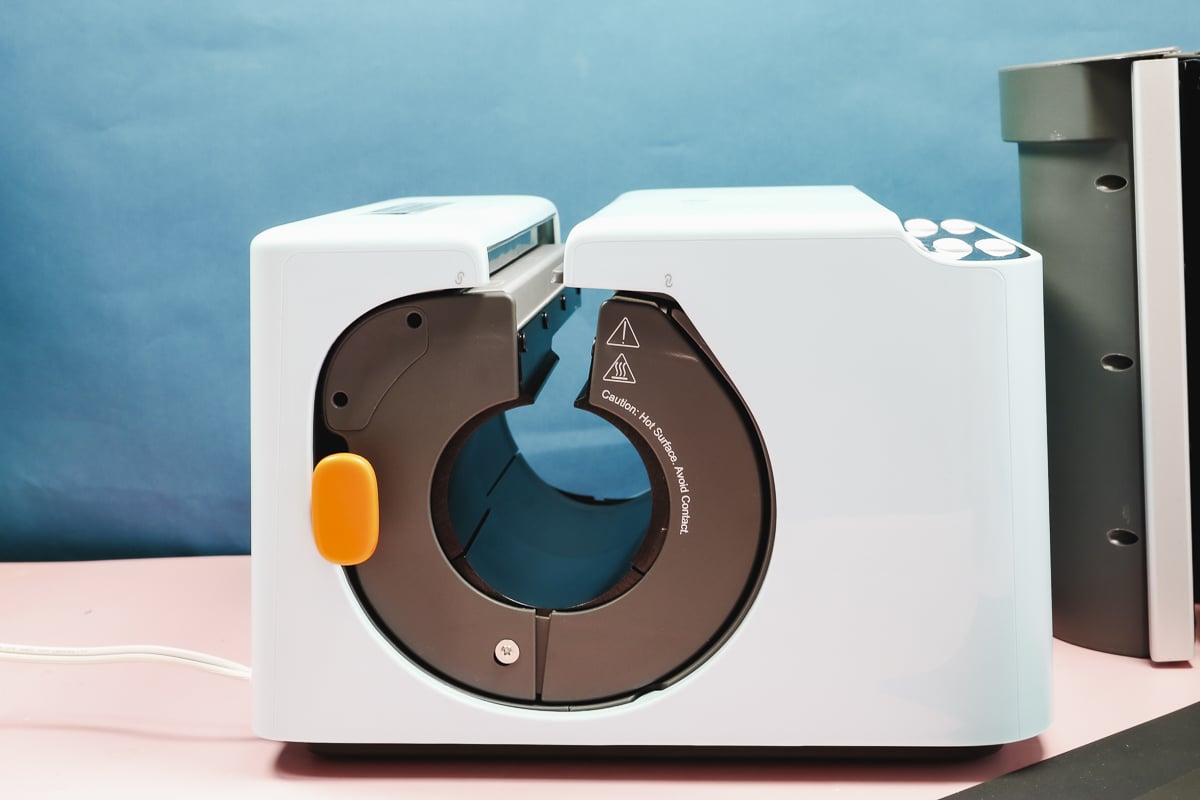
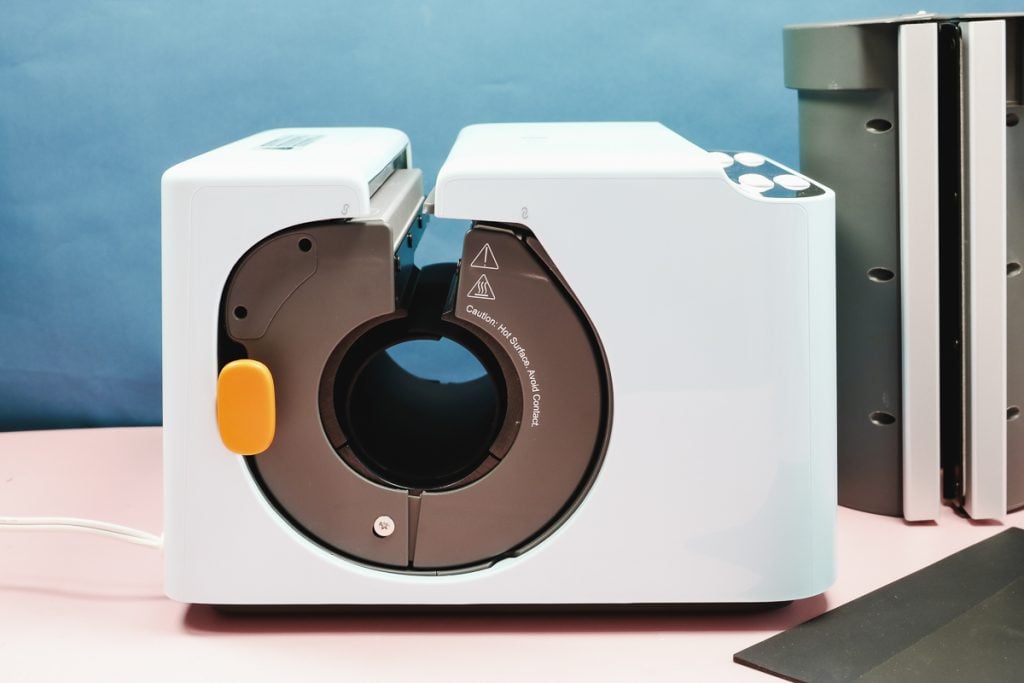
How Do You Change the Insert?
The inserts are one piece, and changing them is so easy. The press comes with the straight-sided insert installed. To remove it, pull the orange handle on the side. That will unlock the insert, and it will slide out of the press.
If you're worried about confusing the inserts, there is a design on the side of the insert showing which one it is.
The 40-ounce tumbler insert looks very similar from the outside, as it is also one piece. This insert comes with a heat-resistant mat that will fit around the tumbler.
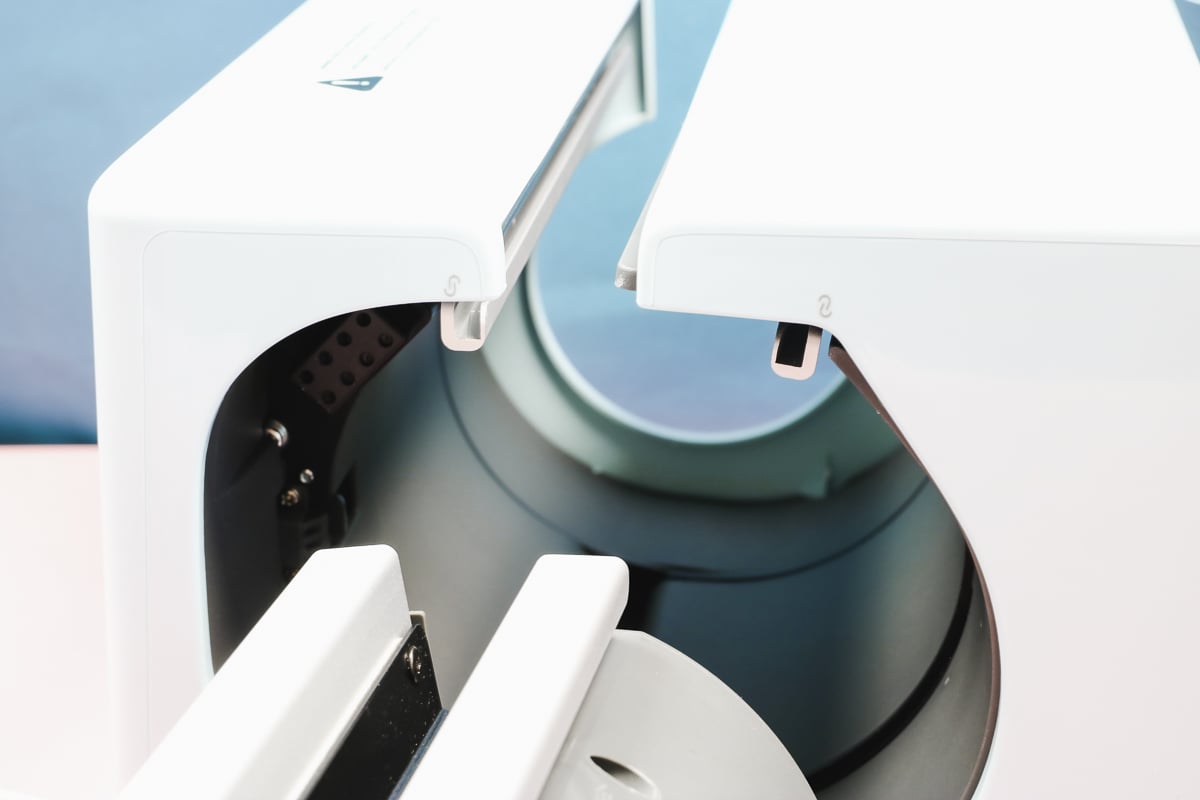
To install the 40-ounce tumbler insert, line up the rails on the top, and it will slide inside. You should hear a click, and when you do, you'll know it's installed correctly.
How to Use the HTVRont A200 Tumbler Press
I am putting this press to the test on a few projects so you can see just how it works.
Supplies Used
- Free 40-oz Tumbler Template
- HTVRont Auto Tumbler Press A200
- Brother Sublimation Printer
- Heat-Resistant Tape
- Heat-Resistant Gloves
- Tape Dispenser
- 20 oz Skinny Tumblers
- 40 oz HTVRont Tumblers
- Glass Tumbler
Step 1. Adjust the Settings on the A200 Auto Tumbler Press
The first project I'm going to make is a straight-sided 20-ounce tumbler, so let's get the press set up.
Make sure the insert you're using is installed in the tumbler press and plug the machine in.
Press the power button and adjust the time and temperature for the blank you're using. Press the temperature button and adjust it to the right temperature, and press the temperature button again to set it. The temperature goes up to 390 degrees Fahrenheit.
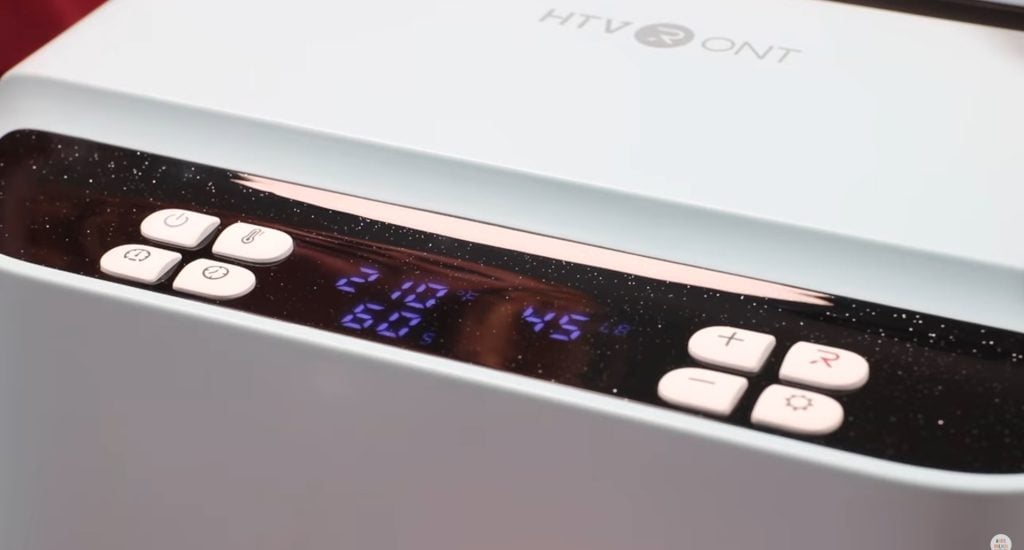
Set the time the same way. The time can be set up to 999 seconds.
You can also adjust the pressure with this press. The process is the same as setting the time and temperature. The minimum pressure is 45lbs and the maximum is 155lbs.
There are multiple presets already set as well. You can select A, B, C, or D to use those if you'd like.
When you're ready to press, make sure you've preheated the press and insert first.
Step 2. Print Tumbler Design
Always measure your tumbler in multiple locations from the top to the bottom to ensure you have an accurate measurement.
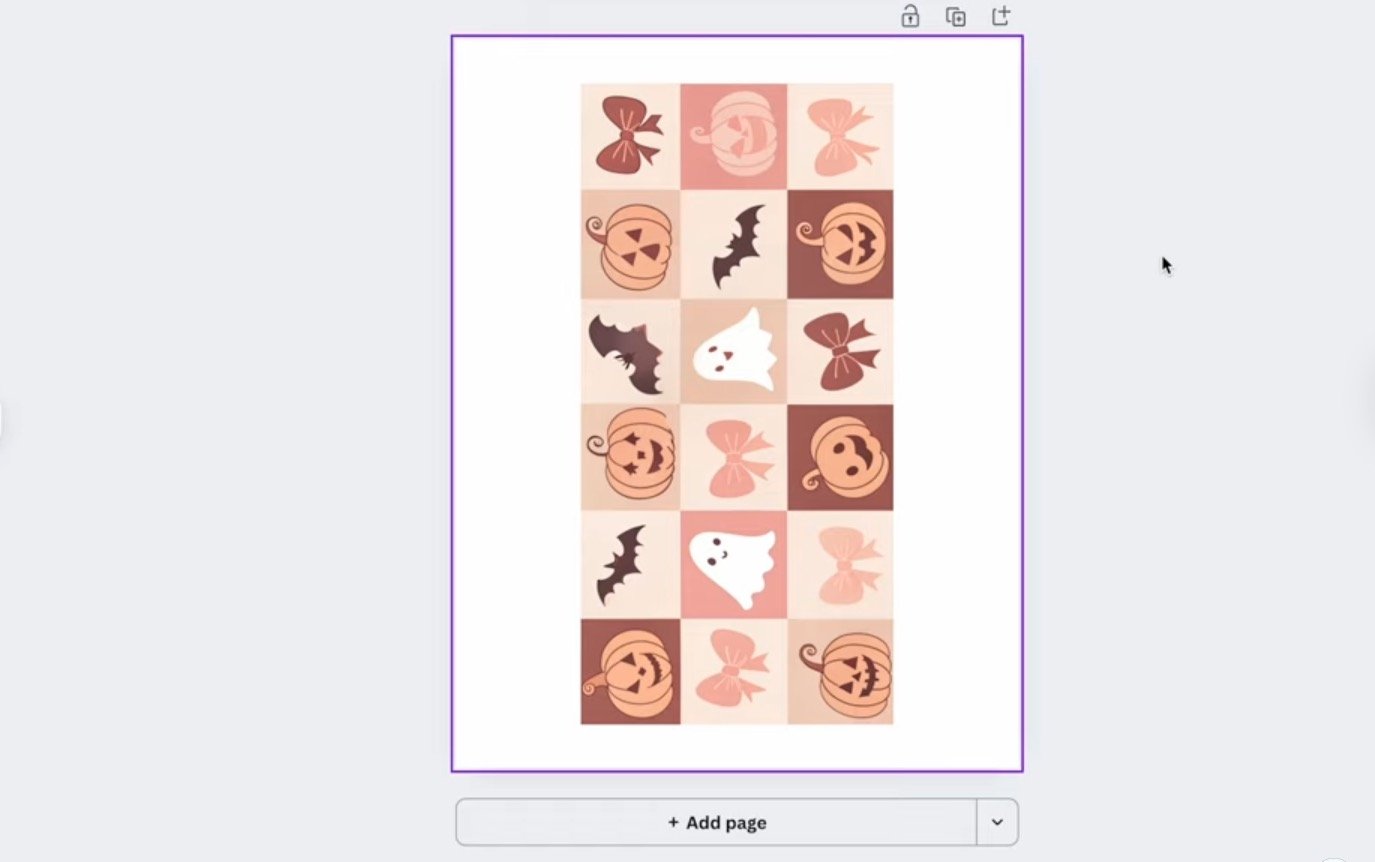
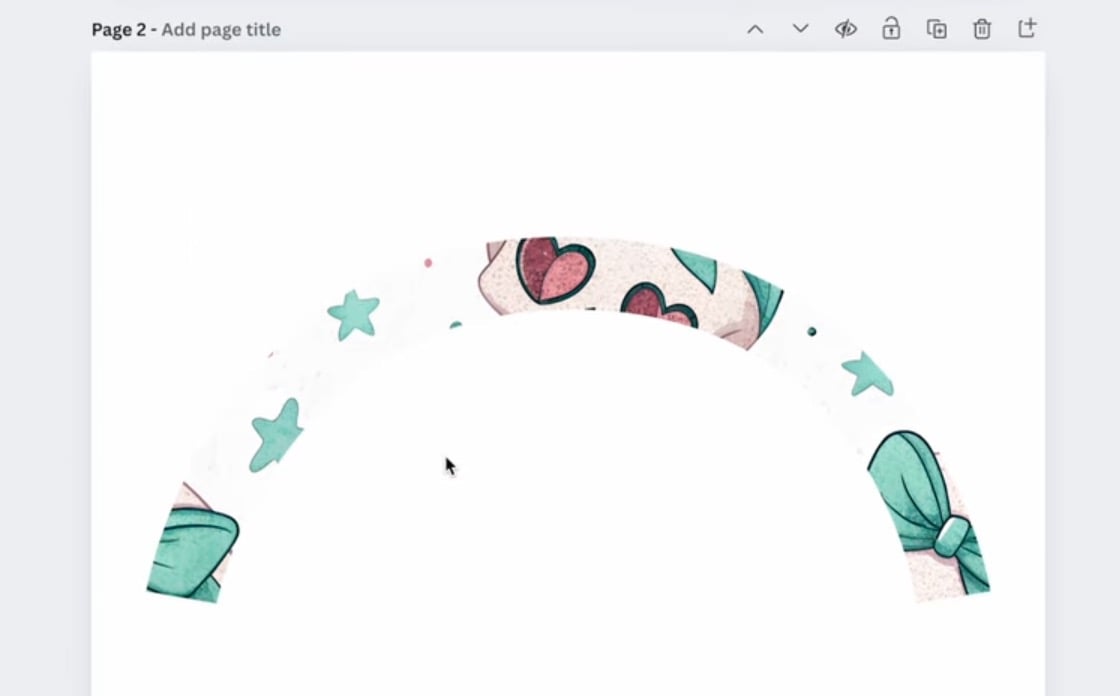
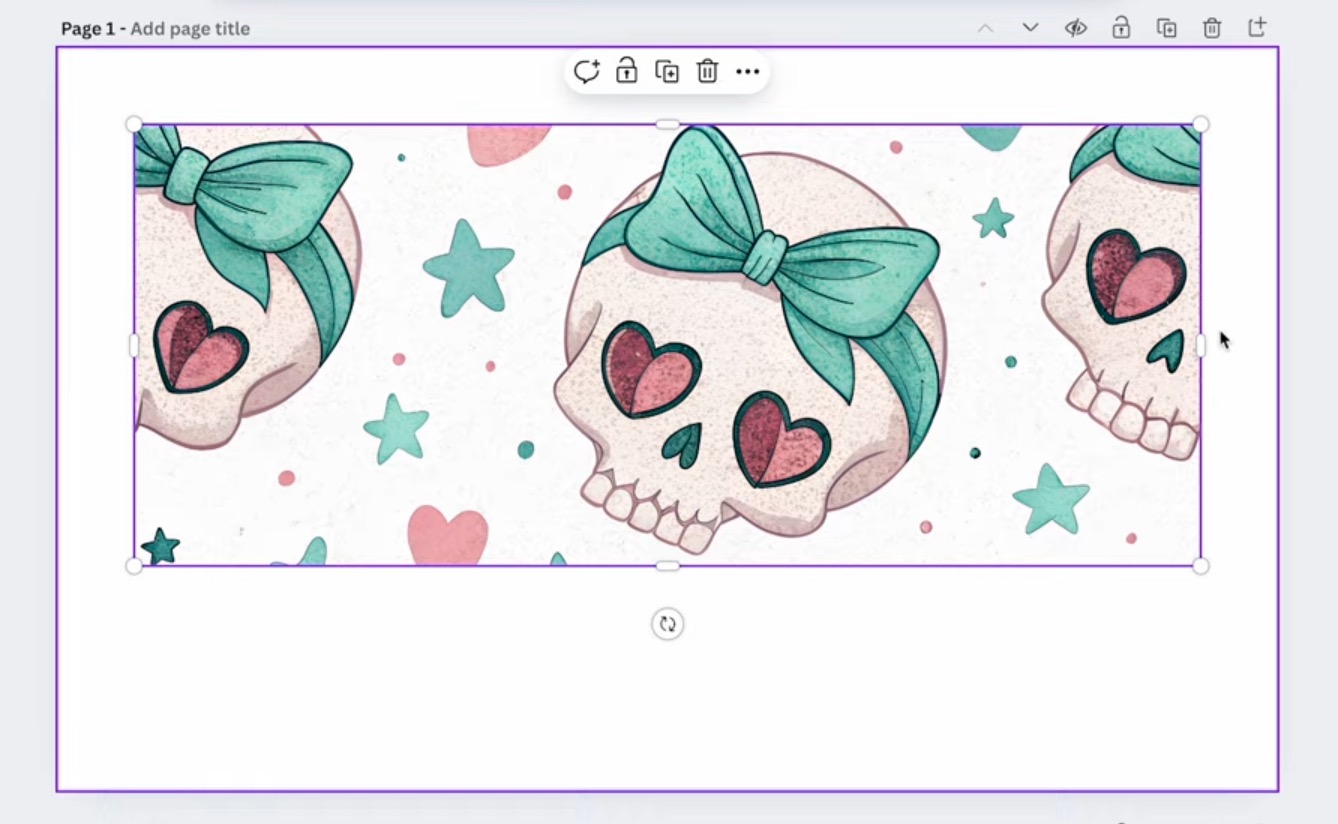
To create the design for my 20-ounce tumbler, I am going to use Canva, and I created a canvas that is 8.5 by 11 inches because that is the size of my sublimation paper.
Upload the design you want to use and use it to fill the page. My design is repeatable, so I am going to rotate it so it faces the right direction and then duplicate it to fill the whole page.
I am printing a full-page design instead of creating a design exactly the size of my tumbler. If you wanted, you could print the design the size of your blank.
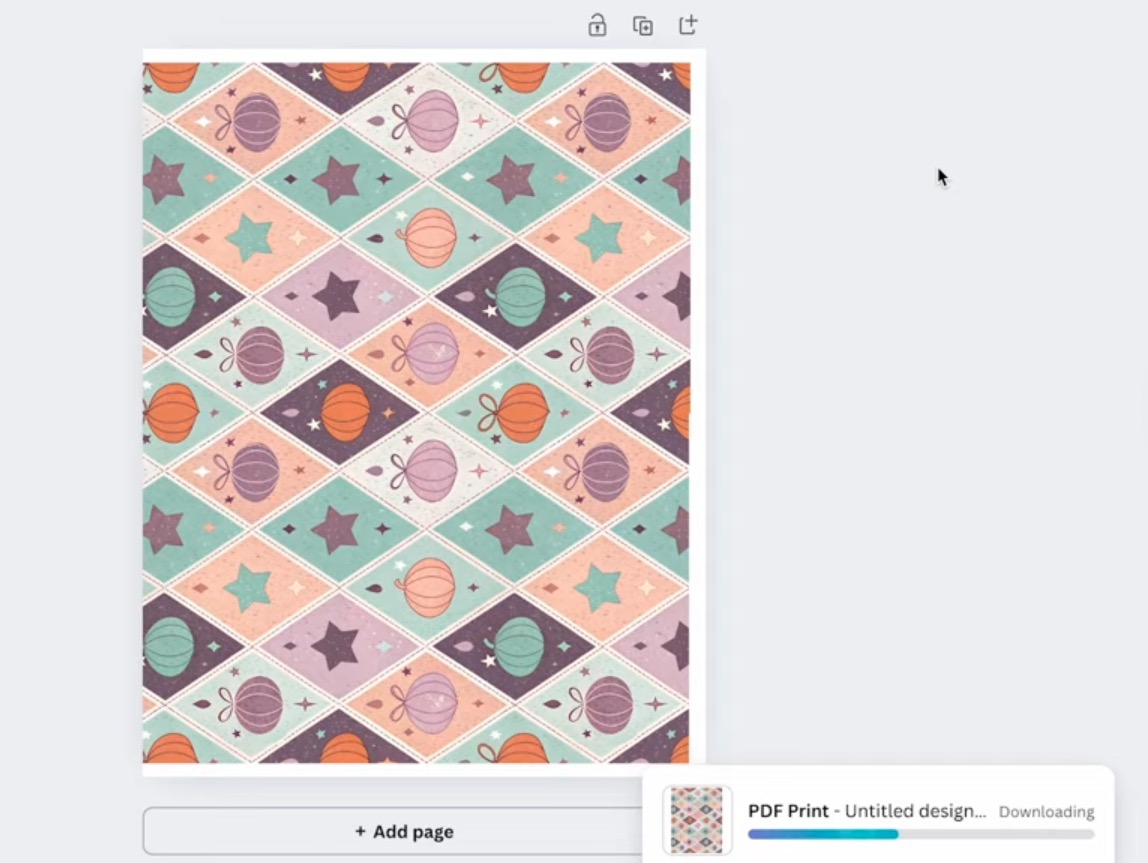
You cannot print directly from Canva. Click Share, Download, and then choose PDF for Print and CMYK.
Open the design on your computer and then send it to your sublimation printer. Print sublimation ink on sublimation paper from a sublimation printer.
If you haven't already, make sure to mirror your image so it is the right orientation when it's pressed.
Step 3. Trim Sublimation Print to Size
Next, trim the print to the correct size. You can use a paper trimmer or scissors, but you want to make sure you don't trim it too small.
If you created your print to be the same size as your tumbler, I would wrap it around the tumbler before trimming to ensure it is the right size.
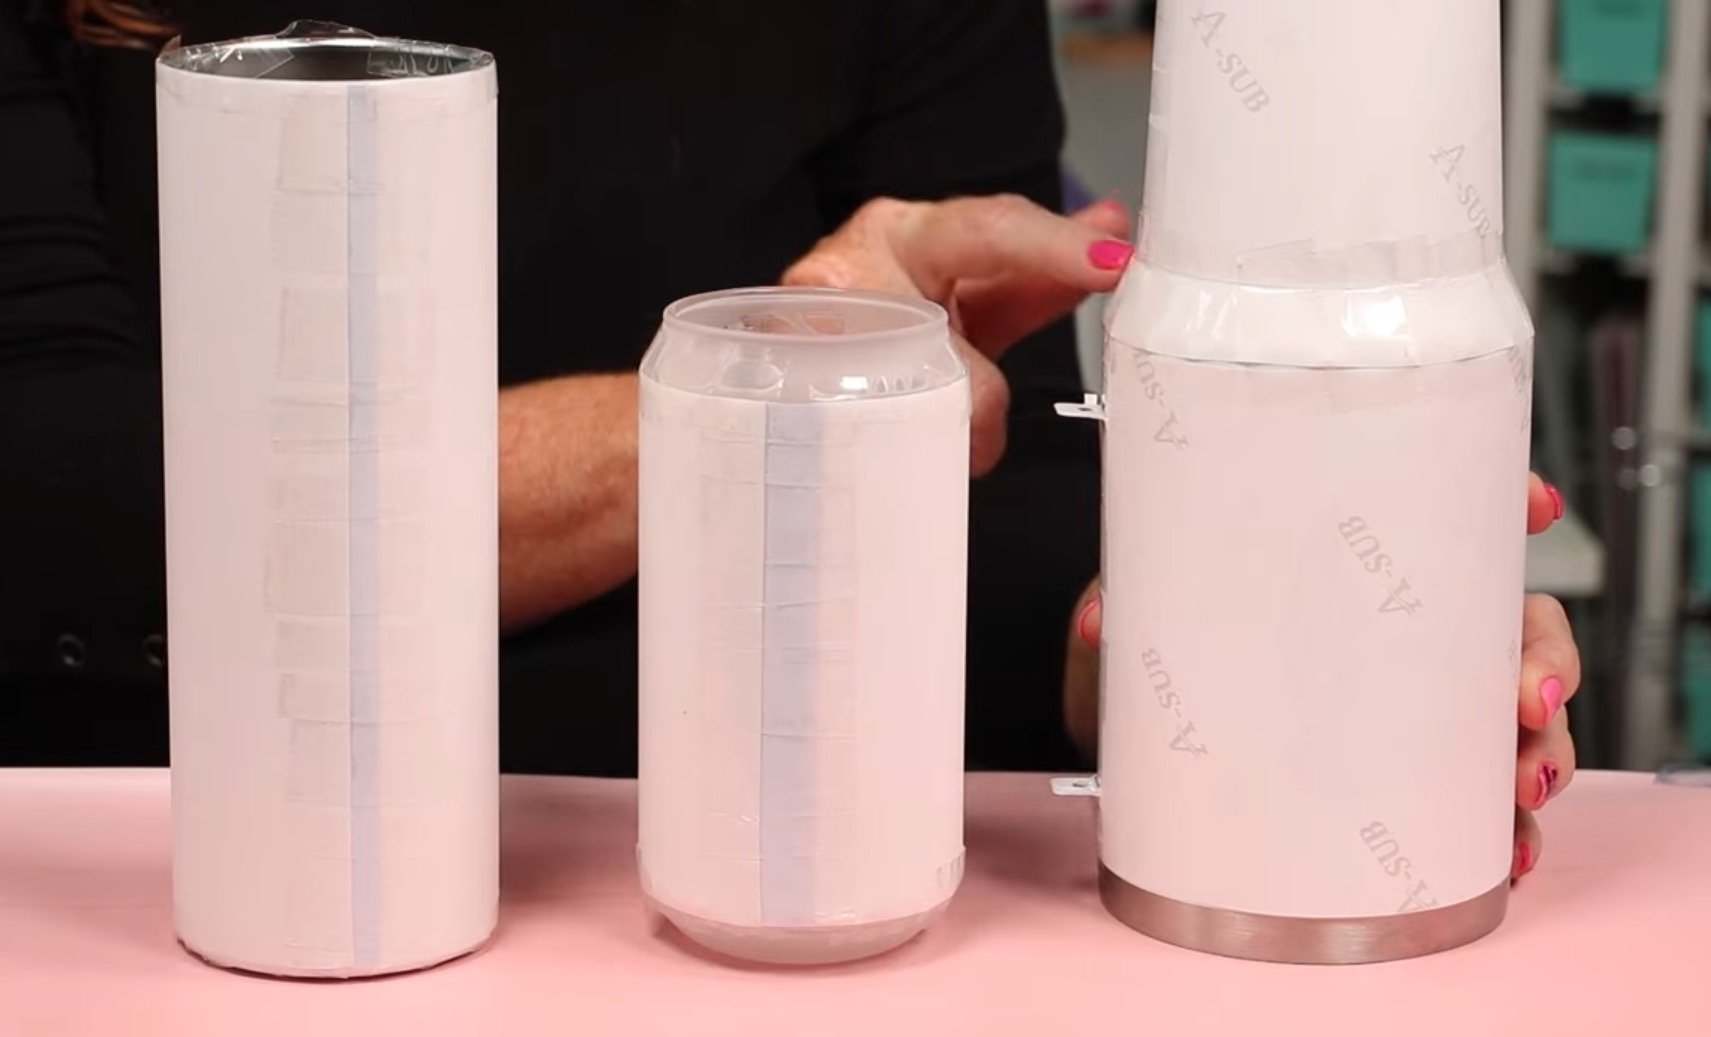
Step 4. Wrap the Sublimation Tumbler
No matter which tumbler you're wrapping, the process is going to be similar.
- Use a lint roller to clean the tumbler.
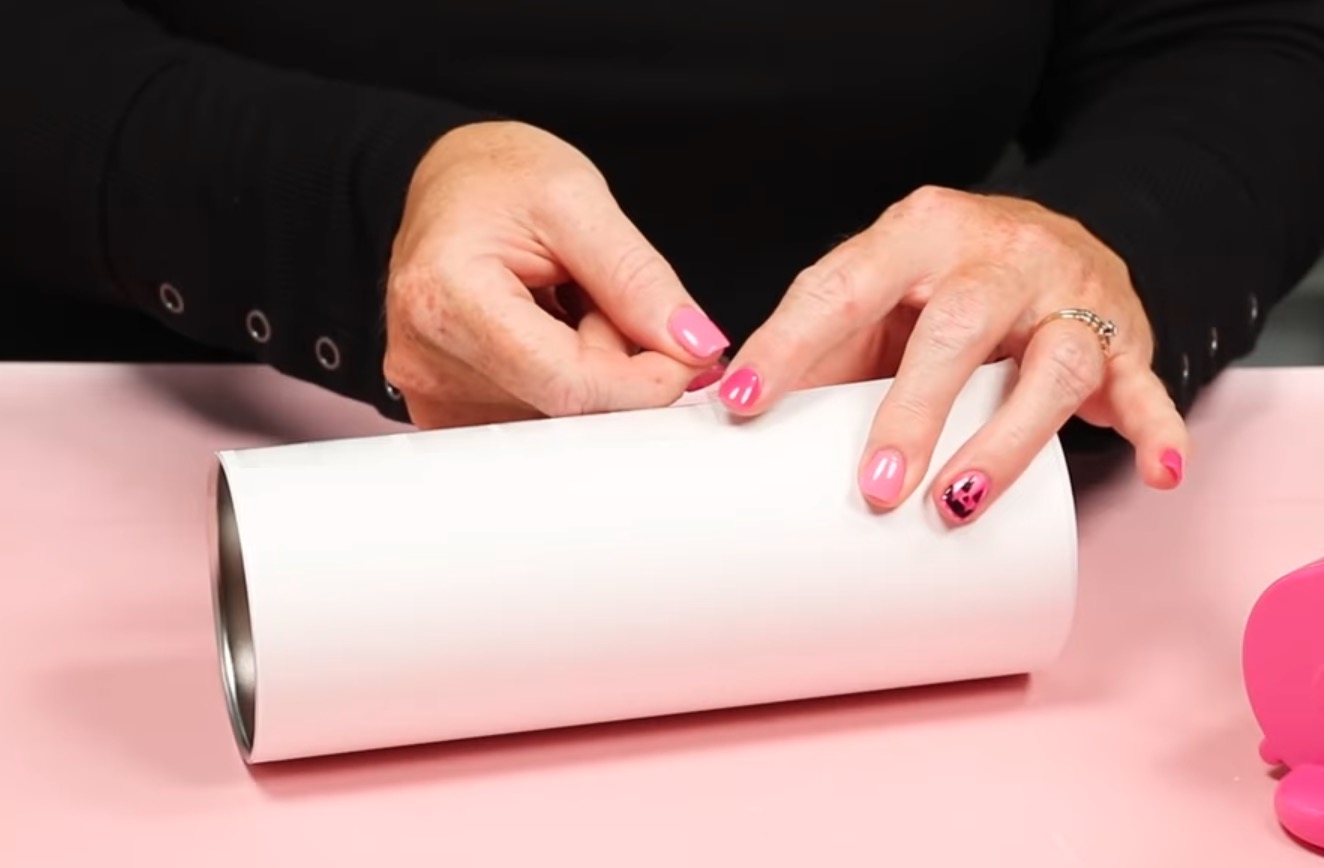
- Add heat-resistant tape to the back of one of the short sides of the sublimation print. This is so we can have a slight overlap, ensuring a clean seam.
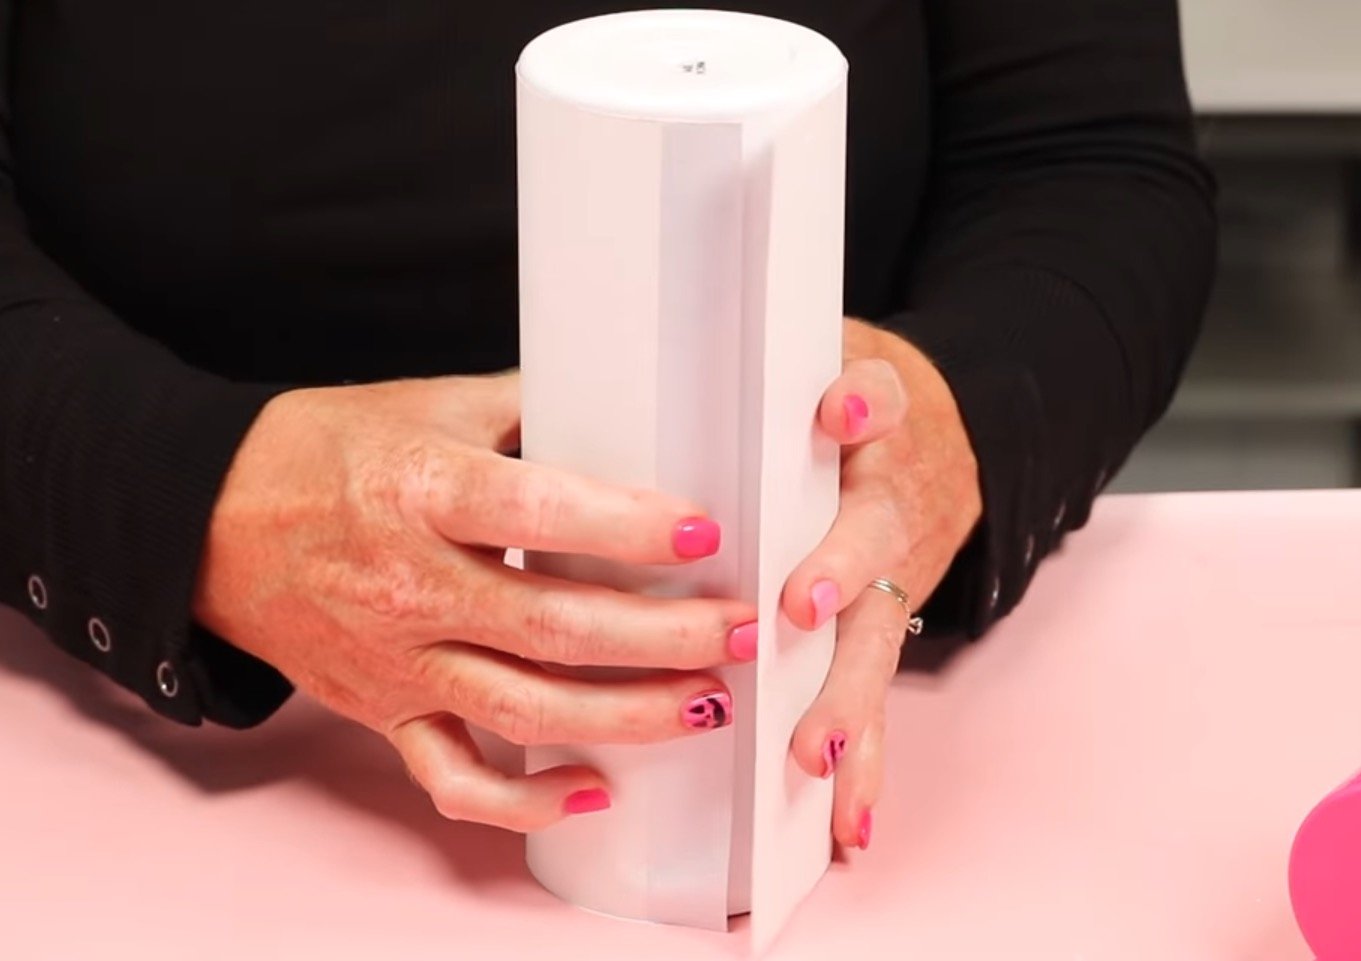
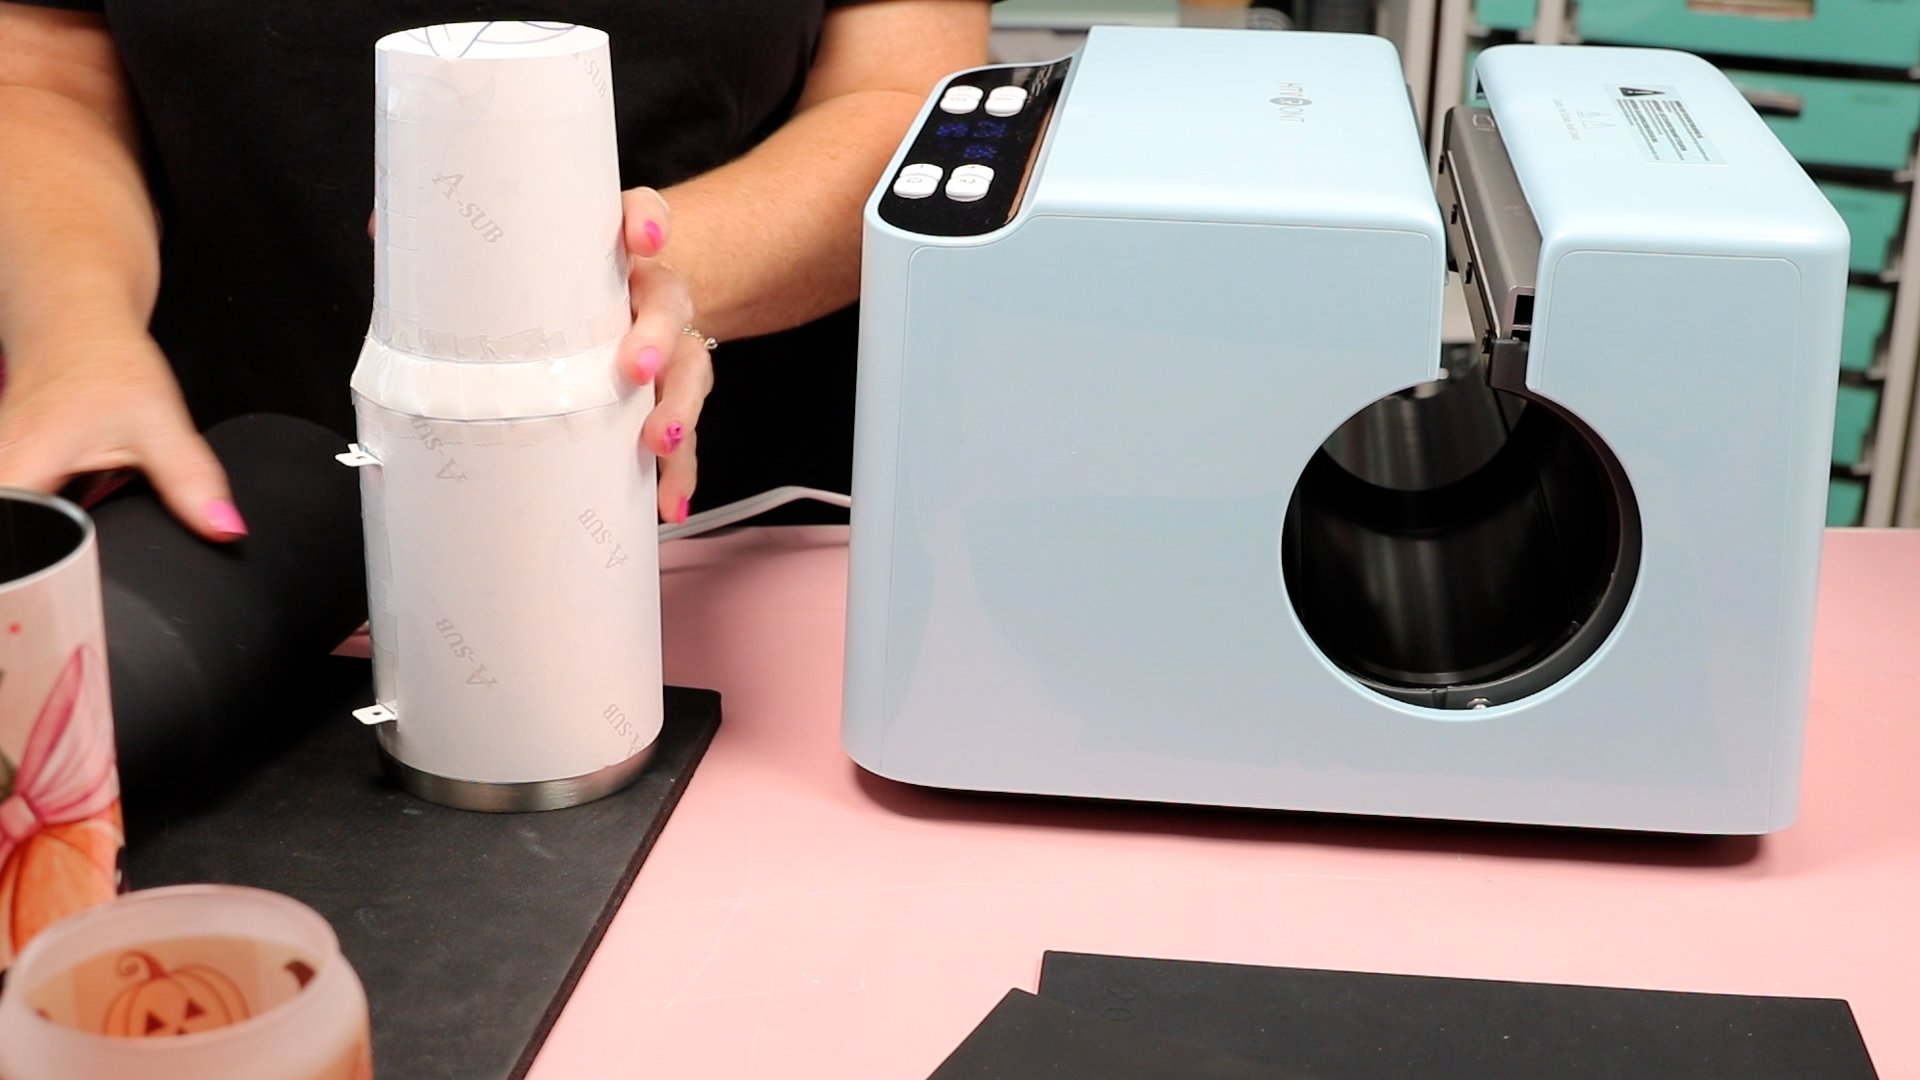
- Stand the tumbler on end with the bottom up.
- Place the print upside down, standing up against the tumbler. This gives you a nice edge along the top of the tumbler.
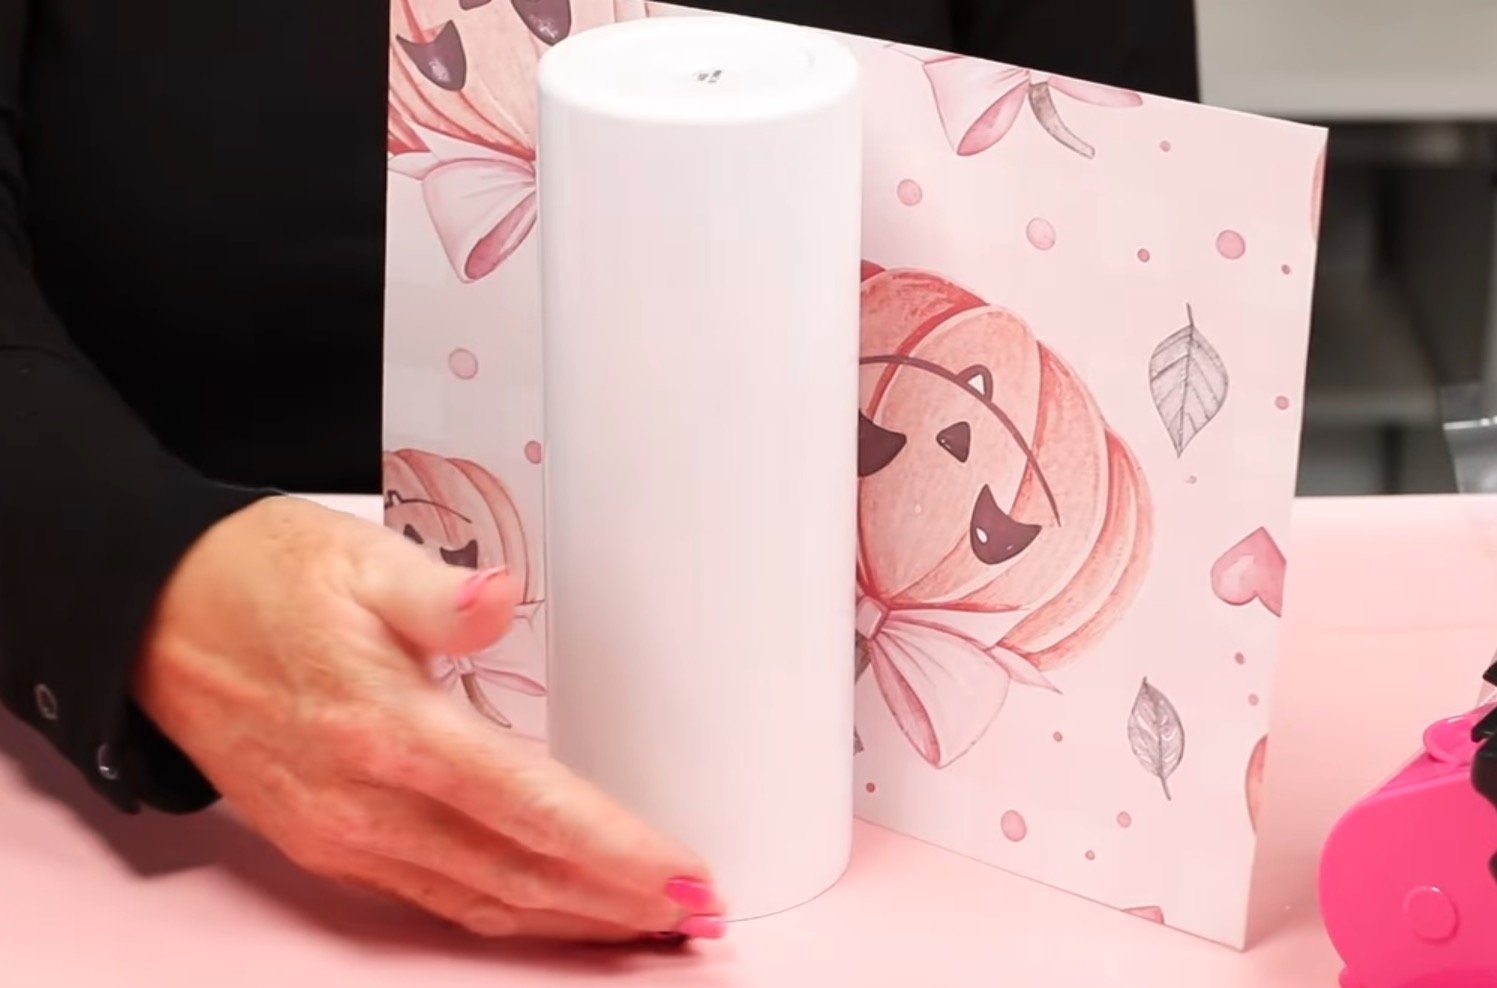
- Wrap the print around the tumbler. You want the taped edge lying down first, with the untaped edge over the top.
- Ensure everything is straight, and using heat-resistant tape, pull the two sides together tightly. Tape the seam from top to bottom. I have a full tutorial on how to tape a tumbler to minimize seams that I recommend if you're new to this process.
- Add tape to the top and bottom of the print to prevent ghosting.
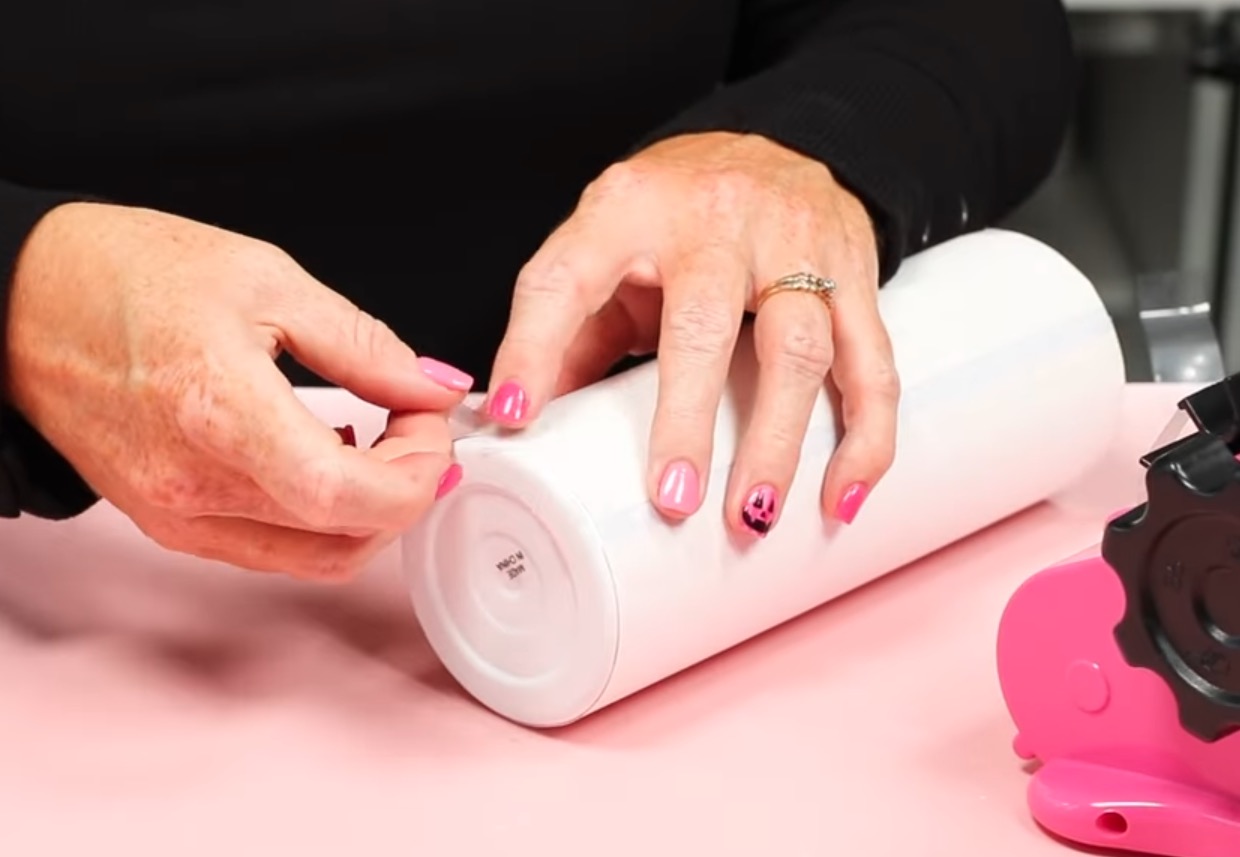
- Use a scraper and go over the seam pressing down.
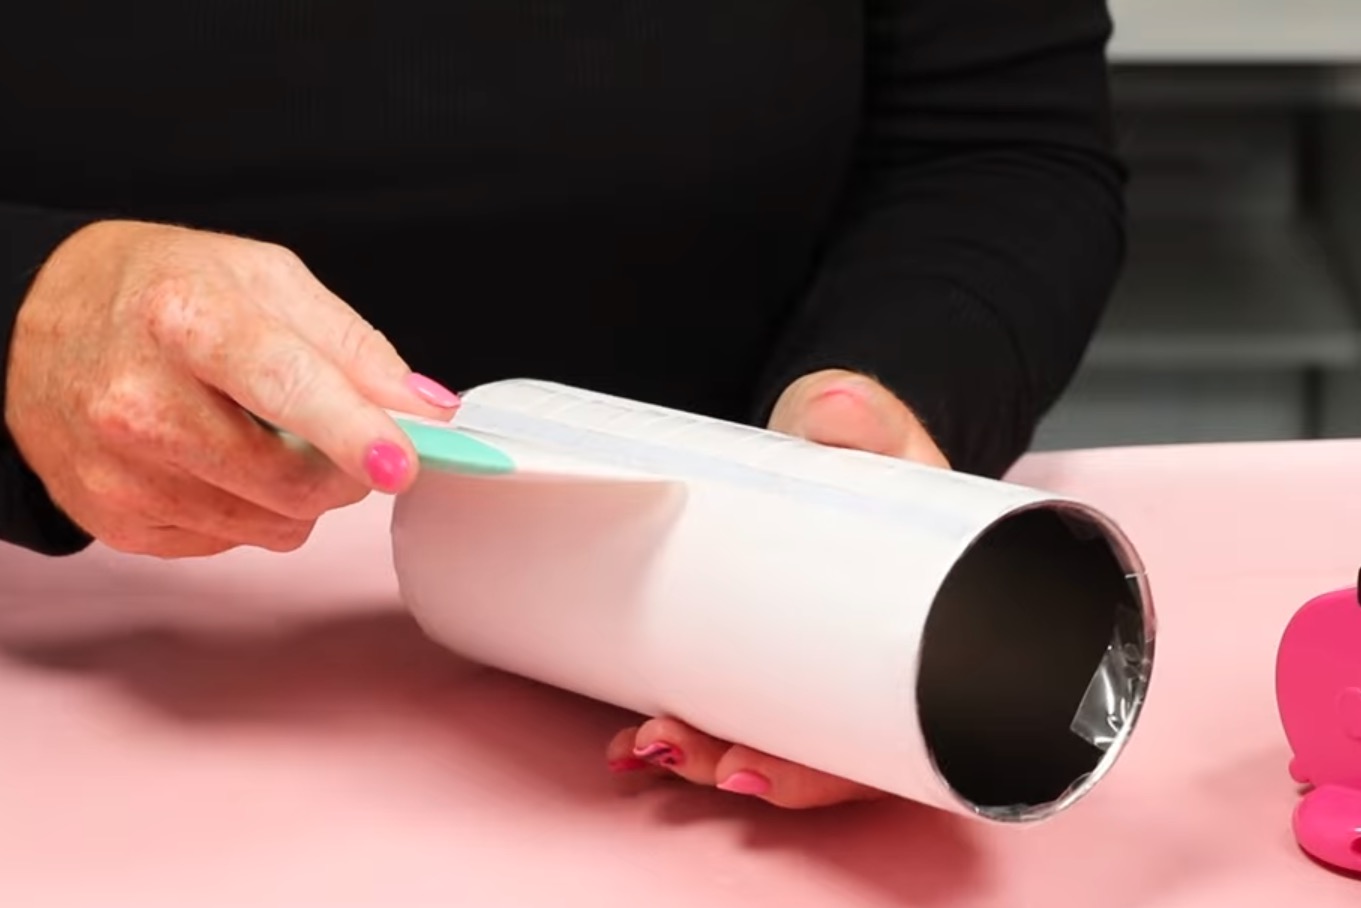
- Roll the top and bottom along the table to make sure everything is stuck down well and is nice and tight.
Step 5. Press the Tumbler in the HTVRont Auto Tumbler Press
Now that the tumbler has the sublimation print applied, we're ready to press.
Normally, I add protective paper around my sublimation prints to protect my press from ink blowout.
The HTVRont A200 Auto Tumbler Press does not recommend that so I'm going to press without the protective paper and cross my fingers that I don't get any ink on the inside of my press.
For this blank, I have my press set to 390 degrees for 240 seconds with a pressure of 60lbs.
The correct insert is inside the press and has been preheated.
There are two different rubber mats for this insert, each with a different thickness. The thickness is printed right on them.
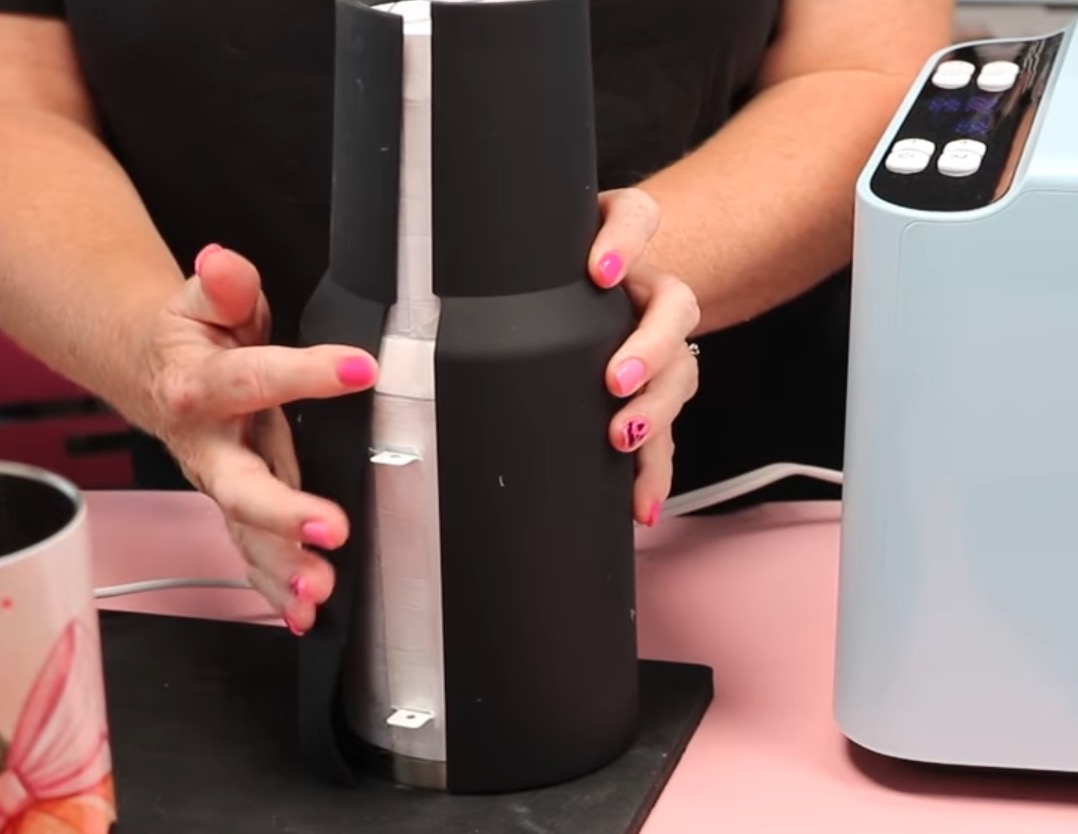
For this tumbler, I am using a thicker mat, which is 4 mm, and it needs to be wrapped all the way around the tumbler.
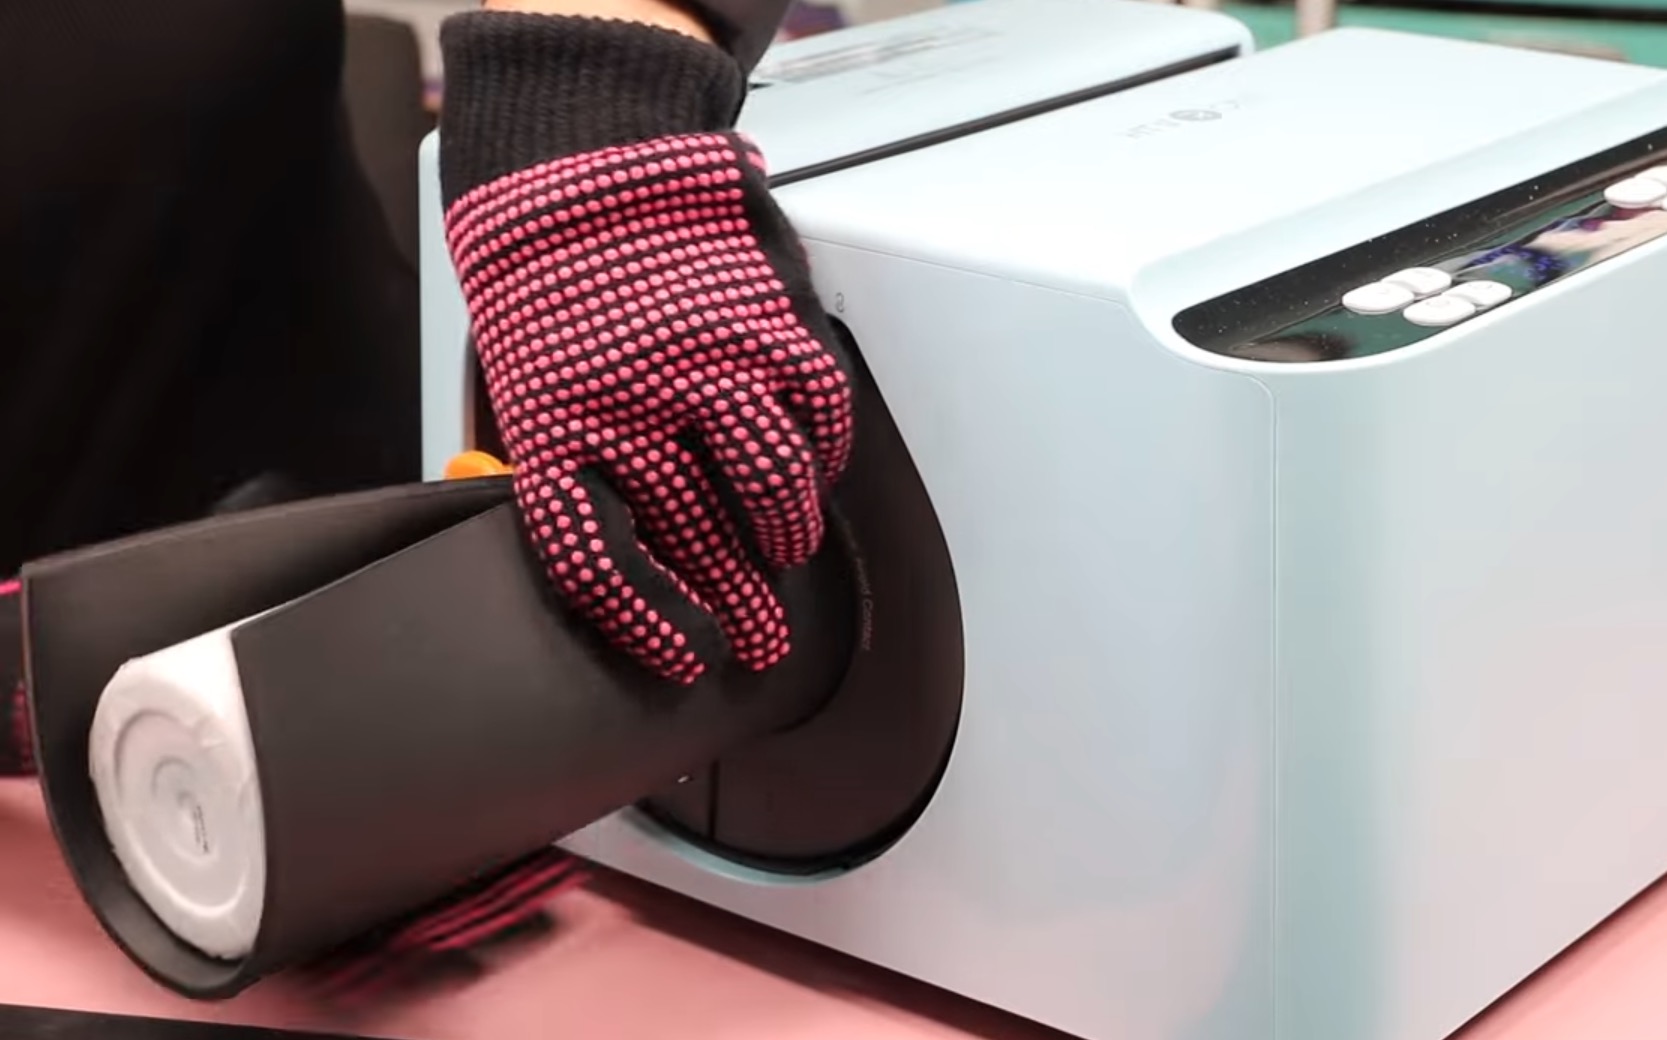
Use heat-resistant gloves to slide the tumbler and mat into the insert and make sure the tumbler is completely covered by the mat and that it's all the way inside the tumbler. Don't try to do this without heat-resistant gloves.
With the tumbler and mat inside the press, push the R button to start the pressing process. You'll see the press close, and the timer will count down.
Step 6: Remove the Tumbler and Finish
When the timer is up, using heat-resistant gloves, remove the tumbler and mat and place them both on a heat-resistant mat. These will be very hot. Do not try to touch them without heat-resistant gloves, and don't set them on anything but a heat-resistant mat until they have cooled down.
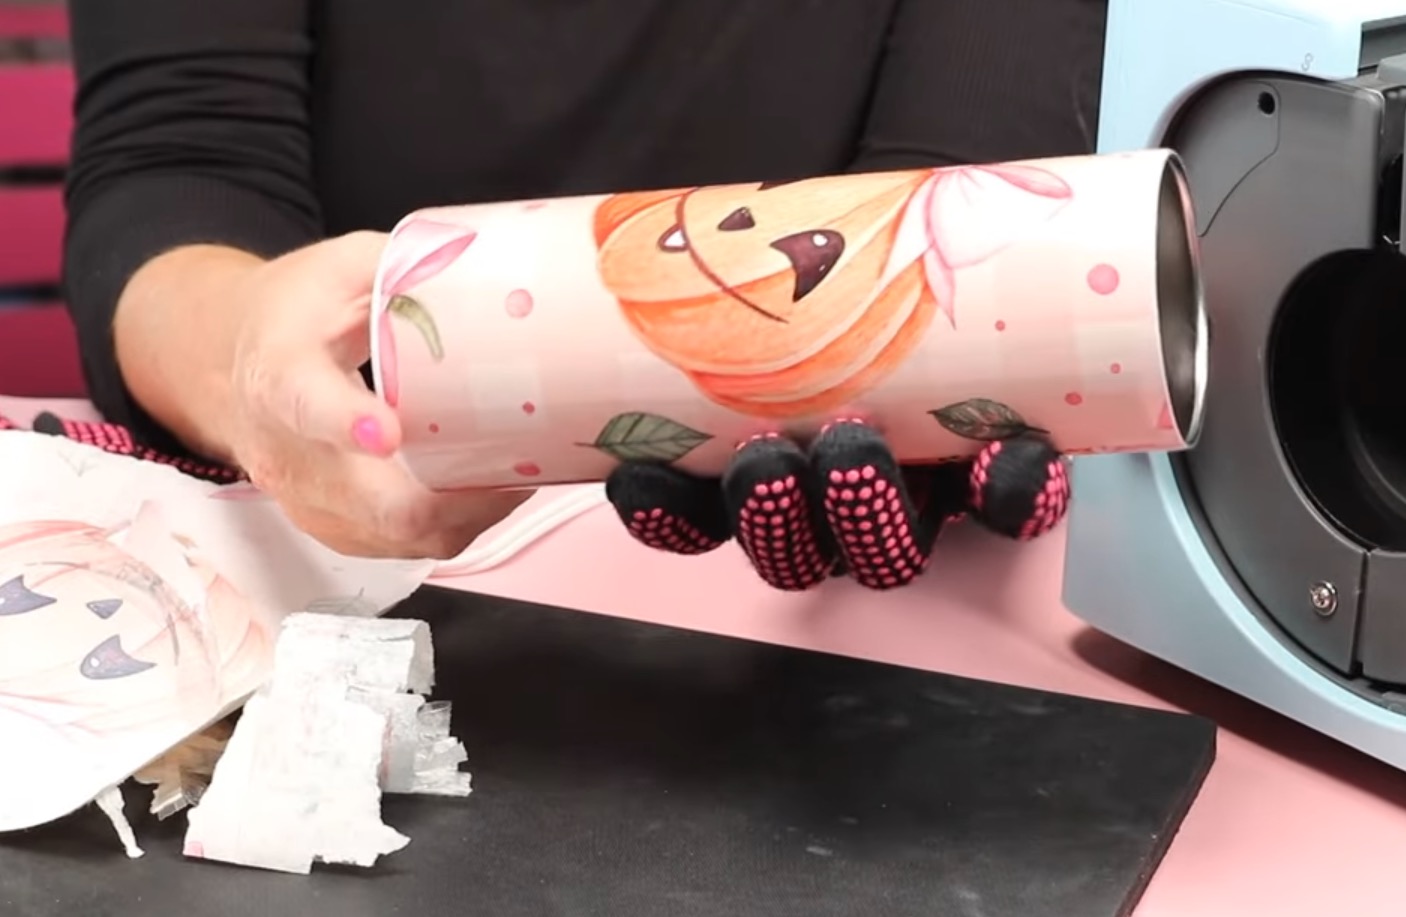
Then remove the sublimation print and all tape.
This is the very first press I ever did with this machine, and I am so impressed. It looks really good from top to bottom and side to side.
The seam looks good, and I don't see any fading or ghosting anywhere.
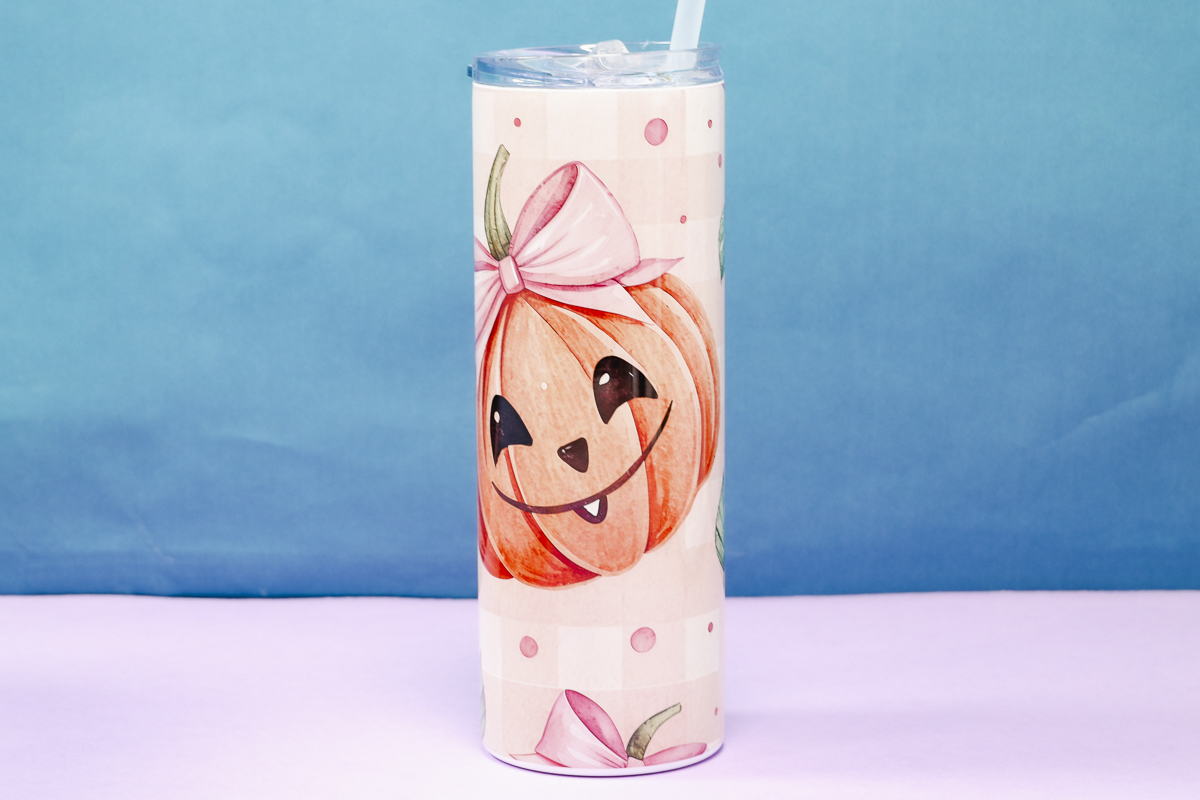
The colors are bright, and I really like this press for the 20-ounce tumbler.
Pressing a Glass Can Tumbler in the HTVRont A200 Tumbler Press
To make a glass can tumbler with this press, the process is very similar.
I did want to note that I printed the design twice on the same sheet of sublimation paper to get more ink on the paper to hopefully end up with a brighter finished result.
Steps 1-3 are the same for this tumbler. The difference will be the pressing.
Press the Glass Can Tumbler
For this tumbler, I am using the 4MM rubber mat, and I have the press set to 330 degrees with a pressure of 110lbs.
I do want to note that the mat is still very hot. Make sure you're wearing your heat-resistant gloves before handling the mat.
I also recommend rotating the tumbler so the seam is not lined up with where the press closes. Rotate the tumbler so the seam faces the bottom or side of the insert.
Remove Sublimation Print
For the glass tumbler, I am going to allow it to cool before removing the print.
Place the tumbler and mat on a heat-resistant mat and let it cool. I am hoping this will allow as much ink to transfer onto the glass as possible.
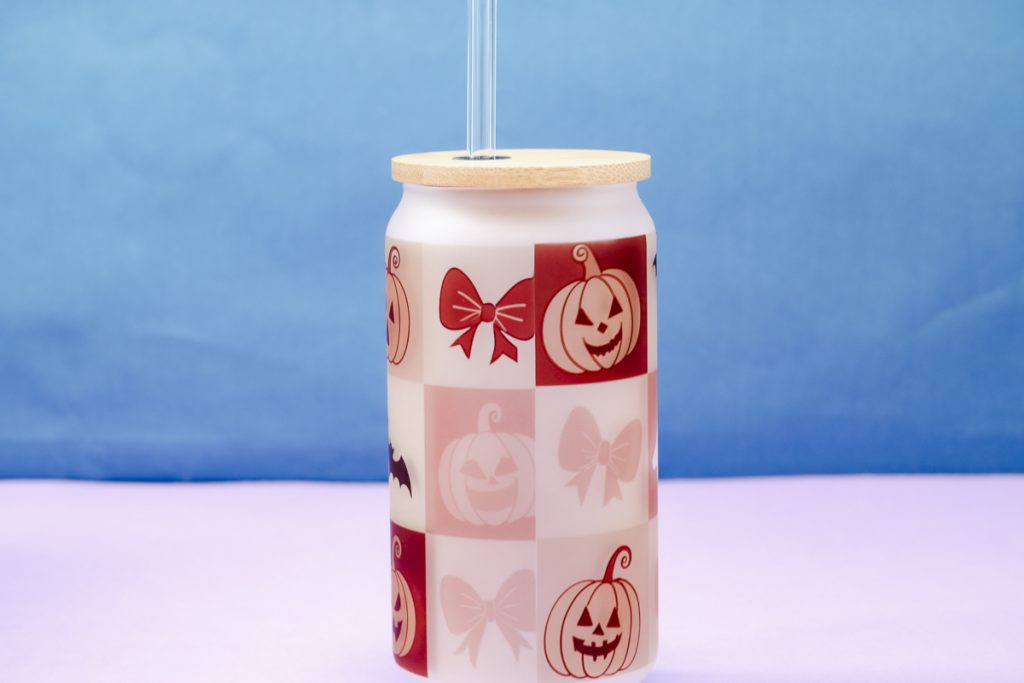
The glass can tumbler looks great. I think double-printing the design and allowing it to cool before removing the print is the right choice for glass tumblers.
The colors and design look great even when there is nothing in the glass.
Pressing a 40-ounce Sublimation Tumbler
Now that we're done using the straight wall insert, we're ready to change to the 40-ounce tumbler insert.
Before you do anything to change the insert, turn off and unplug the press.
Note – While we're working with these hot surfaces, I want to caution you to never put anything on top of the heat press.
These mats and blanks are very hot and stay hot for an extended period of time. Make sure you have a heat-safe surface to put them on while they cool down.
Step 1. Change the Insert
To make a 40-ounce tumbler, we need to swap the insert. The 40-ounce tumbler insert does not come with the tumbler press. It is an additional accessory that you will need to purchase separately.
This insert comes with the coordinating rubber mat, and you will need to remove the handle from the tumbler before wrapping/pressing.
Remove the straight-sided insert and set it on a heat-resistant mat. Place the 40-ounce insert inside the press and allow it to heat up.
I have my press set at 390 degrees for 190 seconds with a pressure of 130lbs. While that is preheating, let's set up our design.
Step 2. Set Up Sublimation Design for 40-ounce Tumblers
With the 40-ounce tumbler insert, they included a 40-ounce HTVRont sublimation tumbler.
I am going to test that tumbler and a couple of other brands to see if this insert will work with them all, or if you need to purchase an HTVRont tumbler for it to work right.
Before we set up the design, we need to measure the tumbler. Make sure you measure around the top, around the bottom, and around the curved area that connects the two. Also, measure the overall height to ensure it'll fit in the tumbler press.
If you are using the HTVRont 40-ounce tumbler, I recommend using the template that is in the LokLik software. It is sized correctly for their tumbler, and you won't have to make any adjustments to it.
If you're trying a different 40-ounce tumbler, you can use the Canva template I have linked in the supply list above. You can drag and drop your design into the template and then resize it to fit your exact tumbler.
Remember, you can always trim it a little more after you print it, so make sure you don't resize it too small.
Step 3. Print Sublimation Designs
Once you have your design set up, you are ready to print. In Canva, click Share, Download, and PDF for Print with CMYK.
That will save the design to your computer. Open the design and send it to your sublimation printer. Make sure you mirror the design before printing.
Step 4. Tape Sublimation Print Around the Tumbler
Before we begin the wrapping process, we need to remove the handle. You cannot press the tumblers with the handle intact.
The taping process for this tumbler is very similar to the process for the other tumblers. The main difference is that you will have 2-3 pieces to tape instead of just one.
Use a lint roller to clean the surface really well before adding your sublimation print.
I like to start with the largest part of the tumbler. Get it wrapped nice and tight, and then wrap the bottom part, repeating the same steps.
If you choose to add a print to the curved portion, make sure you tape it into place really well, trying to prevent as many wrinkles/air pockets as you can.
If you've never wrapped a 40-ounce sublimation tumbler before, make sure to check out my tutorial for the best results.
Step 5. Wrap the Sublimation Tumbler in a Rubber Mat and Press
Wrap the rubber mat around the tumbler. The opening of the mat will line up with the edges of the metal tabs on the tumbler.
You can only slide the 40-ounce tumbler in on one end of the tumbler press. The correct end is the end opposite the orange tab. Make sure the tabs are facing the top and slide it in all the way.
Press the R to start the pressing process. When the time is up, using heat-resistant gloves, remove the tumbler and wrap from the press and place them on a heat-resistant mat.
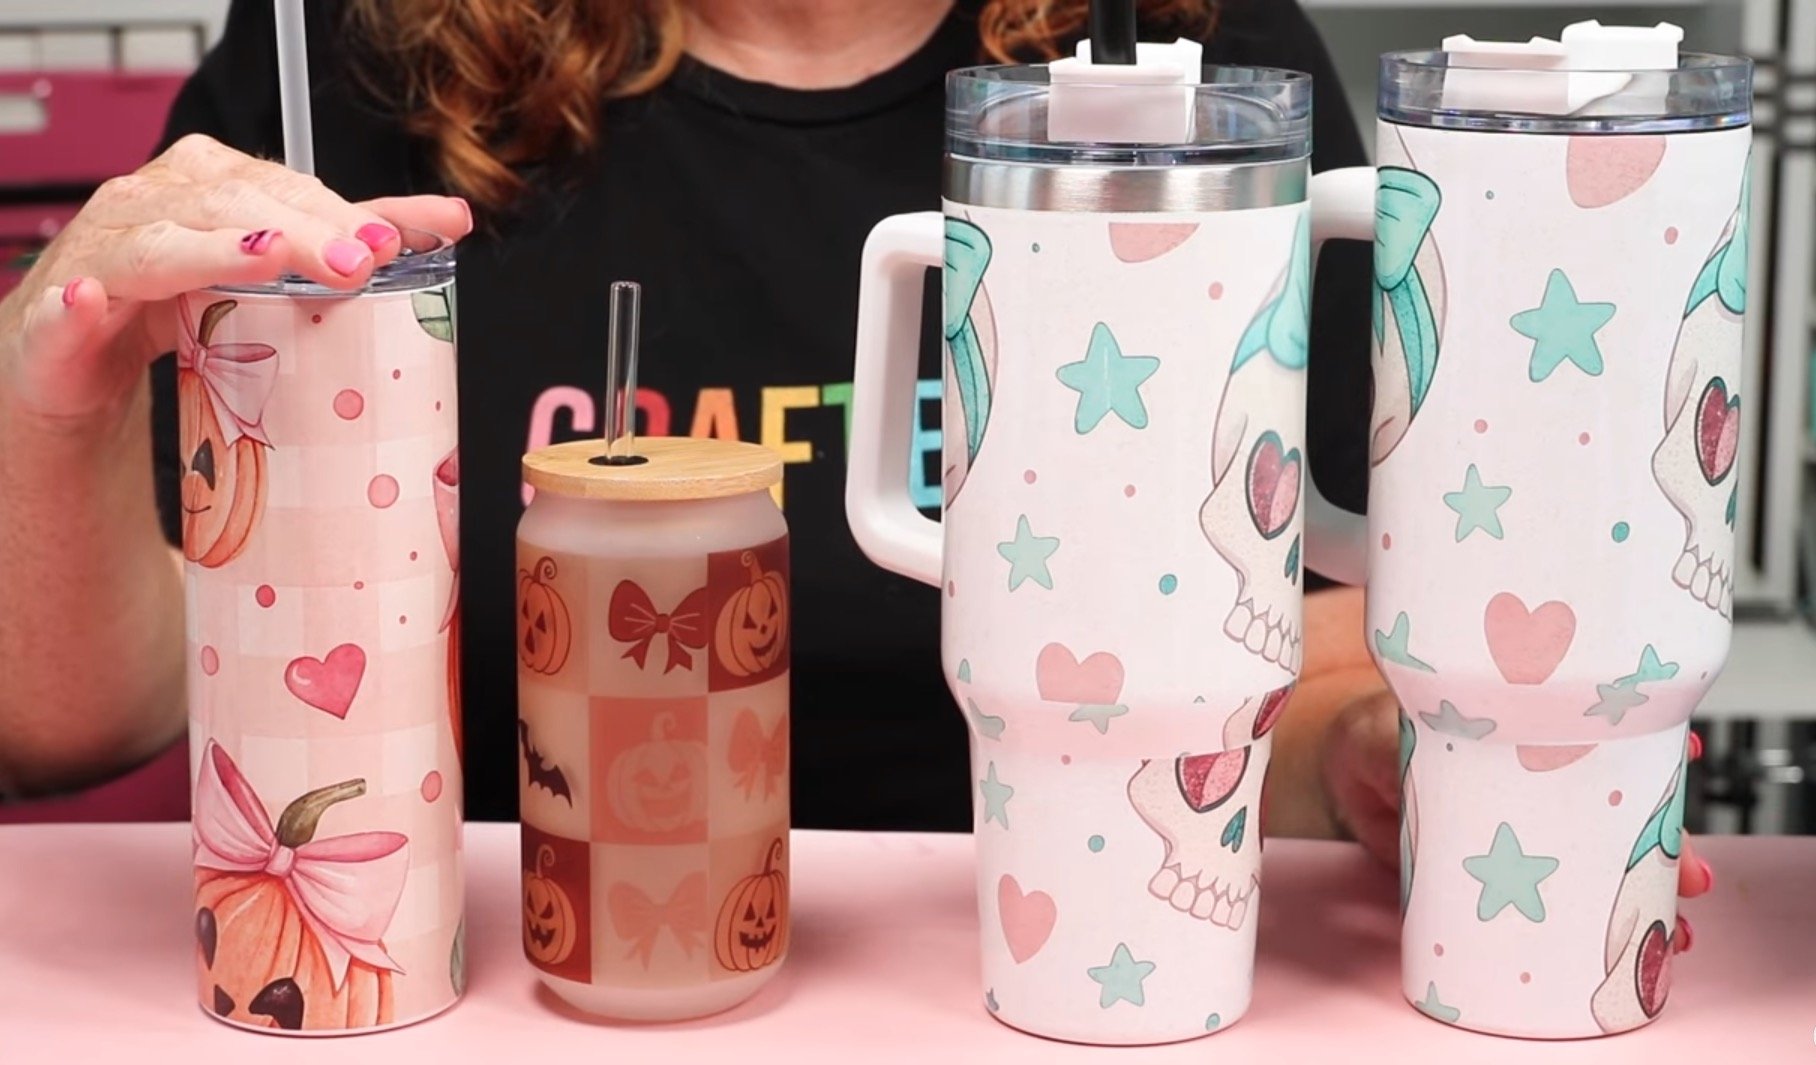
I repeated this process on another brand of 40-ounce tumbler, so let's look at how they did.
Step 6. Remove Sublimation Print and Reveal Finished Tumblers
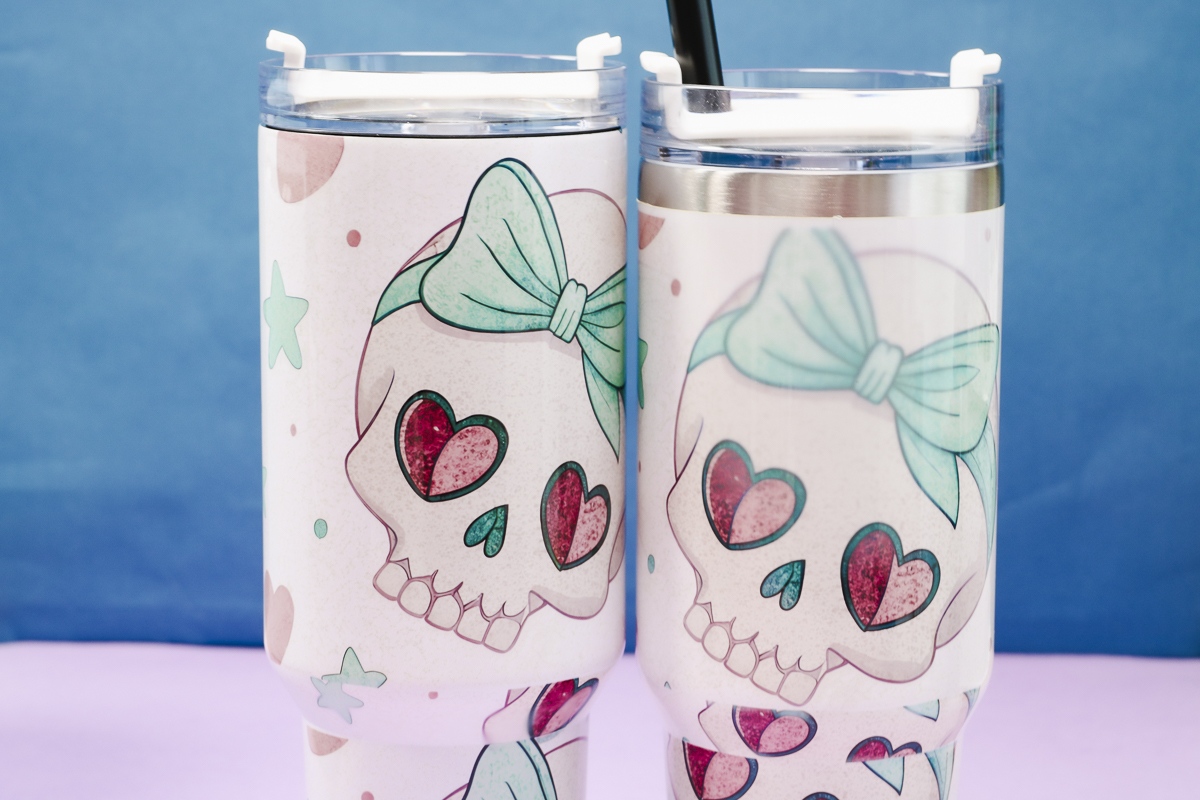
The tumbler on the left is the HTVRont tumbler. The tumbler on the right is a different brand.
The HTVRont tumbler looks really good all the way around. One area I had issues with was the tapered area between the top and the bottom of the tumbler.
There is a little bit of ghosting, but I think as I practice the wrapping process, I can get that to look better.
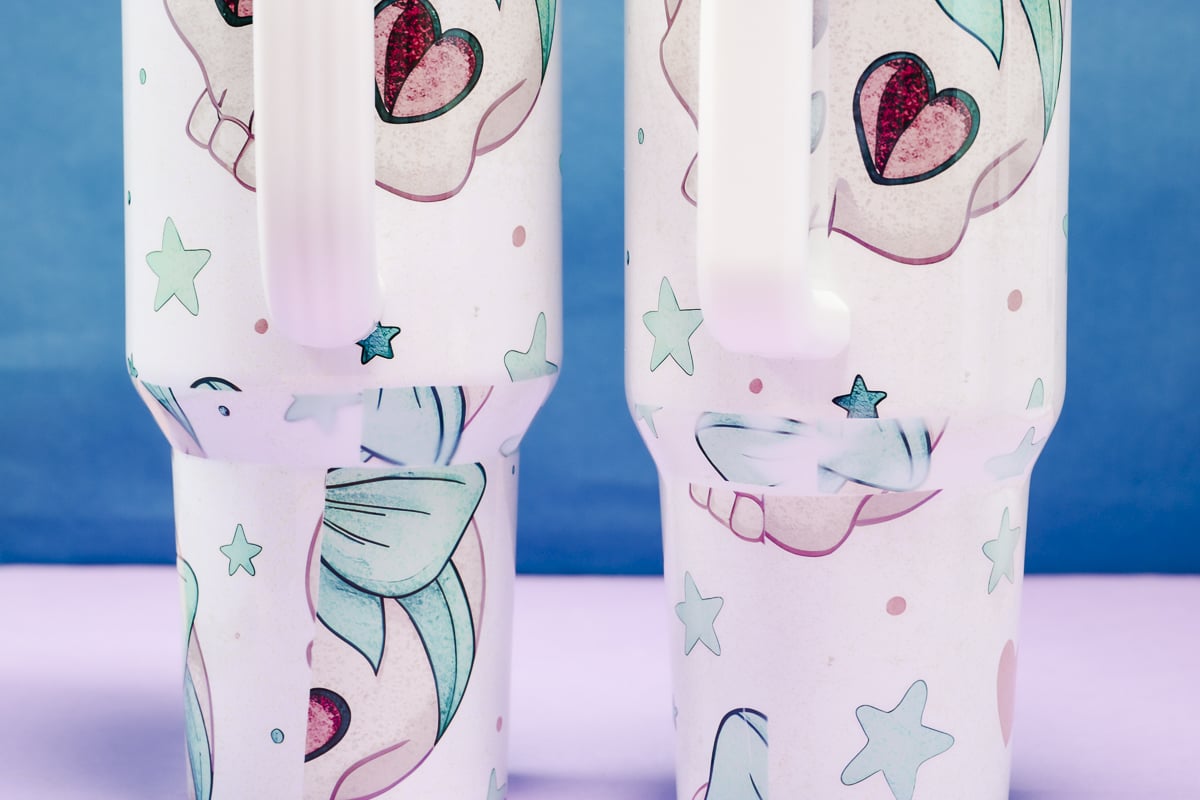
On the off-brand tumbler, I have the same issues with the curved area.
The other issue I had with both tumblers is the area where the tabs are. Because the mat can't wrap all the way around the tumbler, and the press doesn't close all the way around the top of the tumbler, there is a line where it is not pressed well.
The seam at the bottom of the tumbler looks great, but as you move up, you can see the gap where heat isn't applied because of the gap.
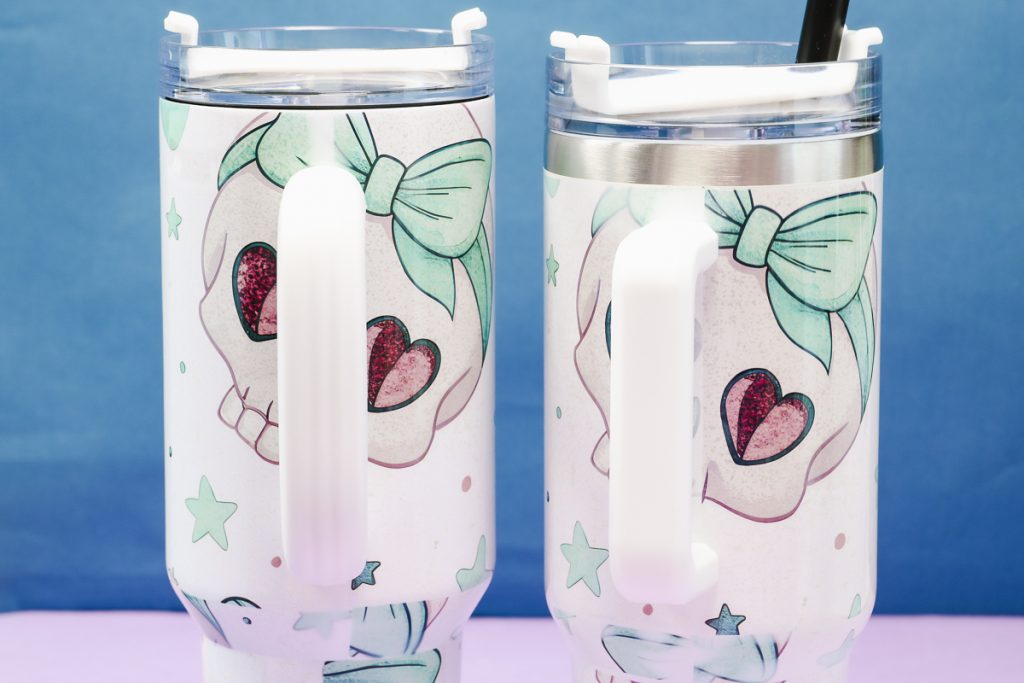
I put the handles on to see how noticeable it is with the handle attached. It's noticeable above and below the handle, and depending on the design you use, the area under the handle will also be obvious.
I do not think there is a way to get that area to press perfectly, but if you use a design with a white background, it won't be noticeable.
On the off-brand 40-ounce tumbler, I had all the same issues, and I also noticed ghosting and fading on other portions of the tumbler.
You may be able to get a better press by changing the pressure or time, but I think you'll get the best results using the HTVRont 40-ounce tumbler.
Pros and Cons of the HTVRont A200 Auto Tumbler Press
Now that we've tested the tumbler press, let's talk about the pros and cons.
A200 Auto Tumbler Press Pros
- I really like the design of this press. I love how easy it is to change out the inserts, and I really hope they come out with more inserts that will give us even more tumbler options that will work with the press. If you've ever used a traditional tumbler press, you know that changing the heating elements can be cumbersome with a lot of screws, etc. In comparison, this one is so much easier.
- I am also a fan of being able to adjust the pressure. If I feel like I'm not getting enough pressure or I'm getting too much, I can adjust that along with the time and temperature. I feel this gives me a better chance of success with the different blanks.
- The overall size is not bad, and the tumbler press isn't heavy. I also found it very easy to operate.
- Once I got the hang of it, wrapping the rubber mat around the tumbler and sliding it into the press got easier. Remember, this mat is going to stay hot. Make sure your hands are protected.
HTVRont A200 Auto Tumbler Press Cons
- If you press multiple tumblers in a row, the mat gets extremely hot. Even with heat-resistant gloves on, I could feel the heat of the mat.
- You need to have a heat-resistant mat that is large enough to place your hot tumbler and the rubber mat on. Don't ever place them on a surface that is not heat-safe, and don't touch them without wearing heat-resistant gloves. The tumbler press comes with good-quality gloves; make sure you use them.
- I do think you'll get the best results using the HTVRont 40-ounce Tumbler. Currently, the rubber mat fits their tumbler best. You may be able to find another blank that is close to the same size, but remember, you'll have some trial and error.
- I didn't get a great press around the tapered area. I don't really consider this a con because a lot of people don't even sublimate that area. You can leave it white or continue to practice the wrapping process to get a successful press.
- Another con for the 40-ounce insert is the area around the tabs that attach to the handle. I don't know how to get a better press around the tabs. Because the mat and press don't close around that area, the only thing I think would work right now is to use designs with a mostly white background.
- The last con is that you cannot do mugs or anything with a handle in this press. I don't know if they'll figure out a way to change that in the future, but right now, I don't see a way to press blanks with a handle.
- A traditional tumbler press can do tumblers and mugs. If you choose this tumbler press and you want to make mugs, you'll need a mug press or a sublimation oven.
Who is the HTVRont Auto Tumbler Press For?
I think this is a good press for crafters who want to make various tumblers at home, especially straight-sided tumblers.
The ease of changing the inserts makes this a great option if you want to create 40-ounce tumblers. Just make sure you are aware of the cons. If you work around those limitations, I think you'll be happy with how easy it is to make tumblers with this press.
If you like to make tumblers for gifts or for your small business, this is a great option. The glass cans and straight-sided tumblers are so easy to make in this press; it's a great option for a lot of crafters.
I really like this tumbler press. I love how easy it is to change the inserts, and I am optimistic that in time, they'll have even more inserts.
There are some cons, but if you work with the cons, you can create amazing tumblers easily.
If you want to use 40-ounce tumblers that are not the HTVRont brand, be prepared for some trial and error while you figure out the best way to work with the rubber mat.
In the future, they may release more inserts and more mats that allow even more blanks.
I hope I've answered any questions you have about the HTVRont Auto Tumbler Press. If you have any additional questions, leave them in the comments and I'll be happy to answer them for you.