
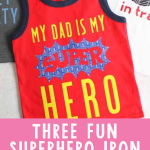
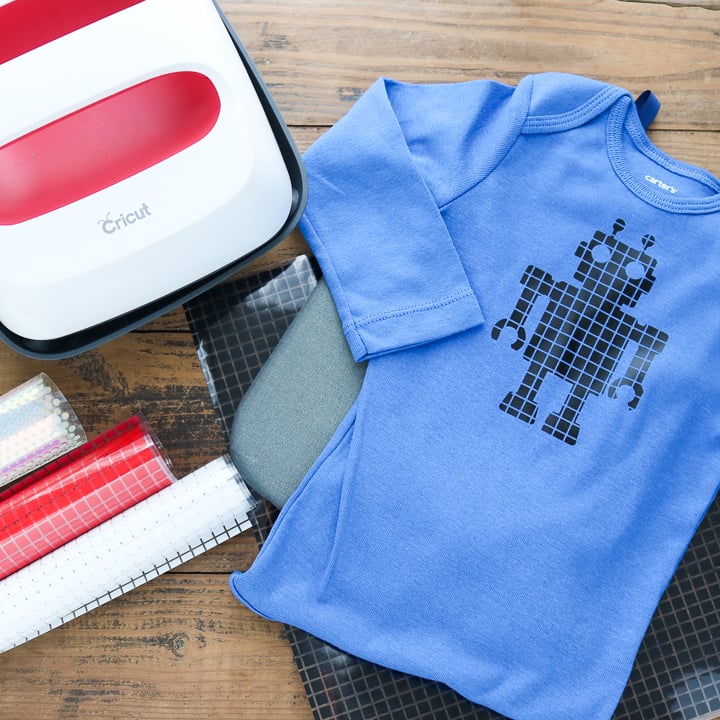
Making an iron-on shirt has never been easier or cuter than with patterned iron-on vinyl. This project is perfect for creating fun, custom shirts that kids and toddlers will love to wear. I’m sharing three superhero designs below that are easy to use and great for adding a playful touch to any shirt, whether you’re crafting for everyday wear or a special occasion.
Supplies needed:
- Patterned Iron On Vinyl (in the patterns of your choice)
- Everyday Iron On Vinyl (in the colors of your choice)
- Shirts
- Cricut Machine (I used my Cricut Maker, but you can use any model in the Cricut lineup for this project.)
- Weeding tools (optional)
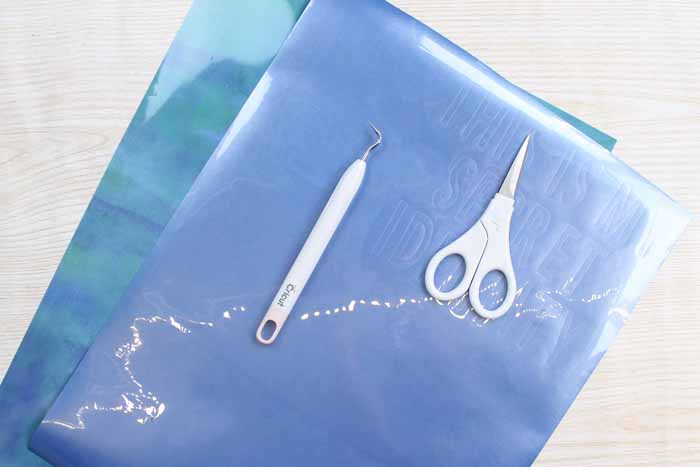
- Scissors
- Cricut EasyPress
- Cricut EasyPress Mat (optional)
- Cut files (more info below)
I actually made one of these shirts on a video so you can see just how I made my iron on shirt. You can watch that below.
Can't watch the video or missed some of the steps? Try the instructions below.
How to make an iron on shirt
Cricut Patterned Iron On vinyl gives each of these shirts a little something special. With so many patterns to choose from, you are sure to find some favorites!
Cut Files
The files for each of these shirts are available in my Cricut Design Space profile. Just scroll down to the project you want to make, and you'll be able to either edit it or make it without any changes.
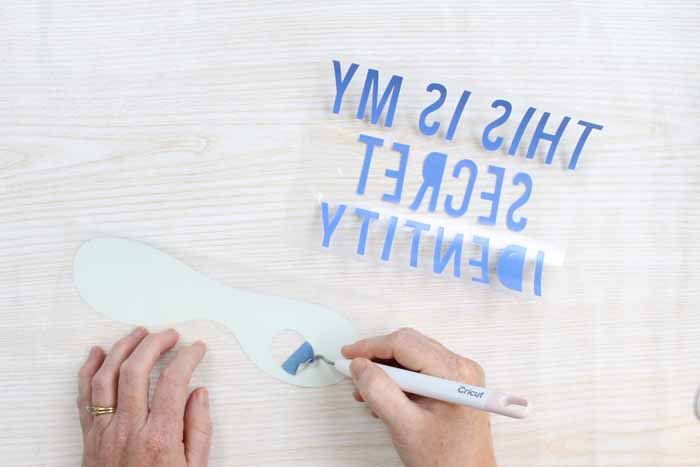
Step 1 – Cut your design
Start by cutting your chosen design with your Cricut machine.
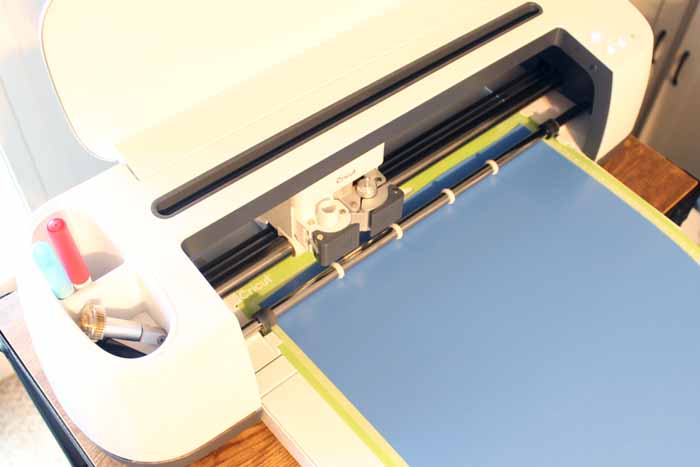
Cut the pieces from whatever patterns or colors that you choose. Make sure to mirror your designs, and place the Patterned Iron On vinyl, shiny side down, on your mat.
Step 2 – Trim excess vinyl
Trim the design portion of your iron on away from the part that is not used.

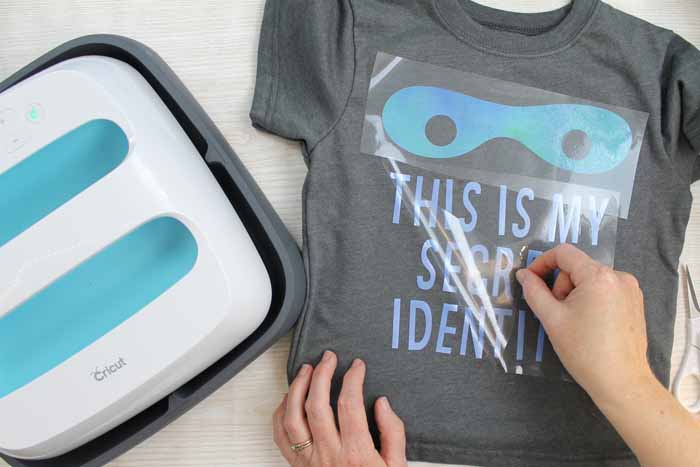
Step 3 – Weed your design
Use your weeding tools to remove all excess vinyl from your design.
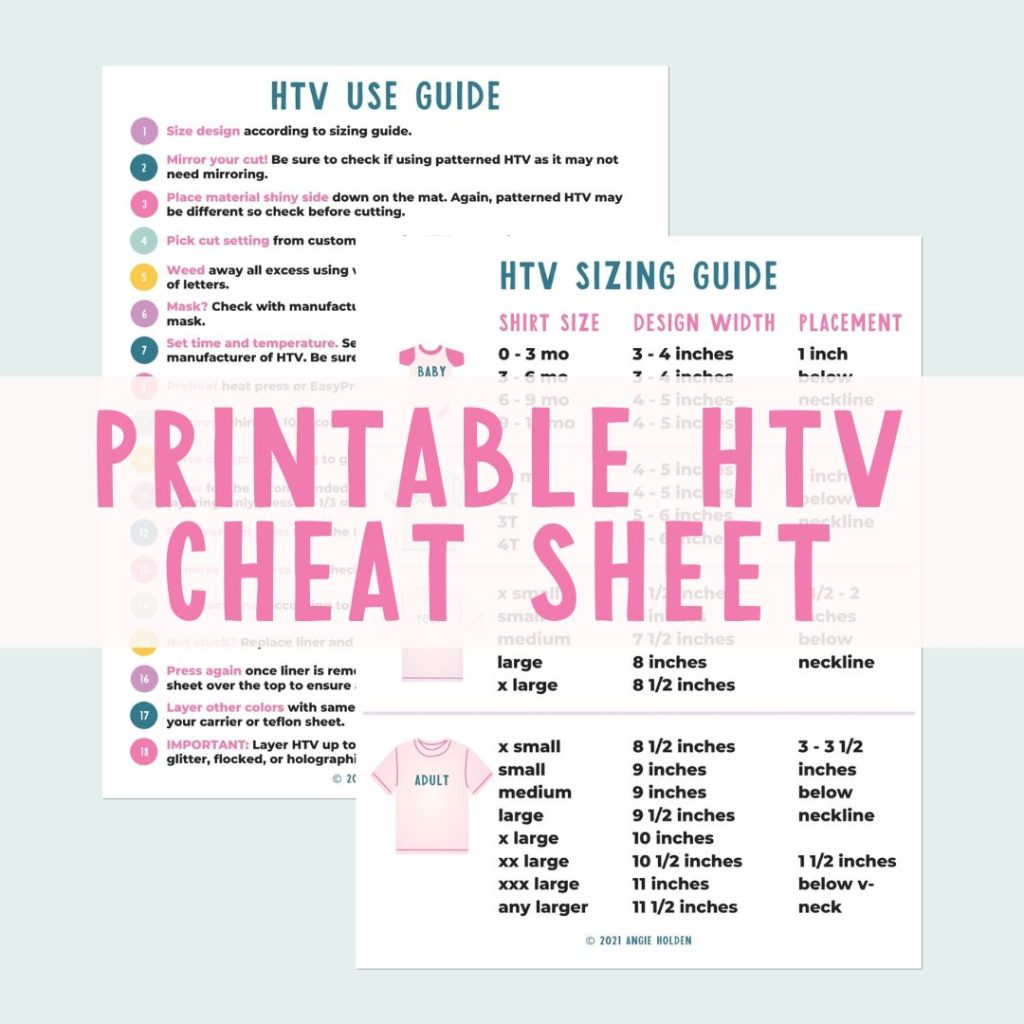
Free HTV Cheat Sheet
Get your FREE Printable HTV Cheat Sheet now! This guide has sizing and position recommendations for infant through adult shirts as well as a handy HTV use guide. Print this double sided guide and put it by any heat press you own!
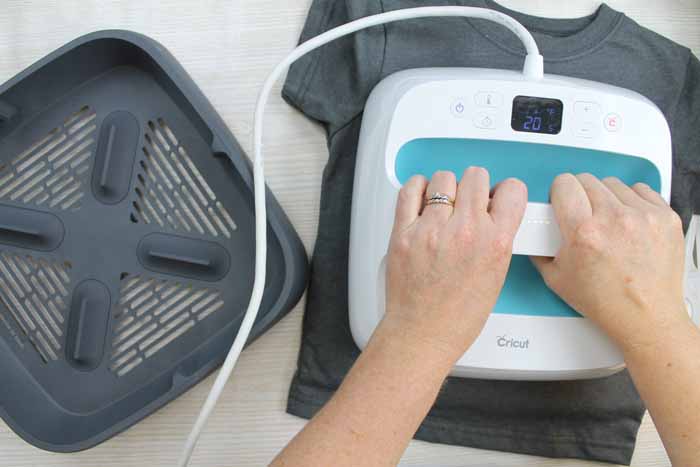
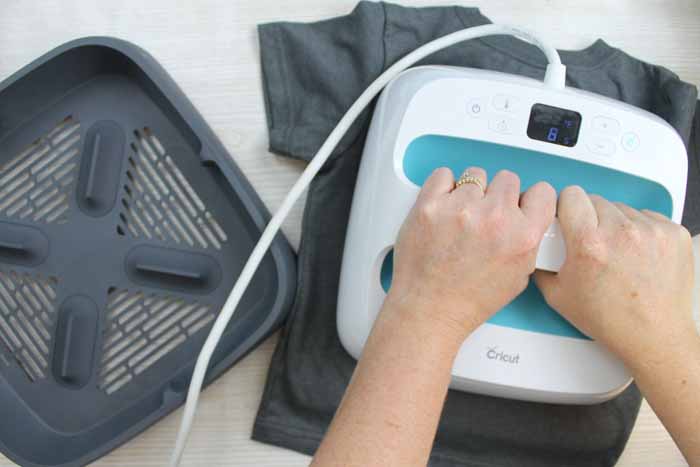
Step 4 – Apply Iron On
Now it is time to break out your EasyPress and EasyPress Mat. The EasyPress Mat is designed to work with your EasyPress to protect your work surface from both heat and moisture.
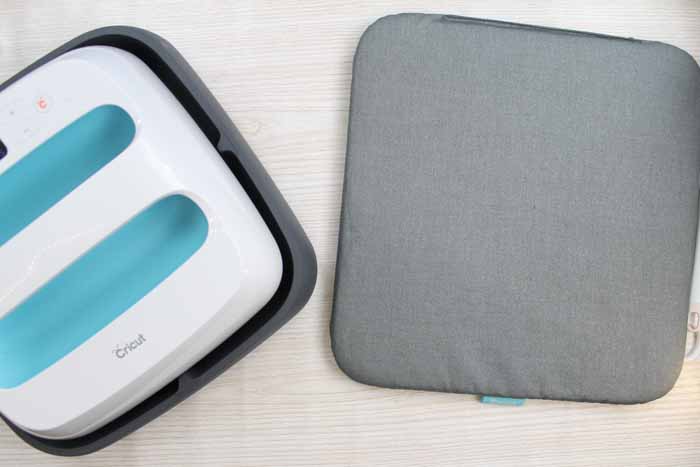
Put your shirt on top of your EasyPress Mat. The first step to adding the design to your iron on shirt is to pre-heat the surface. Cricut has a page where you can find all times and temperatures for your particular material and iron on.
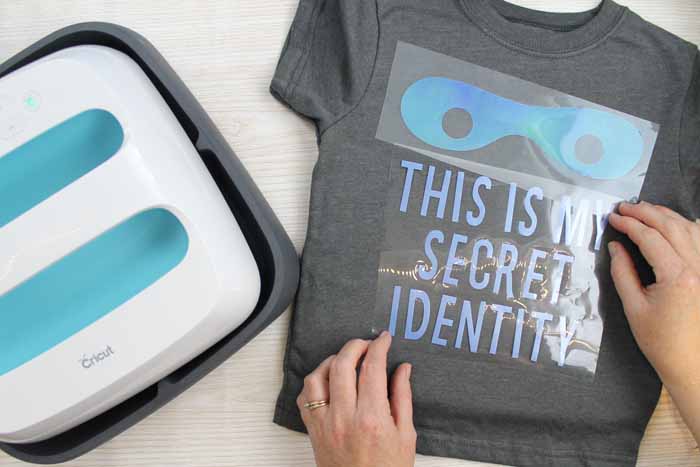
Once the surface has been pre-heated, you can arrange your design on the shirt.
Then be sure to press the material with the higher temperature settings first. Wait for it to completely cool and then press the second layer. Remember, you can find all the heat settings in Cricut Design Space. Be sure to check the EasyPress Mat or towel settings, depending on which you are using.
For me, the temperature was the same; I just had to press the Patterned Iron-On vinyl a bit longer. Set your time and temperature, then wait for it to beep to confirm it's heated. Now it's ready to apply your design.
Press the green button and press firmly on the handle while the time counts down. Once the machine sounds, you can move on to the next area of your design or the next step in this tutorial.
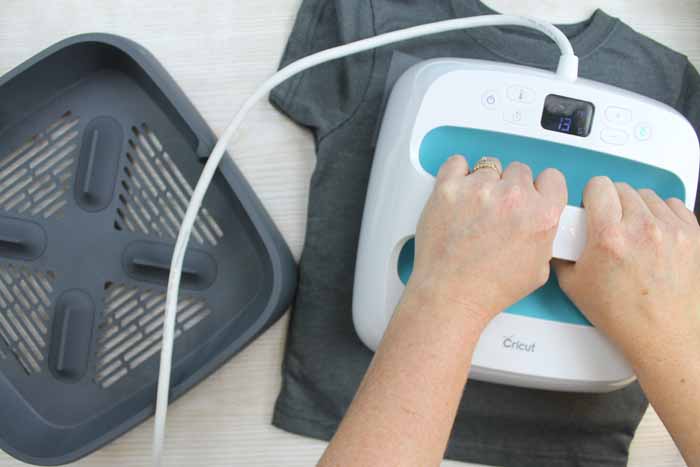
Once you have completed the press on the front, flip your shirt over to the back.
Remember to press the patterned iron on vinyl for the recommended time according to the chart.
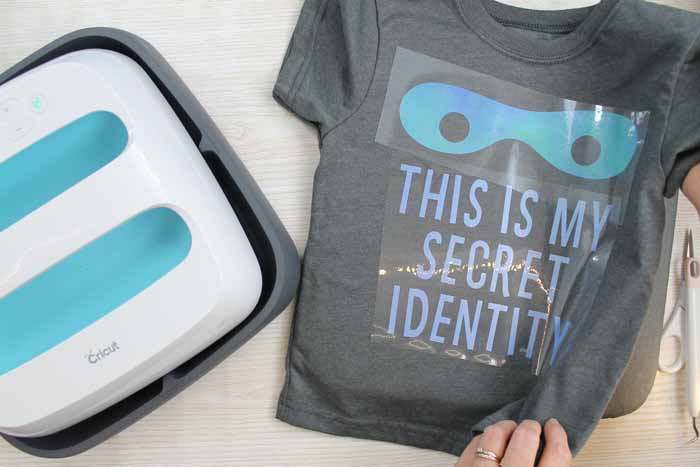
Now you will need to peel the liner from your iron on. Some products peel while still warm, while others need to cool completely. You can check recommendations in the heat guide.
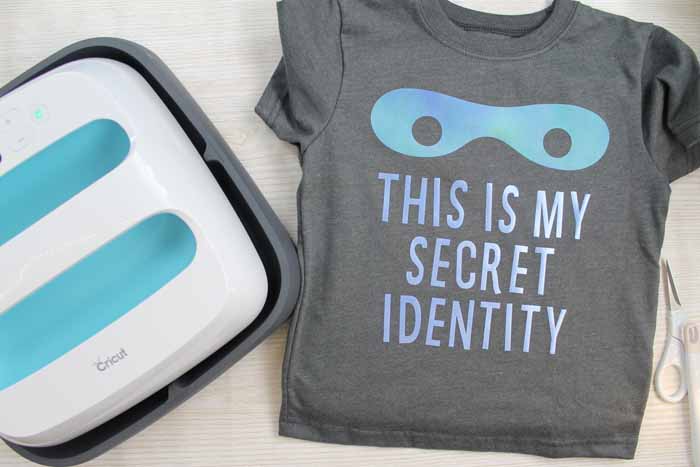
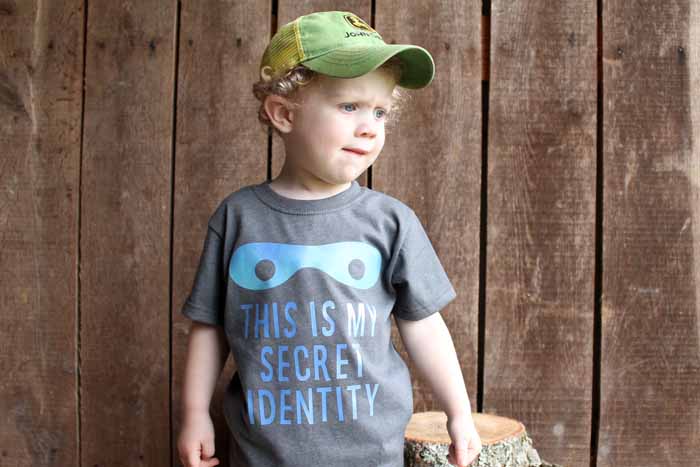
Step 5 – Admire your new shirt!
Once you peel the liner off, make sure the entire shirt cools completely. Then it is ready for your little one to wear anytime!
You can also design your own shirt! Confused by Cricut Design Space? Download our beginner's guide.
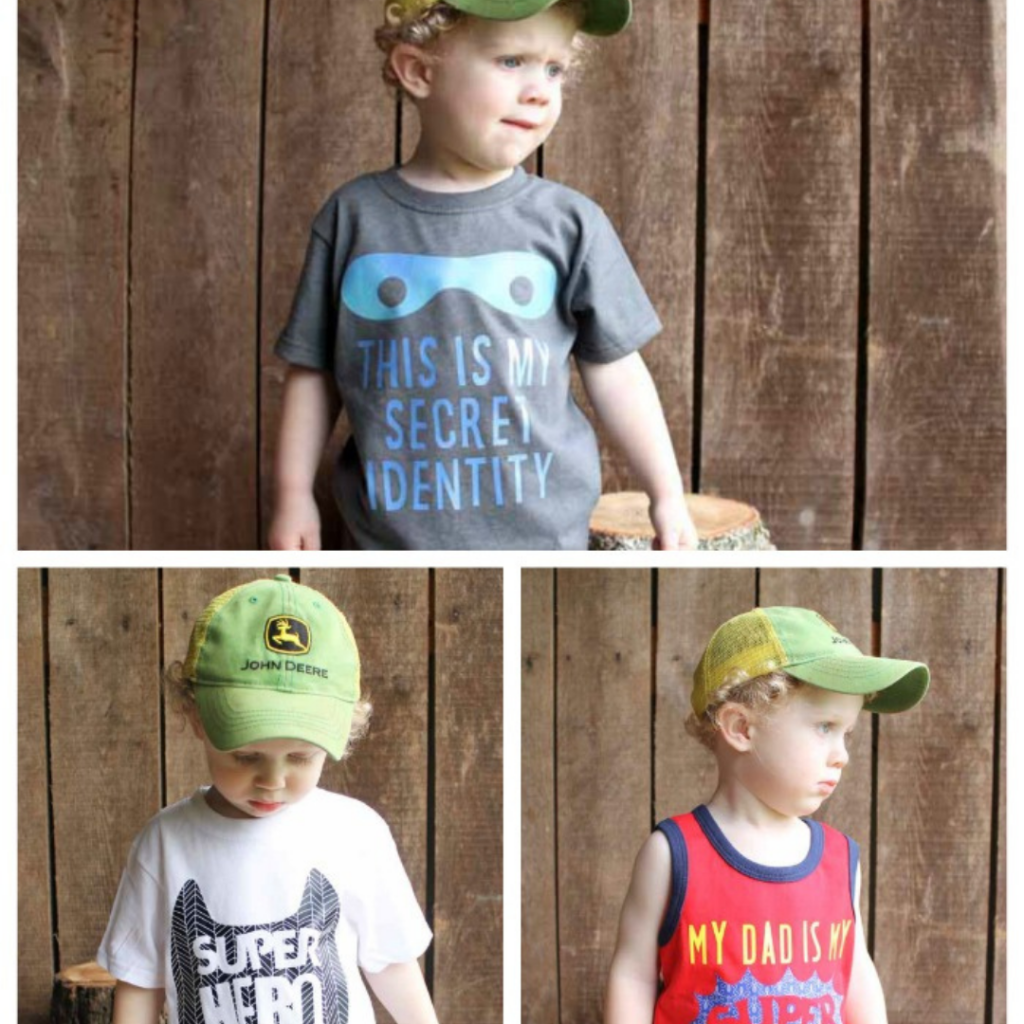
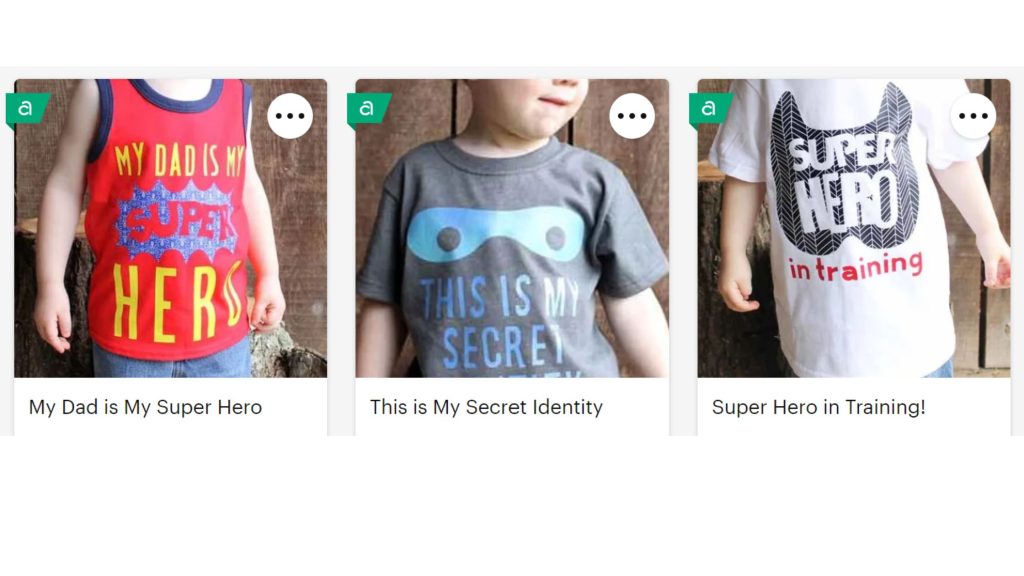
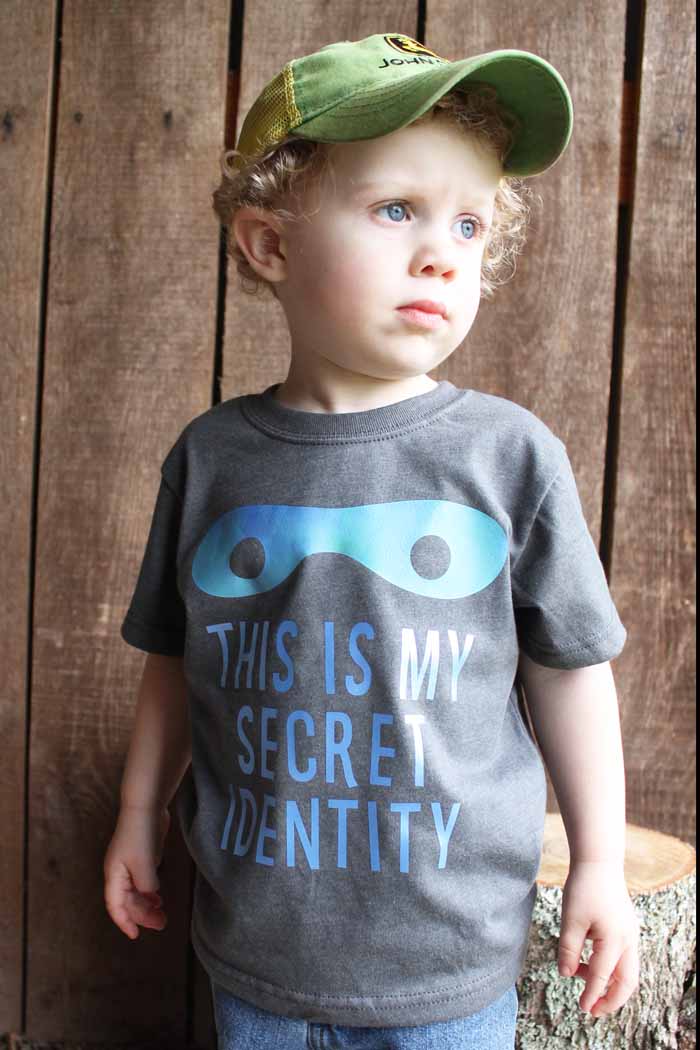
For me, the patterned iron on vinyl adds a little something special to the design.
I used the Patterned Iron-on vinyl for the mask portion of this design and a plain color for the lettering. You could definitely use a patterned iron on vinyl for the entire thing if you would like.
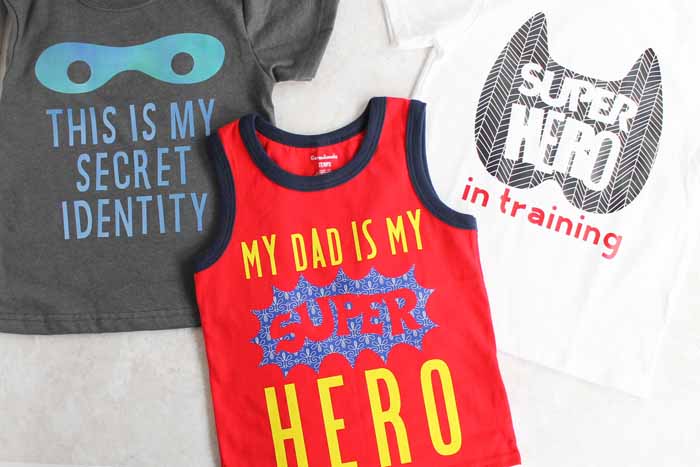
I just couldn't stop at one design, however. So I am giving you three to choose from.
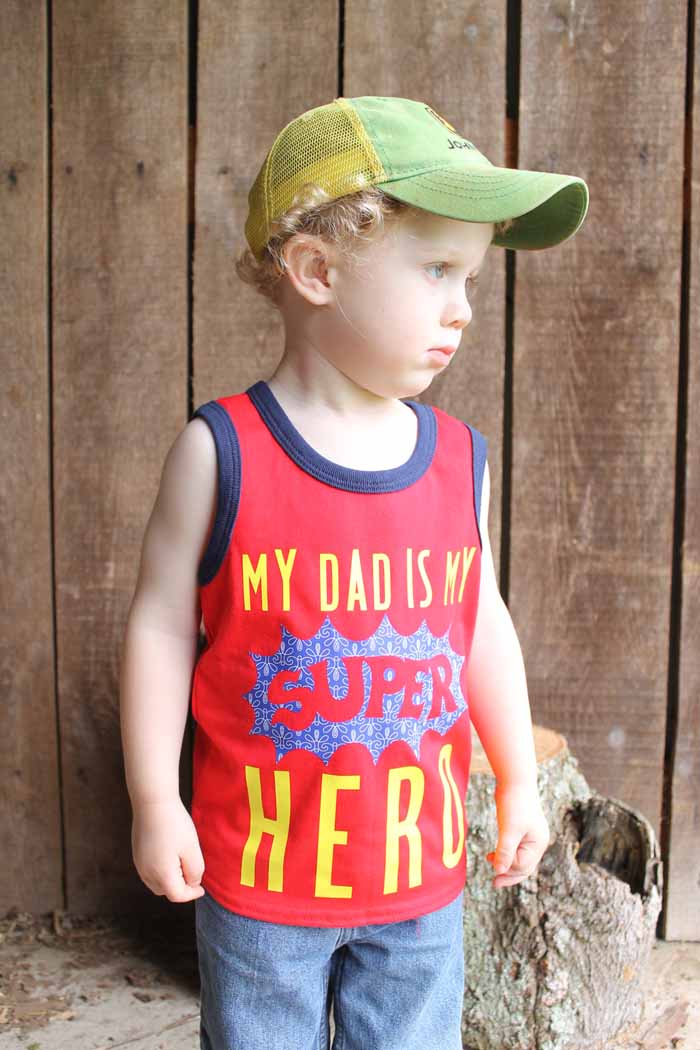
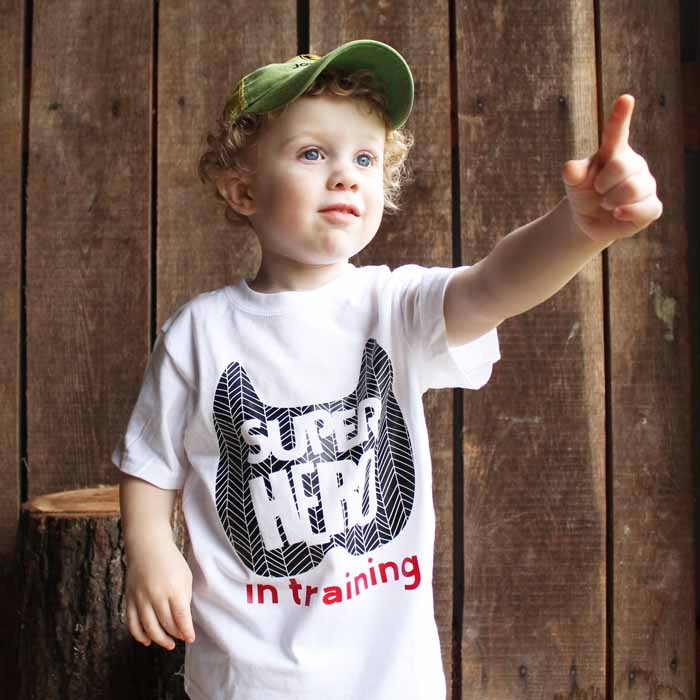
The one shown in the video is absolutely perfect for Father's Day.
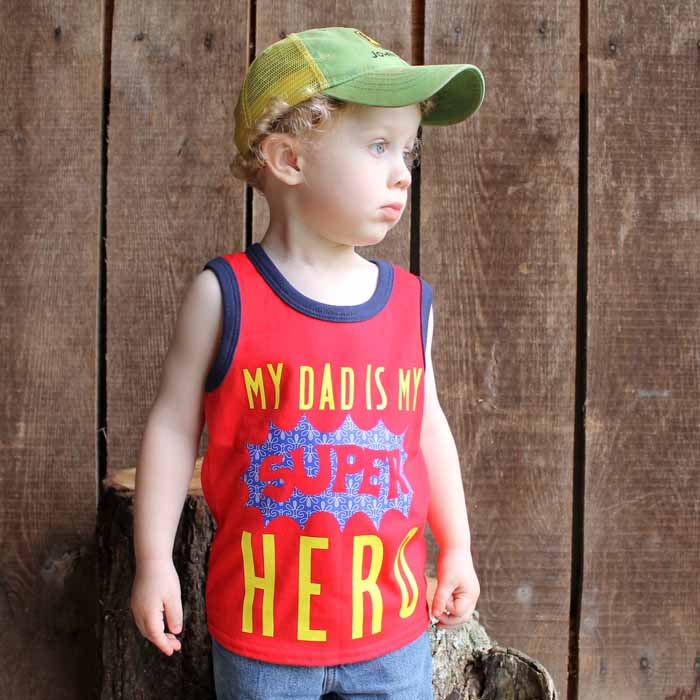
Any Dad will love seeing this one on their child!
Finally, I made this superhero-in-training design.
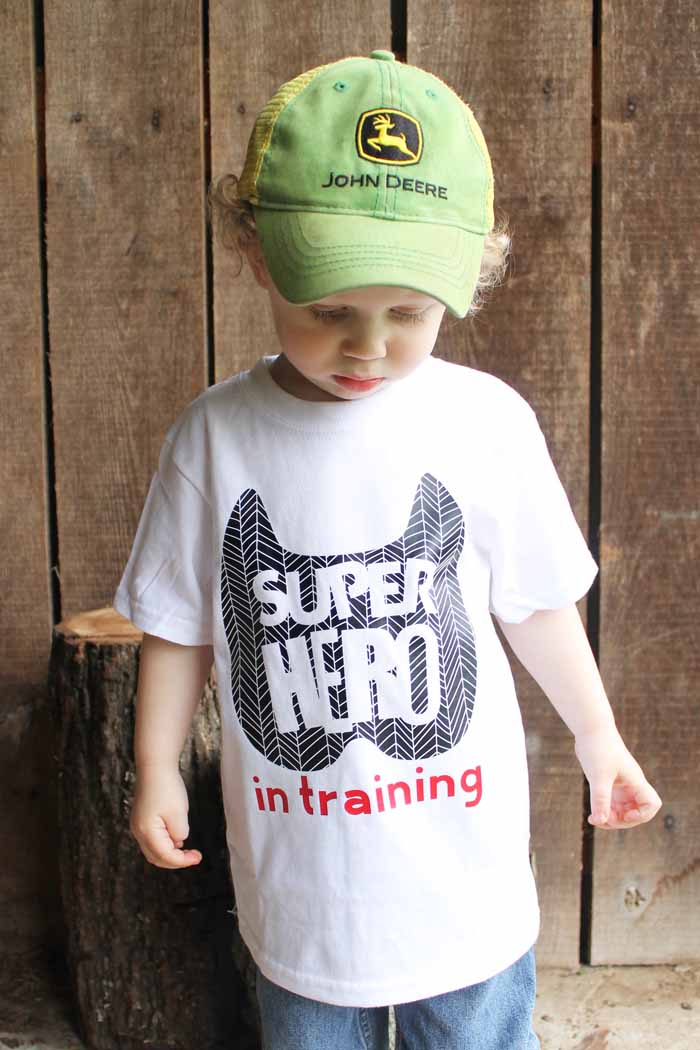
Make one of these shirts or one of each! Your little one might just find a superhero of their own.
I can't wait to see the shirts you make with these designs.
More Iron On Projects
Did you love this project using patterned iron on vinyl? Here are some more ideas for you:


None of the cricut links work, they all take me to a 404 page not found.
I updated them for you Neena! Sorry about that!
Hi Angie,
How do i go about downloading the SVG’s? I am looking but maybe just not seeing it. Thank you
These are Cricut designs. If you click the link, they will open in Cricut Design Space.