Learn about your Cricut machine, sublimation printer, or any other craft you can imagine! Angie Holden shares her crafting tips so you can craft like a pro!
This post and photos may contain Amazon or other affiliate links. If you purchase something through any link, I may receive a small commission at no extra charge to you. Any supplies used may be given to me free of charge, however, all projects and opinions are my own.
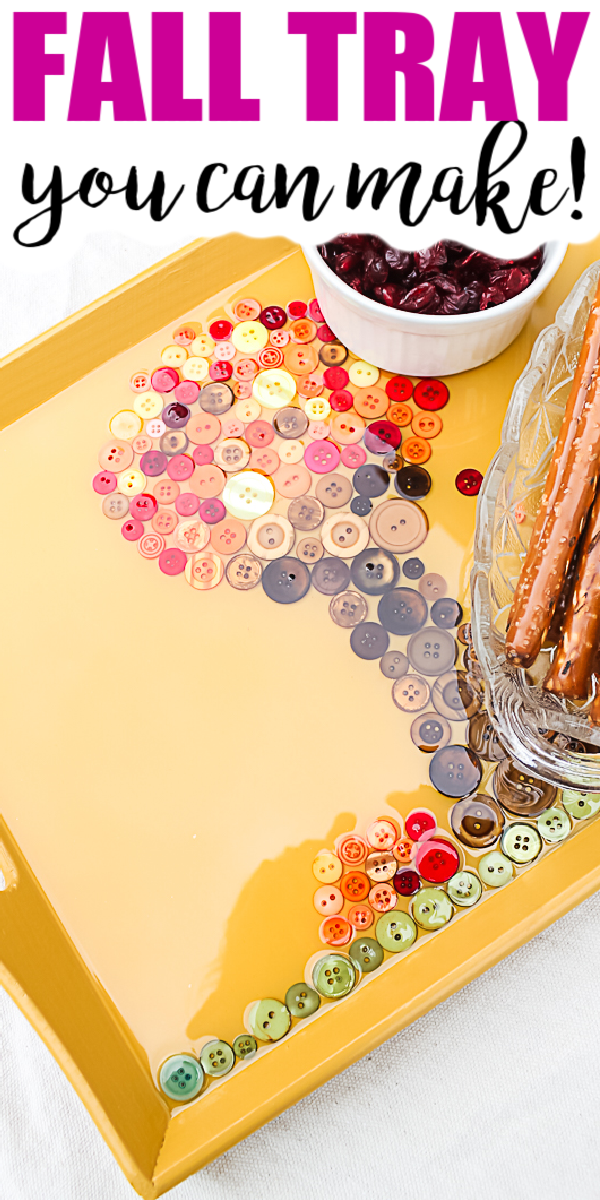
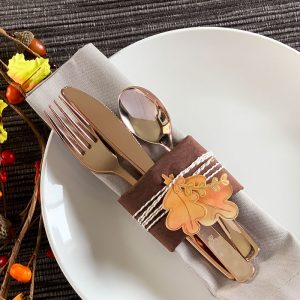
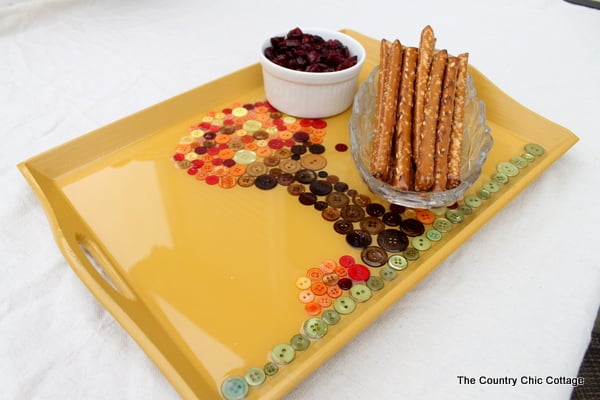
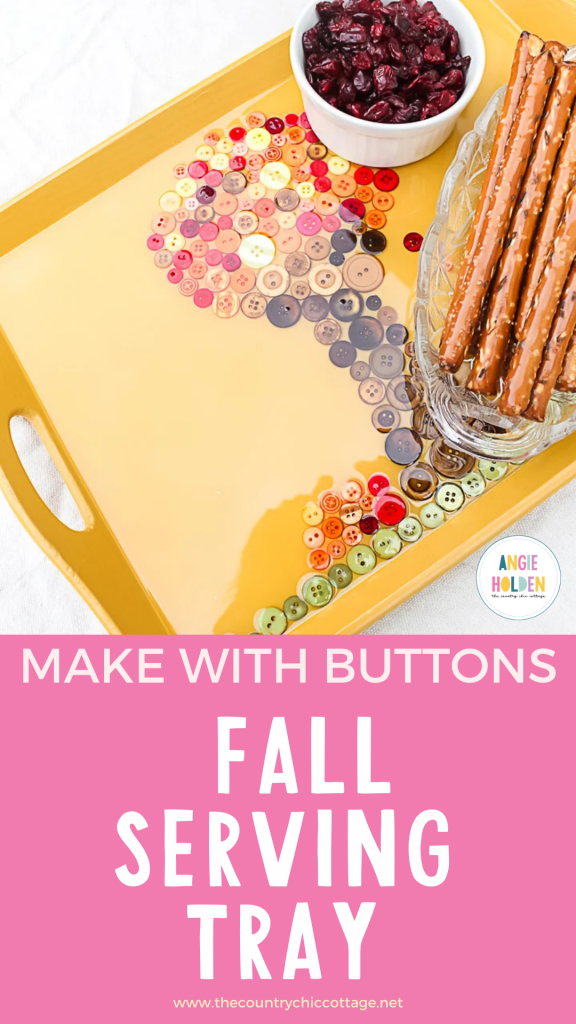
You can make a fall tray with buttons with this craft tutorial. I am in love with this tray. It is sturdy and gorgeous which is the perfect combination. Yep, it is a thrift store makeover as well so it didn't cost me much to make. Grab your button stash and let's make a great fall tray with them for your Thanksgiving table.
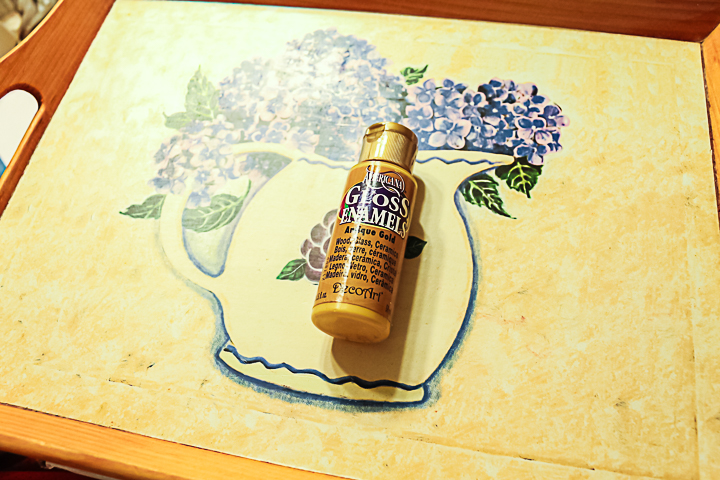
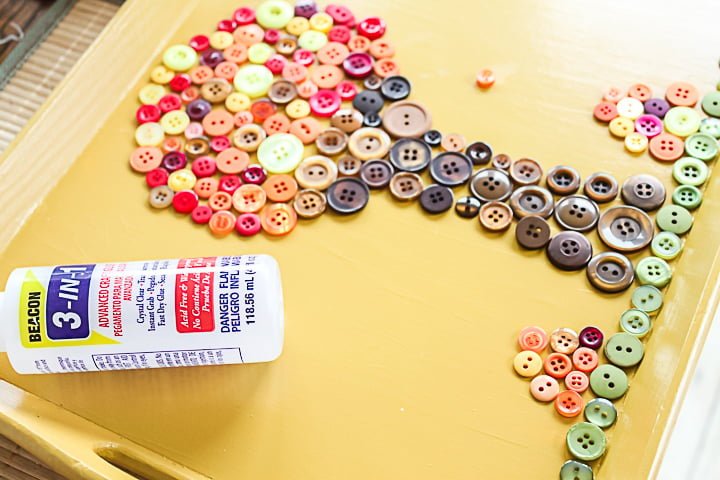
Start by giving the tray a few coats of the gloss enamel paint of your choice. I like the shine that the gloss enamels give this project. It took me two coats to get the tray properly covered. After the paint had dried and cured, I started laying out various buttons into a pattern I liked.
Pin
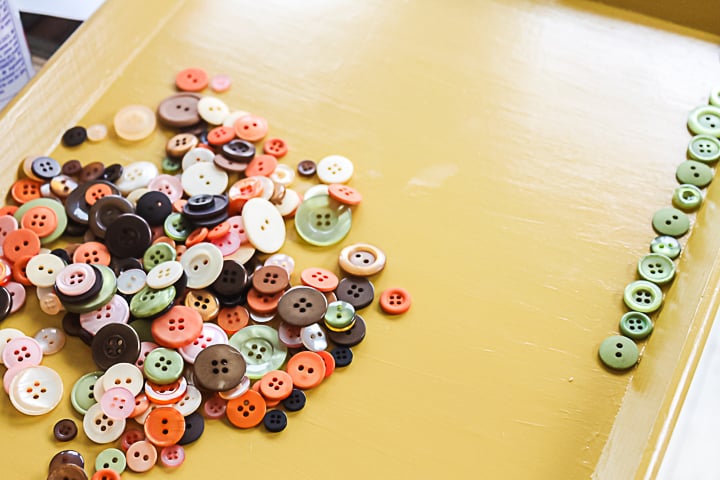
Step 2: Add Buttons
I chose a fall tree with falling leaves but you can make any fall scene you would like on your tray. Don't want a fall tray? Try another pattern with buttons on the bottom of the tray to match your home decor or the season. I even made one for summer here. You can even skip the buttons and add glitter and more. Glue the buttons in place with adhesive. TIP: Try to pick flat buttons as you will be covering with epoxy and don't want to have any sticking up.
Pin
Step 3: Cover with Epoxy
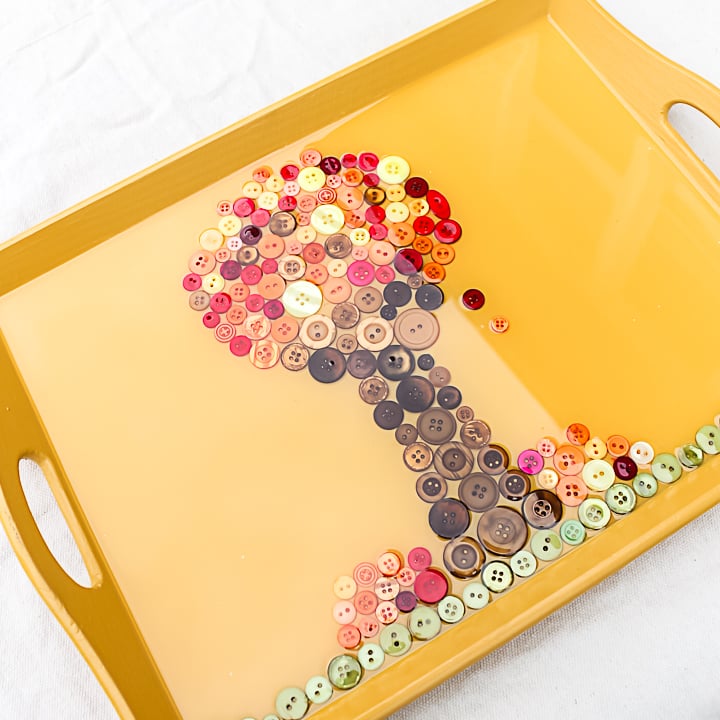
Once the glue was completely dry, I mixed a two-coat epoxy to make my tray nice and smooth. Don’t be afraid of epoxy! Just mix and pour according to the package directions. I spent quite a bit of time using a flame (in my case a lighter) to pop bubbles that come up from the epoxy itself and the buttons. You can use a hairdryer set on low as well but be very careful. Yes, my finished project still has a few bubbles but overall it looks amazing. The buttons seem to create more bubbles than is normal with an epoxy project.
Pin
The epoxy on your tray needs to dry for at least 24 hours before you even touch it. Don't be tempted!! You will ruin your amazing project. You will be left with a glass-like surface that has a button mosaic embedded inside. I love this tray! If you find some of your buttons stick up out of the epoxy, you can do a second pour. Just follow the directions for that in your epoxy packaging.
Pin
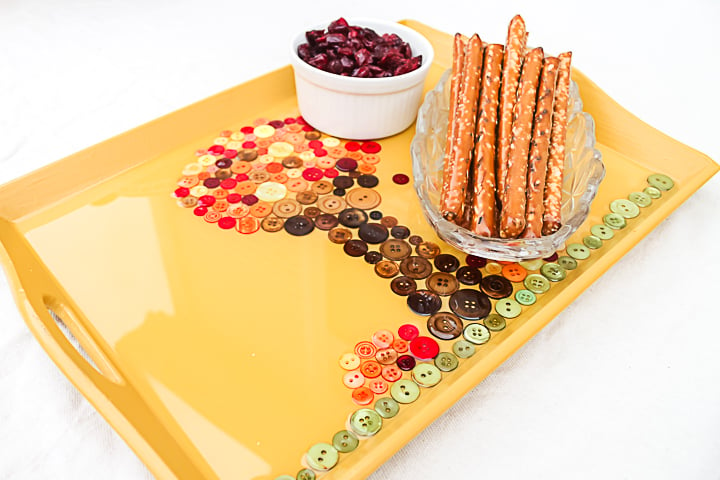
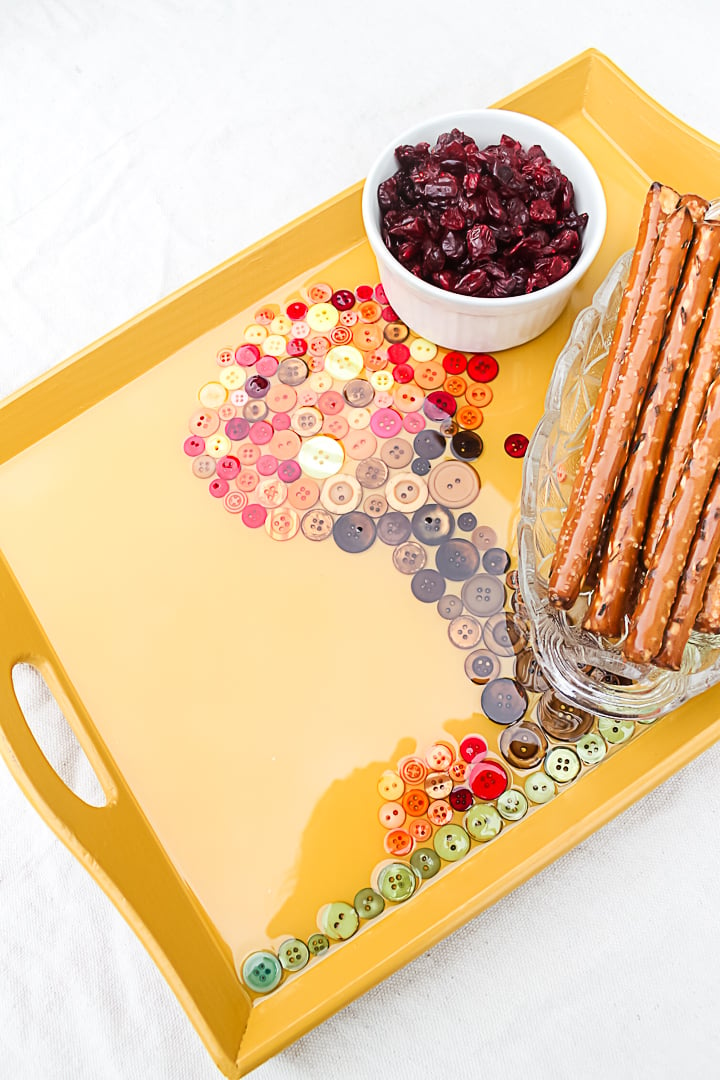
Now lets look at the entire fall tray so you can get an idea of the mosaic I laid out. I love the colorful tree and the “leaves” that seem to have fallen off.
Pin
Serve up snacks, party foods, or Thanksgiving dinner on your fall tray that you made with buttons. This is a fun and rewarding project that you can use year after year. Turn an ordinary wood tray into something fabulous this season.
Pin
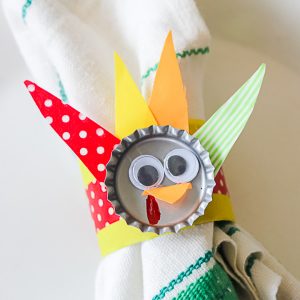
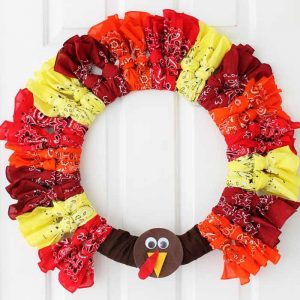
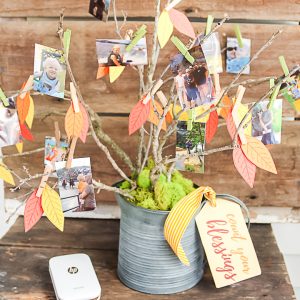
Love this fall craft and want more ideas? Try the links below as well!
Pin
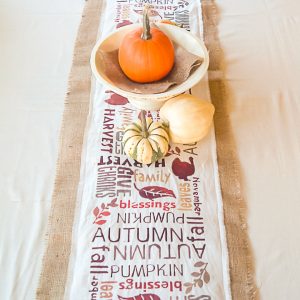
DIY Burlap Table Runner
Make this stenciled burlap table runner for your Thanksgiving table in minutes.
Start by giving the tray a few coats of the gloss enamel paint of your choice. I like the shine that the gloss enamels give this project. It took me two coats to get the tray properly covered. After the paint had dried and cured, I started laying out various buttons into a pattern I liked.
Step 2: Add Buttons
I chose a fall tree with falling leaves but you can make any fall scene you would like on your tray. Don't want a fall tray? Try another pattern with buttons on the bottom of the tray to match your home decor or the season. I even made one for summer here. Glue the buttons in place with adhesive. TIP: Try to pick flat buttons as you will be covering with epoxy and don't want to have any sticking up.
Step 3: Cover with Epoxy
Once the glue was completely dry, I mixed a two-coat epoxy to make my tray nice and smooth. Don’t be afraid of epoxy! Just mix and pour according to the package directions. I spent quite a bit of time using a flame (in my case a lighter) to pop bubbles that come up from the epoxy itself and the buttons. You can use a hairdryer set on low as well but be very careful. Yes, my finished project still has a few bubbles but overall it looks amazing. The buttons seem to create more bubbles than is normal with an epoxy project.
The epoxy on your tray needs to dry for at least 24 hours before you even touch it. Don't be tempted!! You will ruin your amazing project. You will be left with a glass like surface that has a button mosaic embedded inside. I love this tray! If you find some of your buttons stick up out of the epoxy, you can do a second pour. Just follow the directions for that in your epoxy packaging.
For over a decade, I have been sharing Cricut tutorials and craft ideas here as well as on my YouTube channel. My passions include teaching others to be creative and learning as many new things as possible about crafting technology! Click here to read more about me!
Subscribe
3 Comments
Inline Feedbacks
View all comments
Catherine
11 years ago
Very adorable and perfect for fall serving. Blessings dear. Catherine
JaneEllen
10 years ago
Think this would be so appropriate for a mantel or shelf to showcase the season and your talents. Love idea of falling leaves from tree. Would be fairly simple and pretty on top of it. I’d maybe even hang it up or place on it’s side to be seen. You have such incredible ideas Angie. Glad you shared. Now where are all my buttons? Hope I have enuf. Happy weekend
Lainie
9 years ago
Interesting. I started to make a Moon in a Black sky with some stars using the same theory with buttons but it just never looked nice enough to give as a birthday gift. I create something for the same friend every year. But I never thought about the epoxy and having the buttons be part of the tray. Her birthday is on the 23rd of this month so I found this project just in time. Great idea


Very adorable and perfect for fall serving. Blessings dear. Catherine
Think this would be so appropriate for a mantel or shelf to showcase the season and your talents. Love idea of falling leaves from tree. Would be fairly simple and pretty on top of it. I’d maybe even hang it up or place on it’s side to be seen. You have such incredible ideas Angie. Glad you shared. Now where are all my buttons? Hope I have enuf. Happy weekend
Interesting. I started to make a Moon in a Black sky with some stars using the same theory with buttons but it just never looked nice enough to give as a birthday gift. I create something for the same friend every year. But I never thought about the epoxy and having the buttons be part of the tray. Her birthday is on the 23rd of this month so I found this project just in time. Great idea