Learn about your Cricut machine, sublimation printer, or any other craft you can imagine! Angie Holden shares her crafting tips so you can craft like a pro!
This post and photos may contain Amazon or other affiliate links. If you purchase something through any link, I may receive a small commission at no extra charge to you. Any supplies used may be given to me free of charge, however, all projects and opinions are my own.
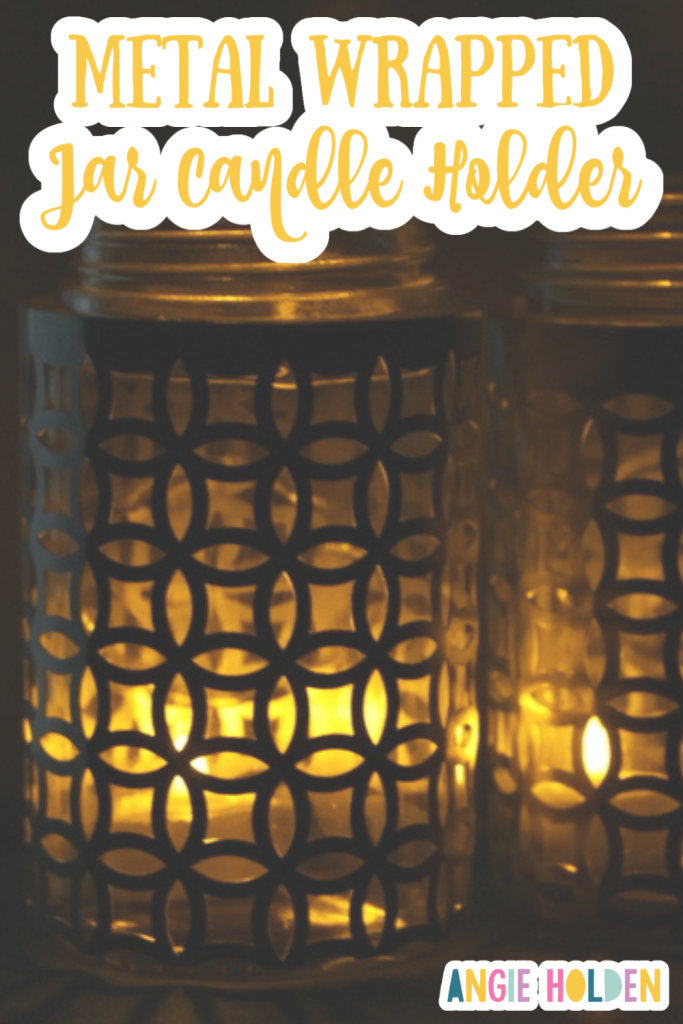
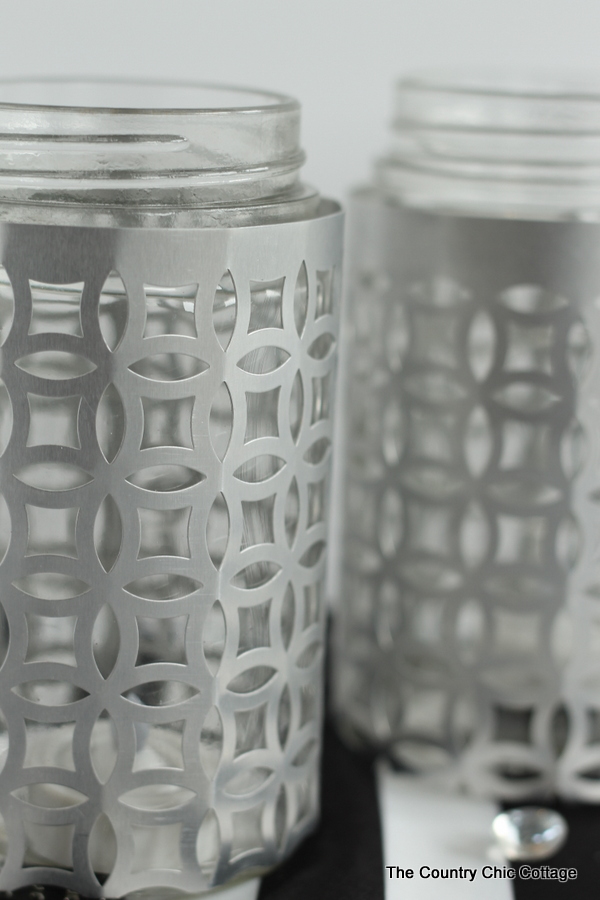
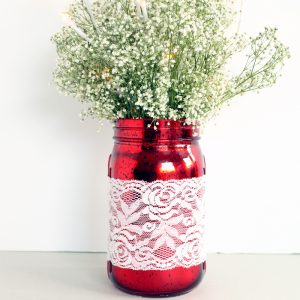
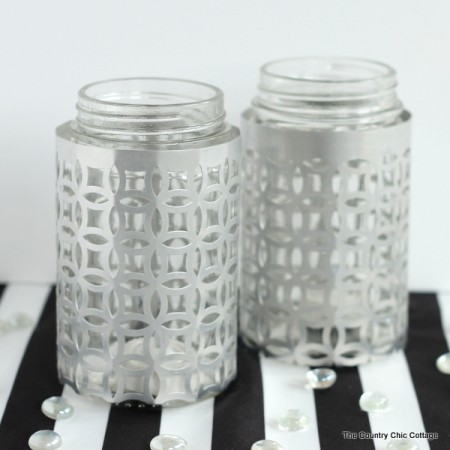
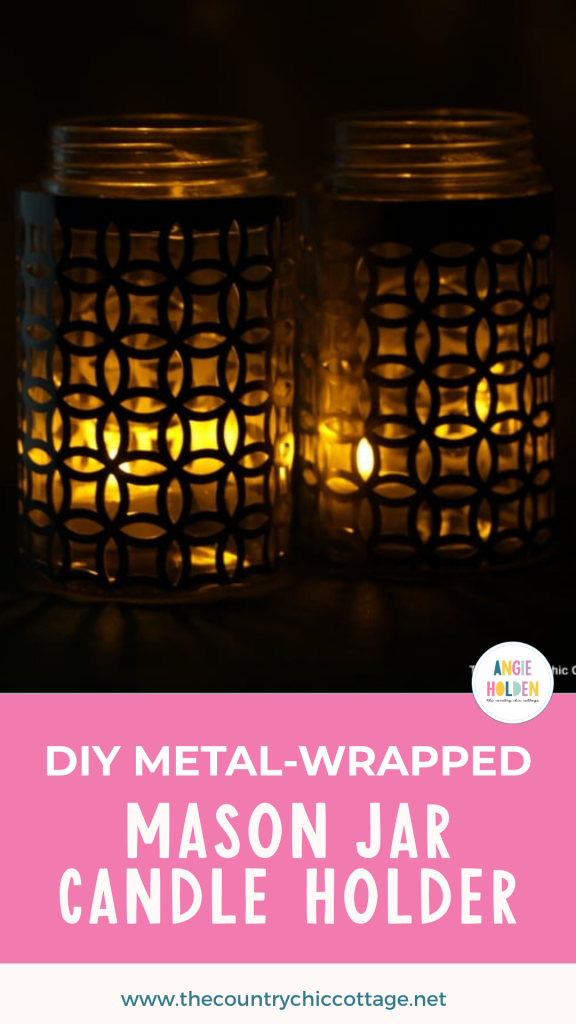
If you're searching for eye-catching wedding decorations, try making jar candle holder centerpieces. The metal cutouts give them an elegant look that's perfect for daytime and nighttime celebrations!
I love wedding crafts! Transforming something as simple and versatile as the humble mason jar into items fit for a wedding sucks me in every time.
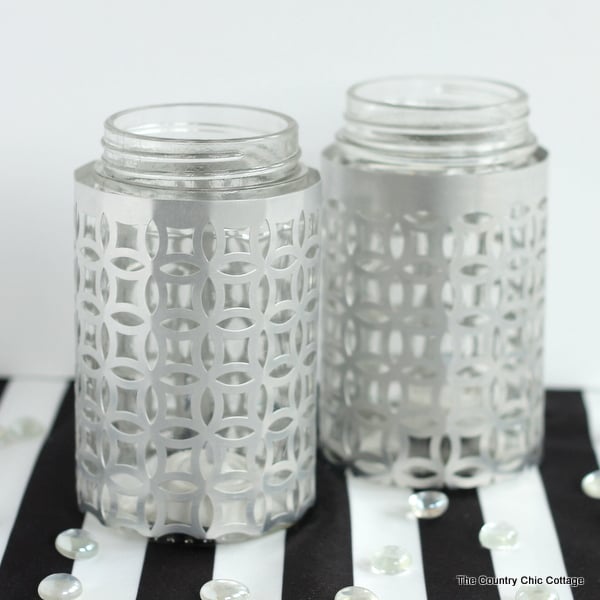
And today's jar candle holder craft is just one of those exciting transformations. I am thrilled to share today's mason jar wedding craft with y'all. It's elegant enough for special occasions and easy enough to make for everyday decor pieces too.
My metal-wrapped jar candle holders are perfect for weddings or, let's face it….anytime, anywhere! I know I will be holding onto these great metal sleeves for use around my own home.
The fact that they can be made in literally minutes is just icing on the proverbial (wedding) cake! 😂
Here is everything you will need to have on hand for making metal-wrapped jar candle holders. I have even included a few links to help you find what you need faster.
Just follow these step-by-step instructions. If you've ever thought about making a metal candle holder, you’ll be pleasantly surprised at how simple this project is!
Step 1
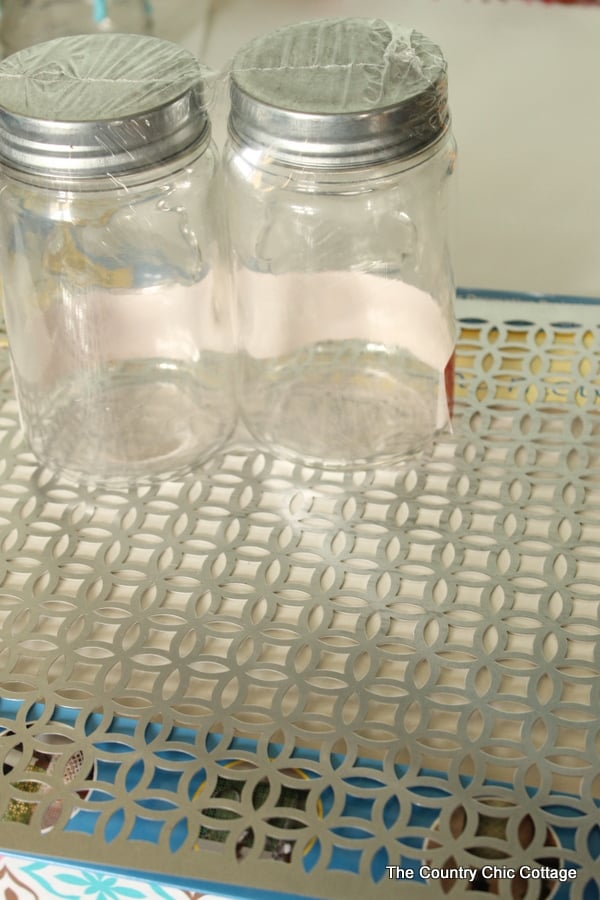
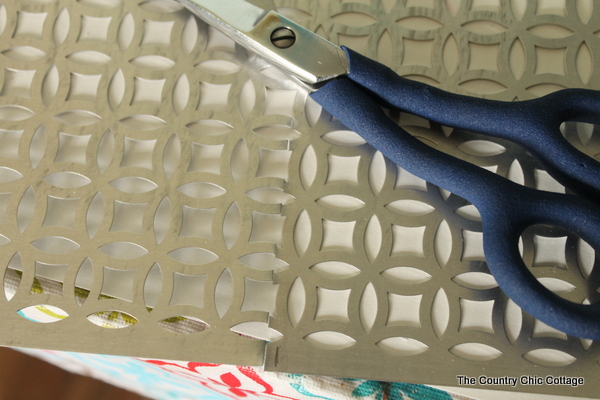
Cut the metal to size.
You should cut the length of the metal so that it will fit on the flat portion of the jar you are using. The shears cut the metal well, but you will have to put a little effort into it to make it happen.
Pin
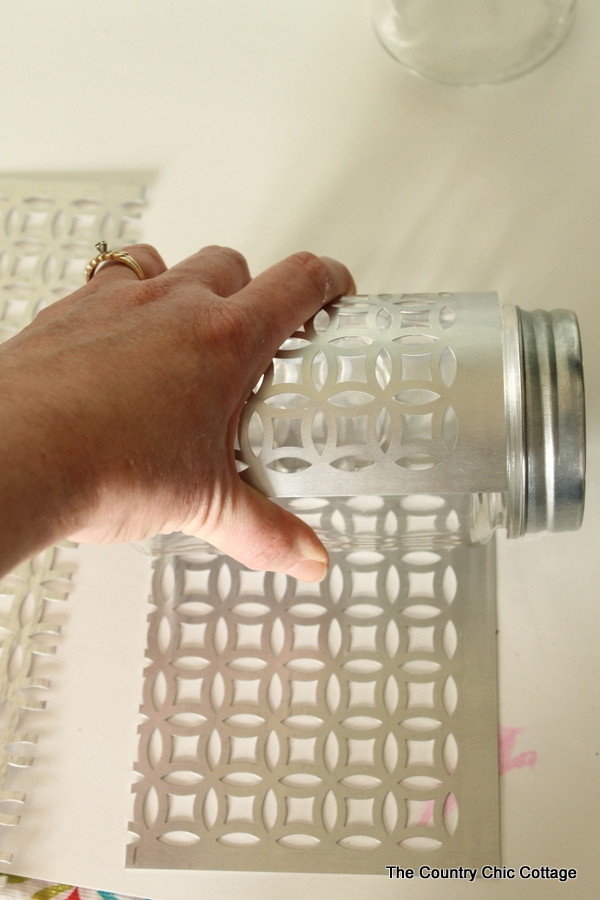
Step 2
Wrap the metal around the jar, using the jar to add curvature to the metal. Just hold with your hands and roll the jar to form the metal around the jar.
Note: When you let go, the metal may bounce back slightly and be larger than your jar.
Pin
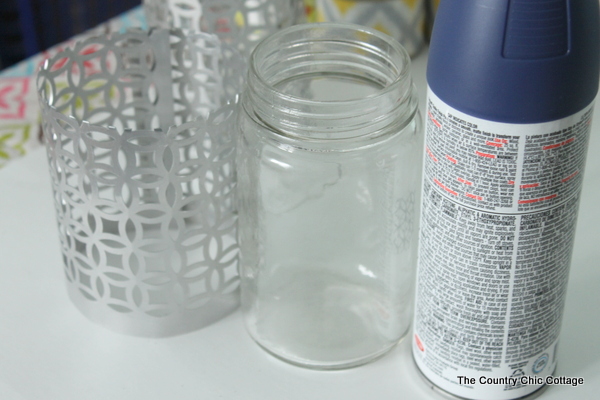
Step 3
To fix that, you need to wrap the metal around a round object that is slightly smaller than the jar. I used a can of spray paint.
Use the same technique as above, but this time when the metal bounces back, it should be around the correct size or slightly smaller than the jar.
Pin
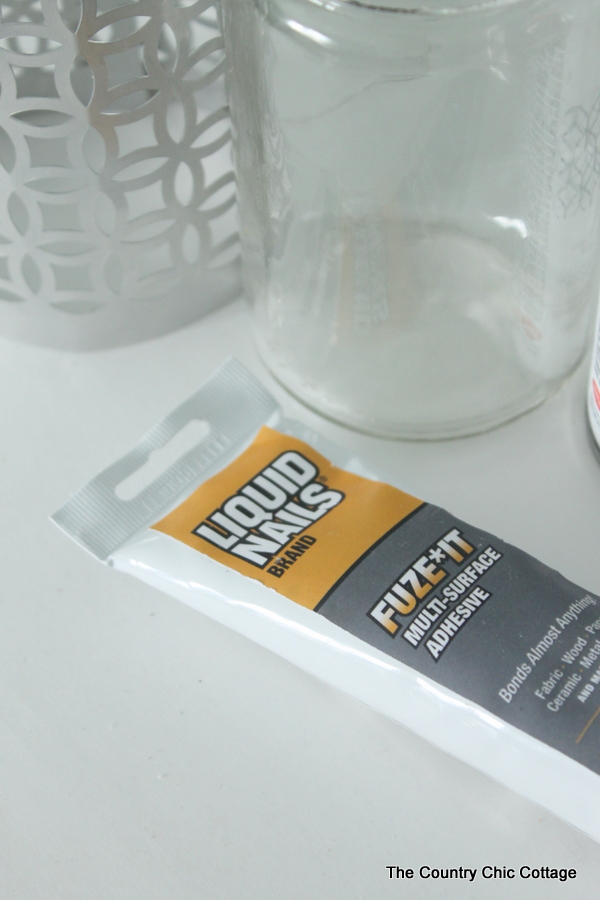
Step 4
Apply liquid nails to where the metal overlaps in the “back” of your metal-wrapped jar candle holder. I did not glue the metal to the jar – only to the metal itself.
The metal acts as a sleeve over the jar and can be removed when you are tired of it or want to change it up for the occasion.
Pin
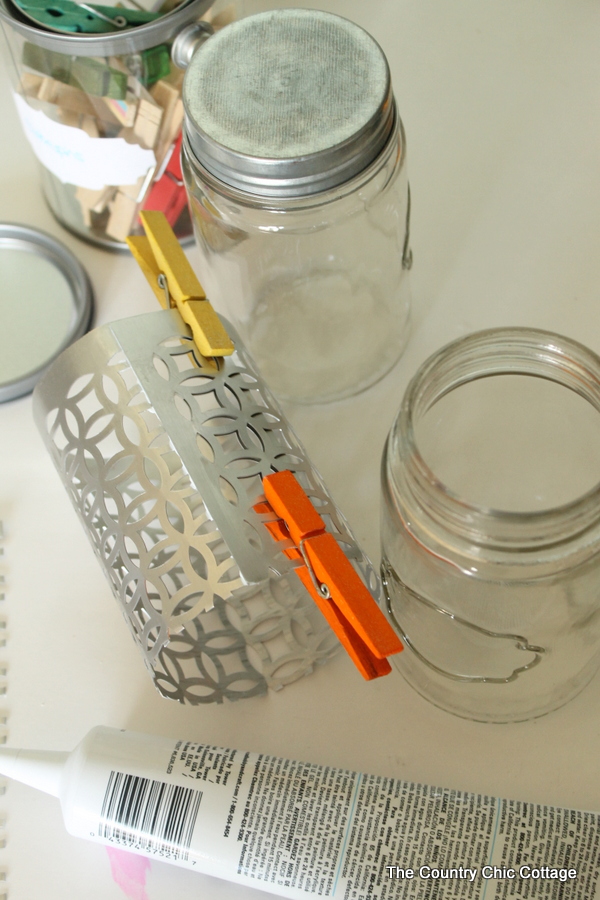
Step 5
Clamp the metal together after you add the liquid nails. I just used simple clothespins, and they worked perfectly.
Allow them to dry overnight or longer (I recommend longer drying times if possible, but overnight would be the minimum).
Pin
Step 6
Gently drop your jars into the sleeves.
Pin
Isn't that easy? I love crafts like this because you can make a lot of them in a short period of time. The longest part of the process is just waiting for the glue to dry!
FAQs
Here are a couple of questions that I see readers ask about making this jar candle holder project. Please check to see if I’ve already answered it below if you have a question. Don’t see it? Leave it for me in the comments!
How can I use these jars for weddings?
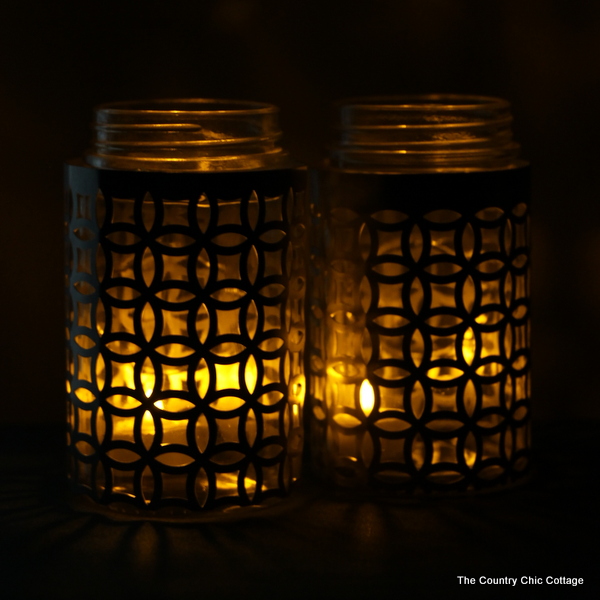
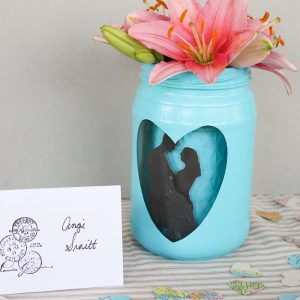
These jars make terrific centerpieces at wedding receptions. You can also use them as candles or mini lights for evening weddings and other events.
No matter how you use them, you will love the look of these metal-wrapped jar candle holders!
Pin
You can also just make a few of these for your home. They easily dress up or dress down, depending on how you use them.
What can I use instead of Liquid Nails?
If you don't have Liquid Nails on hand, you could also use Loctite or Gorilla Glue for this project. Just apply them the same way I described using Liquid Nails.
Remember, with strong adhesives like these; a little goes a long way! Just apply a little at a time – you won't need gobs.
Pin
Whether you make these to display all the time or for a special event, they will look like they took you forever to make. Your secret is safe with me y'all!
More Wedding Inspiration
If you need more wedding craft inspiration, check out these popular projects:
Pin
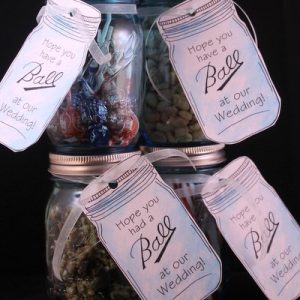
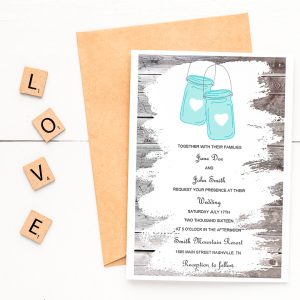
Mason Jar Wedding Favors with Free Printable Tags
The perfect idea for the guests at your ceremony or in your wedding party, these crafty wedding favors using mason jars are so easy to make and such a joy to create!
For over a decade, I have been sharing Cricut tutorials and craft ideas here as well as on my YouTube channel. My passions include teaching others to be creative and learning as many new things as possible about crafting technology! Click here to read more about me!
Subscribe
4 Comments
Jessica
11 years ago
Angie, I love these! So pretty and expensive looking!
Anna
11 years ago
Angie~
These are so beautiful!
Julia Sinclair
10 years ago
Isn’t the metal sharp where it’s been cut? It looks it in the photo where it’s been cut but not on the last one! Lovely idea apart from this concern.


Angie, I love these! So pretty and expensive looking!
Angie~
These are so beautiful!
Isn’t the metal sharp where it’s been cut? It looks it in the photo where it’s been cut but not on the last one! Lovely idea apart from this concern.
It is somewhat sharp. Definitely wear gloves while making them. Once they were glued and on the jars I never had any issues.