
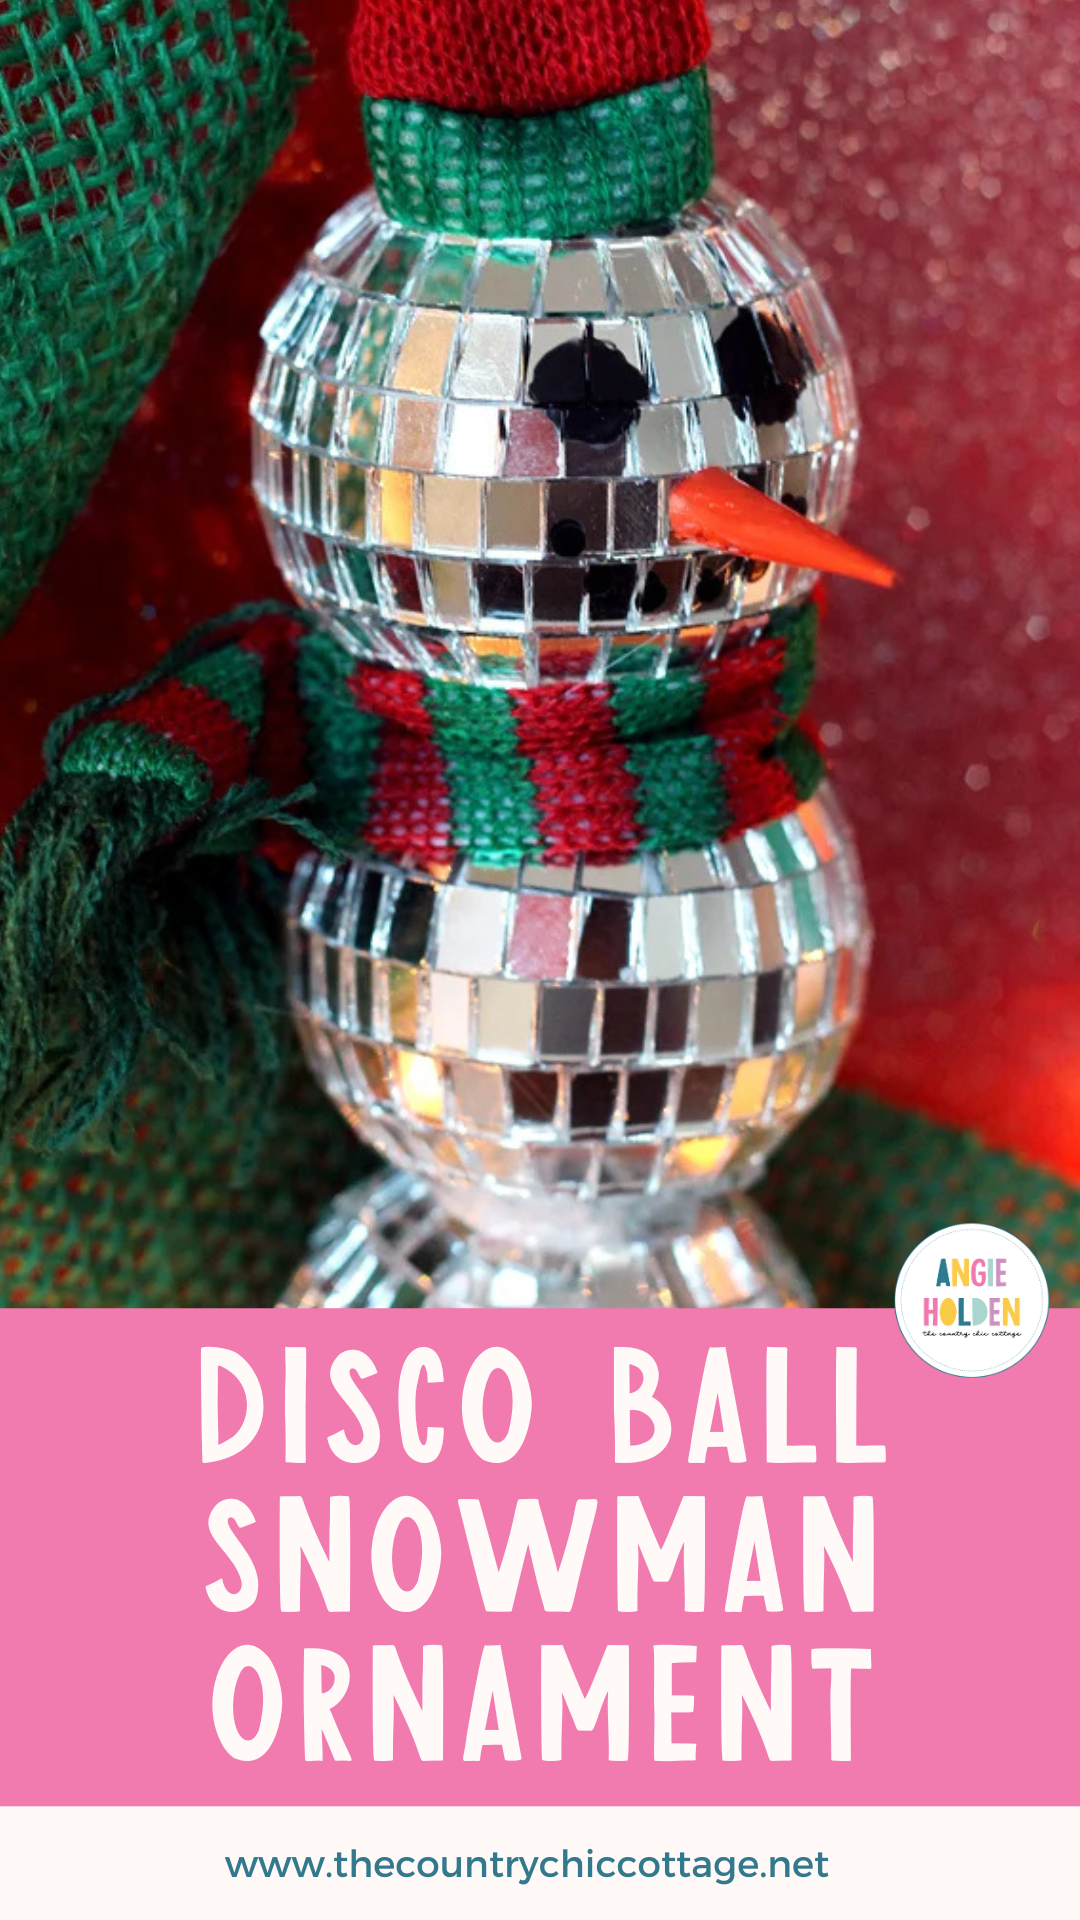
Christmas ornaments are so much fun to make and look great on your holiday tree! Learn how to make DIY disco ball snowman ornaments to add to your Christmas tree.
The holiday season is one of my favorites for crafting. The energy is just right to inspire creativity, and I never seem to run out of ideas.
I love making all varieties of Christmas crafts, including signs, gifts, snow globes, and much more. But, if I'm being honest, I must admit that Christmas ornaments are probably my favorite Christmas crafts to create. They're usually quick and easy, and I love the reward of seeing them on our tree each year.
Recently, I made some Plaid Christmas Ornaments and Vinyl Christmas Ornaments. Today, I'm going “shinier” and sharing with you a tutorial for making snowman mirror ornaments using mini disco balls!
This is an ornament that has ZERO chance of getting forgotten on your tree or when you take the decorations down, ha!

How To Make Disco Ball Snowman Ornament
If you haven't worked with mirror balls before, you're in for a treat. Just follow along with these step-by-step instructions to have your own glitzy snowman ornament ready in just minutes!
NOTE: Want even more Christmas ornament inspiration, check out our Customized State Ornaments, Cinnamon Applesauce Ornaments, and Picture Frame Ornaments.
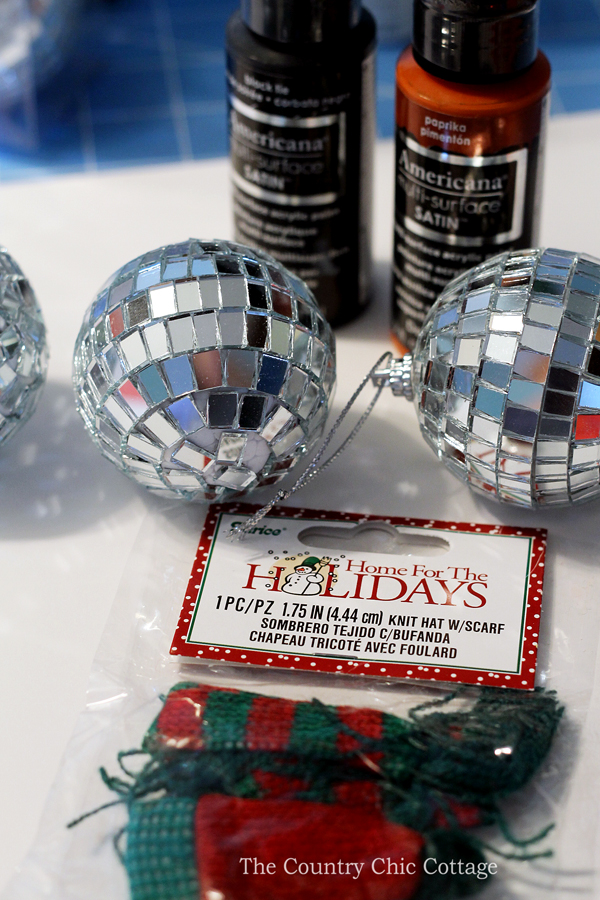
Supplies Needed To Make Disco Ball Snowman Ornament
- Mirror Disco Ball Ornaments (The ones around 2 inches work best, and you will need 3)
- Snowman Hat and Scarf
- Scrap Paper (Or orange paper)
- Paintbrush
- Hot Glue and Glue Gun
- Black and Orange Paint (I love the Americana Multi-Surface paints)
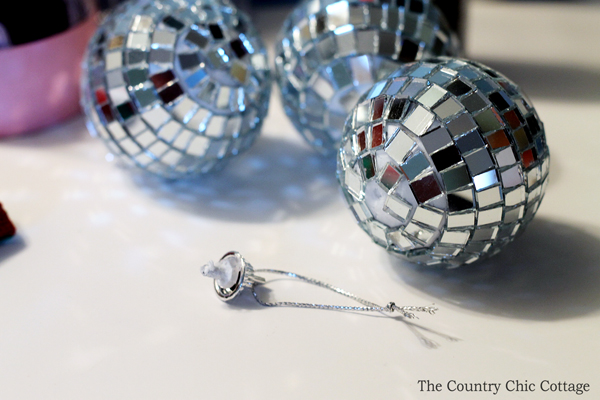
Step 1: Remove Hangers From Mirror Disco Ball Ornaments
First, we need to shape the disco balls like a snowman. Remove the hangers from two of the ornaments by pulling them out easily.
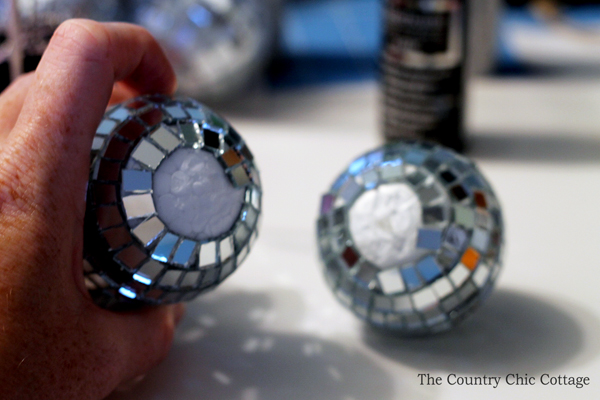
Step 2: Remove Some Mirrors From Mirror Ball Ornaments
You'll need to remove some of the mirrors everywhere the mirror balls will be glued together. I was able to pull these off fairly easily with my fingers.
Step 3: Hot Glue Disco Balls Together
Hot glue the disco balls together and hold them firmly until the glue sets.
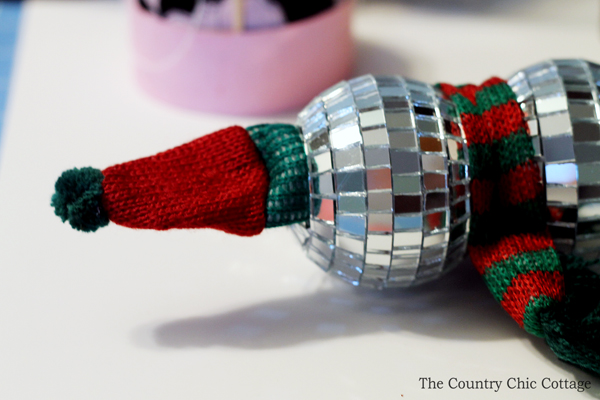
Step 4: Add Hat & Scarf
Then add on the scarf and hat with additional hot glue.
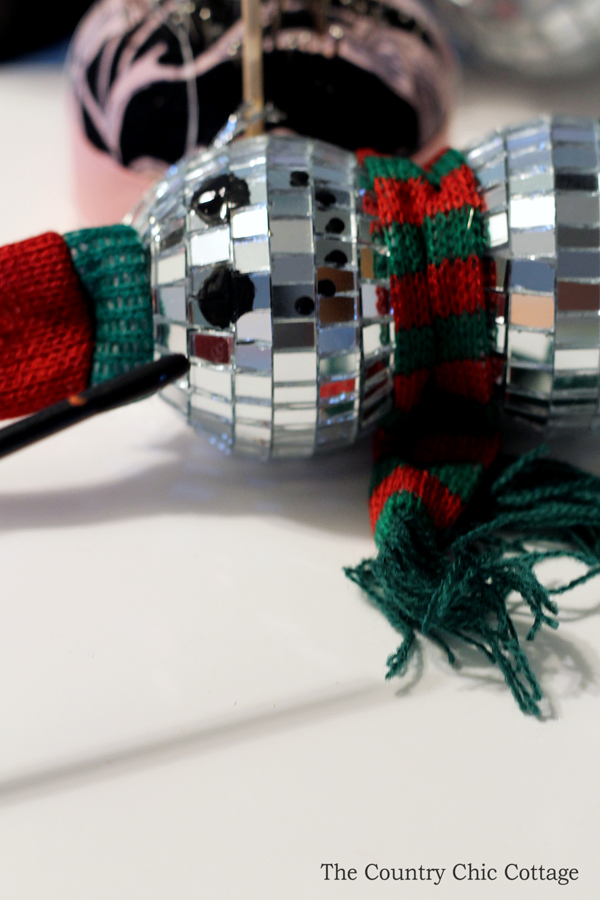
Step 5: Create Snowman's Face
Use the end of your paintbrush (the handle end) to make a snowman face. The rounded end of your paintbrush will make perfect little circles. Set aside until it dries.
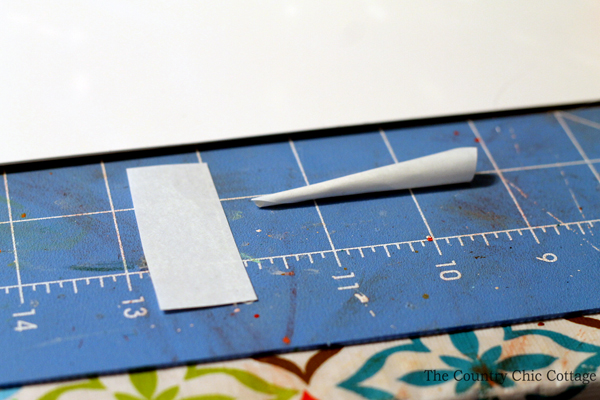
Step 6: Create Snowman Nose
This disco ball ornament needs a snowman's nose, too. Roll a piece of scrap paper into a cone, as shown below, and tape it closed.
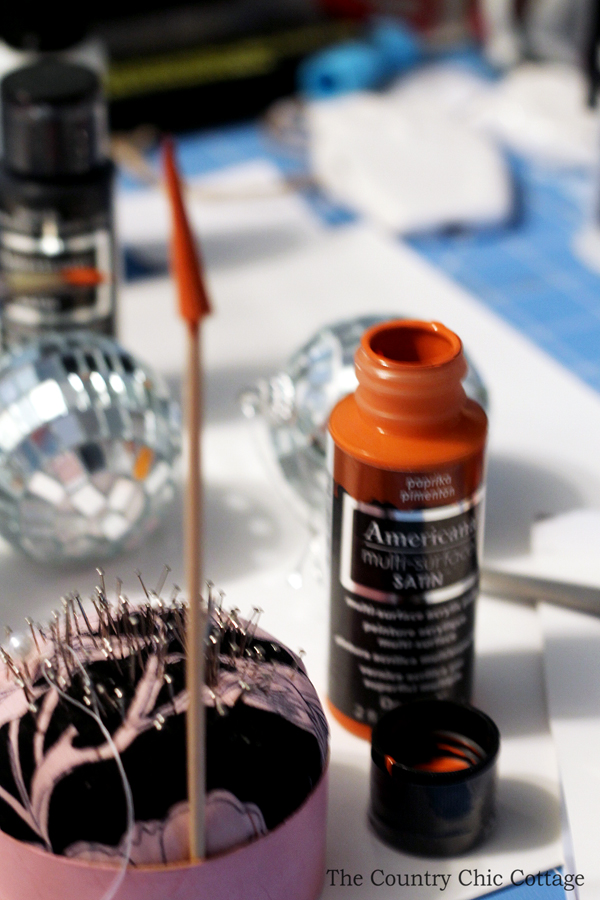
Step 7: Paint Snowman Nose
Trim the end to length and then paint it orange. If you have orange paper, you can use that instead of scrap paper, and you won't have to paint it!
NOTE: I painted my nose on a wood dowel so that it would dry without getting paint everywhere.
Step 8: Glue Nose To Snowman's Face
Once the face and nose are dry, glue the nose to the center of the face again with hot glue.
NOTE: You might have to add a new hanger to your ornament if the original hanger on the mirror ball is covered up.
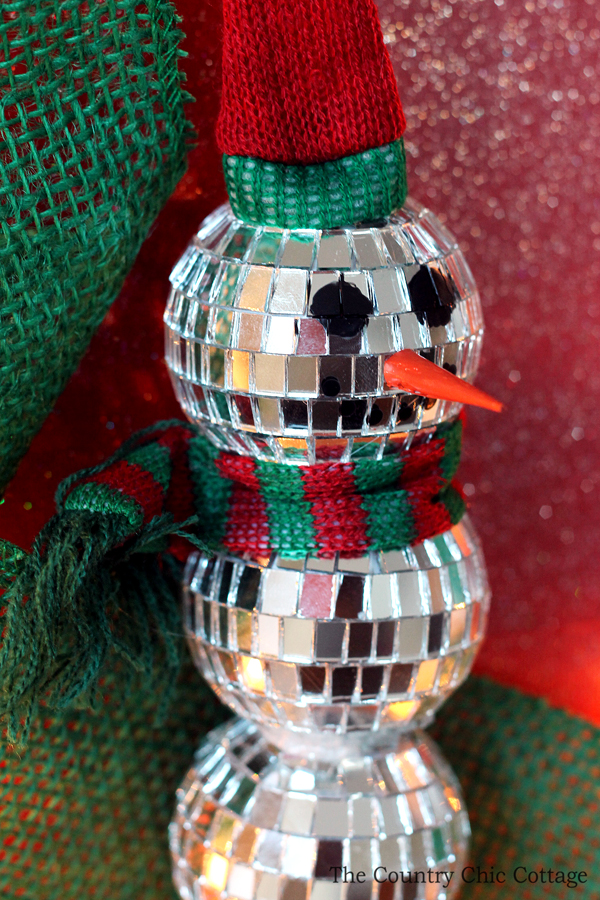
Add this fun mirror ball snowman ornament to your tree this Christmas. This easy-to-make ornament is great for the holiday season and works with any decor style. The kids will love helping you make this and watching the lights dance off the finished product!
FAQs About Disco Ball Snowman Ornament
Here are a few common questions that I often see readers asking about making these disco ball snowman ornaments. If you have a question, please check to see if I’ve already addressed it below. If you don’t see your question listed, feel free to leave it in the comments!
Where Did You Get Your Mirror Ball Ornaments?
I bought my mirror ball ornaments from the craft store, but you can buy them at big box stores or online.
Could I Leave The Mirrors On The Balls Where I Want To Glue Them Together?
If you leave the mirrors on, you could probably glue the balls together (they will adhere). However, considering how easy it was for me to pull the mirrors off of my balls, I highly recommend against leaving them on.
The weight of the ornament is likely to pull them off, causing your ornament to fall apart and break.
Could I Use Elf Size Clothes For This Snowman?
Yes! If you can't find a small hat or scarf for your snowman, you can use clothes designed for Christmas elves, miniatures, etc..
What Are Ways I Can Customize My Disco Ball Ornament?
Let your imagination guide you! You could use different-colored disco balls, find a different hat and scarf set, or use googly eyes instead of painting them on. Try experimenting and having fun with changing the look of this craft!
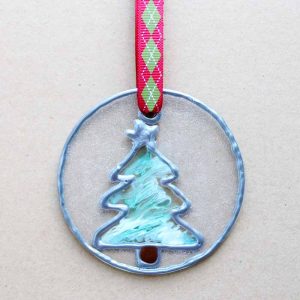
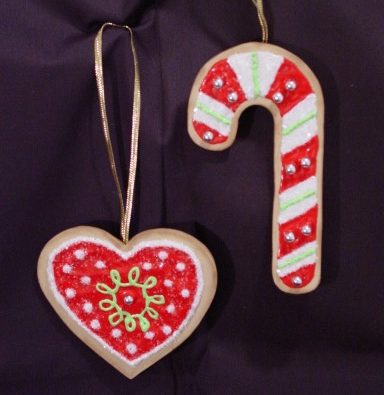
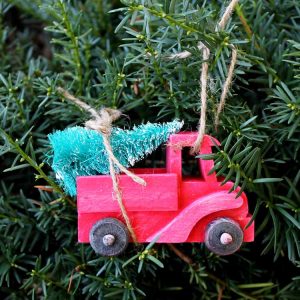
5 More Ornament Crafts
Did you love this disco ball snowman ornament and want more ornament crafts? Then check out the projects below!


Pinnng this to make later – adorable!
How cute!
I can not wait to star getting ready for Christmas and have now added these to my list of crafts to do
Thanks for sharing
Stopping by from #creativemusterparty
This is such an amazing idea! Thanks for sharing it. I’m Anita visiting from Creative Ways Link Party.
Hi Angie – this ornament is so cute, great craft! Have you linked it up to My Pinterventures 2015 Ornament Exchange Linky? If not you should! http://lovemymessymessymess.blogspot.com/2015/11/2015-holiday-ornament-exchange-linky.html Great job and thanks for sharing, pinned!
Love it, such a creative idea!