
Welcome, friends! Today, we're going to dive into the delightful world of DIY with a gorgeous, painted planter bowl that's not just functional but doubles as a rustic piece of decor too. With just a touch of paint and a potato stamp (yup-it's true!), we’ll transform a simple bowl into a stunning planter that's perfect for your favorite blooms or greens.
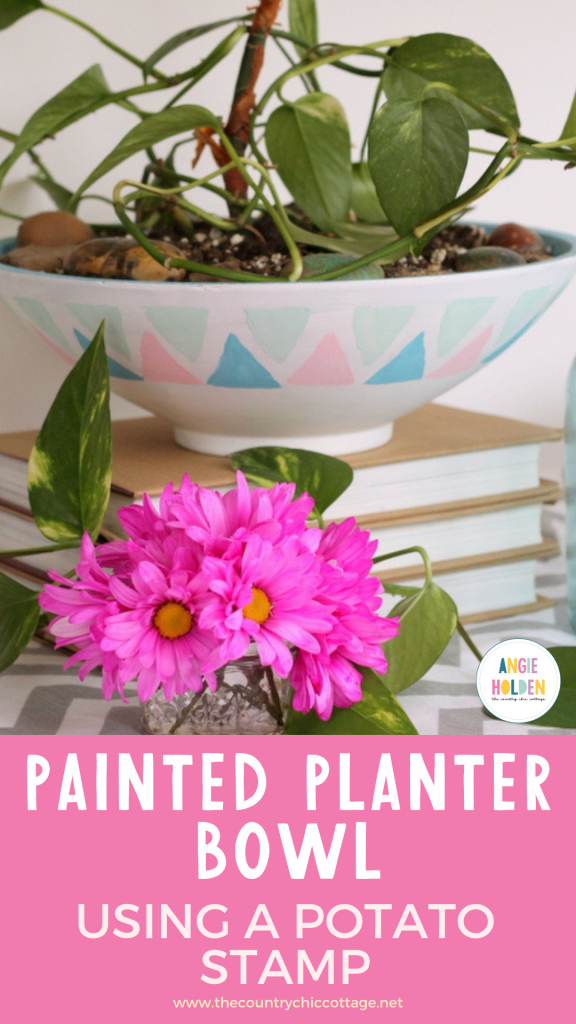
How To Make Your Own Painted Planter Bowl
Do you want to add a touch of style and color to your home decor? A DIY-painted planter bowl is the perfect way to do it. This easy-to-make project will bring life, color, and texture into any room in your house.
Let's get started!
Supplies Needed
Here's what you'll need to gather:
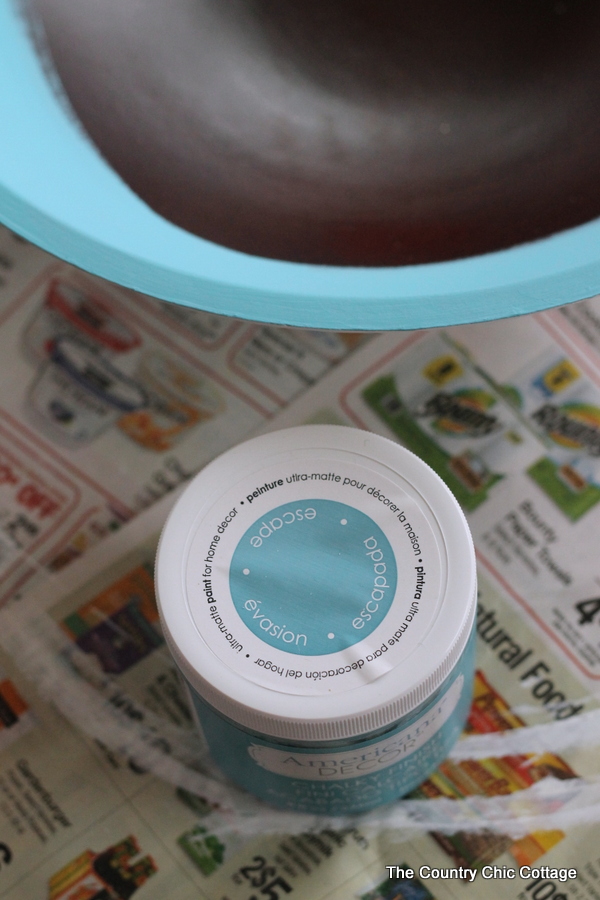
- Chalky Finish Paint (in Everlasting, Escape, Refreshing, + Innocence)
- Paintbrush
- Potato
- Knife
- Painter's Tape
- Thrifted wood bowl (of your choice)
DIY Planter Bowl Instructions
Follow these step-by-step instructions on how to make a planter bowl designed with an array of paint colors…
Step 1: Paint the bowl
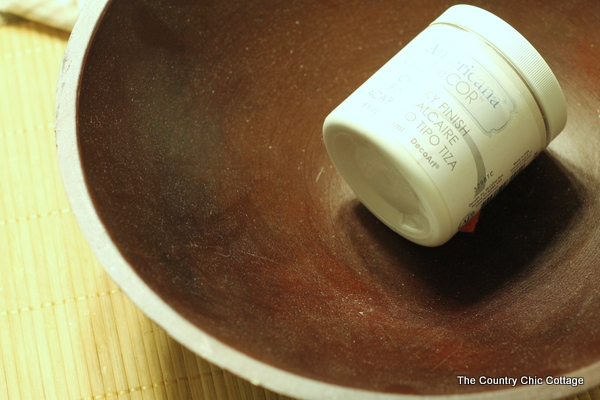
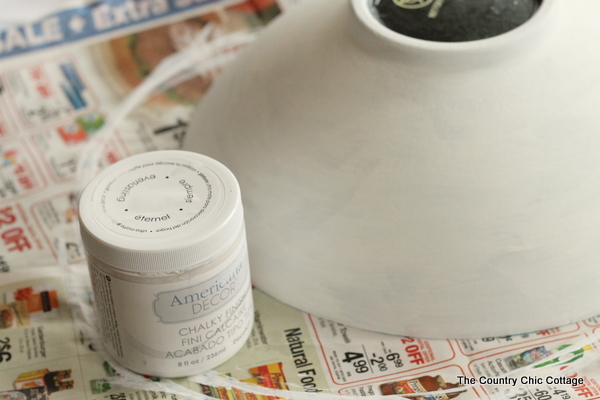
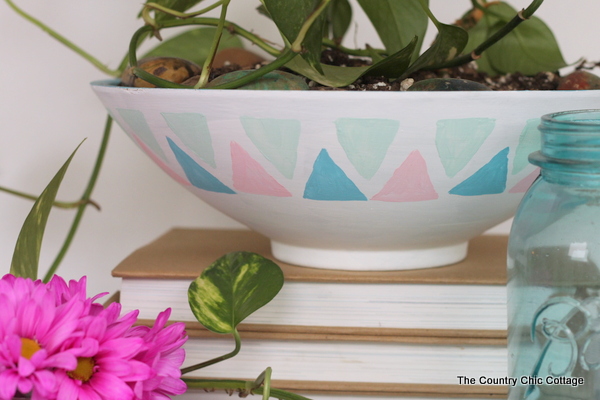
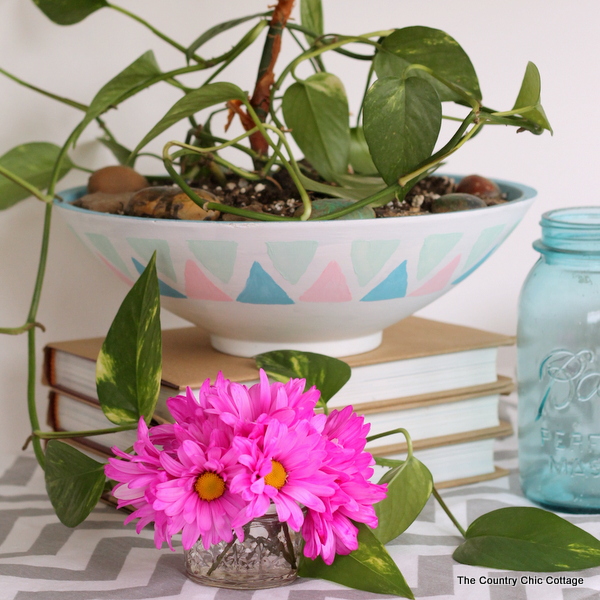
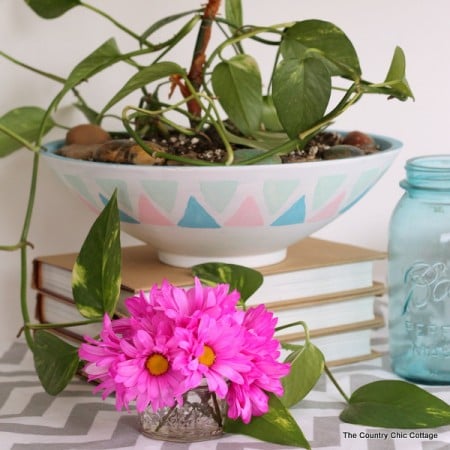
Start by painting the outside of your bowl with the Everlasting paint. I used three coats of paint on the outer surface of the bowl to get complete coverage.
Note: If the original color of your bowl is lighter, it may take fewer coats.
Remember to allow the chalky paint to dry for 2 hours before re-coating. Allow the last coat to dry completely before continuing.
Then, turn the bowl over and use a contrasting color on the lip and the inside. I used Escape for the inside of my bowl, and this only took 2 coats. You can use any colors you love on this project and that will match your home!
Tip: You do not have the paint the entire inside, as it will be covered with dirt.
Step 2: Make the Stencil Pattern
Sooooooo…where does that potato come in?
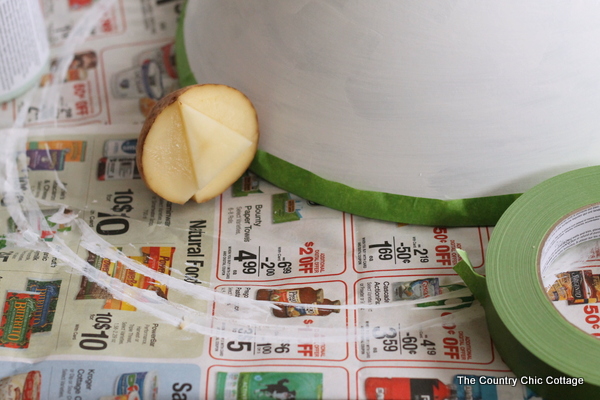
We are going old school with a potato stamp y'all! I wanted triangles on the outside of my bowl, so I carved one in a potato with a knife, as shown below.
This, of course, is a temporary stamp and will need to be thrown out once the project is complete.
Step 3: Add pattern to painted bowl
Once the potato was ready to go, I used painter's tape around the edges of my pot to create a ‘border' for my stencil pattern.
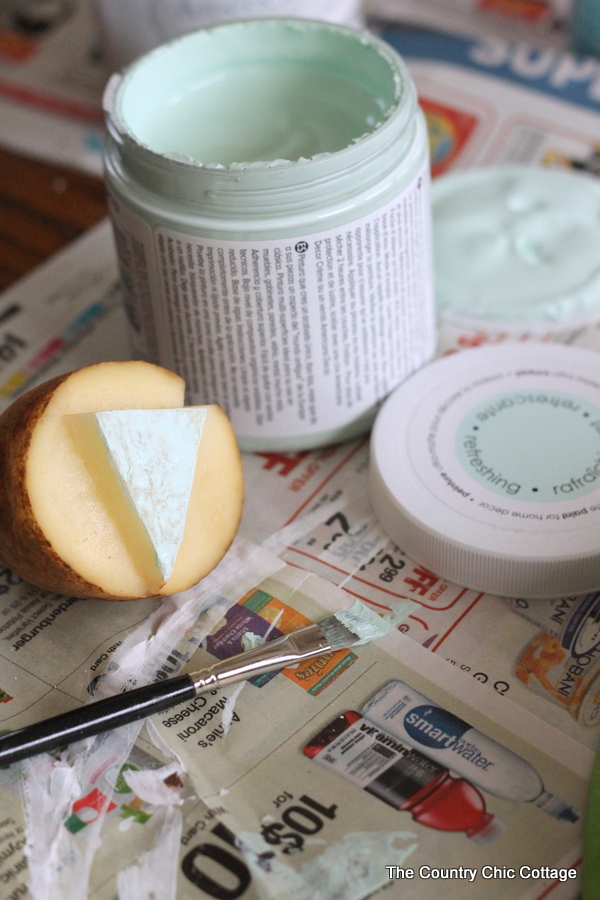
My first row of triangles is stamped with Refreshing. Just use a brush to add the paint to the triangle, then press to the bowl surface. Use your brush to then touch up the triangle immediately on the bowl surface.
Note: Potato stamping is inconsistent, and painting the shape with your brush will give you more of a finished look.
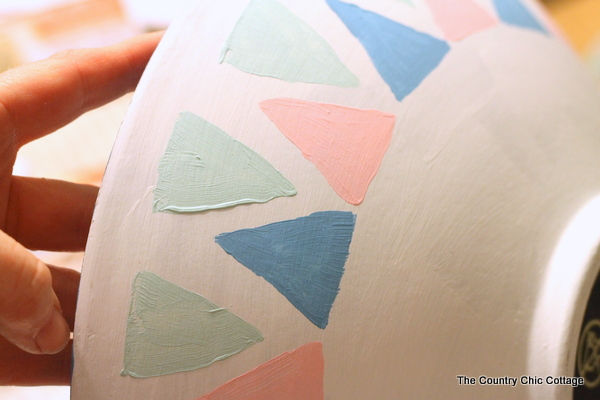
I then alternated a second row of triangles using Innocence and Escape. I used the same method of brushing paint onto my potato and stamping the rough shape onto the surface. Then, I filled in each triangle with more paint and a brush immediately after stamping.
Allow your project to dry completely.
Tip: You can wax the finish with clear crème wax and buff if a shiny finish is desired. I left my surface matte.
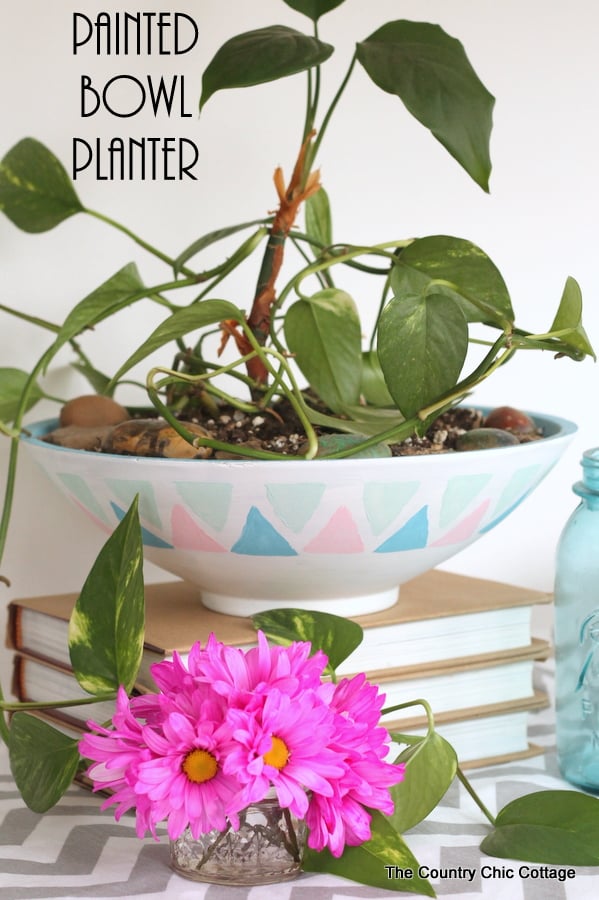
I am in love with this project and think my plants look great in it! It is amazing what a thrifted bowl can become once you grab a potato and some paint.
Be sure to make one or more of these painted bowl planters for your own home this season. Your plants will never look better!
FAQs
If you have questions about making this planter bowl, I have answers for you! Please leave your question for me in the comments if you don’t see it already answered below.
Can I use a different kind of bowl?
Yes! You can certainly use a different type of bowl or vessel for this project. The idea is to make sure your vessel has a large enough surface area to paint and stencil on.
What kind of paint should I use?
I used a chalk paint called “chalky finish,” but you can use any brand of chalk paint or even acrylics. Just make sure it is paint that will adhere to the planter you are using and that it is rated for outdoor use.
What other colors can I use?
The color combinations are endless! Have fun with this project, and choose colors that match your style.
If you want a classic look, try using neutral colors like whites, grays, and blues.
For a more modern look, try combining bright colors such as hot pink and teal with black accents. Feel free to play around and make it your own!
What other ways can I embellish the planter bowl?
Once you have finished painting and stenciling, you can add other elements to make it more interesting. You could use a drill to create holes in the side of the bowl for drainage or even mount a brass hanger on the outside for easy transportation.
Get creative and have fun with this project!
More craft ideas
If you love this project and want to make more planting crafts, we have those for you! Just follow the links below.
- DIY Tiered Planter with a Simple Paint Technique
- Fabric Plant Pots with Mod Podge Ultra
- Planter Ideas That Are Perfect for Your Home
- DIY Concrete Planters (With Mason Jars)
- DIY Lantern Planter in Just Minutes
Supplies
- Chalky Finish Paint in Everlasting, Escape, Refreshing, + Innocence
- Paintbrush
- Potato
- Knife
- Painter's Tape
- Thrifted wood bowl of your choice
Instructions
- Start by painting the outside of your bowl with the Everlasting paint. I used three coats of paint on the outer surface of the bowl to get complete coverage.
- Allow the last coat to dry completely before continuing.
- Then, turn the bowl over and use a contrasting color on the lip and the inside. I used Escape for the inside of my bowl, and this only took 2 coats. You can use any colors you love on this project and that will match your home!
- Carved a triangle shape into a potato with a knife.
- Once the potato was ready to go, use painter's tape around the edges of the pot to create a ‘border' for the stencil pattern.
- The first row of triangles is stamped with Refreshing. Just use a brush to add the paint to the triangle, then press to the bowl surface. Use your brush to then touch up the triangle immediately on the bowl surface.
- Alternate a second row of triangles using Innocence and Escape. Use the same method of brushing paint onto the potato and stamping the rough shape onto the surface. Then, fill in each triangle with more paint and a brush immediately after stamping.
- Allow your project to dry completely.
Notes
- If the original color of your bowl is lighter, it may take fewer coats.
- Remember to allow the chalky paint to dry for 2 hours before re-coating.
- You do not have the paint the entire inside, as it will be covered with dirt.
- Potato stamping is inconsistent, and painting the shape with your brush will give you more of a finished look.
- You can wax the finish with clear crème wax and buff if a shiny finish is desired. I left my surface matte.


You have done an amazing transformation on your bowl. It looks so pretty and fresh. Thank you for an wonderful idea. Deirdre