
Looking for a cute Christmas sign to add to your holiday décor? If you love DIY farmhouse Christmas decorations, this Joy to the World rustic wood sign is the perfect project to make this season. It’s an easy and affordable way to add a cozy, festive touch to your home, and it looks beautiful displayed on a mantel, shelf, or entryway. In this tutorial, I’ll walk you step by step through how to make a rustic Christmas wood sign that’s perfect for farmhouse-style holiday decorating.

How To Make DIY Rustic Wood Signs
I love holiday crafting because there's a seemingly endless supply of inspiration! With that in mind, I am in full Christmas crafting mode right now, and I just made a sign that I can't wait to share with you.
As I was recently switching my decorations from fall and Thanksgiving to Christmas, I put away my reversible holiday sign from the front porch and realized I didn't have a Christmas replacement!
After some brainstorming, I came up with a beautifully rustic wooden Joy To The World sign design.
This may be one of my favorite projects that I have created using Krylon. It looks absolutely amazing in person, and believe it or not, it's super easy to make. Ready to get crafting?
Supplies Needed To Make DIY Rustic Wood Signs
- Wood board
- Minwax Wood Finishing Cloths in Dark Mahogany
- Cricut
- Vinyl
- Vinyl transfer paper
- Krylon Spray Paint in White
- Krylon Spray Sealer
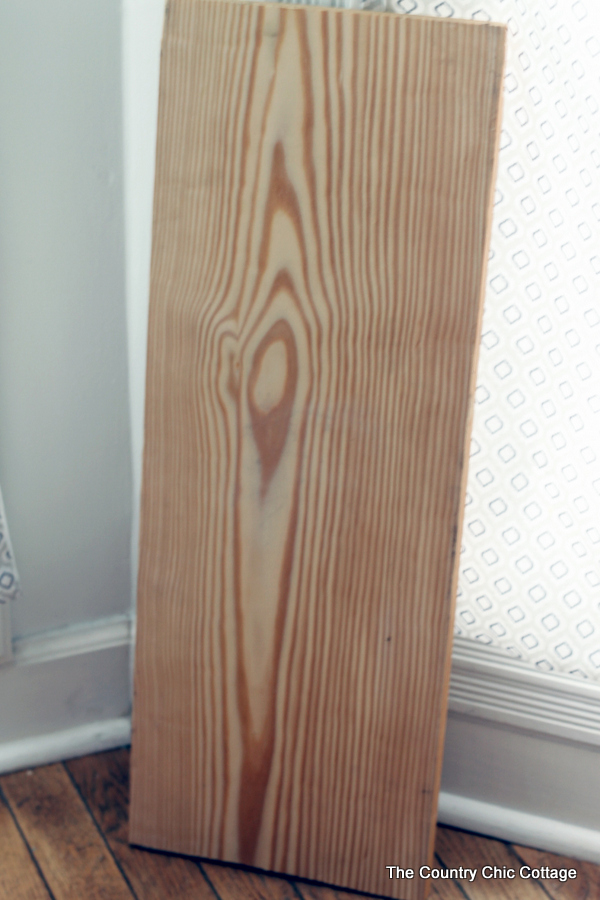
Step 1: Stain Your Wood Board
Start with a board….any board. This one was leftover from another project, and I decided it was the perfect size for my sign.
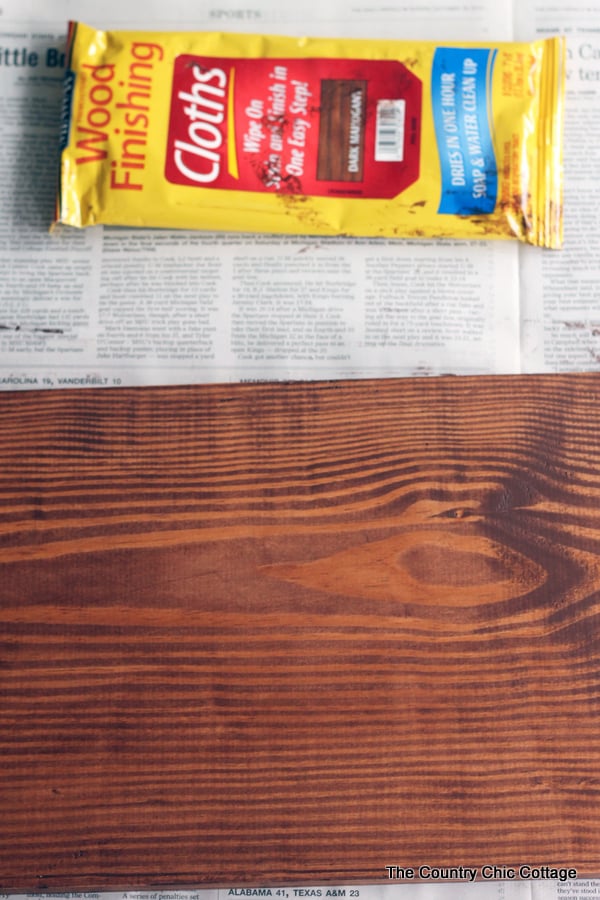
Since I wanted a deep, dark stain on my board, I used Minwax Wood Finishing Cloths in Dark Mahogany to achieve a rich, dark background.
They're super easy to use. Just rub the cloth onto the wood and remove any excess. Allow the stain to dry completely before continuing.
Step 2: Cut Out Vinyl Lettering
While I was waiting for the stain to dry, I worked on preparing my vinyl lettering with my Cricut.
You can use any saying and font you choose (I created a simple design using “Joy to the World”). After cutting, remove any excess vinyl, including from the centers of letters.
NOTE: You can use a cutting machine (such as a Cricut) or, alternatively, a craft knife and vinyl or contact paper to make your lettering. Need help deciding which Cricut machine you need? This guide to Cricut machines should help make your choice easy!
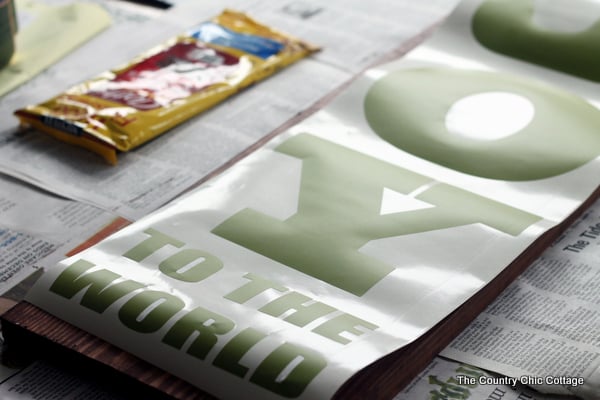
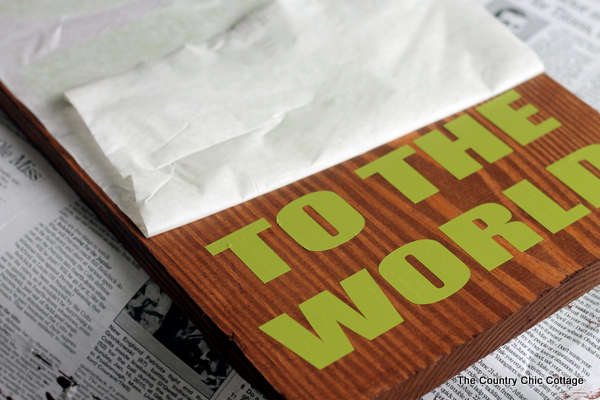
Step 3: Apply Vinyl Lettering To Your Board
I then used vinyl transfer paper to transfer the vinyl to the wood. The transfer paper is not required, but it will make it easier to keep everything lined up.
Press the vinyl firmly to the board, using your finger to ensure it adheres to the rustic wood sign.
TIP: Take the time to go around the edges of each letter – trust me on this one!
Step 4: Spray Paint The Board
Next, use Krylon Spray Paint in White to paint the entire board.
I recommend using a light coat of spray paint, then applying additional light coats if needed.
PRO TIP: Spray your sign outdoors, and hold the can above the sign for best coverage.
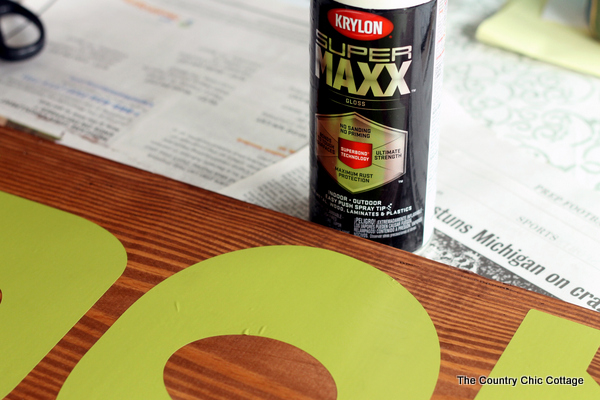
I went really light with my coats, so you can actually see the wood grain through the white layer. I love love love this look!
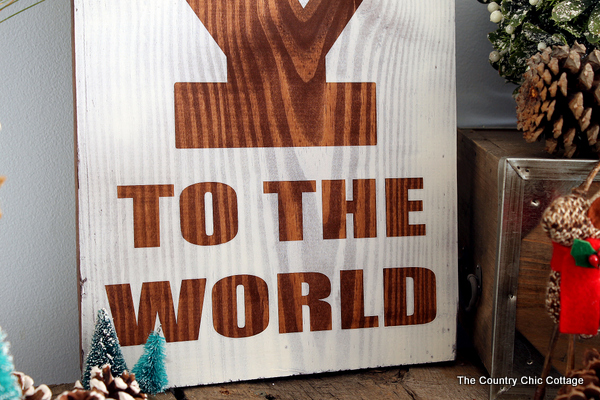
Step 5: Remove The Vinyl Lettering
Allow the paint to dry before removing your vinyl lettering and see how your wooden sign turned out.
Step 6: Seal And Protect Your Rustic Wood Sign
You can use Krylon Spray Sealer over your project to protect it for many years. Be sure to let the sealant dry completely before adding your sign to your Christmas decorations.

FAQs About DIY Rustic Wood Signs
Here are answers to some of the most frequently asked questions I receive about making DIY rustic wood signs. If your question isn’t listed, feel free to drop it in the comments, and I’ll be happy to help!
Can I Use A Traditional Stain On My Sign?
Yes, of course! I used the stain wipes because I had them on hand, and they make projects like this one so fast and easy. If you only have a regular stain, simply use a rag to spread it over the wood. Then wipe off the excess and let it dry before moving on to the next step in making your rustic wood sign.
What Are The Different Ways To Personalize This Rustic Wood Sign Project?
There are so many ways you can make this sign uniquely yours! Here are a few ideas to spur your own creativity:
- Change the shape or size of the wooden board
- Use a different phrase or even just a single word
- Change the colors
- Paint the wood instead of staining it
- Add a holiday stencil image
What Cricut Machine Can I Use For This Project?
All of them! The Cricut Maker, Cricut Explore series, Cricut Joy, Cricut Joy Xtra, and Cricut Venture can all cut vinyl!
The only thing to keep in mind is that each Cricut machine has different project-size capabilities. So, depending on the size of your wood board, you might need to resize your text.
How Would You Add A Hanger To This Rustic Sign?
If you want to add a hanger, you can simply hot glue a saw tooth hook to the back of your wood board.
5 More Holiday Sign Crafts
If you loved learning how to make DIY rustic wood signs and want even more holiday sign crafts, check out the links for more ideas below!
- Cricut Signs with Layered Vinyl for the Holidays
- Christmas Round Sign SVG
- Metallic Let It Snow Sign
- Christmas Porch Sign SVG
- Christmas Tree Outdoor Pallet Sign


I love this & the Let it Snow sign. Both very cute and easy to make. 🙂
Love these rustic signs! The Let it Snow is so cute!
Jill
Doused In Pink
Those wood finishing cloths are so neat! Where have they been all my life? Really love this sign. It’s inspiring me to spruce up my mantle for the holidays!
Hello cute lady! I’m stopping by to let you know that your super cute wood sign will be featured at our party that starts on Monday @7. Woo Hoo! Pinned and tweeted. We love partying with you and hope to see you on Monday! Happy Holidays! Lou Lou Girls
I love that reverse sort of effect, how lovely. Need to pin that, won’t have time this year now but next year maybe!
I’ve never used the stain wipes before, but what a great idea! I bet it saves a ton of time and MESS! Great tutorial! I’m definitely pinning!
I love this! I know I just featured you at last week’s link party, but your posts are so amazing that I just couldn’t help myself. 😉 I’ve featured this in a collection of cozy, rustic Christmas ideas for today’s link party. http://www.thelifeofjenniferdawn.com/2015/12/ideas-for-rustic-cozy-christmas-and.html
You are the best Jennifer!
Hi Angie, Thanks for joining the Inspiration Spotlight party. This is a really nice sign. Pinned & shared.
This is such a lovely sign Angie! I love the simplicity of it and how you could use it anywhere in your house. So pretty! You are one of my feature picks over at the Bewitchin’ Projects Link party tomorrow (Dec 20) at Recreated Designs. Have a wonderful holiday season. Hugs, Lisa
Great sign. Checked out your Let It Snow sign too. Pinned the JOY sign. Visiting from Life on lakeshore Drive.
This is so cute. Do you remember what font you used? I love the chunky-ness of the letters. I am ready to get started on this for Christmas this year.
I don’t! Sorry!
Clever and attractive. Thanks, Angie!