
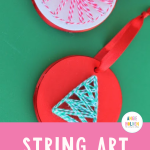
Grab the kids for some fun holiday crafting by making these DIY string art ornaments! This Christmas string art tutorial will show you how easy it is to create personalized ornaments for your tree or to give as DIY gifts.
Homemade Christmas ornaments are the best! They add that special quality that makes your holiday decor feel personal. And they sell like hotcakes (if you're into that sort of thing!). FYI, they also make touching DIY Christmas gifts.
Well, string art has been hot, hot, hot this year! We learned the concept by making our DIY String Art Kids Craft Idea and Geometric String Art. Next, it was time to take our string art game up a notch!
So, I thought, why not make string art ornaments for the Christmas tree? My crew loves string art, so I know this will be fun for the entire family!
How To Make String Art Ornaments
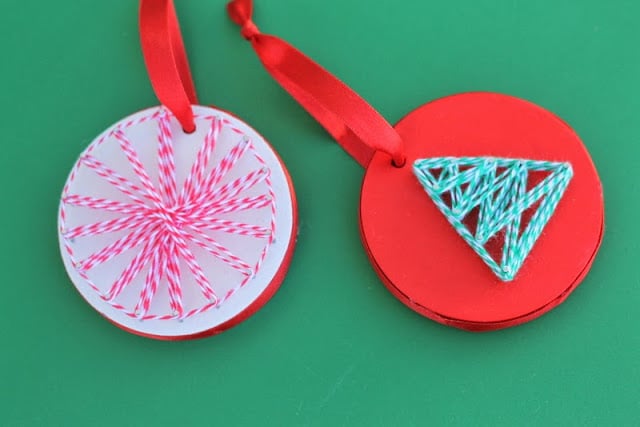
Make these unique additions for your tree with your kids this holiday season. The Christmas tree version below was my son's idea, so feel free to let their imaginations run wild when you are crafting. You never know what amazing designs you'll get!
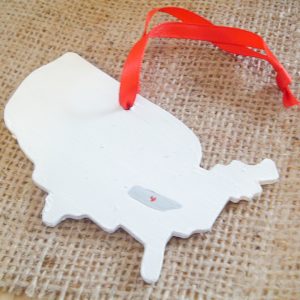
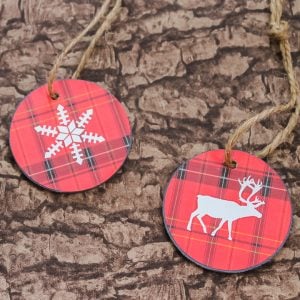
I love the simplicity of these ornaments. If you're looking for more handmade holiday ornament ideas, check out our Plaid Christmas Ornaments, Clay Ornaments, and Picture Frame Ornaments.
Supplies Needed For String Art Ornaments
- Round wood shapes
- Wood glue
- Hole punch sturdy enough to punch wood (or drill with a drill bit)
- Craft paints
- Small nails
- Hammer
- Baker's twine
- Ribbon
- Hot glue & glue gun

Step 1: Add Holes To Wood Rounds
Start with your round shapes and either a hole punch or drill. Put a hole in each shape in the same location.
Step 2: Glue Wood Rounds Together
Stack your shapes and attach them with wood glue between each shape. Allow everything to dry as recommended on the bottle.
NOTE: You can paint shapes on the front, back, and sides of your Christmas string art ornaments with your desired craft paint color. Make sure to let the paint dry before proceeding to the next step.

Step 3: Mark Holes For Nails
Use a pencil to mark holes where you want your nails to be.
Step 4: Add Nails
Using a small hammer, add a nail in each penciled-dot location.
PRO TIP: Make sure not to hammer your nails through your stacked shapes!
Step 5: Create Design With Twine
Take your baker's twine and knot it off around your first nail. From there, wrap your twine around your nails, creating your unique design. When you get to the end, end it by making a knot.
Be sure to cut off any excess twine.

Step 6: Cover Up Edge
Cover the exposed edges of your ornament with ribbon, using hot glue to secure it in place.
Step 7: Add Ribbon Hanger
Finally, tie a piece of ribbon through the hole at the top so you can hang your new Christmas string art ornaments on your Christmas tree!

If you create this project with your kids, make it a point to put their name and date on the back of their creations. You'll want to remember this 10 years from now!
This could be a pretty cute project to make with friends or to make a bunch and gift to others!
We made several versions of this holiday string art craft, but I can envision many creative options! What shape would you make your string art ornaments? Will you make Christmas tree string art or choose another design?
Enjoy this fun craft with your kids this holiday season, and make an ornament to treasure through the years!
FAQs About String Art Ornaments
Readers have shared some questions about making these string art ornaments. If you have a question, please check to see if I’ve answered it below. Don’t see your question? Leave it for me in the comments!
How Many Wood Rounds Did You Glue Together?
This will depend on the thickness of your wood rounds and the size of the nails that you use. However, for this project, I glued together 5 wood rounds.
What String Do You Use For Ornaments?
We used baker's twine because I love the color patterns. Another great option for this project would be to use embroidery floss. You can find it in so many colors that it can add some fun personality to your project!
How Can I Personalize This String Art Ornaments Project?
Customizing these ornaments is easy! Just use any colors that you like. Also, if you aren't loving the Christmas tree string art pattern, you can use a different design for this string art ornament project.
Another way to customize this craft is to change the base you use. For example, instead of using colored wood circles, you could use wood slices or wooden rectangles. Although I love the colored background in these DIY ornaments, I'm also a total sucker for wood slice projects, like these Santa Wood Slice Ornaments and these adorable DIY Wood Slice Rudolph Ornaments.
What Other String Designs Could I Do?
As I mentioned above, customizing these ornaments is easy! However, if you are looking for more ideas to get you started, below is a quick list of designs you could create.
- Holiday Theme Designs: Snowflake, Mitten, Snowman, Candy Cane, Wreath, Holly, Stocking
- Non-Holiday Theme Designs: Your Initial (or Letter), Star, Heart,
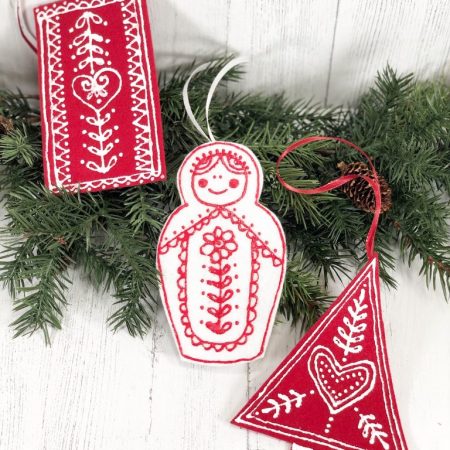
5 More Christmas Ornaments
Do you love these string art ornaments and want more ornament crafts? Then check out the projects below!


Love these Angie…kind of reminds me of Jr. High School art when we use to do string art and found it AMAZING and so much FUN!!!!! These look FAR more amazing than mine did…but I think I am ready to tackle these now (I’m a little older now ; ) hugs and here’s wishing you and yours the BEST Thanksgiving EVER!