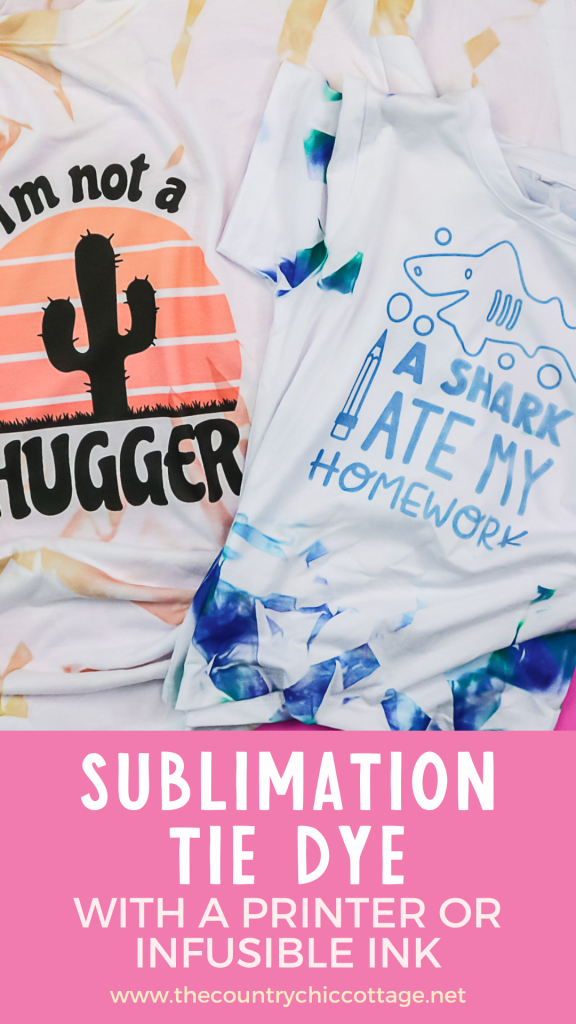
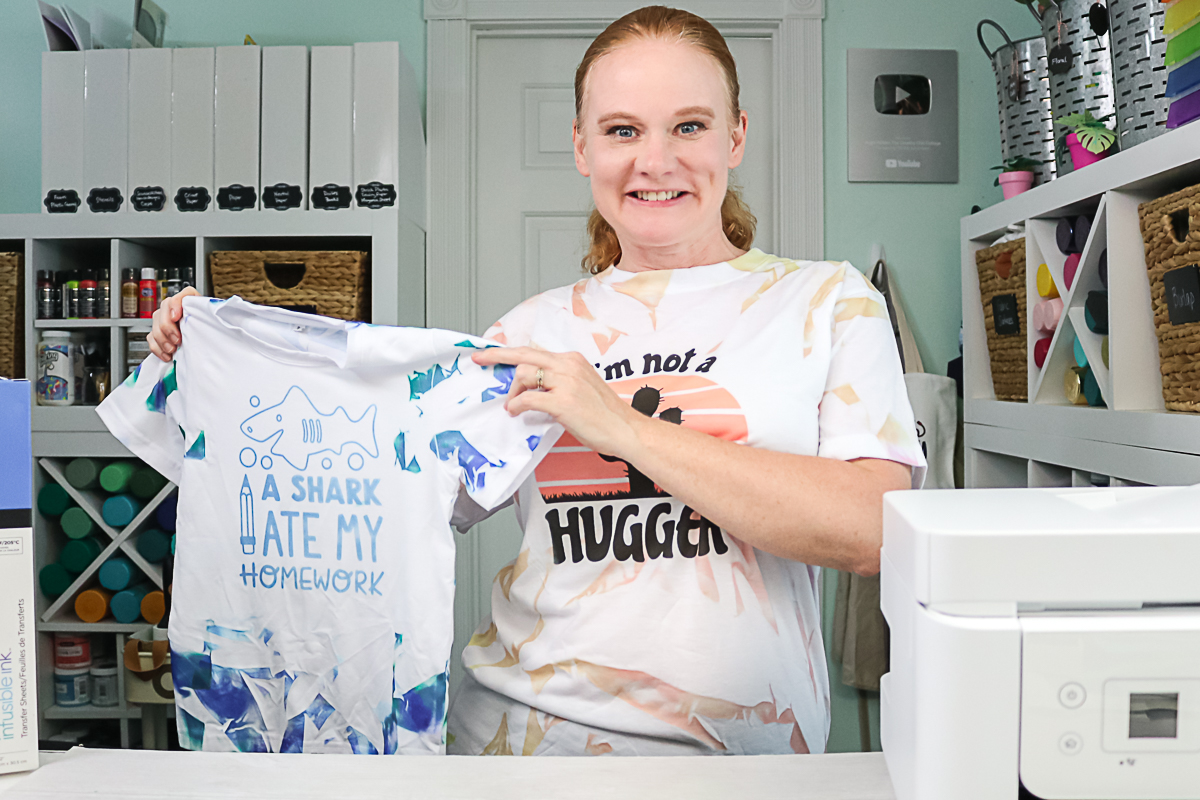
Sublimation tie dye has been popping up everywhere lately, and it’s such a fun way to create colorful designs without the mess of traditional dyeing. I wanted to put my own spin on it and show you how to make this shirt using either a sublimation printer or Infusible Ink. That means you can give this easy tie-dye look a try, no matter what supplies you have!
Sublimation Tie Dye
You can watch me make the sublimation version of the shirt below. I am also explaining the Infusible Ink process. So, just click play below to watch!
Can't watch the video or missed some of the steps? I am also walking you through the process below!
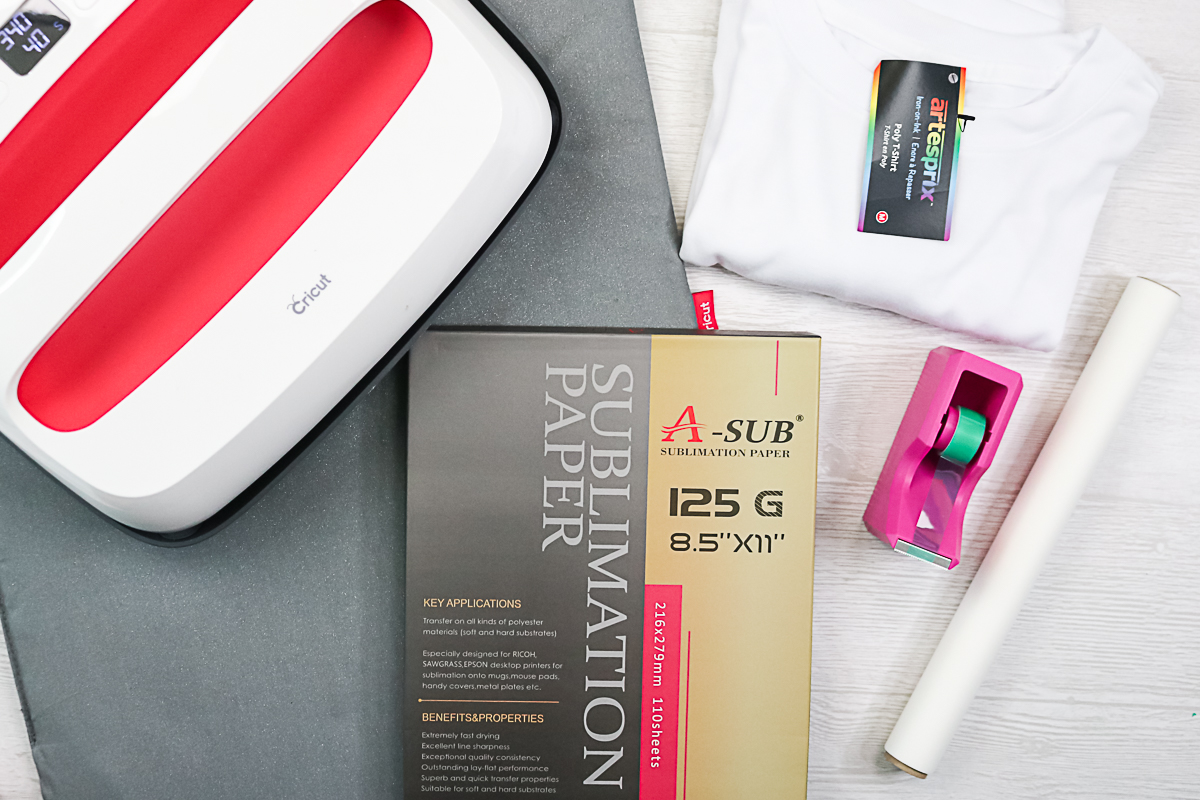
Supplies needed
- Epson EcoTank Printer
- Hiipoo Sublimation Ink
- A-Sub Sublimation Paper
- Protective Paper
- Heat-Resistant Tape
- Lint Roller
- Polyester shirt
- Roll of Foam
- EasyPress
- EasyPress mat
- Infusible Ink
Designs Used for Shirt
- Watercolor design
- Cactus design
- Shark design is in Cricut Design Space
No Mess Tie Dye with Sublimation
Now that you have your supplies, it is time to get that tie-dye look with virtually no mess. I do realize this is not traditional tie dye, and it may not be for you. However, the method gives a really unique look and is something fun to make with your sublimation printer or Infusible Ink.
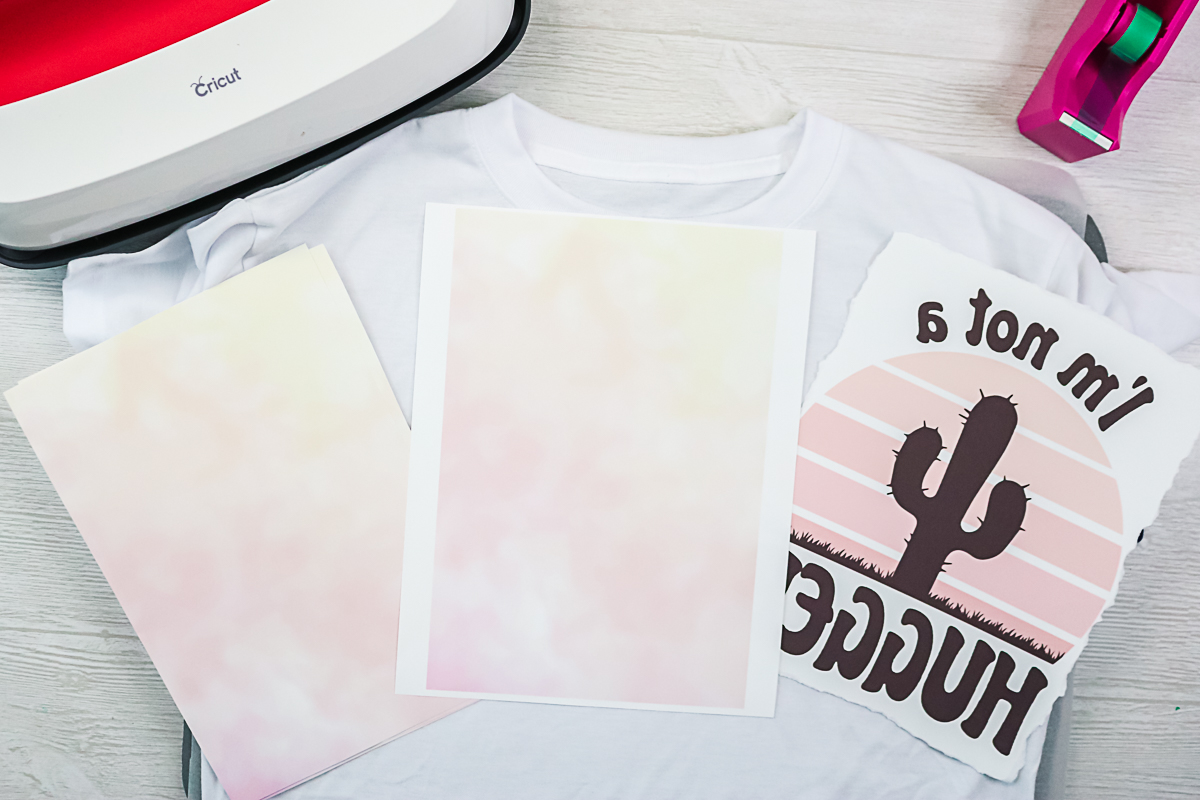
Step 1 – Choose your prints
First, you will need to choose your prints. I recommend one print that is an all-over pattern. This will be for the tie-dye portion. I am using this pink-to-yellow watercolor design, and I printed four sheets. Two for the front and two for the back. Then, if you want a design on the front, you will need to print that as well. I am going to add the cactus design to the front of my shirt.
Be sure to cut away all the white edges on your pattern pieces, as we will be taping them together, and you don't want the harsh lines the white edges create. I also tore the edges of the cactus design, and I will talk a bit about why I did that below.
Step 2 – Fold Your Shirt
Traditional tie-dye usually uses a folding method and even rubber bands. You DO NOT want to use anything that melts in this case. The first thing I like to do is protect the area where my design will be on the front. Gather an area large enough for your design and secure it in the back with some heat tape. This will keep it from getting any ink on it during the next steps.
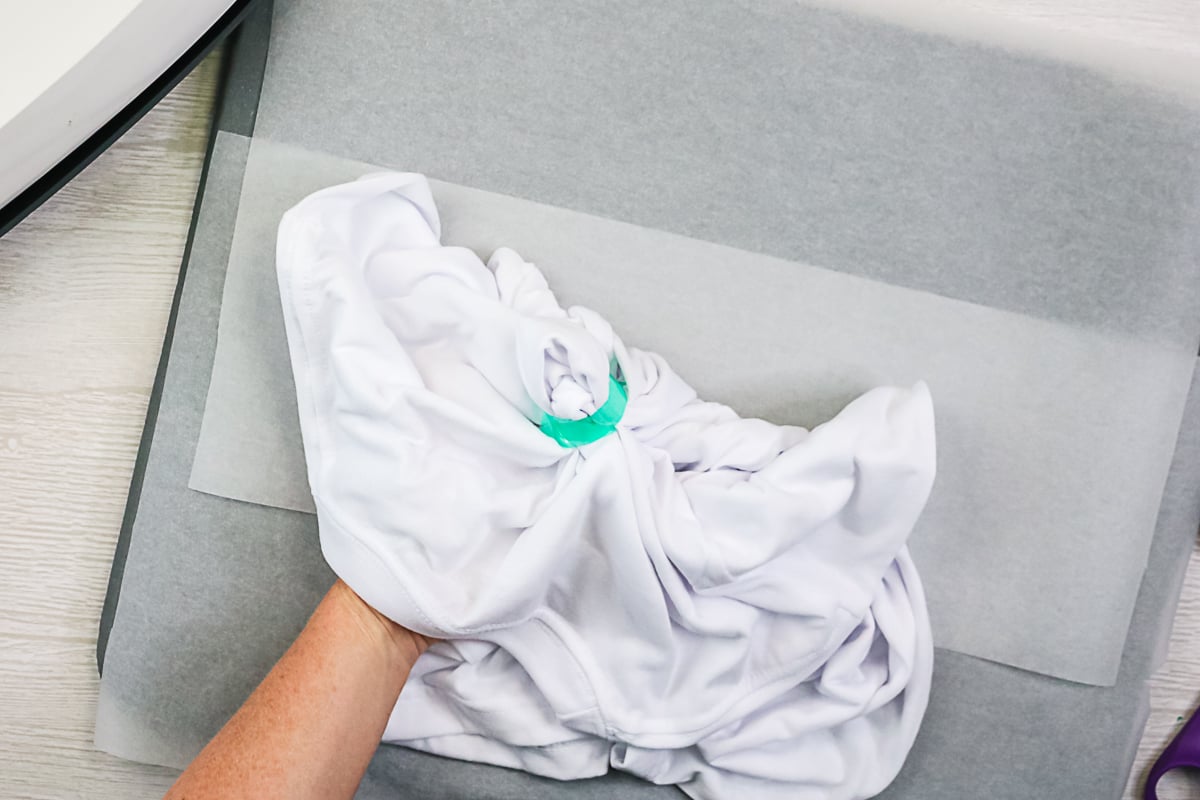
Then put that gathered area down on a mat covered with protective paper. Scrunch up the rest of your shirt so it fits under your sublimation prints. I like this scrunch method, but you can definitely try different folds if you would like. Just remember that only what is exposed will get ink.

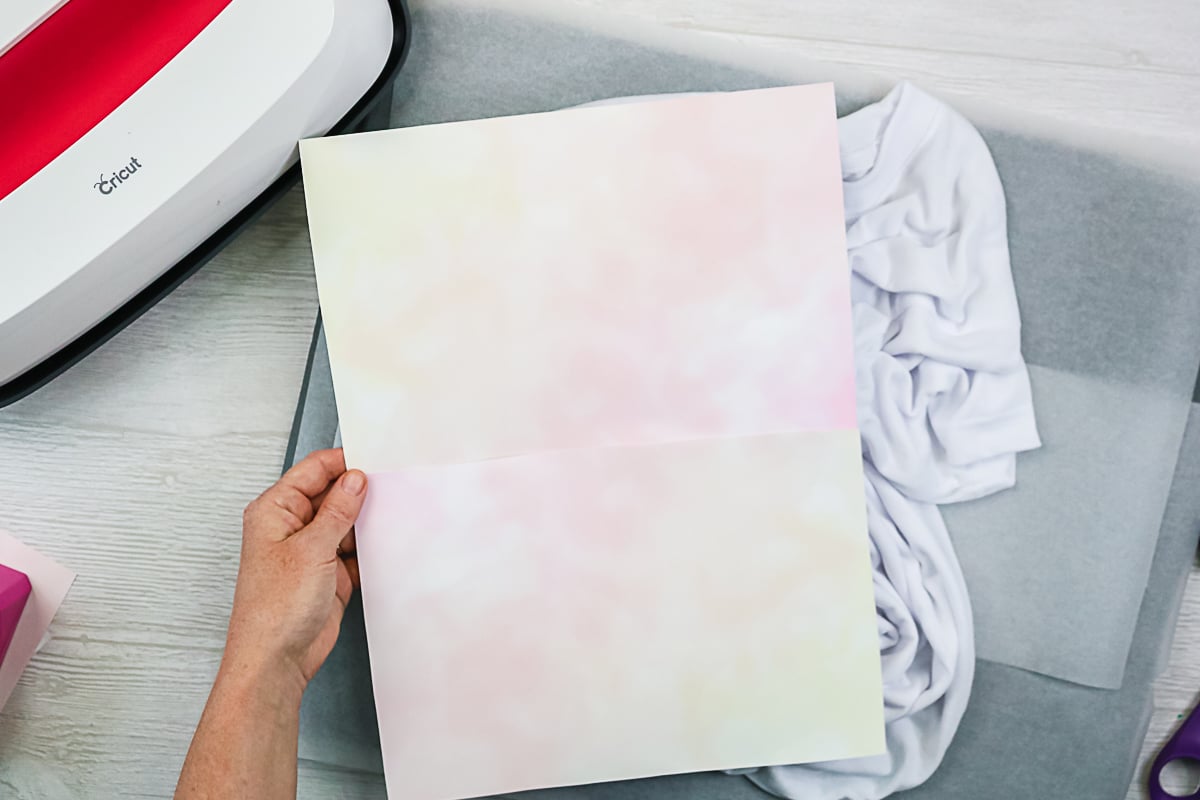
Step 3 – Add Sublimation Tie Dye
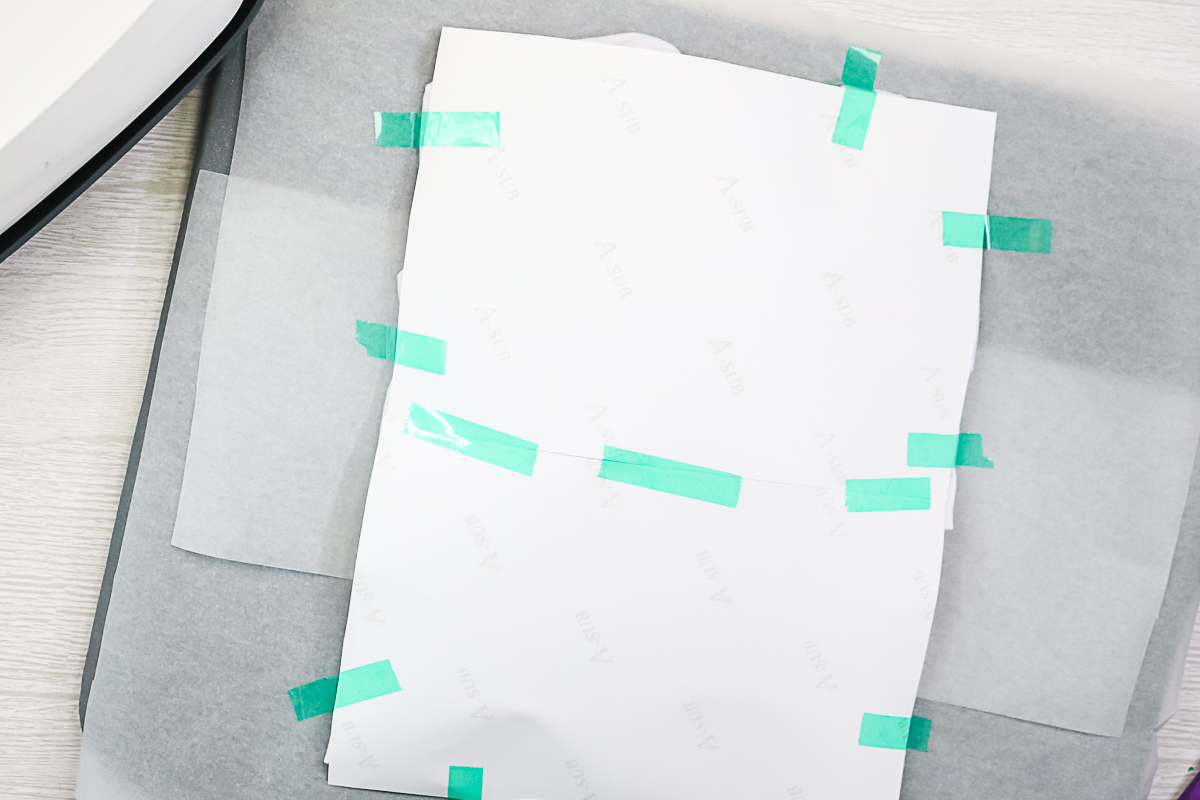
Now that you have your shirt ready, it is time to add the tie-dye portion. I put my two sheets together so they covered a larger portion of the shirt. You can tape them in whatever direction you like to get the look you are trying to create.
Then use some heat tape on the back to secure them.
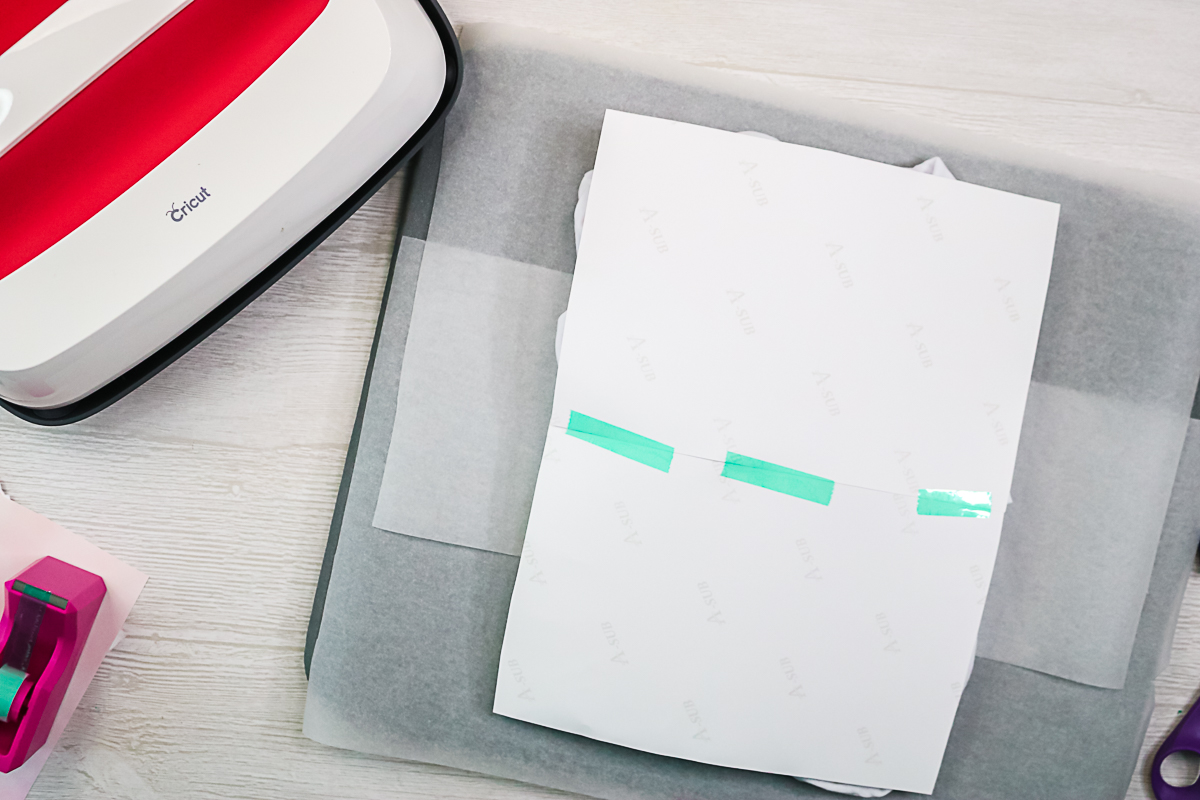
Make sure your shirt is completely under the paper, then tape it down in a few areas.
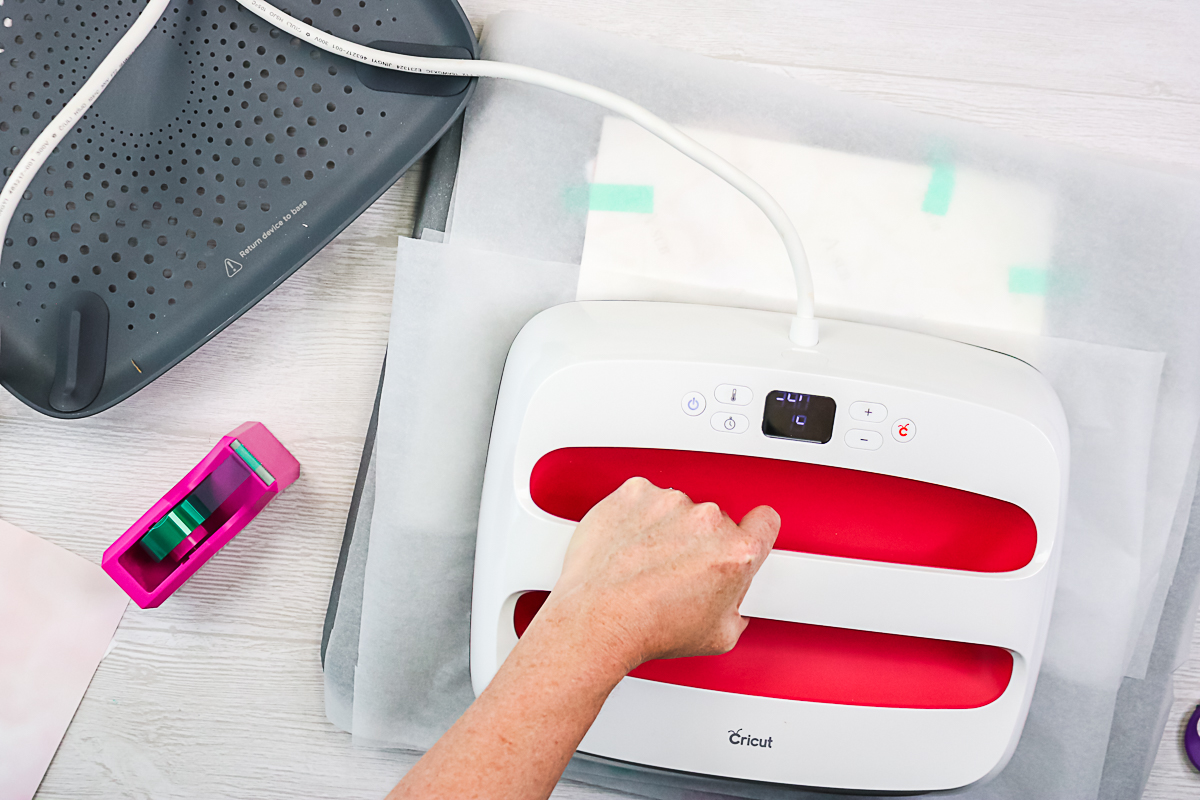
Step 4 – Press your shirt
Now it is time to press! I am using my large Cricut EasyPress and was able to do this in two presses. I am using the recommended time and temperature for my sublimation paper. You can use a smaller press and press a few additional times. I would say, if you are using a heat press, be sure to use light pressure so you don't end up with press lines that won't come out.
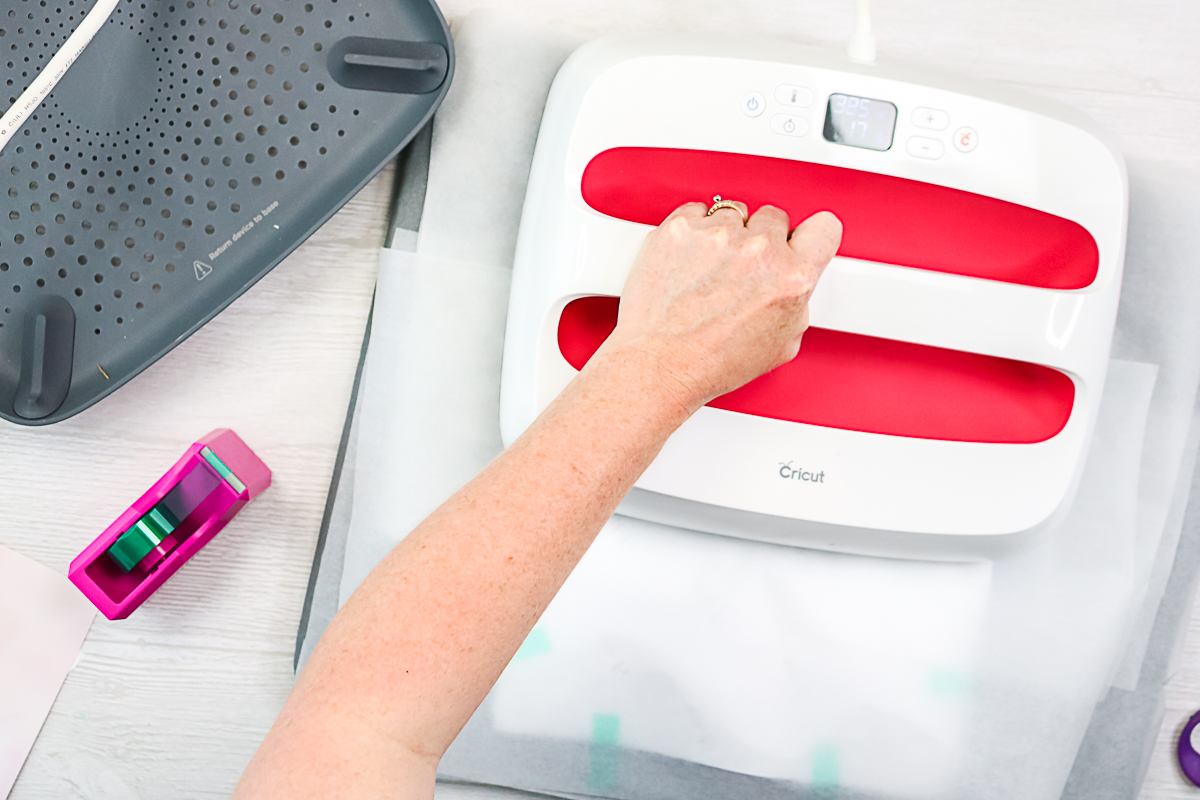
With the EasyPress, I just pressed down slightly and didn't have any issues. NOTE: I use protective paper between my sublimation print and the EasyPress. I never want to risk getting the ink on the surface of my press.
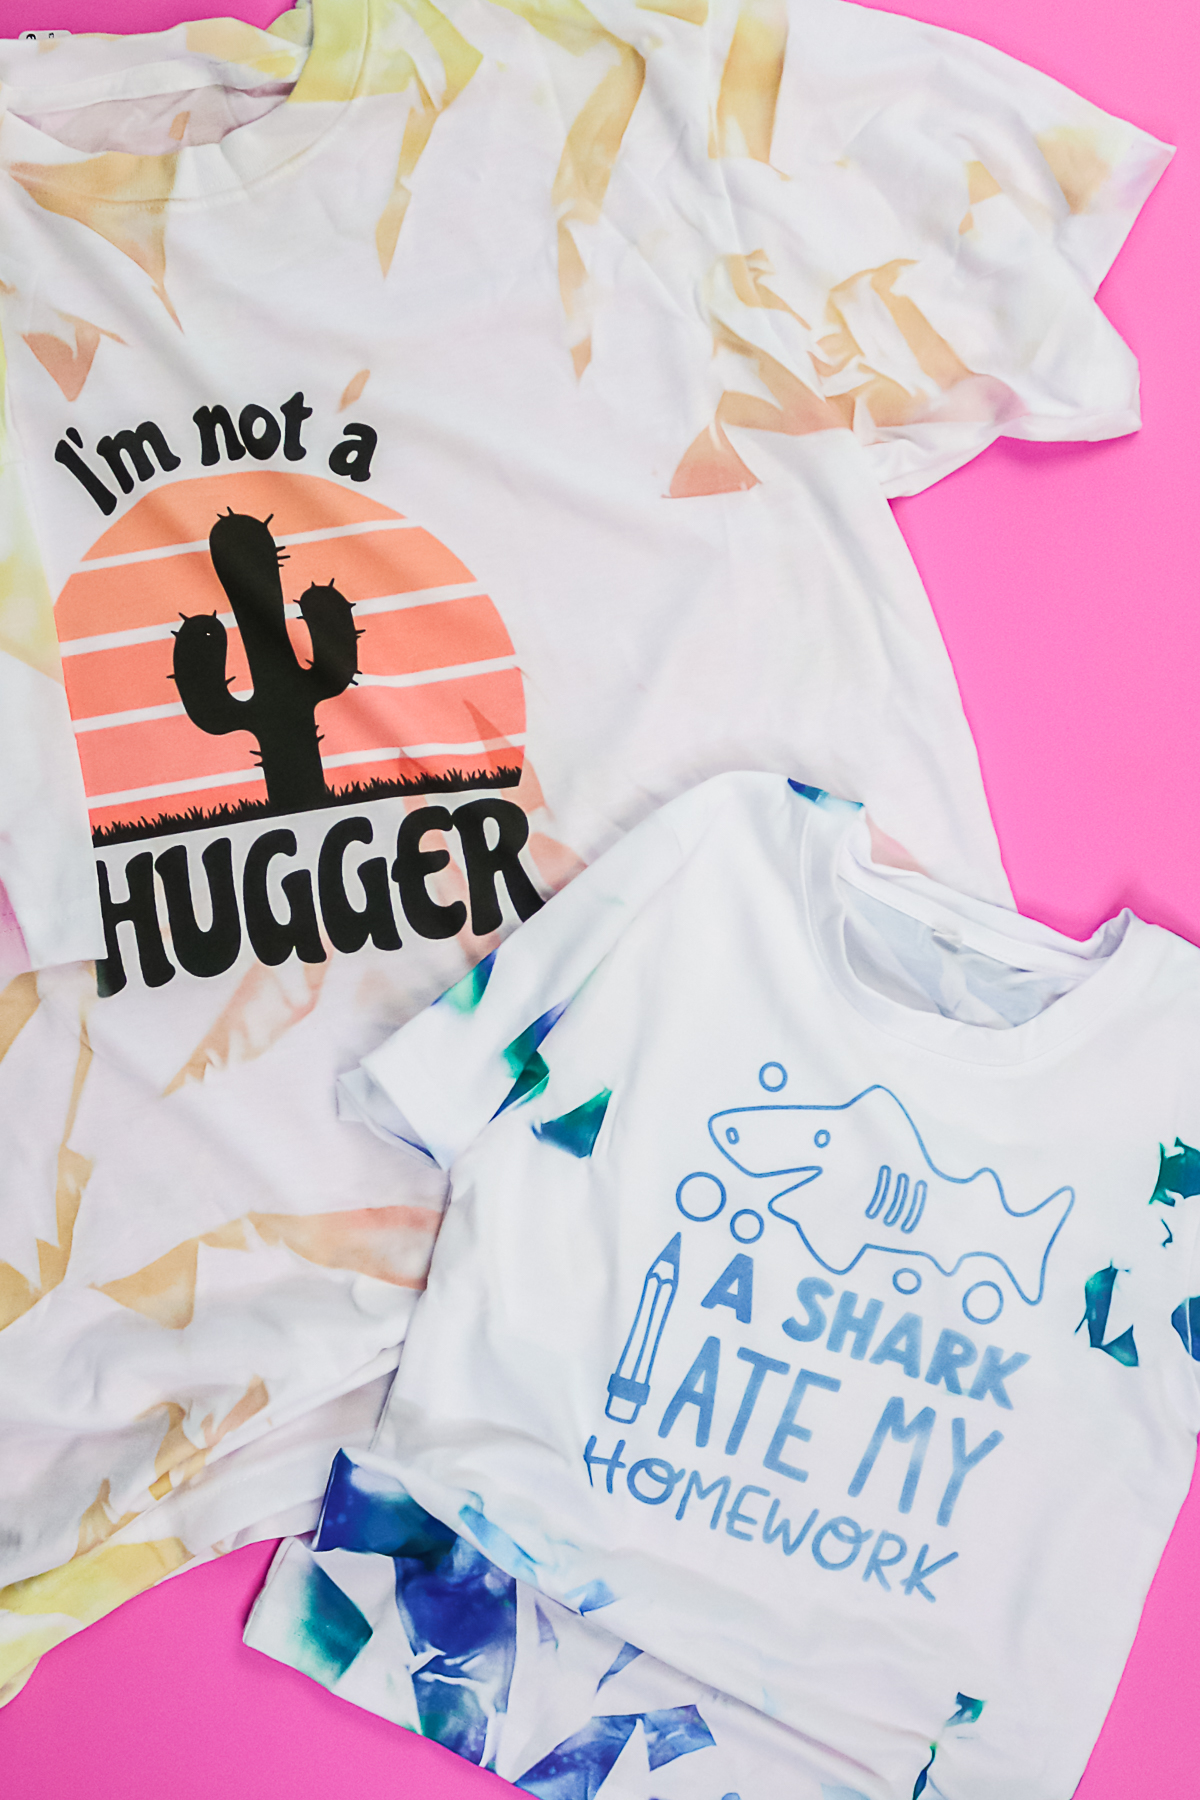
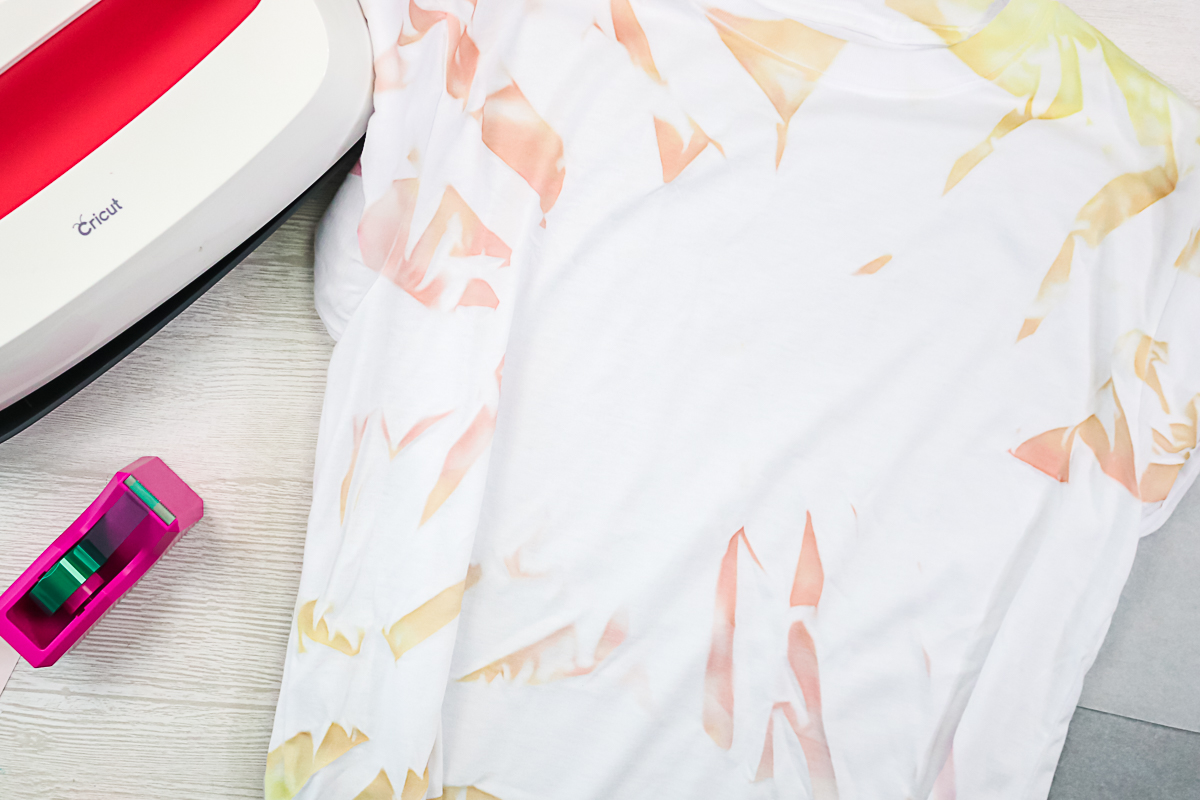
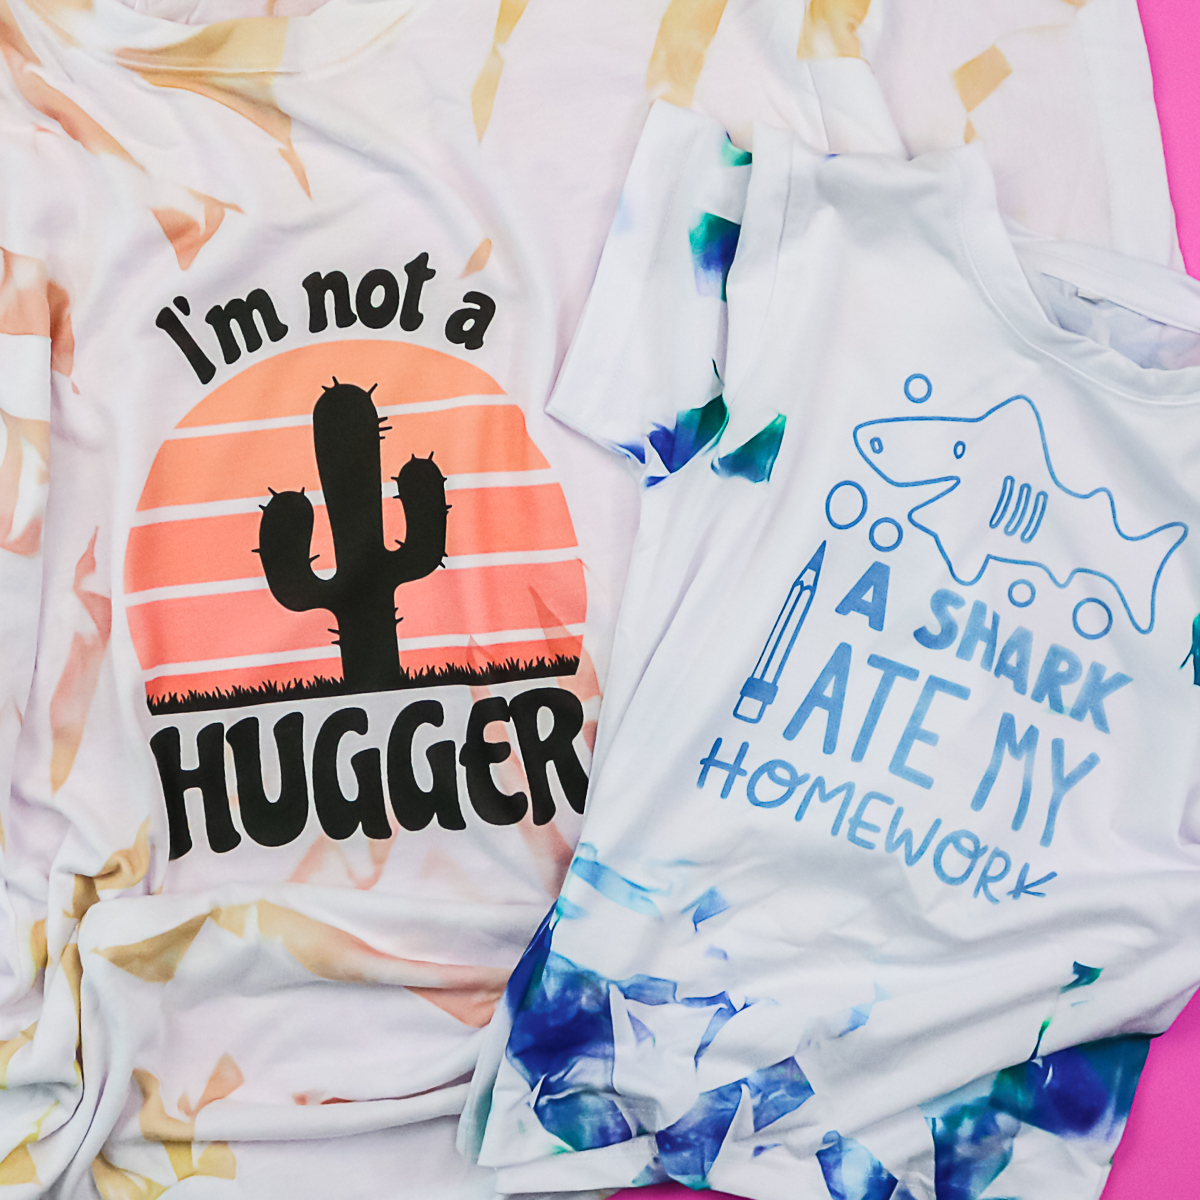
Once pressing is complete, remove the paper and spread out your shirt to see the gorgeous design! You can see the blank area on the front of my shirt just waiting for a design. But first, you will want to add the tie-dye look to the back of your shirt. Repeat the steps above for the back; however, this time you will not need to leave a white area in the center.
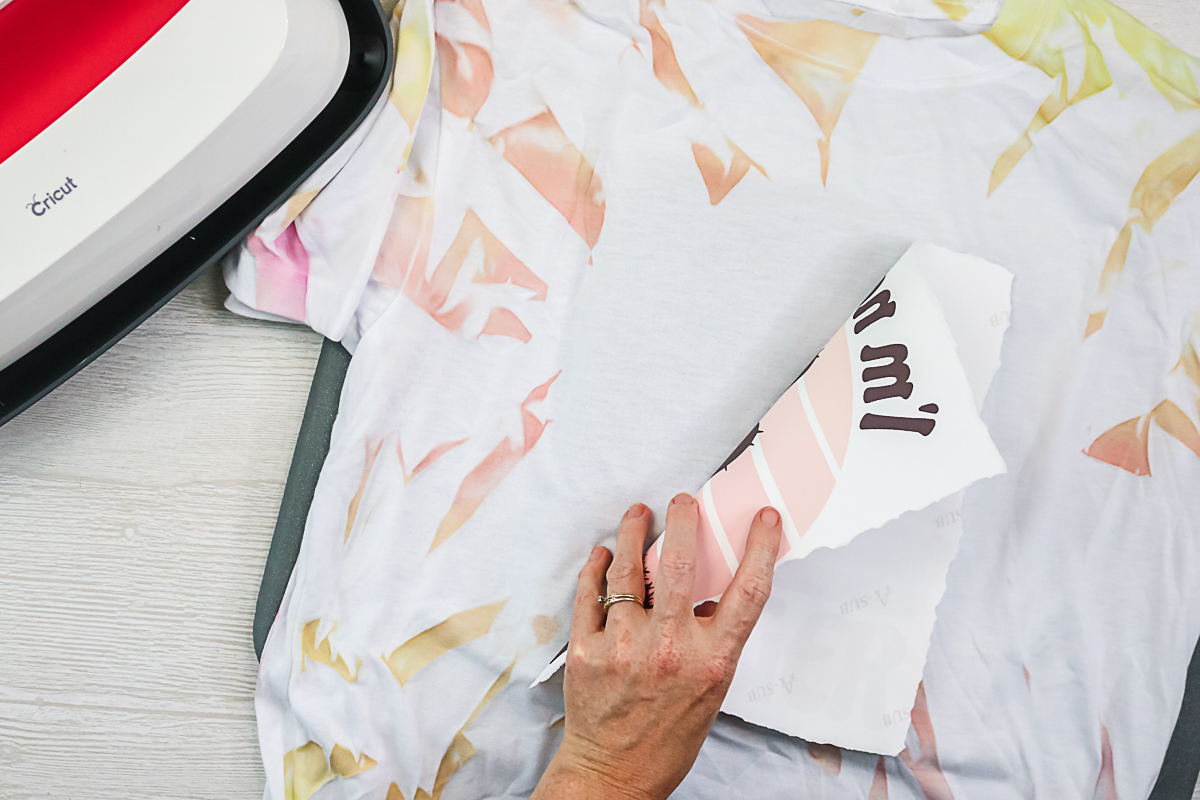
Step 5 – Adding a Design to the Front
Now that you have the back complete, let's add a design to the front! I added some protective paper and foam to the inside of my shirt. I then lint-rolled the area and pre-pressed a bit just to make sure there wasn't any moisture left. Then I put the sublimation print face down. You can see more about why I tore the edges of my design and used the foam in this post.
Then I taped the design into place with heat tape and added protective paper on top before pressing!
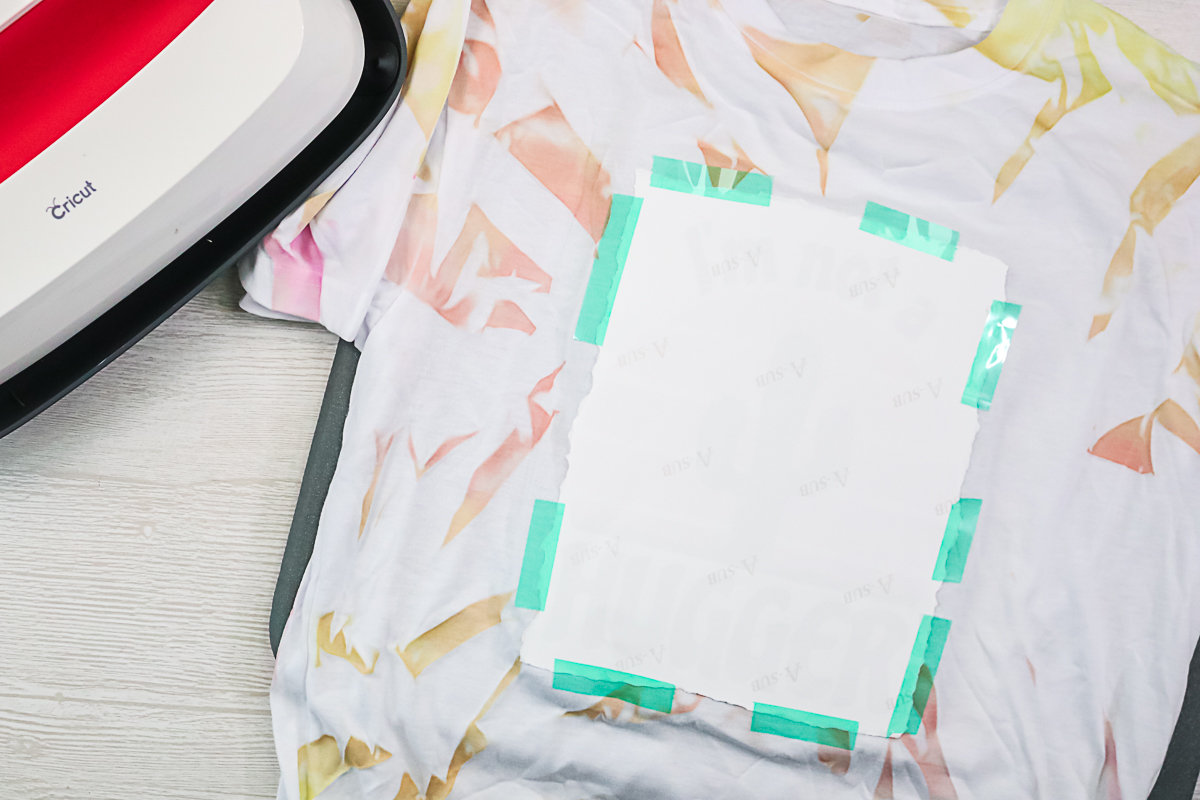
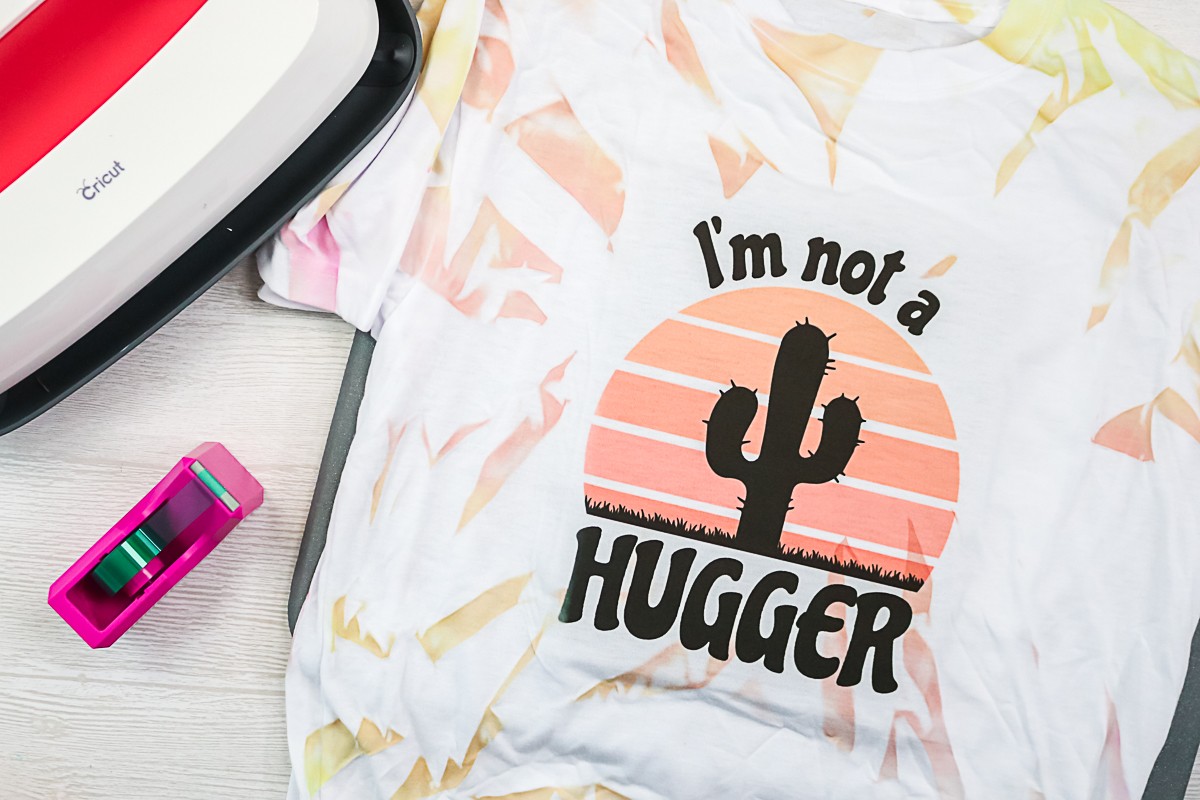
Once again, I used the recommended time and temperature for my sublimation paper for this one. Then I just press them and peel back to reveal that gorgeous design. I love how this one turned out!
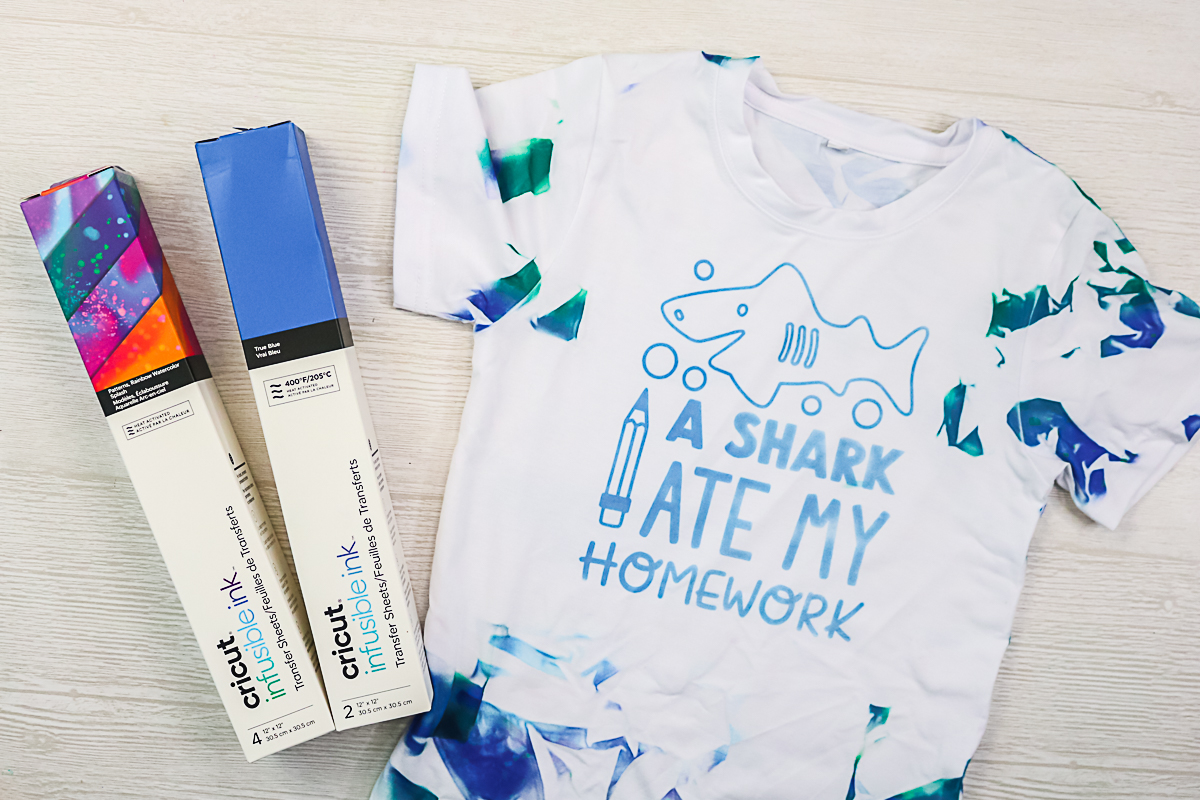
Infusible Ink Tie Dye
What if you don't have a sublimation printer? Well, you can get the SAME look with Infusible Ink. In this case, I use a patterned sheet of Infusible Ink for the tie-dye portion, then cut Infusible Ink for the front design.
You can also watch me make this shirt in the video below. For this one, I didn't use the heat tape to secure the area I wanted to mask on the front. I do wish I had though, as the method I am showing you above for sublimation is much easier.
@countrychiccottage Get that tie dye look with Cricut Infusible Ink transfer sheets! ##cricutprojects ##cricut ##infusibleink ##learnontiktok ##tiktokpartner
♬ original sound – Angie Holden
FAQ
Here are answers to some of the most frequently asked questions I receive about creating these tie-dye looks. If your question isn’t listed, feel free to drop it in the comments, and I’ll be happy to help!
Why mask the front area?
When applying a sublimation design over any color, the bottom layer will show through the top layer. That means your “tie dye” layer will show through your design and may ruin the look. I choose to mask as much as possible when putting a design on the front. You can definitely experiment with not doing that.
Do I have to use a polyester shirt?
Yes, you do. Sublimation and Infusible Ink need polyester content to work. I recommend at least 70% polyester for the best results.
Can I use HTV on the front after the sublimation tie dye?
Definitely! Do the tie-dye first, then add your HTV as usual. Please note that you will still need to add protective paper when pressing the HTV. The ink from the tie-dye can reactivate and get on your press.
So, are you ready to give sublimation tie-dye a try? I must say, I love this method for making cute shirts in minutes that are super unique, too!
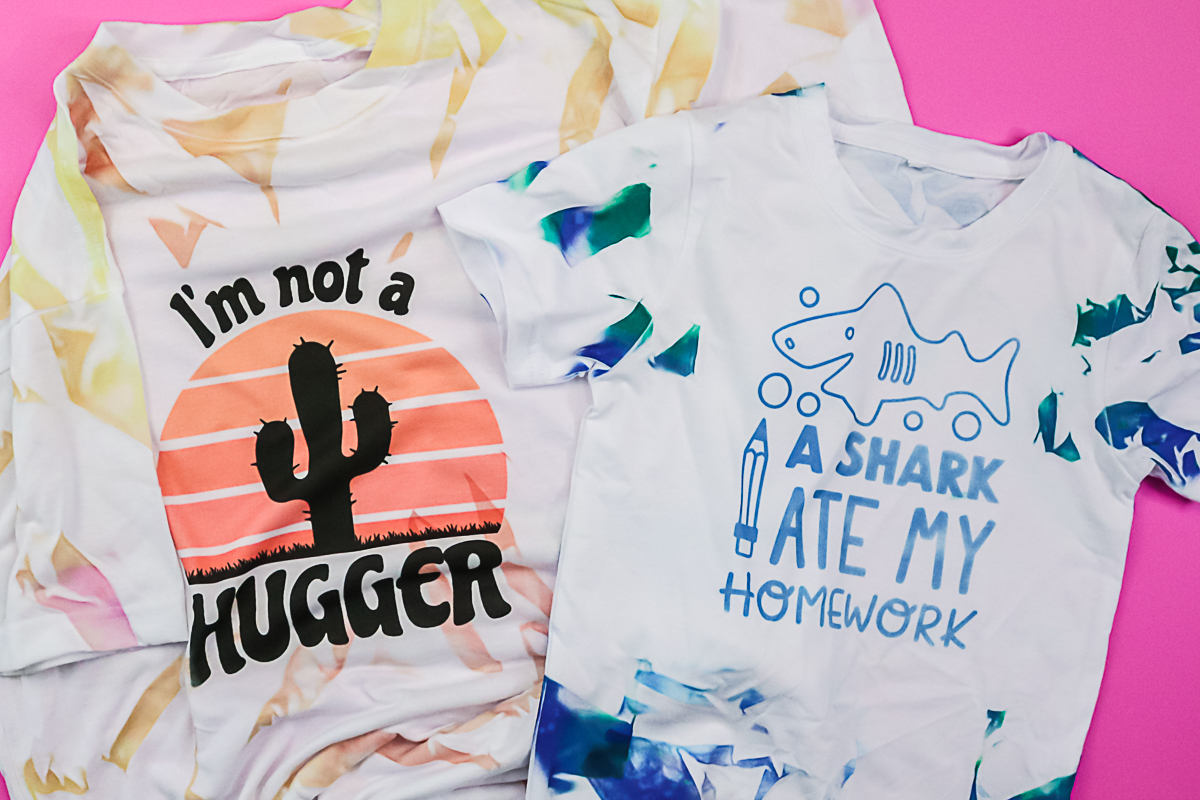
Whether you use sublimation or Infusible Ink, I know you are going to love how your shirts turn out. Definitely give this a try just once, and I think you will really love it.
This is also a great way to get an all-over design on a large shirt with a printer that only does smaller prints! So, are you going to try sublimation tie-dye?