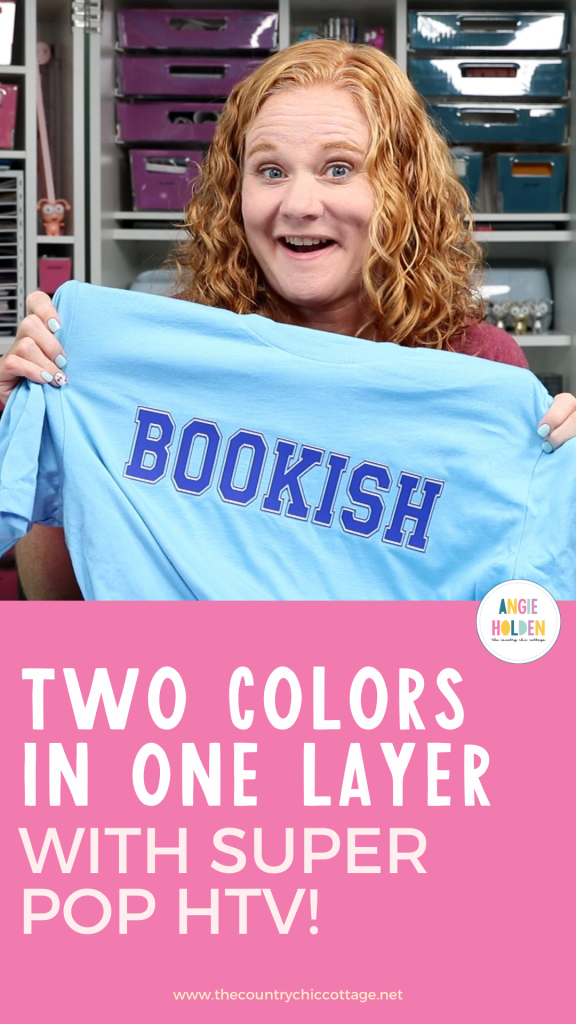
I'm so excited to show you a new heat transfer material that I am loving. Super Pop HTV from Vinyl and Tulle Supply is one sheet of HTV, but it is two different colors. You're going to love the look you get with it.
I'm going to test a variety of different blanks and colors to see how they all work with the Super Pop.
NOTE: Certain designs and fonts will work better with this material than others will. I think images with thin lines or breaks in the design work best.
You can watch me make these projects from start to finish by pressing play on the video below.
What is Super Pop HTV?
Super Pop HTV is basically two colors of HTV in one. When you look at the sheets, you'll see that the front and back are two different colors. The shiny side is the top, which is the side that will go down on the mat, and it will be the top color.
The bottom color is the color that will pop out behind the top color. There are a variety of different color combinations, so you'll want to choose the combo that works best with your blank colors.
Even though there are two colors, you only have to cut and press it once, and it'll give you the look of two layers.

How to Use Super Pop HTV
I love this product, and I think you will too, so let's make some projects and look at the different colors.
Supplies Used
- Font Used for Design
- Super Pop HTV
- Cricut Machine
- Weeding Tool
- Heat Press
- Sweatshirt
- T-shirt
- Tote Bag
- Zipper Pouch
Step 1. Create Design in Design Space
You'll use Super Pop HTV just like any other HTV. The most important thing is to look at the font or image you're using and the color combination.
The first thing we will do is create a design in Design Space. I am using the font AB School Varsity which is linked in the supplies above.
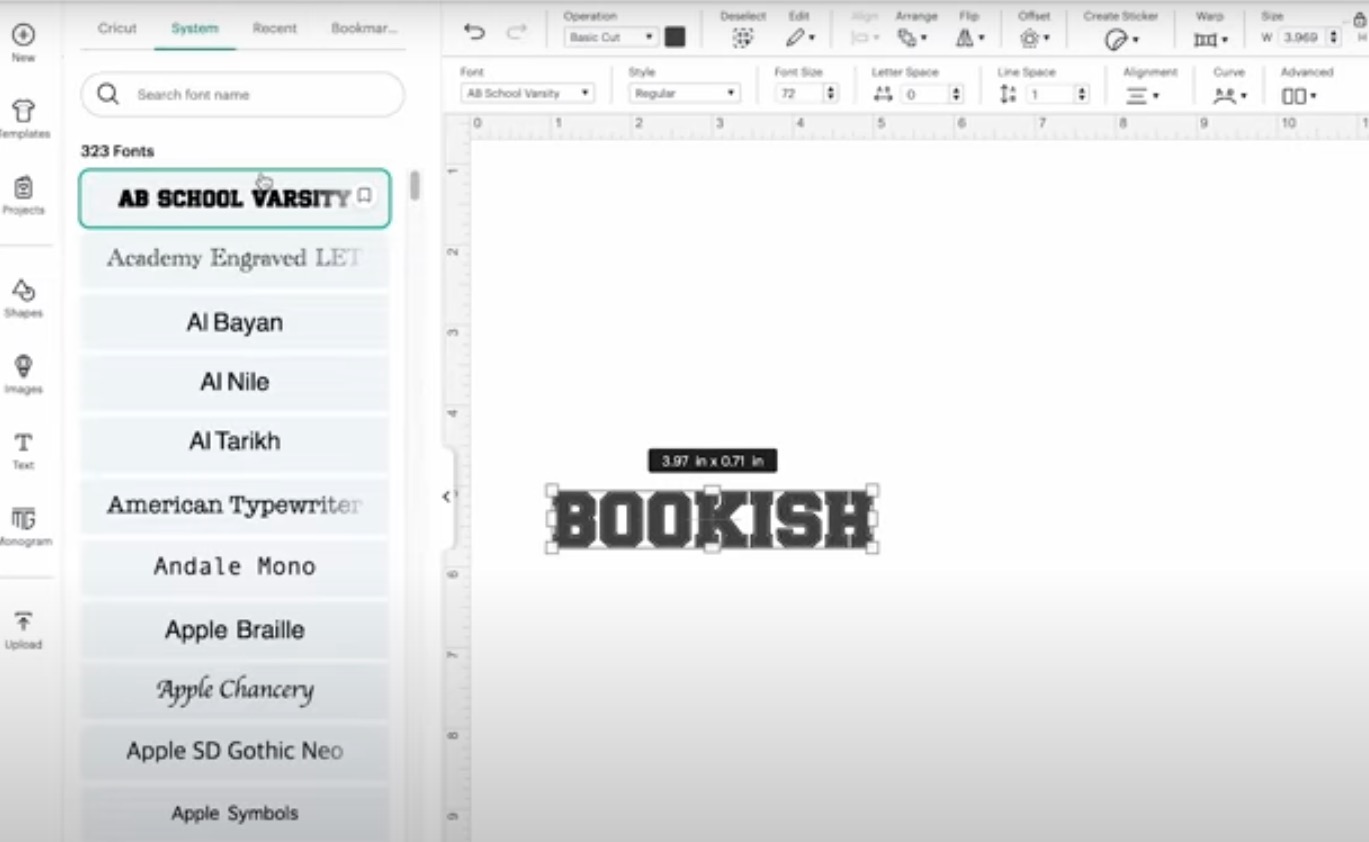
I want my projects to say Bookish, so I am adding that to the canvas, and changing the colors and size to work with the different blanks I'm using today.
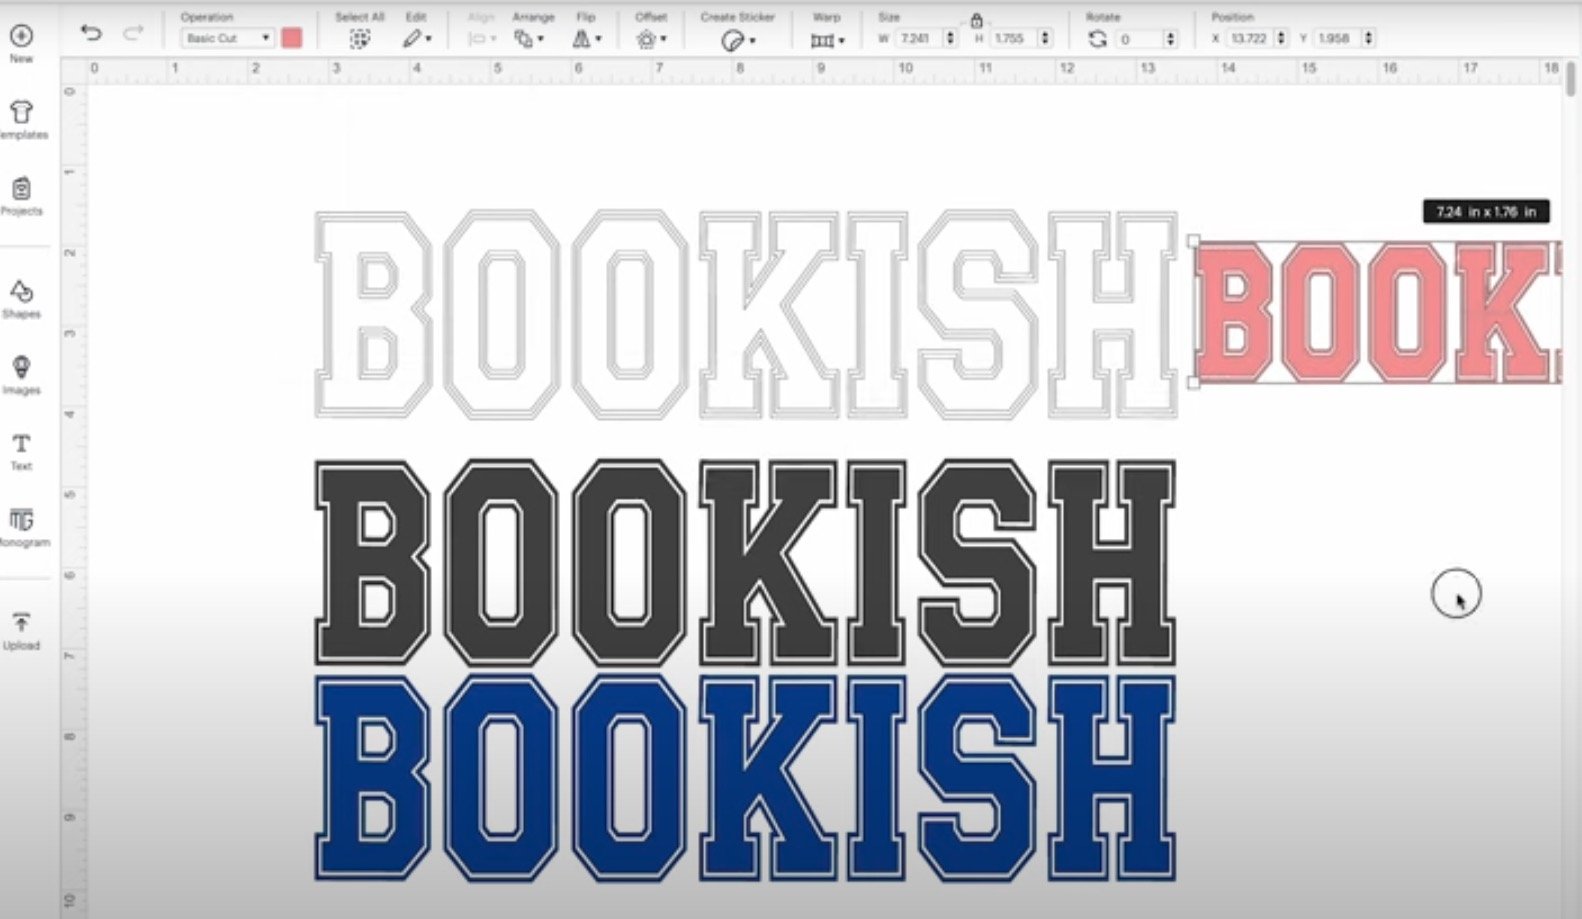
NOTE: I did adjust the text height after I typed it out. I wanted it a little taller than the default for the width. To do this, weld the text, making it an image. Once it's an image, you can unlock the size and adjust the size however you want.
Step 2. Cut Out Design
I am using my Explore 4 machine today, but you can cut this material with any Cricut machine.
When the designs are how you want them, click Make. Select to cut on a mat and mirror the design.
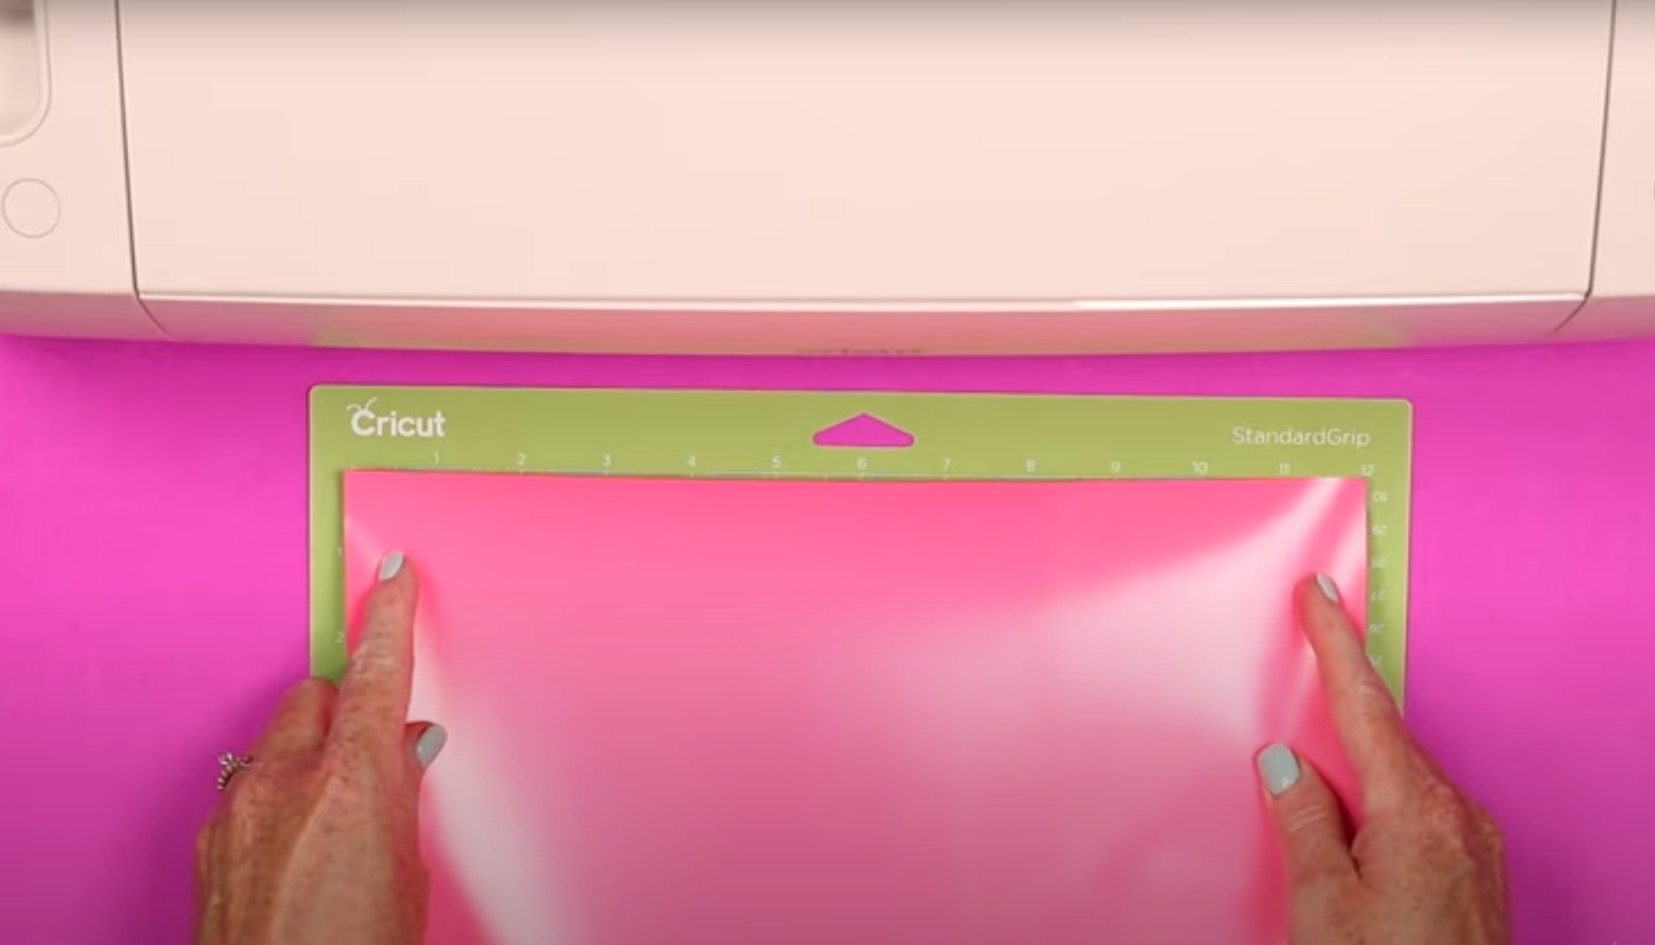
Place the material on a mat shiny side down. I like to use a green StandardGrip mat for this material, and I use a brayer to make sure it's stuck down really well.
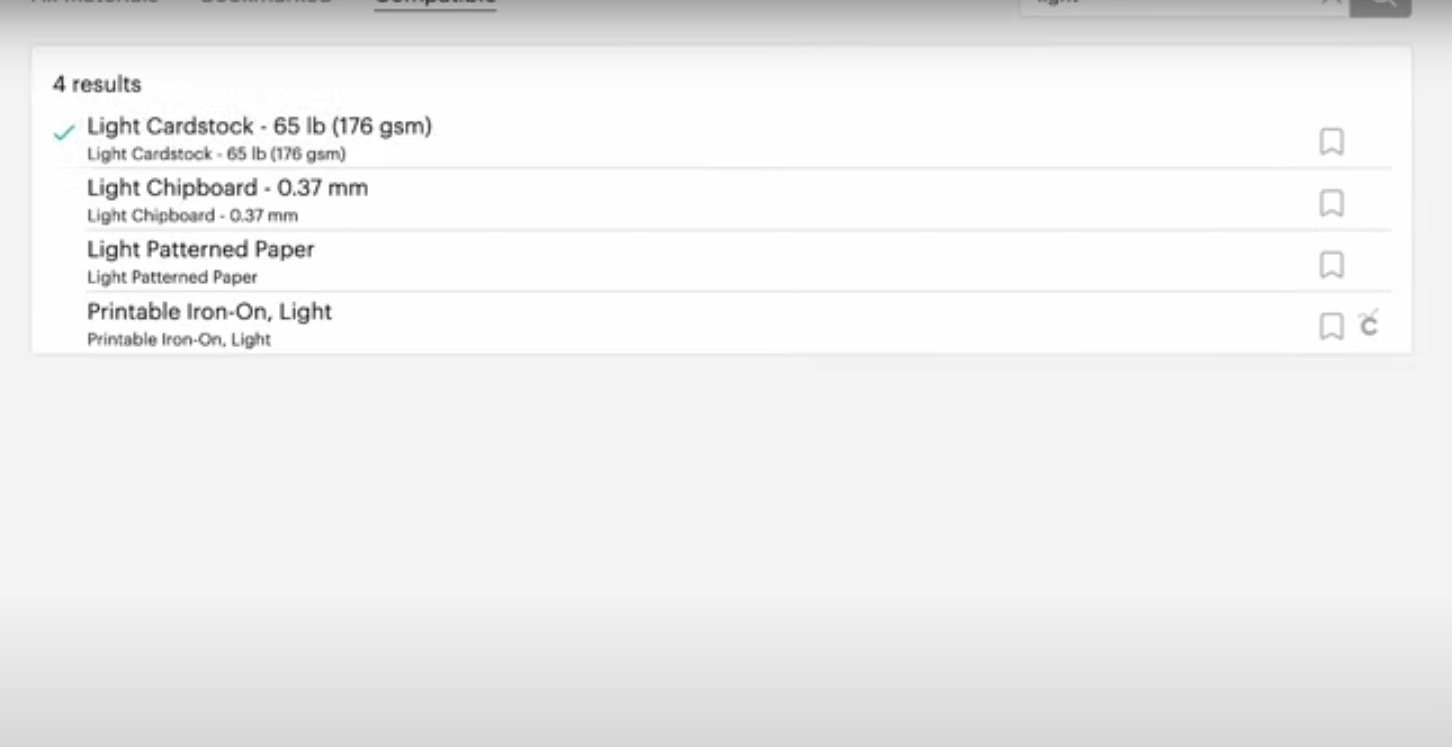
This material is thicker than a regular HTV, so I tested using both the Light Cardstock setting and the Polyester, Bonded setting. With both of those settings, I chose More on the pressure setting.
If you have not cut this material before, I recommend doing a test cut so you don't waste material.
Load the mat into the machine and Press Go to cut.
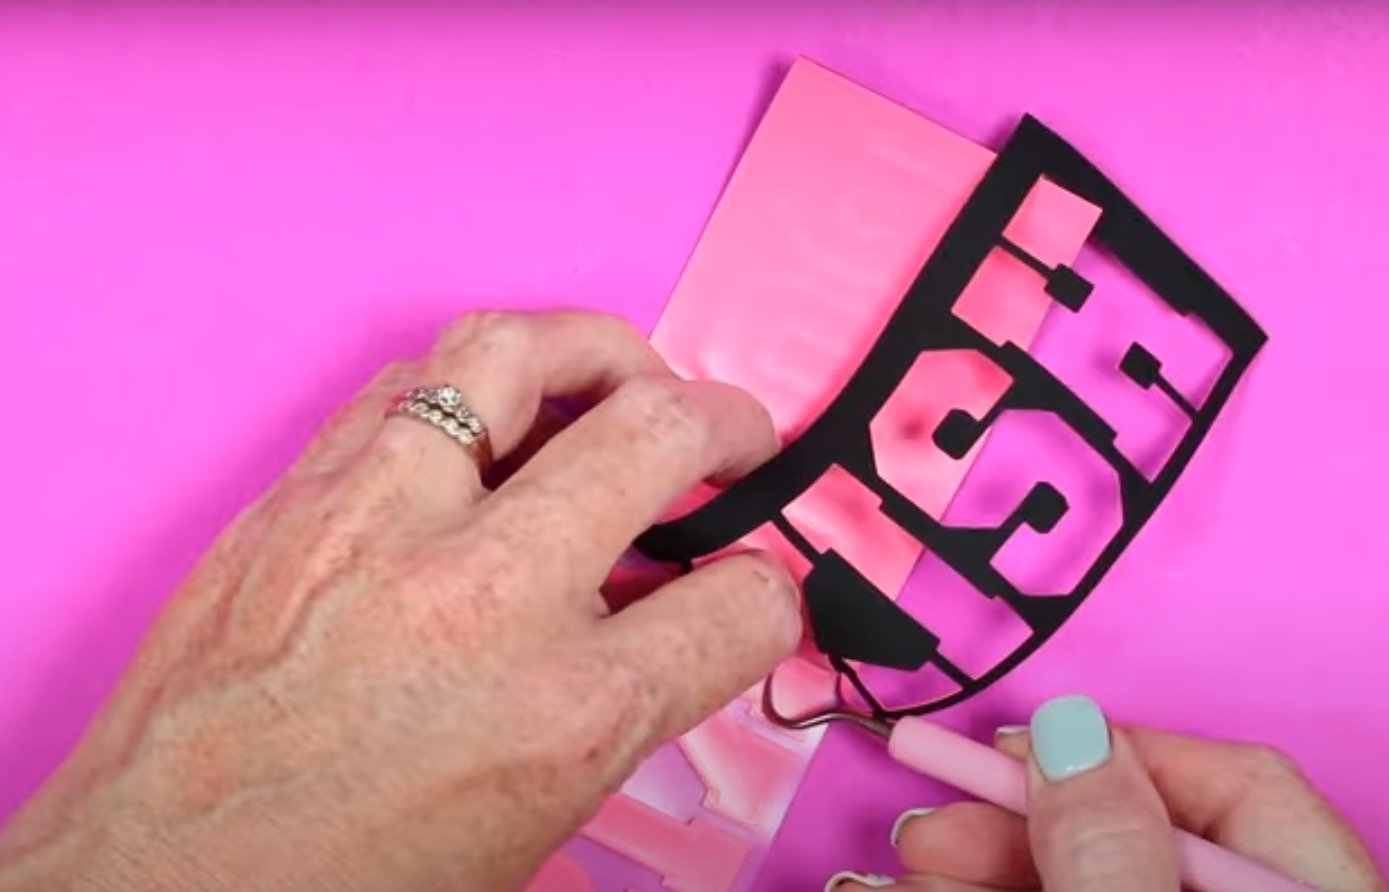
Step 3. Weed Super Pop HTV
When the Cricut is done cutting, unload the mat and remove the material from the mat.
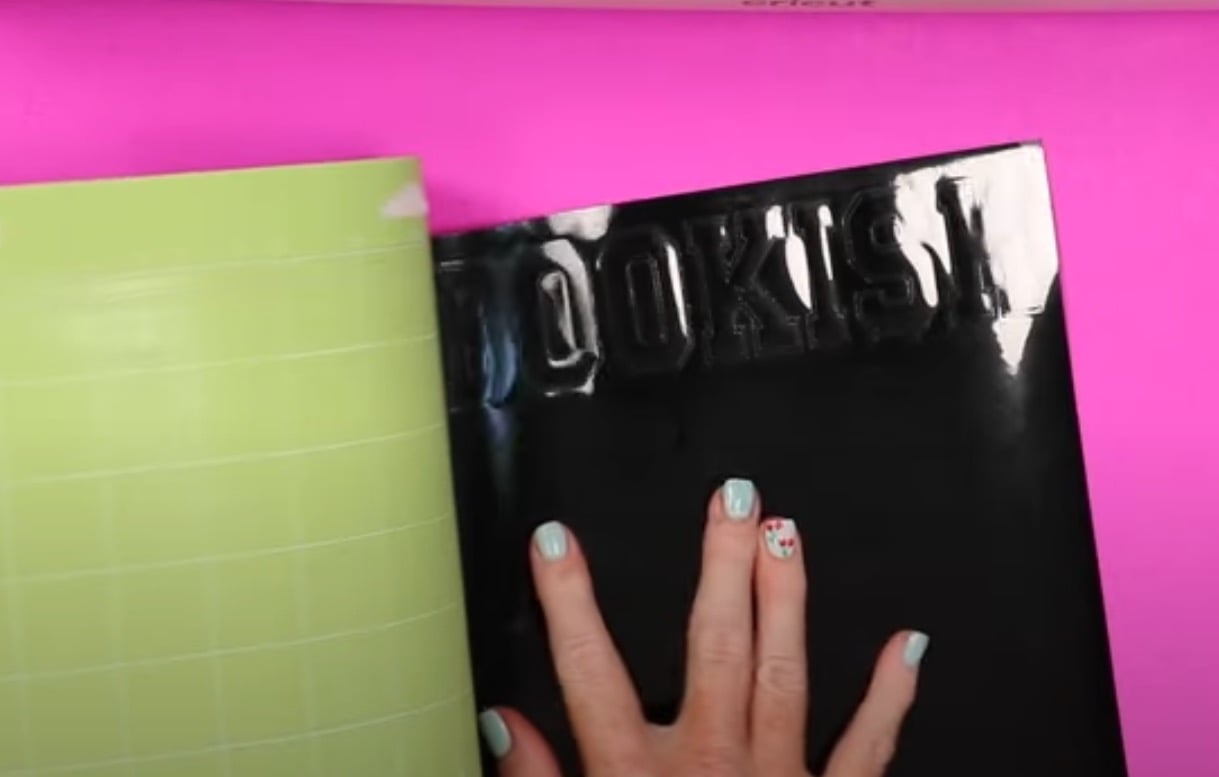
I like to trim the design away from the material so I can save the excess for another project.
Use a weeding tool to remove everything from around the outside and the inside of any letters or other inside pieces.
I found the material a little difficult to weed so take your time. You may find a different setting makes it easier to weed.
Step 4. Press Super Pop HTV onto Blank
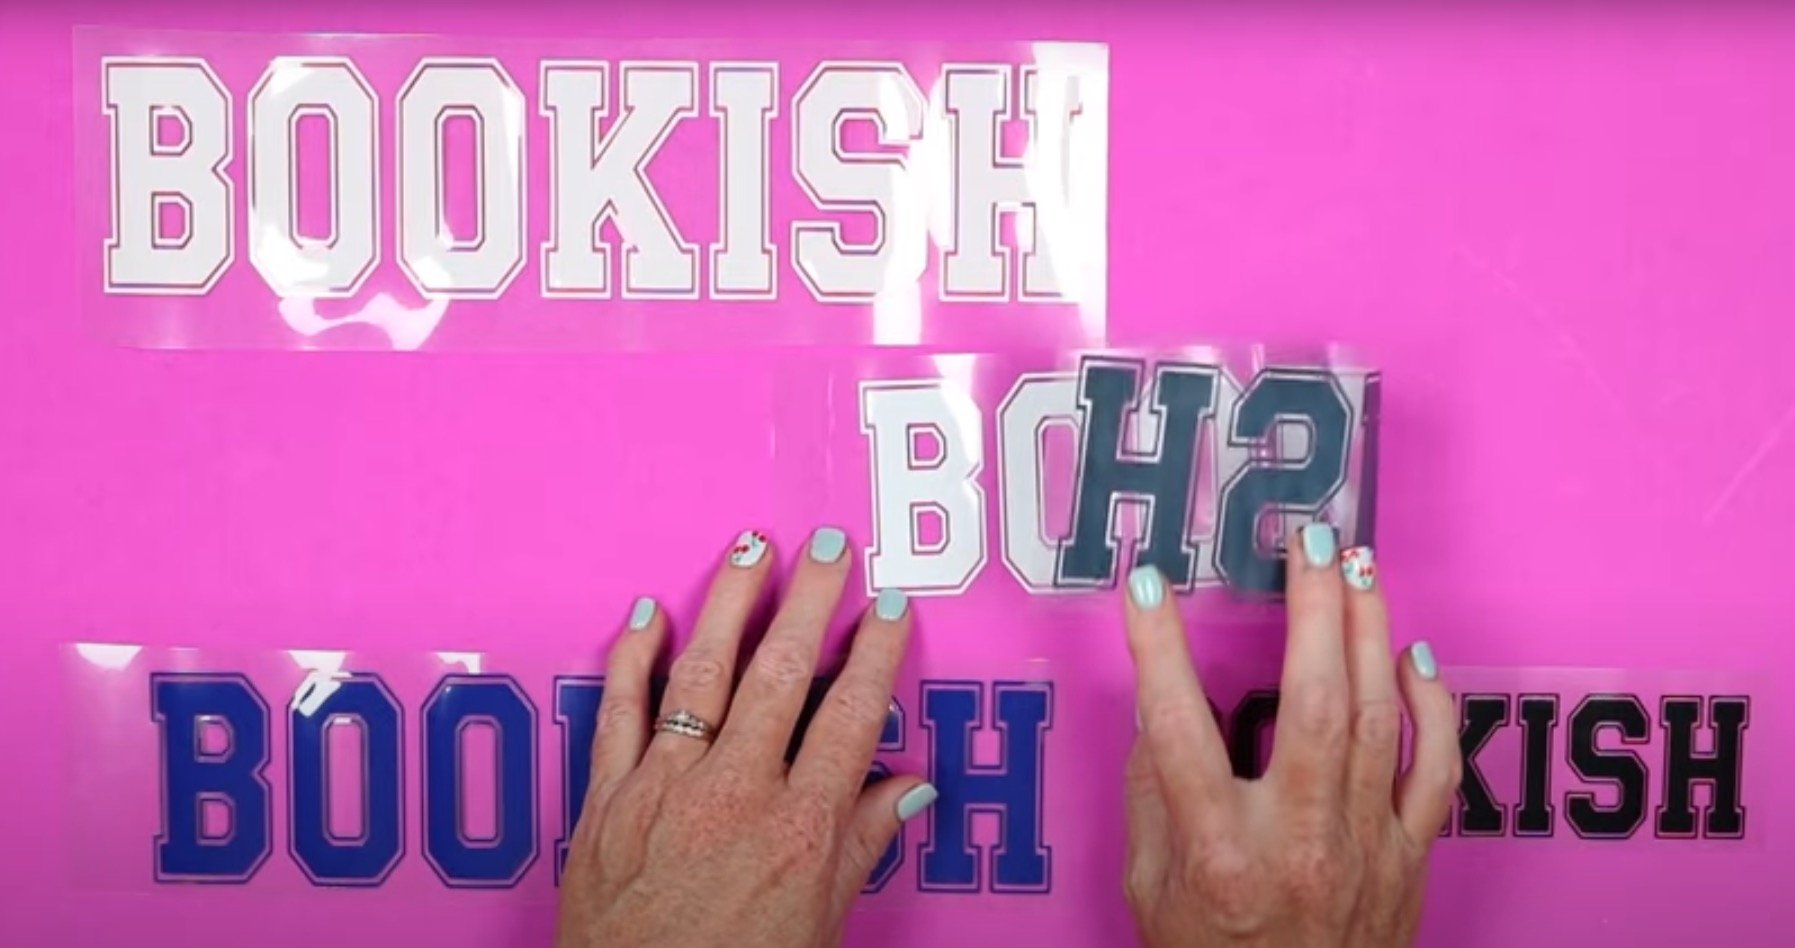
Here we have all of the different Super Pop HTV designs for the blanks I'm using today.
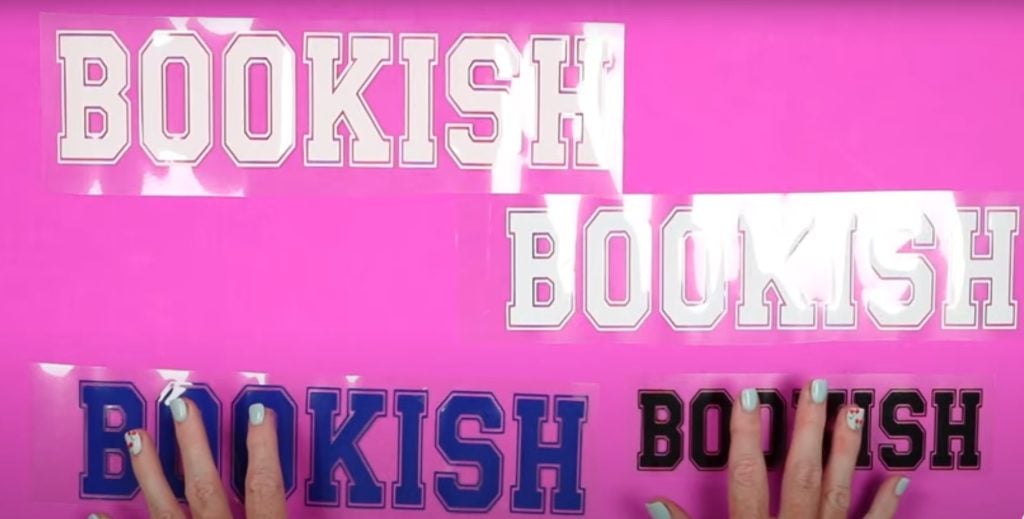
The different color combinations I'm using today are White top with pink on the bottom, white top with black/navy bottom, blue top with white bottom, and black top with pink bottom.
The press settings for this material are 310 degrees for 15 seconds with heavy pressure.
I like to use the pre-press to adjust the pressure. I am using a traditional heat press; I wouldn't recommend a handheld press or autopress for this material because you do need a heavy pressure for best results.
After the pre-press, locate the material on the blank and press for the full time.
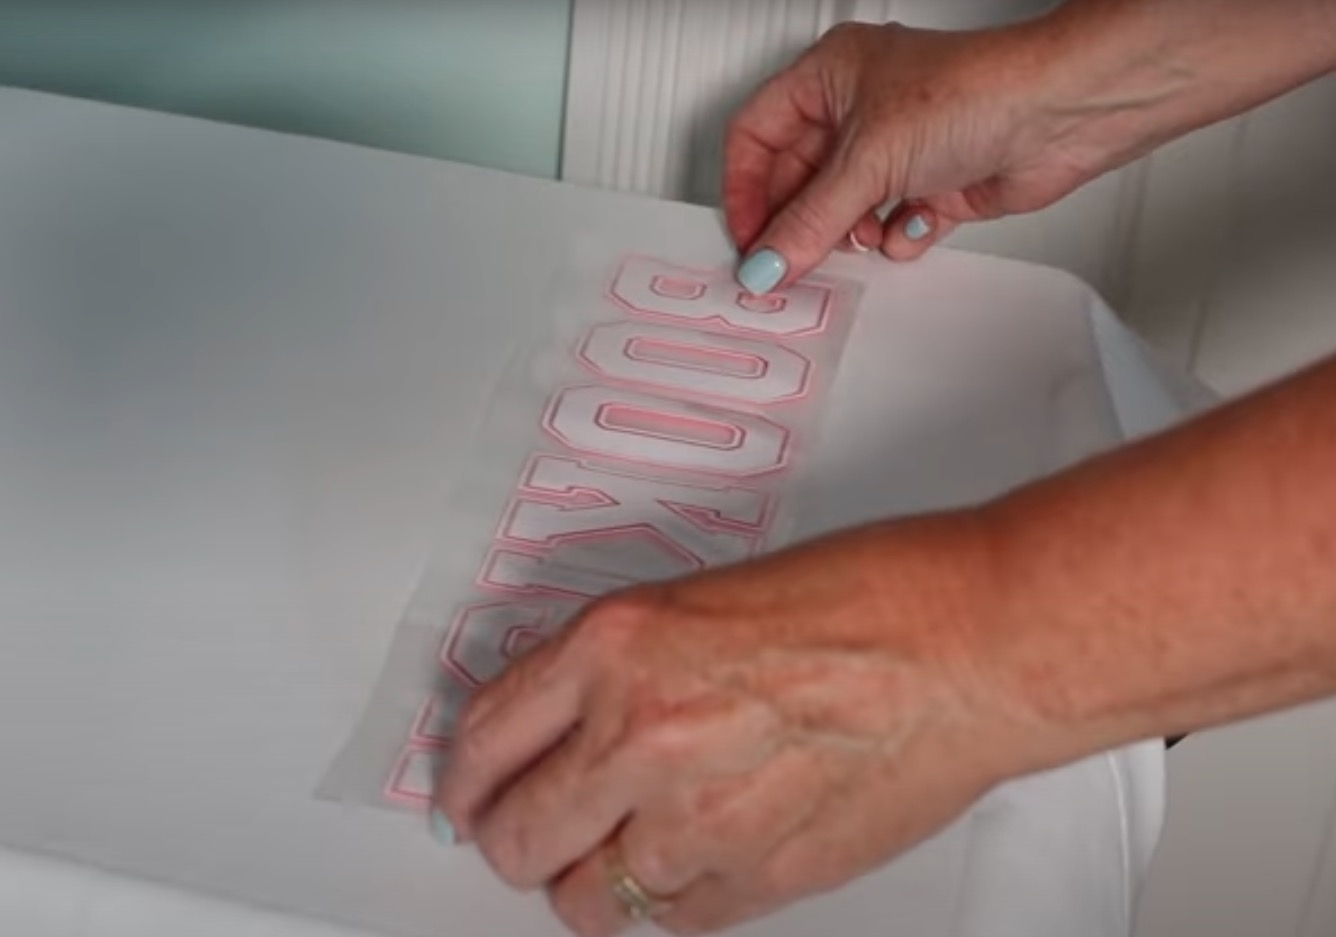
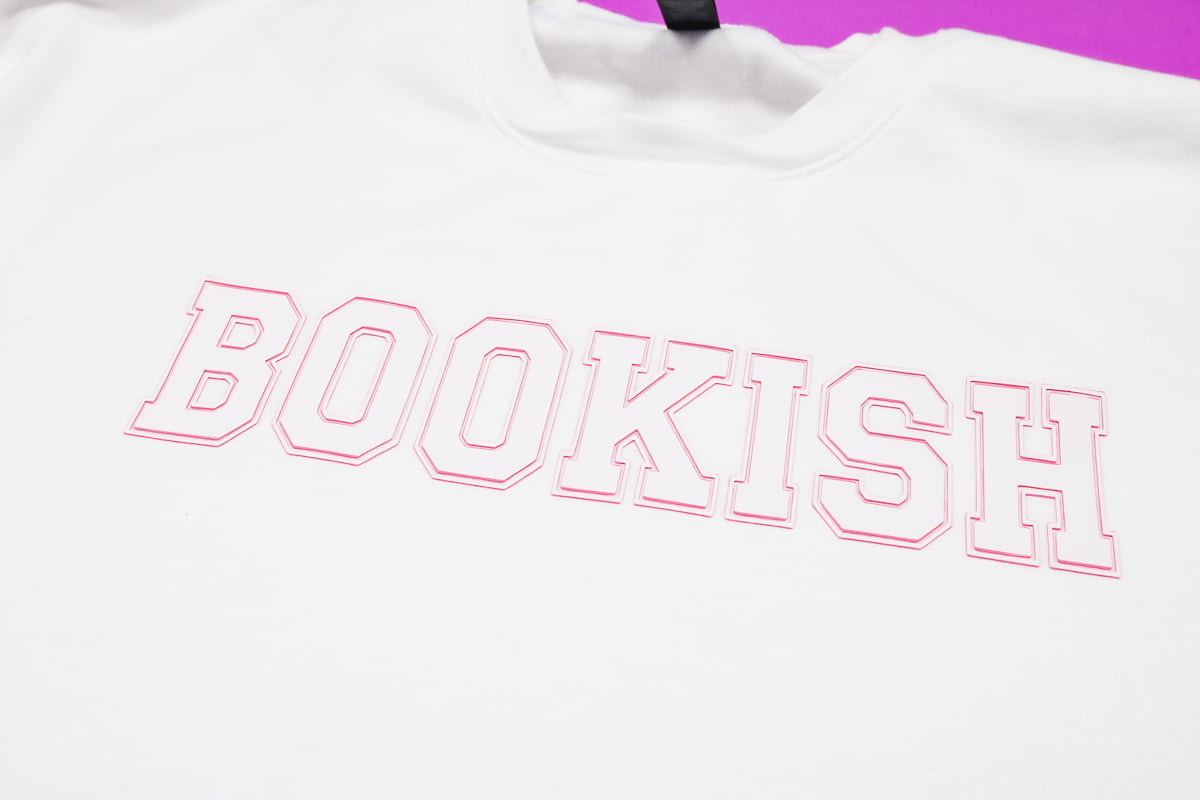
The first project I'm making is a white sweatshirt. For this project, I am using the Super Pop that is white on top and pink on the bottom.
Step 5. Finish Super Pop Project
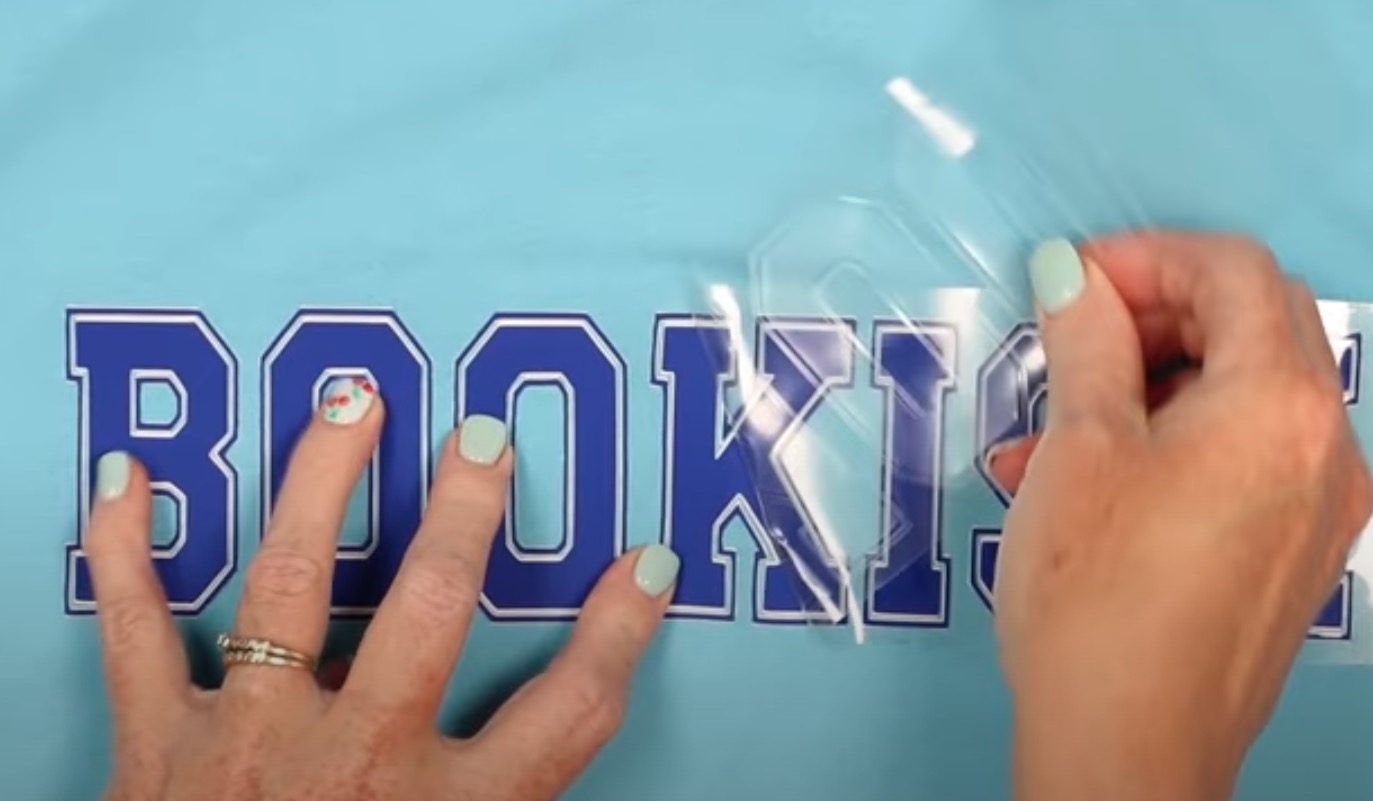
When the time is up, remove the blank from the heat press and allow it to cool completely before removing the carrier sheet.
You can speed up the cooling process using a DTF cooling block.
Gently peel back the carrier sheet, and you can see that the color on the back really pops after it is pressed.
Tips for Super Pop Projects
Let's look at the different projects I made today and see how they turned out.
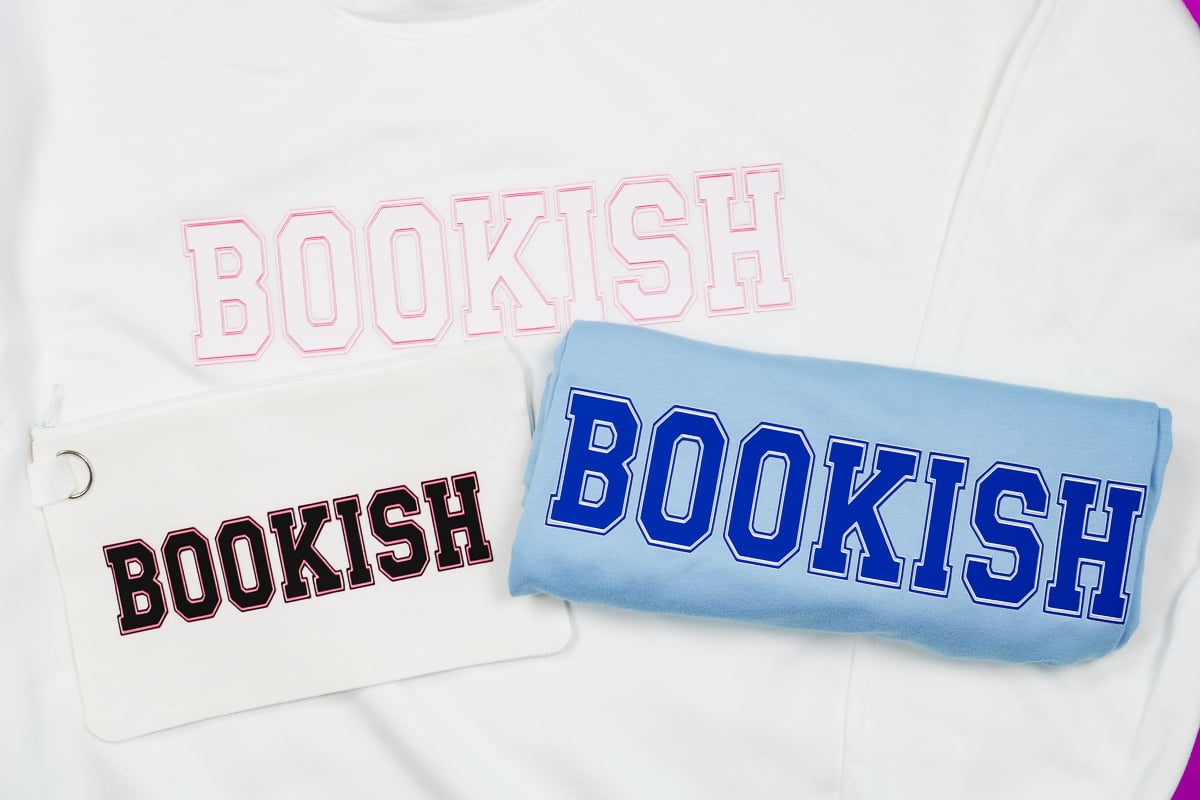
I think this white sweatshirt is my favorite of all the projects I made today. I love the white Super Pop on the white sweatshirt with just a little bit of pink showing through.
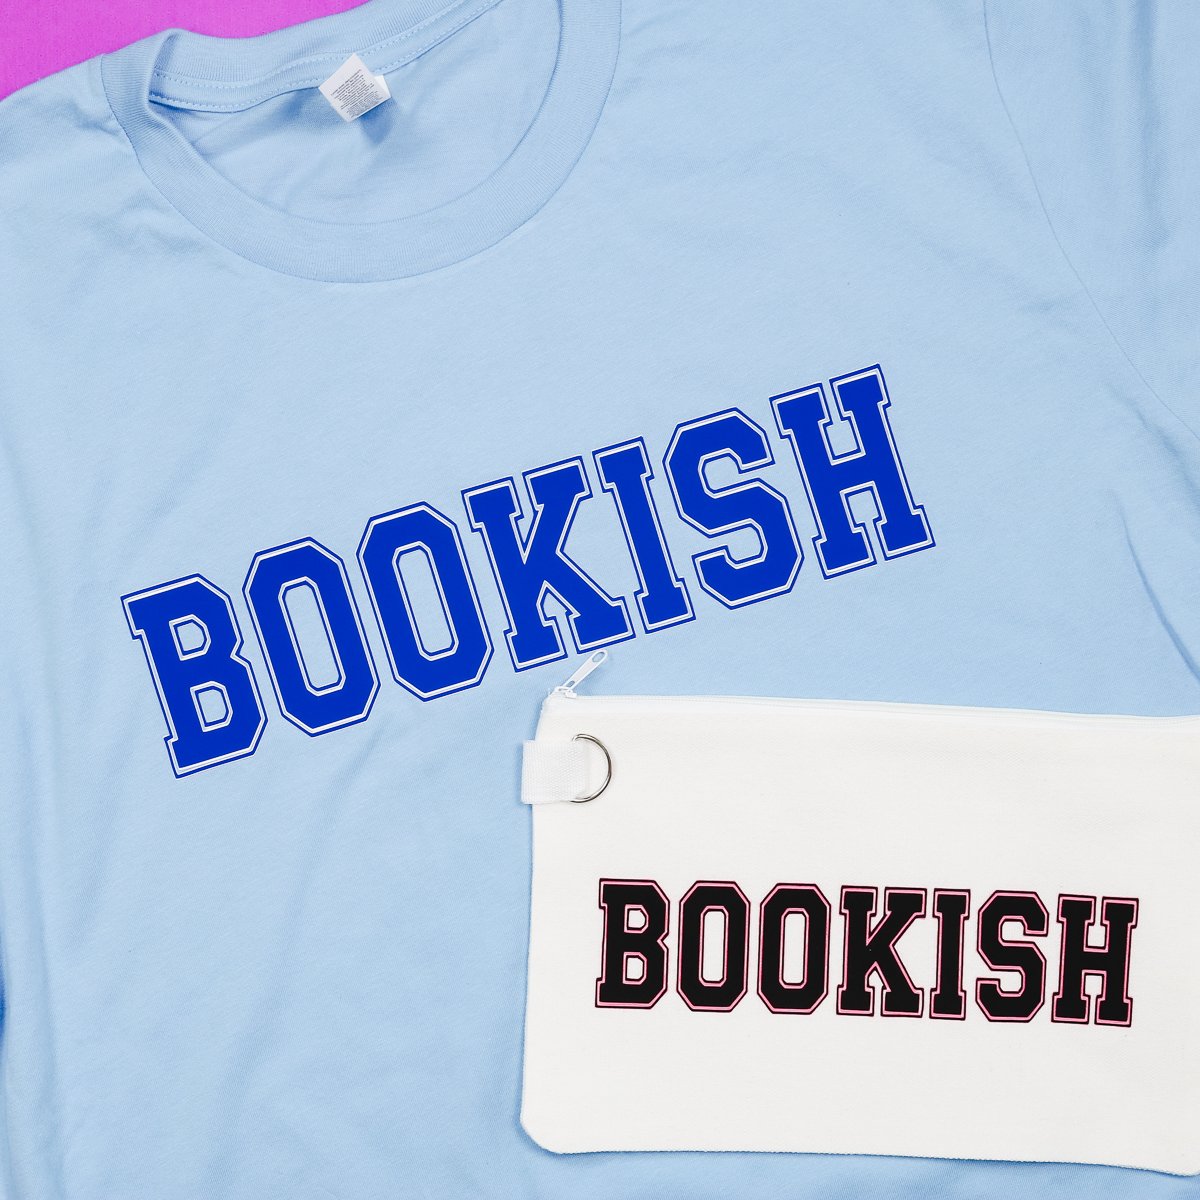
Next, we have a light blue t-shirt with the dark blue and white Super Pop HTV.

The contrast looks really good, and I like the dark blue on the light blue.
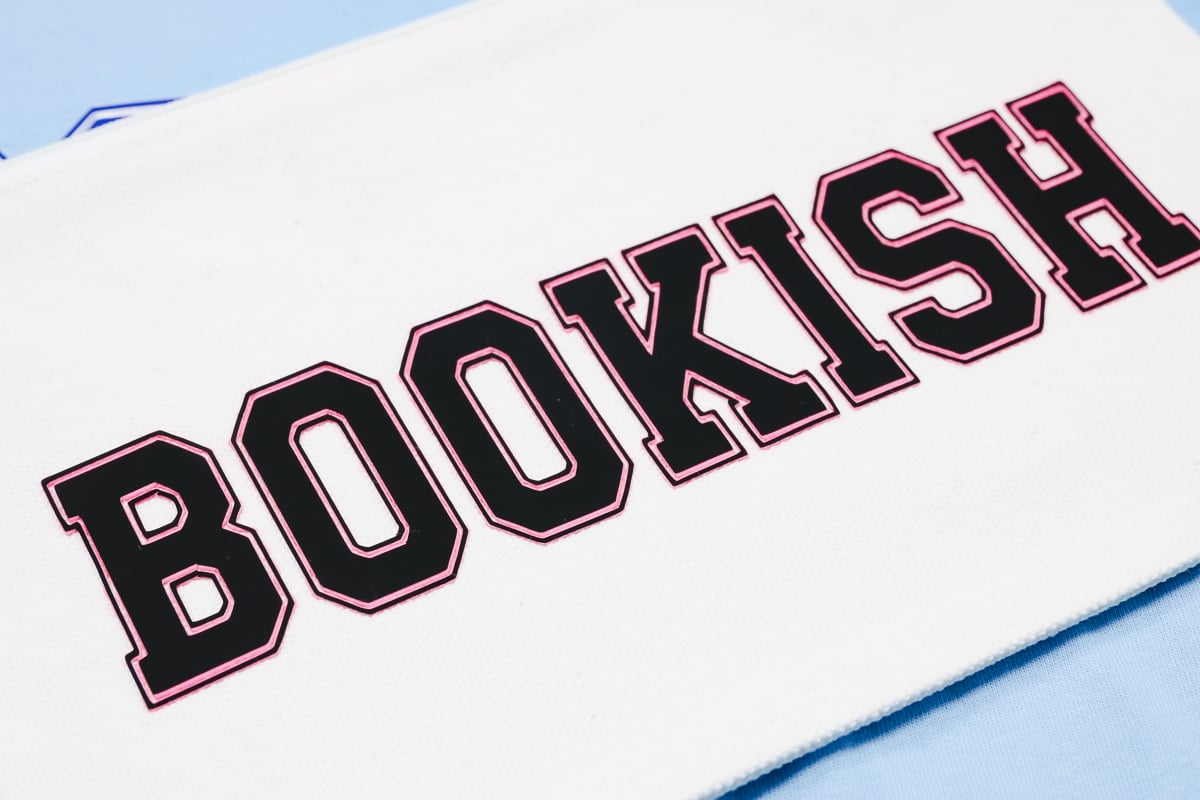
Here we have a white zipper pouch with black and pink Super Pop HTV on it. These colors really pop on the pouch, and I definitely recommend this combination.
This last project is the only one that really didn't work. The Super Pop color combination on this is a white top with a black or navy blue bottom, and you can't see the bottom layer at all.
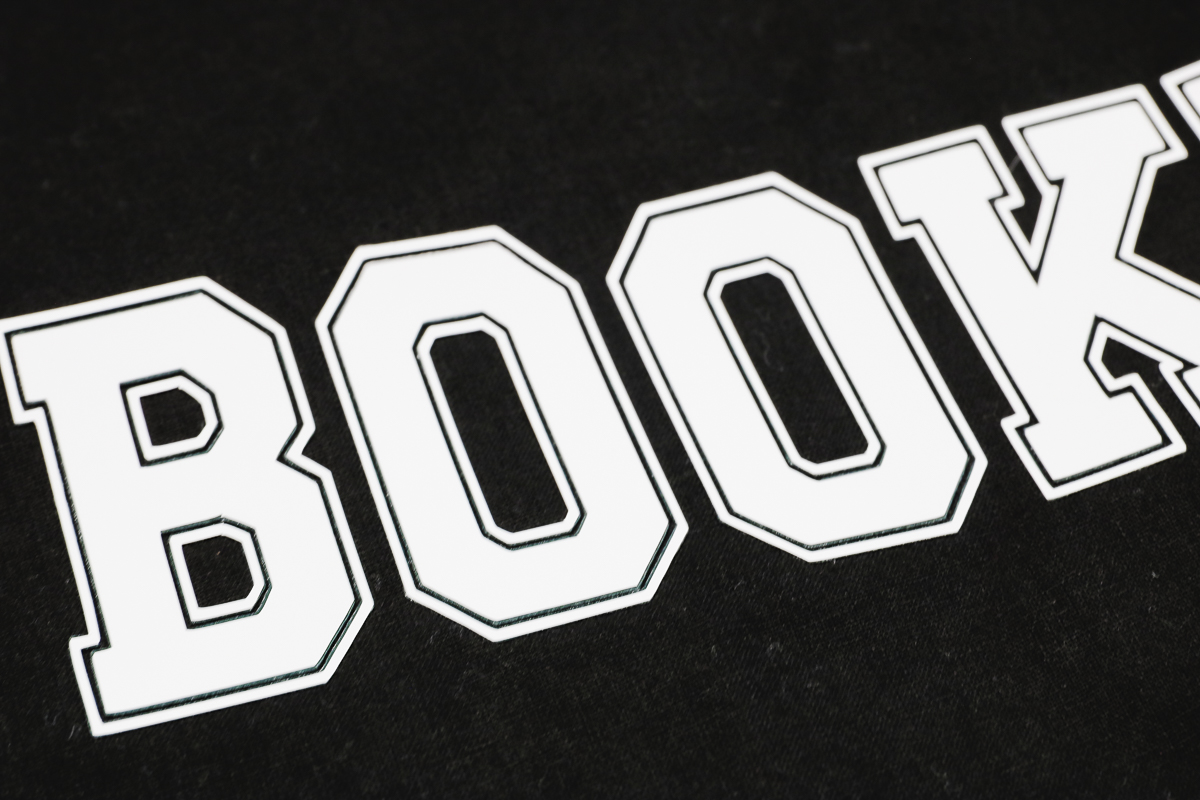
Make sure you consider the color combination and what the color of your blank is before you press. While the white top layer worked well on the white sweatshirt, I would avoid having the bottom color close to the blank color.
I love this product so much. I can't wait to try it on even more projects.
If I had to choose a favorite project out of the ones I made today, I would pick the white sweatshirt. I love the way the white Super Pop looks on it with the pink background.
The main thing I would recommend is making sure the bottom color isn't the same color or close to the same color as your blank. If it's close, you won't see the bottom color, which negates the whole reason for using the Super Pop.
This does feel like several layers of HTV, so it's a little stiff, but even on the shirts, I didn't think it was bad.
One way to help with the stiff feeling is to choose a design that has a lot of breaks in it. Fonts like the one I used today are a great option because it isn't solid across the whole design. This also allows the bottom color to pop up in a lot of places.
Care Instructions
When you wash projects made with this material, make sure you turn it inside out, wash it in cold water, and hang it to dry.
I hope I've answered any questions you have about Super Pop HTV. If you have any additional questions, leave them in the comments, and I'll be happy to answer them for you.
Note: Since trying Super Pop HTV, I have seen other brands of this material pop up. I have not tried any of them, so I cannot say if they work the same or not at this time.