
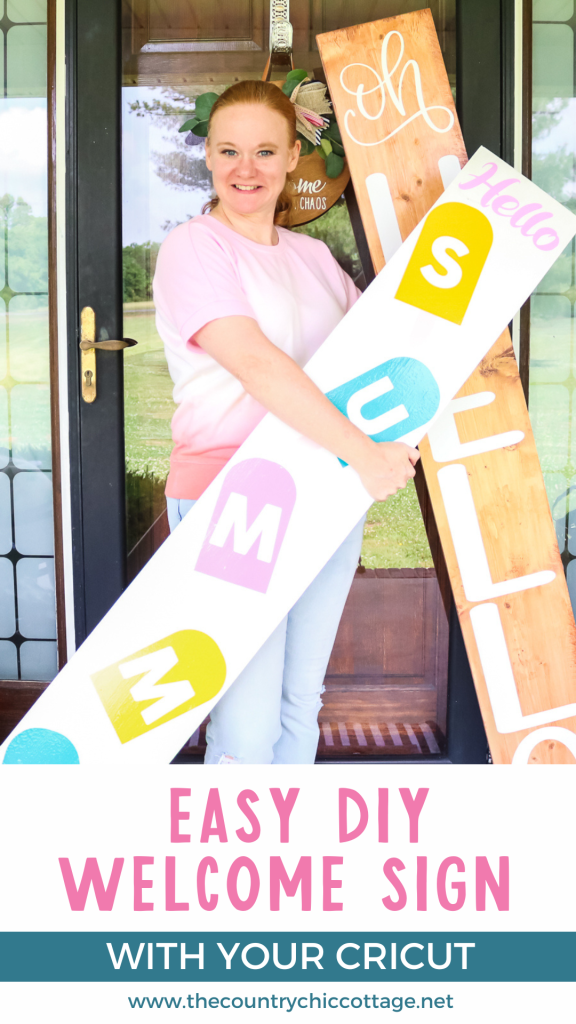
You can create your own DIY welcome sign using any Cricut machine! You may have seen these huge vertical signs on porches around your neighborhood or even on Pinterest and wondered how to make them. I'm here to help! Below, I have ideas for cutting these signs as well as tips and tricks for sealing them to ensure they last a long time. Whether you want to make a porch sign for yourself, gift one to a friend, or sell it, be sure to follow the instructions provided.

DIY Welcome Sign Video Tutorial
Watch me make both of the signs in this post in the video below, including designing, cutting, vinyl application, and sealing. Just click play below!
Can't watch the video or missed some of the steps? Follow along with my instructions below.
How To Make DIY Welcome Sign
These DIY welcome signs are the perfect summer project! They are easy to create, and the possibilities for customization are endless. Although we're focusing on summer, these DIY welcome signs can be made for any season or holiday!
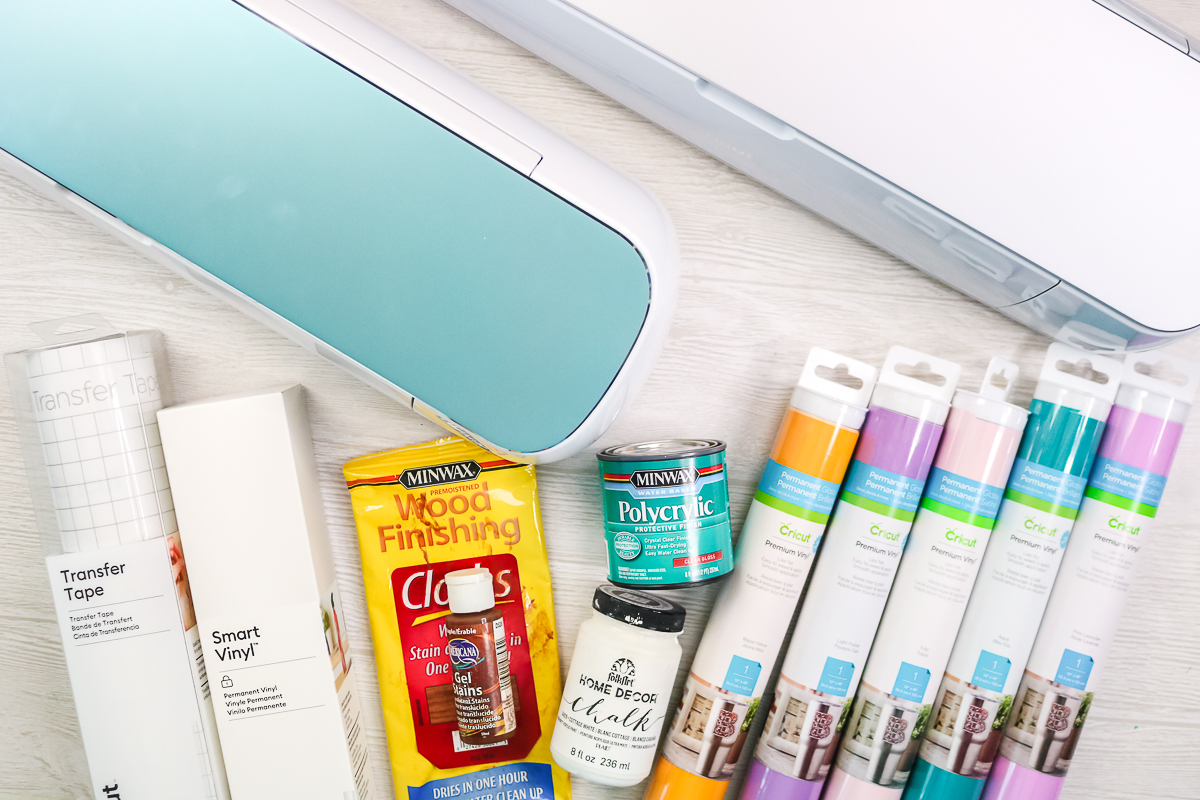
Supplies Needed To Make DIY Welcome Sign
- Cricut Machine (The matless cutting on the Cricut Maker 3 or Explore 3 works great for these but any Cricut machine will work.)
- Smart Vinyl (if you are using the Cricut Maker 3 or Explore 3)
- Vinyl in various colors
- Transfer tape
- Scraper
- Weeding tools
- Stain (water-based) (my favorites are Americana Gel Stains or Minwax Wood Finishing Cloths)
- Paint (water-based) (my favorite is FolkArt Home Decor Chalk)
- Sealer (water-based) (my favorite is Minwax Polycrylic)
- Paintbrush
- Tape
- This project is made with Design Space files. Click here for my profile. Once on my profile, find the image of the project you want to create, click it to open it up, and then you can make it yourself.
Making Sign Designs
Once you have gathered your supplies, you will want to make your sign designs in Cricut Design Space!
Step 1: Create Design
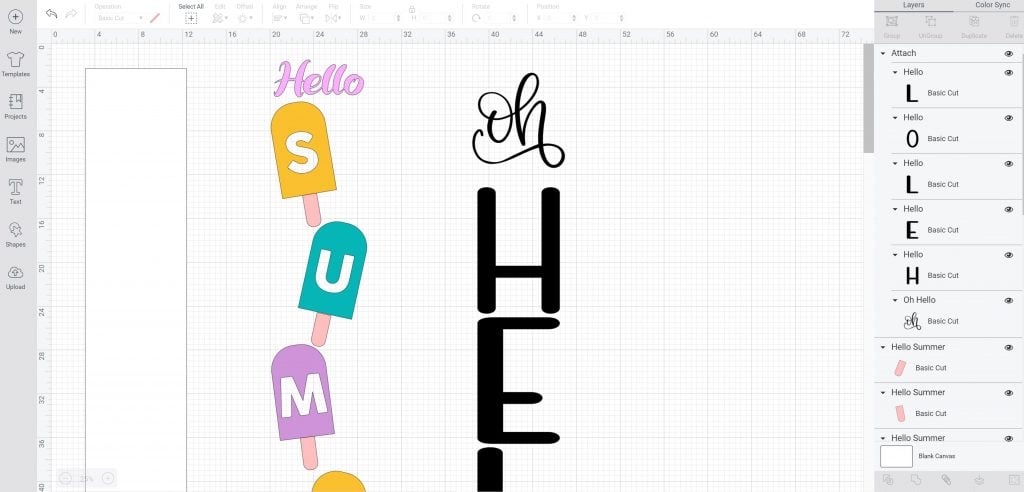
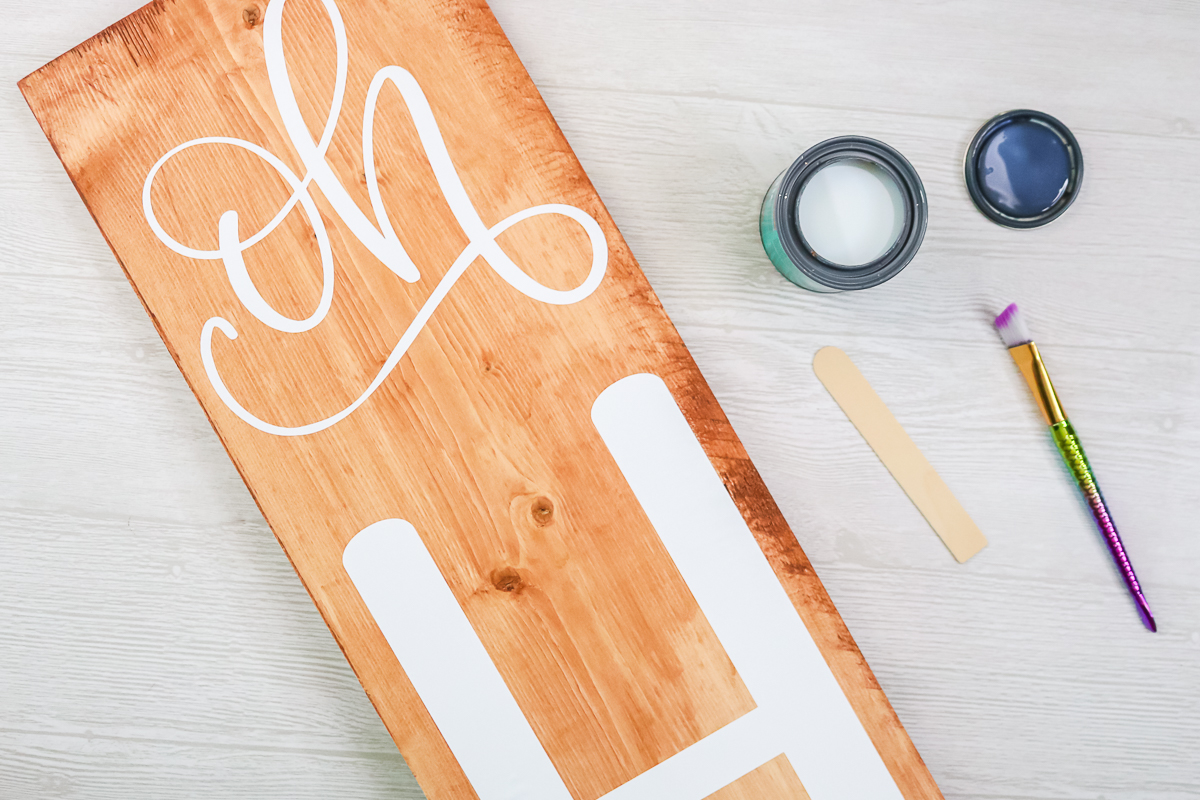
I like to create a rectangle from the shapes panel, the size of my board, so I can visualize my pieces on the sign for sizing. From there, you can add text or images to create whatever design you like. You can get my designs here or create your own. Please note that for the “oh hello” sign, I am using my Maker 3, so it is a single cut. If you are using another machine, you will need to break this design up into smaller pieces to fit your available cutting mat.
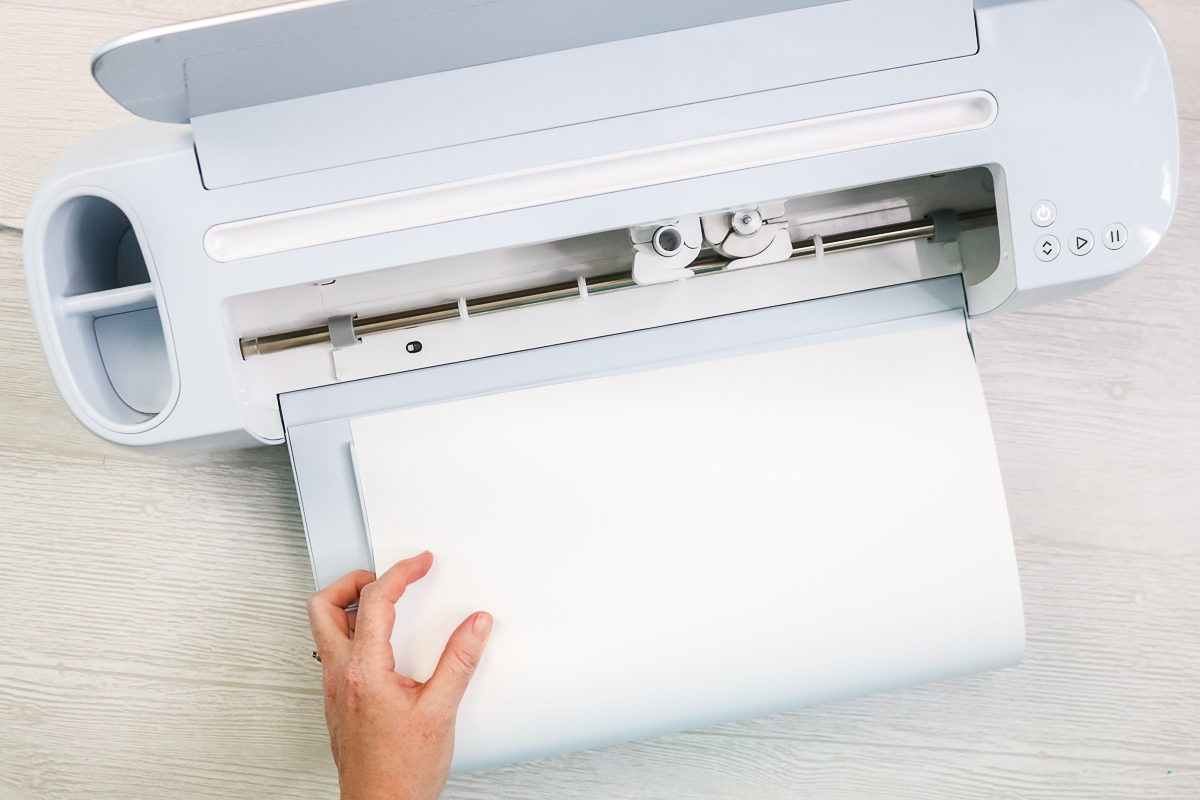
Step 2: Cut Design
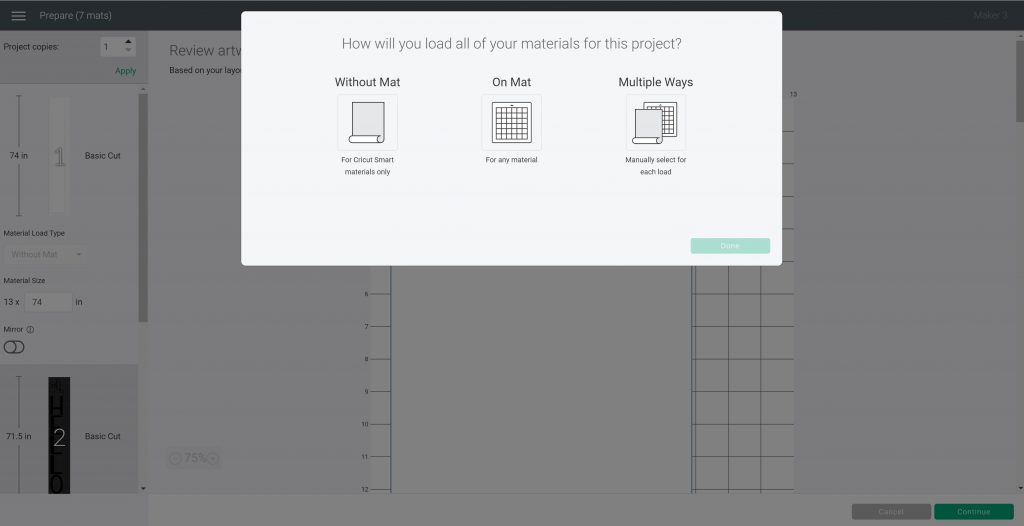
Then just click “Make” and cut your pieces with your Cricut machine.
I cut the white “oh hello” in one cut with my Cricut Maker and Smart Vinyl. The “hello summer” sign was made using smaller pieces and more colors on a Cricut Explore Air 2. When it comes time to cut, be sure to hide the rectangle you used to size your designs in the layers panel so it will not be cut.
Applying Your Vinyl To Wood
Step 1: Weed Vinyl
Next, you'll want to weed all of your sign pieces.
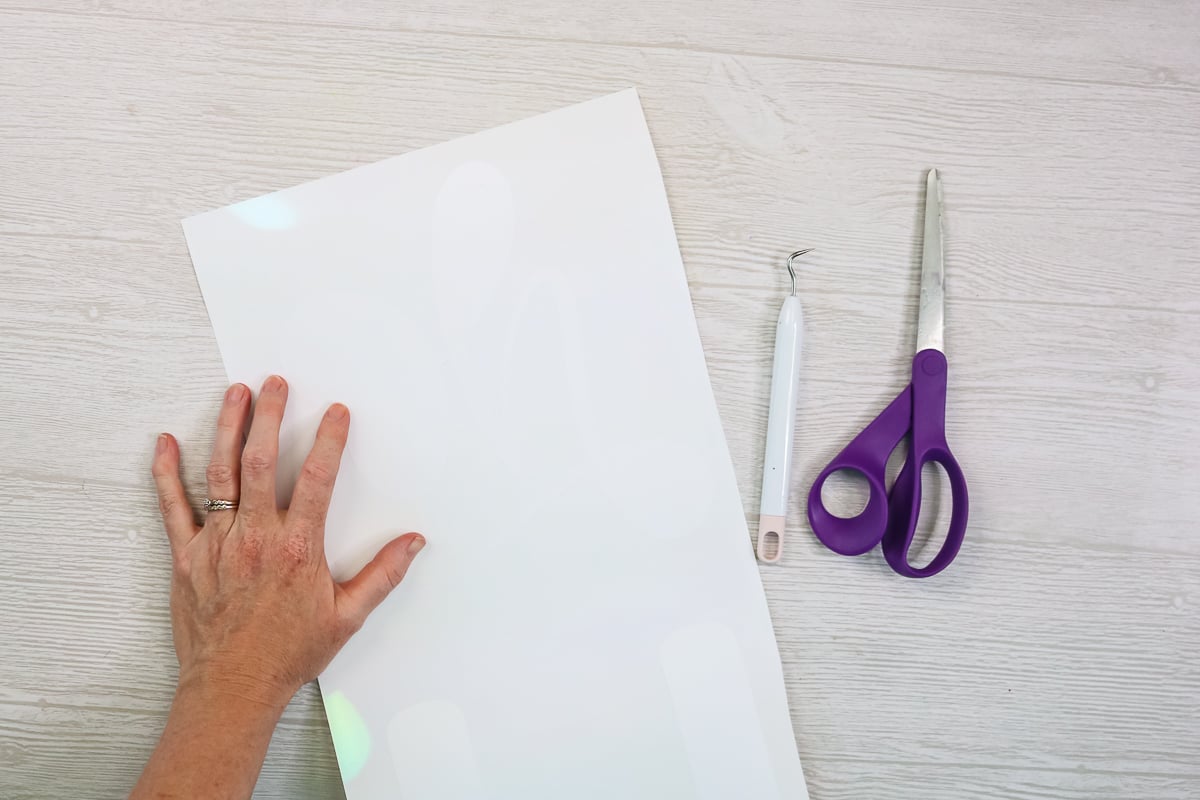
Step 2: Trim Carrier Sheet
I also trimmed my smaller vinyl pieces closely around the carrier sheet so I could place them on the sign in their locations more easily.

Stain or paint your board with a water-based product if you are going to use a water-based sealer. I actually don't recommend oil-based products for applying vinyl. I find that it makes the application process much more difficult. You will want to let everything dry completely before continuing. I like to let the paint dry for at least 24 hours before applying vinyl.
Step 3: Decide How You Want To Apply Your Design
After your wood board is completely dry, you can now add your vinyl! Below, I will show you two methods so you can pick whichever one works best for you or your design.
Hinge Method For Vinyl Application
For the large vinyl piece, I used the hinge method for vinyl application.
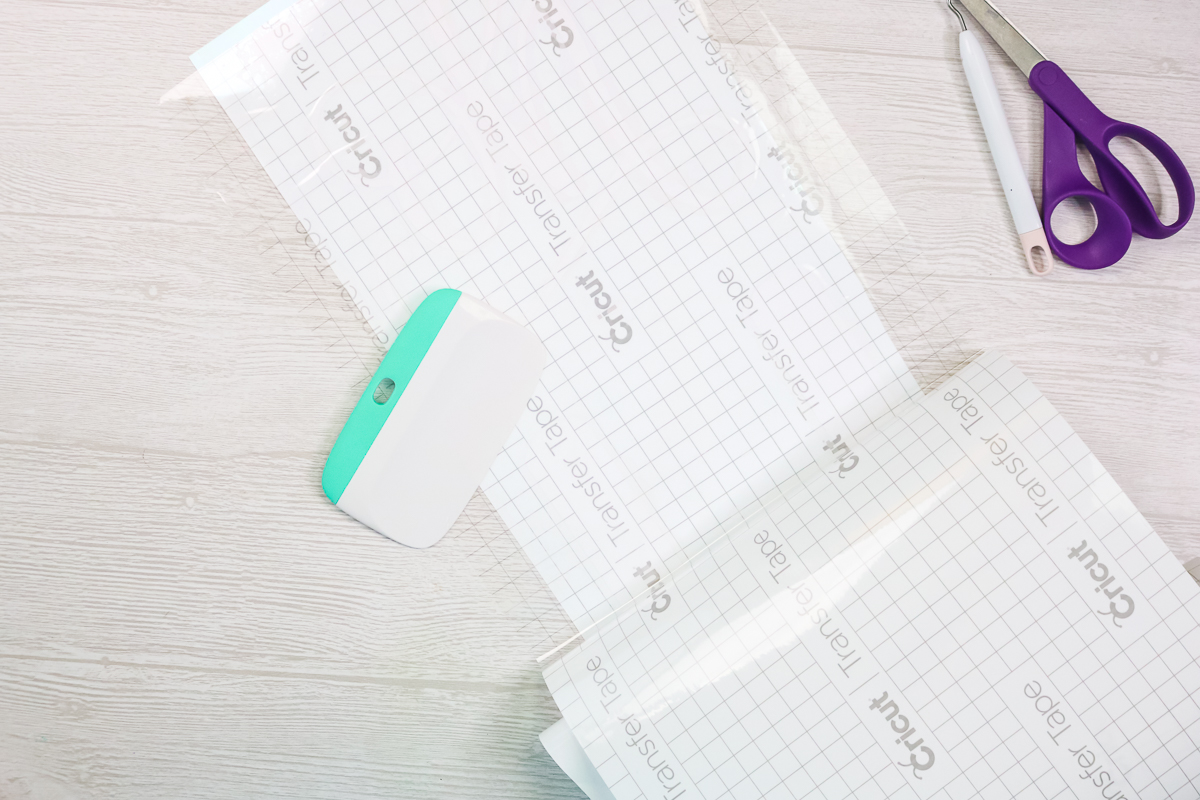
Step 1: Apply Transfer Tape
Apply the transfer tape to the entire piece.
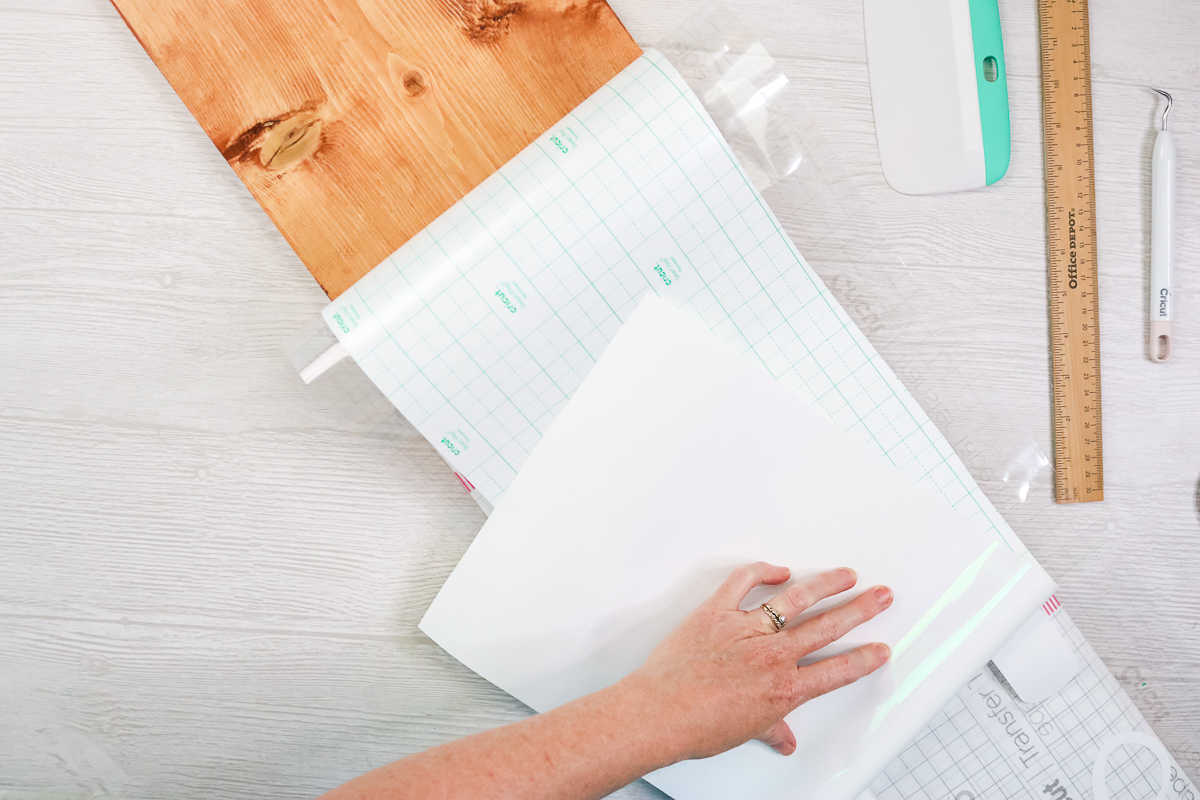
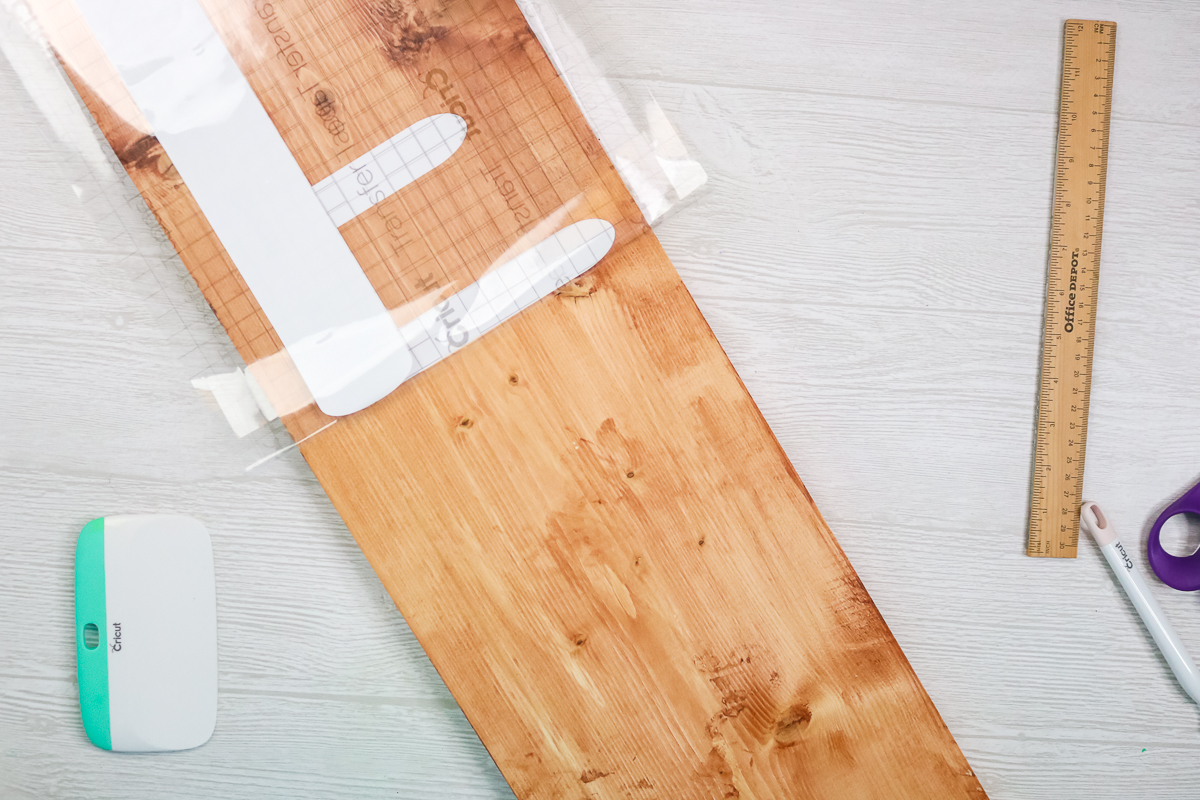
Step 2: Tape Vinyl To Wood Board
Then tape the vinyl piece into place on your board around the center.

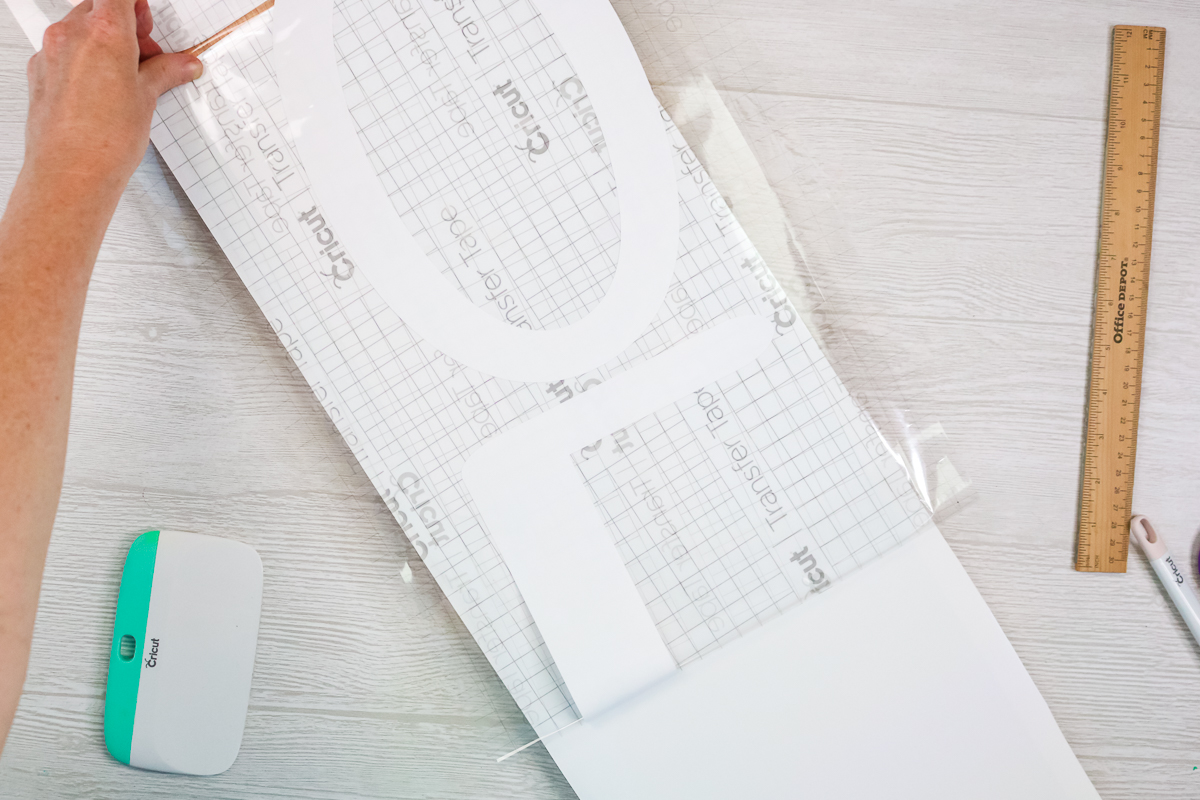
Step 3: Peel Back Carrier Sheet
Then flip one side back and remove the carrier sheet. Burnish well to get the carrier sheet to peel back.
Step 4: Discard Carrier Sheet
Cut the carrier sheet and discard it.

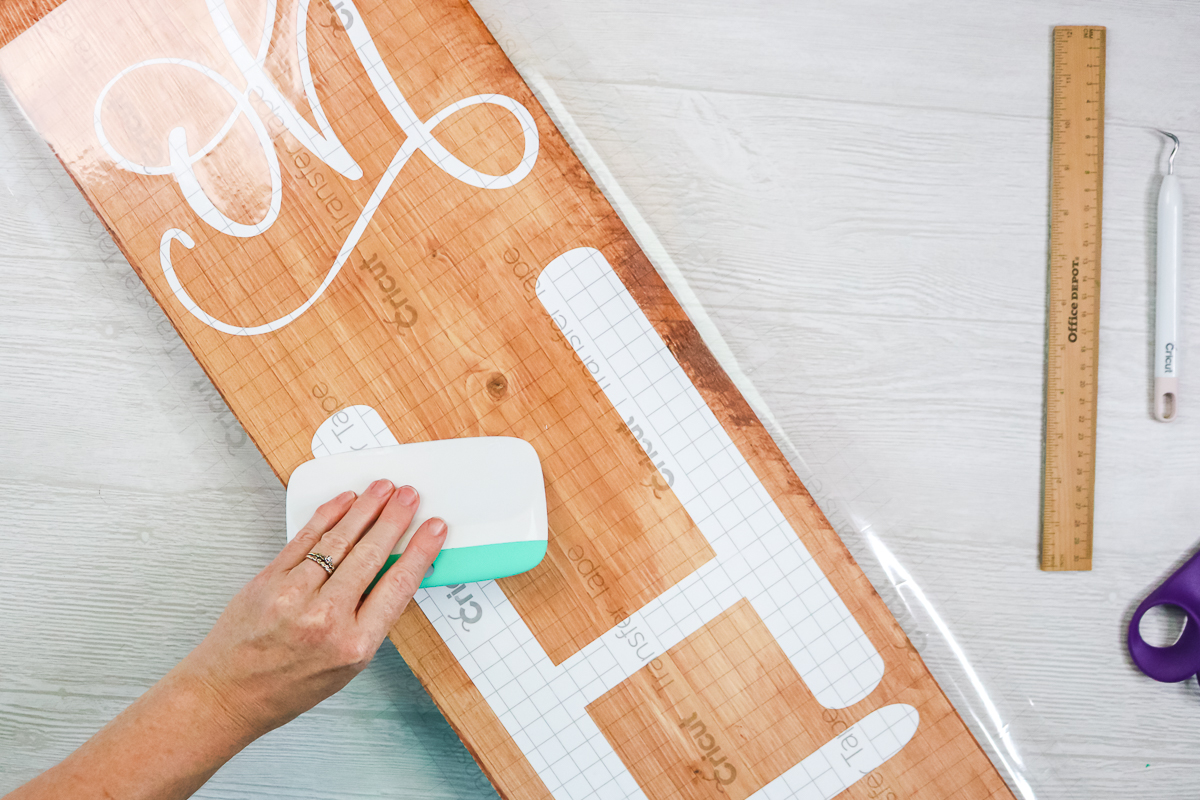
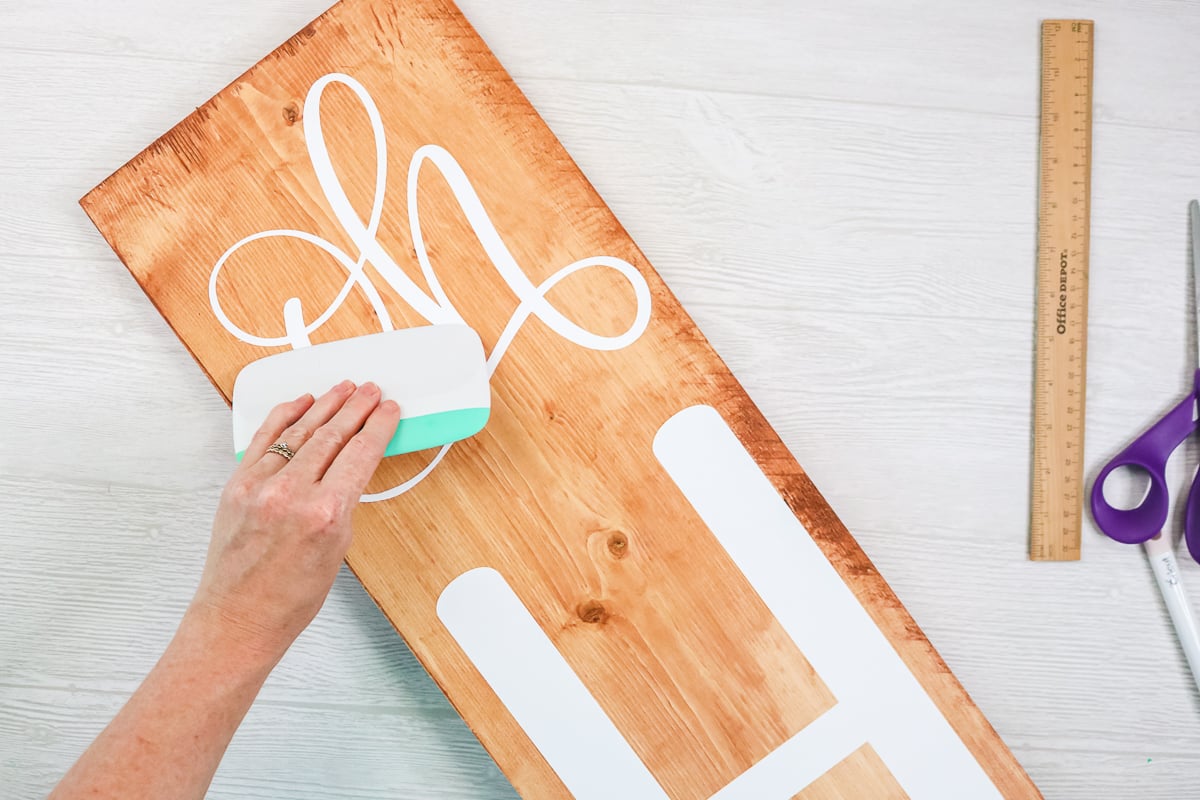
Step 5: Apply Vinyl To Wood
Apply the vinyl on that section to the wood with a scraper. Start at the center and work your way to the end.

Continue all the way to the end of that section, burnishing well as you go.
Once that first section is applied, you can repeat the steps on the opposite side of your “hinge” with your remaining vinyl.
Peel back the remaining carrier sheet, then press down your vinyl well with your scraper to the end.
Step 6: Peel Back Transfer Tape
Then gently peel back the transfer tape from the entire thing, slowly starting at one end. If any of the design starts to lift, lay the transfer tape back down over that area and burnish well, then lift gently again.
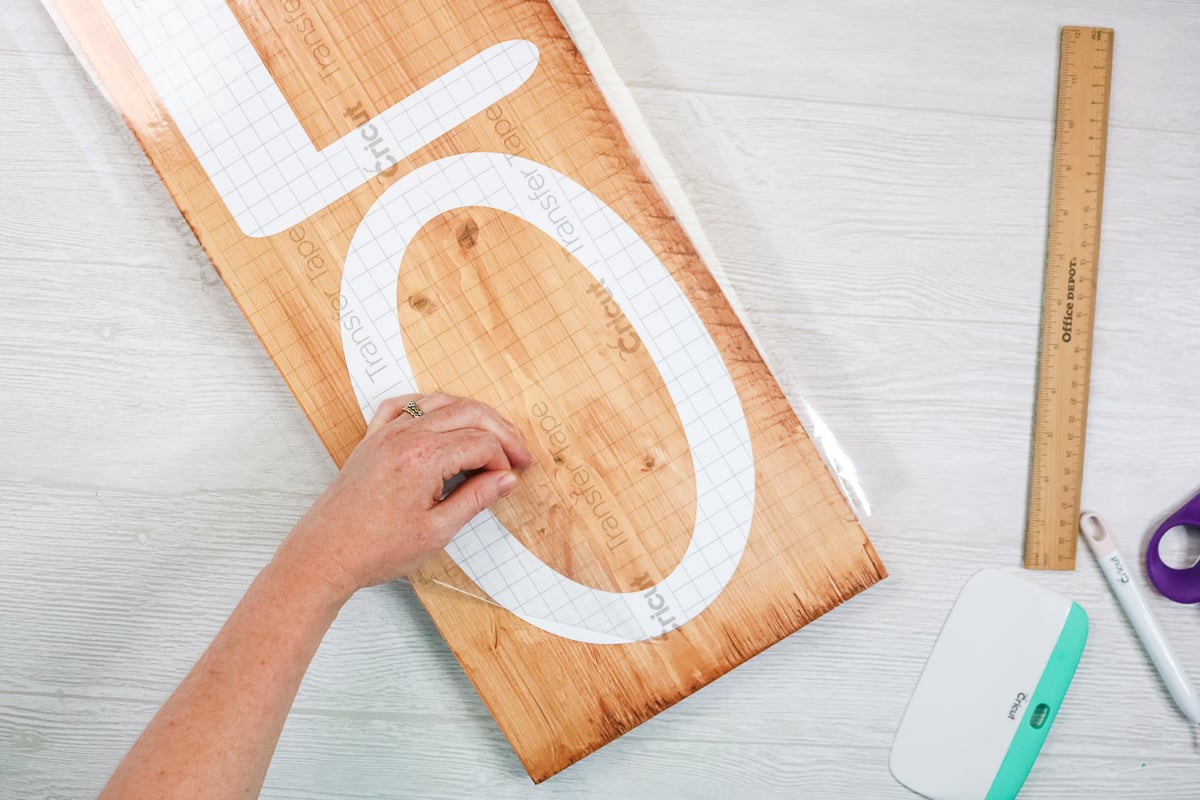
Step 7: Burnish Vinyl
Once the transfer tape is removed, be sure to burnish the vinyl to ensure it adheres to the wood.
Applying Smaller Pieces of Vinyl to Make a Large Sign
If you don't have the Maker 3 or Explore 3, you will need to apply your vinyl in smaller sections.
Step 1: Tape Vinyl To Wood Board
Begin by taping your pieces onto the board to verify their placement.
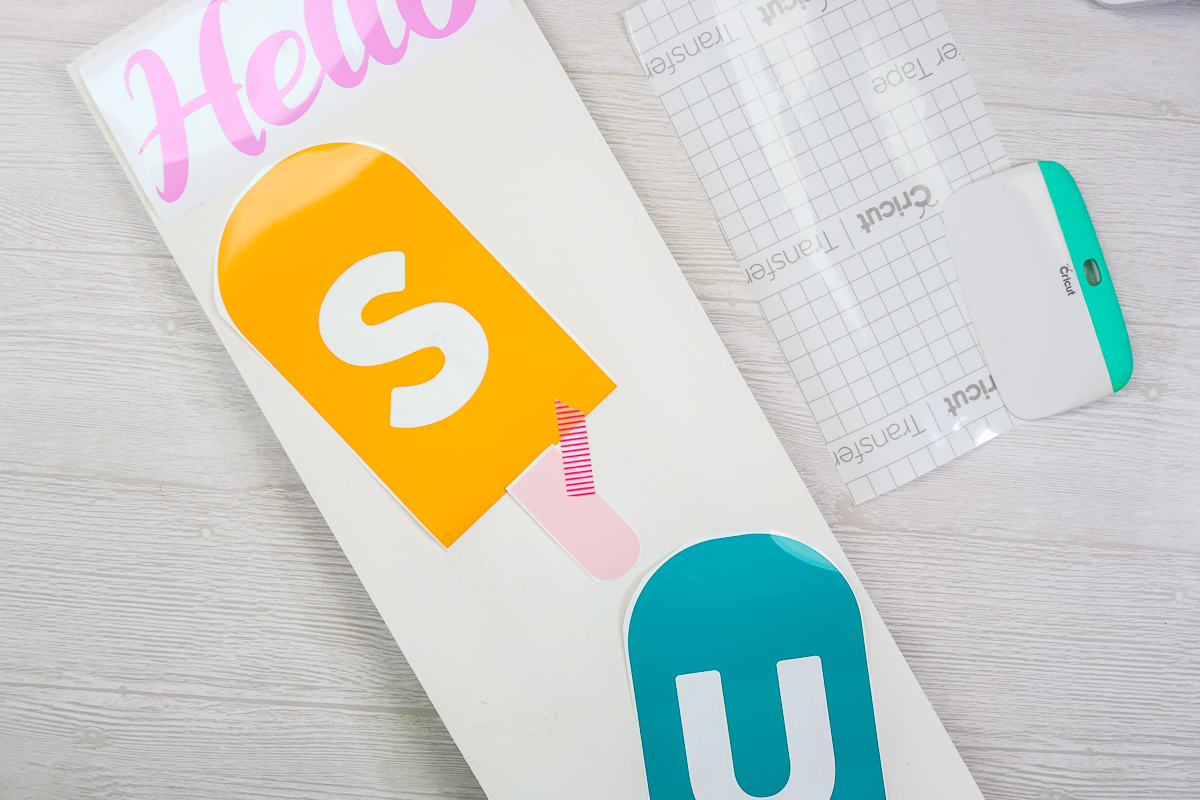
Step 2: Apply Transfer Tape
Then, apply transfer tape to each piece to remove it from the carrier sheet. Add transfer tape to each piece, burnish well and peel back the carrier sheet.

Step 3: Burnish Vinyl
Then put the vinyl on the sign, burnish, and remove the transfer tape. Repeat for each of your pieces.
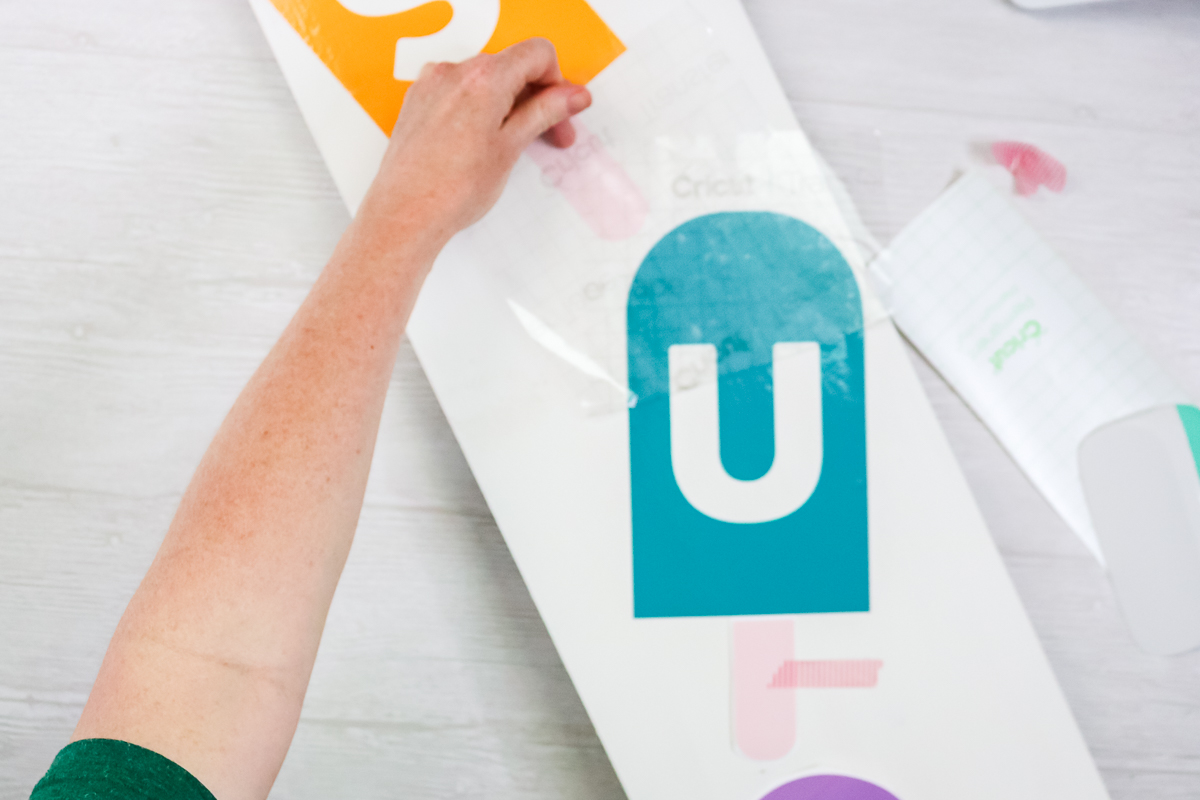
Very small pieces can be transferred without transfer tape if you prefer.

Once all pieces have been transferred to your sign, use the scraper to go over each piece to ensure it is well adhered to your wood sign.
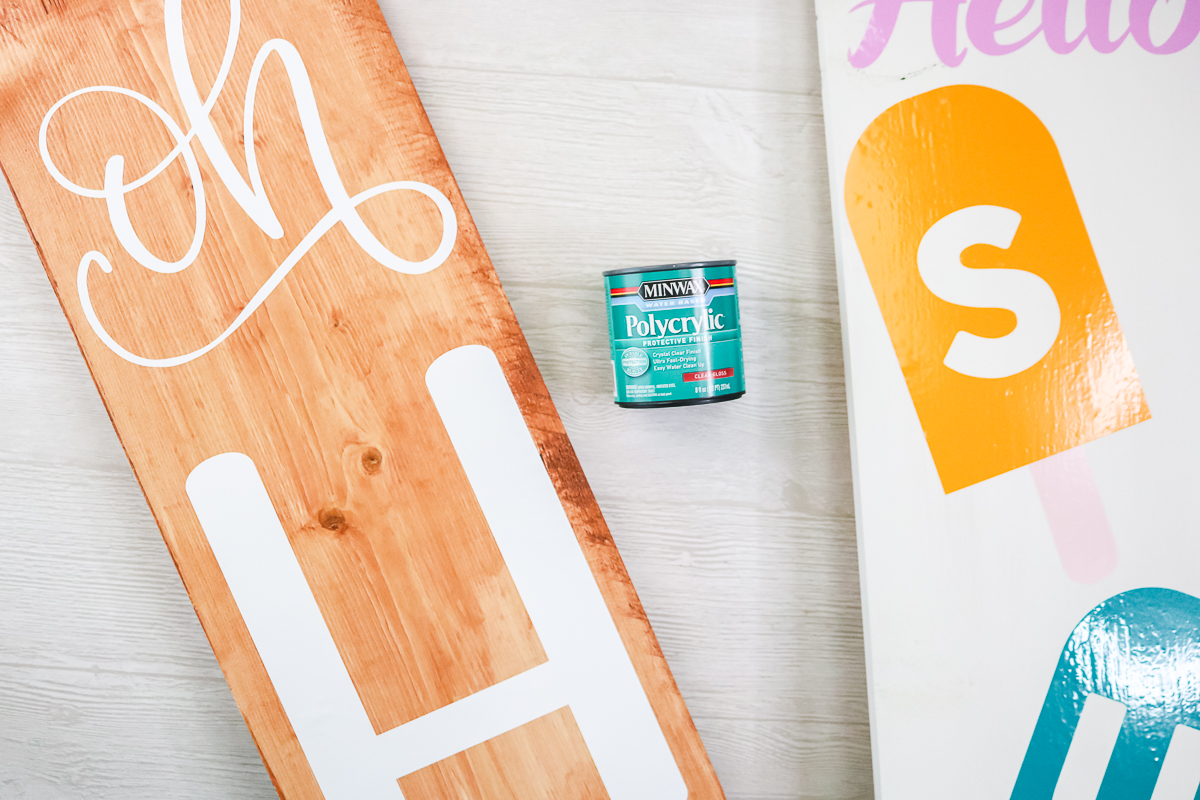
Sealing Vinyl On A Wood Sign
Now that you have your vinyl on your sign, you want it to last a really long time. The best practice is to let the vinyl sit for 72 hours after application, then apply a sealer over the top. Be sure to use a water-based sealer if you have used a water-based stain or paint.
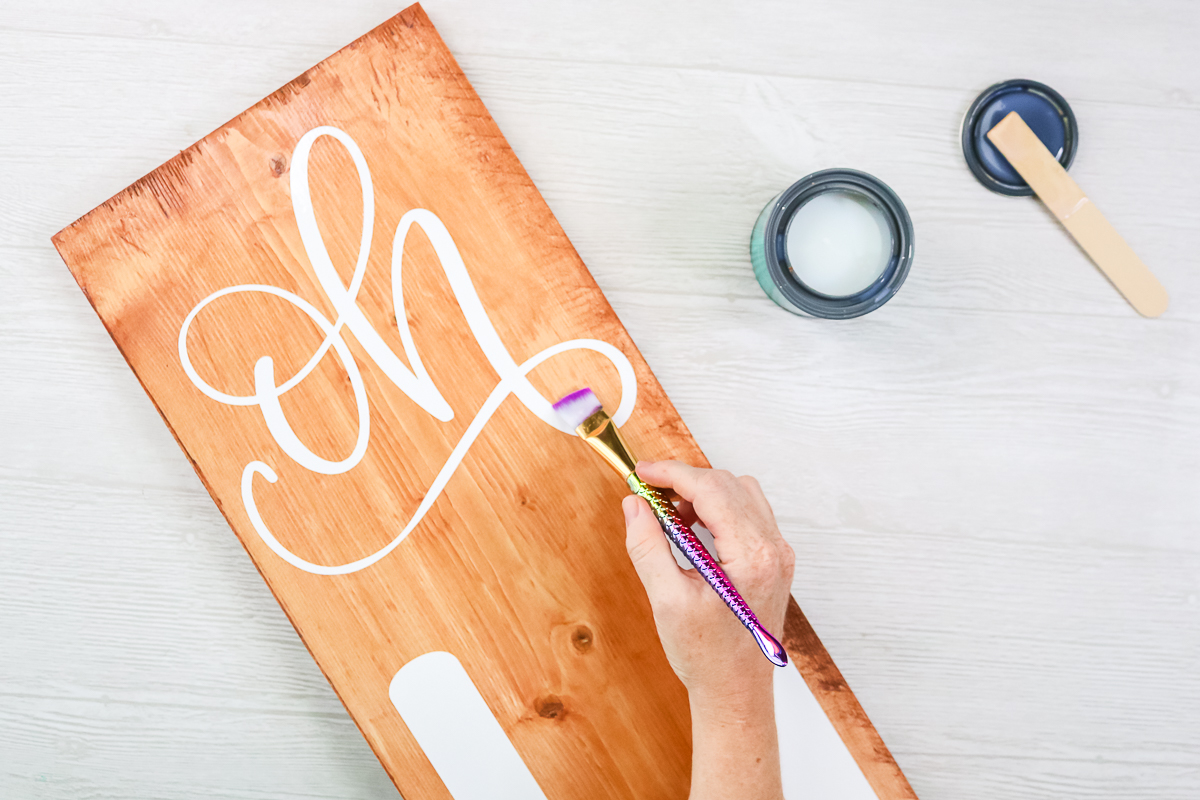
Step 1: Seal Wood Sign
This sealer calls for stirring, not shaking, and requires three coats with a 2-hour dry time between each coat. Please note that the instructions on your sealer may differ; be sure to read them carefully and follow them exactly.
I do like to apply my sealer with a brush in the direction of the wood's grain. I also apply it to the entire sign, not just the vinyl. That way, the entire sign has the same finish across the entire front. I am using a gloss sealer, but there are other finishes depending on your preference.
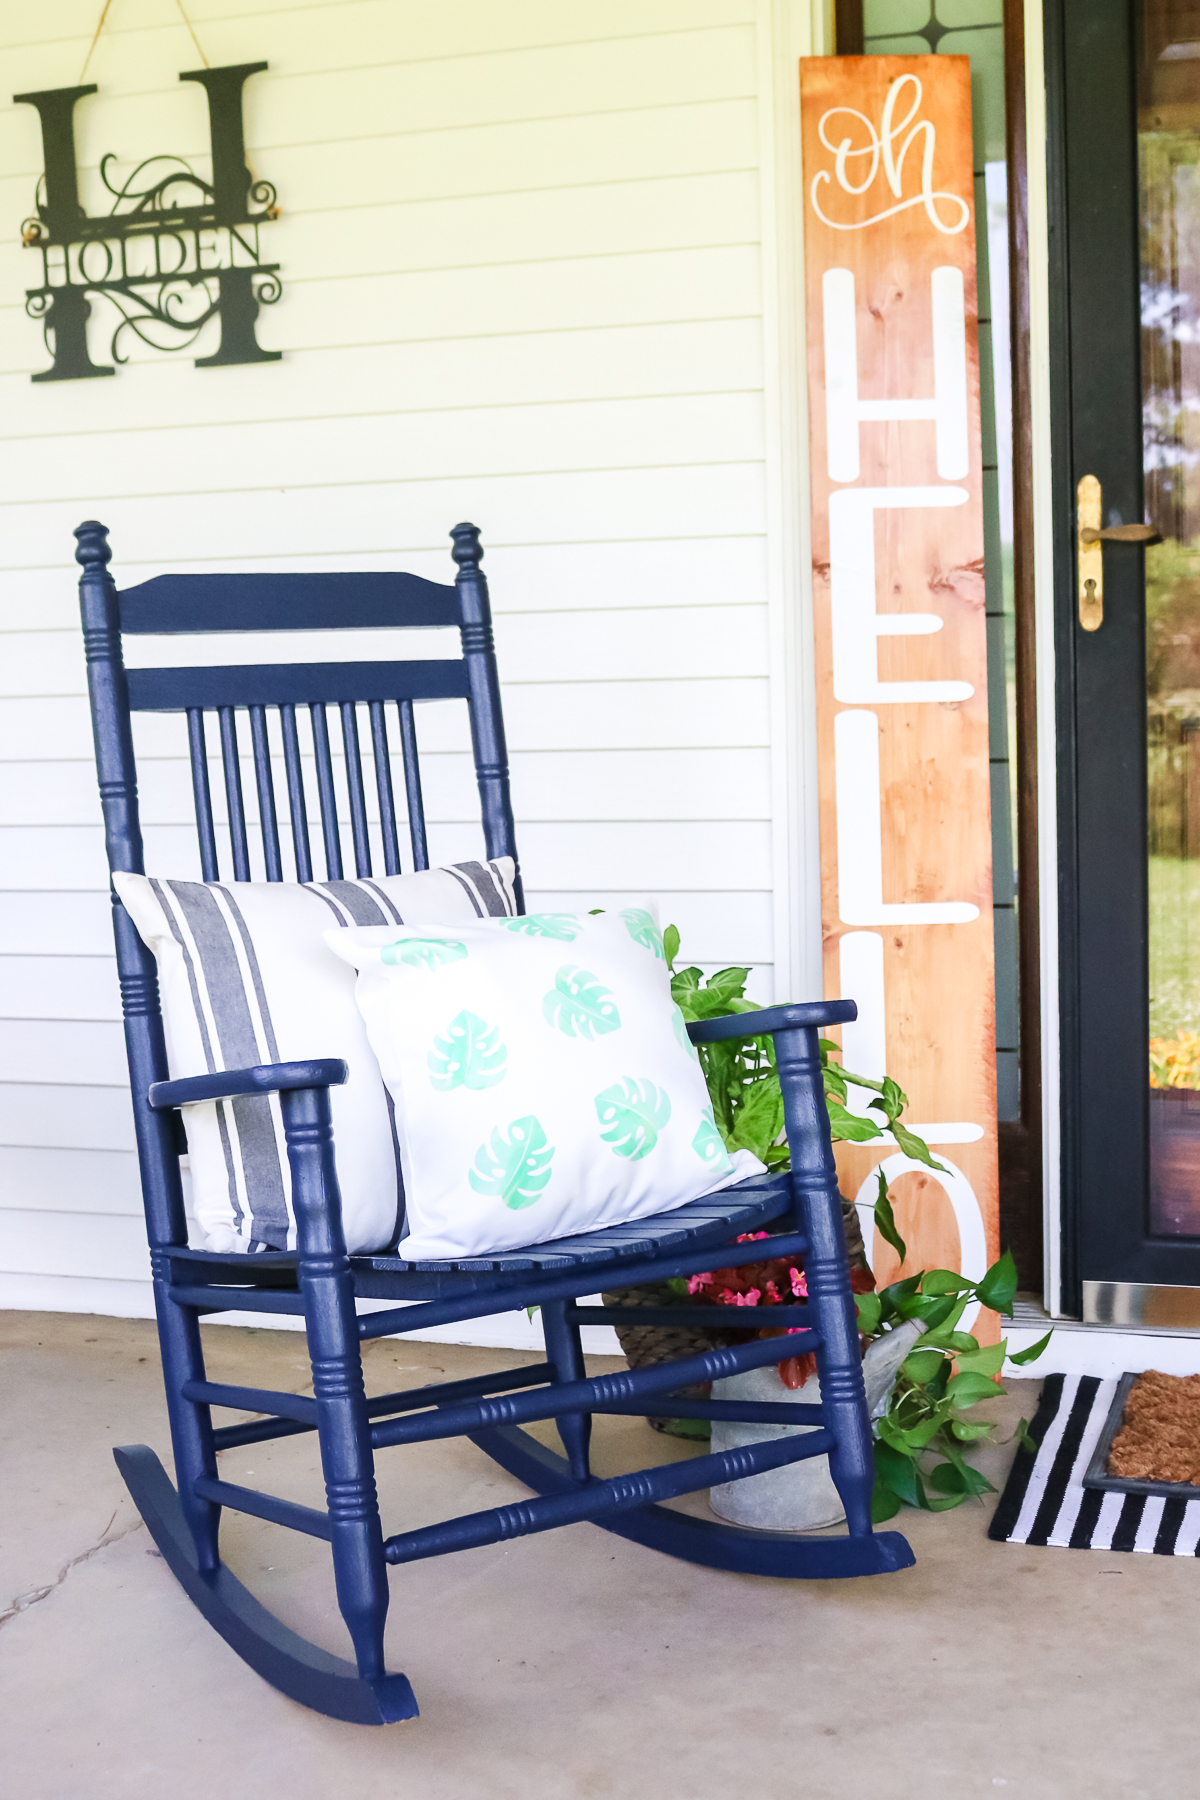
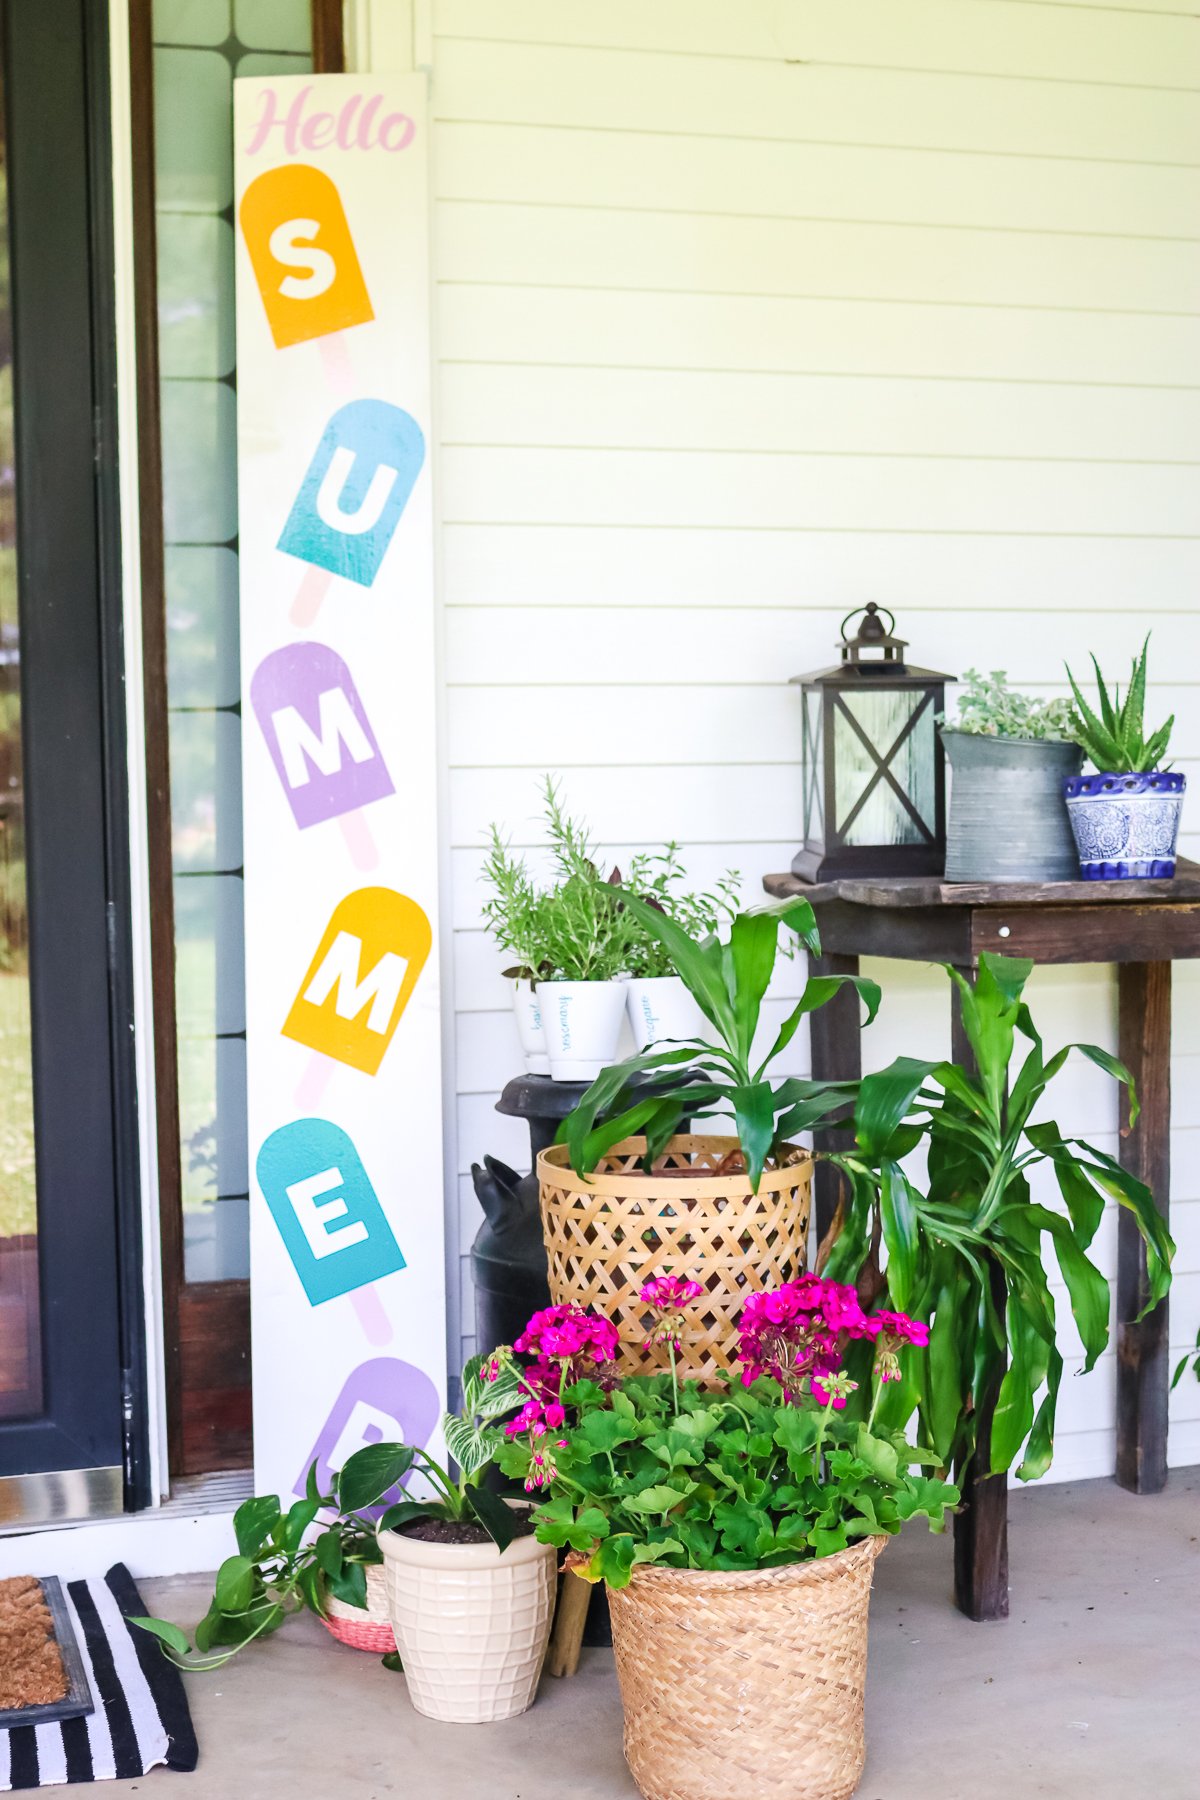
Adding A DIY Vertical Sign To A Porch
Once I gave my signs 3 coats of sealer, I waited 24 hours before putting them outside on my porch.
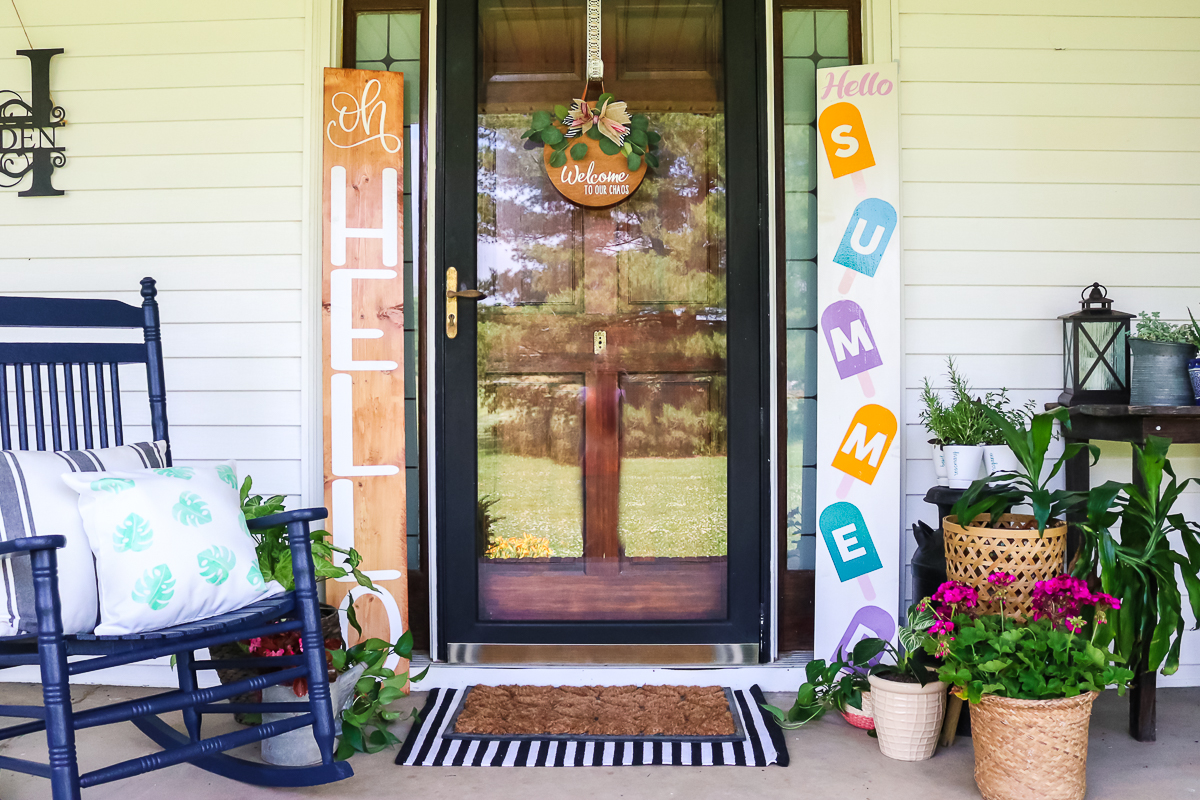
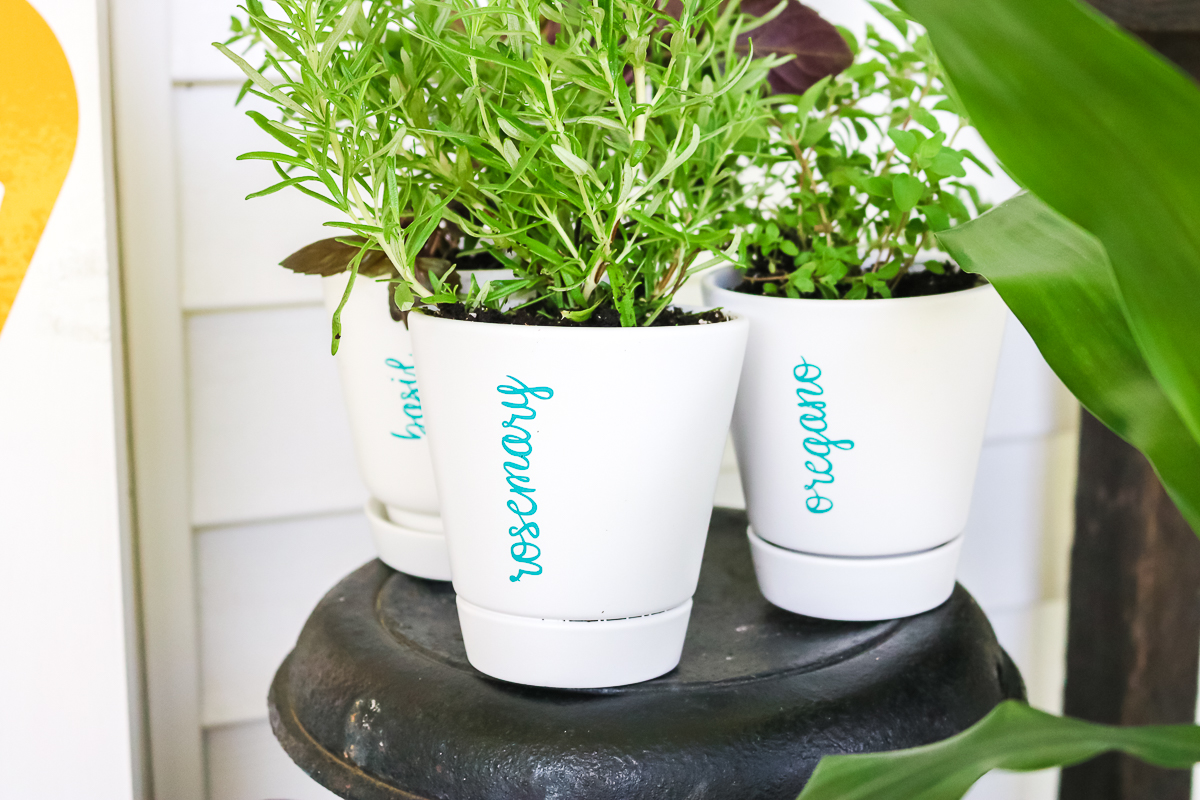
I also added a few other projects to this space, including herb planters made from vinyl.
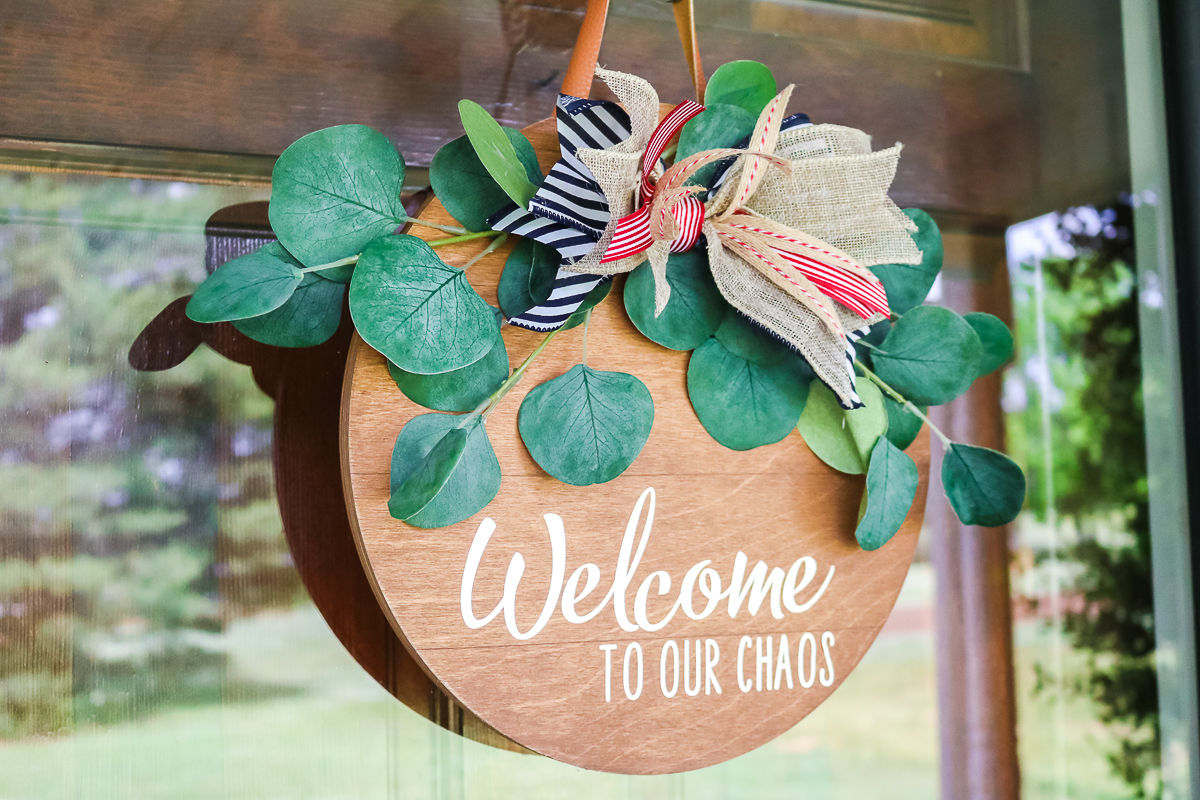
A round wood wreath with vinyl was added to the door for summer.
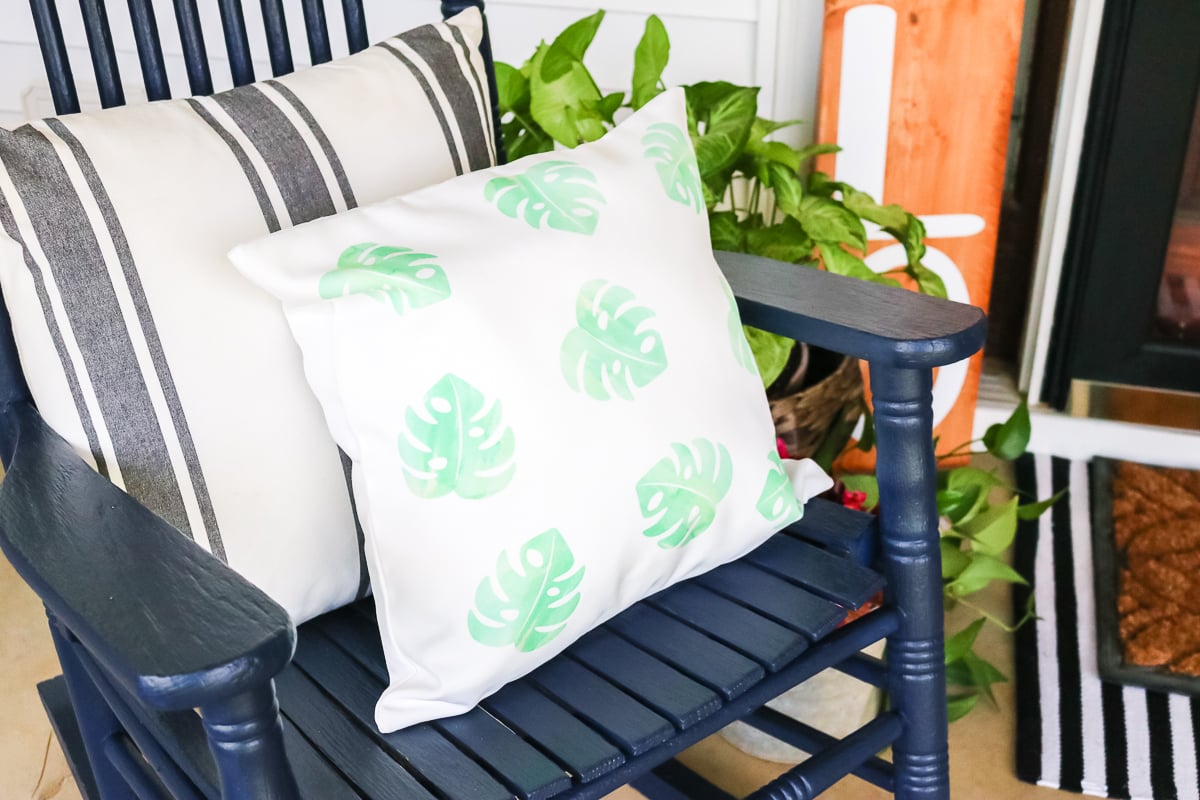
And I put a pillow I made with Infusible Ink onto my rocker.
Ready to make one? Choose one of these designs or make up your own design. Just use your creativity and make something that matches your style and overall makes you happy!
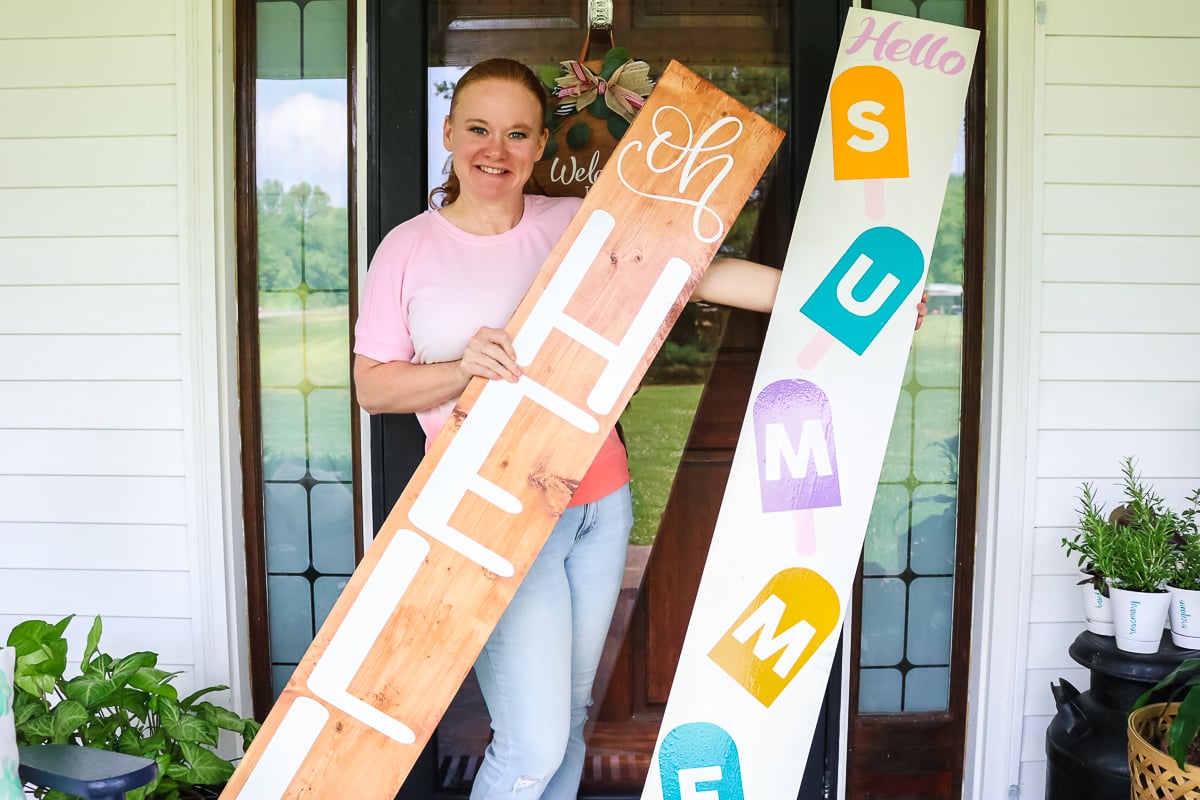
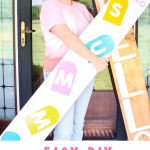
I must say that I love both of these signs. This hello summer sign is colorful and perfect for a splash of summer fun in any outdoor area.
But I also adore the ‘Oh hello' sign! I love using items with farmhouse style and charm around my home, both indoors and out, so these are perfect!
Will you be making a DIY welcome sign with your Cricut machine? I think you will really love the results!
FAQs About DIY Welcome Sign
Here are answers to some of the most frequently asked questions I receive about creating DIY welcome signs. If your question isn’t listed, feel free to drop it in the comments, and I’ll be happy to help!
What Size Was The Wood You Used?
It was a 1 x 8 that was 6 feet long, I think.
Where Did You Get The Wood?
I picked up these boards at Lowe's.
Do You Ever Buy The Primed Boards Or Rough Cut Ones?
I rarely get primed, and I stay away from rough cuts unless I want something really rustic.
How Long Do You Wait To Apply The Vinyl After Painting The Sign?
At least 24 hours.
Is There A Way To Make The Popsicle One Less Shiny?
Most permanent vinyl is shiny. I would say add a matte sealer over the top, and that would do it.
Can You Reuse The Transfer Tape After You Do A Big Project Like This?
Yes, you can!
5 More Porch Decor Ideas
Did you love this DIY welcome sign and want more porch decor ideas? Check out the projects below!
- My Favorite Front Porch Decor for Spring
- Free Sweet Tea SVG and Porch Sign
- Patriotic Front Porch
- DIY Vertical Garden for Your Porch
- Vintage Farmhouse Decor on the Porch


This is awesome thank you for the in depth step by step tutorial ❤️❤️❤️
Hi Angie, thanks for a great tutorial! I’m wondering, what size wood did you use? Was it pressure treated by any chance? TIA
I used a 1 x 10 and it was not pressure treated.