
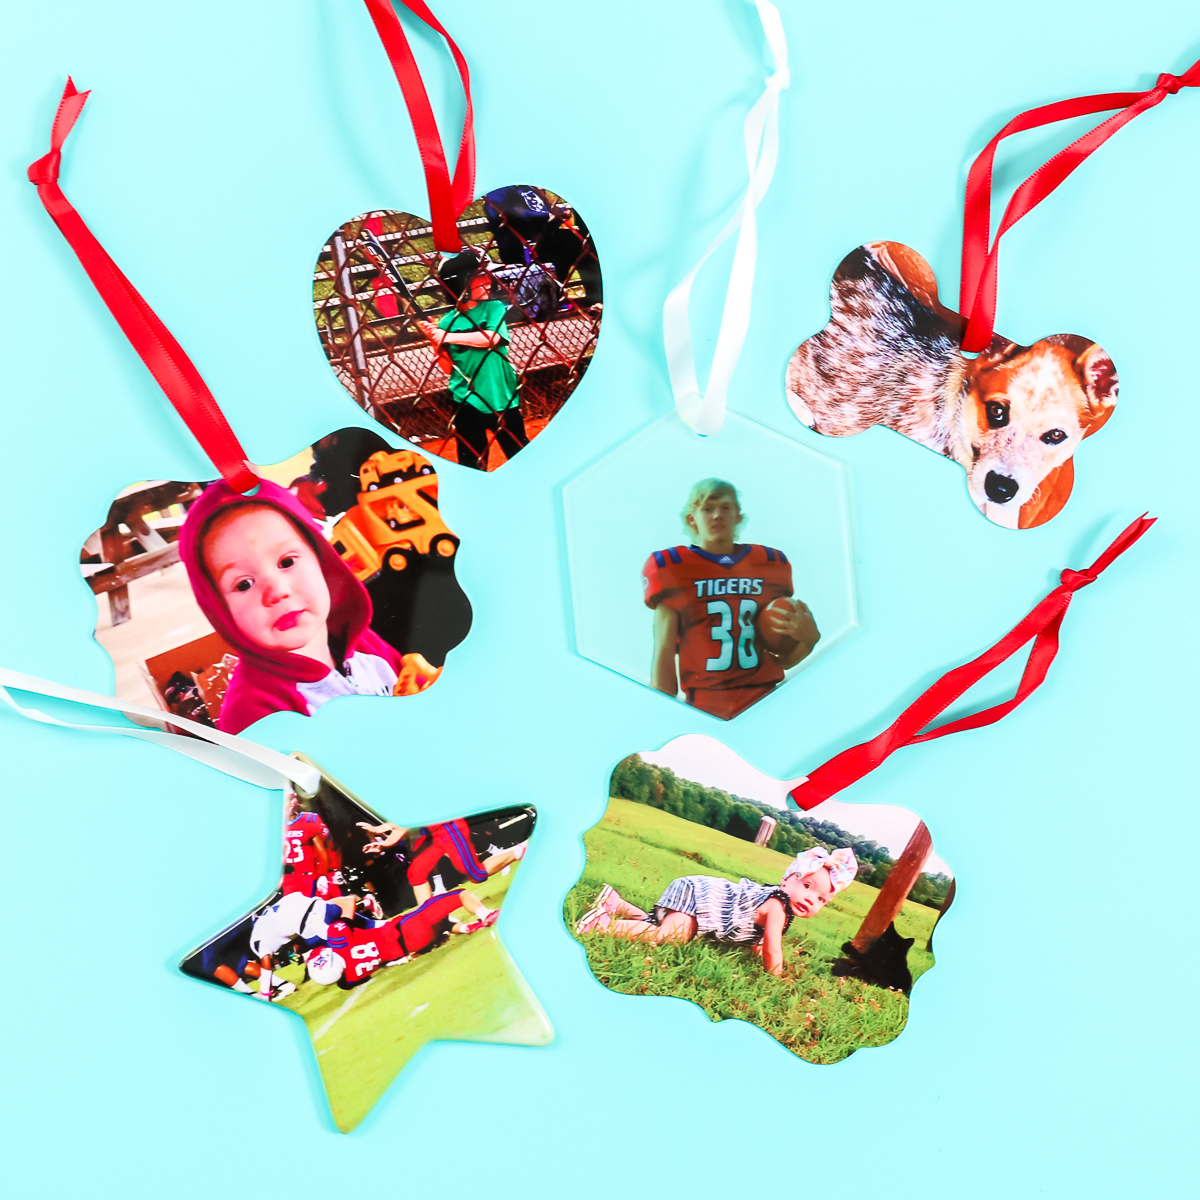
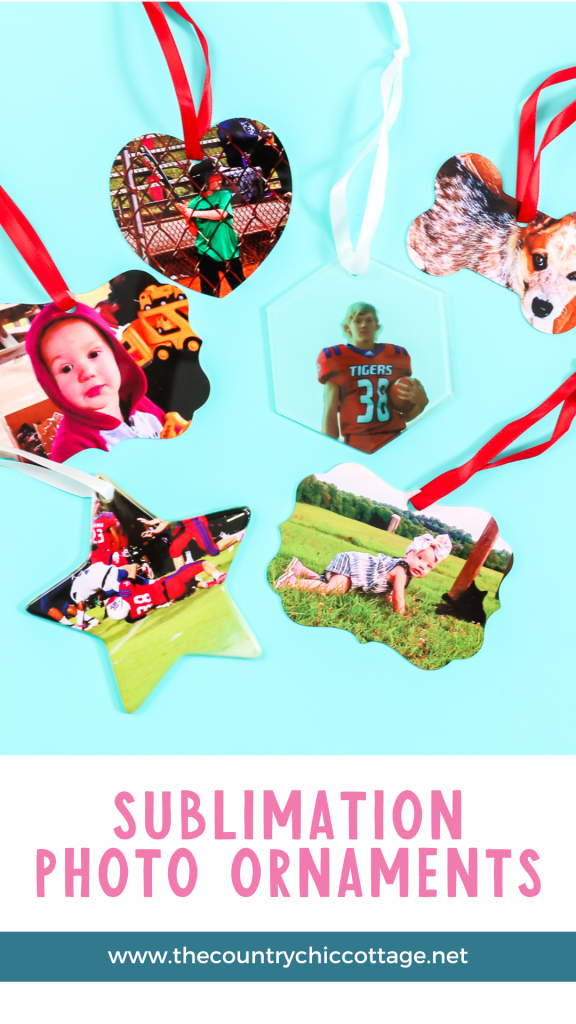
Sublimation ornaments are easy to make right at home using a sublimation printer. Today, I’m creating DIY photo ornaments using sublimation in a few different ways, and I can’t wait to share the process with you. With so many ornament blanks available—ranging in shape, material, and style—it’s easy to create something truly personal. I love filling my tree with DIY photo ornaments, and I think you’ll love making them just as much.

Sublimation Ornaments Video Tutorial
You can watch me make three different ornament versions using sublimation in the video below. I’m working with metal, porcelain, and glass sublimation blanks, and I’ll walk you through each one step by step. Metal is definitely the easiest and a great place to start, but if you’re ready to branch out and try something new, just click play below!
Can't watch the video or miss some of the steps? I have instructions for you below as well!
How To Make Sublimation Ornaments
Make sublimation ornaments this year with these super simple instructions! Using your home sublimation printer, it’s easy to fill your tree with photo ornaments in a variety of shapes and sizes. I’ll show you how to use metal, porcelain, and even glass sublimation blanks to create stunning ornaments that look beautiful on your Christmas tree. These also make wonderful gifts, so be sure to make a few extra of these gorgeous holiday ornaments.
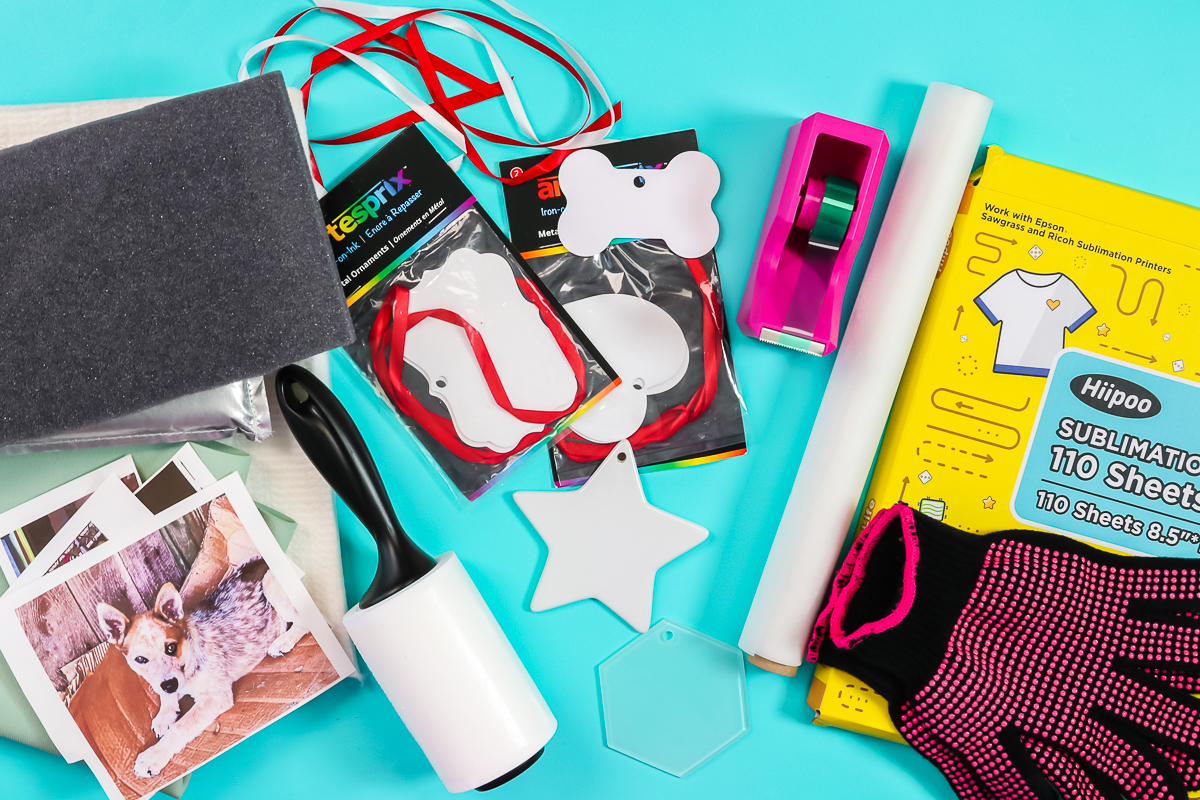
Supplies Needed To Make Sublimation Ornaments
- Sublimation printer
- Sublimation ink
- Heat Press
- Sublimation paper
- Heat-Resistant Gloves
- Lint Roller
- Heat-Resistant Tape
- Artesprix Protective Paper
- Nomex Pad (If you are using glass or porcelain blanks ONLY!) (You can substitute heat-resistant foam or a pressing pillow for this.)
- Rubber sheet (If you are using glass or porcelain blanks ONLY!)
- Heat-resistant mat
- Blanks for sublimation (see some of my favorite sources below)
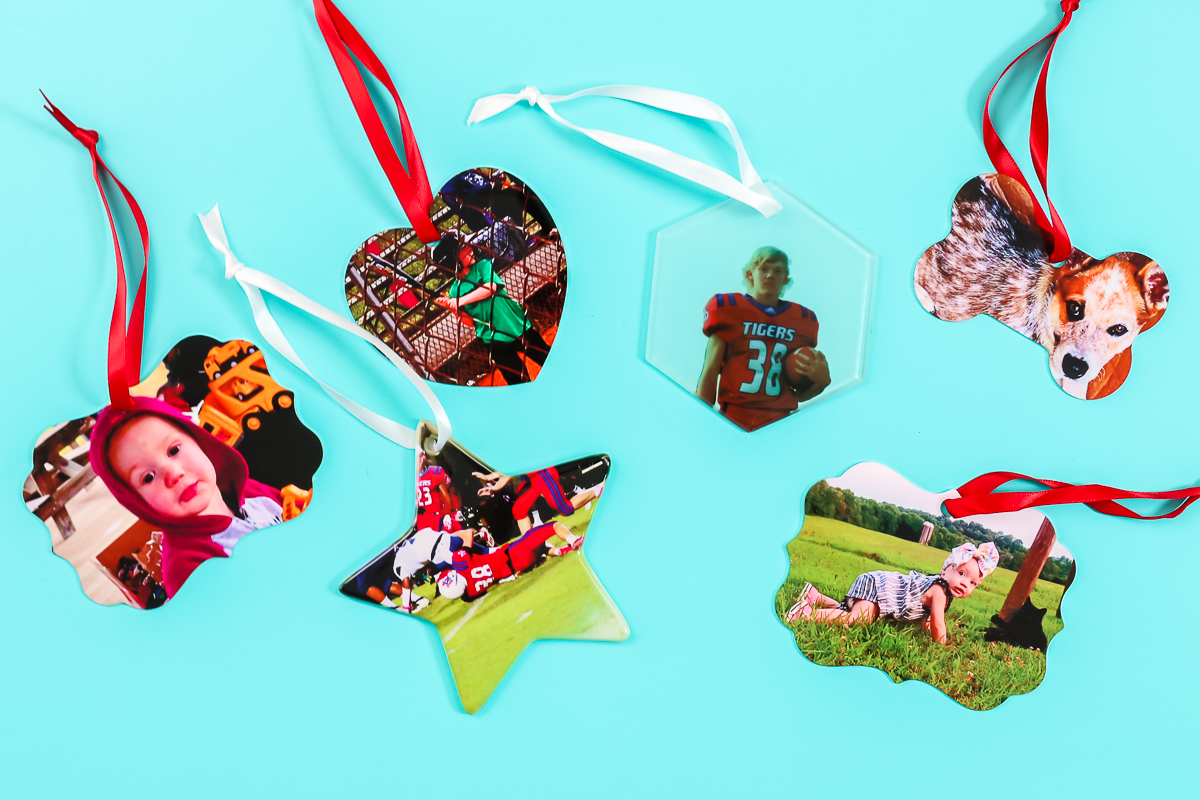
Sublimation Ornament Blanks
There are so many blanks on the market for this project. There is no way I could try each and every one. I would say the easiest ones are the metal sublimation ornaments, which come in a huge variety of shapes. I'm going to use a couple of those, but you can definitely shop around at some of my favorite sources below. I will also be doing glass as well as porcelain blanks, but you do need a few more supplies for those projects.
NOTE: In all cases, you will need to use ornaments with a sublimation coating. Look for listings that say sublimation blanks when purchasing.
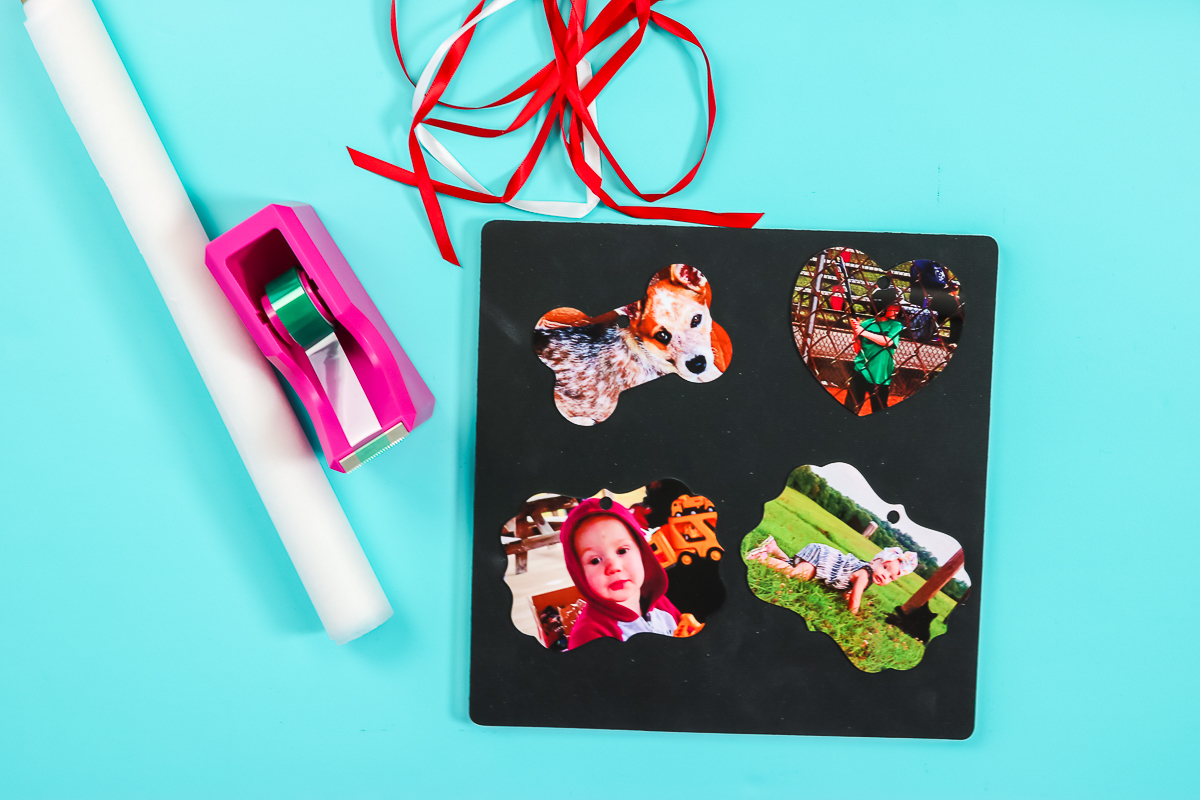
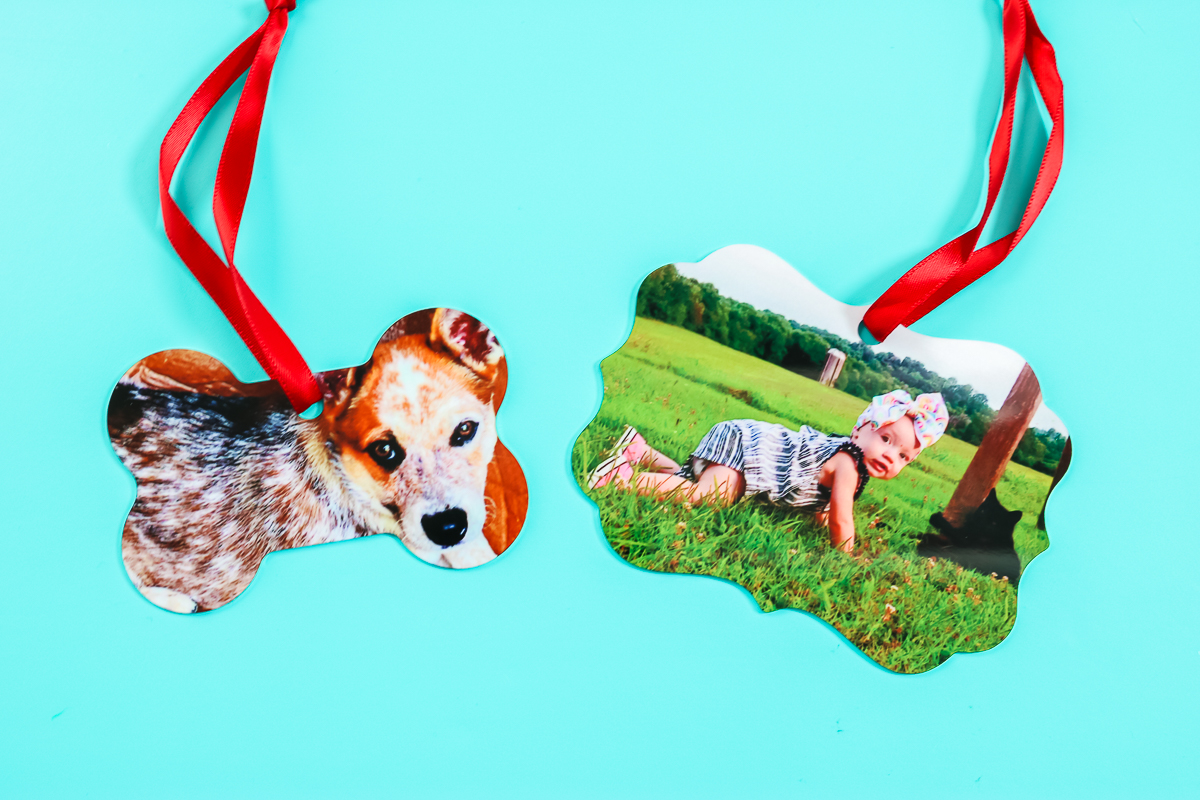
Metal Ornaments
Some metal blanks are single-sided, while others can be pressed on both sides. You want to press the white side for any single-sided items. On double-sided blanks, you can press on both sides if you wish. I actually usually press both sides at the same time in this case.
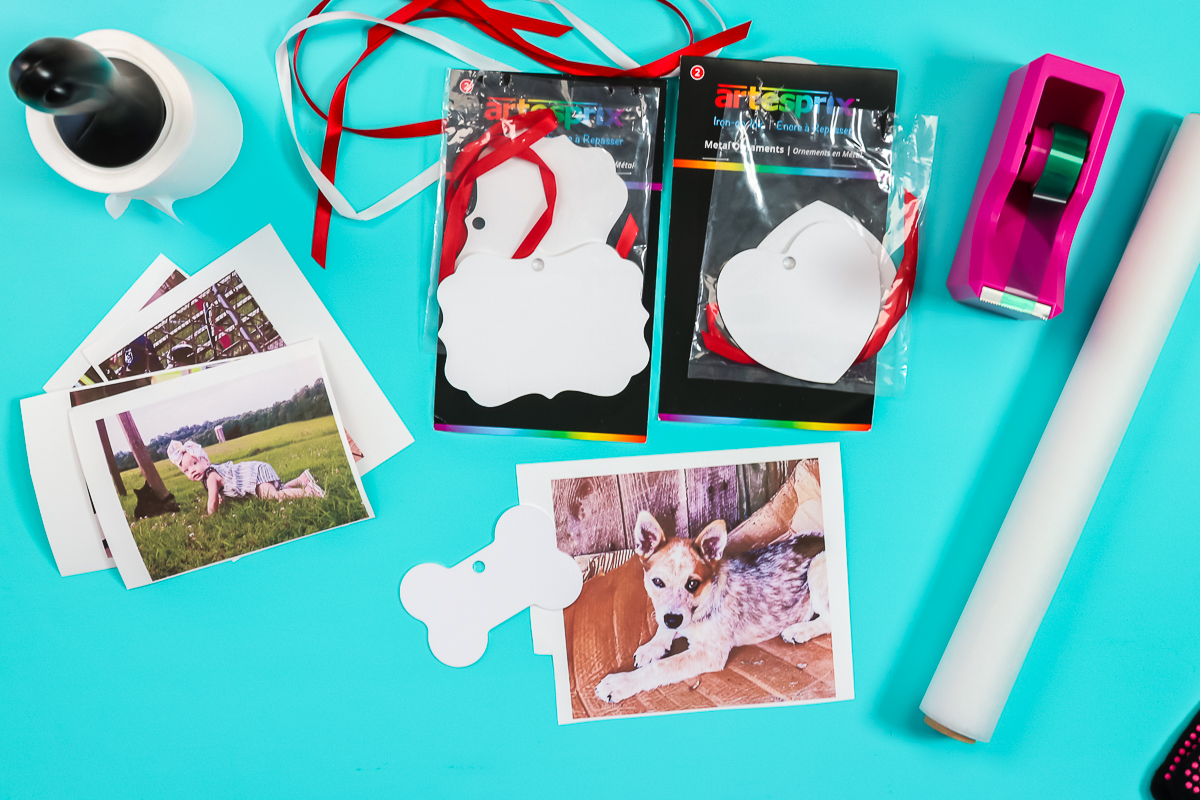
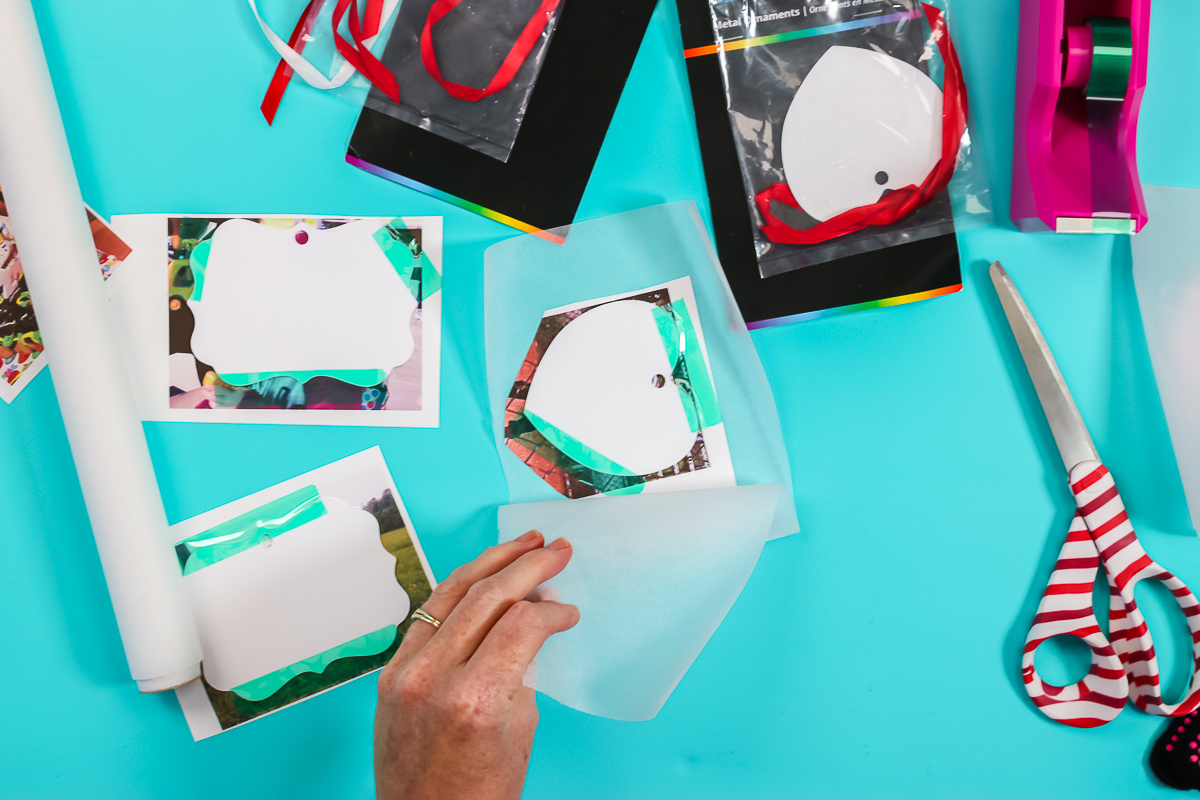
Clean the ornament well. I like to use a lint roller to do that.
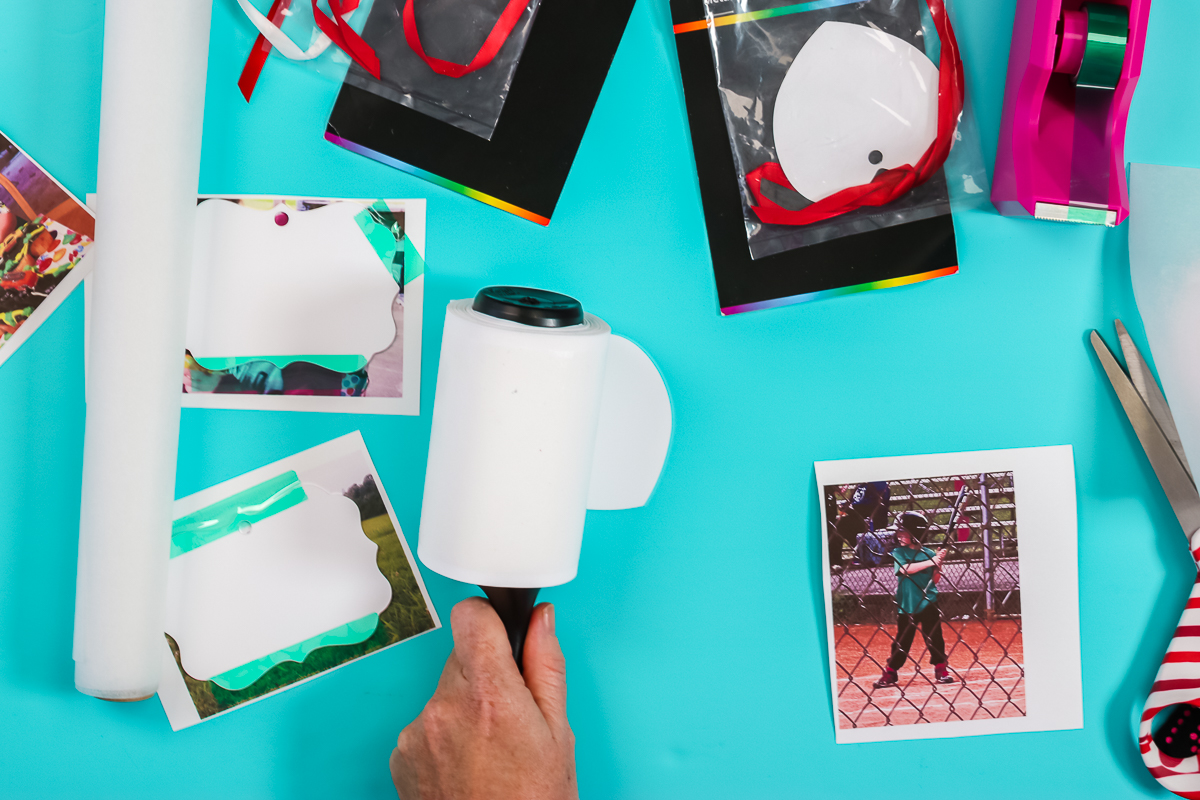
Decide how you want your print to look on your ornament and locate it on the sheet. Tape the ornament down to the sublimation print.

Trim away excess with scissors if you like. I trim away the excess so that I need less protective paper.
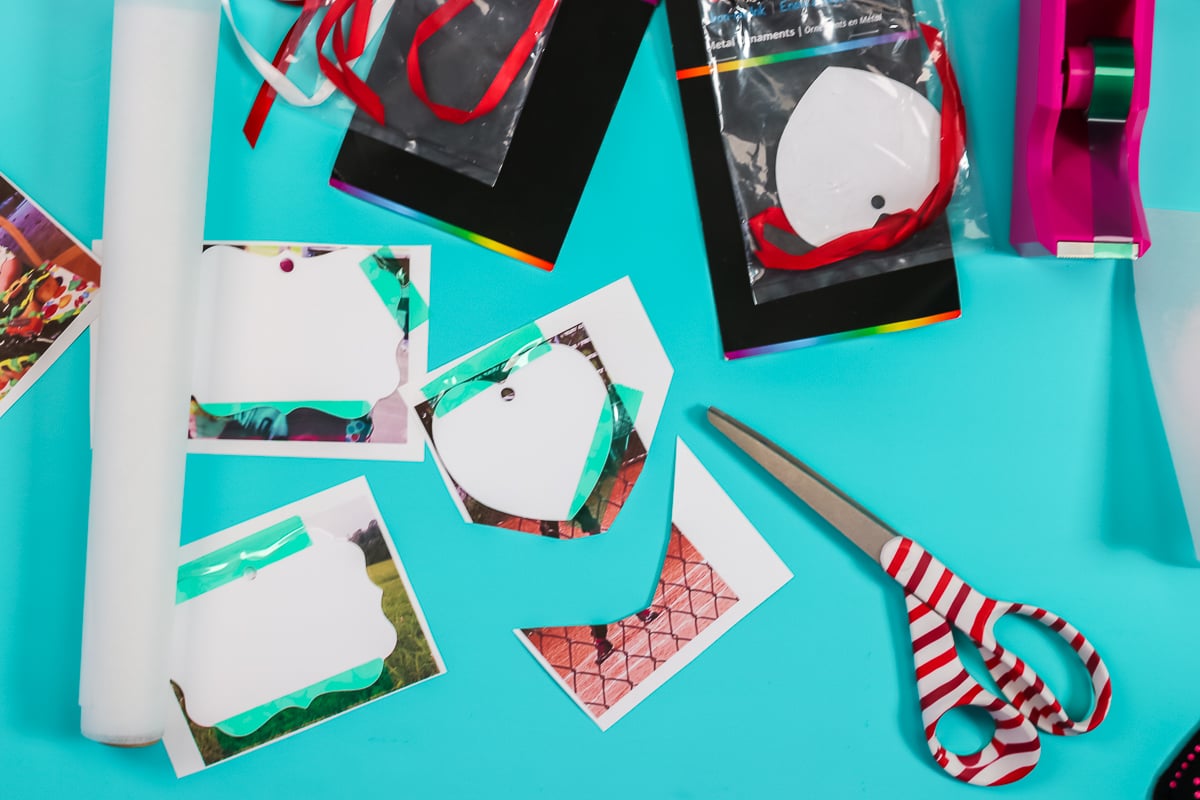
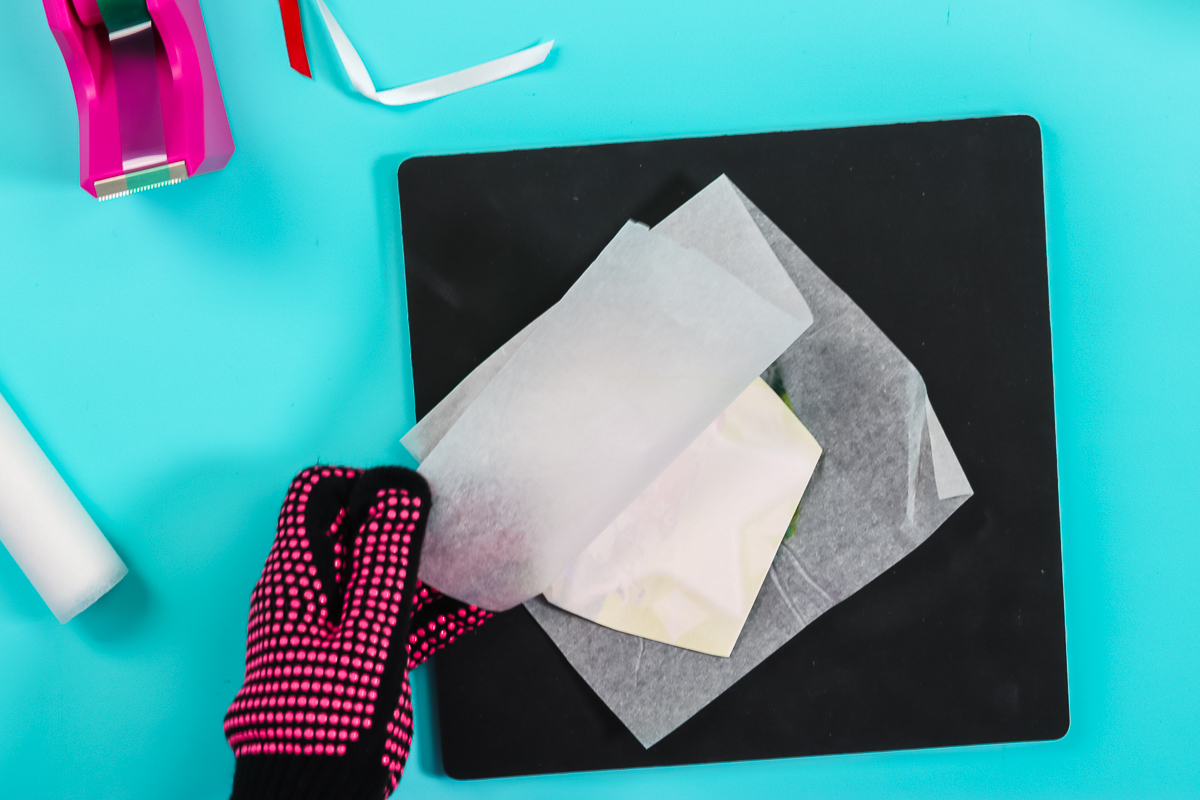
Add protective paper on both sides.
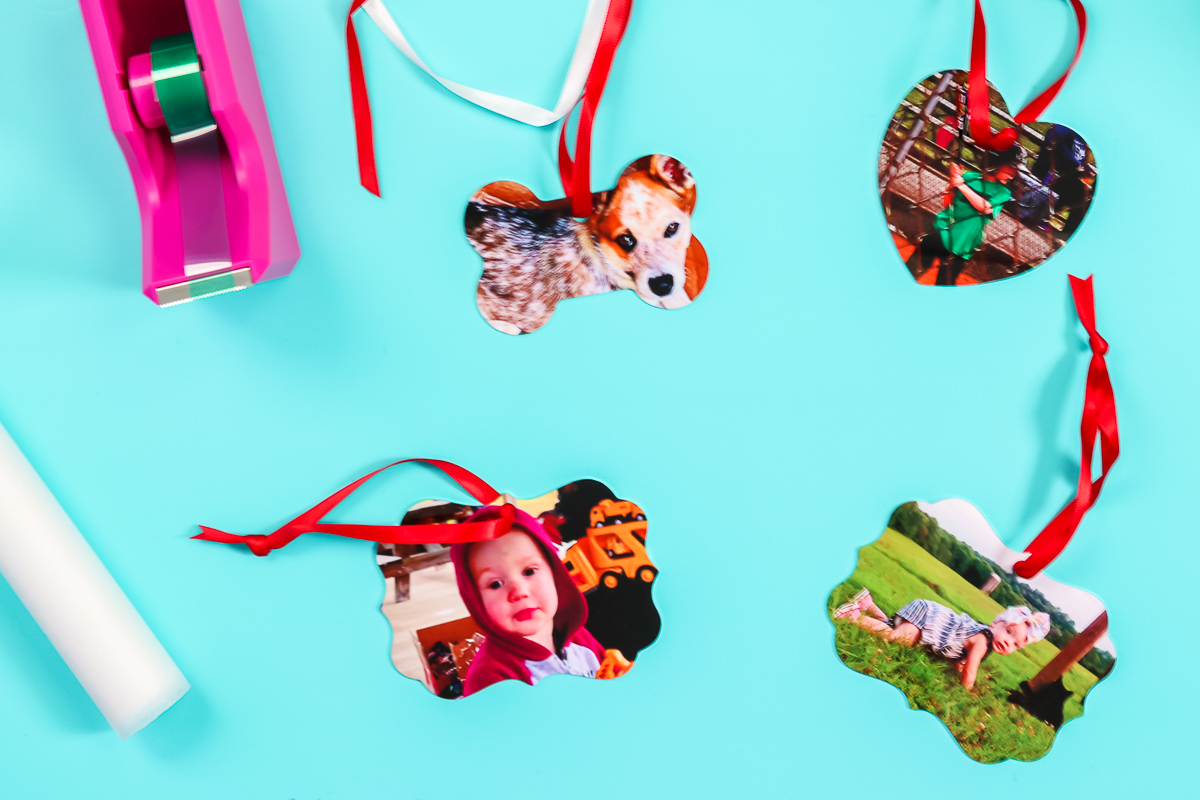
The ornaments that I used were pressed at 400 degrees for 75 seconds with medium to heavy pressure. Check with the vendor where you purchase your blanks for specific instructions. Make sure that your sublimation print side is up if you are only doing one side.
I pressed mine in my heat press, two at a time. When they were done, I put them on a heat-resistant mat. I like to remove my prints while the ornaments are still warm.
NOTE: I wear heat-resistant gloves to protect my hands while doing this step.
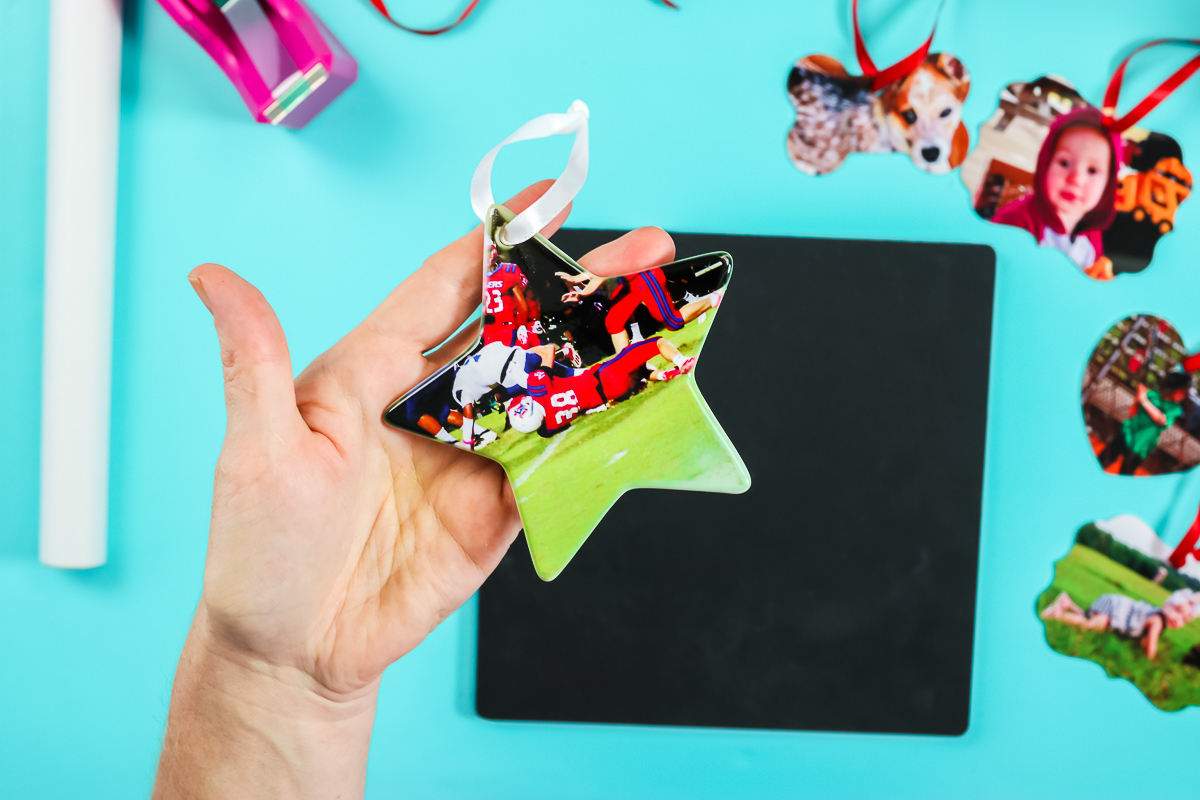
Once your paper is removed, you have some super cute photo ornaments on metal!
Allow them to cool, add some ribbon, and they are ready for the tree!
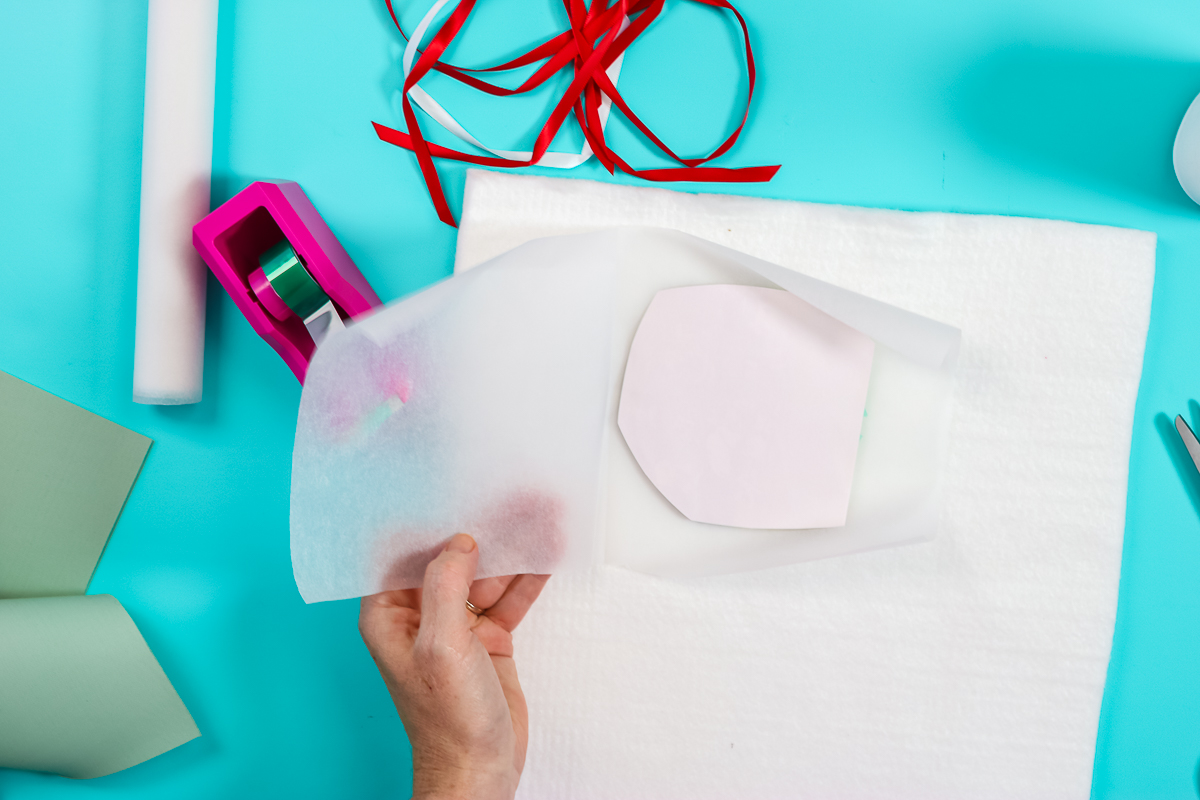
Porcelain Ornaments
The procedures are almost the same for porcelain as they are for metal, with a few exceptions. Again, you will want to place your ornament over the area you want transferred and tape it down. Be sure to clean it well with a lint roller before adding your sublimation print. The instructions do call for you to use adhesive spray on this one, and I don't particularly like to use it. I think this will be fine with just some tape.

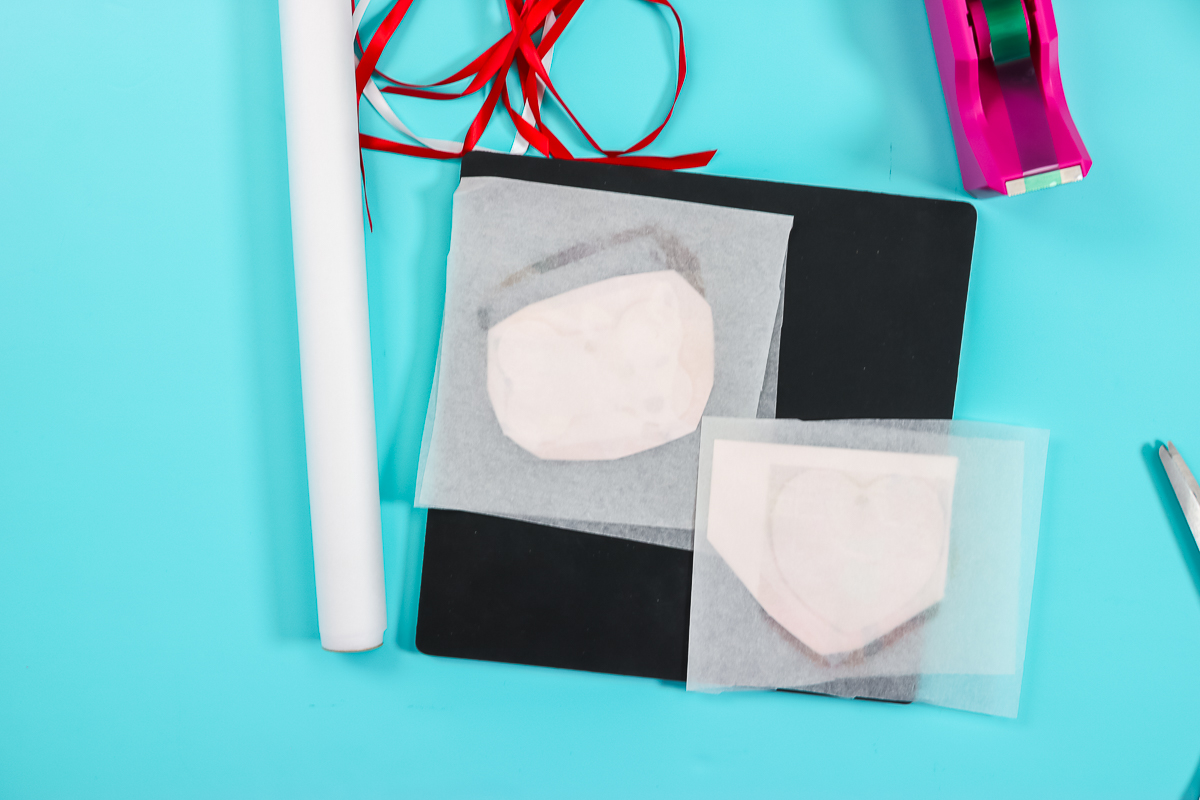
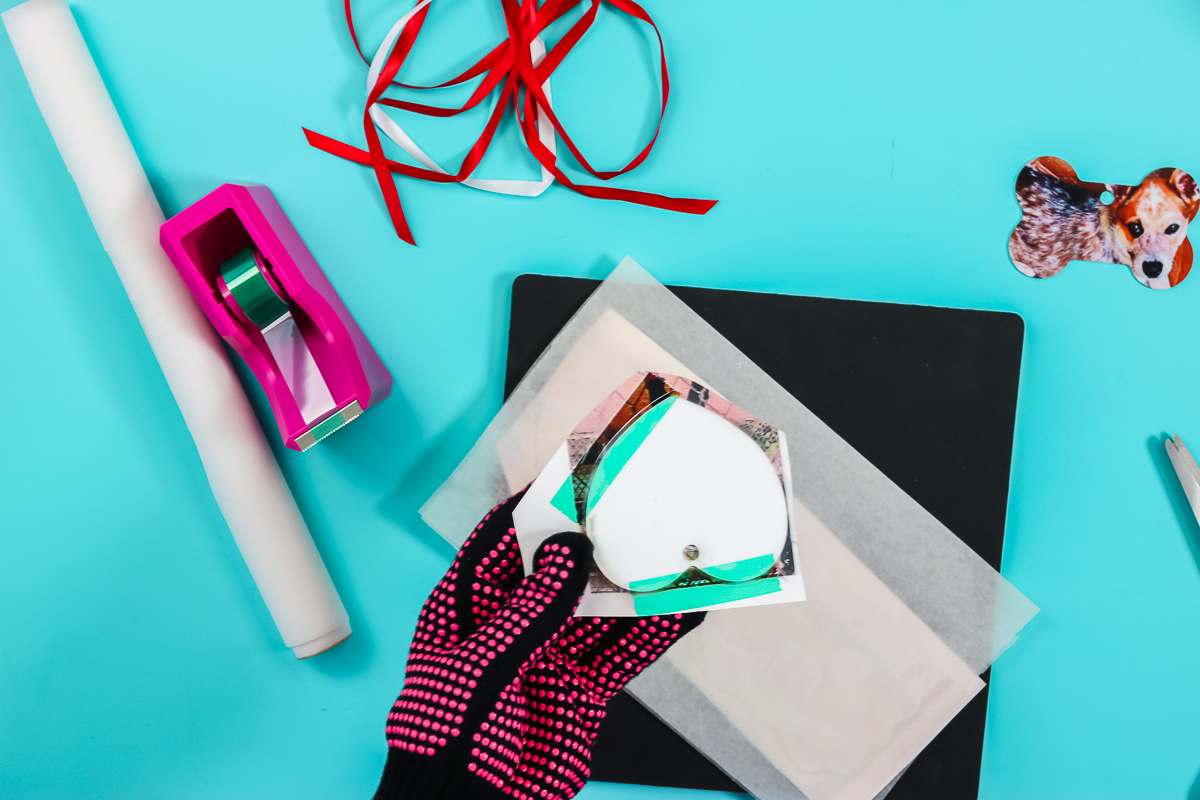
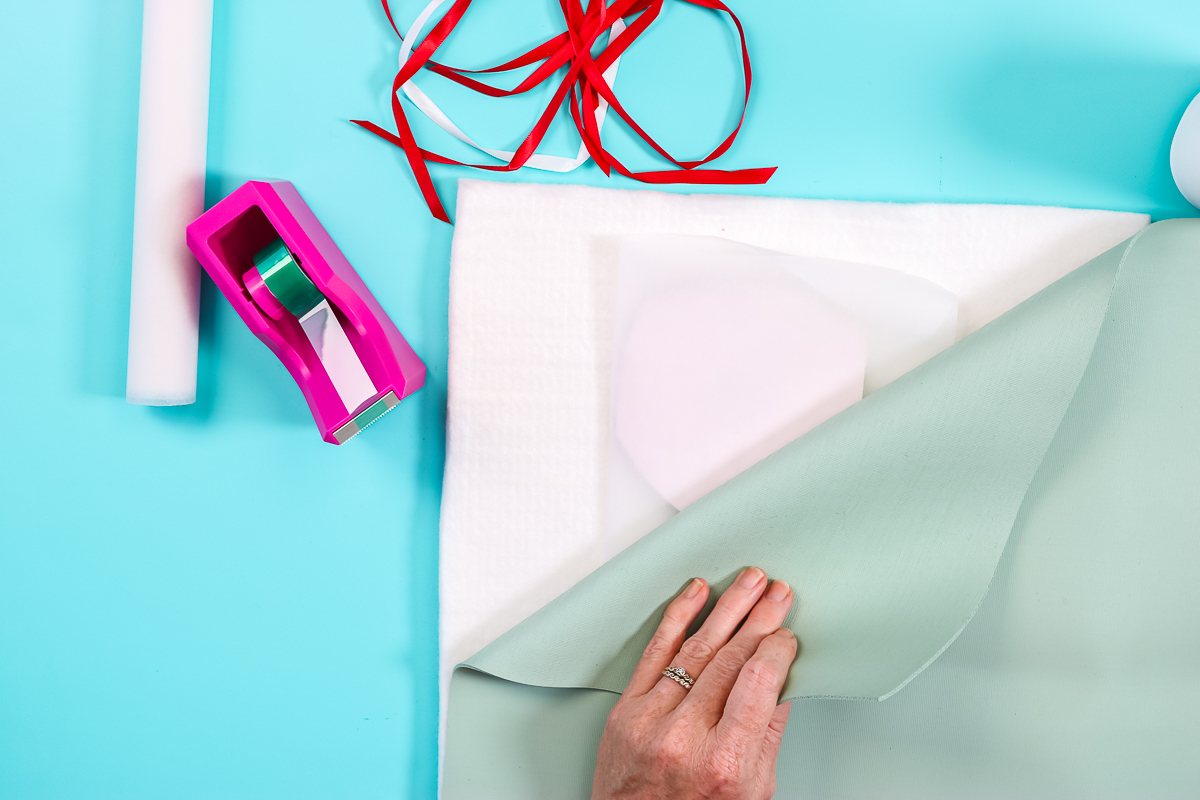
The pressing is where the differences come in with these sublimation ornaments. I'm going to put a Nomex pad on the bottom of my heat press. Then add a layer of protective paper. Then add the ornament face down, with the sublimation print on top, and cover it with protective paper.
Finally, I’ll put a rubber pad over the top. Then press with light pressure for 400 degrees for 4 minutes. Again, that is the instructions for this particular blank. You will want to follow any instructions for the blank you are using.
Here's the porcelain ornament after it's been pressed. Just remove the sublimation print to reveal your photo. Remember, this will be HOT, so use caution when handling.
The photo ornament looks really good, and I love the look on porcelain! Just add a ribbon to hang this keepsake from your tree.
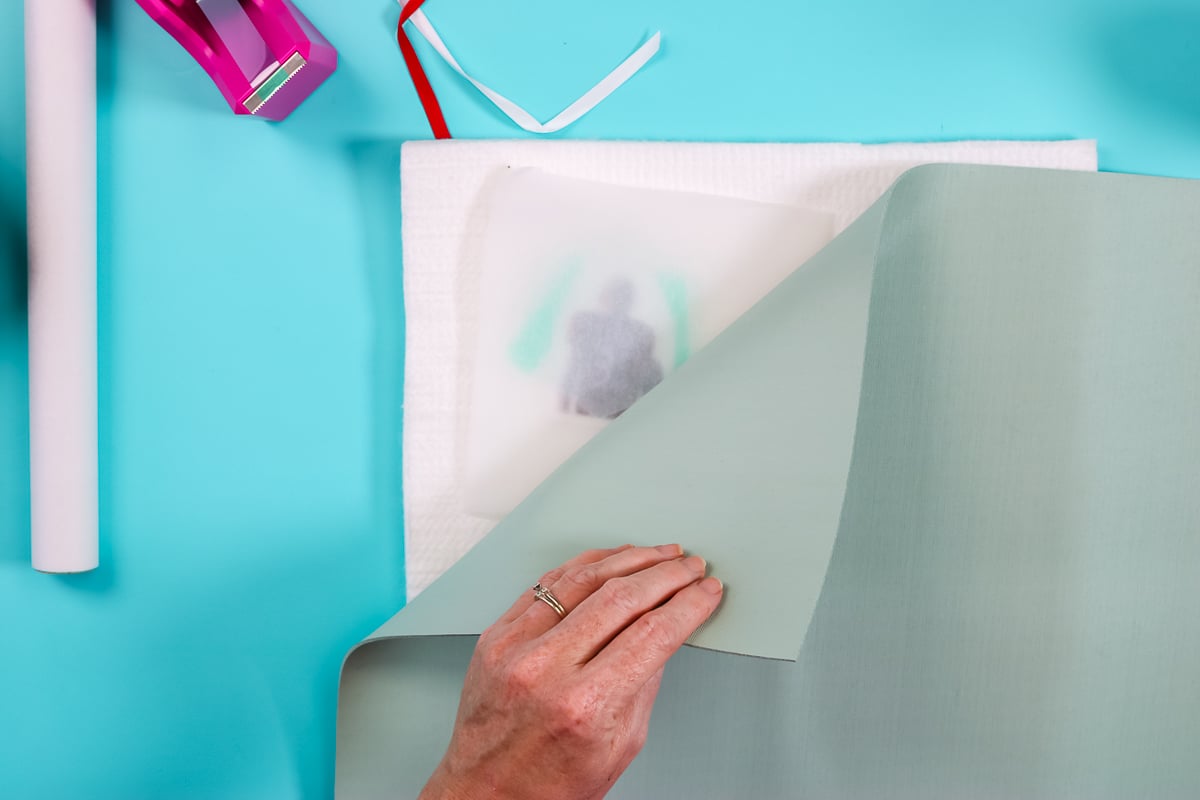
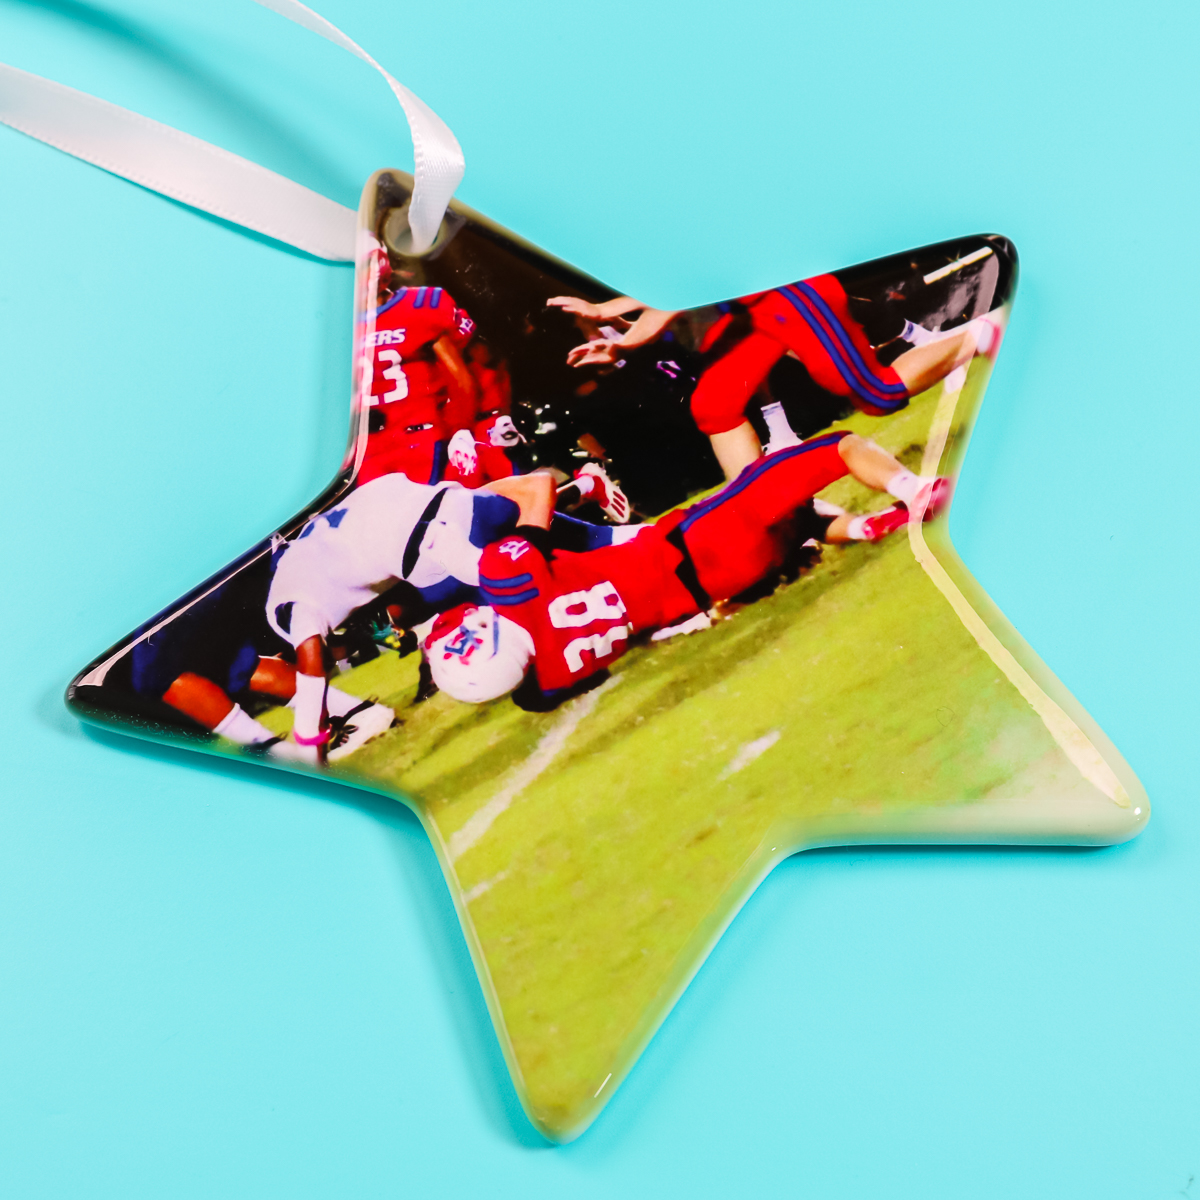
Glass Ornaments
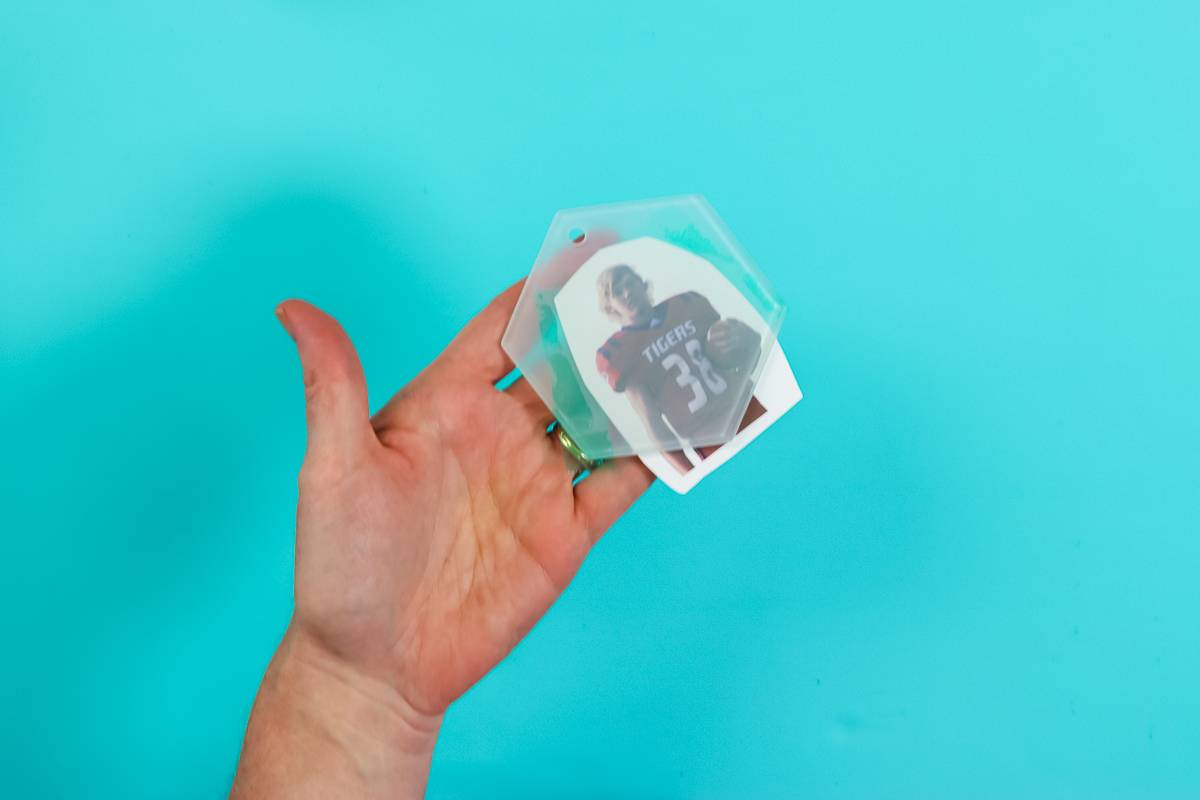
The glass ornament requires a different procedure. It's clear on one side, frosted on the other. You're going to put your print on the frosted side, and it will show through to the clear side, so you don't want to mirror your image. I did not mirror my image in this case.
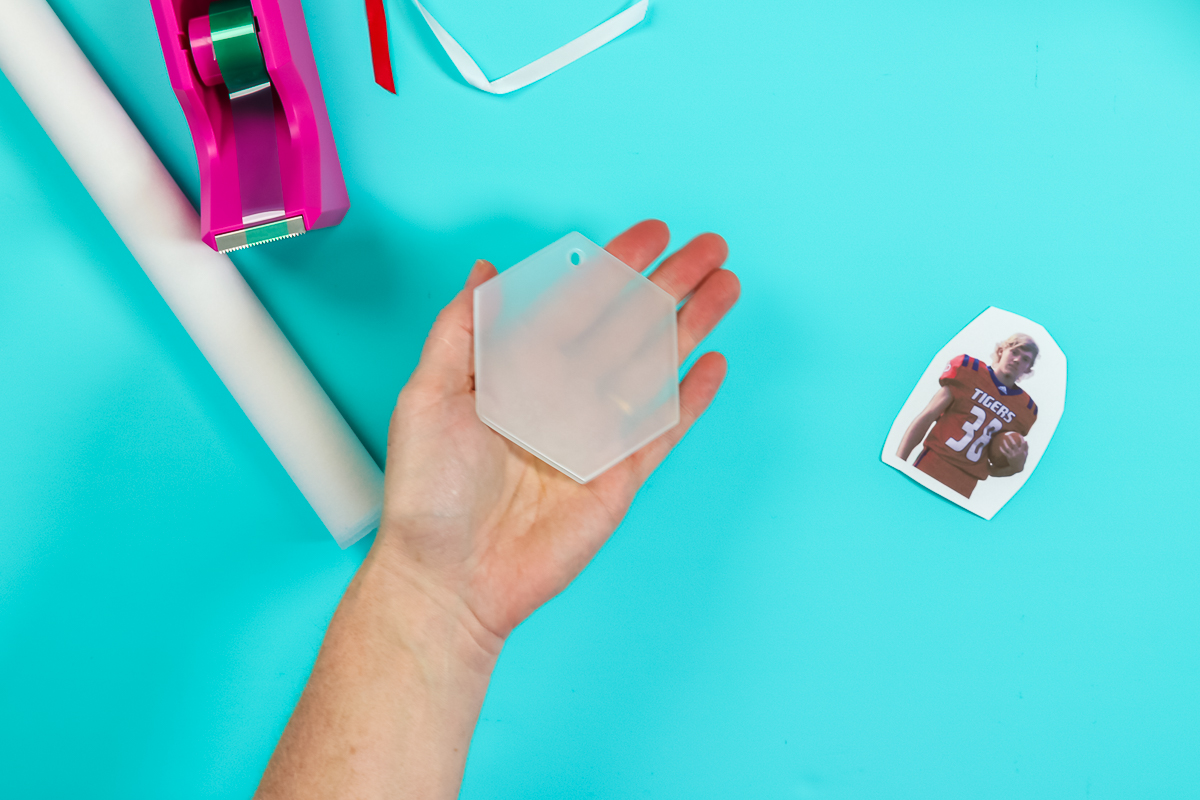
Clean the frosted side with a lint roller. Also, on this image, I removed the background so I can see the frosted glass once the ornament is complete. That is optional, but a fun effect. Locate your print on the frosted side, looking through the front side as a guide, then tape it into place.
Now let's talk about the pressing procedure. Again, we're going to place the Nomex pad on our heat press with protective paper. This time, we're going to put the ornament down with the image on the bottom and the protective paper over the top. Your sublimation print should be on the BOTTOM!
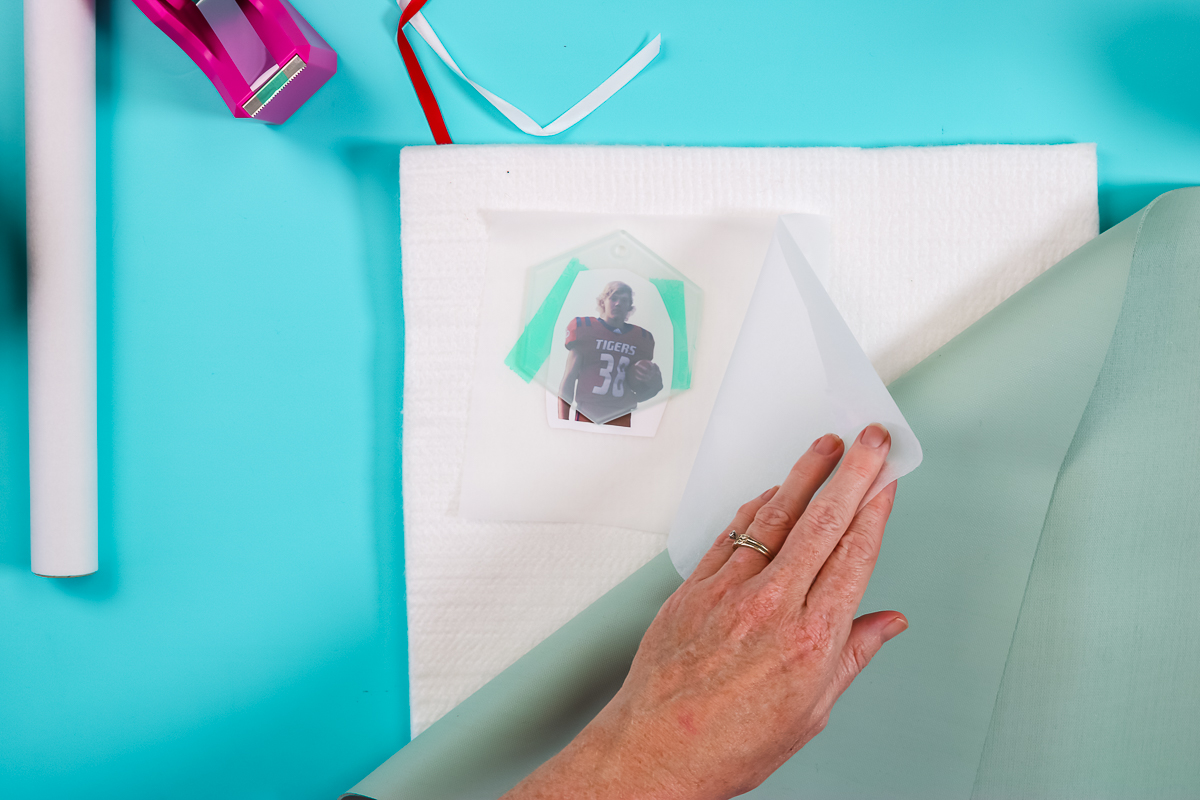
Add the rubber pad to the top before pressing. We're going to press this at 385 degrees for 480 seconds at medium pressure. Again, you will want to follow all directions from the place you purchase your ornaments.
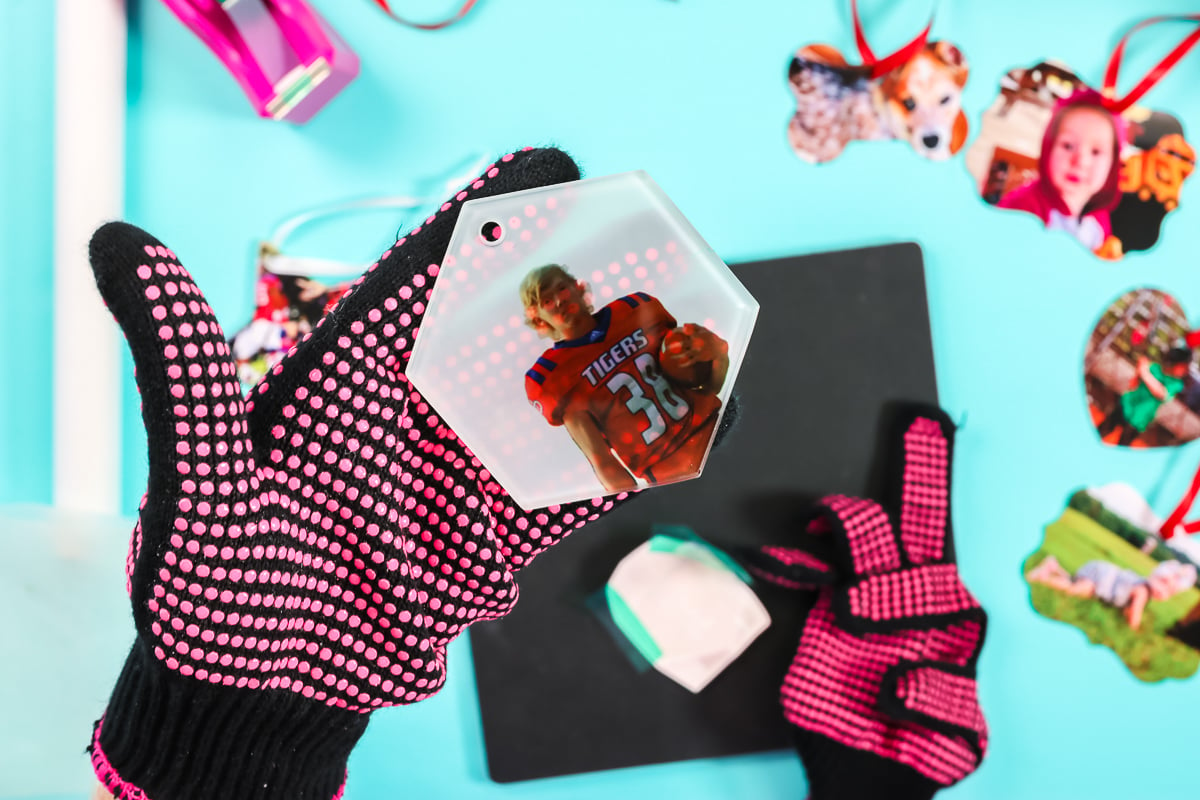
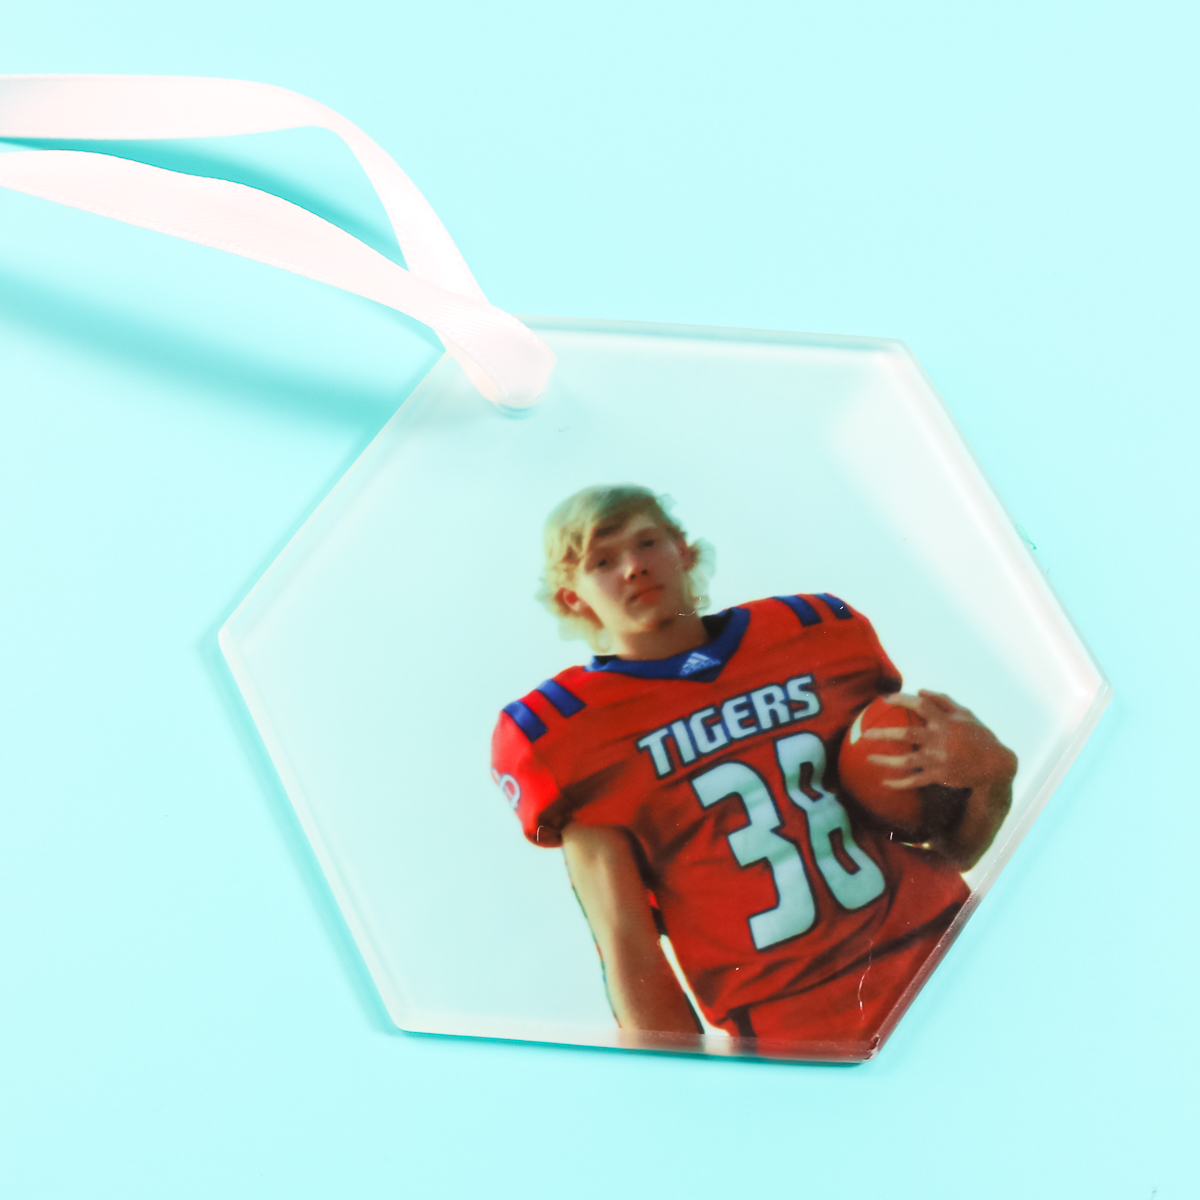
Here's that glass ornament after pressing. Remember to use caution when removing these, as they will be hot.
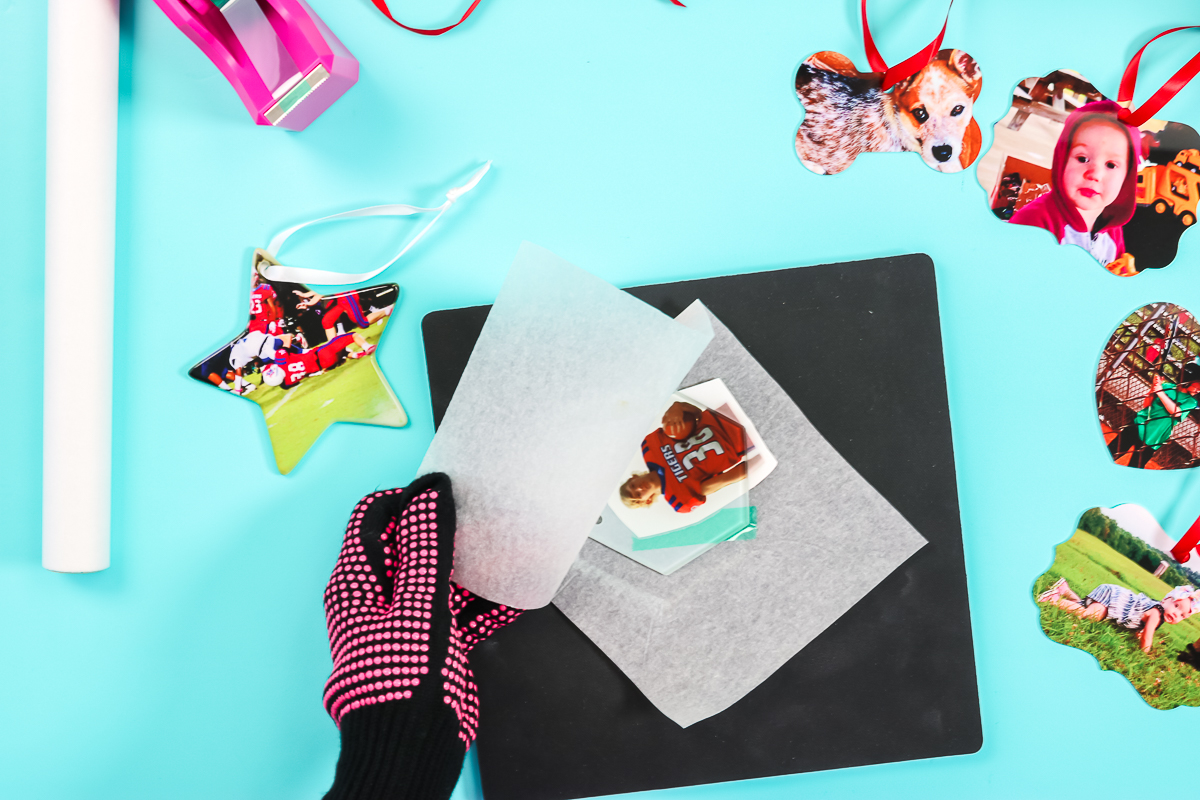
Remove your sublimation print from the back and add a ribbon to hang on your tree. I think this may be my favorite with the background being that frosted glass! You could definitely sublimate over the entire ornament here as well.
How To Finish Your Sublimation Ornaments
Once you have pressed your ornaments according to the directions, they are complete! With sublimation, there is no need for any additional sealer to make them permanent. Just add on your ribbon and start hanging. These ornaments will last for many years, and you will have a tree full of great memories.
I would like to know which of these options is your favorite. I love sublimation metal ornaments; if I just want to do something quickly, they are super easy.
I feel like the porcelain version is more elegant. They are more like heirlooms that can be passed down through the generations.
I will say, however, that the glass sublimation ornaments are my absolute favorite! The frosted glass is stunning and an amazing way to make sublimation ornaments that everyone will love.
Whether you use metal, glass, or porcelain, you can make photo ornaments for your tree. Or you can make even more and give them as gifts or sell.
Make some sublimation ornaments this year. I know you will love how they look on your tree!
FAQs About Sublimation Ornaments
Here are answers to some of the most frequently asked questions I receive about making these sublimation ornaments. If your question isn’t listed, feel free to drop it in the comments, and I’ll be happy to help!
Are Those Blanks Glass Or Plexiglass (Like Acrylic)?
It was definitely real glass. I am working on a video about acrylic!
Is A Certain Metal Required To Sublimate?
It must have a sublimation coating. These are all sublimation blanks.
What About MDF Blanks?
I would sublimate MDF blanks using the method in this video!
Can You Use A Cricut EasyPress Instead Of A Heat Press?
I have done it on the metal ornaments without issues. I am not sure about the glass as I haven't tried it.
My Sublimation Ornaments Are Turning Out Yellow. Any Thoughts On How I Can Get The Results To Be Less Yellow?
Does your blank look green? That indicates you are underbaking your project. You can also try ICC profiles if you think you need color correction. You can learn how to do that by watching this video!
5 More Christmas Sublimation Crafts
Do you love these sublimation ornaments and are looking for more Christmas sublimation crafts? Then check out the projects below!
- How to Make Sublimation Christmas Stockings
- DIY Christmas Pillow – Dollar Tree Sublimation Craft
- Free Christmas Sublimation Designs and Project Ideas
- How to Sublimate a Mug with a Free Christmas SVG
- Christmas Sublimation Wind Spinner Ornaments


What kind of heat press?
I am using a Siser heat press, the link is in the supplies list of the post 🙂