
Today we're going to talk about sublimation spray adhesive. This post has been updated in 2024 with adhesives that I recommend and are currently available.
If you've ever been frustrated by heat-resistant tape marks after pressing your sublimation print these spray adhesives may be exactly what you're looking for.
We use heat-resistant tape to hold down sublimation prints to ensure they don't move during the sublimation process.
Movement during the sublimation process can cause “ghosting” or a “double print”. This is when you have one print, it moves a little bit, and it actually prints in another area a second time. This can be extreme or just a little bit where you can barely notice it, but it can be super annoying and something that can be a huge sublimation problem.
Heat-resistant tape can leave marks on some surfaces. If you have that happen try a sublimation spray instead.
How do you use this? Does it work better than the tape you're already using? Let's dive in, take a look at what we're going to use, and do some experiments.
Sublimation Spray Adhesive
Years ago I went on the hunt to find the best sublimation spray adhesive. I found a version I really liked but unfortunately, the company is no longer in business. I am now on the hunt again for a sublimation spray adhesive that works well and doesn't leave a residue.
You can watch me test these different options by pressing play on the video below.
Can't watch the video or missed some of the information? You can also follow along below!
Supplies Used
Sublimation Spray Adhesive I love
- Pixie Spray
- Sprayway 82 Adhesive (no longer available)
Other Spray Adhesive Brands Tested
Other Supplies Used
Why Use Sublimation Spray Adhesive?
Sublimation spray adhesive is a great alternative to heat-resistant tape if your blank has tape marks after pressing.
A good sublimation spray adhesive will hold your print in place and not leave a residue behind after heat is applied.
Acrylic is a great example of a blank that is prone to getting press marks or tape marks. As the acrylic heats up the tape sort of embeds into the surface. That doesn't give you a very professional finished product.
Sublimation spray adhesives are repositionable and you do not need to use tape when you use a spray adhesive.
What Blanks Can I Use Sublimation Spray Adhesive On?
You can use sublimation spray adhesive on fabric, coasters, mouse pads, acrylic, plastic, metal, wood, glass, sublimation leather, etc. If you can sublimate the blank you can probably use spray adhesive as an alternative to tape.
Does Sublimation Spray Replace Heat-resistant Tape?
I still use tape for most projects. Unless I have a problem with the tape leaving press marks or the tape not sticking to the blank I use heat-resistant tape.
How to Use Sublimation Spray Adhesive
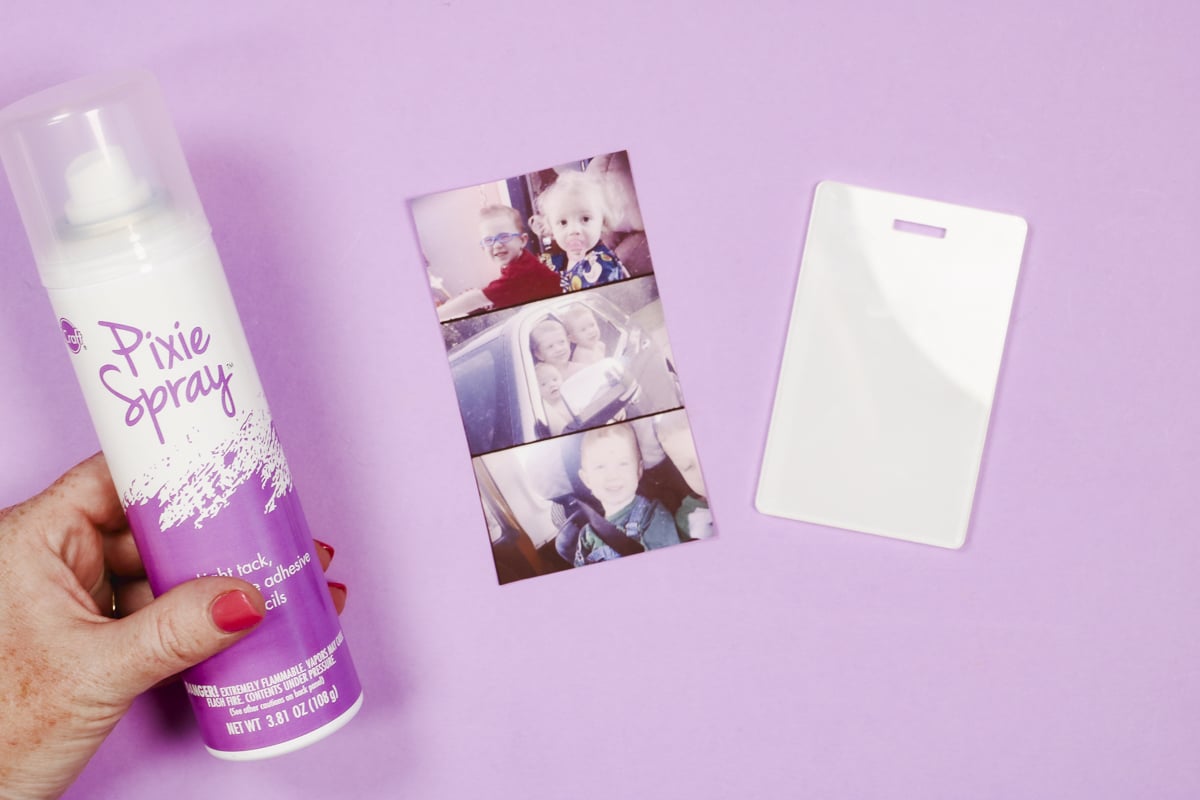
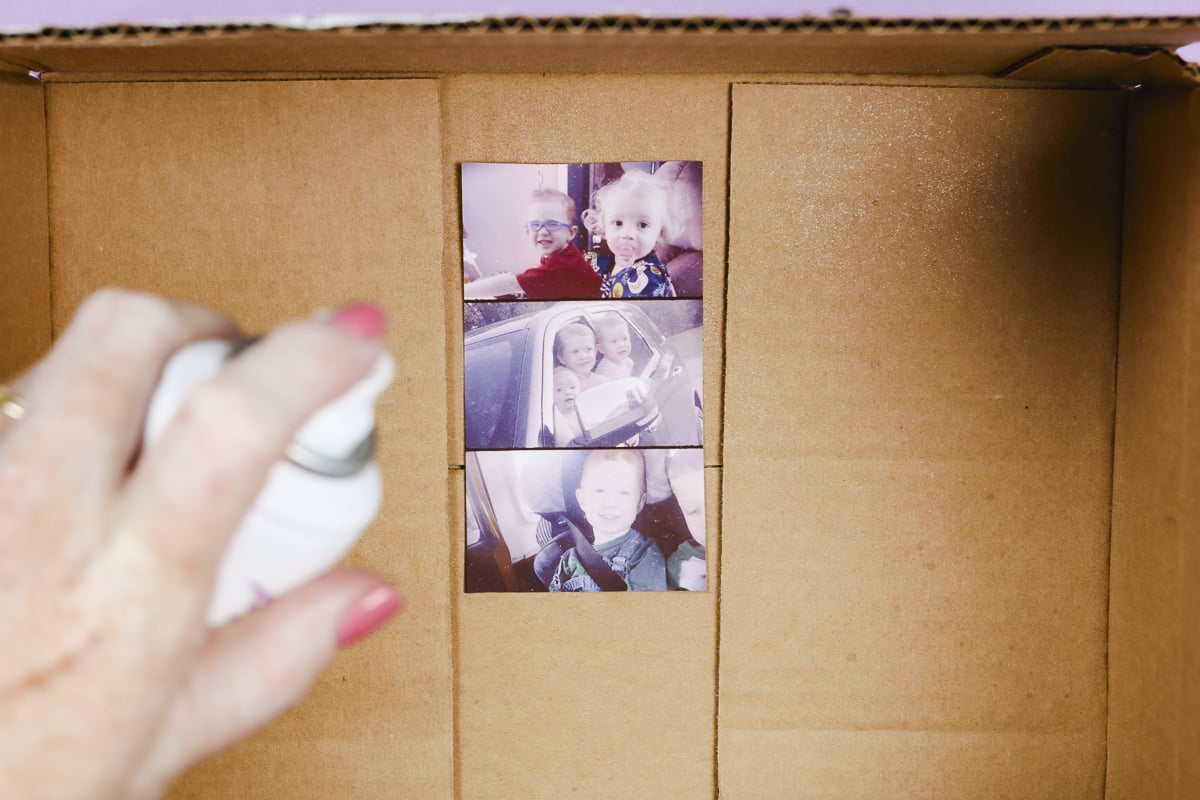
I like to put my sublimation print inside a box to protect the area around the print from the adhesive spray because it can get all over the place.
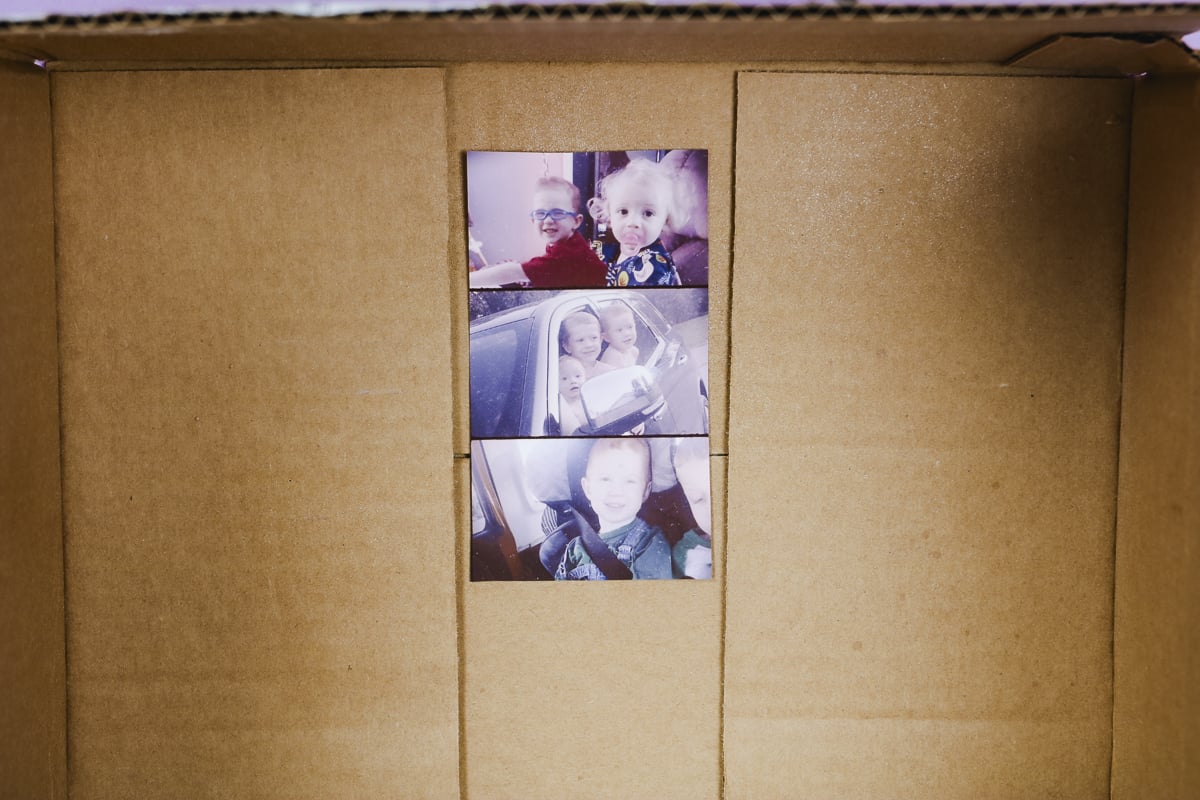
Next, shake the sublimation adhesive spray really well and then spray it up and away from the print about 12-18 inches away from the print.
I spritz the spray up in the air and then let it fall onto the sublimation print.
The adhesive will dry quickly and will be slightly tacky. You want to allow it to dry before applying it to the sublimation print.
Add Print to Sublimation Blank
Just like any other sublimation project make sure the sublimation blank is really clean before applying the print.
Locate the print onto the sublimation blank and then press it down gently. The print will be lightly adhered to the surface.
With the sublimation print located we're ready to press.
Press Sublimation Print onto Sublimation Blank
Add protective paper to both the front and back of the sublimation blank and press as recommended.
The spray adhesive doesn't change the time and temperature that you will press your sublimation print for.
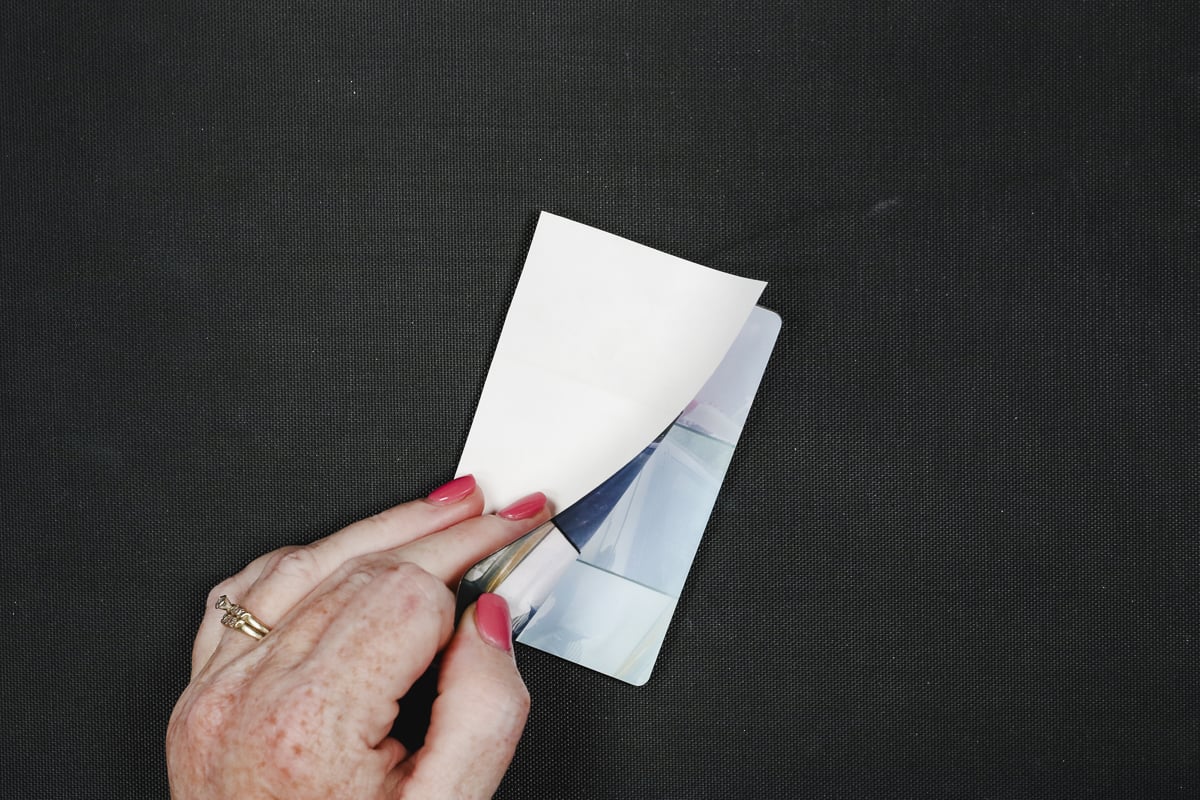
When the time is up, peel back the sublimation print. A good sublimation spray will peel off easily and shouldn't leave any residue on the blank.
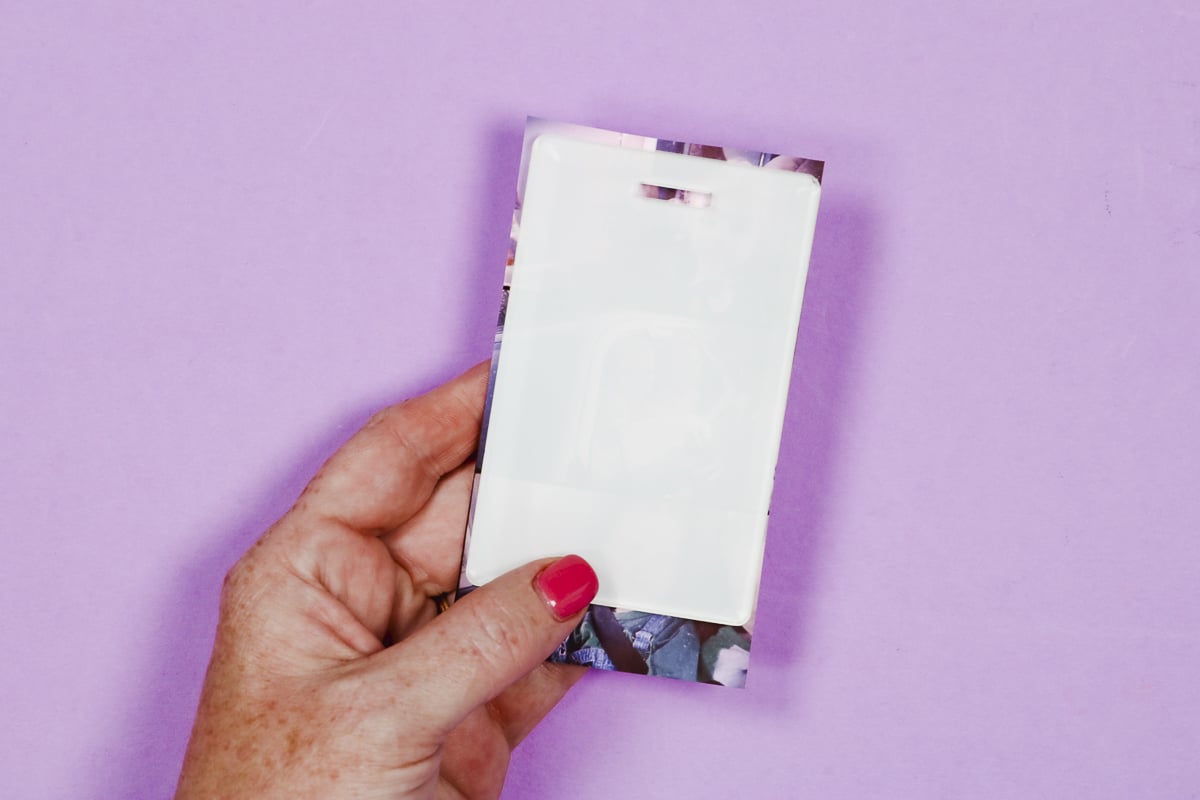
In the photo above you may wonder why the image is so light. On this blank you press from the back and the vibrant image is the other side.
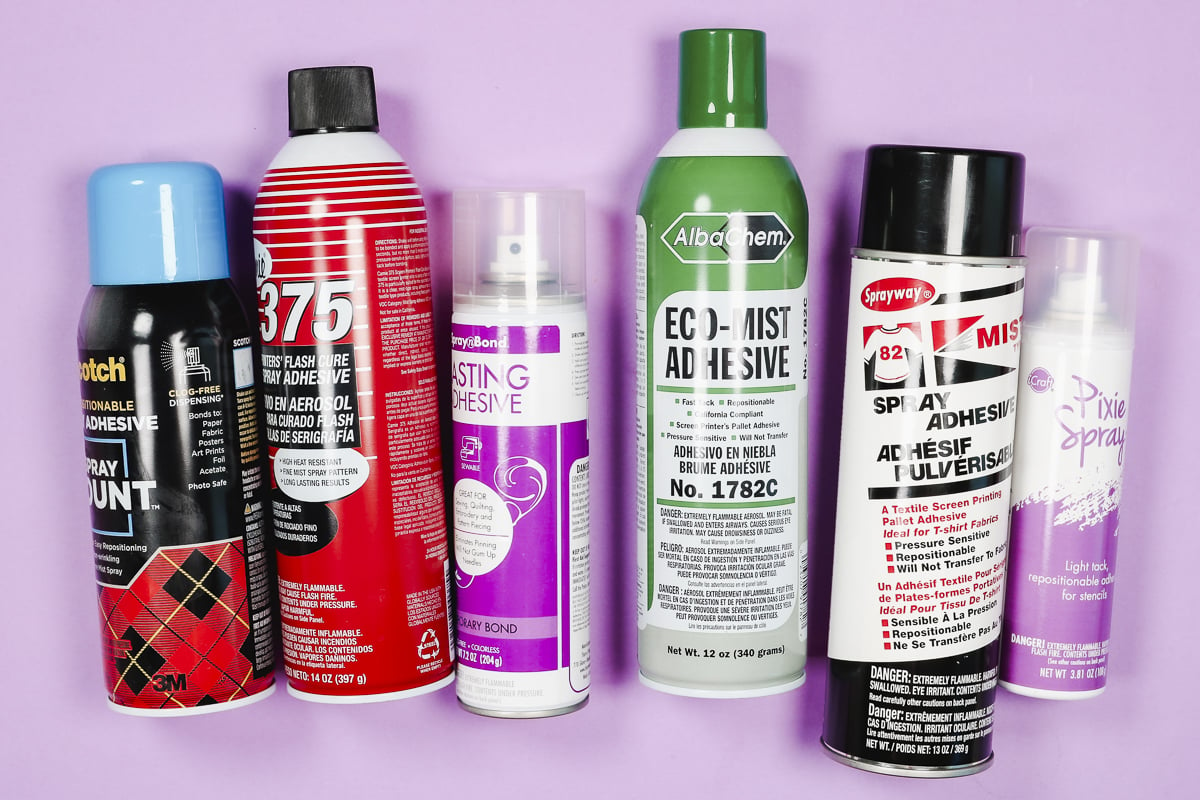
Which Sublimation Adhesive Sprays Work the Best?
I tested six different sublimation adhesive sprays to see which one would work best.
Each of the adhesives I tested were tested on hard and soft surfaces.
I was testing to see:
- How well does it spray?
- Does it leave any residue on the surface?
- Does the print look different if I tape vs. use spray adhesive?
Favorite Adhesive Sprays
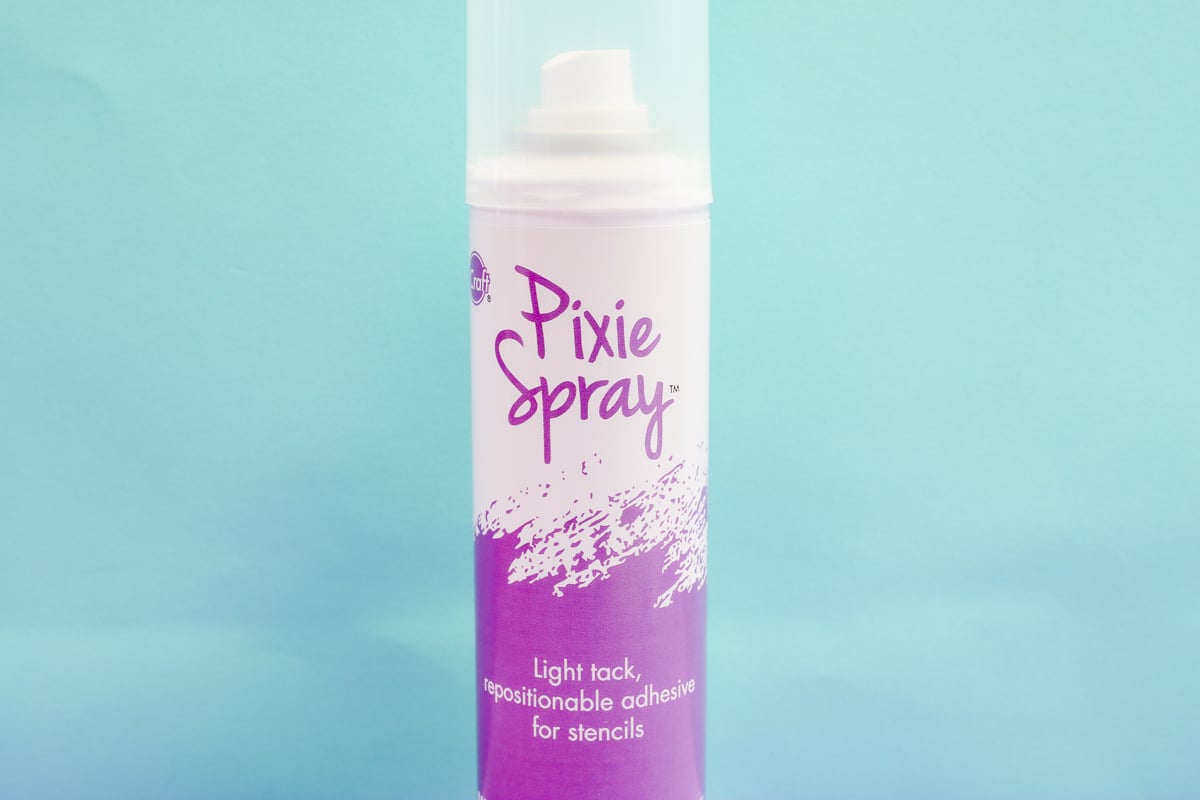
My top pick is the Pixie Spray from iCraft. It comes in a small bottle but you don't need very much adhesive so it will last a long time.
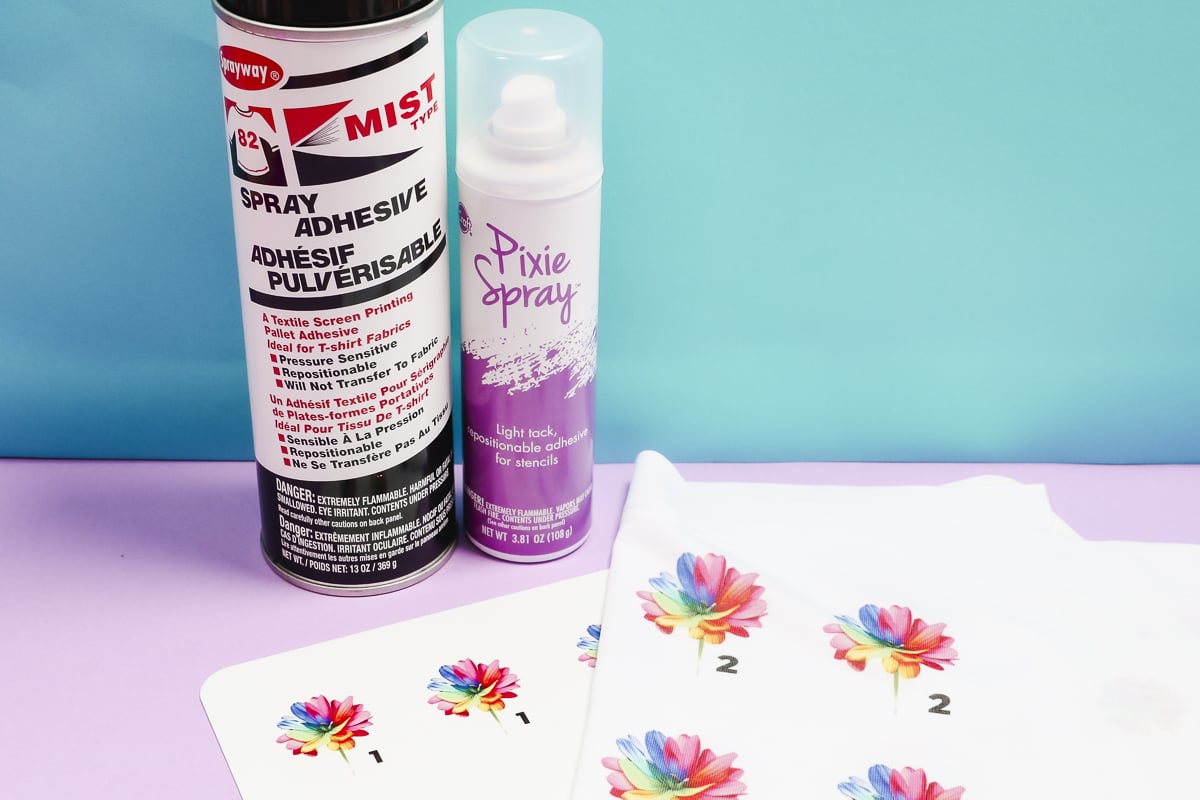
If you can't find the Pixie Spray my second favorite was the Sprayway Mist Spray adhesive and you want the one that says 82 on the bottle. The 82 is for textile screen printing and it worked really well for sublimation.
Other Sublimation Spray Options
The other four adhesive sprays I tried didn't work as well. If you're having issues with your adhesive spray look at the brand you're using.
Not all of the different brands are great, some of them spray too fast or too heavy.
Another reason they may not work well is because they're not meant to be heated and the heating process can affect the adhesive and alter the properties.
Even if the brand says the spray is for sublimation it may not work.
Final Thoughts on Sublimation Spray Adheisve
I am really happy with how well the Pixie Spray worked on both soft and hard surfaces.
If you're having issues with tape marks on your project or ghosting because your tape isn't sticking to the blank I recommend trying a sublimation spray.
If you're trying a blank for the first time I always recommend ordering an extra that you can test to see if the tape will leave a mark. Acrylic and neoprene both are known for press marks, this is why I like to have a good spray adhesive on hand just in case.
I rarely use a sublimation adhesive because most of the time heat-resistant tape works really well.
If you are a sublimation crafter I think the spray is a great tool to have in your craft room.
If you're using one of the sprays I recommend and it isn't working properly you may be adding too much spray to your print or not allowing it to dry before applying it to the blank.
Hopefully, this helped answer all of your questions about sublimation spray adhesive. If you have any additional questions leave them in the comments and I'll be happy to answer them for you.


Thank you for this review. I have just started doing sublimation on t-shirts and some YouTubers recommended using the spray. I don’t mind using the tape (although I have noticed tape marks occasionally) and was of two minds whether to start using spray or not. You have answered ALL of my questions and helped me decide. Love your channel.
I’m so glad you found it helpful. Thanks so much for being here.