

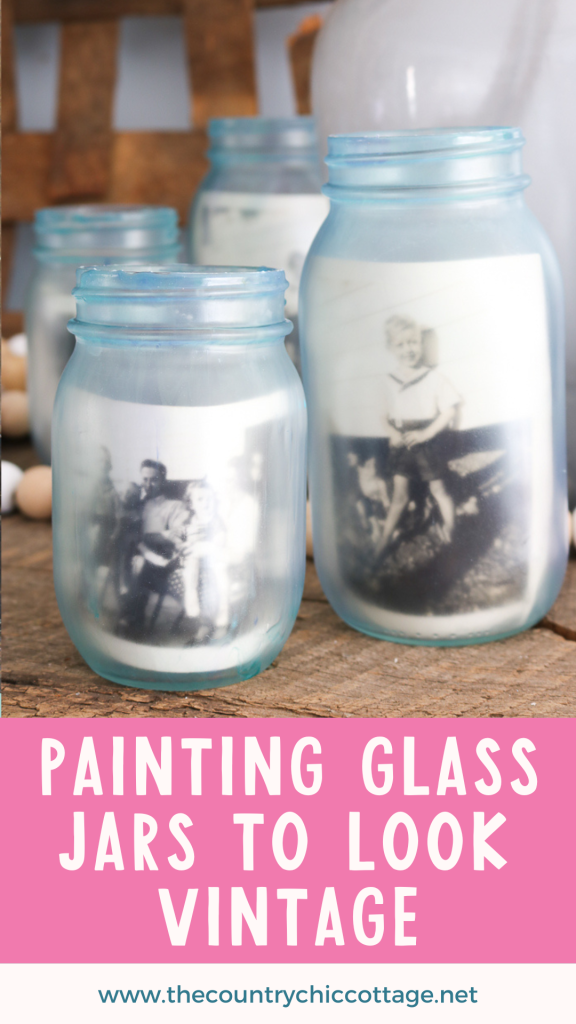
If you’re looking to add a touch of vintage charm to your home, this tutorial on painting glass jars is perfect for you! It’s incredibly easy to follow and produces fantastic results. The classic frosted glass look is ideal for a farmhouse-style decor. Made in just a few simple steps, this is one of the best ideas for transforming ordinary jars into beautiful decor!
Need more vintage decor ideas? Then be sure to look into these DIY vintage labels. You'll have your house decorated with tons of vintage touches in no time.
Supply Update For How To Paint Glass Jars
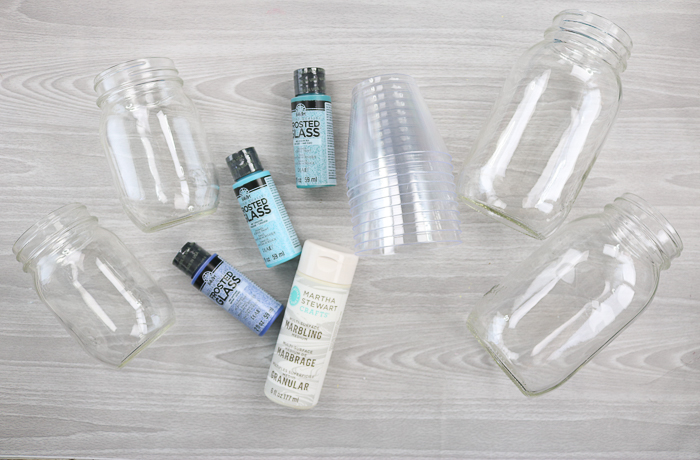
For this project, I originally used Marbling Medium and Frosted Glass Paint in the colors Sapphire, Turquoise, and Aegean Sea. Unfortunately, these products are no longer available.
However, you can still make this project using another technique that involves Mod Podge and Food Coloring!
This technique still gives you the same frosted glass effect and is more budget-friendly!
In the video below, you will see the Marbling Medium and Frosted Glass Paint being used, but if you follow our written instructions (in this blog post), you can substitute these supplies (with Mod Podge and Food Coloring) and still follow along with the tutorial.
Video Tutorial: How To Paint Glass Jars
You can actually watch my method for how to paint glass jars in the video below. Just click play!
Can’t watch the video or miss some of the information? You can also follow along below!
Painting Glass Jars
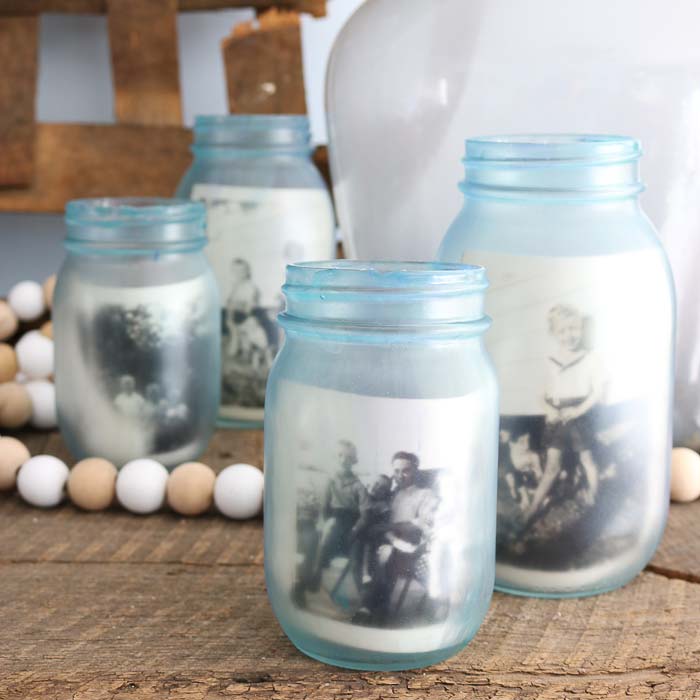
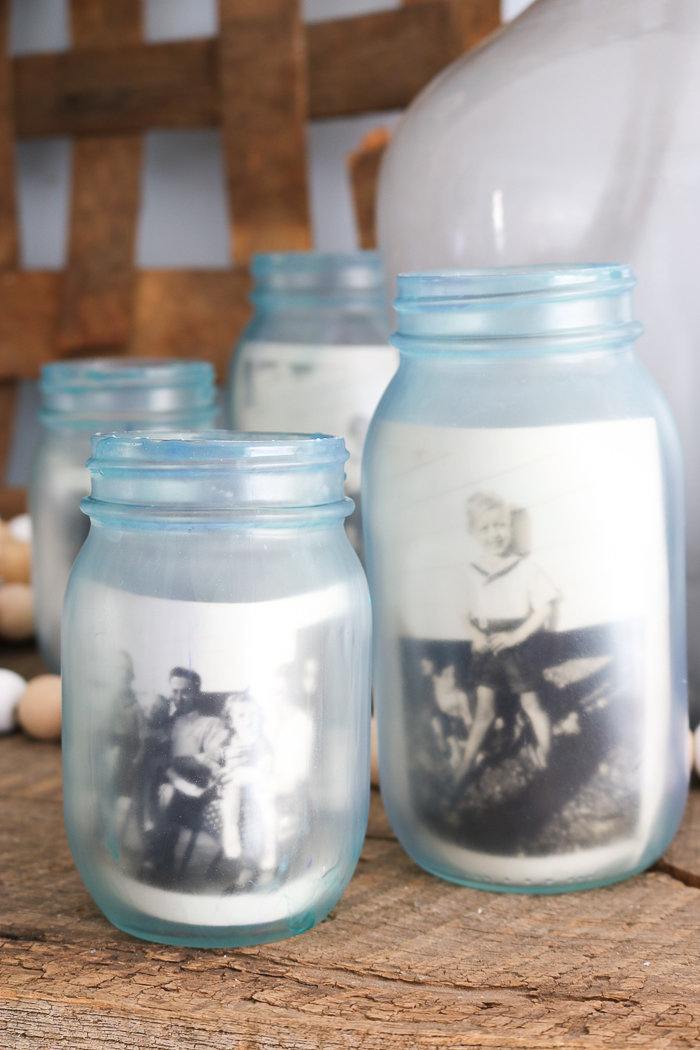
If you like the look of the old-fashioned mason jars in shades of blue, then you've come to the right place. Painting glass jars to look vintage has never been easier! These jars are simple to customize and are perfect for anyone wanting to add a vintage aesthetic to their home.
Supplies Needed To Paint Glass Jars
- Mason jars in various sizes (I used the smooth-sided version)
- Mod Podge
- Food Coloring
- Craft sticks
- Disposable cups
- Cardboard
- Black and white or color photos
Note: Add some extra decor to the jars by adding jewelry or fabric to them.
Note: Marbling Medium and Frosted Glass Paint shown in the photo below are no longer available.
How To Paint Glass Jars
You'll love how easy it is to paint these mason jars! With just a handful of steps, you'll have a vintage look in no time.
Step 1: Mix Mod Podge With Food Coloring
Mix the Mod Podge with the food coloring in disposable cups. Mix a small amount of Mod Podge with 3-4 drops of food coloring. When adding the drops of food coloring, keep in mind that the more food coloring you add the darker your color will be.
To get the color shown above, mix 4 drops of blue food coloring with 1 drop of green food coloring.
Step 2: Drip The Mixture Down The Mason Jar
Turn the mason jar upside down onto another plastic cup. Then set it onto some cardboard or other disposable surface, as this project is super messy. Use your craft stick to drip the paint down the jars.
There is no method for this part of the project. However, the main goal is to cover your jar with your color (or colors) completely. You can pick the jar up or leave it upside down. Whatever works best for you! You can also use your stir stick to push the paint around to cover any gaps.
Step 3: Allow Mason Jar To Dry
Allow the jar to dry overnight. Remove the jar from the cup and clean off any dried paint around the jar's lip.
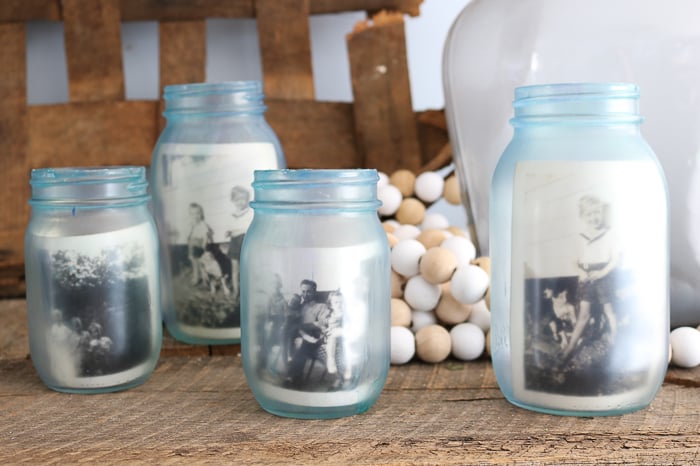
Step 4: Add Photo To Mason Jar
Add your photos to the jars and display them around your home. Enjoy!
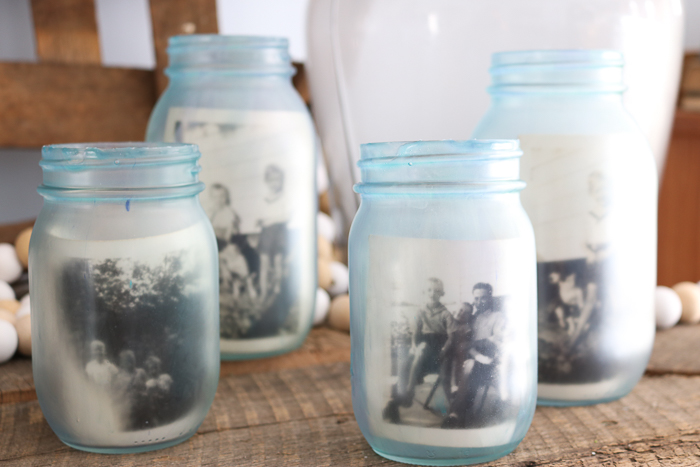
How To Use Painted Glass Jars
You can use these mason jars as decor items around your home. If you want to add a purpose to these jars, then you can add candles, wood beads, flowers, jewelry, rocks, and so much more!
FAQs About How To Paint Glass Jars
Here are answers to some of the most common questions I get about making these painted glass jars. If your question isn’t listed, feel free to drop it in the comments, and I’ll be happy to help!
Can I Use Any Type Of Mason Jar For This Project?
Technically, yes. However, if you want to put a picture inside the jar, I recommend using a smooth-sided mason jar.
Do I Need To Clean My Mason Jar Before I Start This Project?
Yes! I didn't mention it in the tutorial, but you will want to wash and clean your jar before you start painting. Also, I would clean the outside of the jar with alcohol because it will remove any extra ”dust” and it will give you a nice clean surface to paint on.
How Did You Clean Off The Dried Paint From The Lip Of The Mason Jar?
To clean off the dried paint from the lip of the mason jar, I just used my fingers. However, you can use a craft knife as well.
What Type Of Mod Podge Is Best For This Project?
For this project, I find that Matte Mod Podge works best to get that matte finish like the jars shown above.
Can I Mix Up Multiple ”Paint” Colors, Like In The Orginal Video?
Yes! Even though we are working with food coloring, you can still treat it as ”paint”. For example, you can mix up multiple cups of Mod Podge and food coloring to give you different shades to pour over your mason jar (like in the video).
If you are looking for a place to start when it comes to mixing up food coloring, check out McCormick's Food Color Mixing Chart. This chart is helpful because it tells you how many drops you need to use or mix to get a certain color. Now, with that being said, this is for McCormick's Food Coloring. However, you could use it as a guide, or you could Google the brand of food coloring you are using to see if they have their own chart.
6 More Mason Jar Crafts
Did you love learning how to paint glass jars, and want more mason jar crafts? Then check out the projects below!
- Mason Jar Etching + A Gift in a Jar Idea
- How to Make a Mason Jar Soap Dispenser
- Mason Jar Wall Sconces
- Painted Cactus Mason Jars
- Watercolor Mason Jar Vases That Are Easy to Make
- DIY Photo Mason Jar That is Easy to Make


How much modge podge do you use per color you mix?
I did a little bit at a time so it wouldn’t dry out. You’ll want enough to cover the jar but it doesn’t take too much. I did not measure it out exactly.