
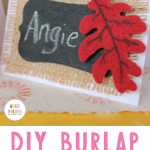
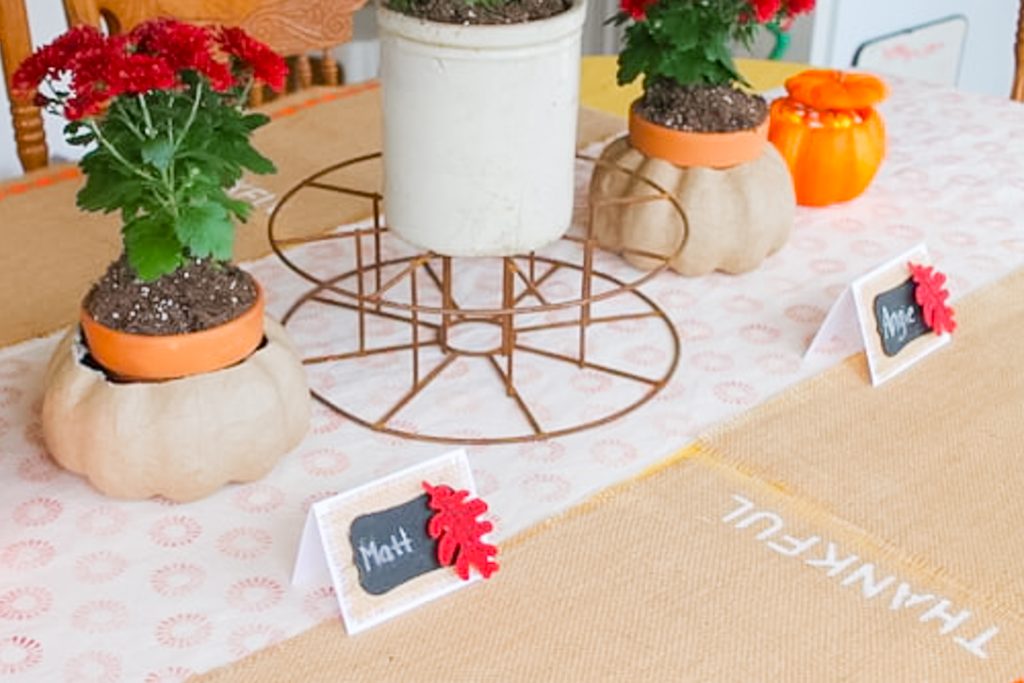
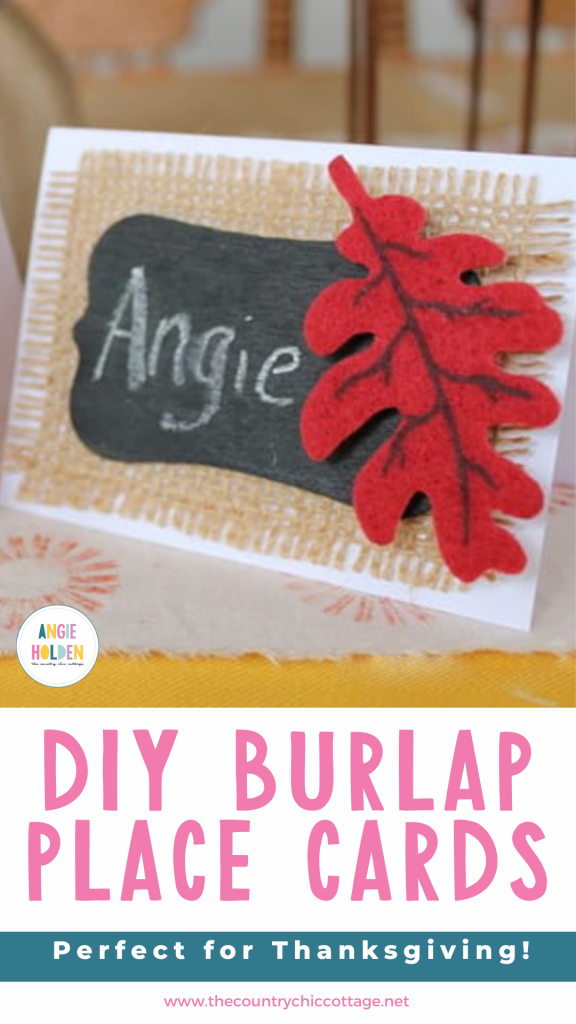
Your rustic Thanksgiving place setting won't be complete without these adorable DIY Thanksgiving place cards! You can use these place cards for guest seating or as food label cards on a buffet.
Thanksgiving is one of those holidays where I take the time to put forth a little more effort. Halloween is fun because it is all about house decor and crafting fun.
Thanksgiving allows me to add some additional elements that would seem a little out of place for Halloween. Since we normally host our family's Thanksgiving feast, I love to create a beautiful holiday table setup.
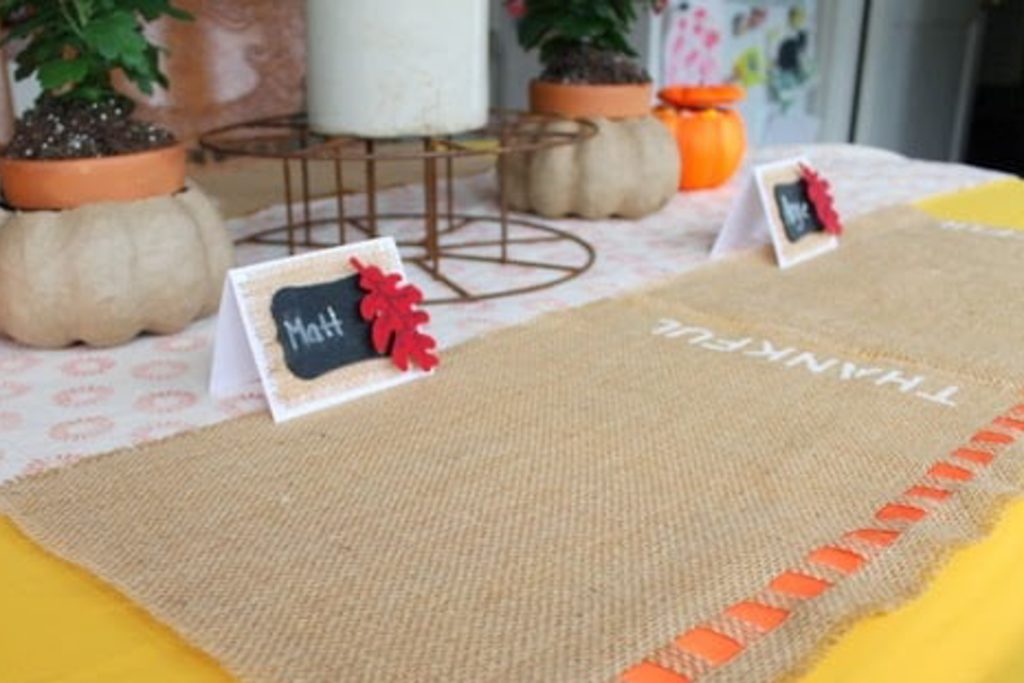
Previously, I shared our DIY Thanksgiving centerpiece and button-stamped table runner. Today, we are going to finish off our table with some burlap! My Thanksgiving place cards and placemats are the perfect addition to your rustic holiday decor.
Note: if you want to complete your Thanksgiving decor, check out our Succulent Cornucopia and other DIY Thanksgiving decorations for your table.
How To Make DIY Thanksgiving Placecards
This post focuses on place cards. If you want, you can also make the matching DIY Burlap Placemats to complete the look. Let's get started!
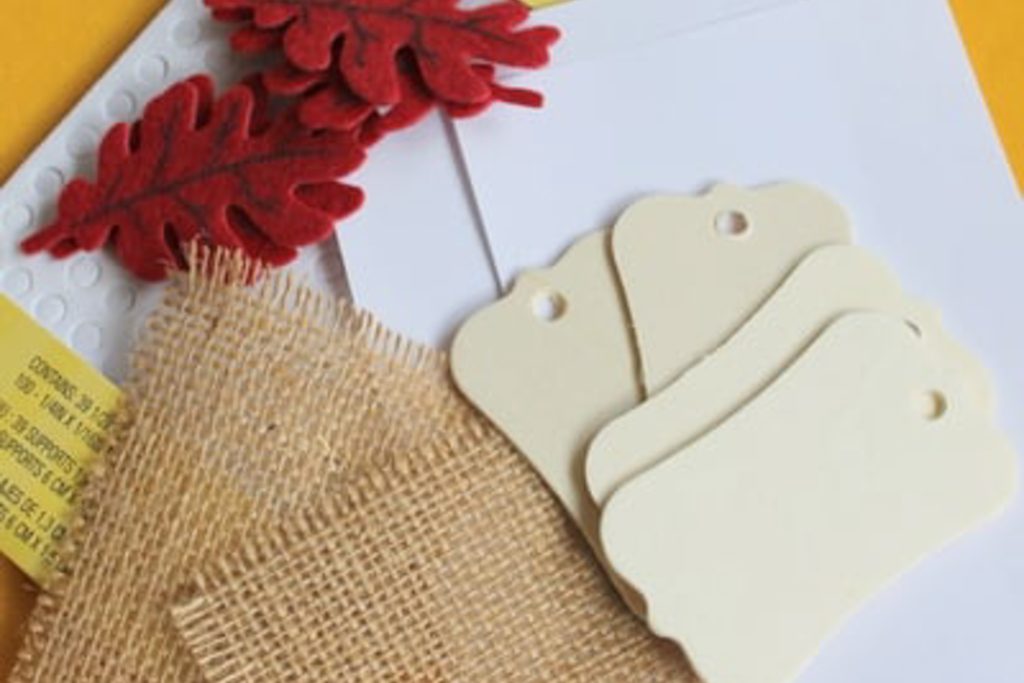
Supplies Needed To Make Place Cards For Thanksgiving
Here’s everything you’ll need to make this project! I’ve included some handy links to make finding certain items a little easier and faster.
- White cardstock (trimmed to size)
- Burlap (trimmed to size)
- Wood tags
- Chalkboard paint
- Felt leaves
- 3D adhesive mounts
- Chalk
Thanksgiving Table Place Cards Instructions
Just follow these step-by-step instructions, and you'll see how quick and easy it is to make these cute Thanksgiving placecards.
Step 1
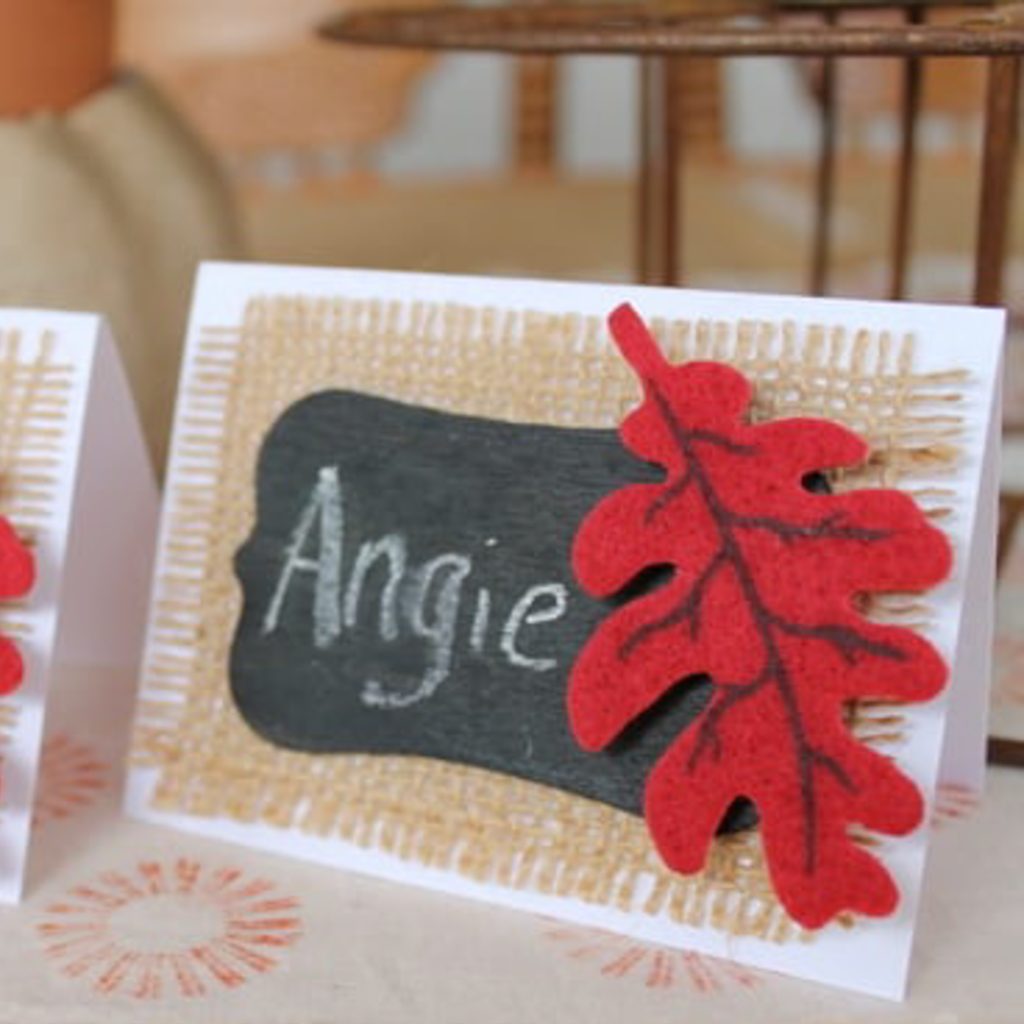
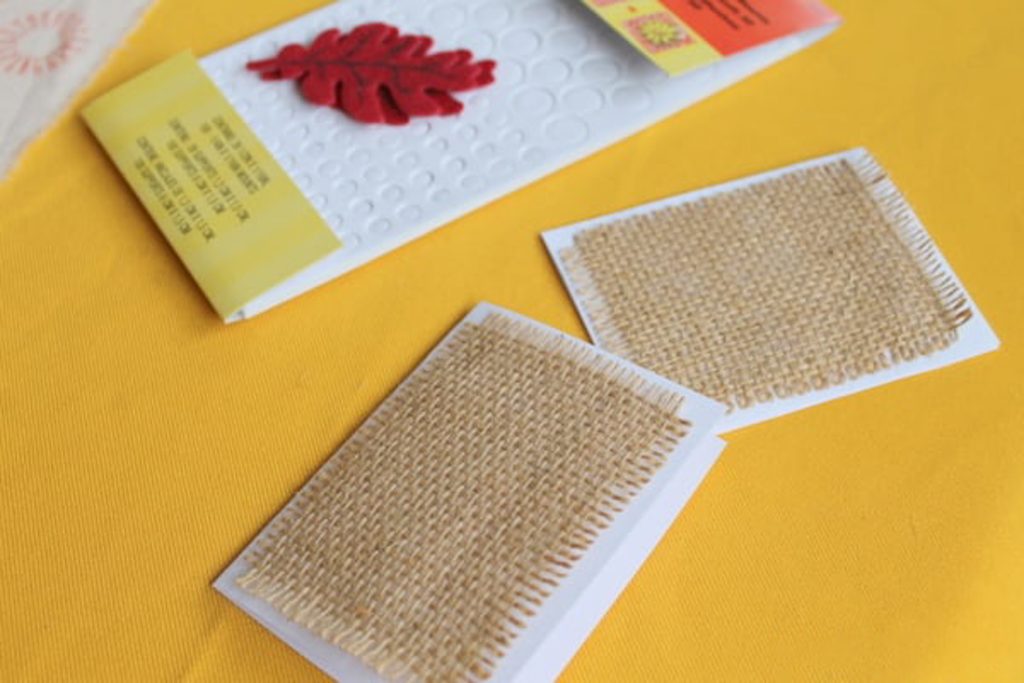
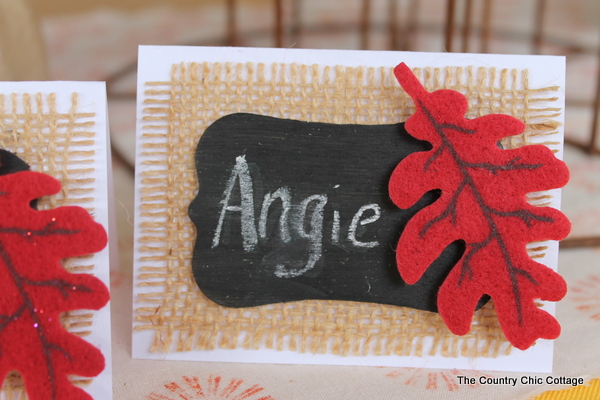
Start with your white card stock and trim it to the size you want for a place card. I always use 4 inches by 6 inches as my size.
Step 2
Fold that in half and trim your burlap to the size of the front of the card. I just used a dab of hot glue in the corners to adhere to the burlap.
Step 3
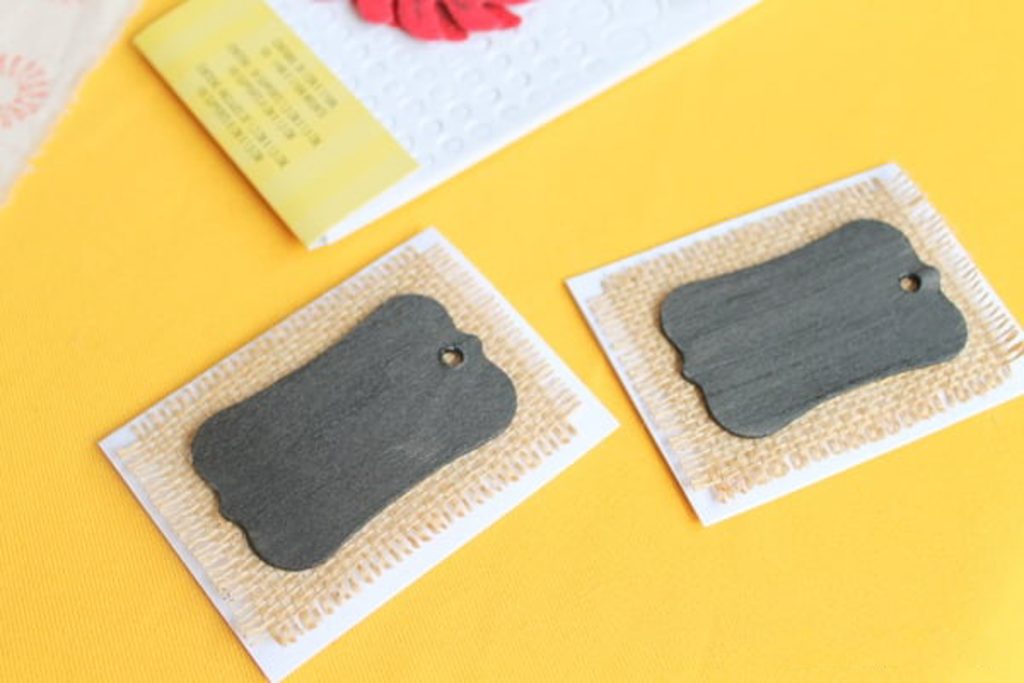
Paint your wooden tags with chalkboard paint. I bought these tags from Pick Your Plum, which is a daily deal site, and had them left over from another project.
Step 4
Once your tags are dry, you can also put them on with a dab of hot glue.
Step 5
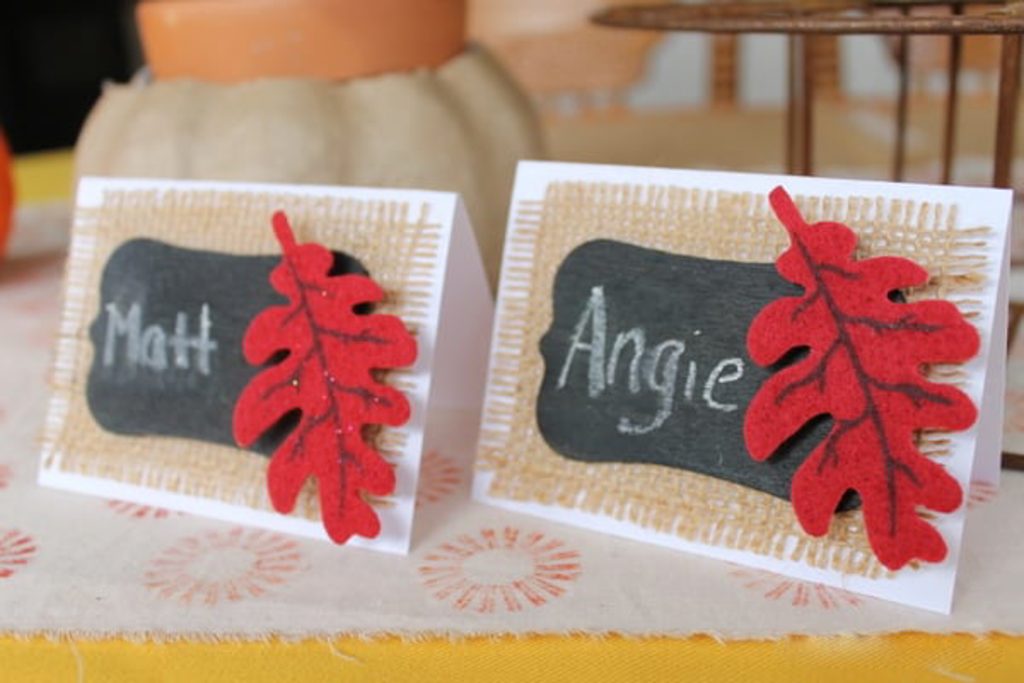
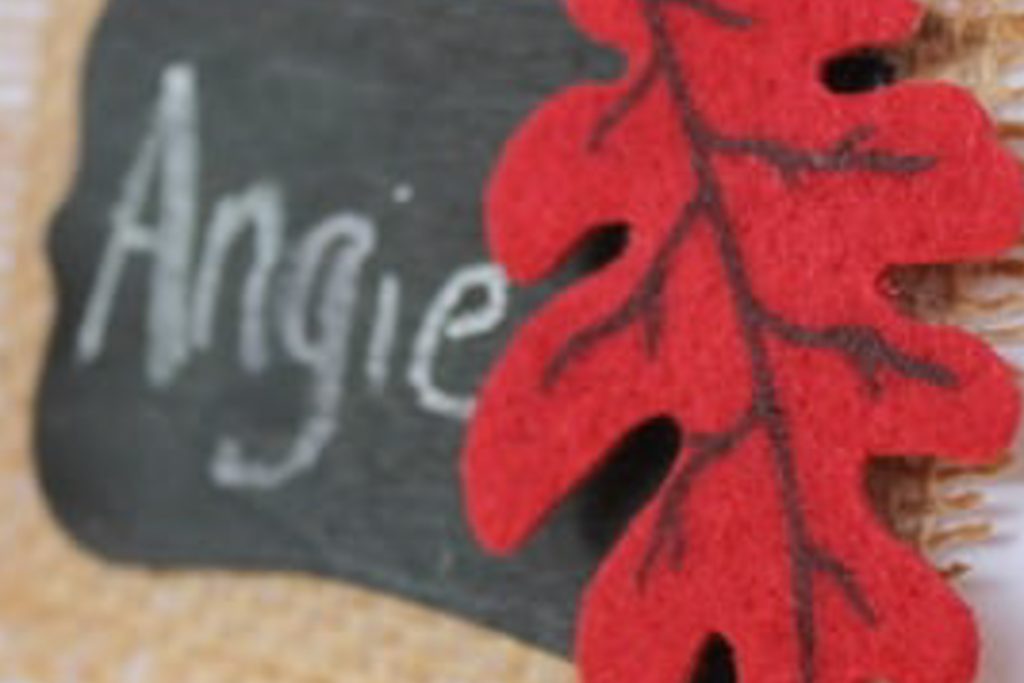
Next, add the felt leaves over the hole in the tags with a 3D adhesive mount. The mount makes the leaf stand out a little bit and gives the tags some dimension.
Step 6
Finally, just write the name of your attendees, and your Thanksgiving place cards are ready for your gathering!
I love burlap on my Thanksgiving table because the color and texture just fit the fall season to me.
Here is our completed table setting for this year. It's simple and ready for guests to arrive!+
If you want more holiday decor ideas, check out Thanksgiving Decorating Ideas For Your Holiday Table.
FAQS
Here are a couple of questions that I see readers ask about making these DIY Thanksgiving placecards. If you have a question, please check to see if I’ve already answered it below. Don’t see your question? Leave it for me in the comments!
How can I personalize these Thanksgiving table placecards?
There are several things you could do to take this basic project and make it uniquely your own! You could use different colors of cardstock. I think orange or dark brown would look amazing.
Additionally, you could use a chalkboard pen to write the names of your guests, or you could give each card a different color leaf. Even though this project is simple, there are several things you can do to change it up.
What is the best size for table place cards?
Since you are making these cards yourself, you can make them any size you want. I think the “standard” size for table place cards is 2″x3″. However, I like mine just a little bit bigger so that I can write names in larger, easy-to-see lettering.
One factor to consider may be the level of formality. My table setting was casual, which also supports a larger place card. However, if you are planning a more formal table setting, you may prefer to opt for a smaller card.
I hope you enjoy making these Thanksgiving placecards for your holiday decor this year! Whether you make them the same way I did or take this basic design and make it uniquely yours, table placecards will make your Thanksgiving place setting look much more complete.
More Thanksgiving Decor Inspiration
If you love this Thanksgiving place card idea, make sure to check out these other ideas too!

Supplies
- White cardstock
- Burlap
- Wood tags
- Chalkboard paint
- Felt leaves
- 3D adhesive mounts
- Chalk
Instructions
- Trim your white card stock to the size you want for a place card (I prefer 4"x6").
- Fold your cut piece of cardstock in half and trim your burlap to fit the front of the card. I attached the burlap with a dab of hot glue in the corners.
- Paint the wooden tags with chalkboard paint and let them dry.
- Once your tags are dry, attach them to the placecards with a dab of hot glue.
- Next, use 3D adhesive mount to add the felt leaves over the hole in the tags for a pop of color and dimension.
- Finally, write the name of a guest on each card, and your Thanksgiving placecards are ready!


These are so pretty! Thanks for the tutorial!
I would love to have you link up with my Clever Chicks Blog Hop this week!
http://www.the-chicken-chick.com/2012/10/autumn-giveaway-clever-chicks-blog-hop-4.html
I hope to see you there!
Cheers!
Kathy
The Chicken Chick