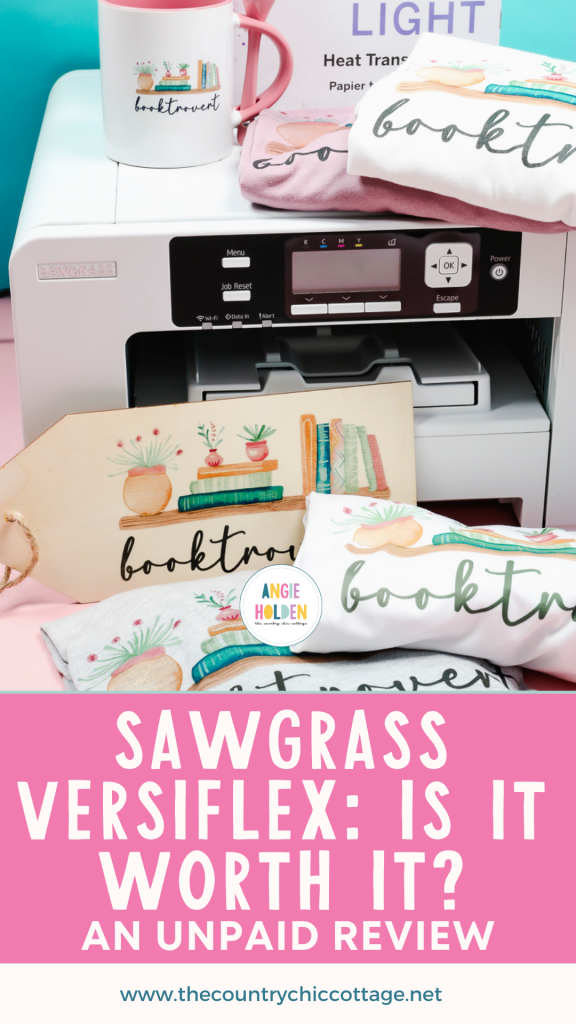
Let's test the brand new Sawgrass VersiFlex to help you decide if it is the right printer for you. If you haven't heard of it, VersiFlex is a new ink and paper system that you can use with a Sawgrass SG500 or SG1000 printer. However, it does need special ink. Let's chat about the pros and cons!
Yes, you can still print sublimation prints with this system, and it gives you the ability to do even more.

IMPORTANT: You need a brand-new Sawgrass printer for this system. You cannot swap the ink in a printer you are already using.
You can watch me set up my printer and test the different projects you can make with it by pressing play on the video below.
Sawgrass VersiFlex
Let’s look at what this printing system is and how to use it.
What is Sawgrass VersiFlex?
VersiFlex is a new product that includes special ink and paper. This combination allows you to create projects using unfinished wood and cotton shirts.
It also allows you to print sublimation prints without needing to change the ink. Depending on the paper you use, you can create prints for different types of projects.
I am going to remind you a variety of times that you need a new Sawgrass printer for VersiFlex. You cannot convert an existing Sawgrass printer that already has sublimation ink in it.
Because this system doesn’t include black ink, you don’t want to use a printer that has ever had black ink in it.
With this printer, you can print on your favorite sublimation paper or use the VersiFlex Light paper system. The paper you use will depend on what type of project you want to make.
For traditional sublimation, print on sublimation paper. If you want to press on cotton or other blanks, like uncoated wood, use the VersiFlex Light.
The processes are very different, so keep reading to learn how to do both.
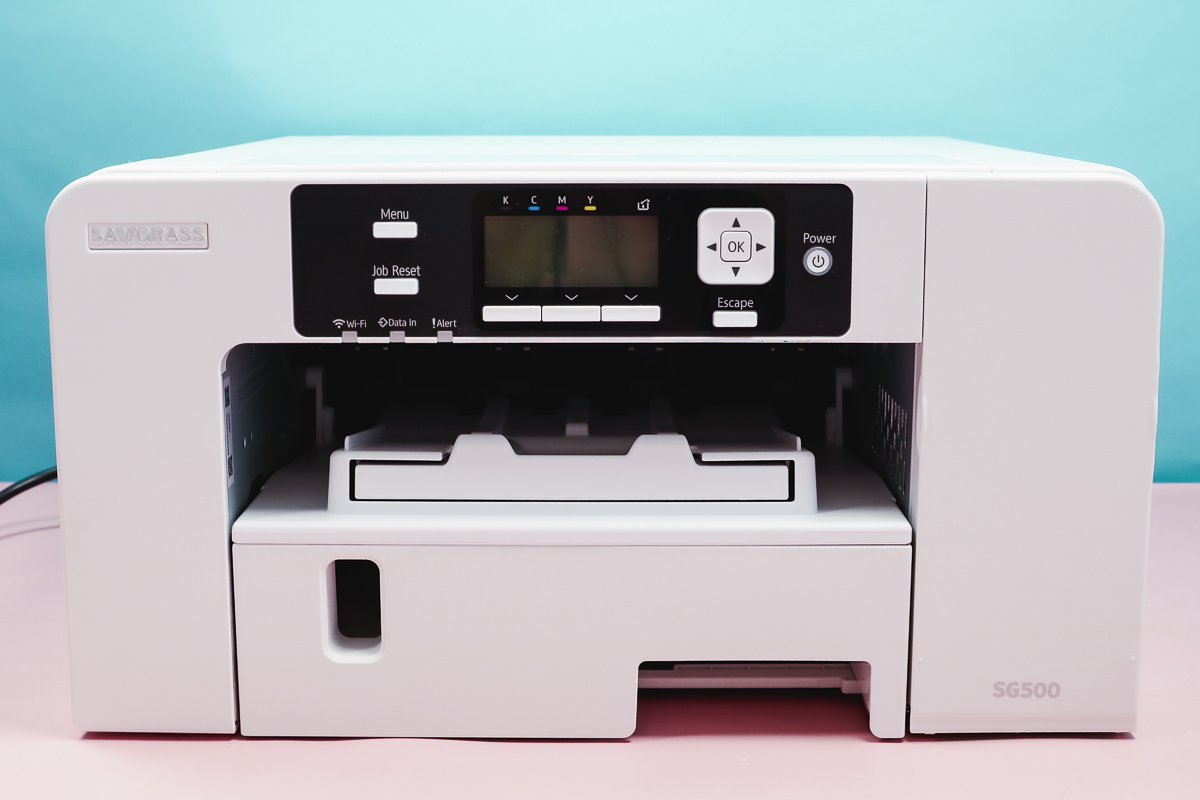
Sawgrass SG500 VersiFlex Setup
I am using an SG500 today; you can use either the SG500 or SG1000, and the process will be the same.
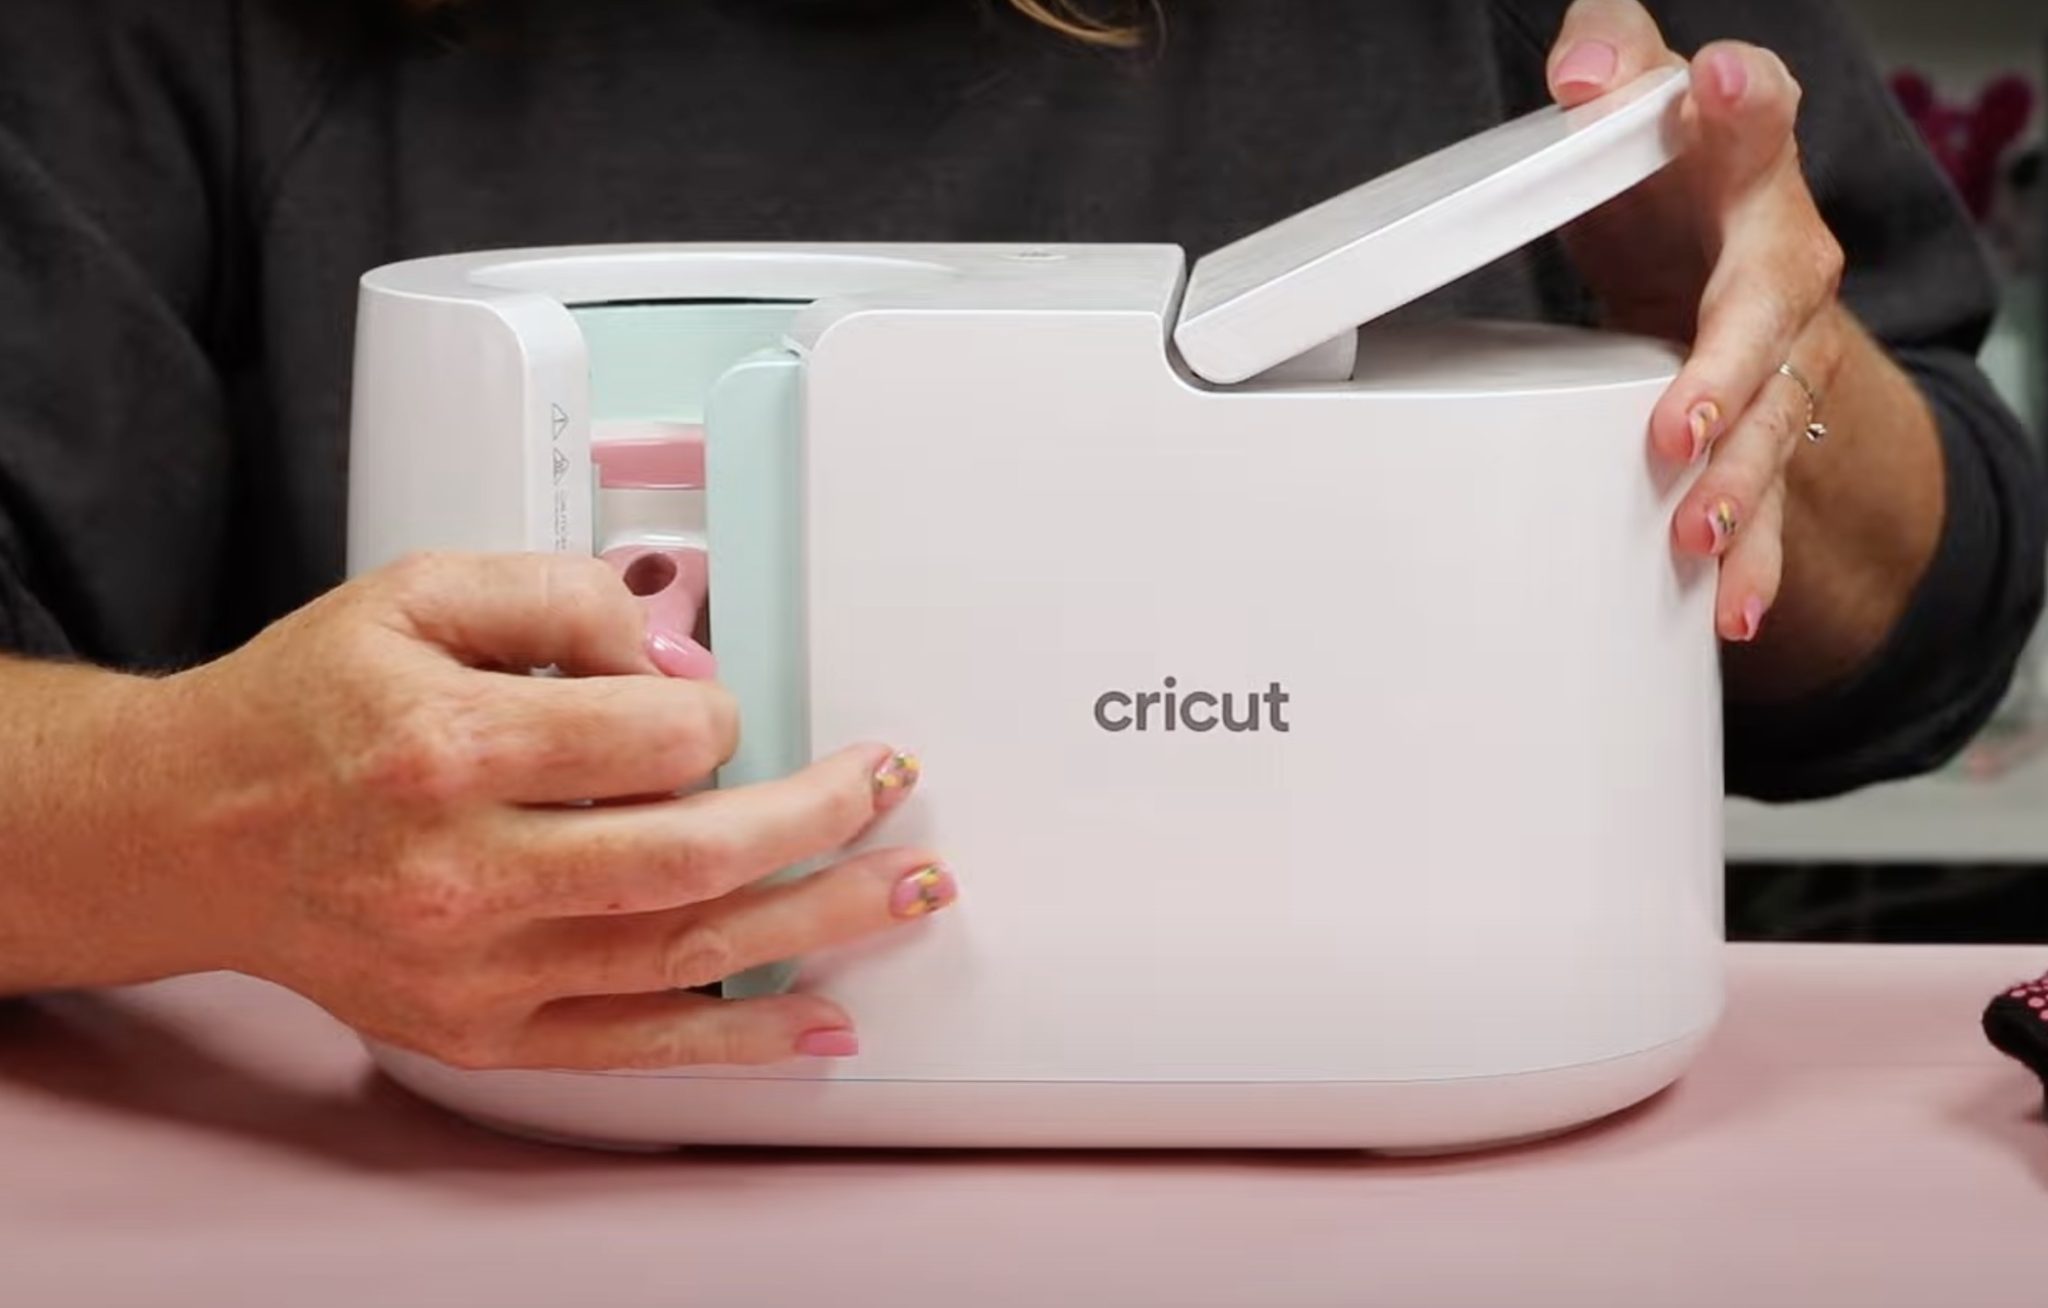
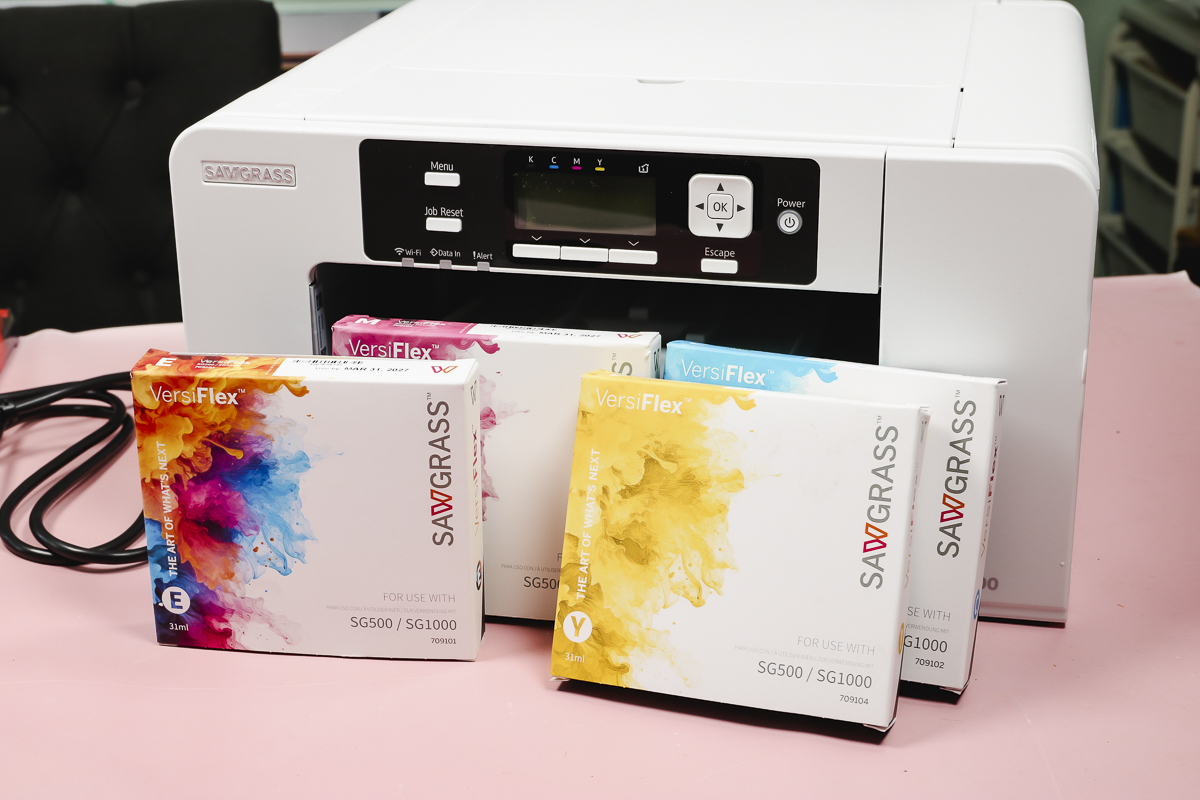
The bundle I purchased came with the VersiFlex ink. This bundle includes VersiFlex ink in cyan, magenta, and yellow. Instead of black, you get something called an expander cartridge. This cartridge goes in the black slot.
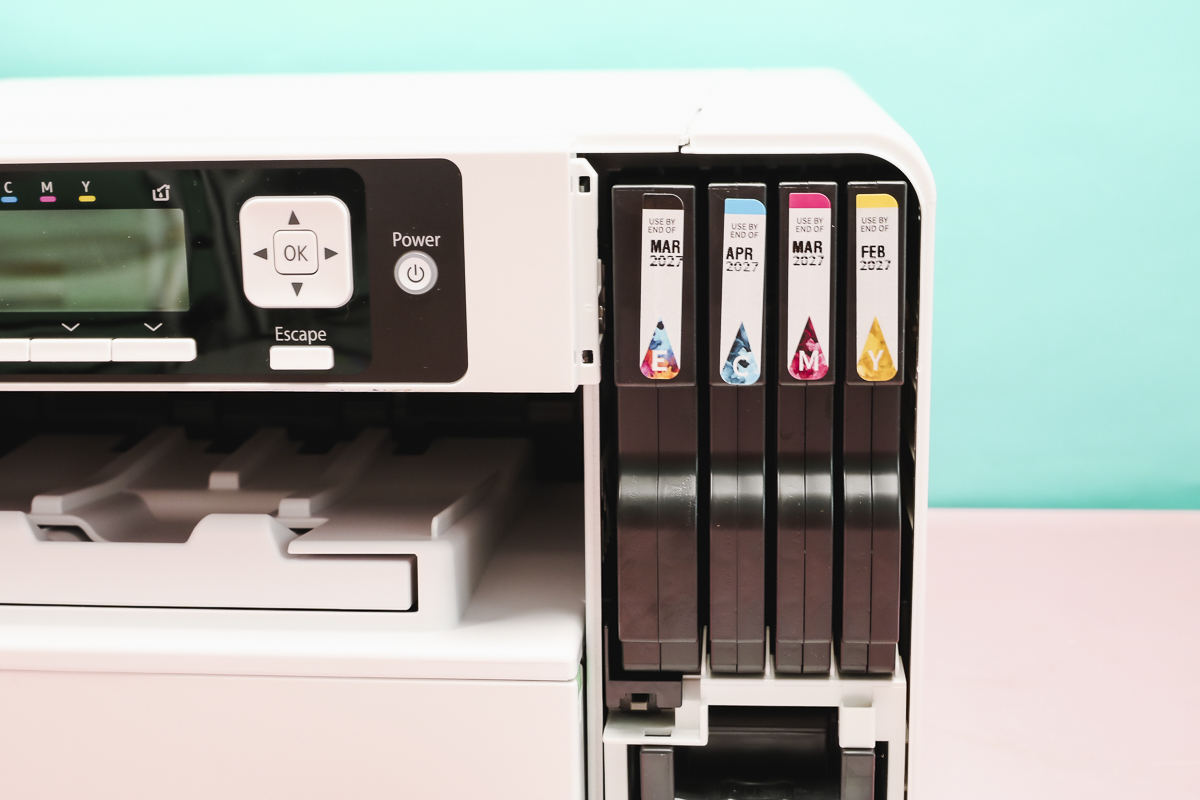
To add the ink, open the cover, and the different slots are labeled, and the first one is for black. Add the expander cartridge to the black slot. Continue adding the other color cartridges.
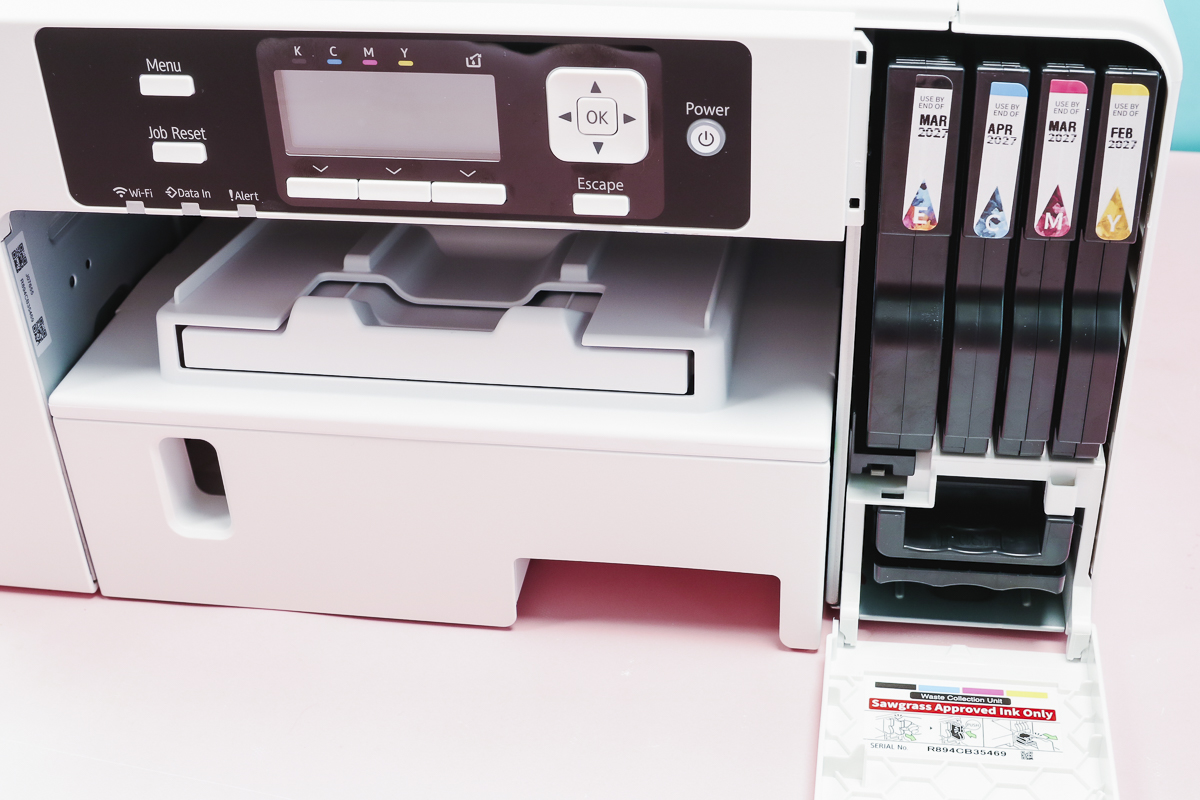
With all the cartridges installed, close the cover and plug in the printer.
Once the printer is plugged in, it will run through the setup process and push the ink through the printer lines.
While that is happening, head to the Sawgrass website and download Sawgrass Print Utility. You will need that for printing purposes.
Note: If you print a nozzle check with these cartridges installed, anything that should print in black will be blank.
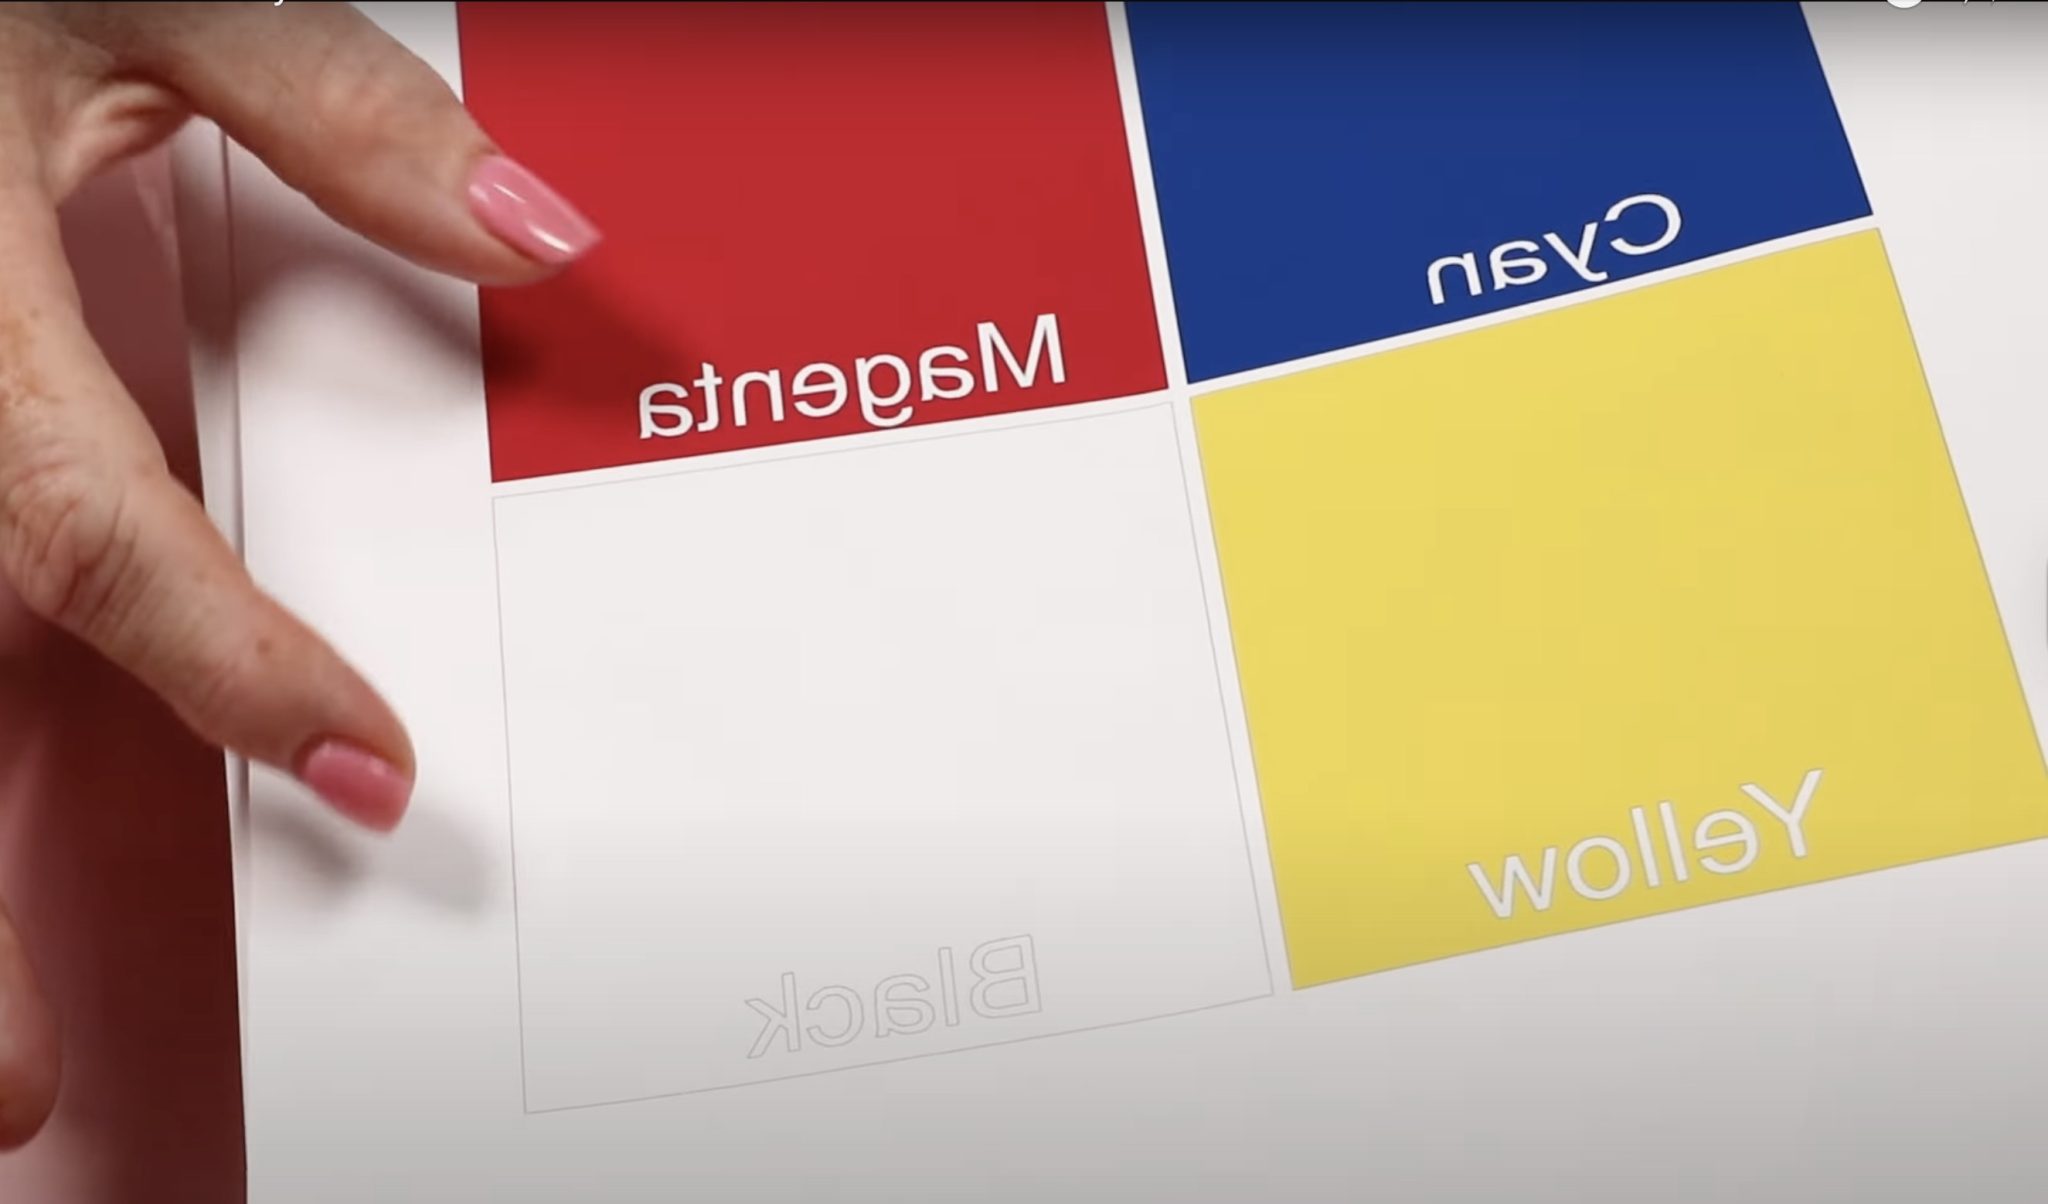
Because the expander cartridge is clear, you will not see that on the printout.
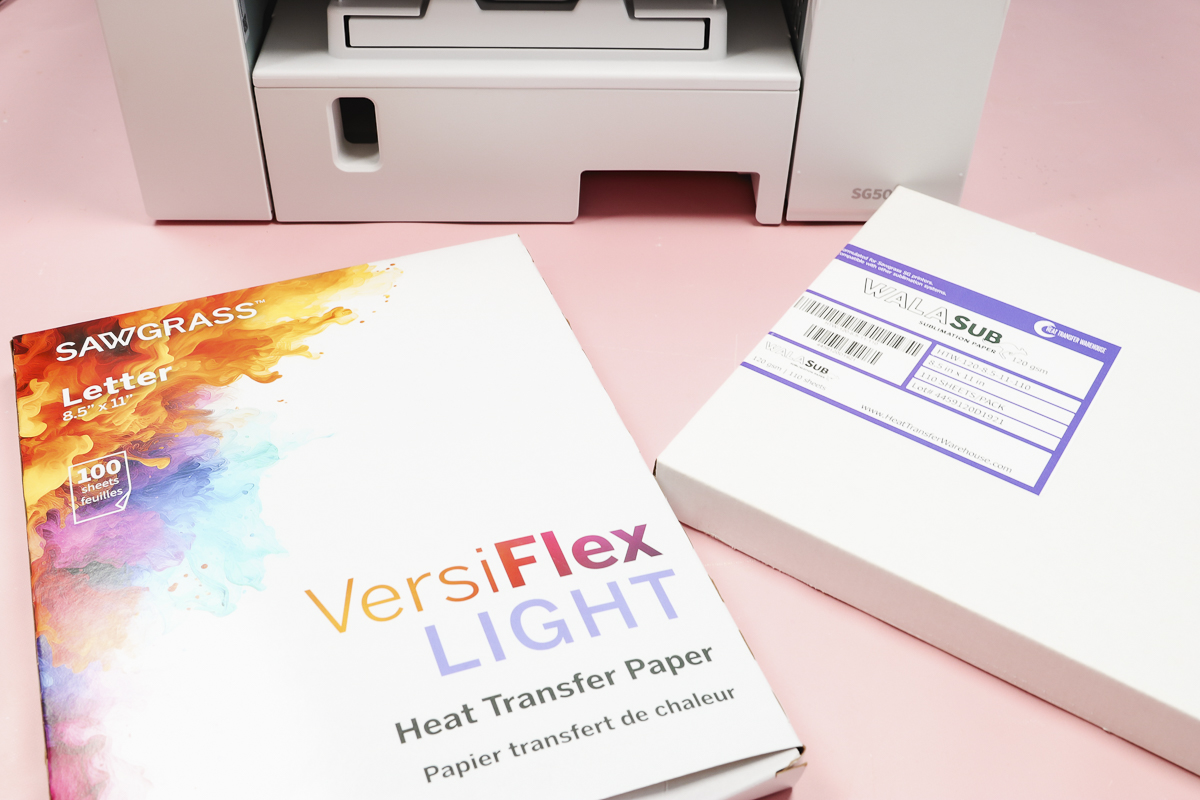
VersiFlex Light Paper
When you open a package of VersiFlex Light, you need to pay attention to the packaging. Do not take all of the paper out of the package.
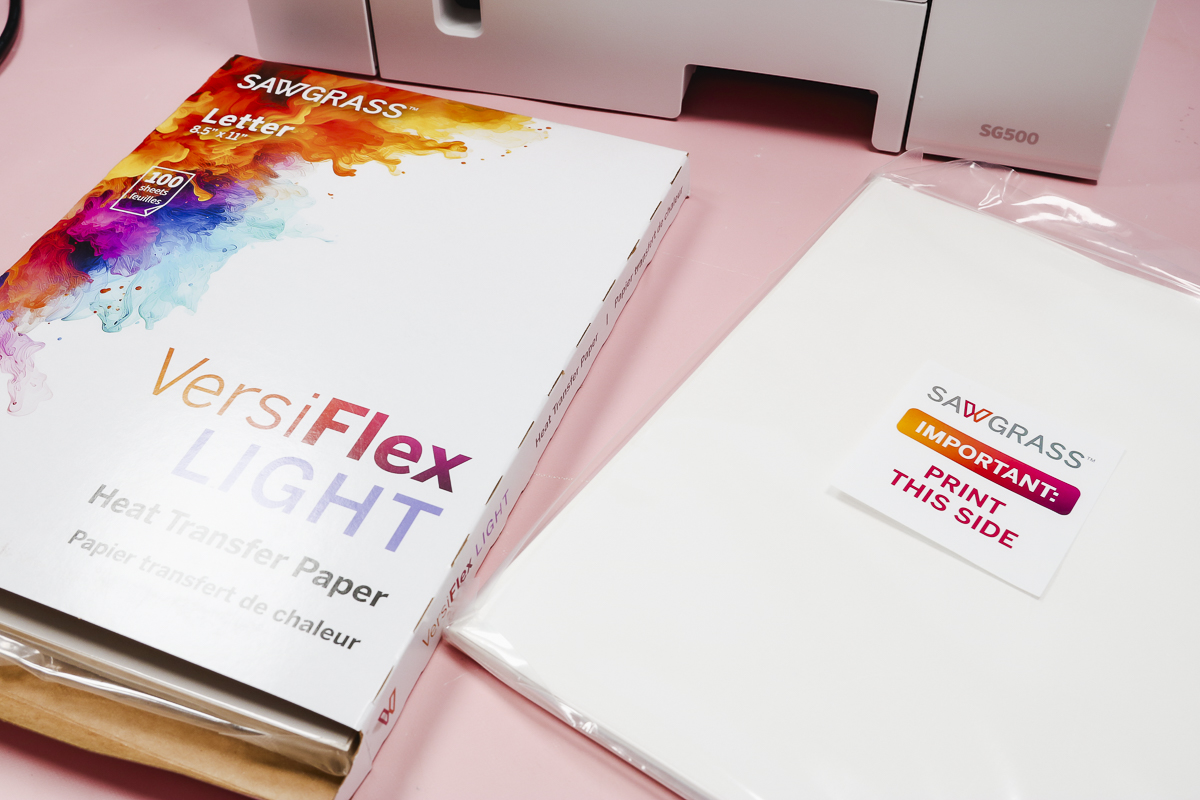
On one side of the package, it says “Important: Print This Side”. It is not easy to tell the difference between the front and back of the VersiFlex Light by looking at it.
I recommend keeping the paper in the package until you’re ready to print so you can place it directly in the printer the correct way.
Place the paper in the printer with the print side facing down. Adjust the tray to fit the size of your paper, and you’re ready to print.
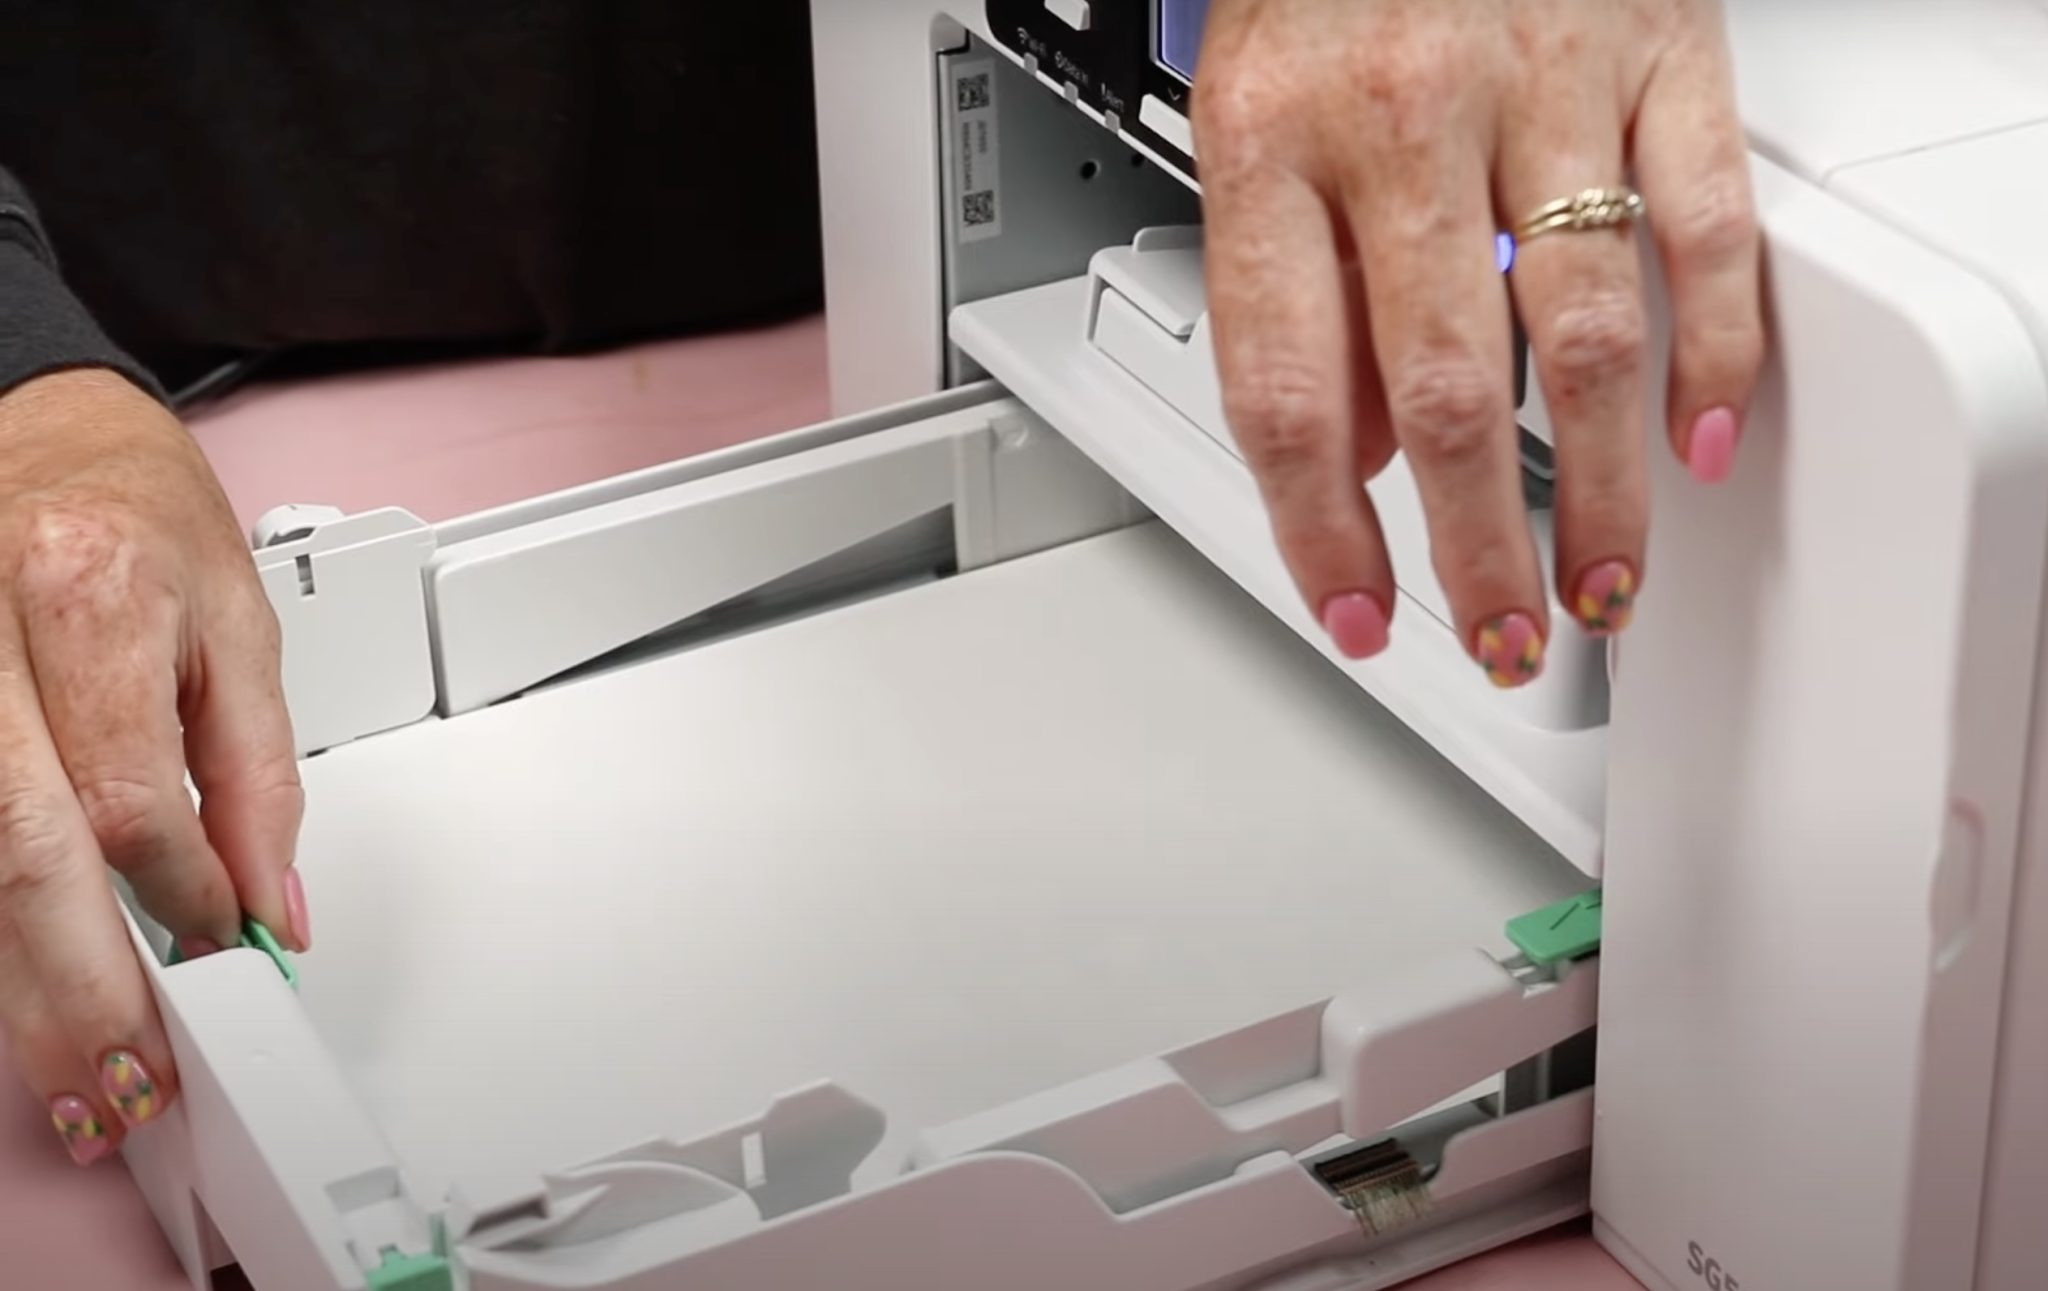
You would do the same process if you were printing with sublimation paper. The print side would go face down in the printer. And then when you're ready to print, just shut the bottom tray.
Sawgrass VersiFlex Projects
Now that the printer is setup, I am going to use it to make a few projects so you can see the steps involved.
Before we begin, I want to call out that the Sawgrass VersiFlex Lite costs about $1 per sheet. It is more expensive than other materials I typically use.
Supplies Used
- Sawgrass SG500 or SG1000 Printer (I purchased a bundle that includes Ink and VersiFlex Light Paper.)
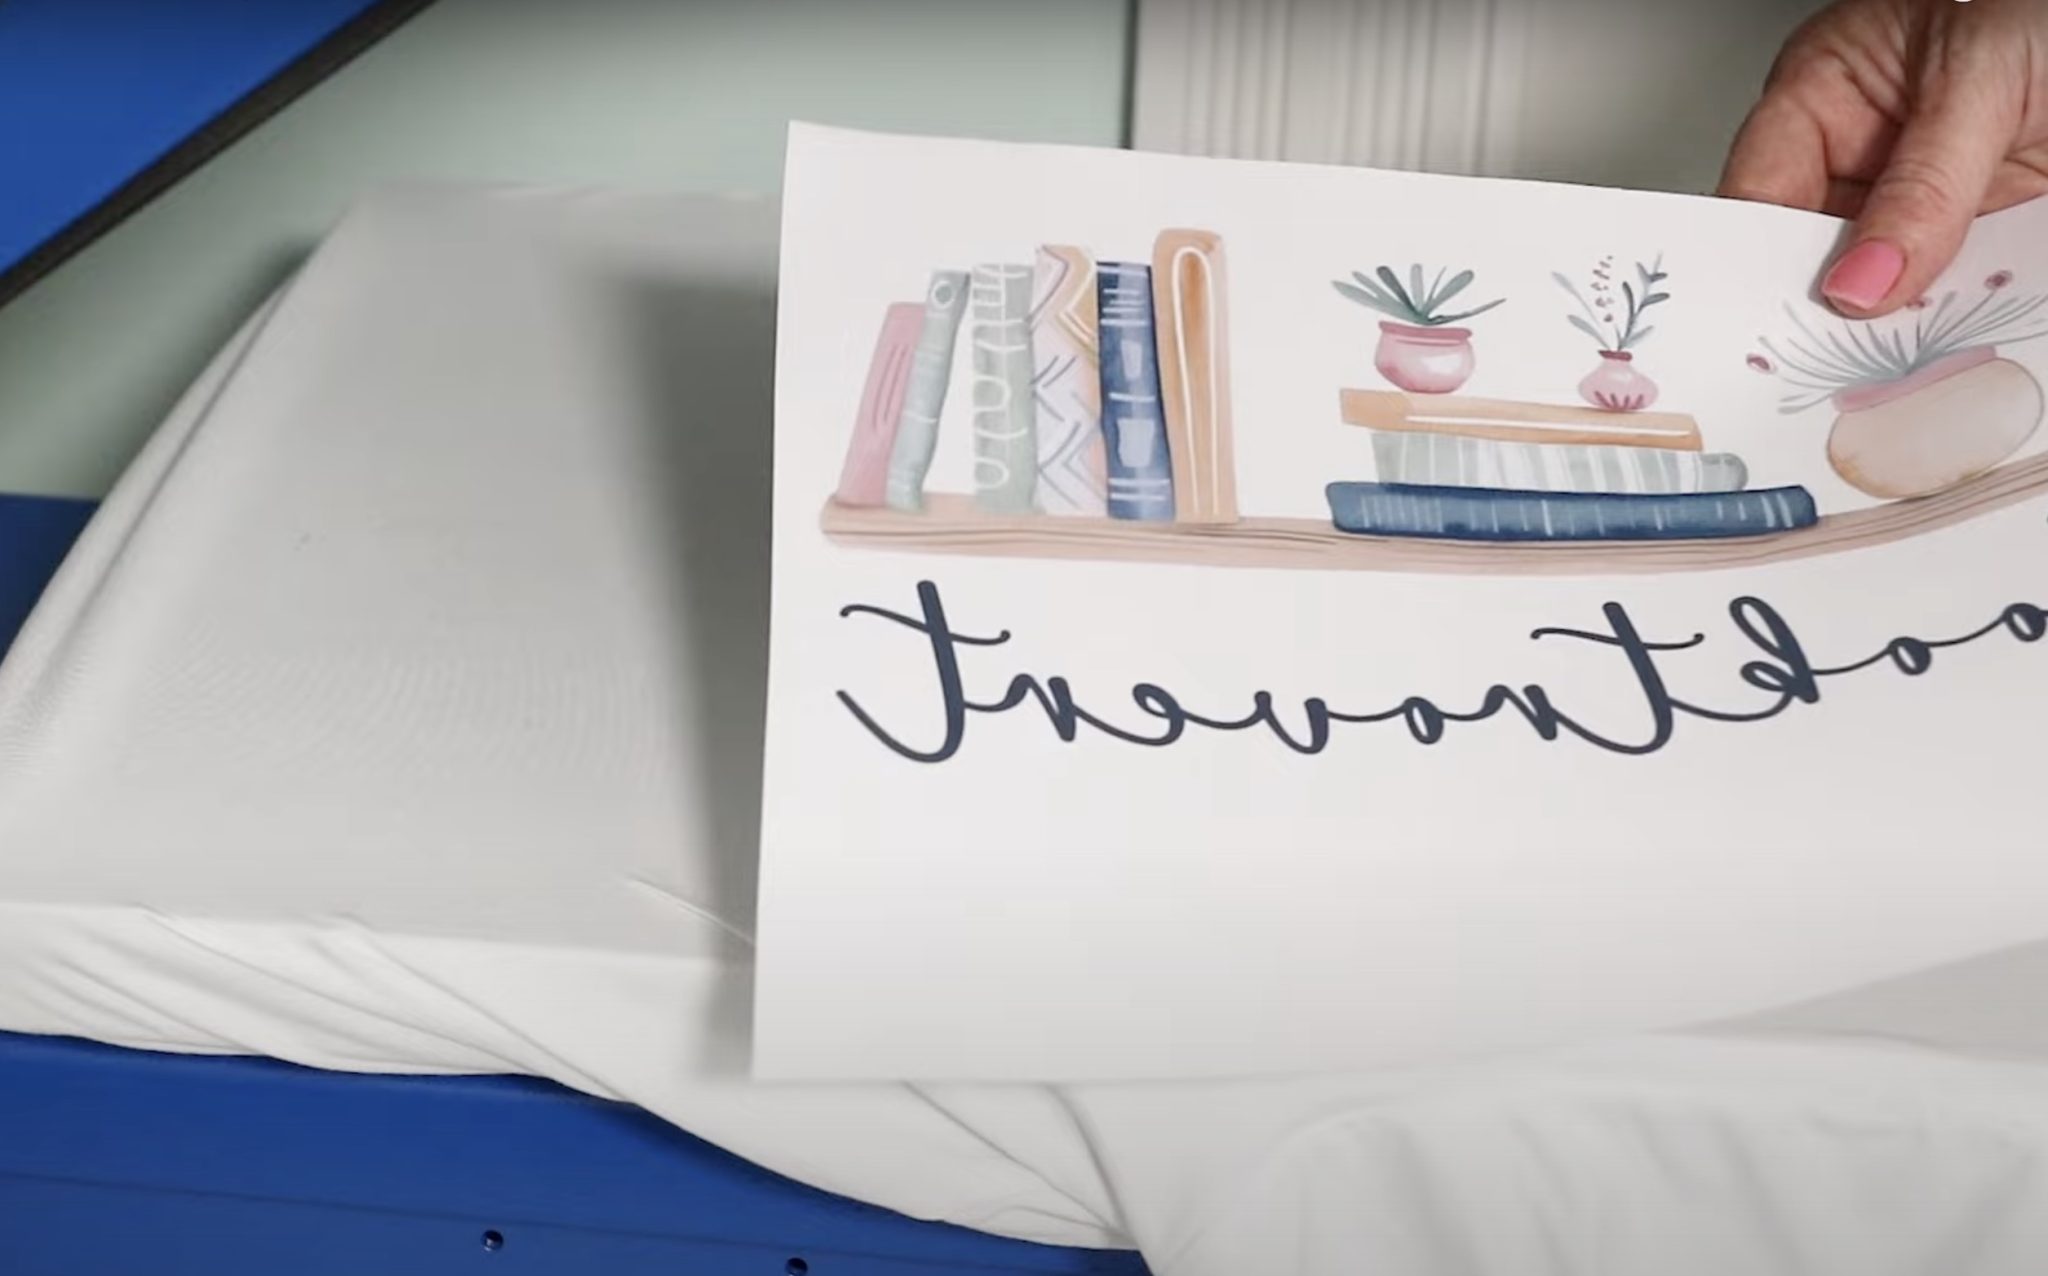
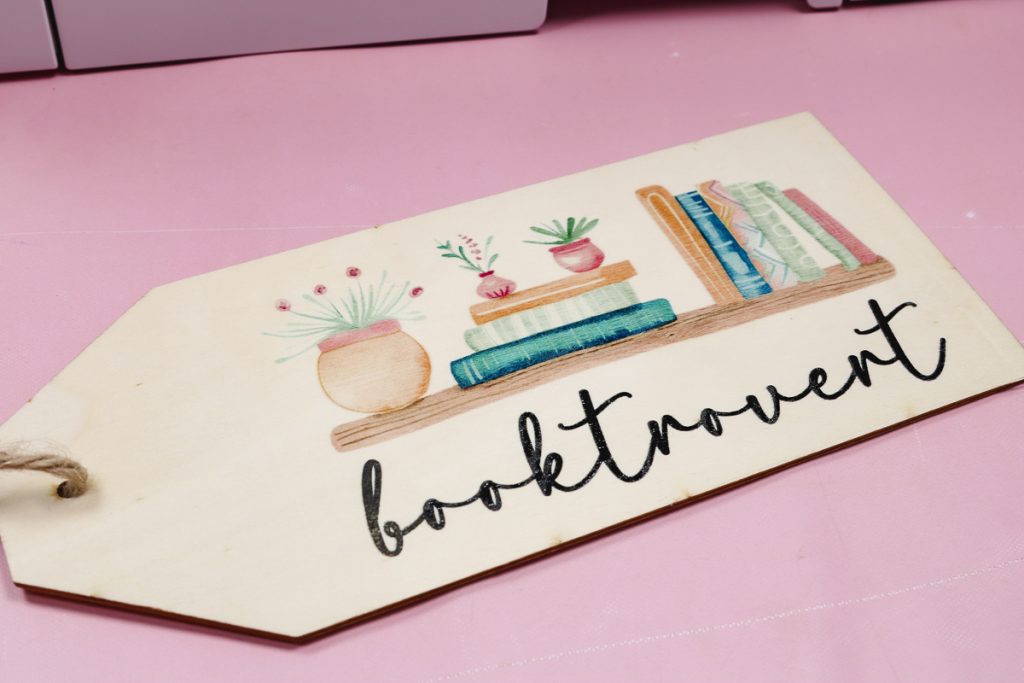
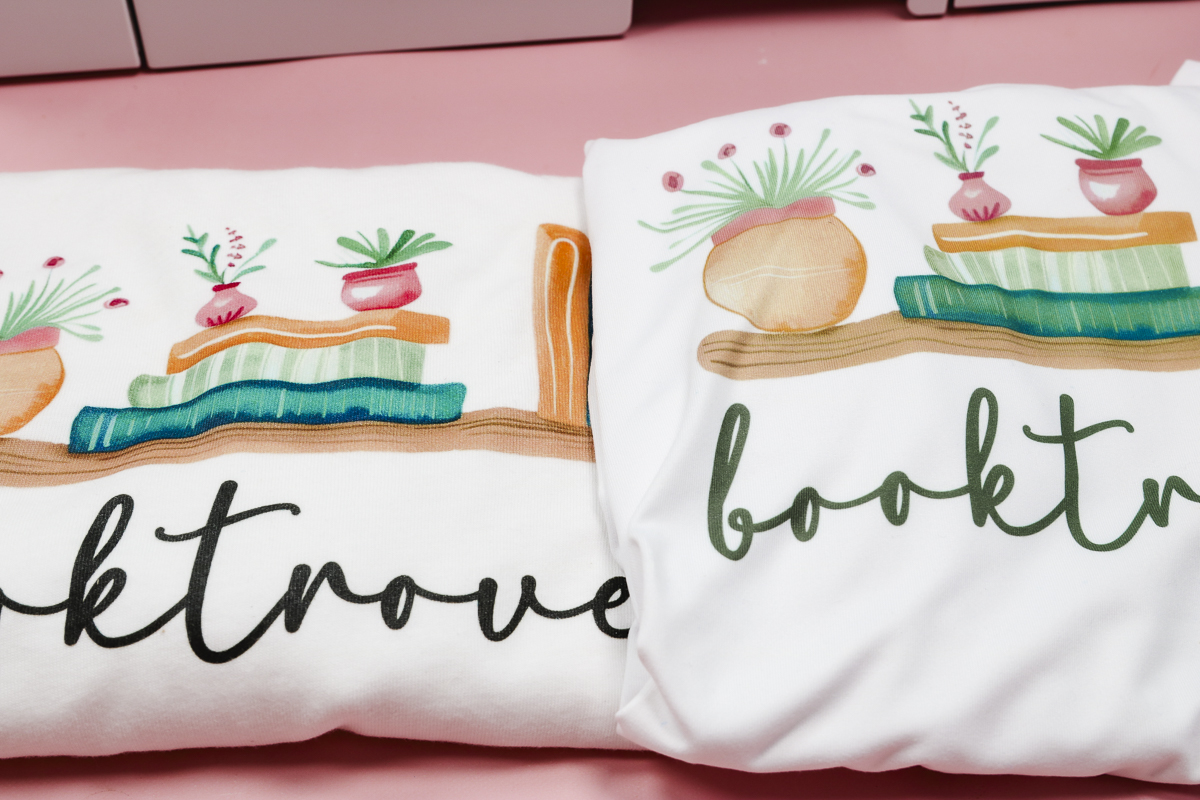
- Free Booktrovert Image
- BELLA+CANVAS Shirts
- Polyester Shirt
- Mug with Spoon
- Heat Press
- Sublimation Paper
- Lint Roller
- Heat Resistant Tape
- Heat-resistant Gloves
- Tape Dispenser
- Protective Paper
- Paper Dispenser
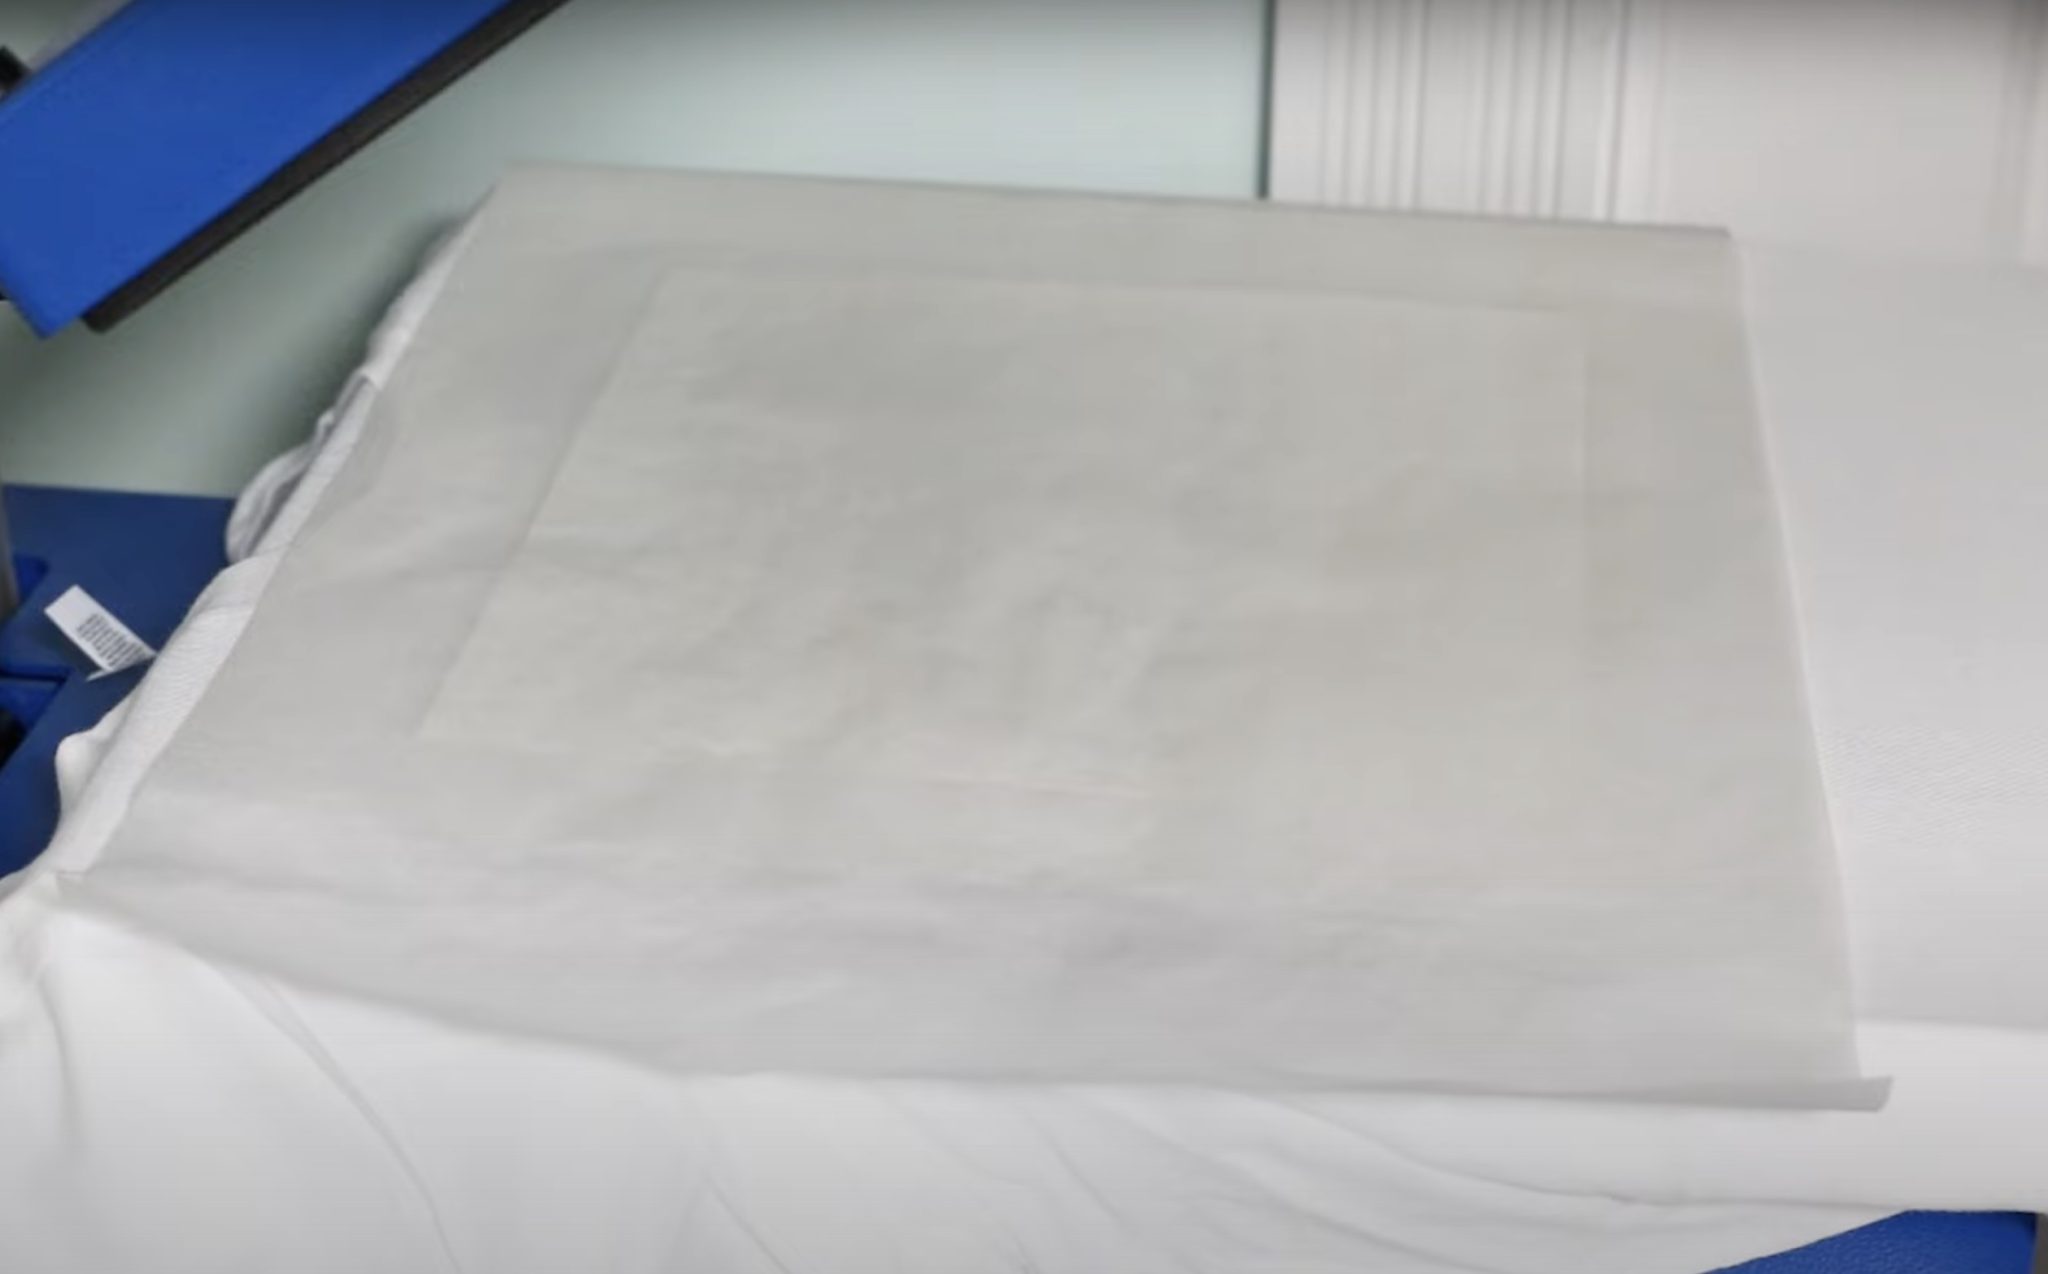
Versiflex Light on a Cotton Shirt
The first project I am going to tackle is a cotton shirt using the Verisflex Light Paper.
Step 1. Print From Sawgrass Print Utility
Make sure your printer is connected to the WiFi and then connect your computer to the printer.
Open Print Utility and then click File and find the file you want to use on your computer.
I rotated my design 90 degrees so I can print it about 10 inches wide.

For this project, I need to mirror my design. Just like sublimation, VersiFlex is laid on the surface of the shirt. If you don’t mirror your design, any text will be backward.
Next, I am going to select the blank I am using.
Because I selected Cotton, it tells me I need to use VersiFlex Light. If I selected Polyester, it would tell me to use the True Picks Classic sublimation paper. True Picks Classic is the Sawgrass brand of sublimation paper.
If you’re not sure what material you should use, Print Utility will tell you.
Select the tray where you have your paper loaded and adjust your settings.
I am using High Quality and letter-sized paper.
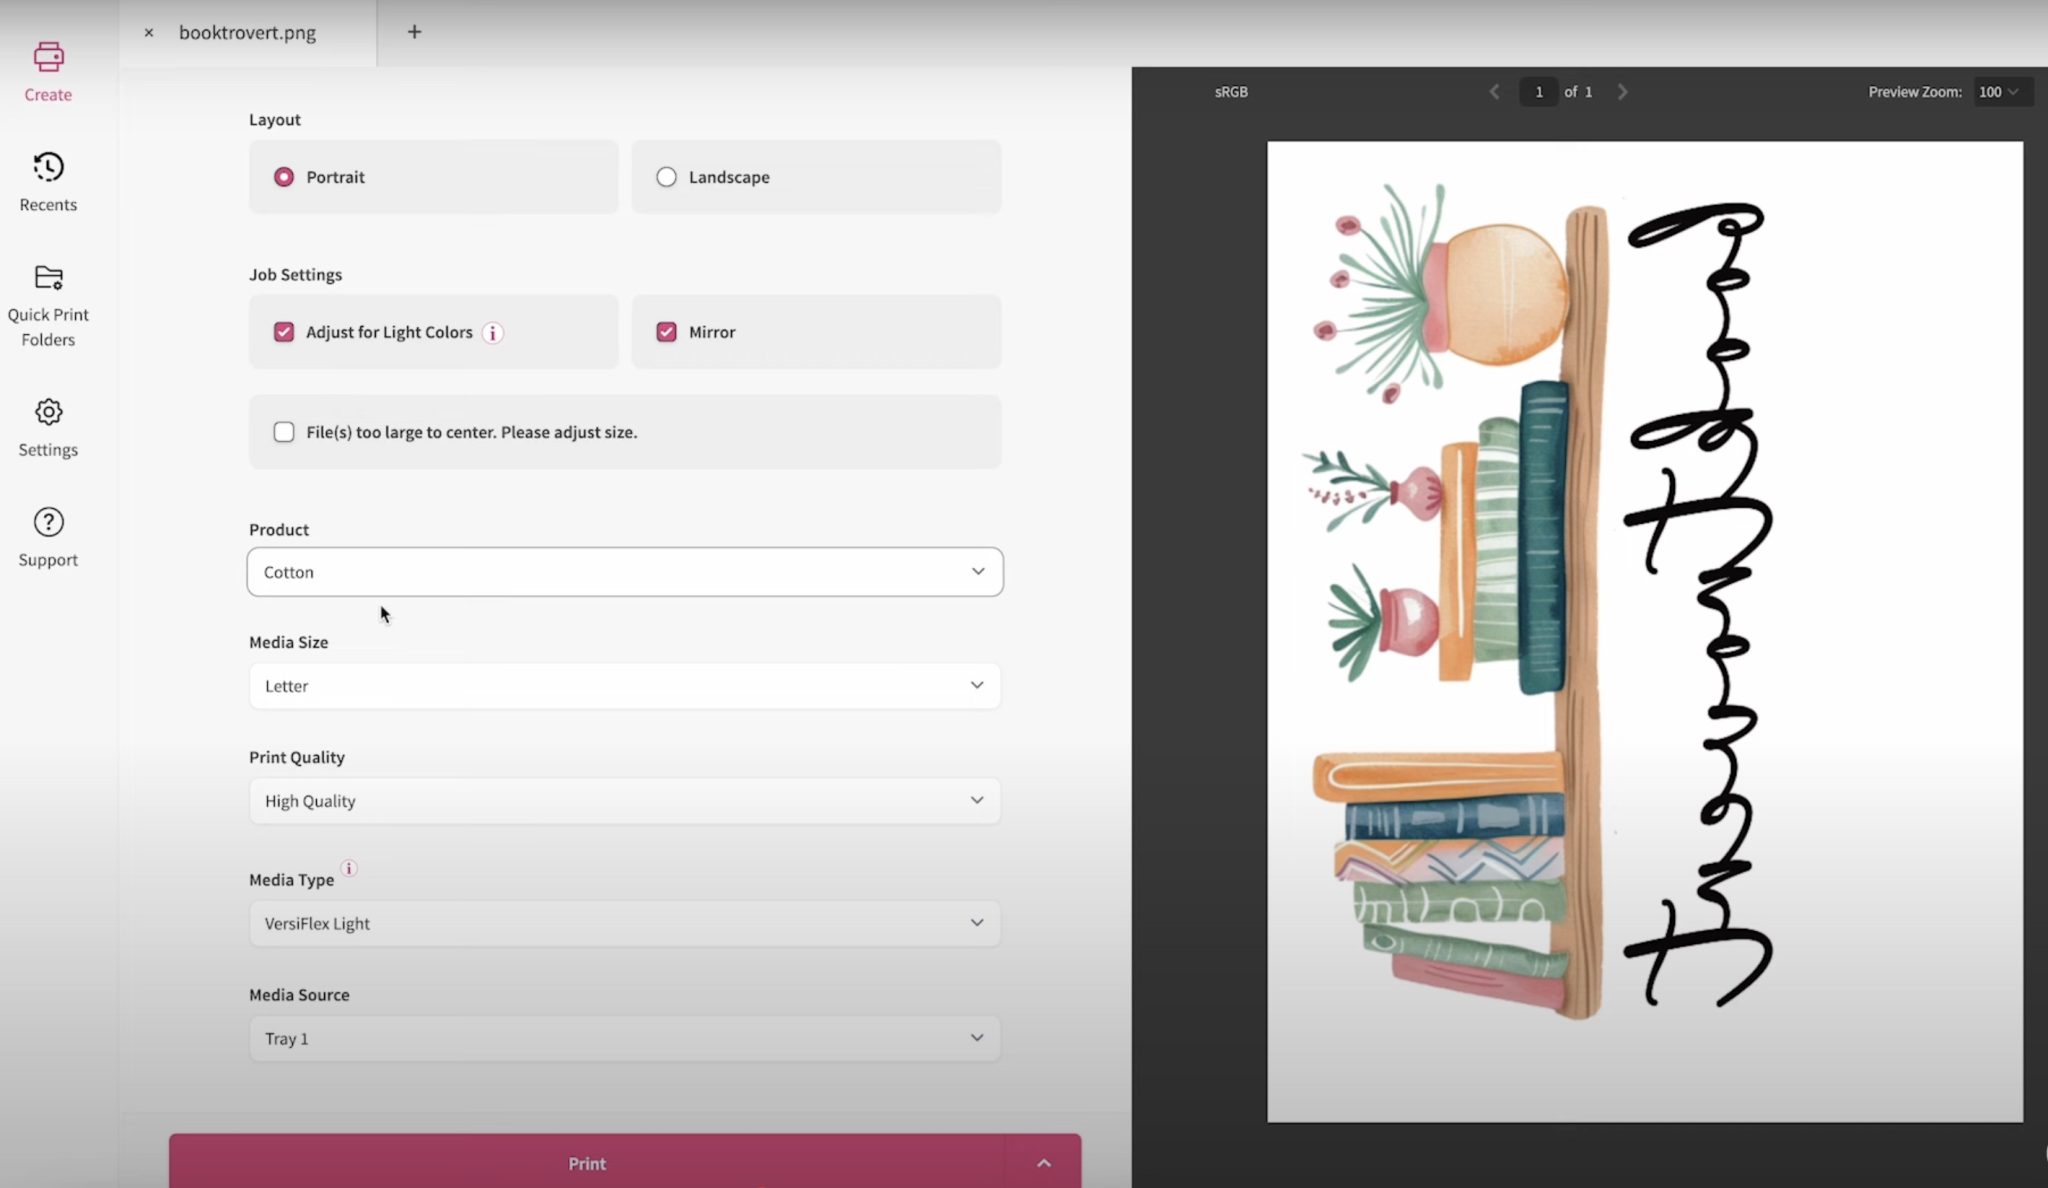
Under Color Management, choose Vivid.
I always choose Vivid unless I am printing a design that has a photo of a person. For those, I choose Photographic.
Step 2: Print on Versiflex Light Paper
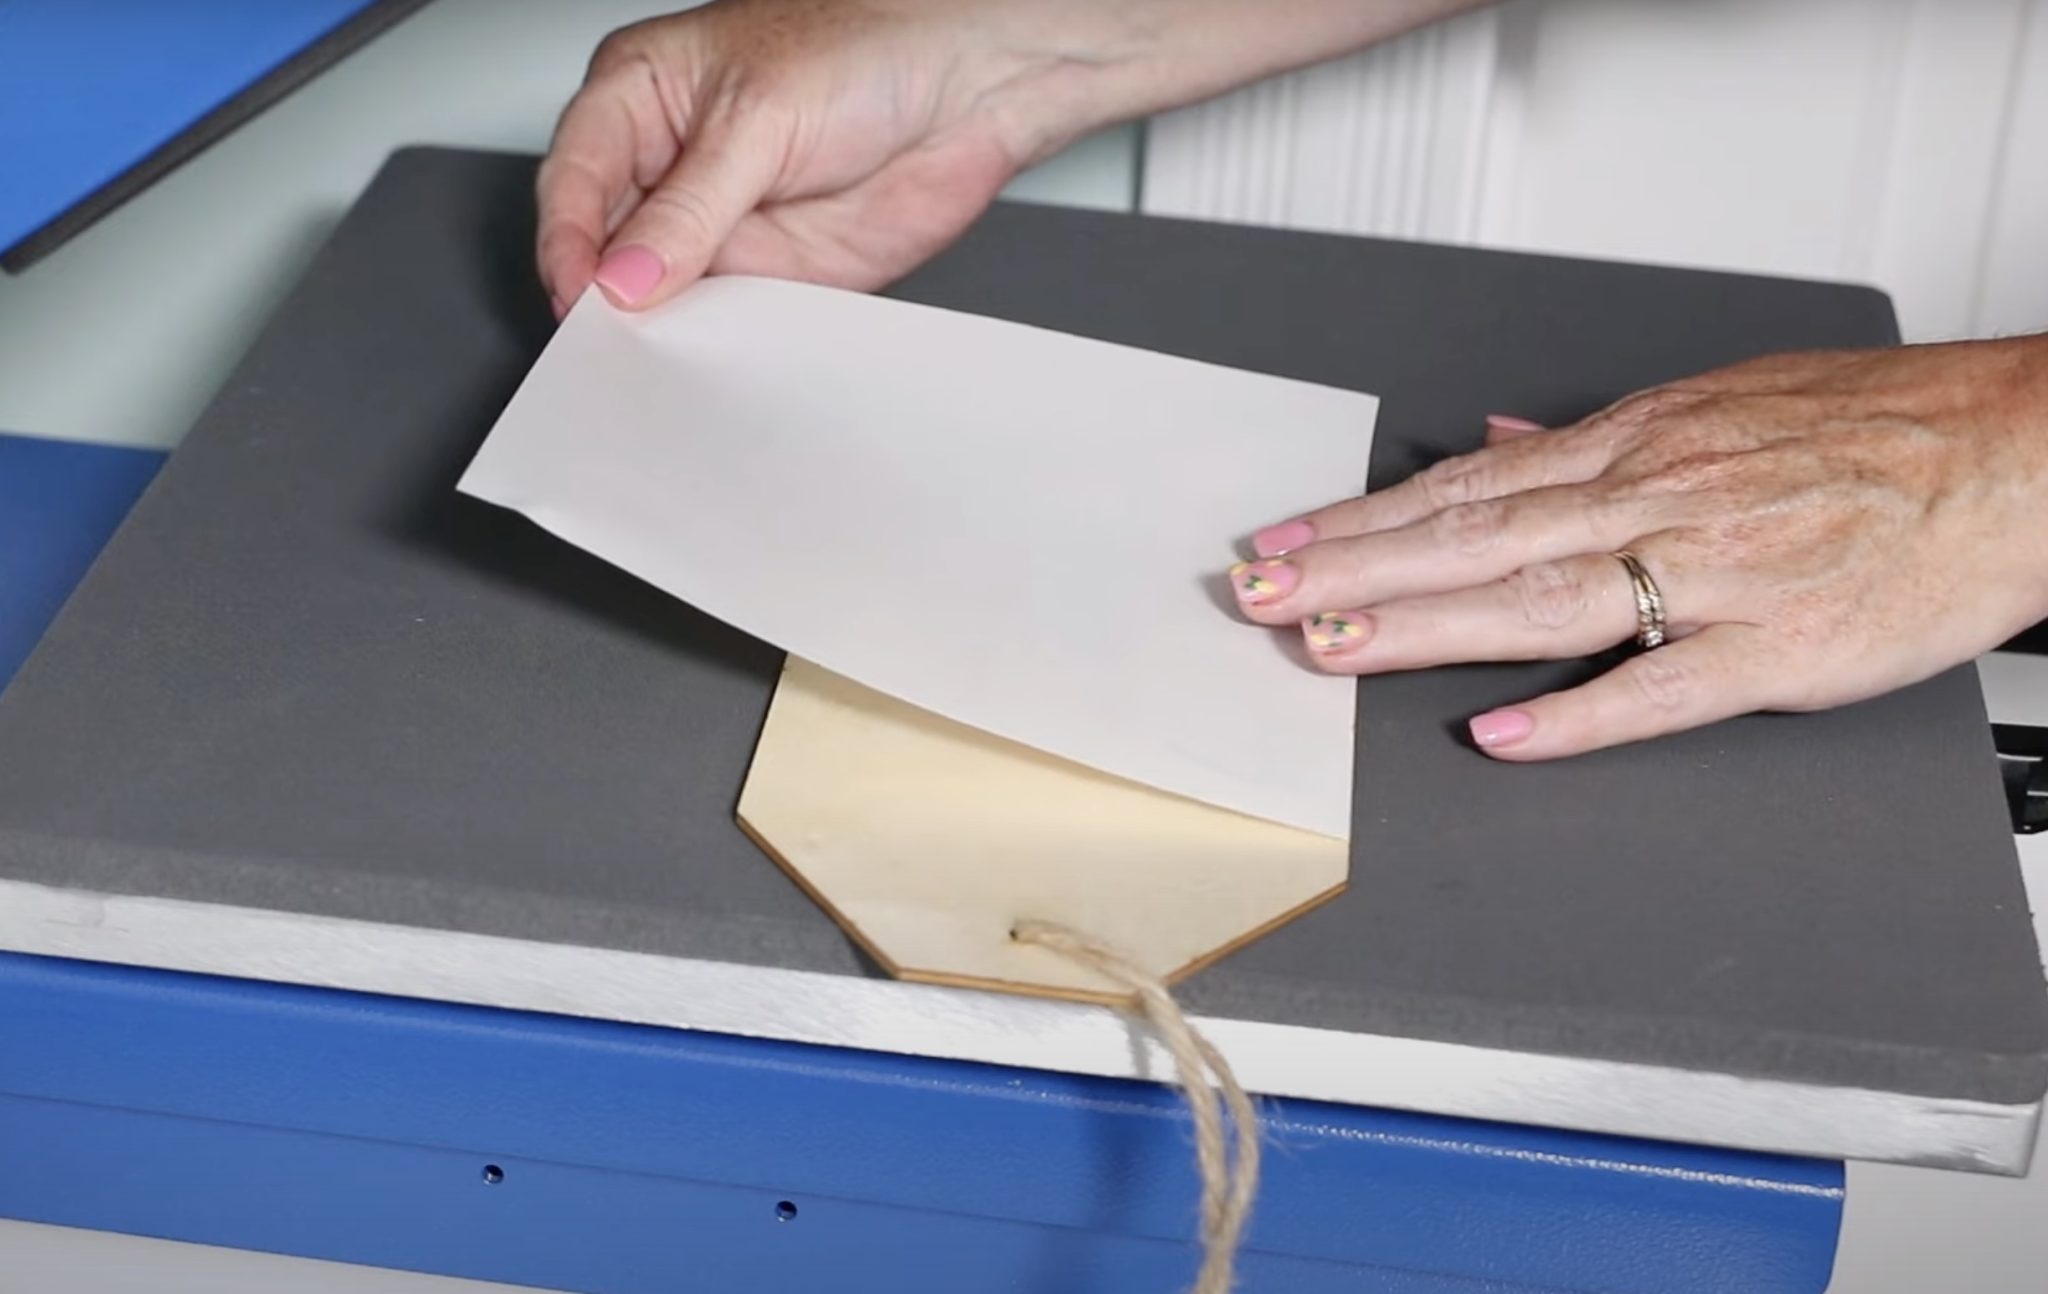
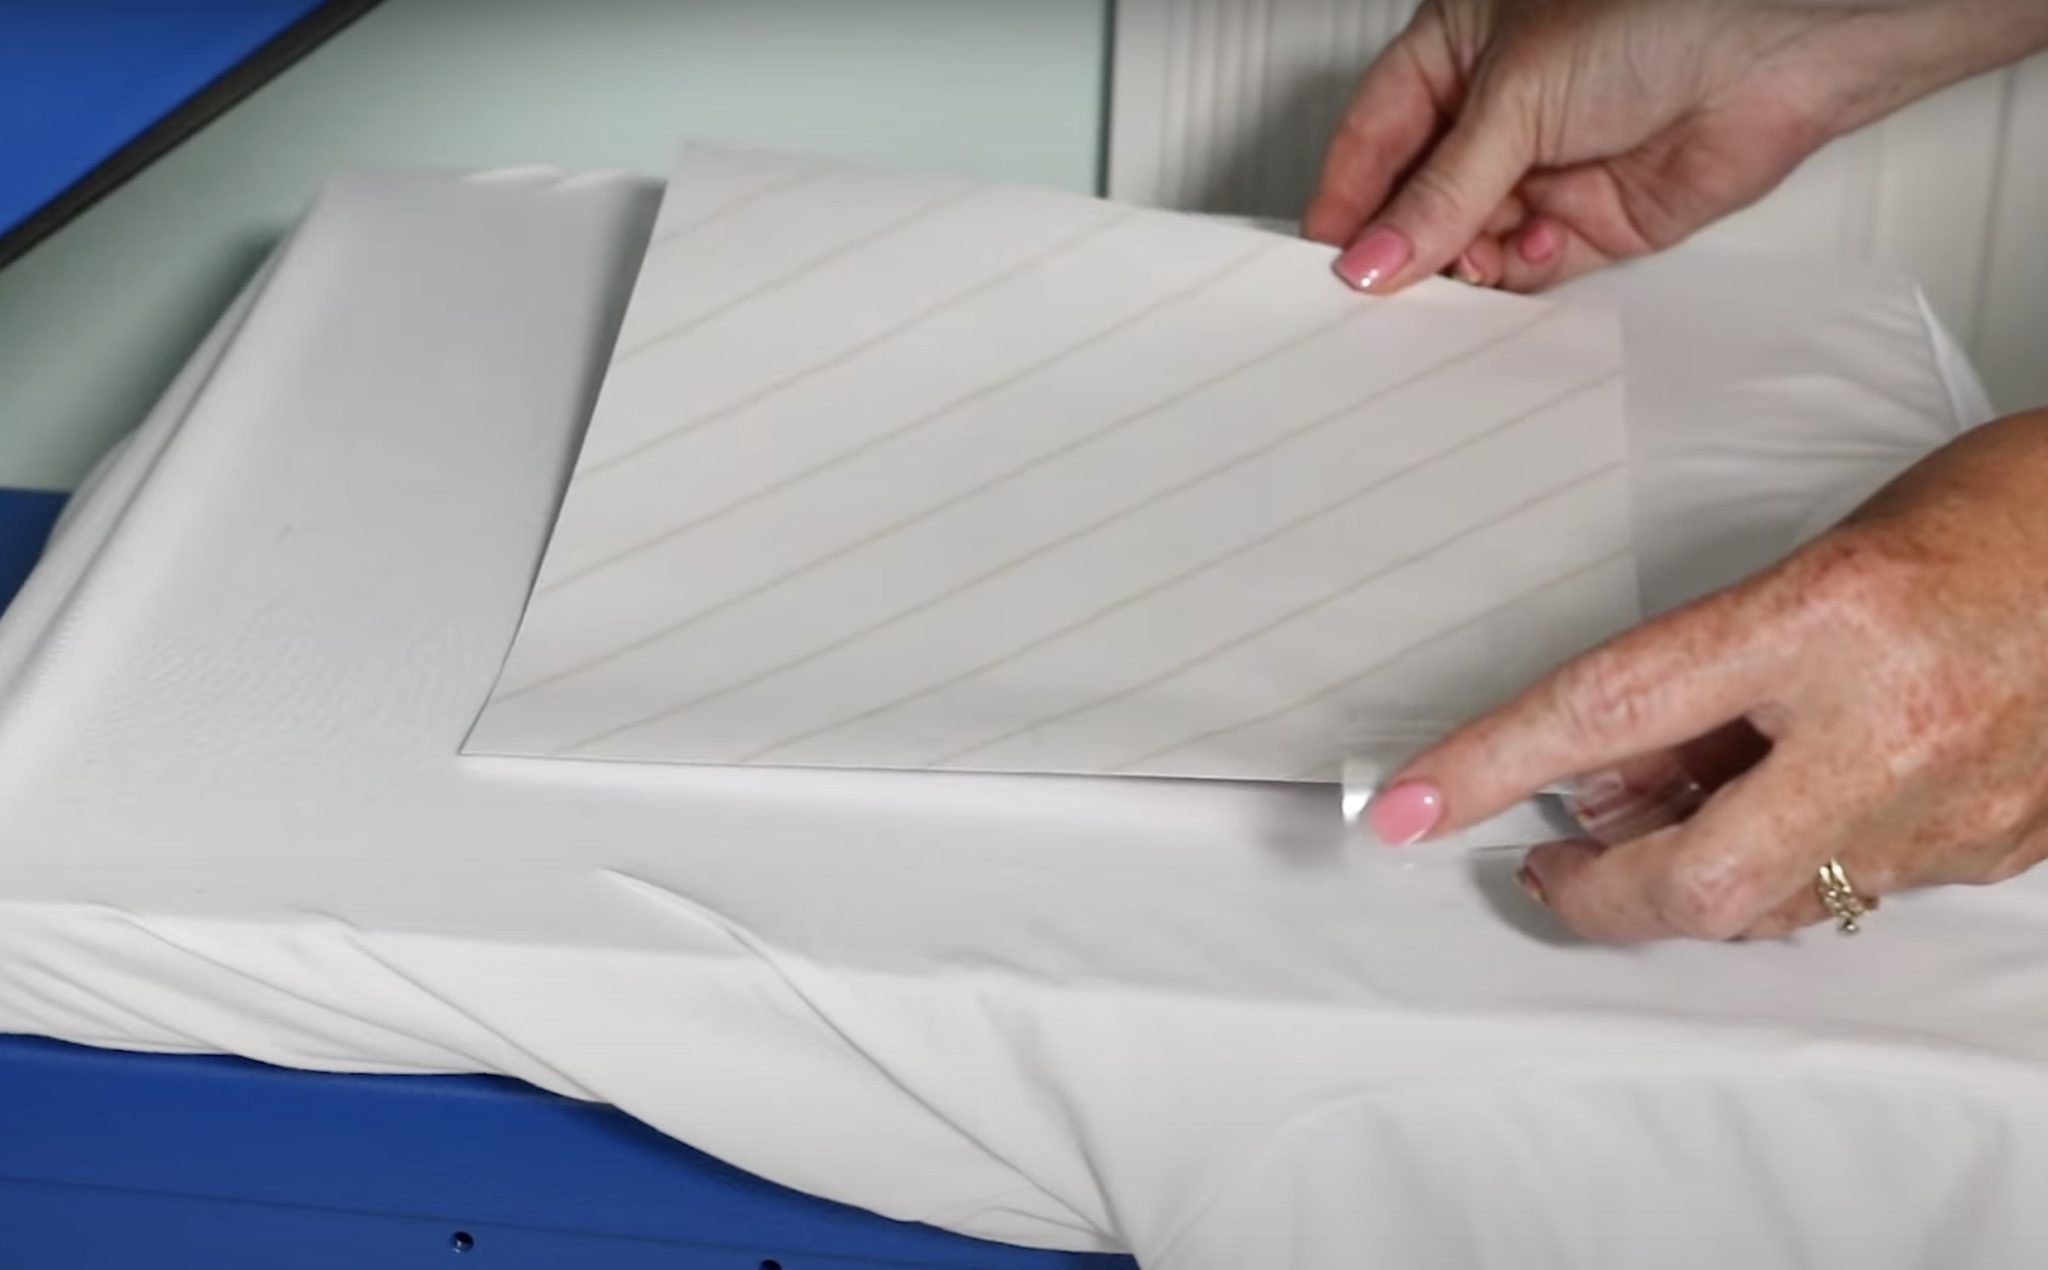
Ensure you have the right paper loaded into the printer and that it is loaded correctly.
I am using the VersiFlex Light, and I have it loaded print side down.
It is also very important that you pull out the tray to catch the paper after it prints.
Click Print, and then be very careful not to touch the print.
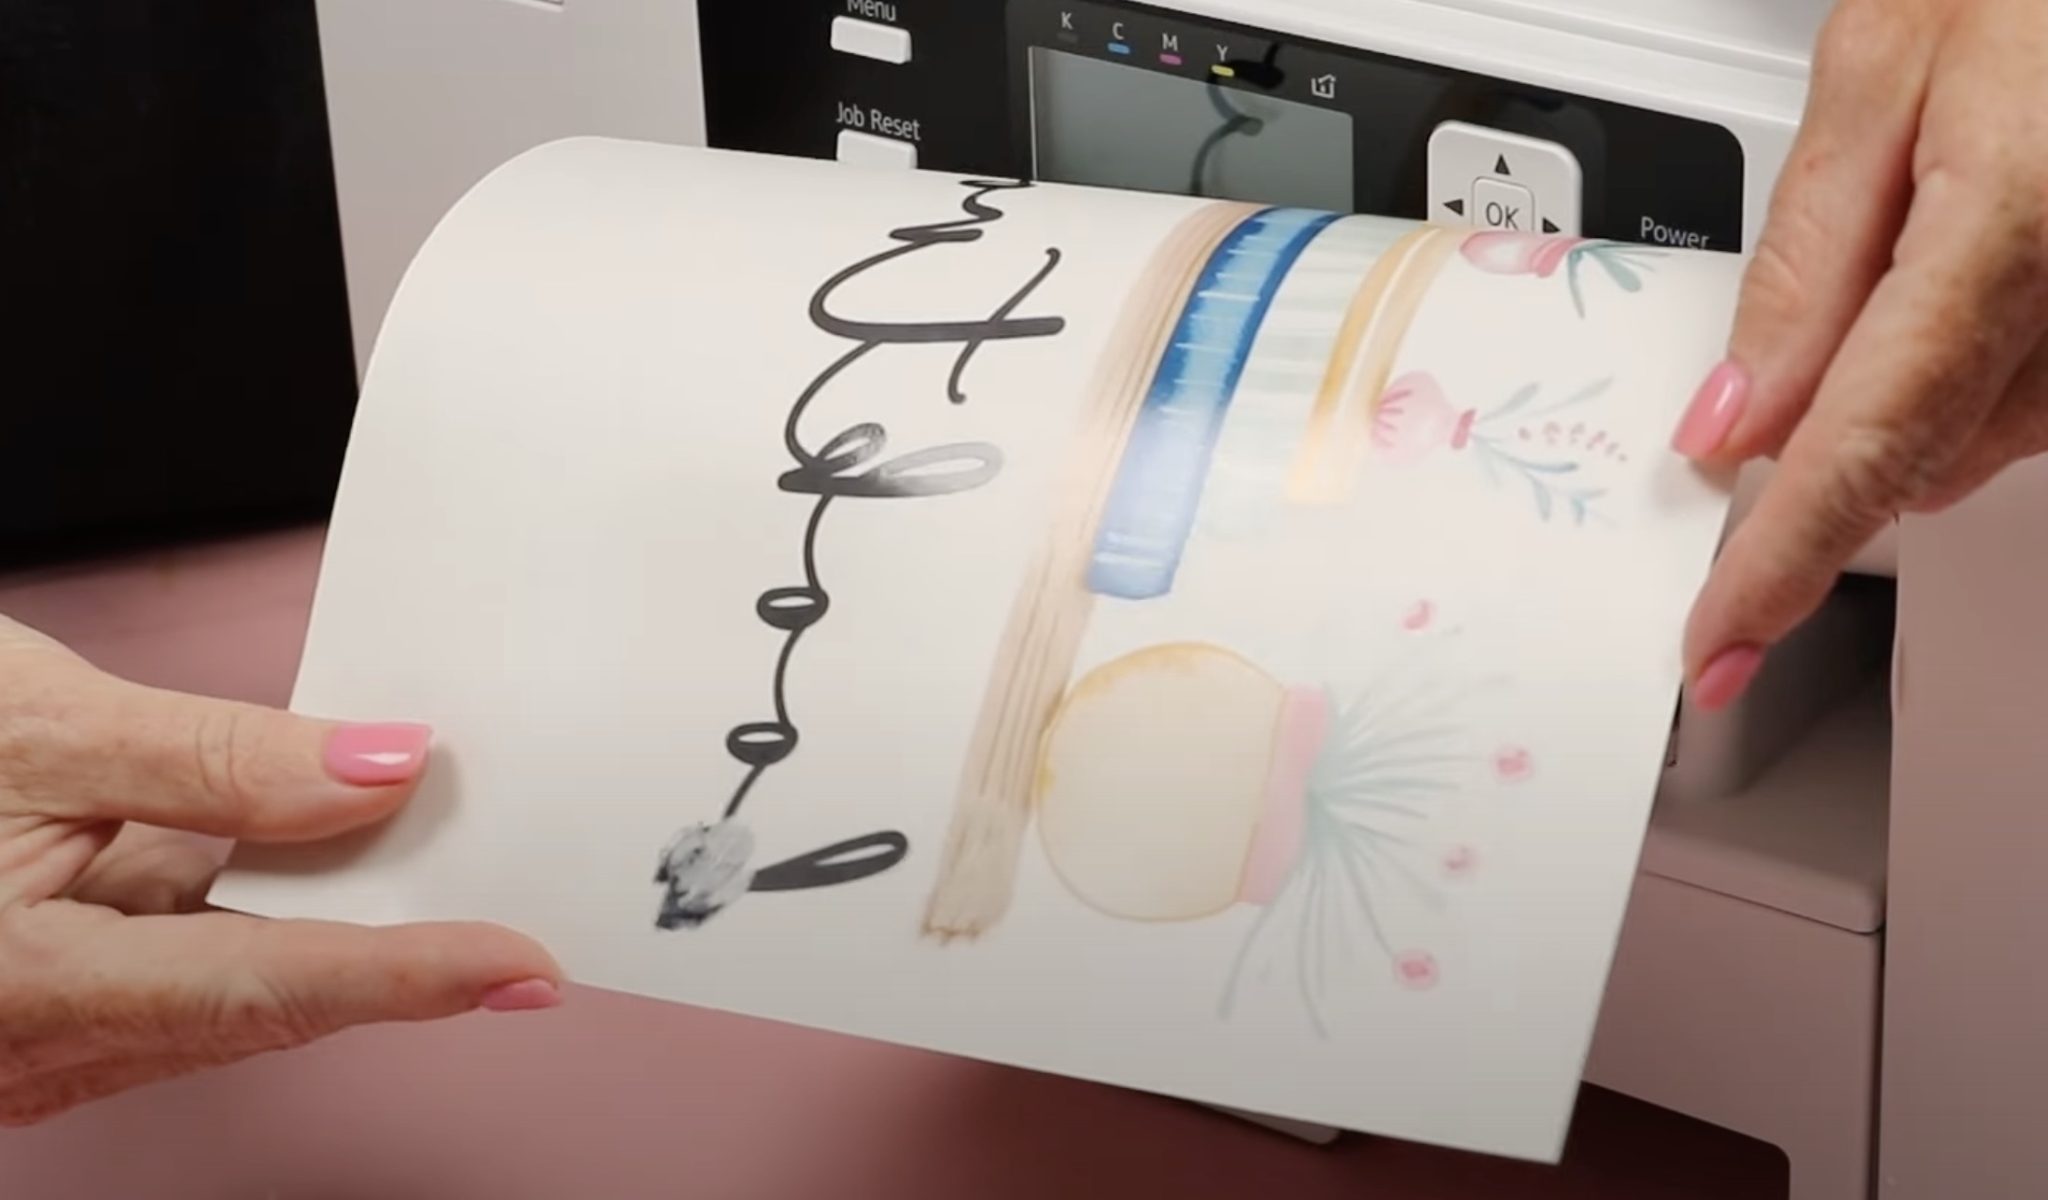
Note: With VersiFlex, the ink is wet when it comes out of the printer. If you touch the ink, it will smear.
Step 3. Press
You need to press VersiFlex prints right after printing; you can’t allow the ink to dry.
My heat press is heated to 375 degrees, and the time is set for 30 seconds.
Preheat your blank and adjust the pressure. You need heavy pressure, so you’ll need to use a traditional heat press with Sawgrass VersiFlex Light.
When it comes to locating your print, you only have one shot. Because the ink is wet, you cannot adjust the location after you put it in place.
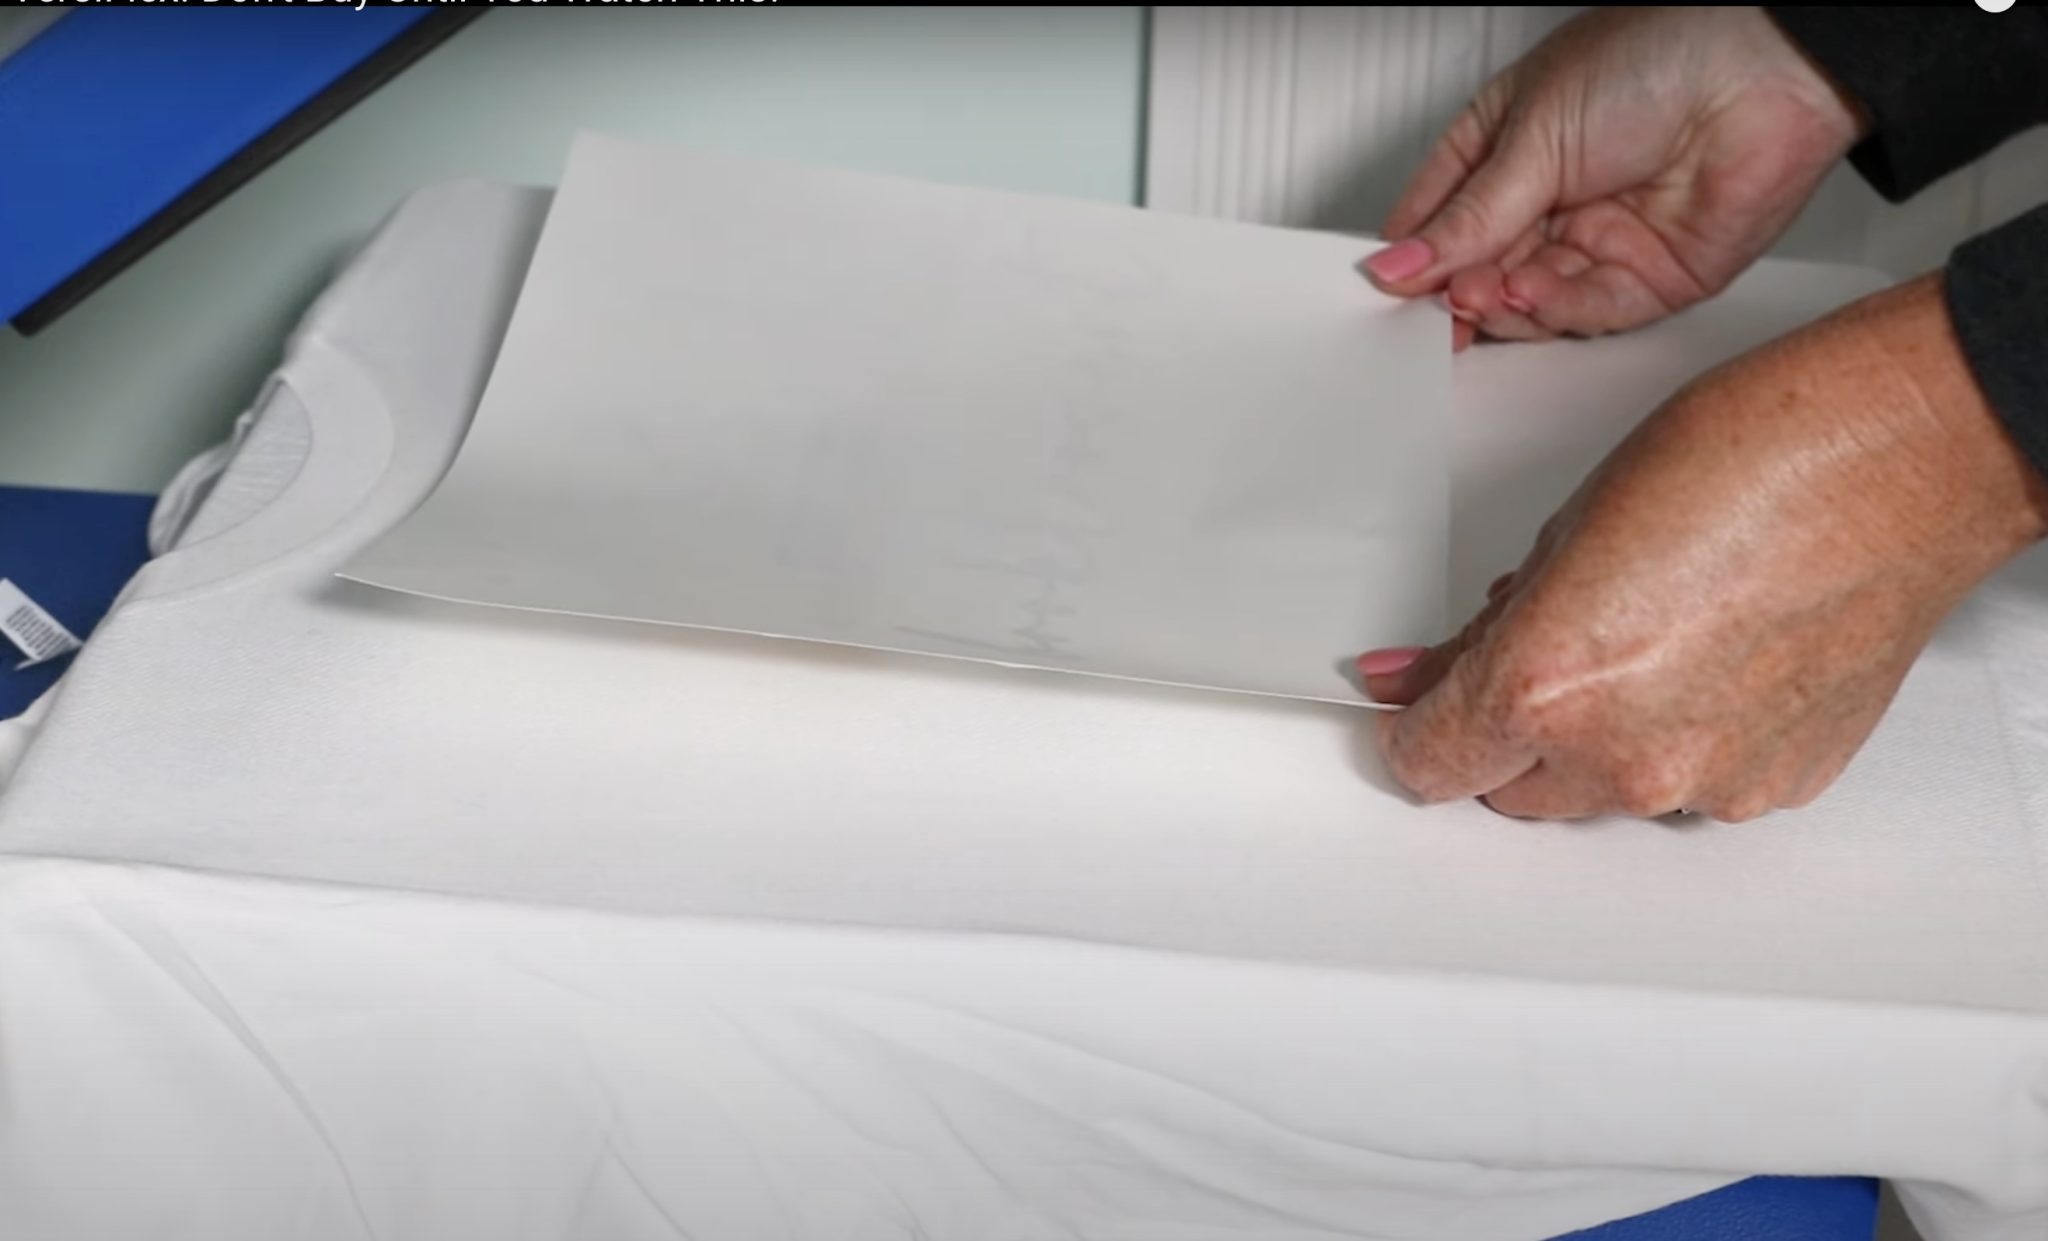
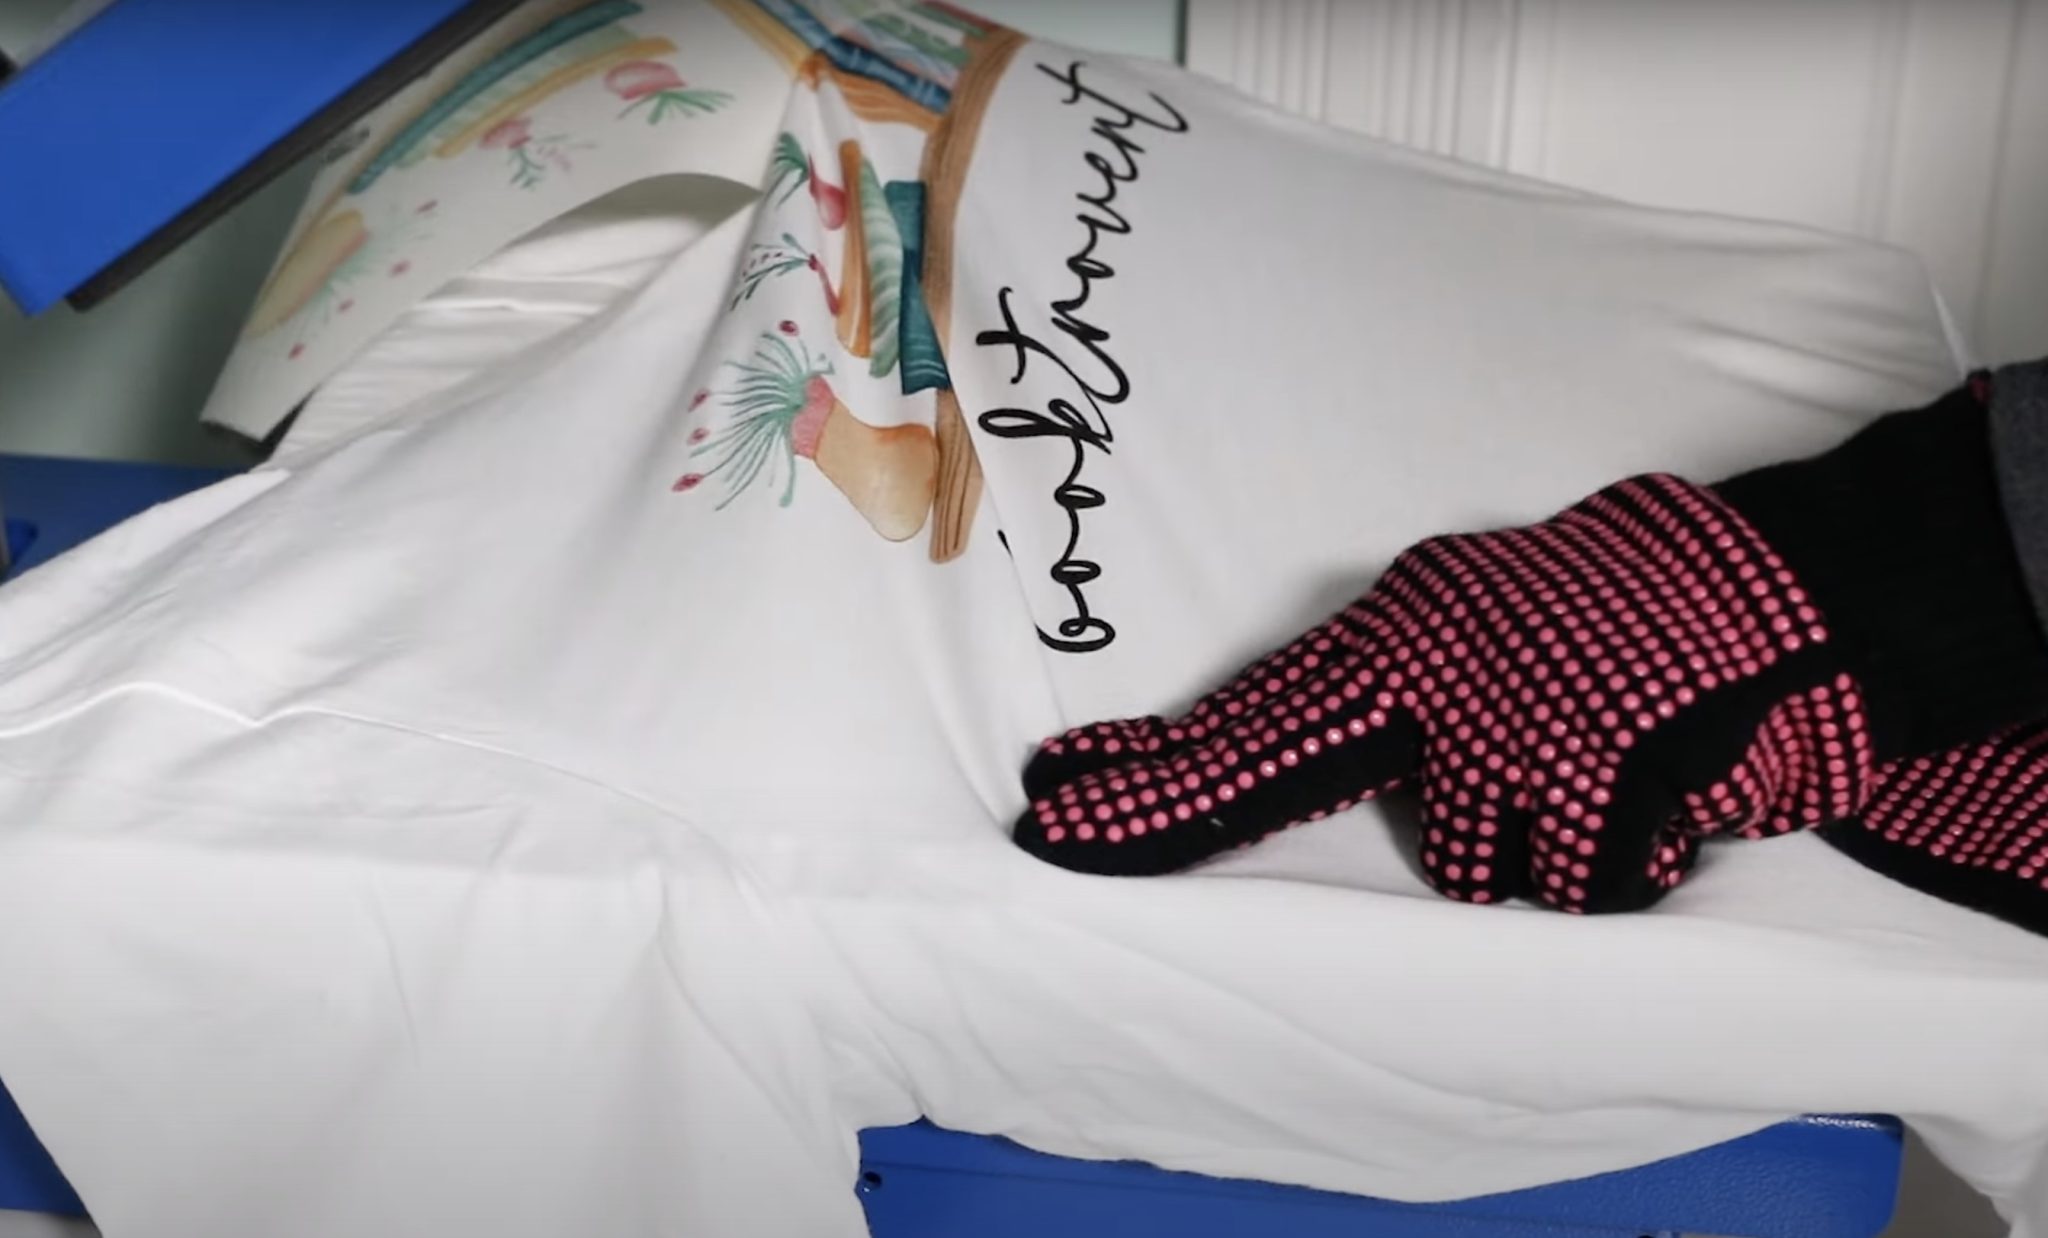
I trimmed my print so there was an equal distance of paper on each edge, and then did my best to drop it centered onto the fabric.
Cover the print with protective paper and press with heavy pressure for 30 seconds.
When the time is up, peel back the paper immediately. The paper may stick to the fabric as it cools, so peel it low and slow across the fabric while it’s hot.

With the paper peeled away, the project is complete and ready to go.
Sawgrass VersiFlex on Unfinished Wood
The process for adding the VersiFlex to unfinished wood is similar to adding it to a shirt.
You’ll print your design the same way and press it again at 375 degrees for 30 seconds.
Cover the design with protective paper and press, this time with medium pressure.
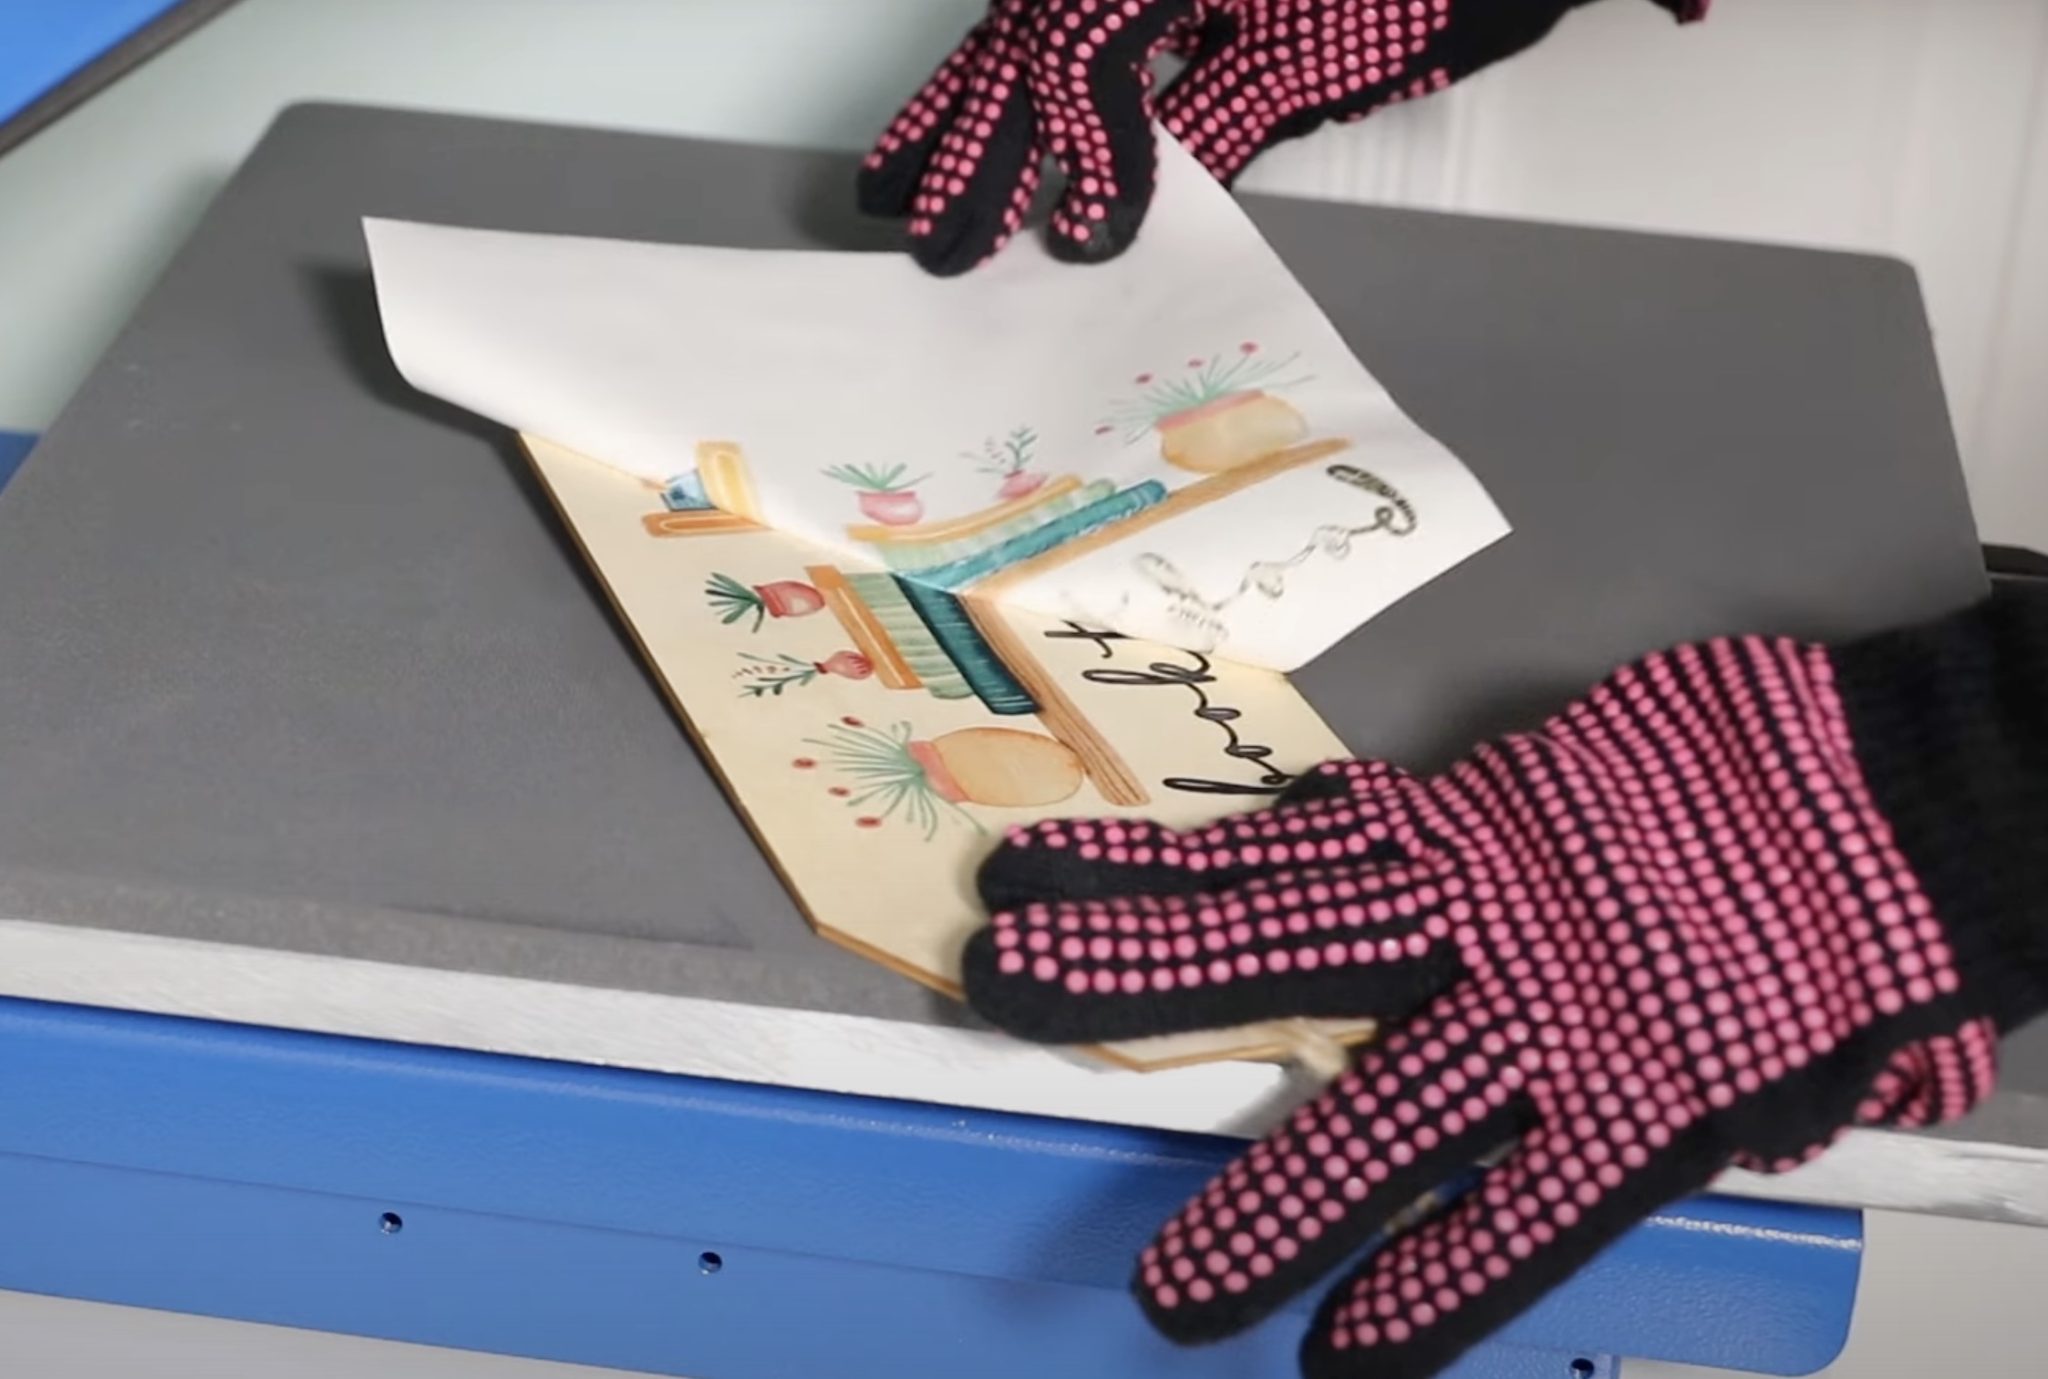
Peel the paper back immediately while it’s still hot, and your project is complete.
Sublimation Using the Versiflex Printer
For my next project, I am going to press a print on a polyester shirt.
NOTE: I recommend using a shirt that is at least 75% polyester. If you’re using a hard surface, it needs to have a poly coating, be a light color, and be made for sublimation.
Step 1: Print Design
Print the design use the steps above but this time choose a polyester fabric for the material and print on sublimation paper.
VersiFlex is a sublimation ink, but for sublimation, you have to use sublimation paper, and you still need to use a light colored polyester fabric.
When you print on sublimation paper, the ink is not wet, and the print is a normal sublimation print.
You can use the prints right away or save them to use in the future.
Step 2: Press
I have my heat press turned up to 385 degrees with the time set for 60 seconds.
Preheat the shirt and then use a lint roller to remove any lint or other debris.
Locate the print where you want it and use heat-resistant tape to hold it in place.
Cover with protective paper and press with medium pressure at 385 degrees for 60 seconds.
When doing sublimation, make sure you pick the time and temperature for the blank you’re using.
When the time is up, remove the protective paper and peel back the sublimation print.
With the print removed your project is complete.
Sublimation on a Mug
To make a mug the process is very similar. Clean the mug with a lint roller and locate the print using heat-resistant tape.
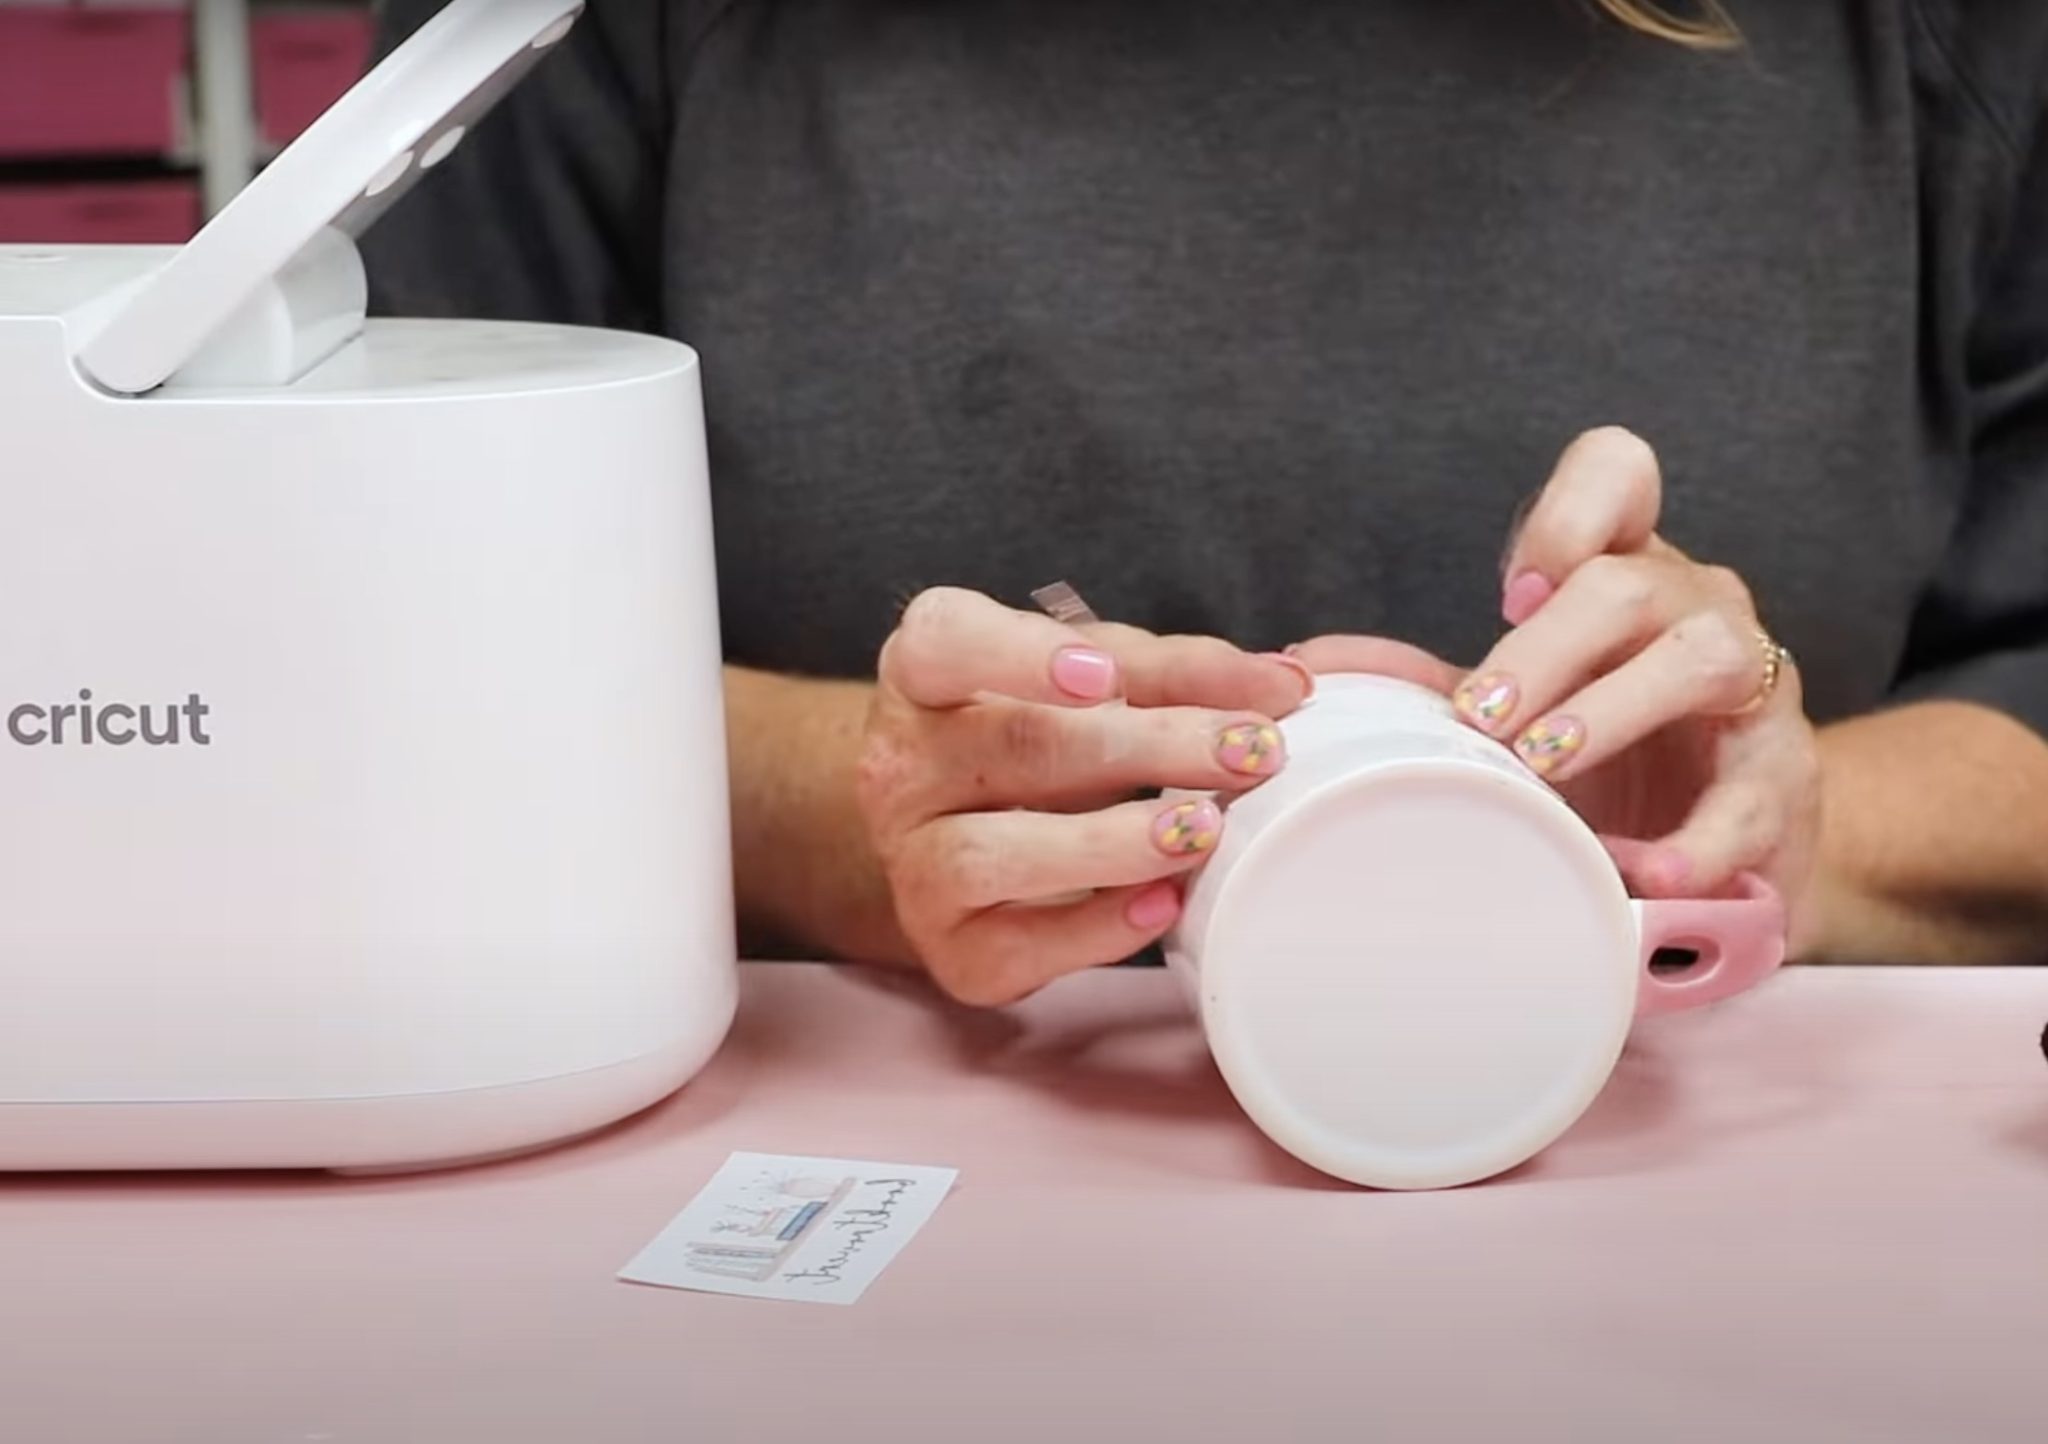
If you’re using a mug press, wrap the mug with protective paper. If you’re using a sublimation oven, wrap it with shrink wrap.

I am using the Cricut Mug Press today. With the Cricut Mug Press, I do not have to set the time or the temperature.
When it beeps, the time is up, and you just need to remove it from the press.
Sawgrass VersiFlex Results
Now that I’ve made a variety of projects, let’s look at the results.
Results on Cotton and Cotton/Poly Blends
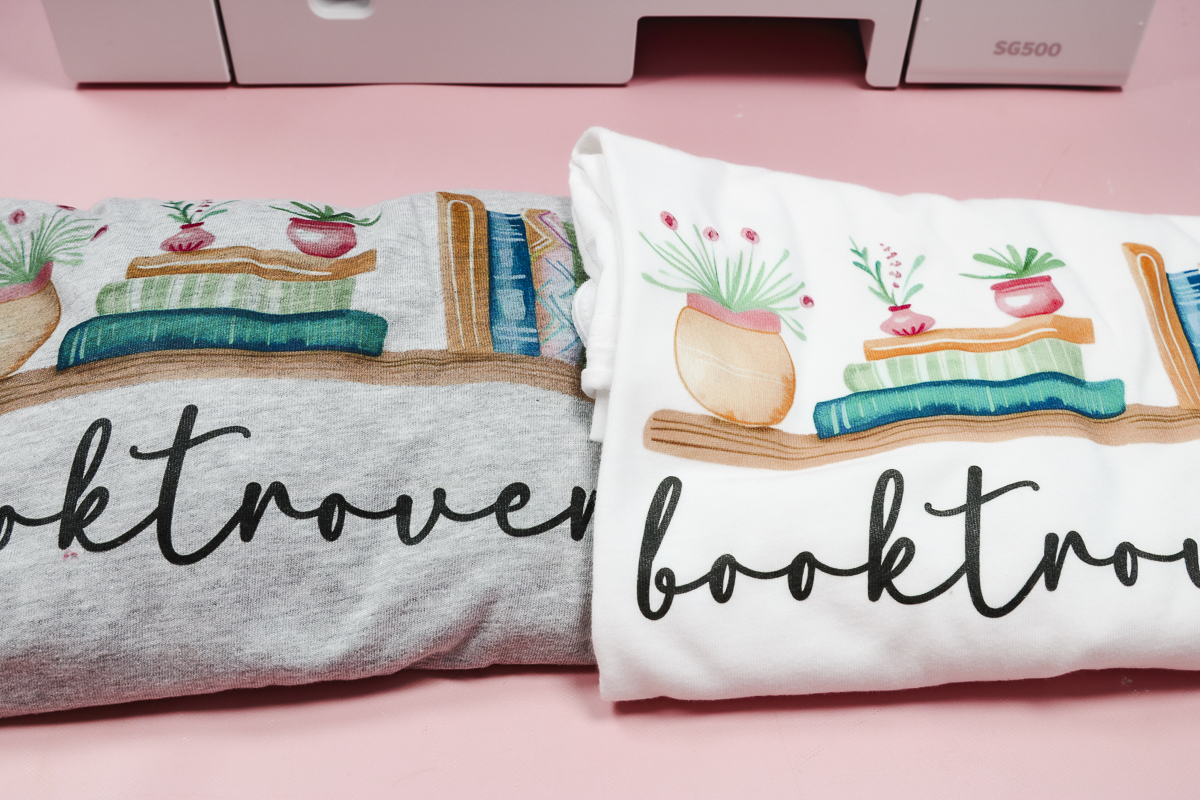
When using the VersiFlex Light paper, you can feel the print on the shirt. It feels similar to a screen print design.
Even though the system doesn’t have a black ink cartridge, I was able to print my design with black ink, and it worked well.
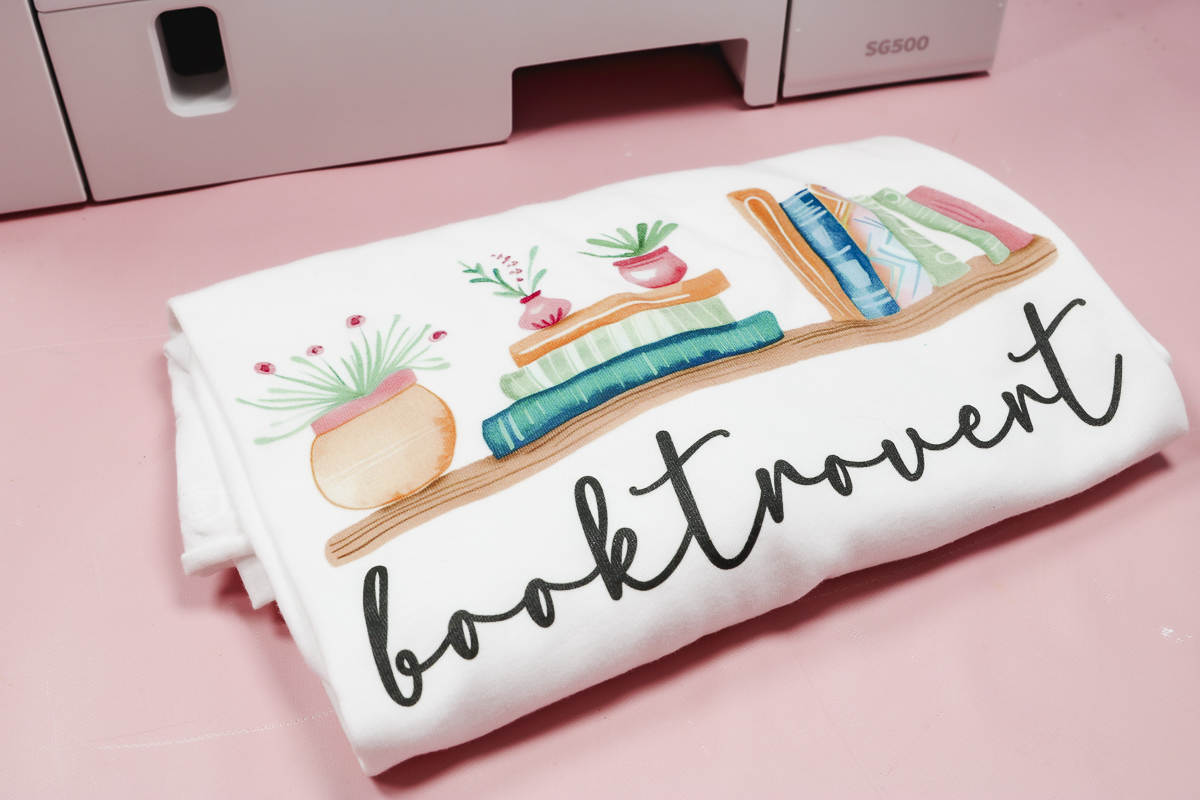
I think this process looks best on white or light colored blanks because the color of the blank is going to alter how the design looks.
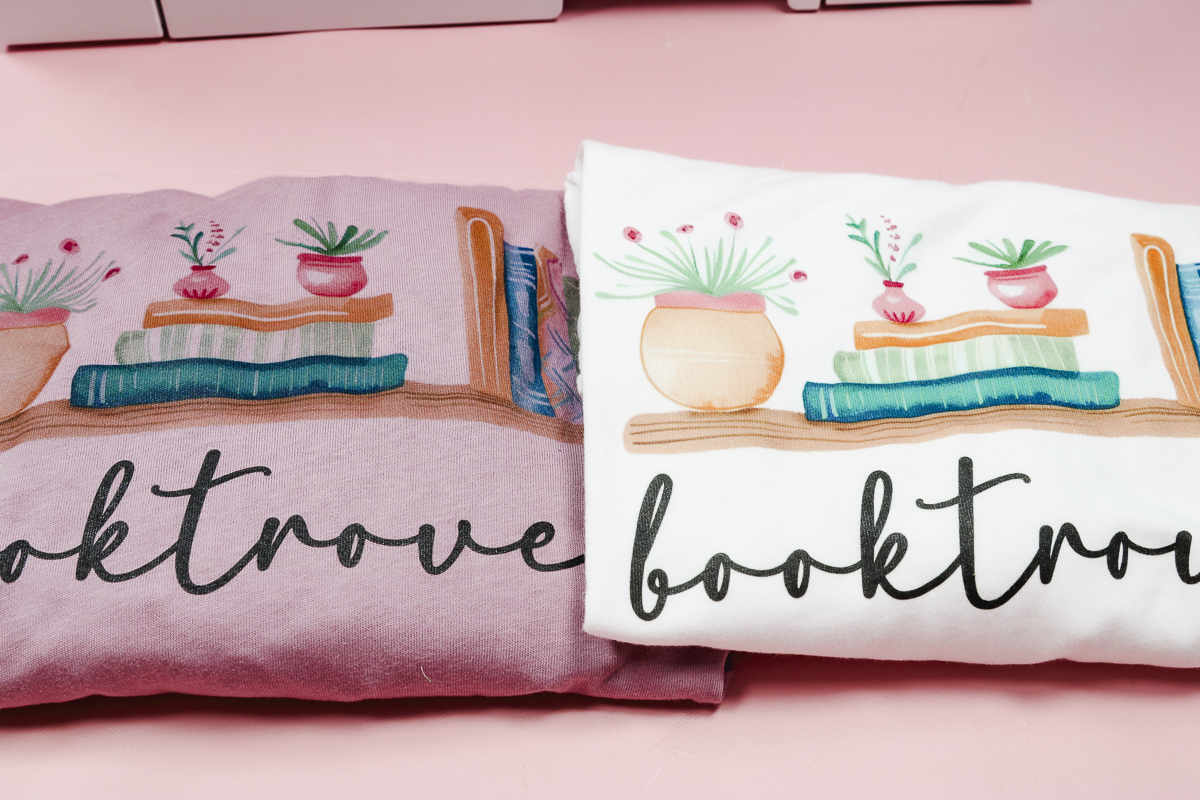
I also wouldn’t recommend this product for a material that has a lot of stretch. When I stretched the fabric, you could see the color of the shirt through the print.
While you can use this on cotton fabrics I don’t feel like you get as much freedom with the colors as you get with white toner or DTF printing.
VersiFlex Light is supposed to last up to 30 washes. Compared to sublimation, that is not very long, but it is comparable to other high quality t-shirt transfers.
Results on Wood
On the uncoated wood, it worked pretty well. I can see a line where the paper was on both sides, it feels like an adhesive line, and I couldn’t figure out why that happened.
You may need to play with the paper a bit to figure out the best process for your blank.
If you scratch at the print, it will come off. I would consider any unfinished wood projects decoration only.
Sublimation Results
When it comes to VersiFlex sublimation, it turns out pretty good, but I don’t feel like the colors are as vibrant as regular sublimation.
The black doesn’t really pop off the surface, and the colors are more muted than I am used to from a Sawgrass sublimation printer.
It’s possible it may need more time or a higher temperature to get the colors just right.
On the mug, the print turned out really good. The colors are vibrant, and the black looks great.

Sawgrass VersiFlex Pros and Cons
Let’s talk about the pros and cons of the Sawgrass VersiFlex system
VersiFlex Pros
The main pro is that you can use this one printer to add prints to sublimation blanks and to blanks that are cotton or unfinished wood.
VersiFlex Cons
I think the biggest con across the board is the price. The VersiFlex paper is expensive, the ink is expensive, and the printer itself is expensive. Because there are other products on the market that can do these things for significantly less, the price is a big draw back for me.
The wet ink is another con. Because the paper and ink are expensive, wasting prints by accidentally smudging the ink is really frustrating.
Another con of the wet ink is that it’s difficult to get the design located perfectly. Because you cannot relocate the design, the chances of the print being off center are pretty high.
You also have to be ready to press the design immediately after printing it. This makes batching projects more difficult since you have to start and finish the project all at once.
I also consider the color limitation a con. Yes, I can press on cotton with this process, but I still have to use white or light colored blanks. I feel like polyester fabrics have come a long way over the years, and there are many that feel more like cotton now, so I don’t necessarily feel like cotton alone is a big positive. And, sublimation on light colored polyester blanks will last at least as long as the blank itself.
I feel like there are going to be people who are very excited about this printer. People who have been looking for something that gives them more possible blank options may find that this printer does exactly what they want it to.
I wouldn’t recommend investing in this system. I think you can get a good sublimation printer for a lot less expensive and the ink will also be less expensive.
You could then purchase an inkjet printer that would allow you to do heat transfers that you can add to cotton or unfinished wood, similar to what you get with this system.
I hope I’ve answered questions you have about the new Sawgrass VersiFlex system. Whether you think this printer is right for you or if you have more questions, feel free to drop down in the comments and share your thoughts and questions. I’m happy to answer them for you.