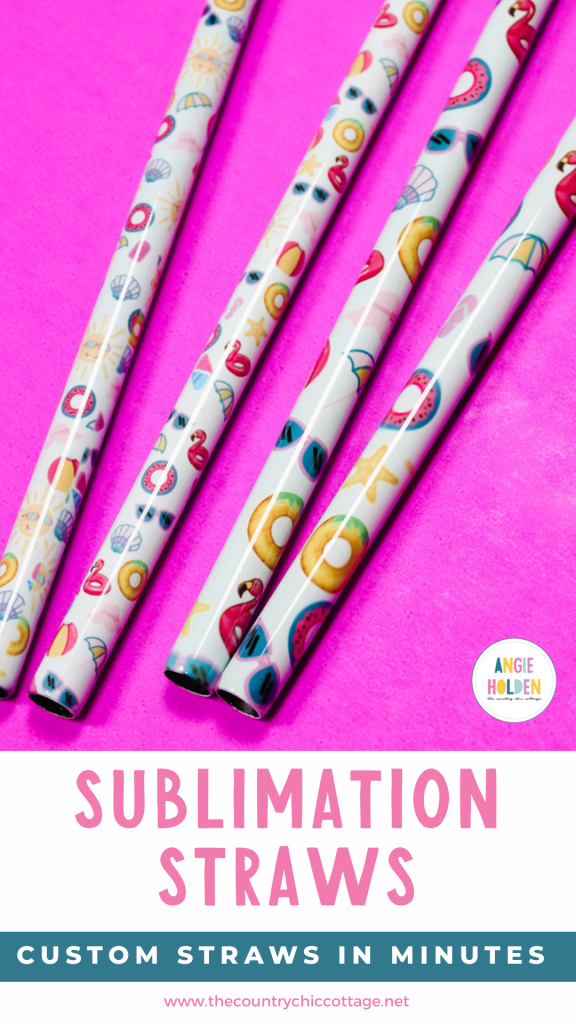
Making your own custom sublimation straws is easy and they are perfect for back to school, gifts, and add-ons for your small business.
NOTE: These straws are metal and have a sublimation coating. You can't use just any metal straw for this project.
I am making the shortest version of the sublimation straws in this tutorial, but you'll use the same process no matter what straw length you make.
You can watch me make these straws by pressing play on the video below.
How to Make Sublimation Straws
I am using a cute summer design, but you can use any design for the straws.
If you're gifting tumblers or you sell tumblers for your small business, I think these make a great addition. Because they come in different sizes, you can customize them to fit any tumbler you prefer.
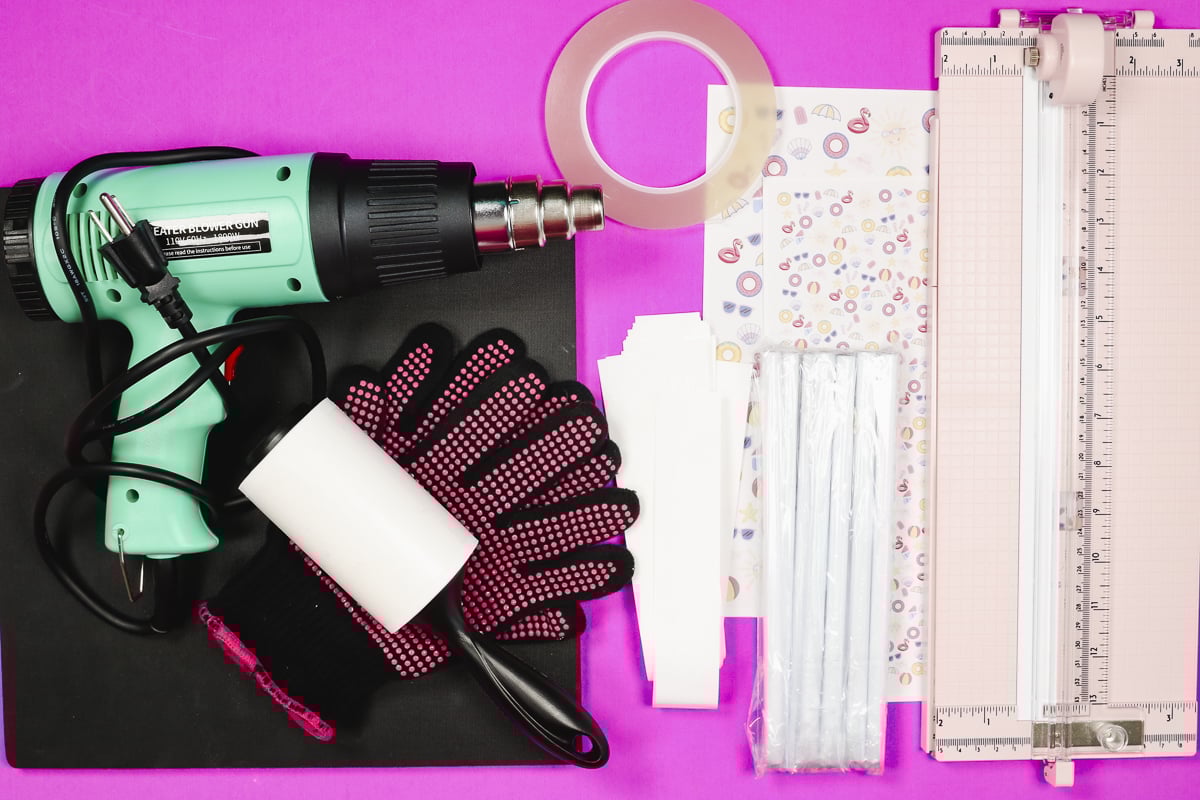
Supplies Used
- Free Sublimation Designs
- Sublimation Straws (These sublimation straws come with the shrink wrap, so you don't have to shop for the right size.)
- Brother Sublimation Printer
- Sublimation Paper
- Lint Roller
- Heat-Resistant Tape
- Heat-Resistant Gloves
- Heat-Resistant Mat
- Sublimation Oven
- Paper Cutter
- Heat Gun
Step 1. Prepare Sublimation Print
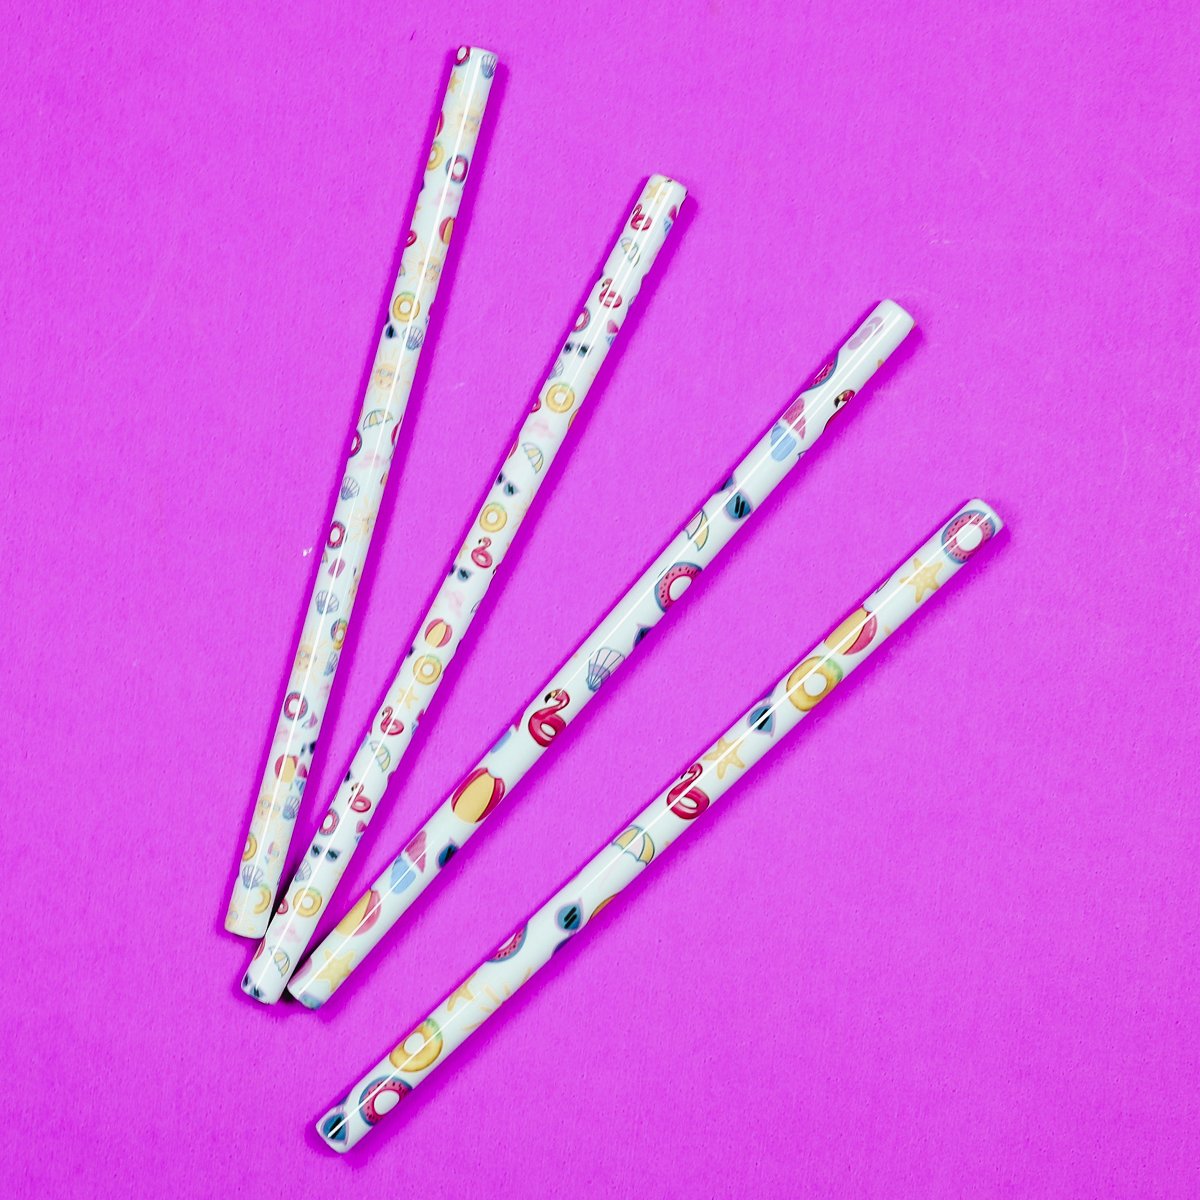
I am using two different designs today. The images are the same, just different-sized icons. I think the smaller ones ended up looking better on the straws, but both are fun, and you can use either.
Make sure your sublimation print is sublimation ink, printed on sublimation paper, from a sublimation printer.
The size of print you need will depend on the size straw you use. For the shortest straw, you can use an 8.5″ by 11″ paper, but you will need the long side of the paper.
NOTE: For longer straws you will need the 8 1/2 x 14 inch paper!
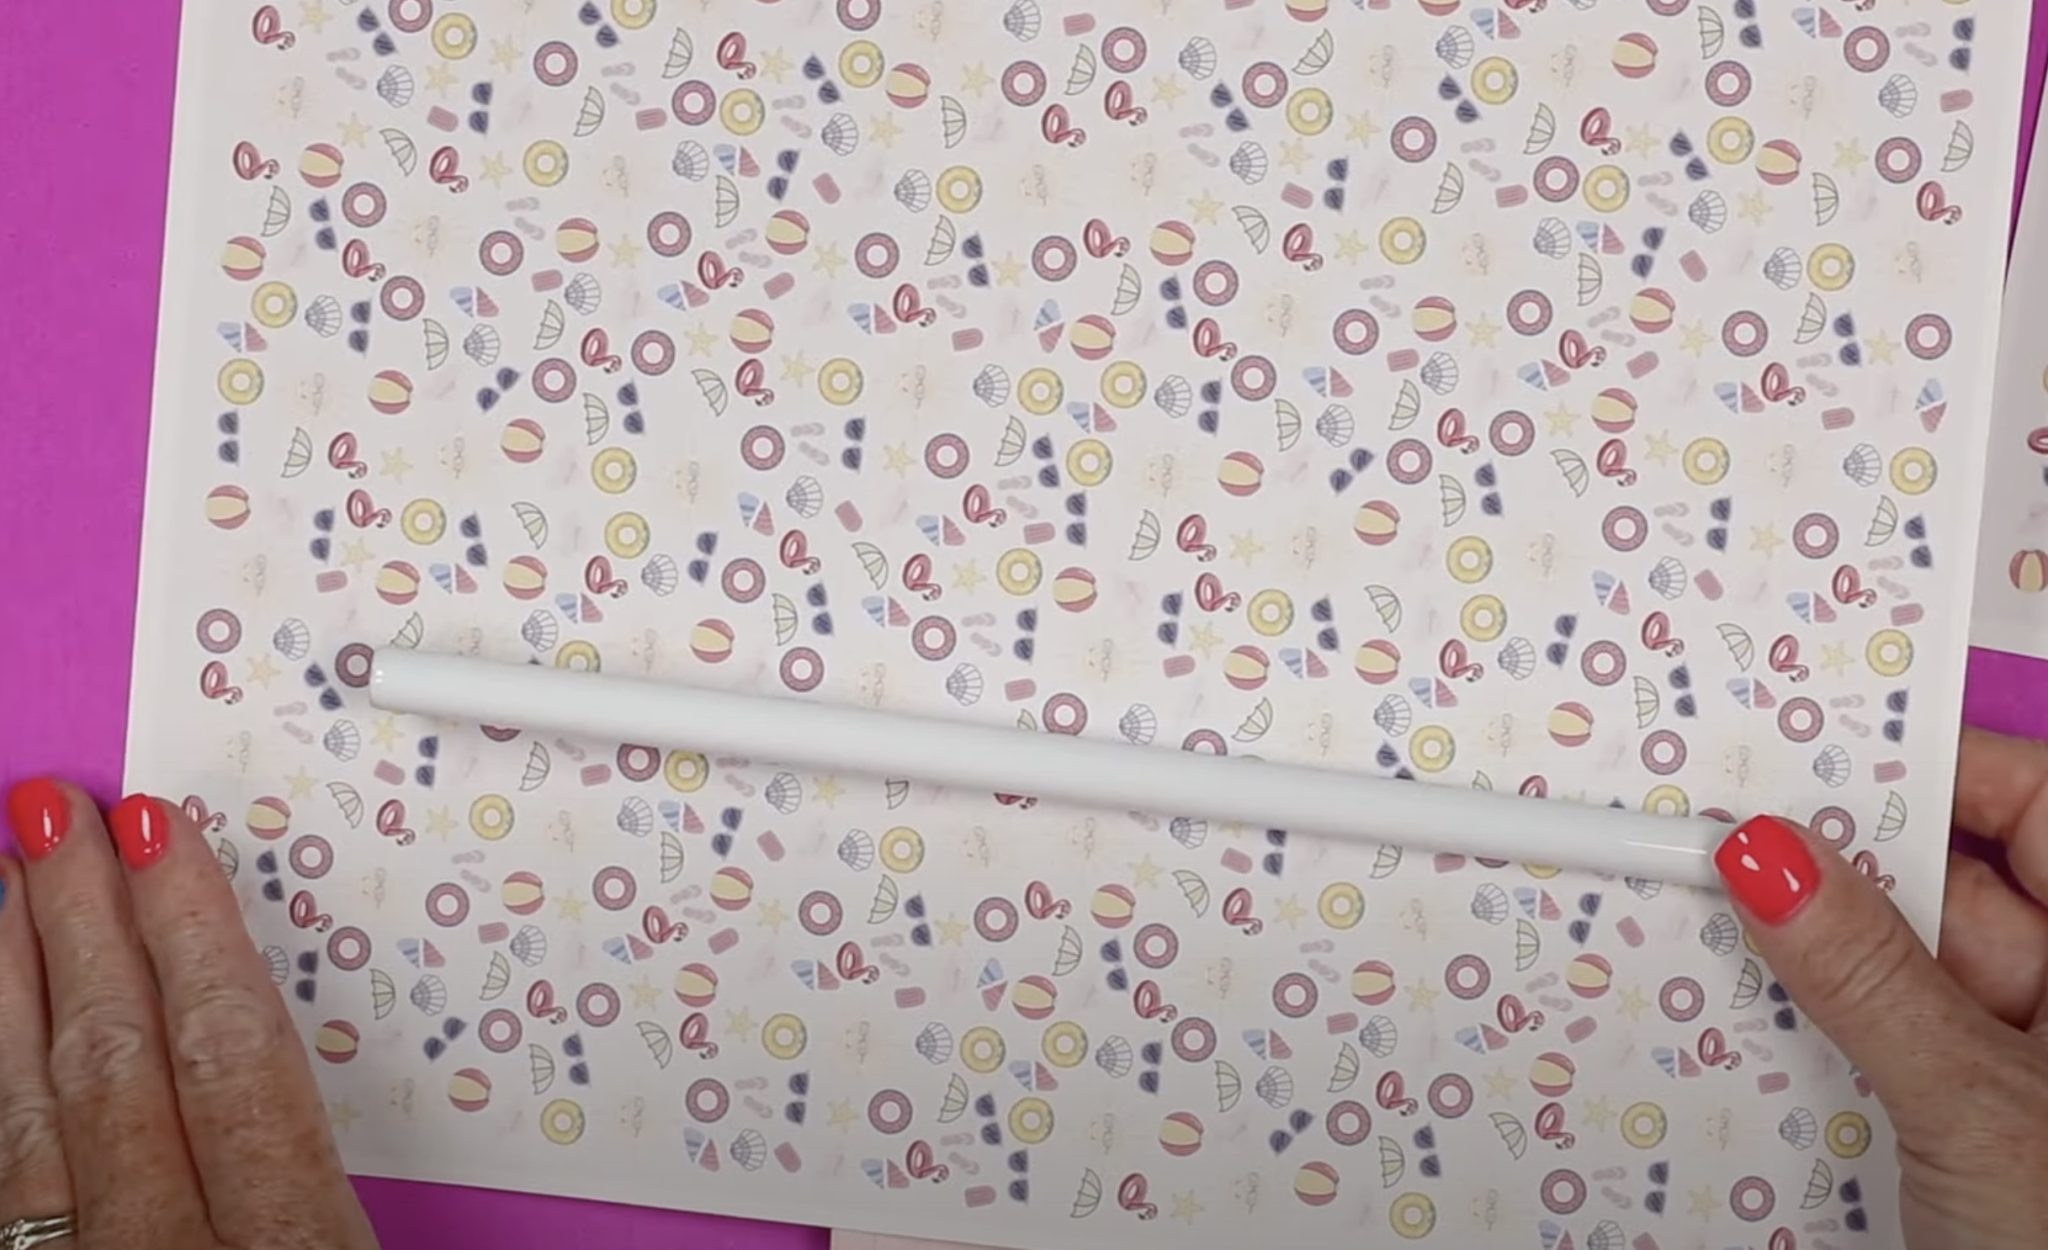
Don't forget to mirror your design when printing. After printing, trim away all the white from the print.
Step 2. Prepare Sublimation Print
The straws do need to be clean for this process. Remove the straws from the packaging material and clean them with a lint roller.
I like the length of the paper to be a little longer than the straw on both ends.
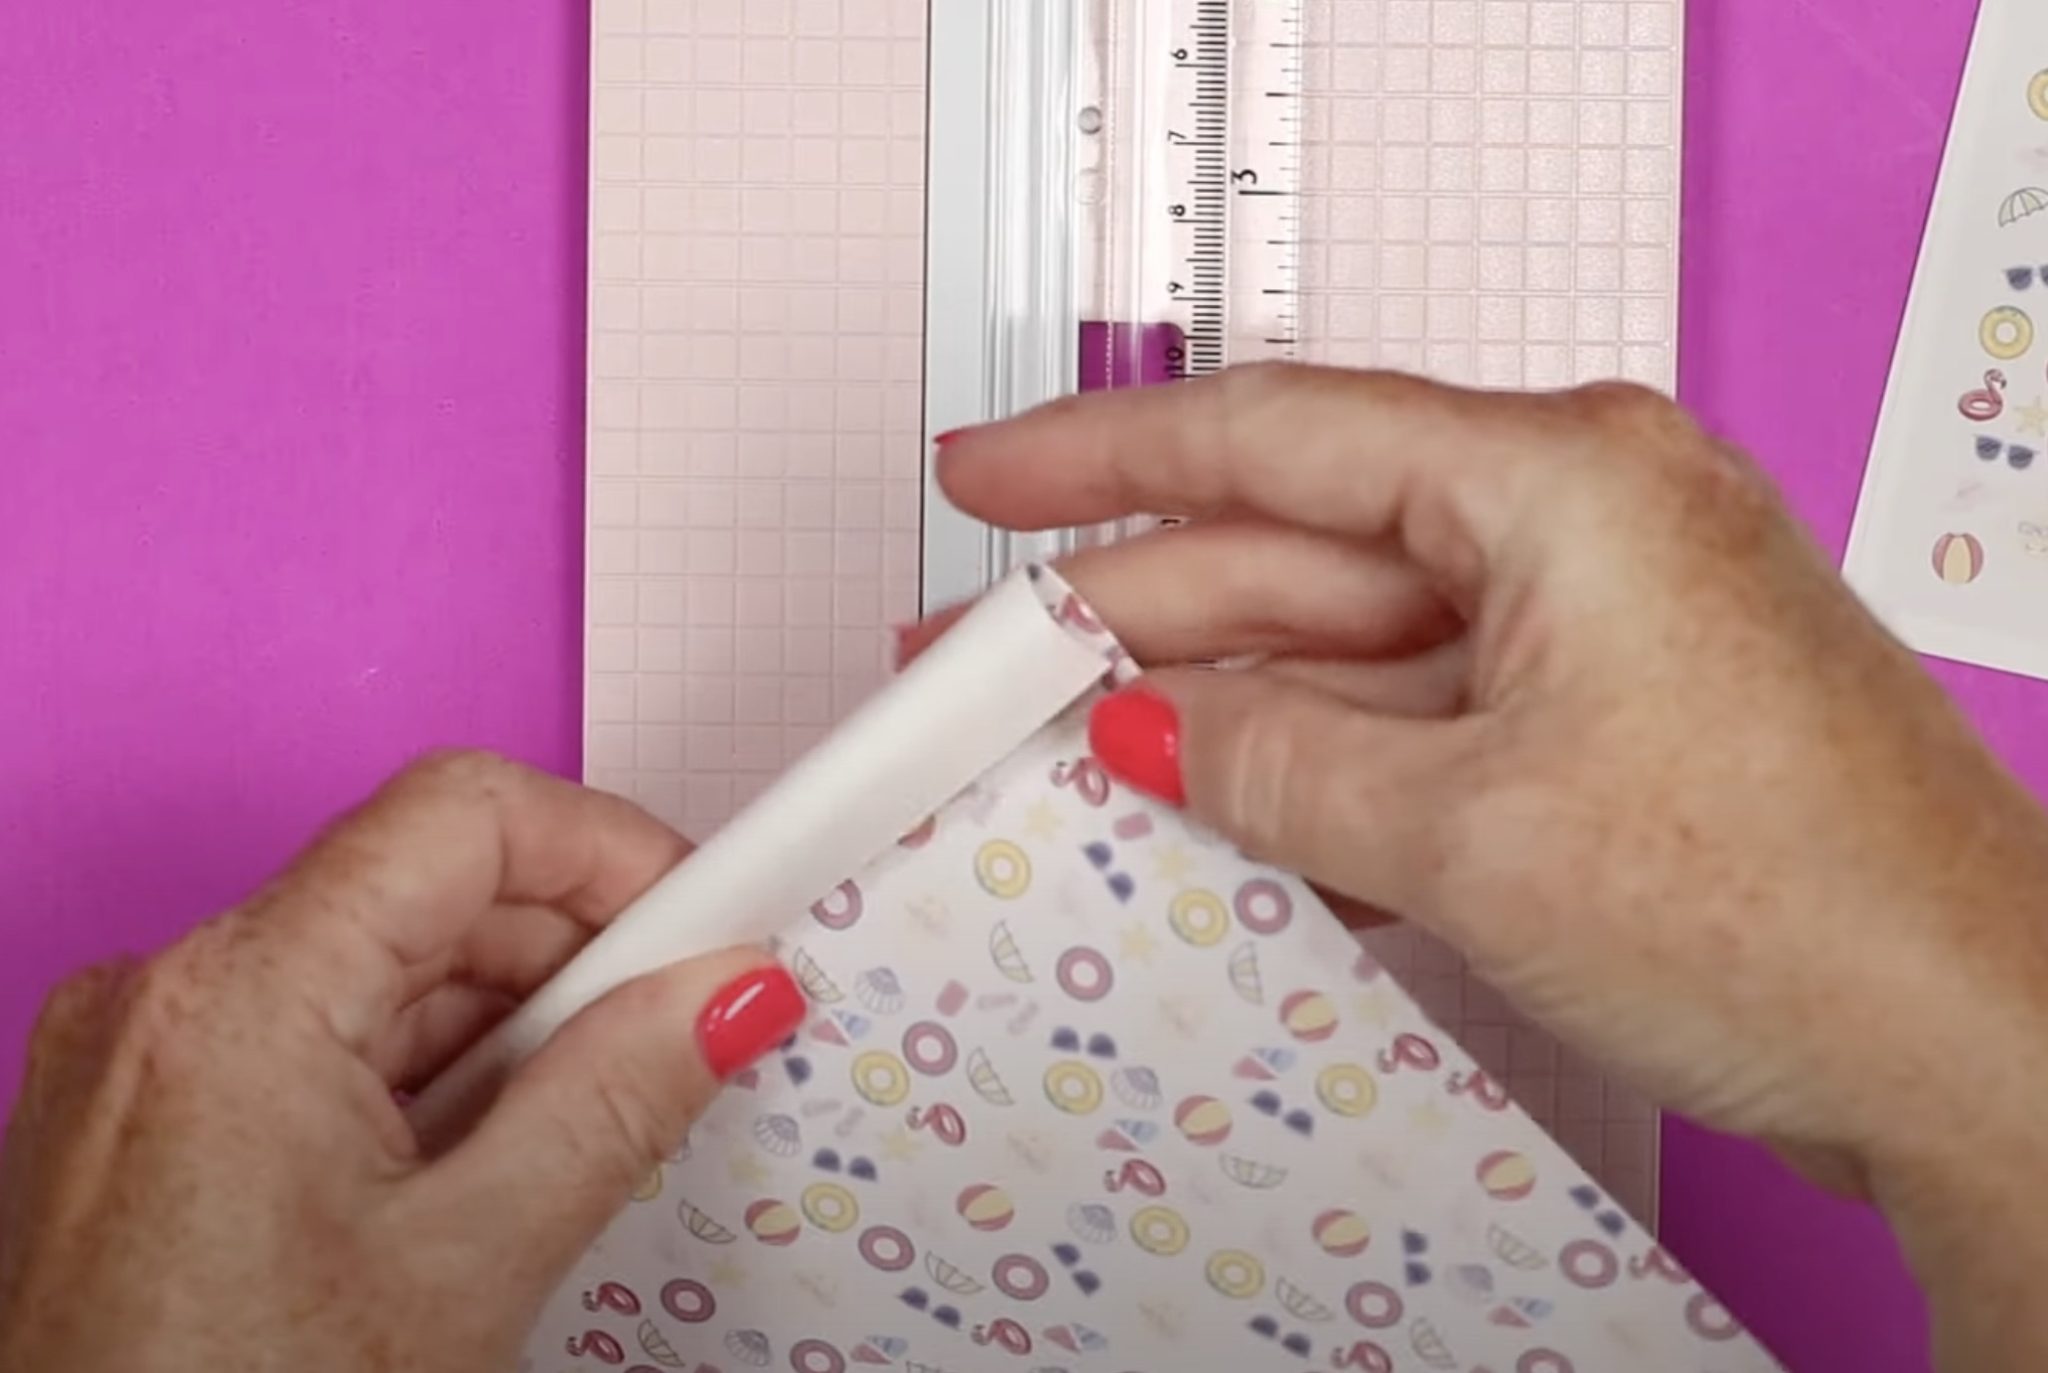
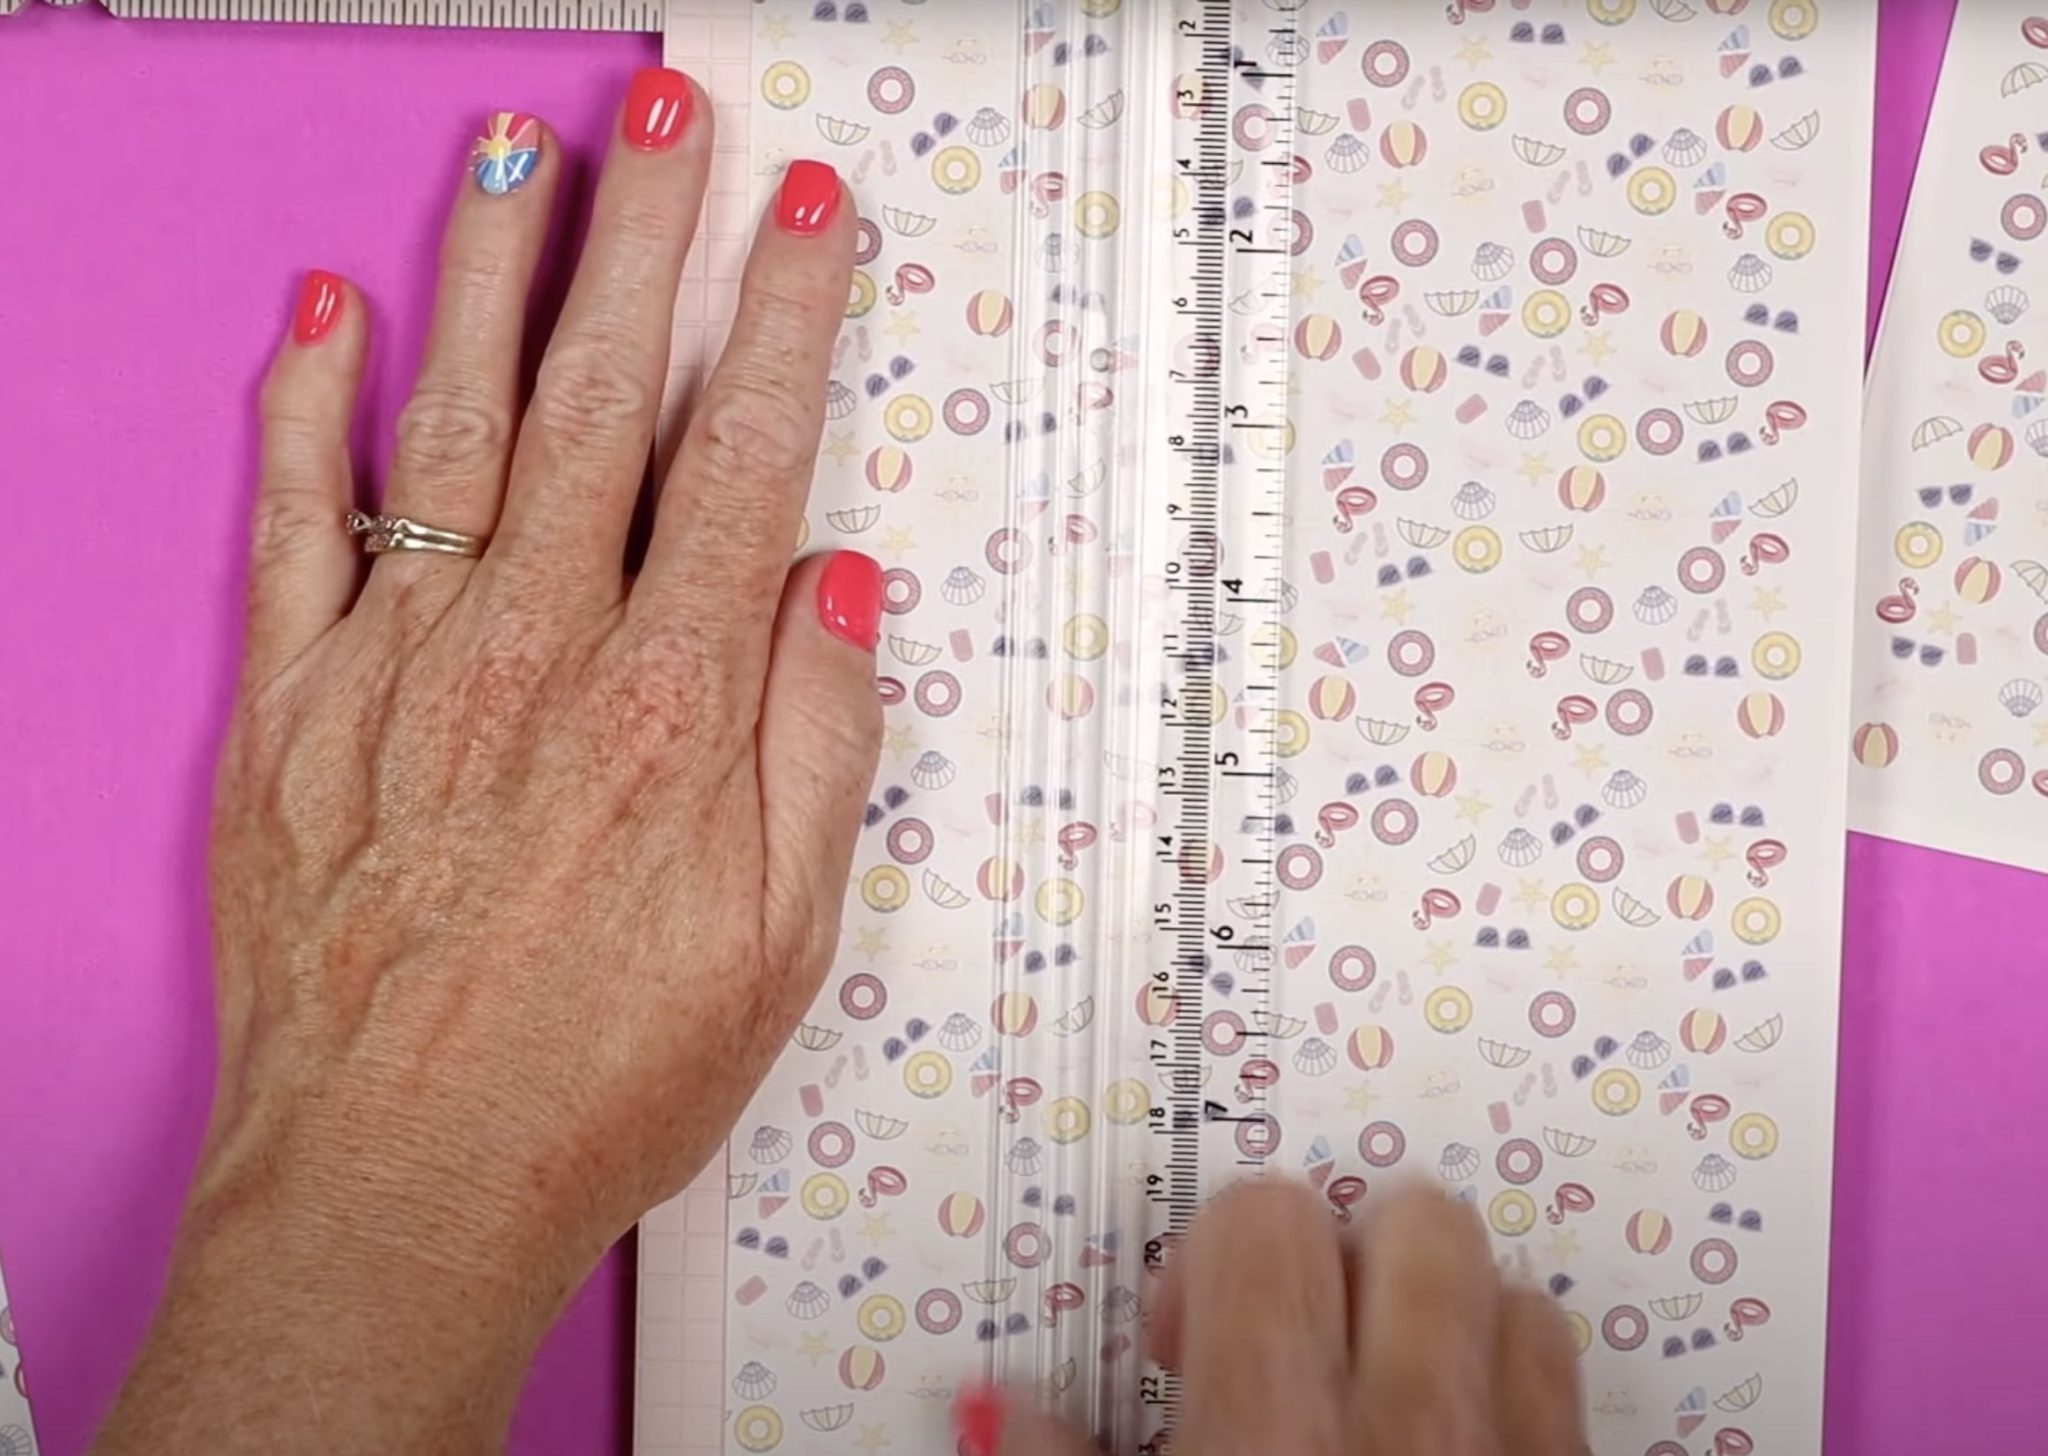
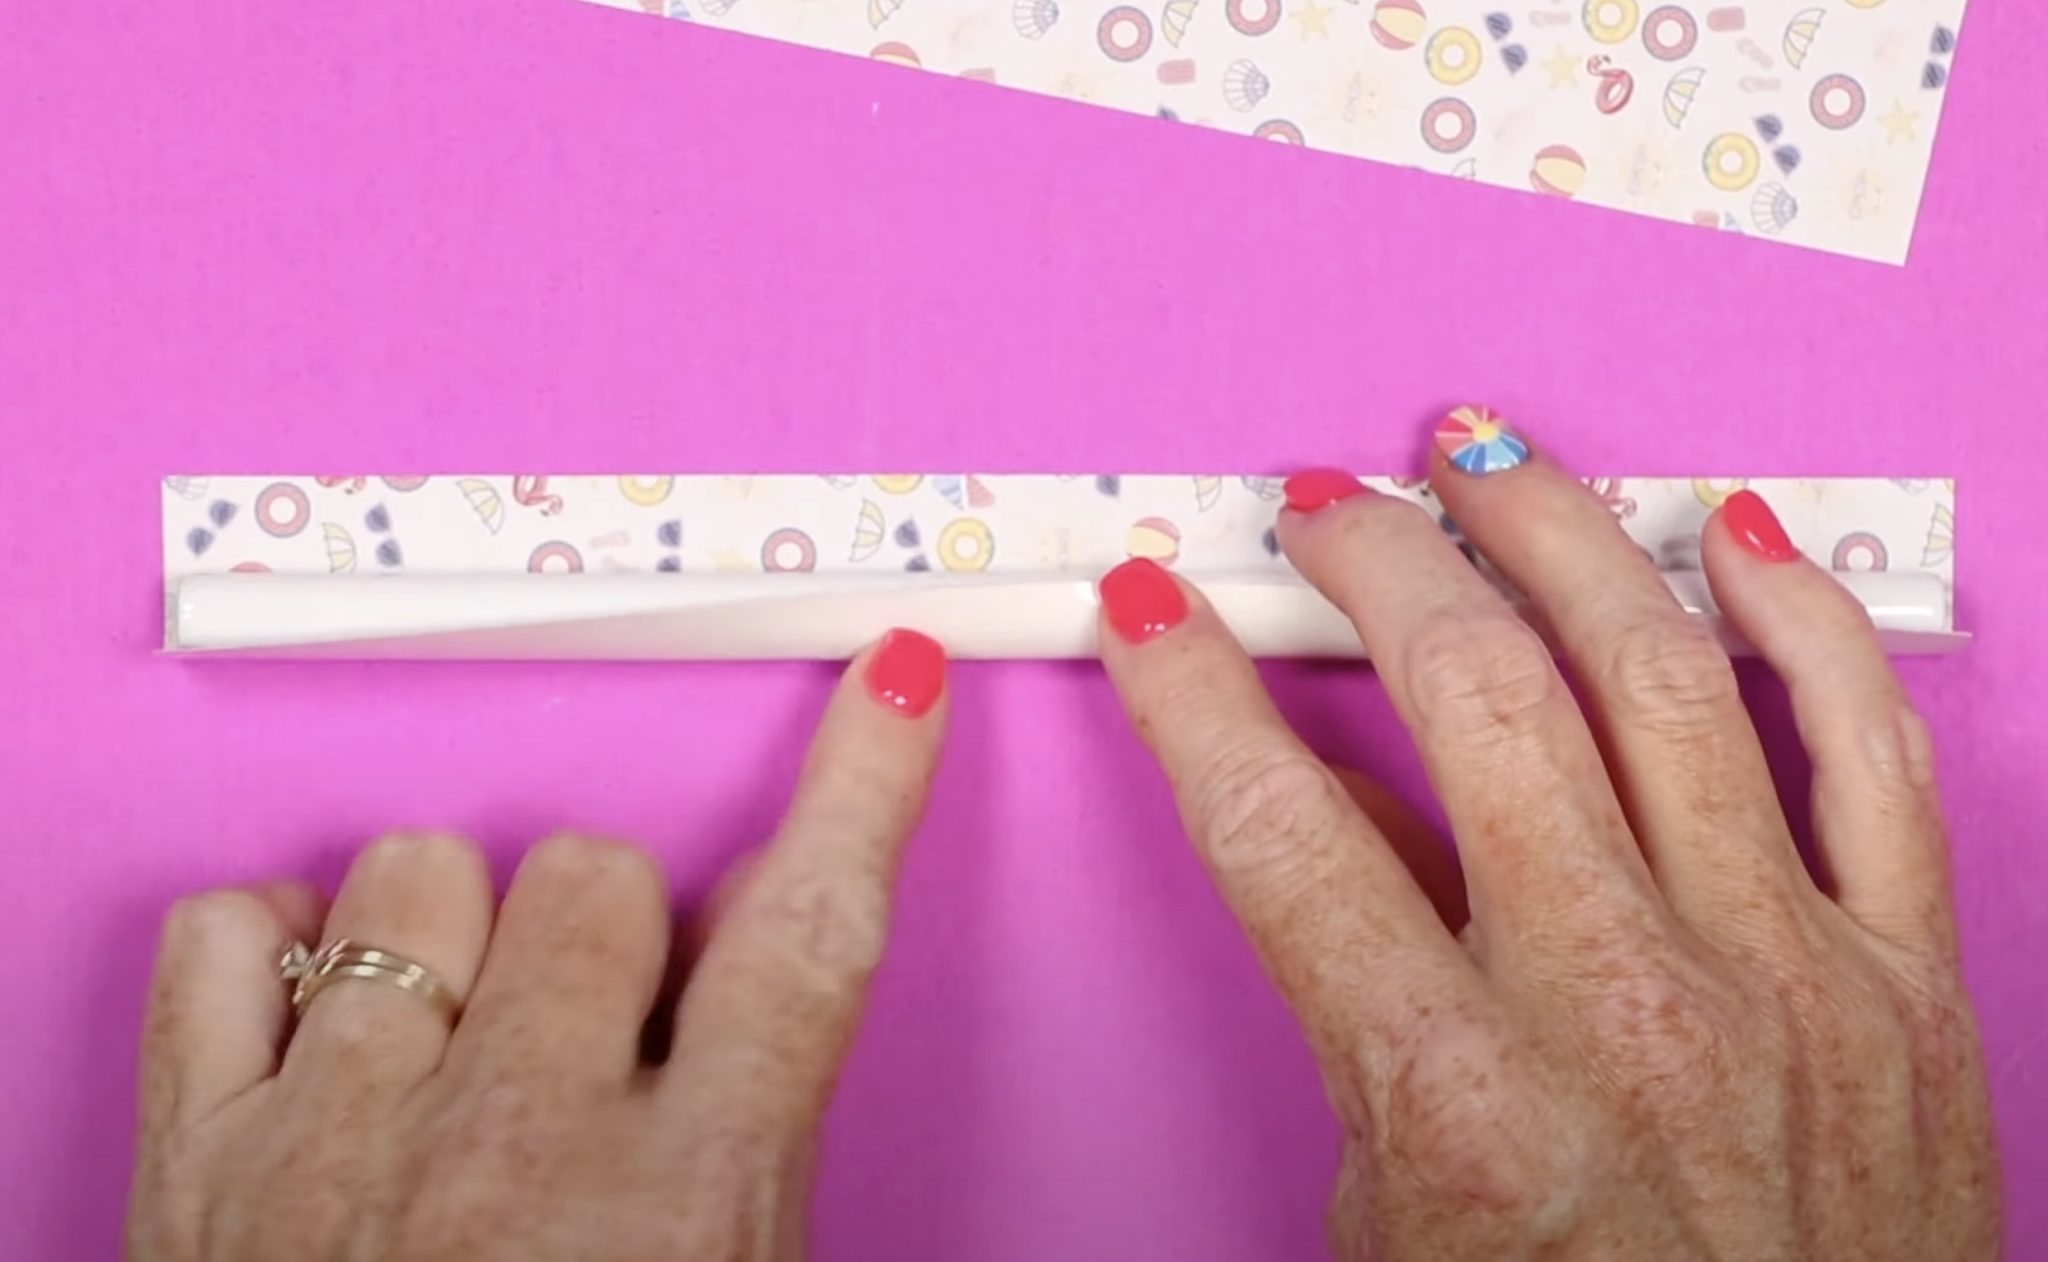
Use a paper trimmer to cut the print so it's slightly longer and slightly wider than the straw.
Repeat this process for each straw you're going to sublimate.
Step 3. Add Print to Straw
Before wrapping the print around the straw, flip the print over and add heat-resistant tape to one long edge on the back. You want just a thin piece of tape down the edge of the paper.
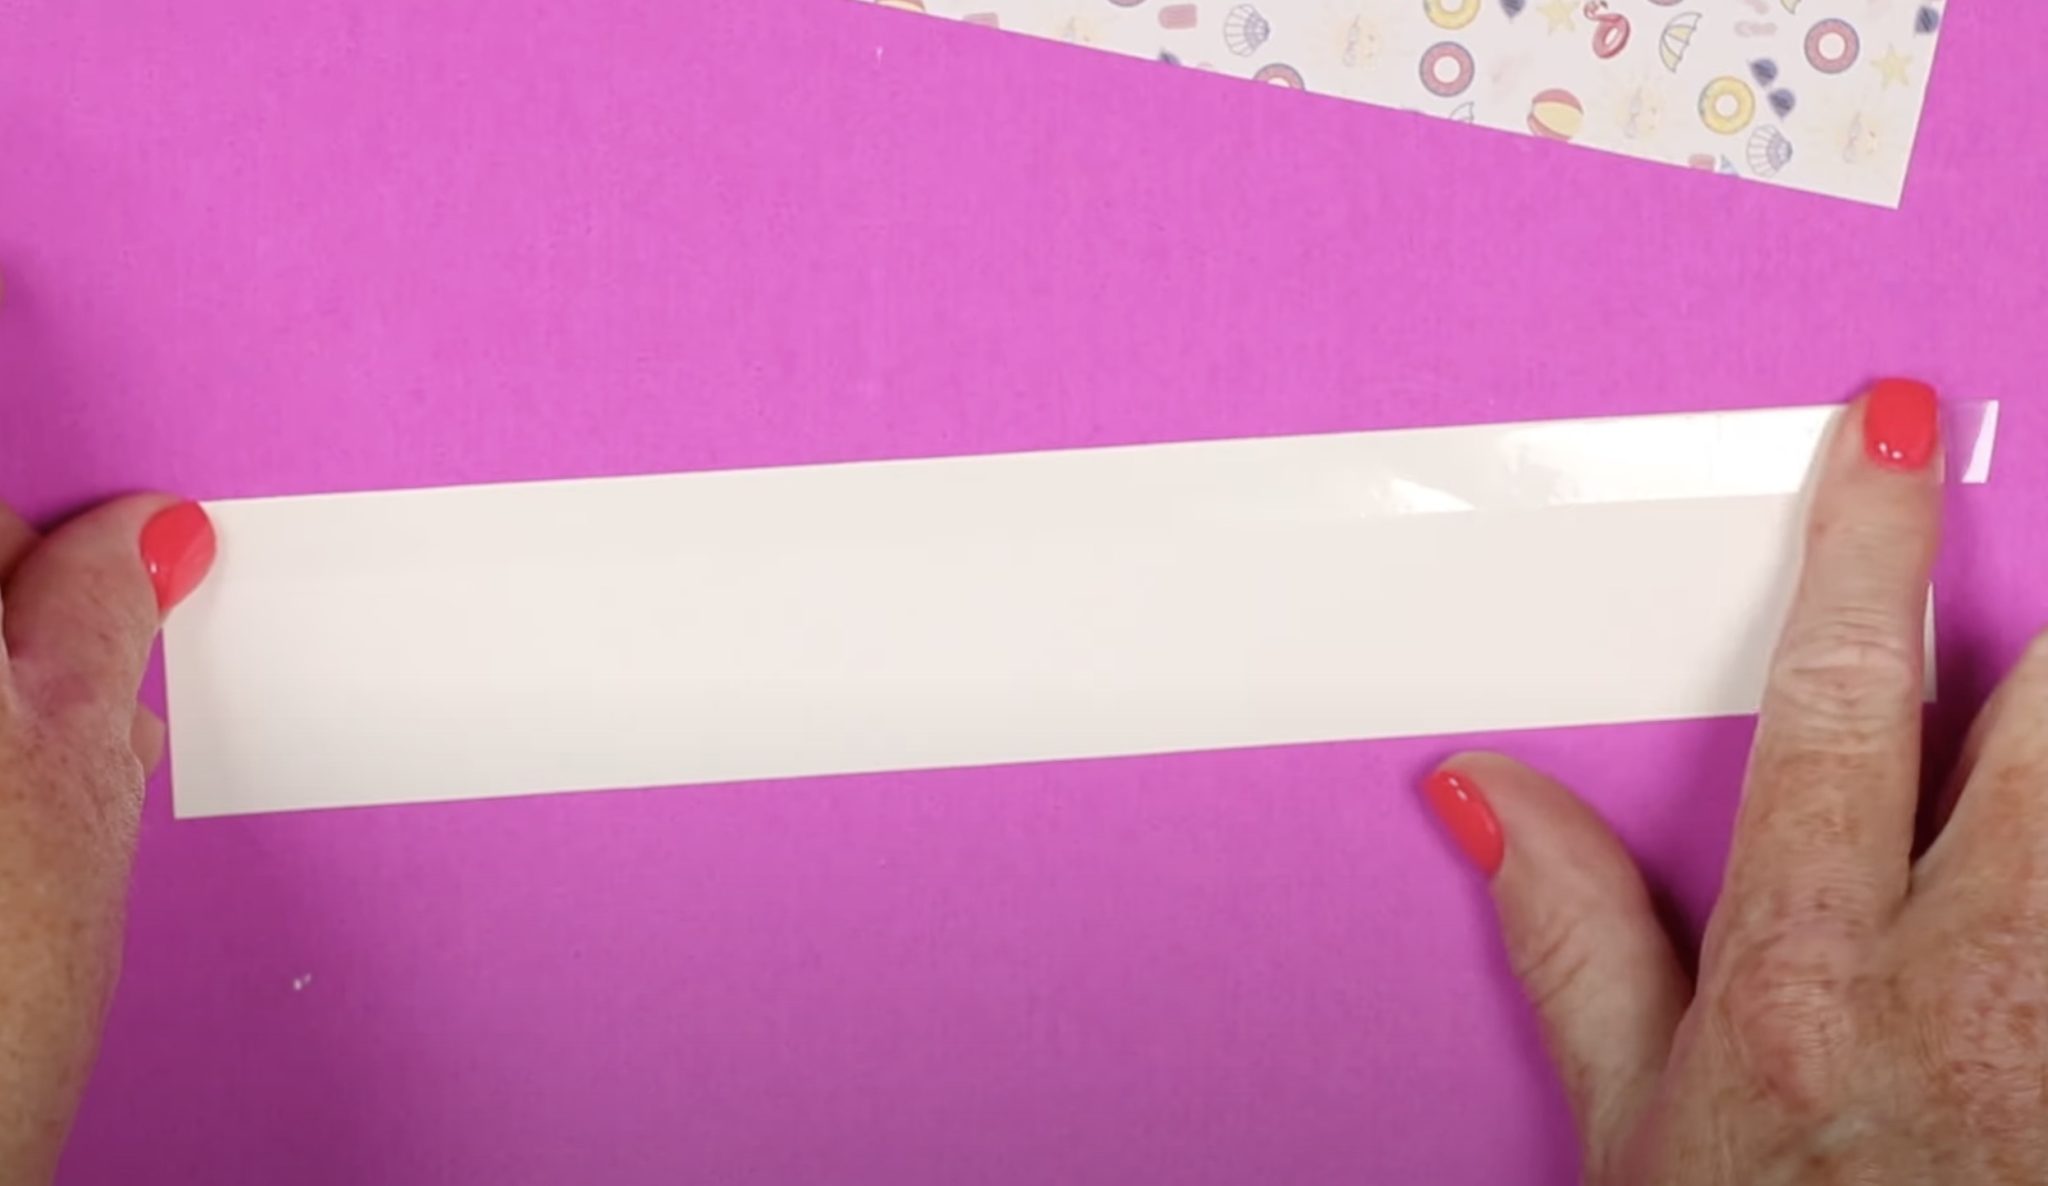
Trim the tape so it's the same length as the paper.
Wrap the print around the straw with the taped edge down first.
Use heat-resistant tape to secure the print around the straw. I like to start in the middle and work my way up one side, and then move the other direction.
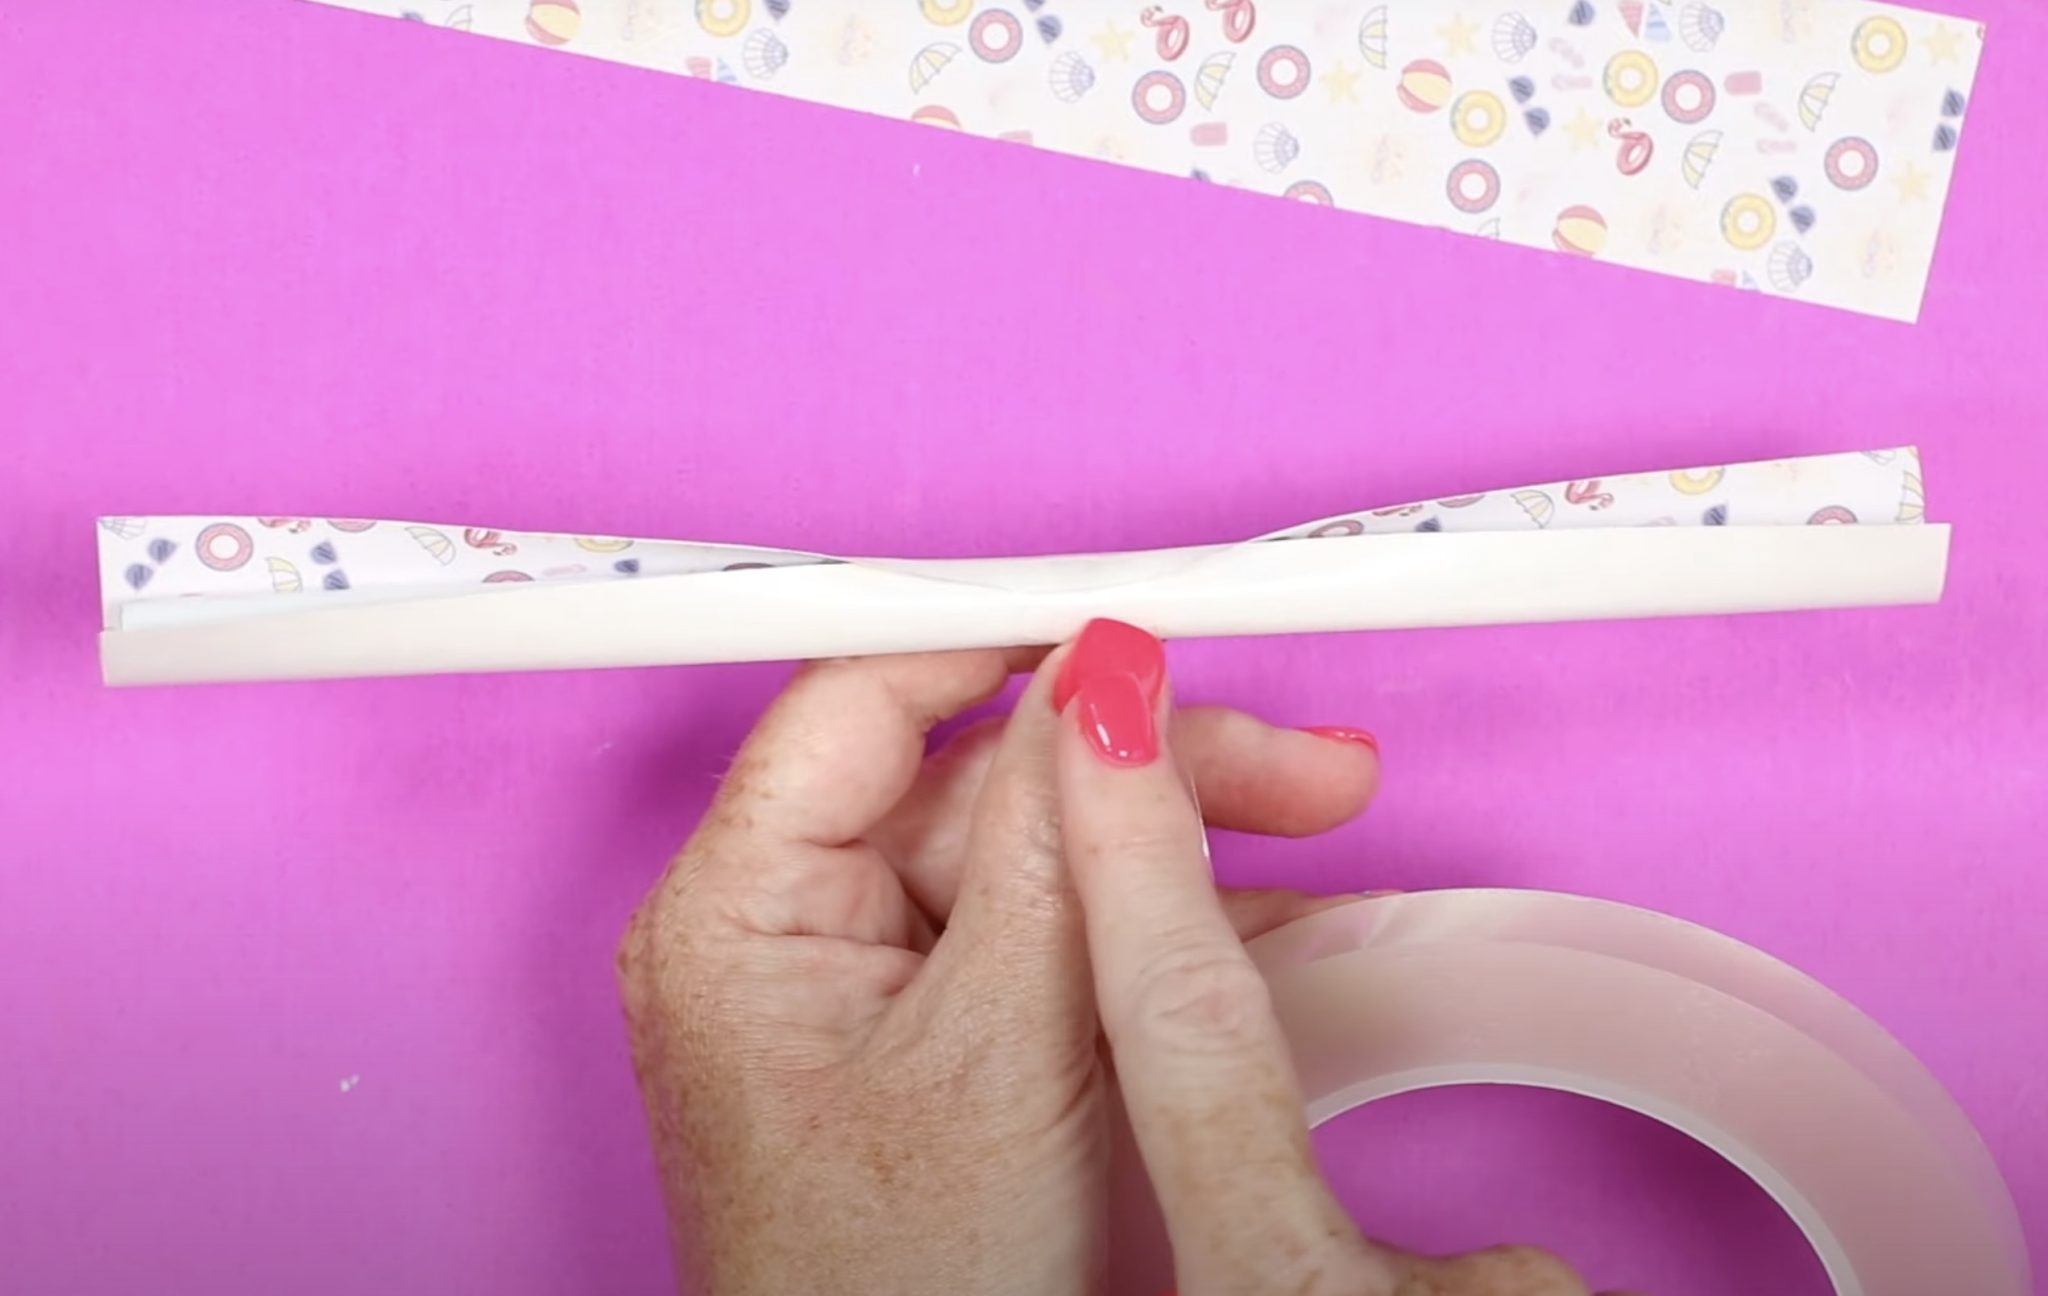
Make sure you pull the print very tight around the straw. I like to use a roll of tape and wrap it all the way around, pulling tight as I go. Leave extra tape at each end of the straw.
I do this regardless of whether I'm using shrink wrap or not. It makes it easier to remove the shrink wrap when it's wrapped like this.
If you're not using shrink wrap, follow this tutorial for how I wrapped sublimation pencils and sublimated them without using shrink wrap.
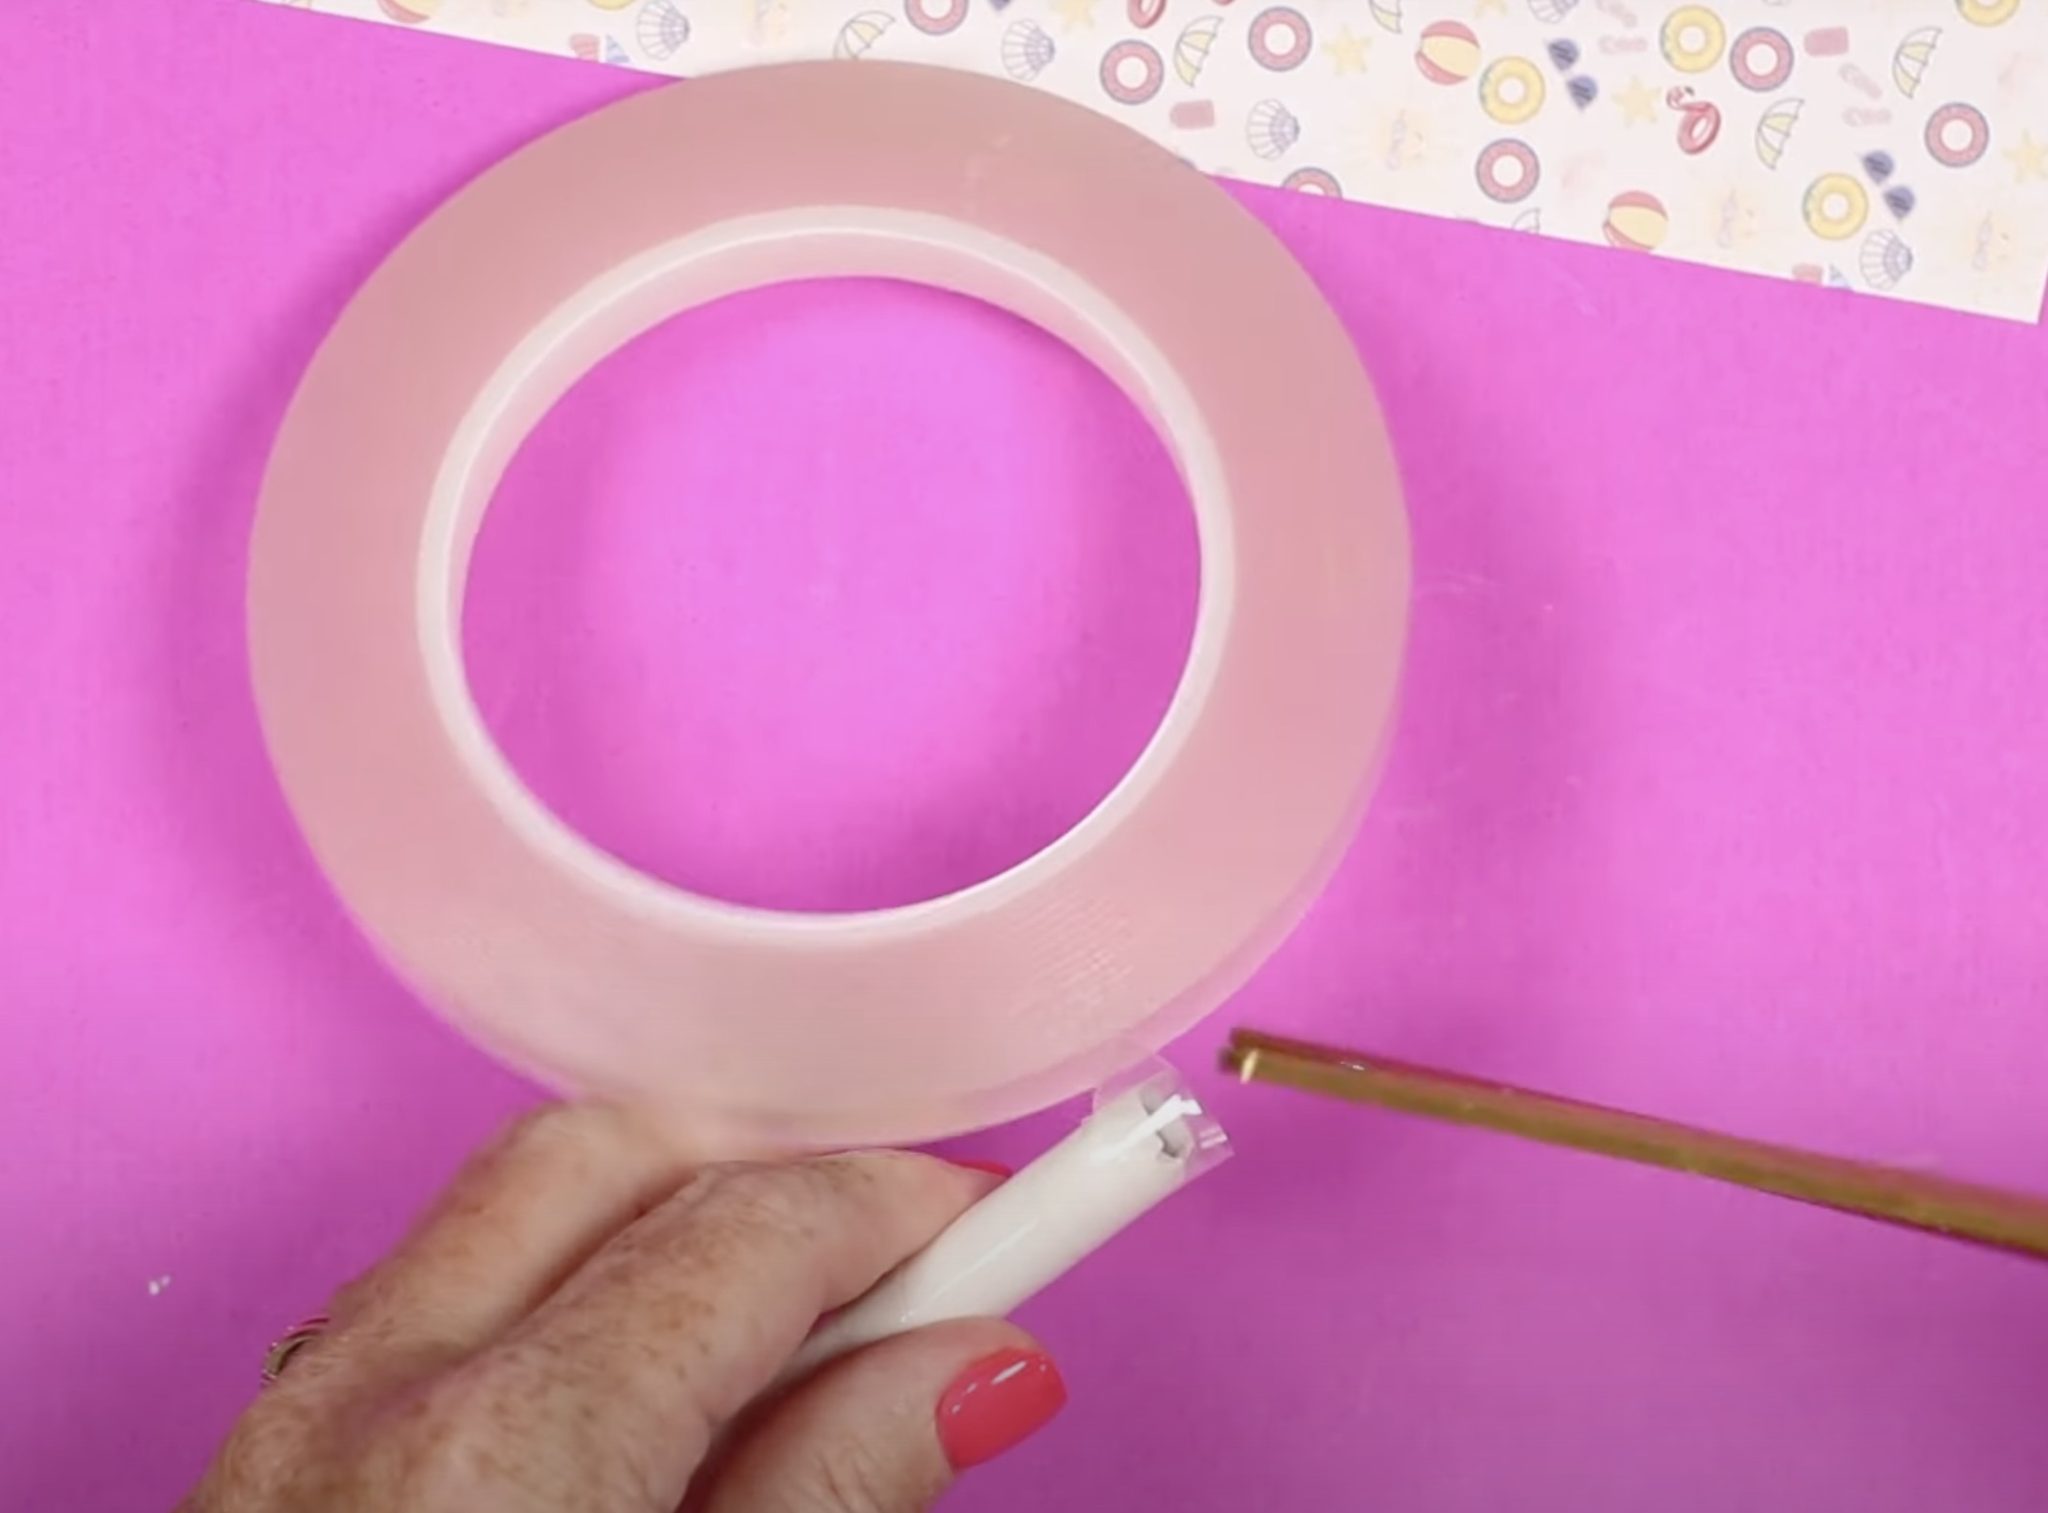
Step 4. Add Shrink Wrap to Straw
I've wrapped four sublimation straws and added shrink wrap to two to compare the results. I did trim the shrink wrap to size because it is a little long.
I added the shrink wrap to the straws with the smaller print design, which will allow us to compare the results.
To add the shrink wrap, place the straw inside and use a heat gun to shrink it. Don't hold the heat gun in one place for too long; it can burn a hole in the plastic.
Step 5. Sublimate Straws in Sublimation Oven
Preheat the sublimation oven to 355 degrees and set the time to 6 minutes.
Place the wrapped sublimation straws in the sublimation oven for the full time.
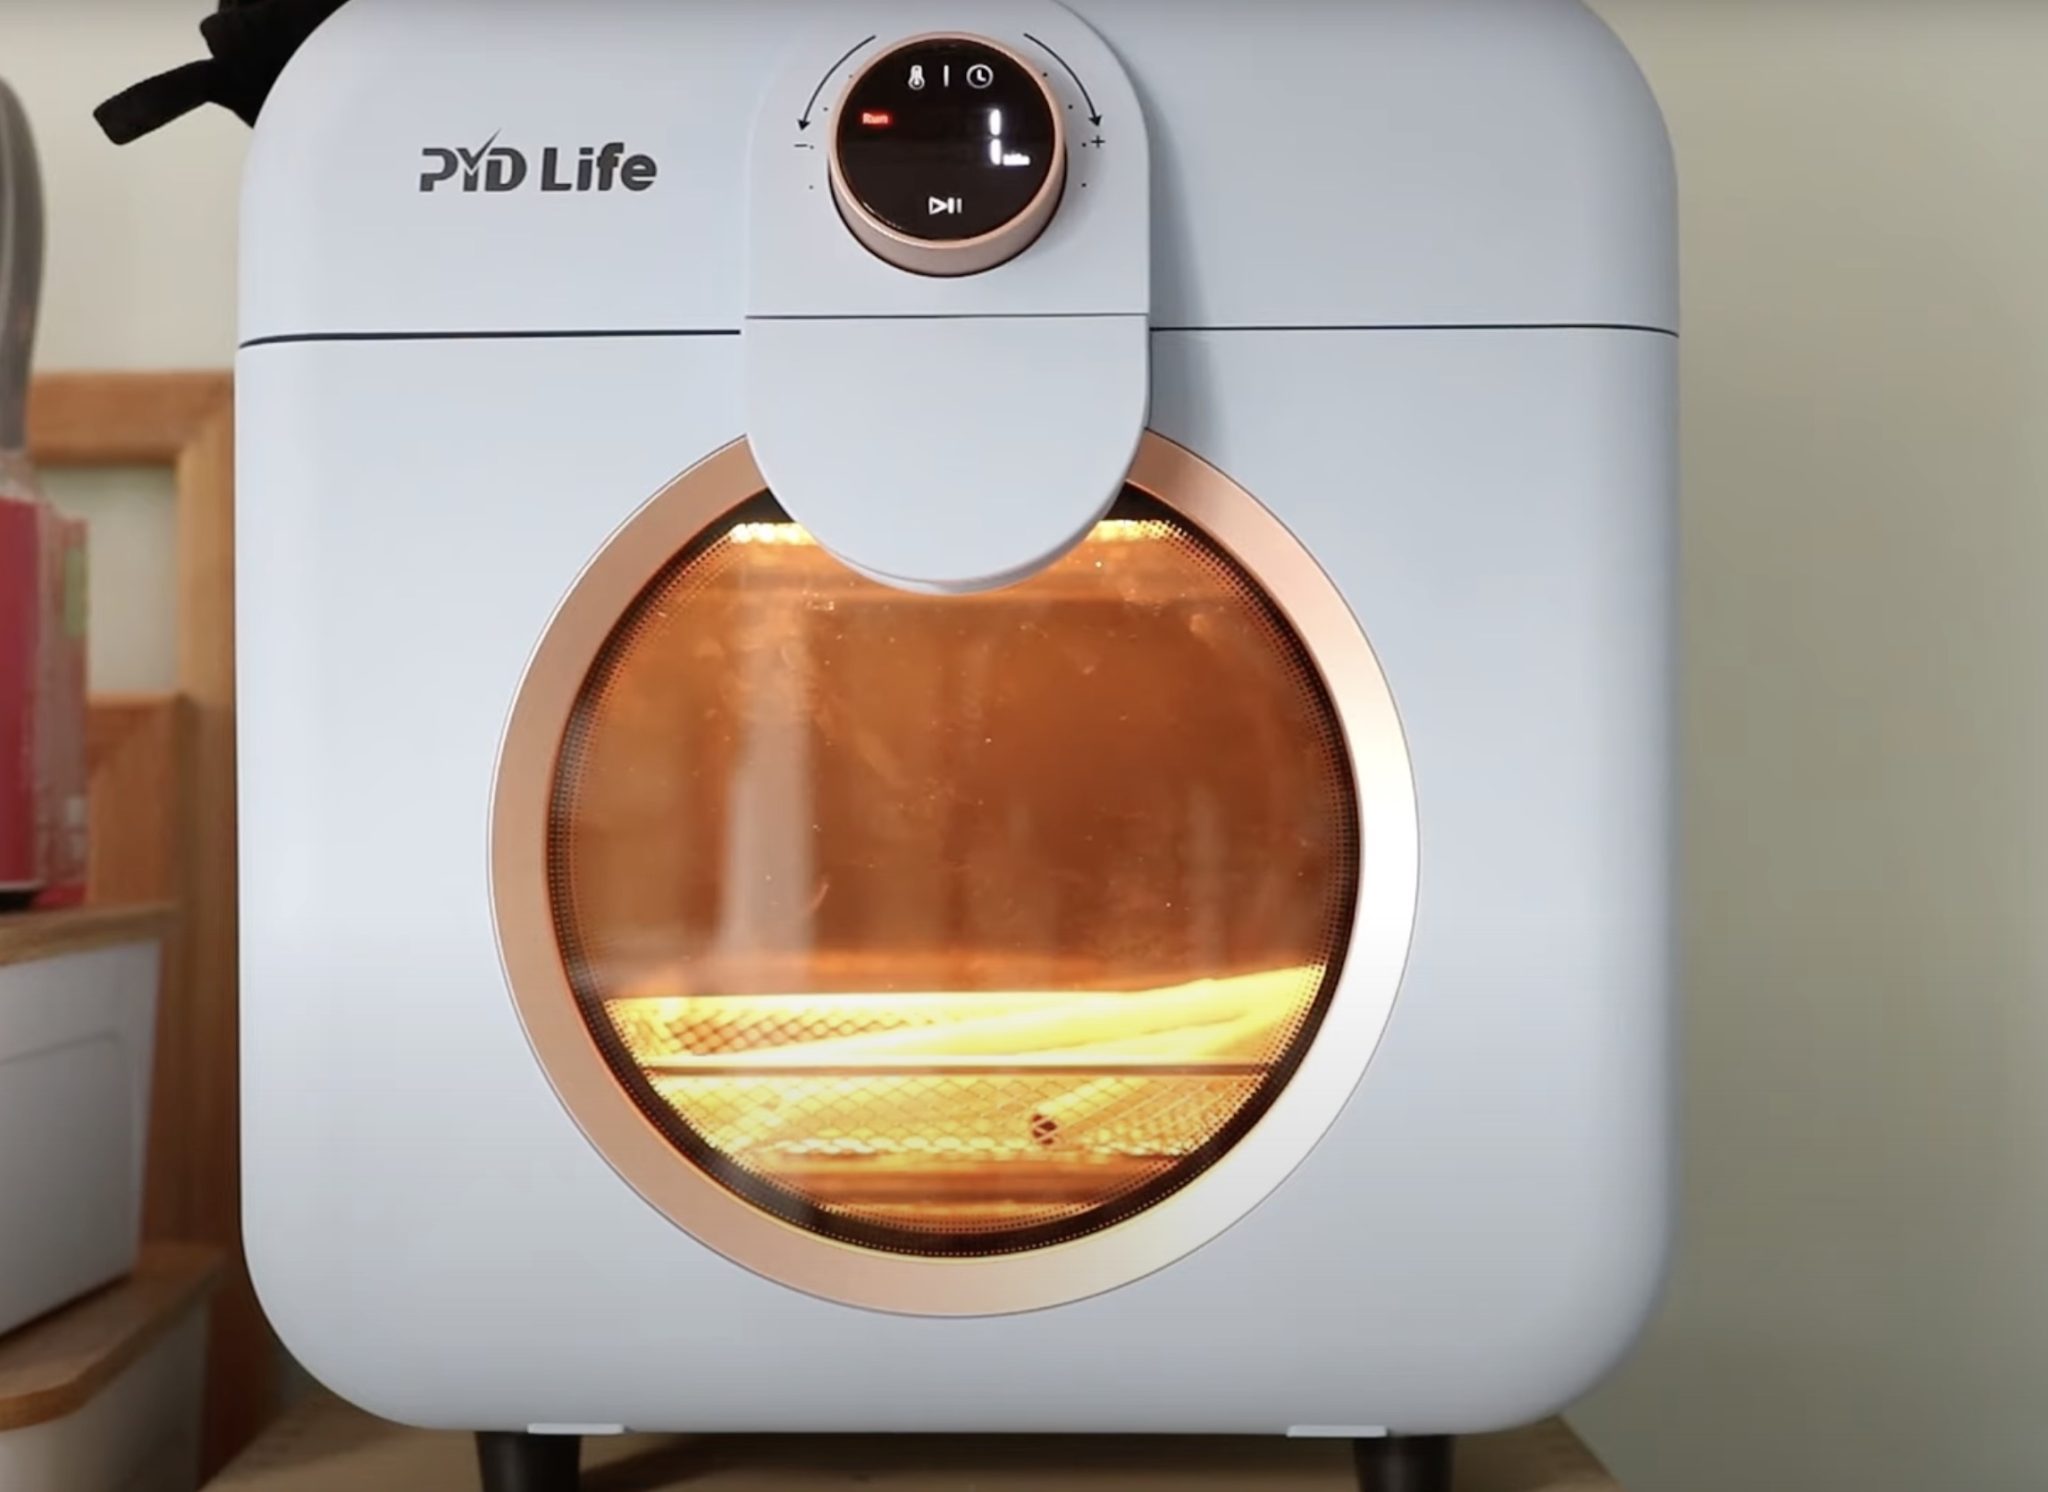
When the time is up, remove the straws from the sublimation oven and place them on a heat-resistant mat.
Step 6. Remove Shrink Wrap, Print, and Heat-Resistant Tape
If you used shrink wrap on your sublimation straw, you'll want to remove it while it's still hot. It becomes more difficult to remove as it cools.
These do cool quickly, so act fast.
If you wrapped your straws like I did, grab the tape at both ends and pull, and it will release the tape and the shrink wrap.
Remove all of the shrink wrap, your sublimation print, and all tape from your straws.
Step 7. Reveal Finished Sublimation Straws
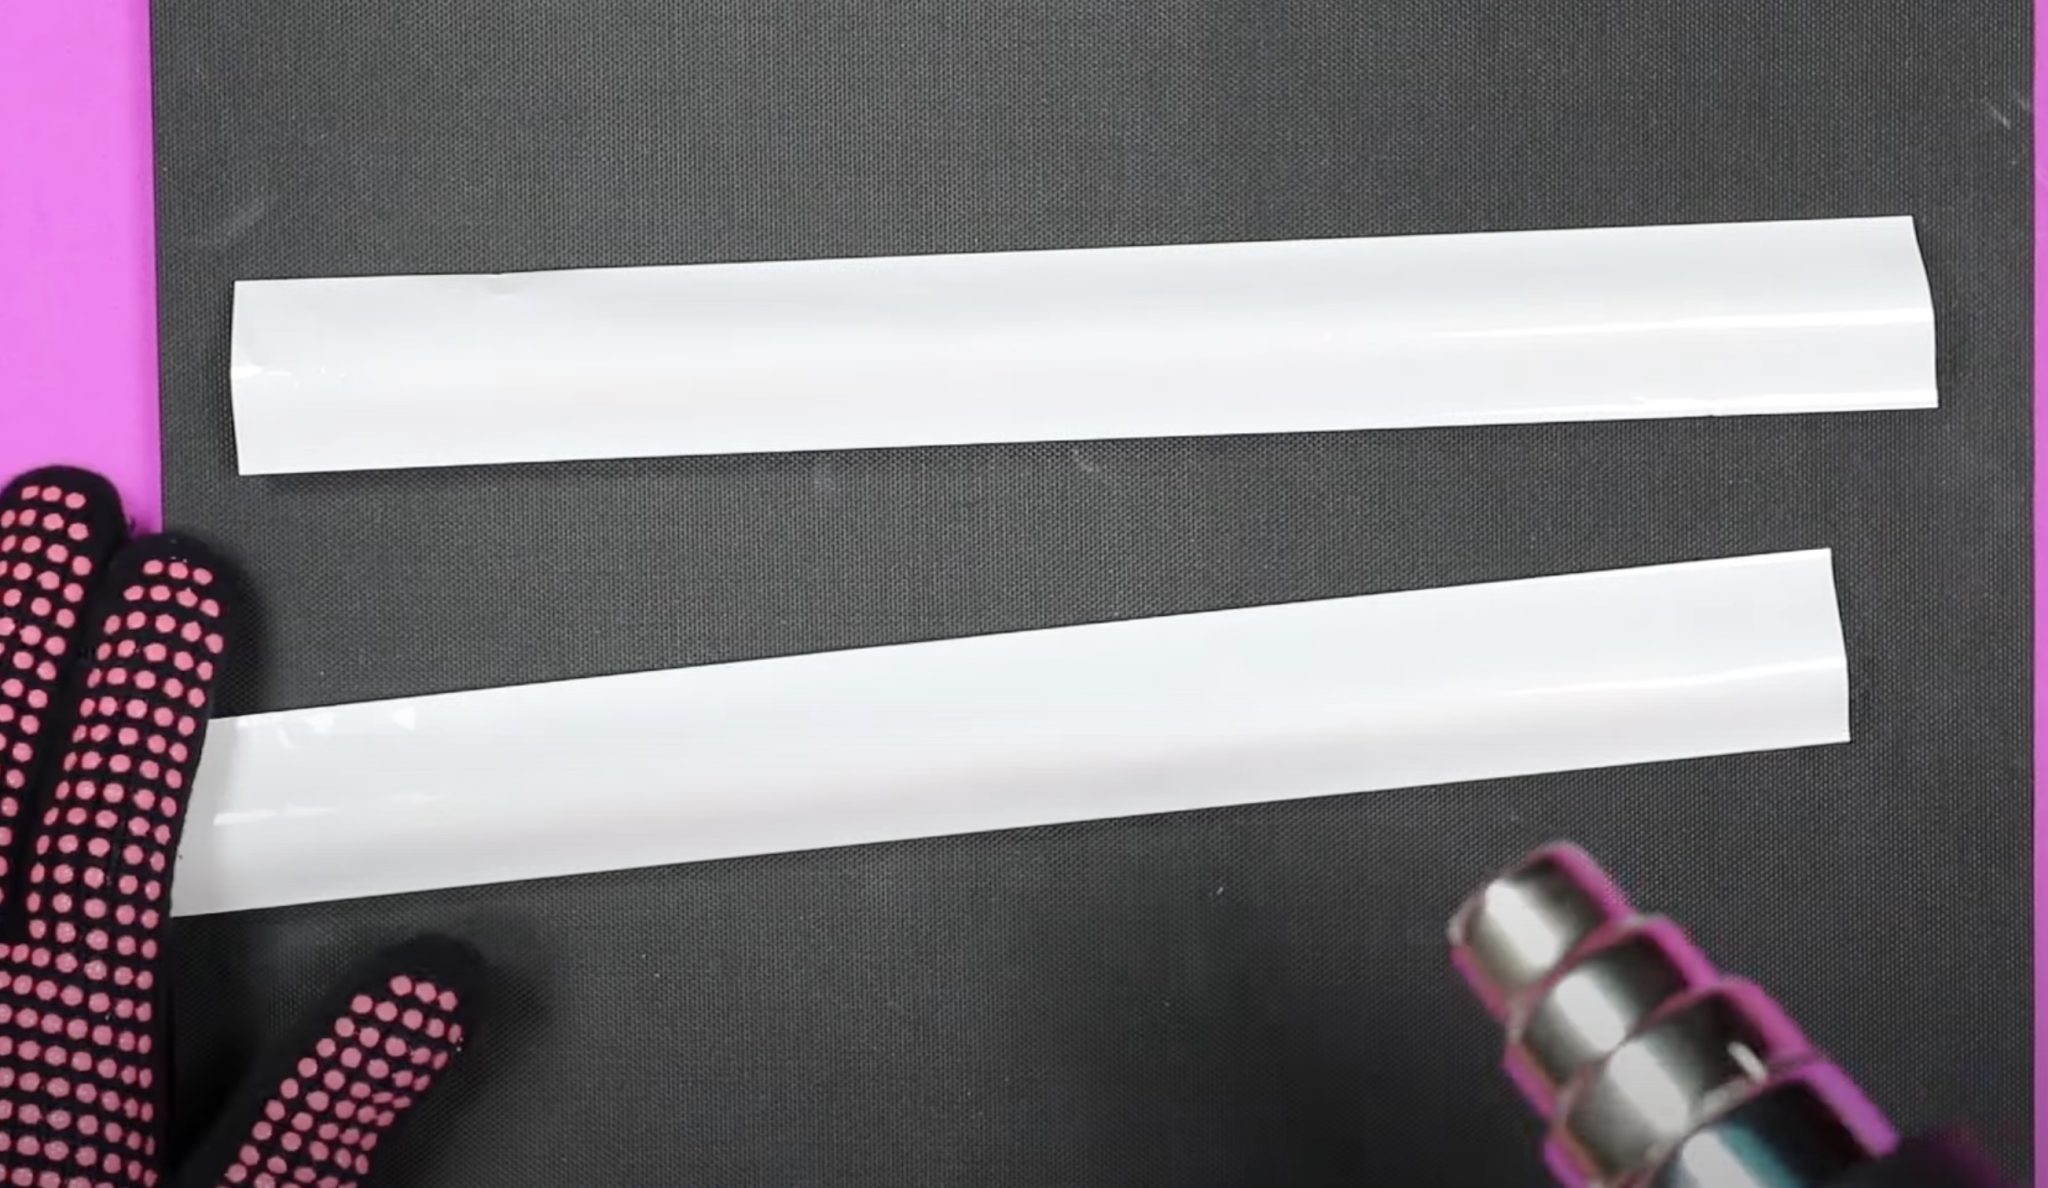
With the shrink wrap and heat-resistant tape removed, peel back the sublimation print, and your sublimation straws are complete.
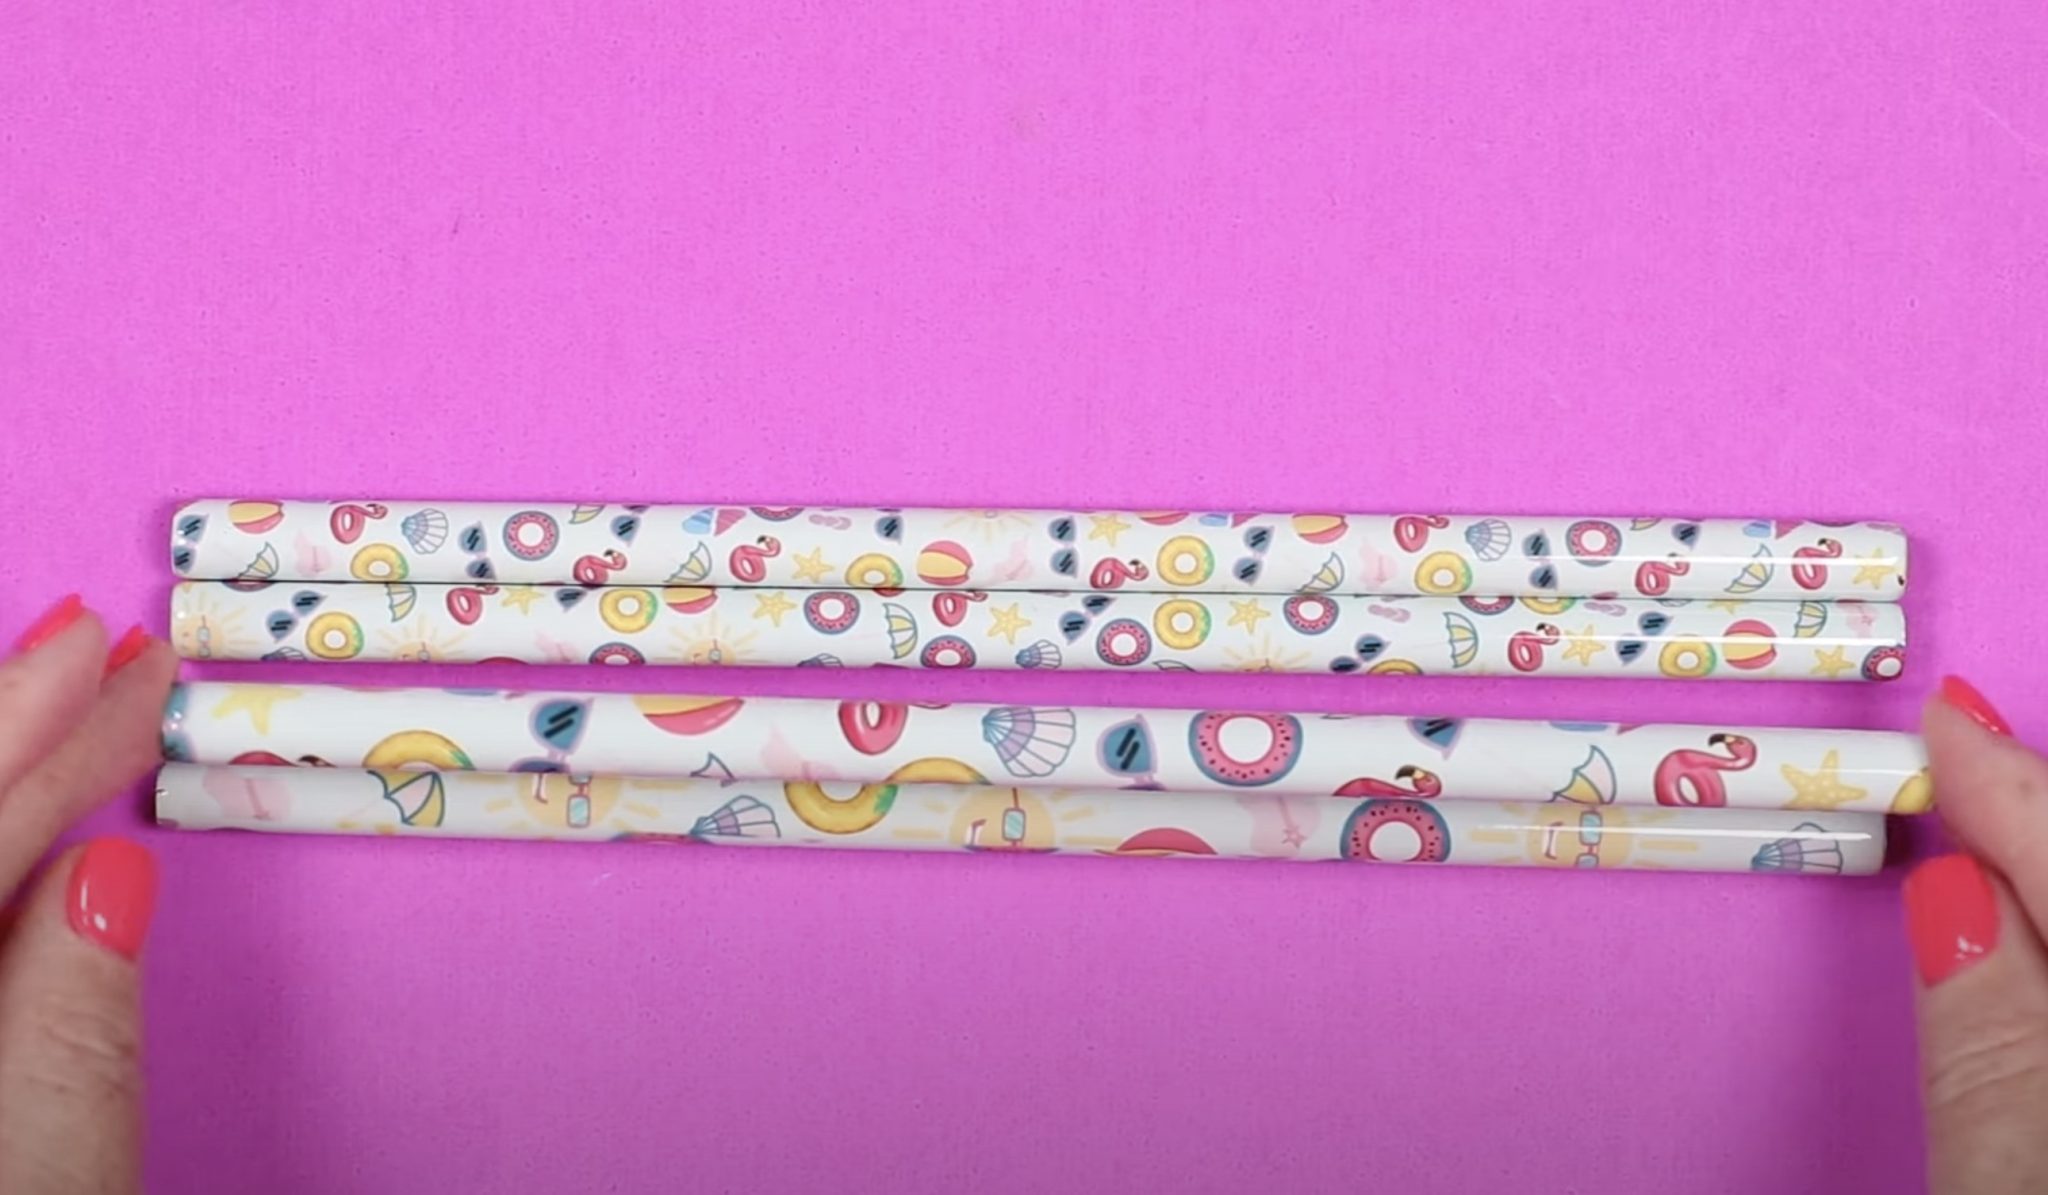
I don't see a difference at all between the straws that had shrink wrap and the ones that didn't. They all turned out great.
I love the way these sublimation straws turned out. If you sell sublimation tumblers, custom straws will make a fun add-on.
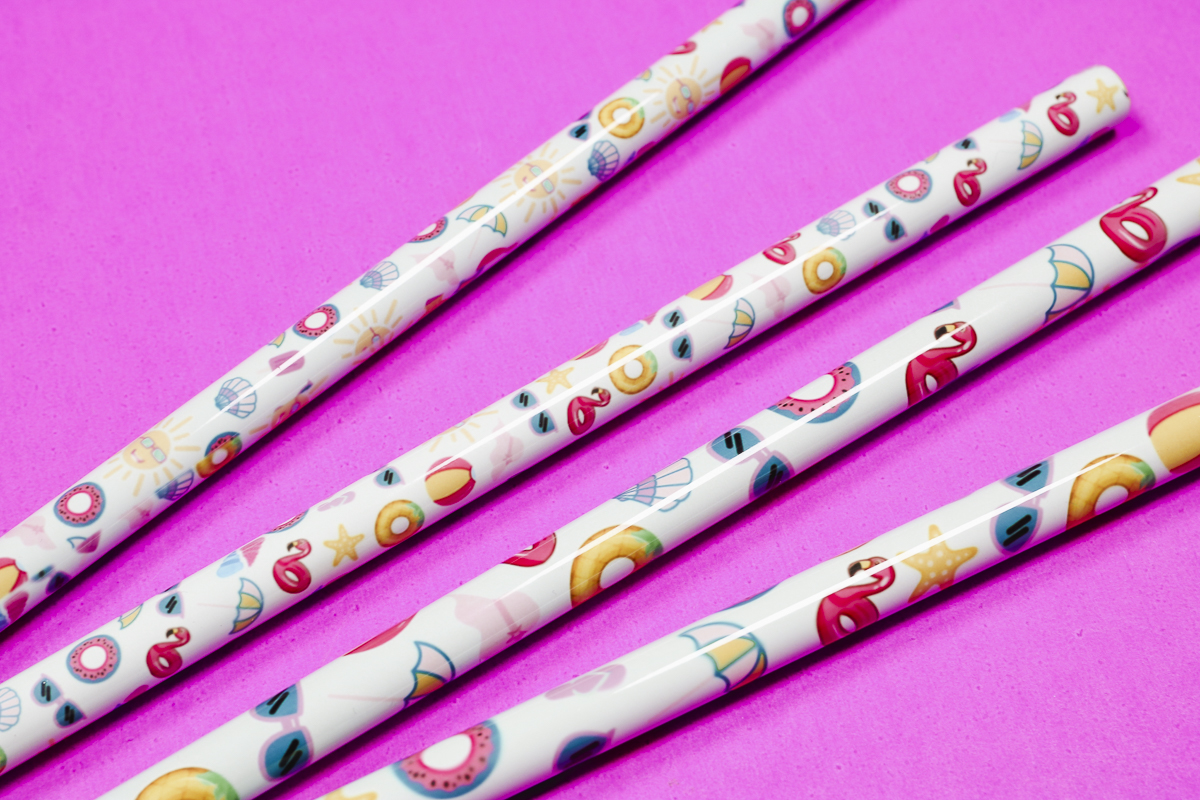
I also think these would be great to add to goodie bags, and could be really fun to customize even further with names, school mascots, etc.
While all of the straws turned out, I do like the smaller print a little better. The designs are fully transferred and not cut off.
I hope I've answered any questions you have about making custom sublimation straws. If you have any additional questions, leave them in the comments, and I'll be happy to answer them for you.