
Have you ever wanted to know how to make waterproof labels? Well, I have been working on sprucing up my bathroom and started making some Cricut water-resistant labels for the space! I thought I would show you my ideas for making your labels withstand wet environments like a bathroom. I have 3 easy ways to make your waterproof labels below. Then, just add them to your space to keep everything organized and looking great!
How To Make Waterproof Labels Video Tutorial
In the video below, I cover how to make all of the waterproof labels, along with my best tips and tricks for using these ideas in your own home. Just click play to watch!
Can't watch the video or missed some of the steps? I have all of the information below for you as well!
How To Make Waterproof Labels
As I mentioned above, I will be showing you 3 easy ways to make waterproof labels. Each of these ideas is inexpensive and can be used in so many spaces besides the bathroom. Below, I will make labels for my bathroom, but you can easily use them in your kitchen, garage, or even your laundry room!
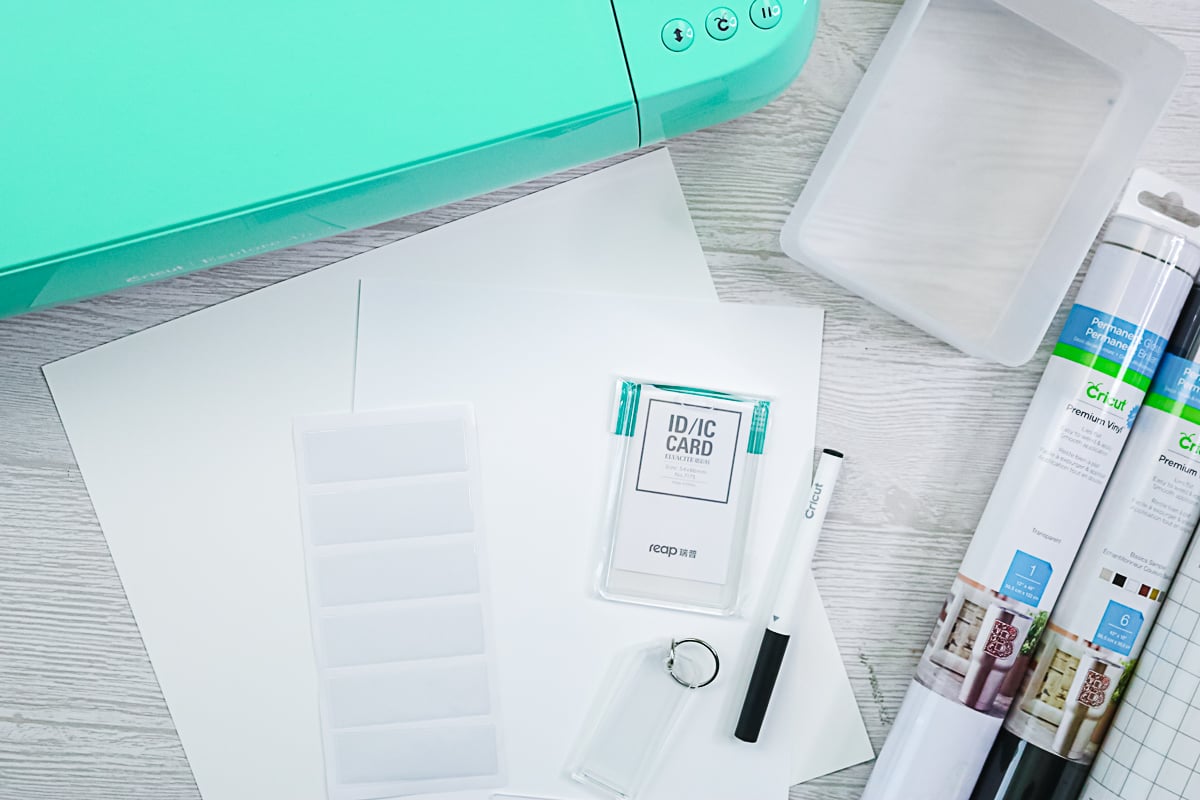
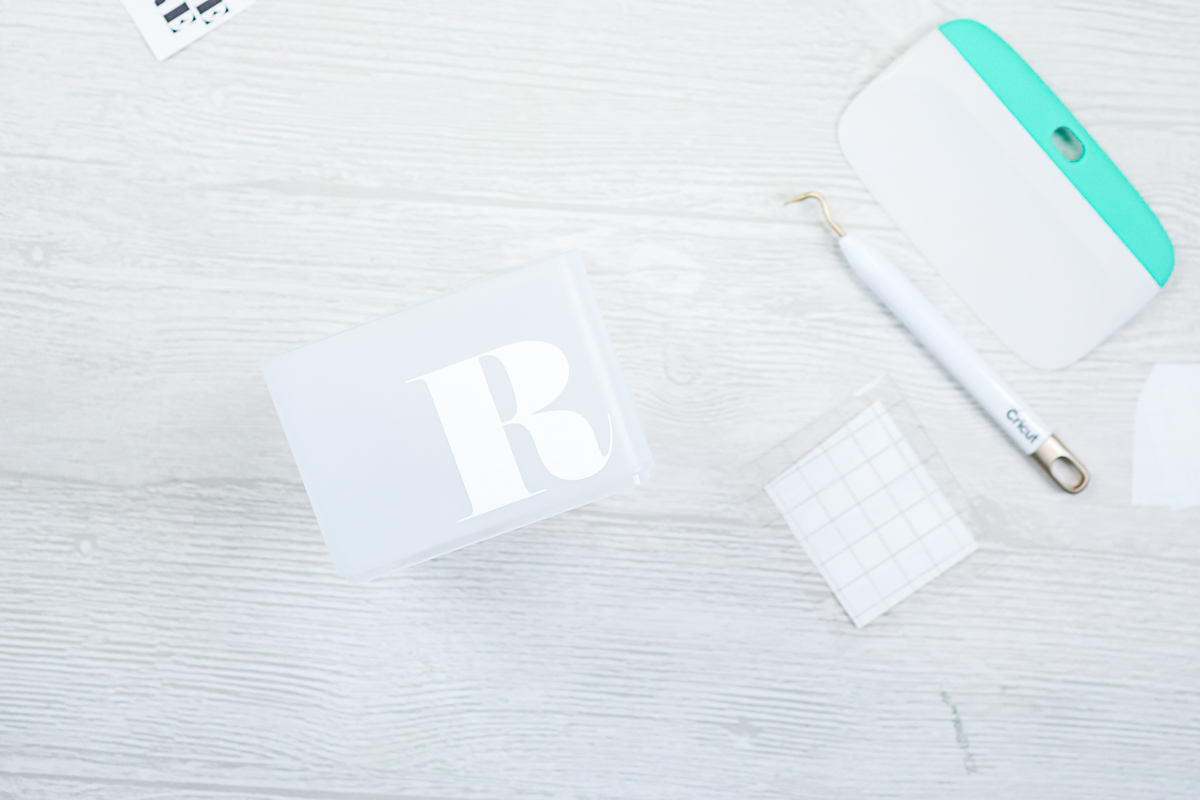
Supplies Needed To Make Waterproof Labels
- Cricut machine
- Permanent vinyl
- White cardstock
- Cricut pens
- Transfer tape
- Weeding tools
- Scraper
- Adhesive label holders
- Plastic keyrings
- Plastic name tag badges
- Acrylic tags
- My label file
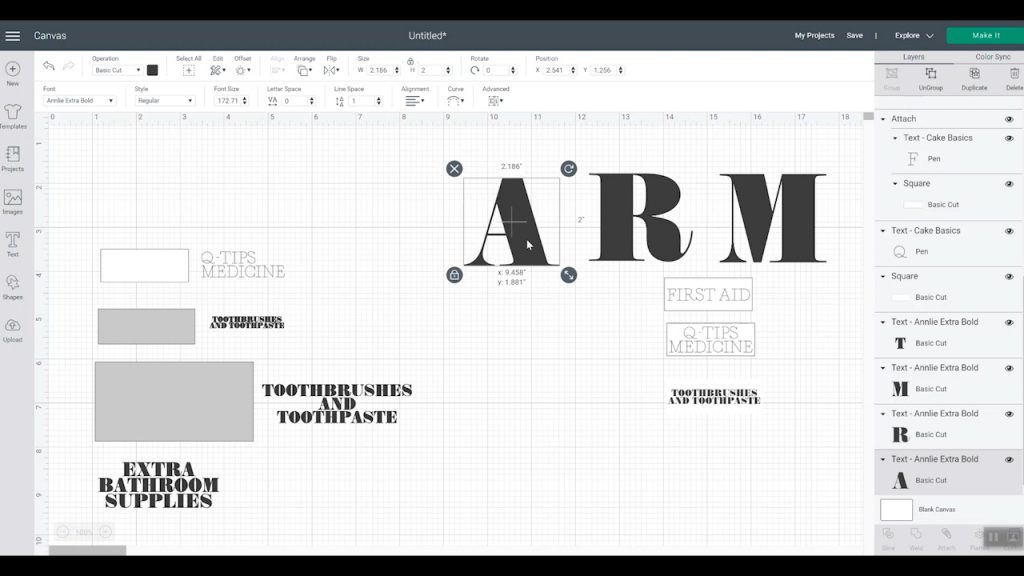
Designing Labels In Cricut Design Space
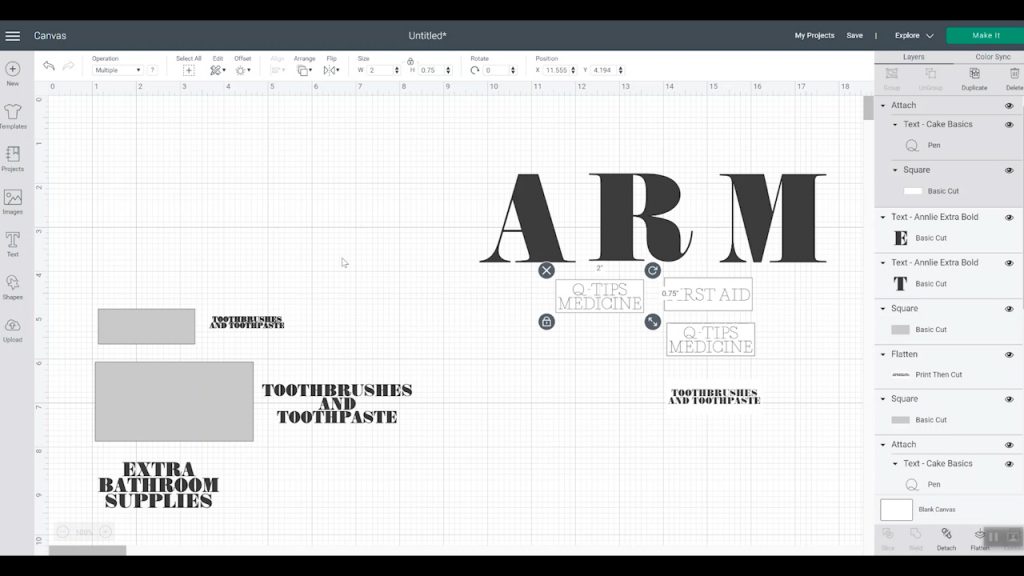
First, you will need to make your labels in Cricut Design Space. The process is super simple; however, here are some tips and tricks I have found useful. You can also just use the labels I have created here.
Option 1: Create Waterproof Labels From Vinyl
To make the vinyl labels, you can use a font to create letters or blocks of text that you will then cut from vinyl.
Option 2: Create Print Then Cut Waterproof Labels
To make print-and-cut labels, type your text and place it on top of a rectangle the correct size. Pick them both and center them, then click Flatten. The entire thing will print then cut around just the rectangle.
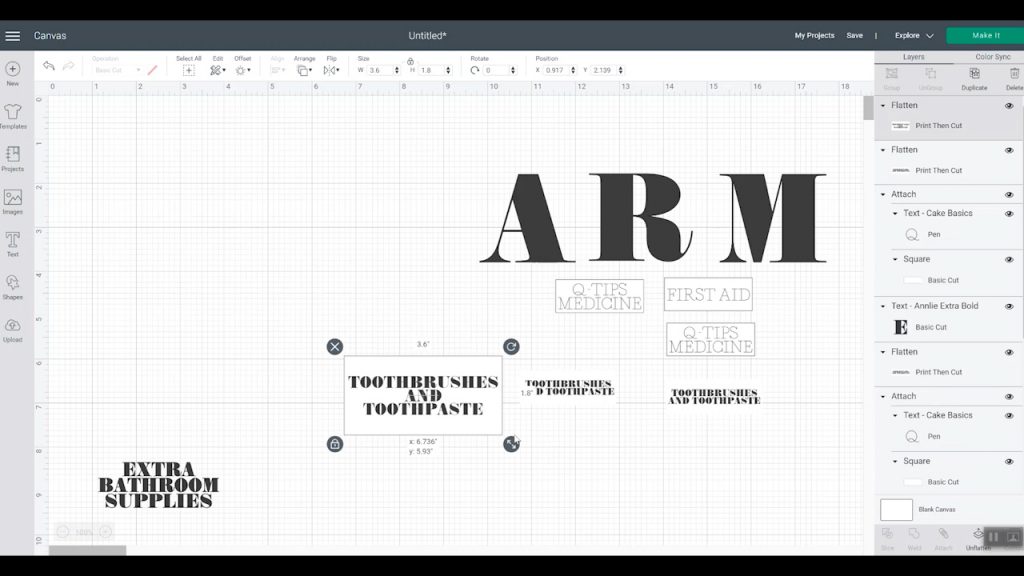
Option 3: Create Waterproof Labels You Draw With A Pen
To make labels, you draw with a pen, make some text, and turn it into lines you draw with a pen. Then make a rectangle the right size and place the text on top. Pick both pieces, center them, and click attach. The text will now be written with a pen, and the Cricut will cut around the rectangle.
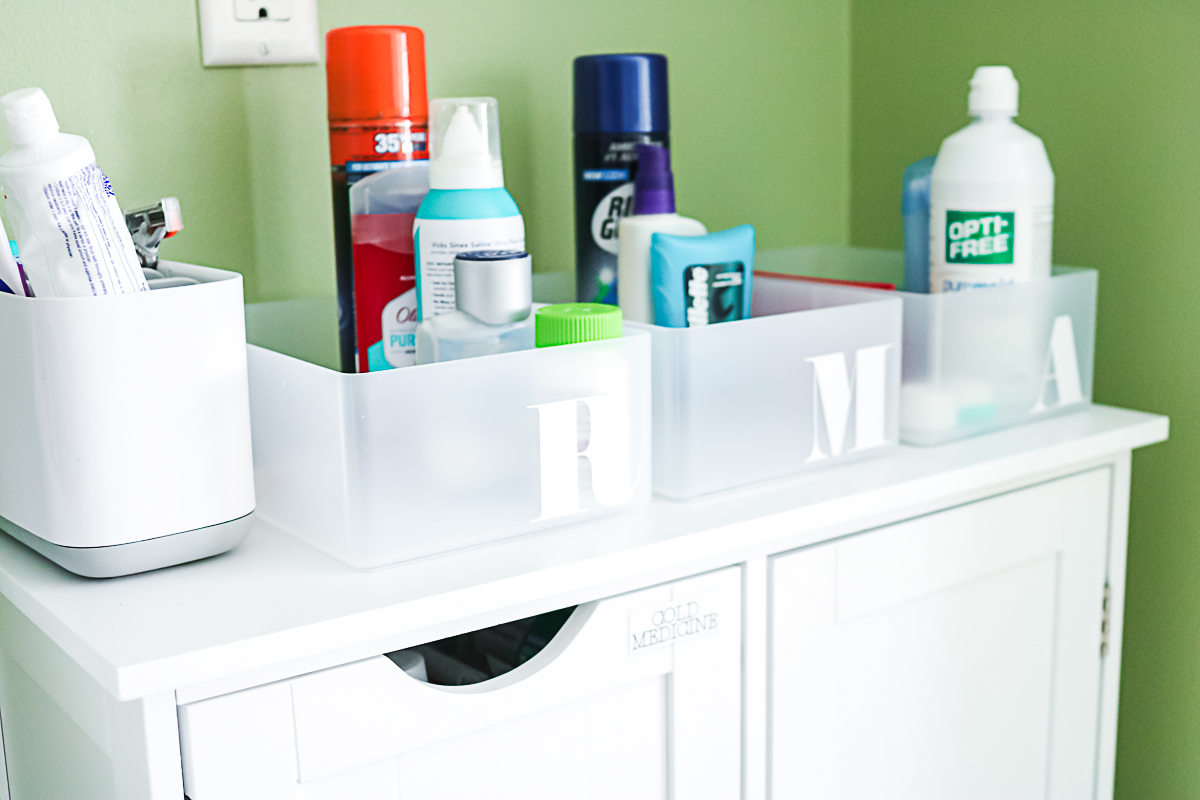
How To Make Vinyl Waterproof Labels For Bins
Now that your labels are designed, it is time to make some for your organizational needs. The first option is just to cut vinyl and apply it directly to your bins. This works in some cases, but not all. It is also more challenging to change out when the bin's contents change. However, it does work really well.
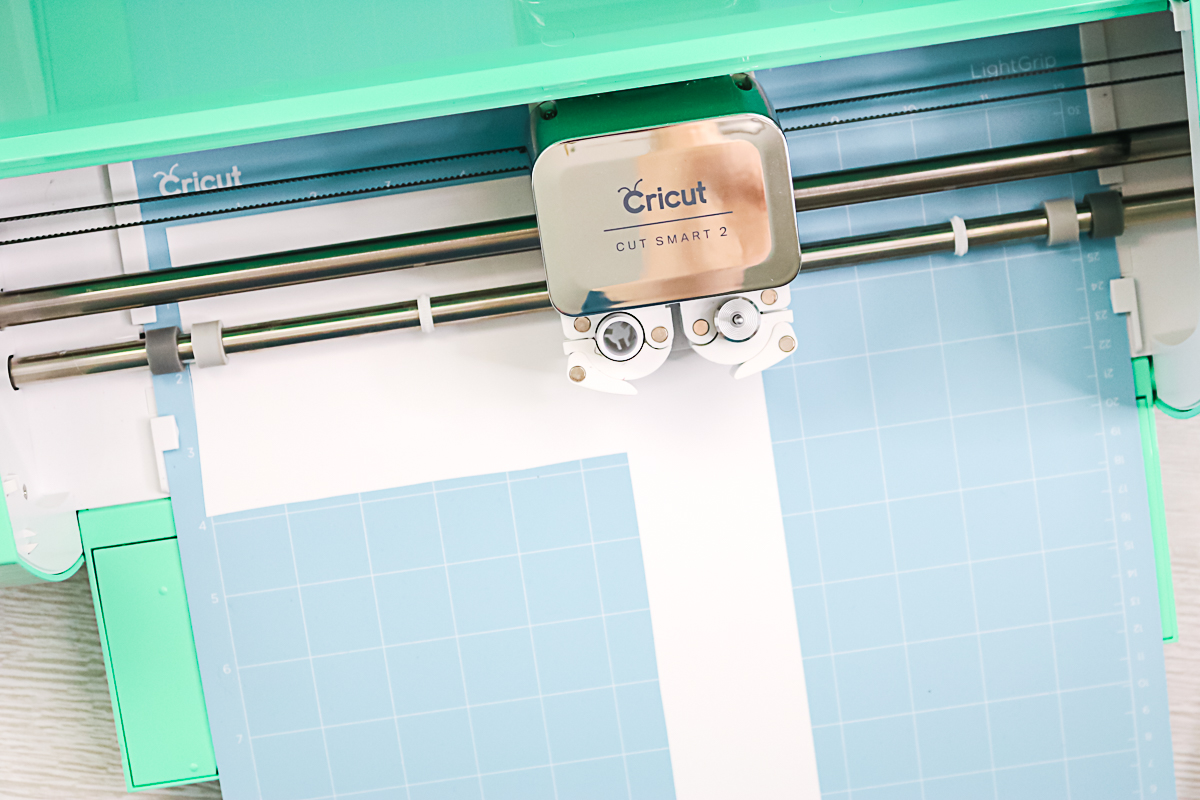
Step 1: Cut Permanent Vinyl
Start by cutting the permanent vinyl with your Cricut.
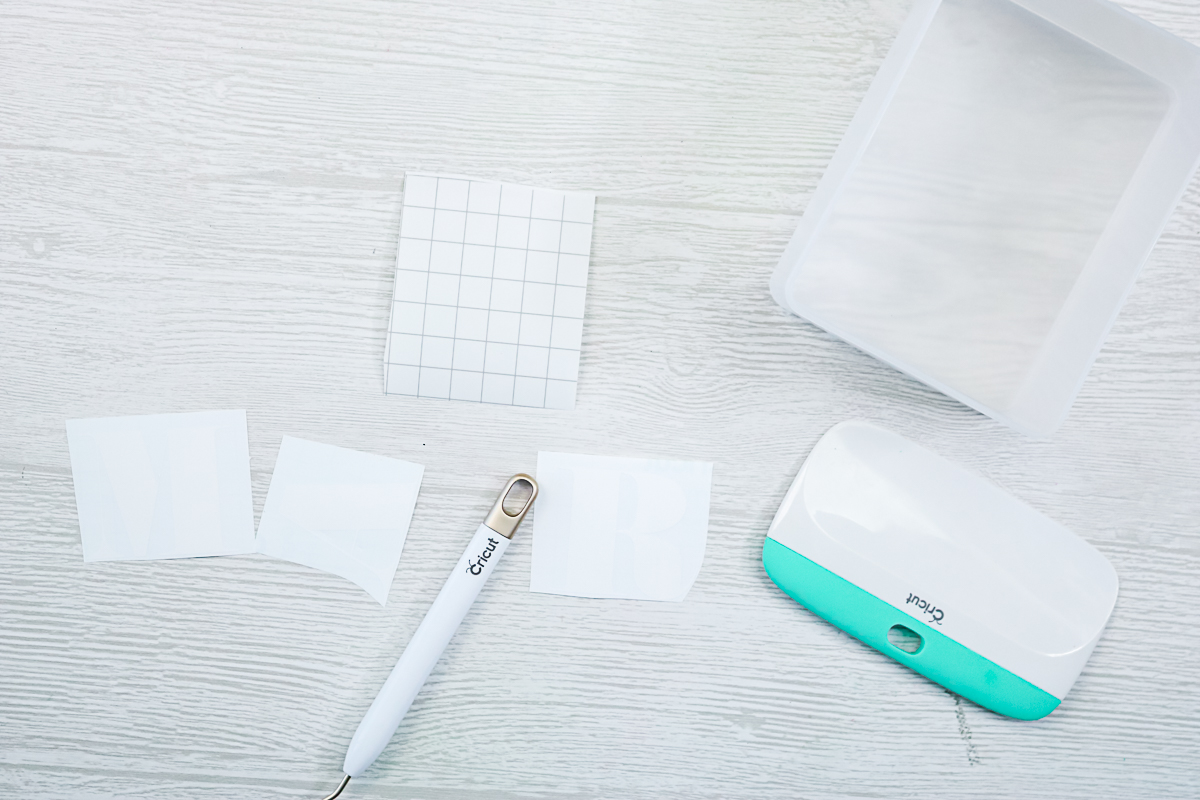
Step 2: Weed Vinyl
Then weed away all excess vinyl, including the center of the letters. Add transfer tape to the front of the vinyl and burnish well on the front and back. Then, peel away the backing paper.
Step 3: Add Vinyl To Bin
Place the vinyl on the bin and burnish well. Then, you can lift off the transfer tape.
Burnish the vinyl once more. I also recommend waiting 72 hours before use to give the vinyl time to adhere. Then, just add your bins to your bathroom! I am using these for each family member to keep their daily essentials.
How To Make Print Then Cut Waterproof Labels
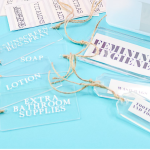
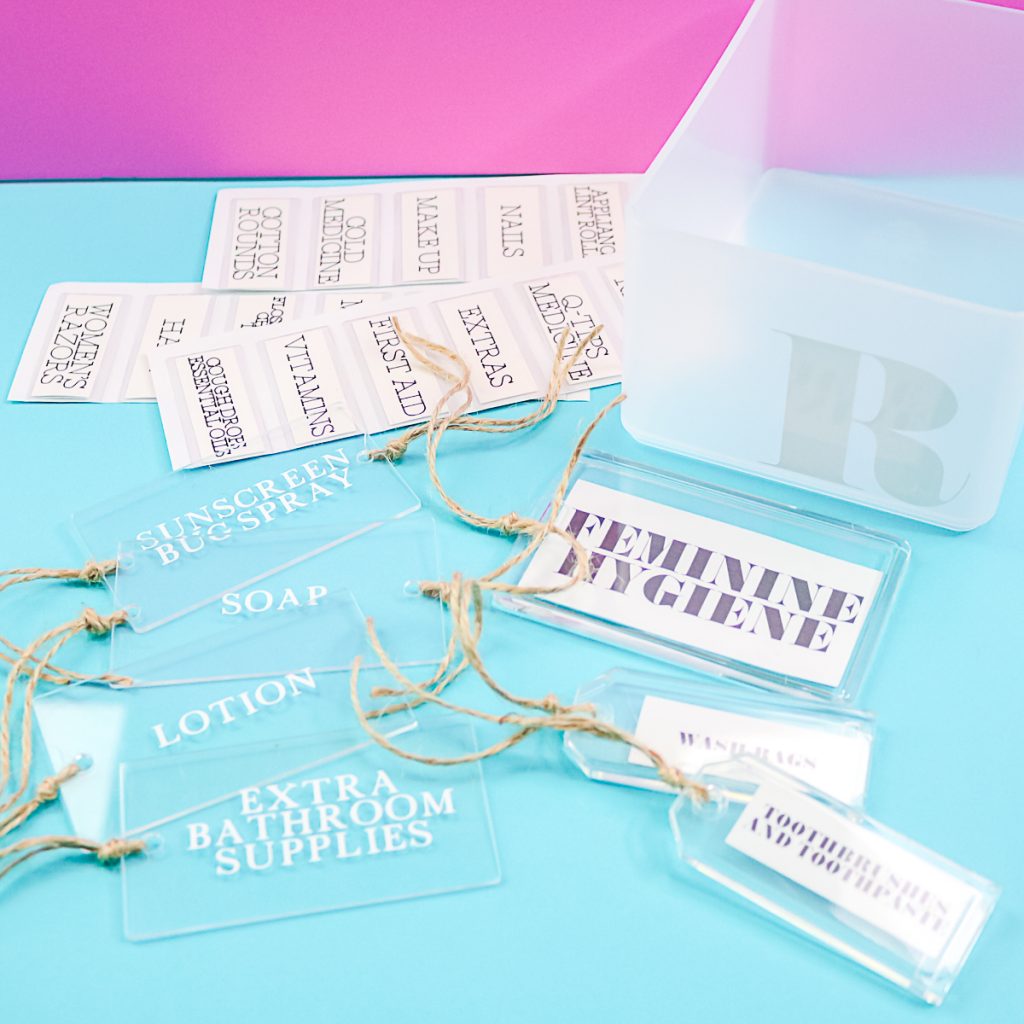
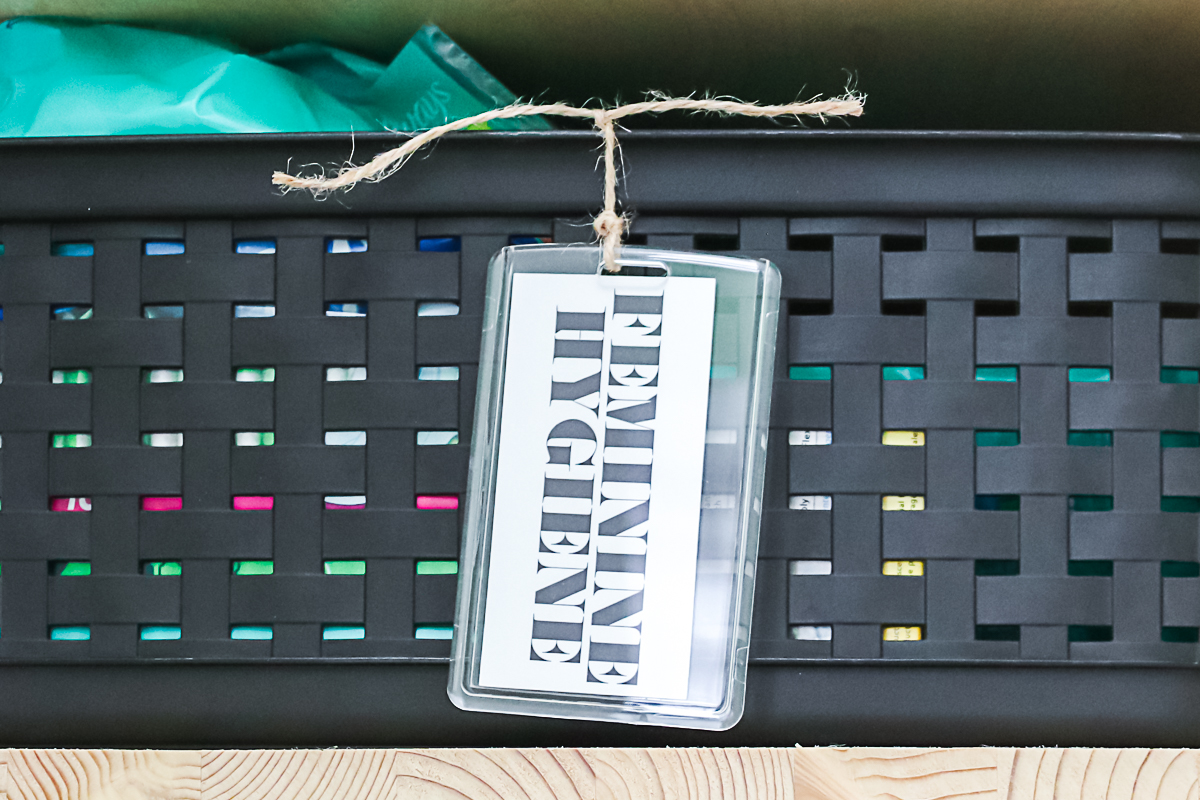
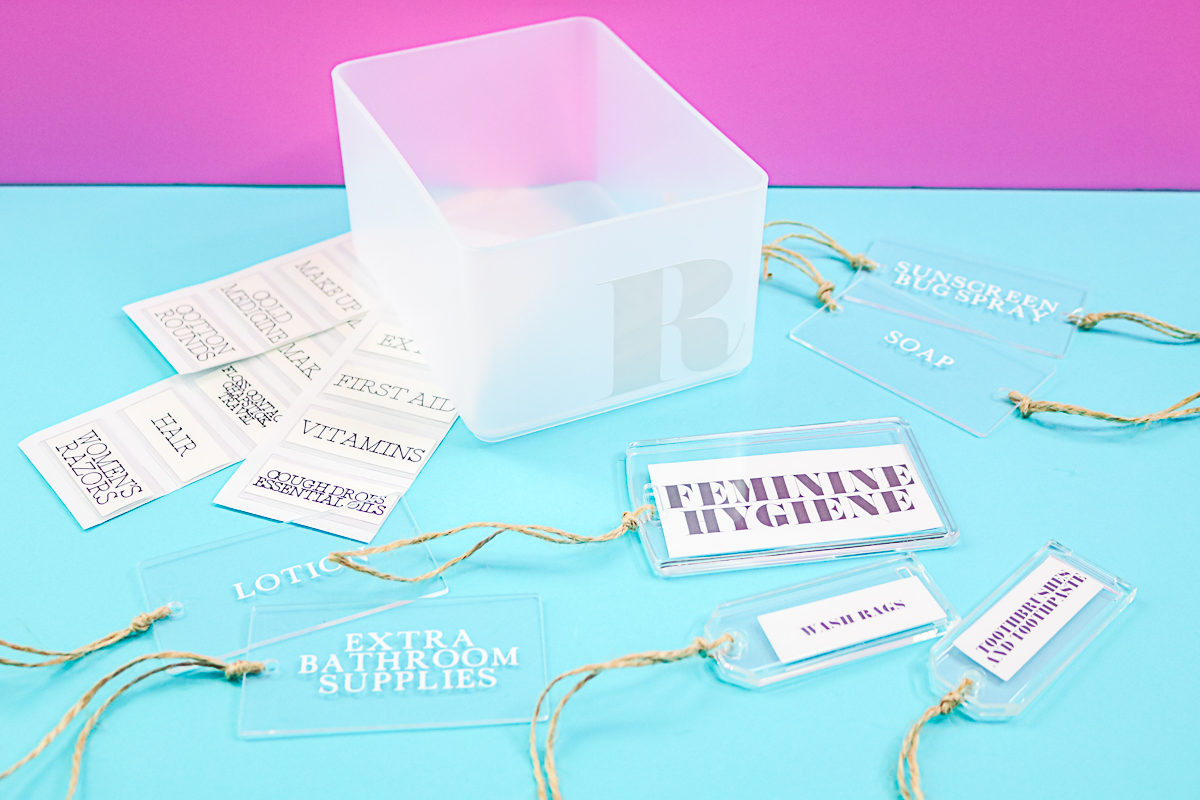
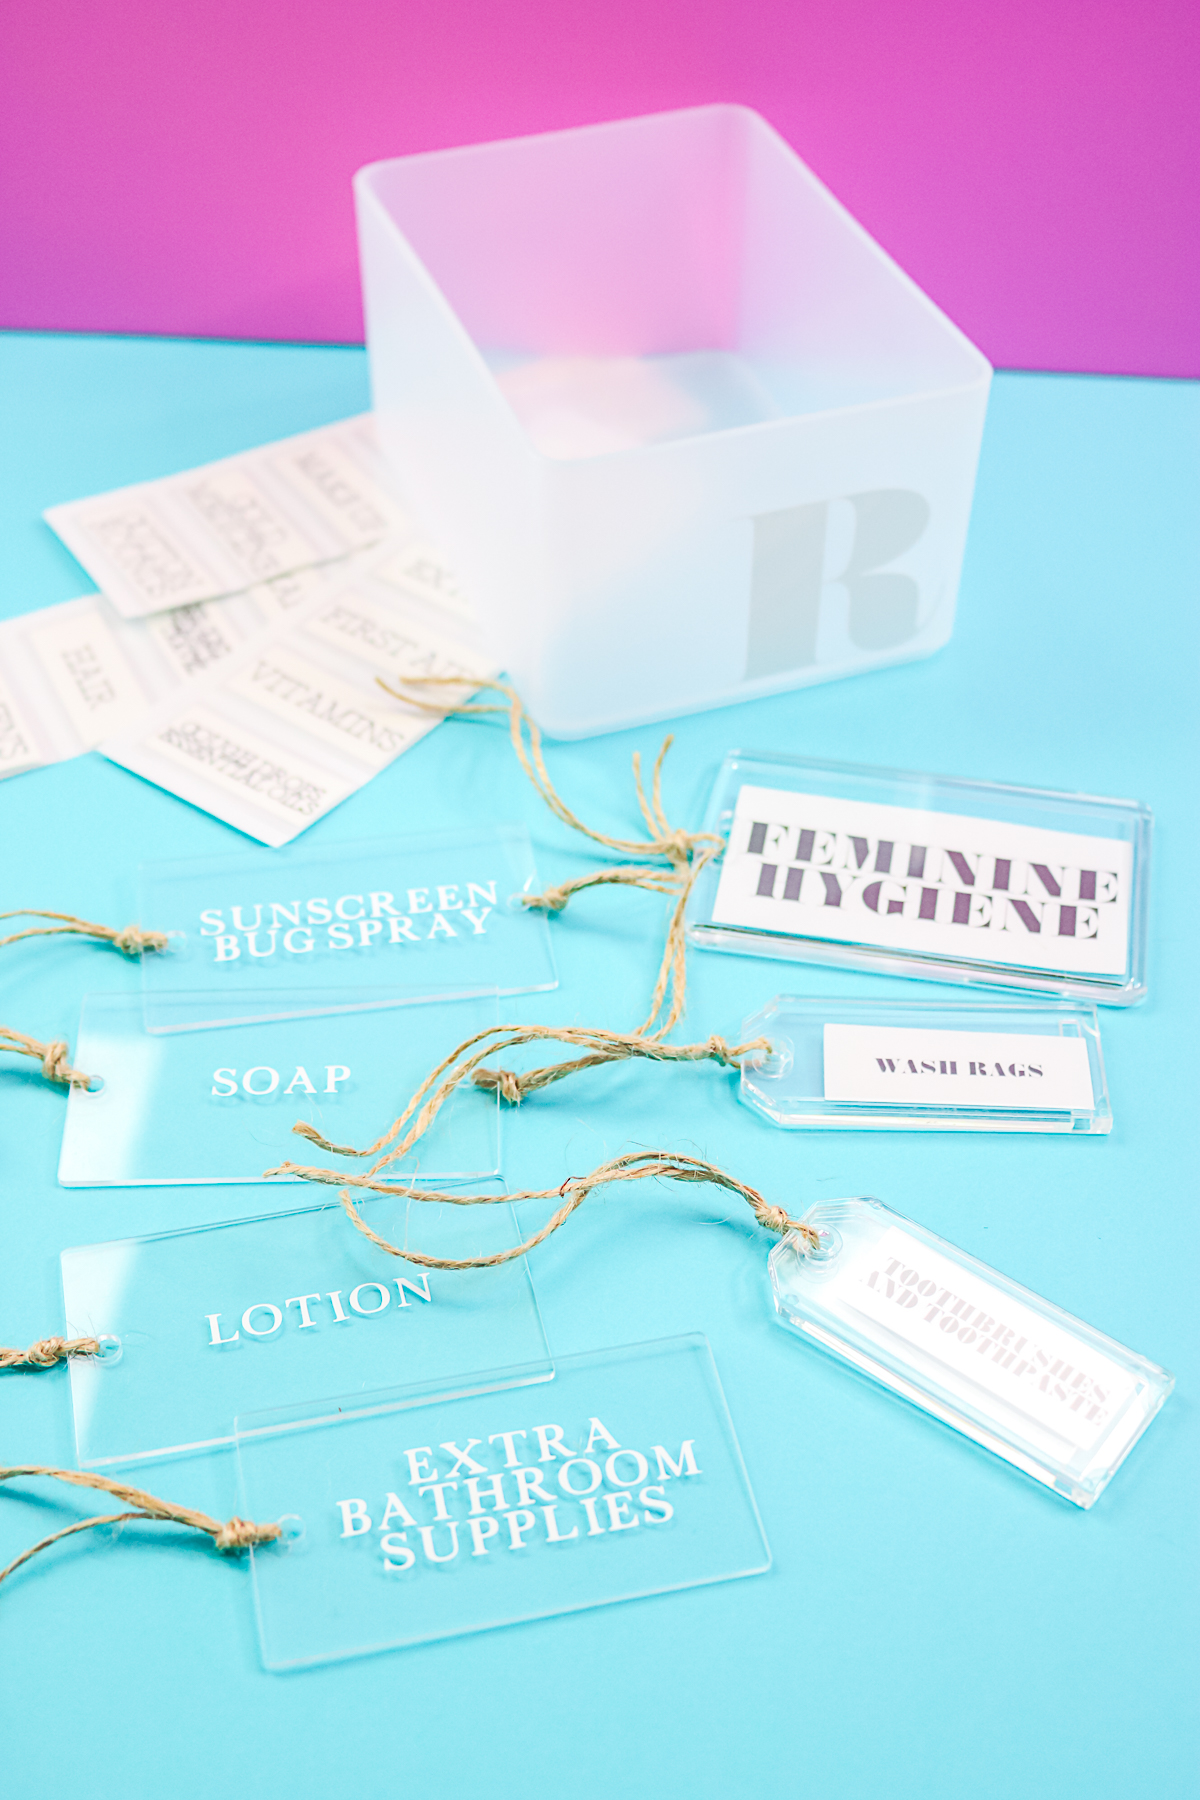
Making print then cut labels is an easy way to organize your home. However, they can quickly be ruined when exposed to moisture. I recommend putting them in a plastic container to protect them. You can use any of the options in this post, but I am going to use two plastic tags that you can insert your label into.
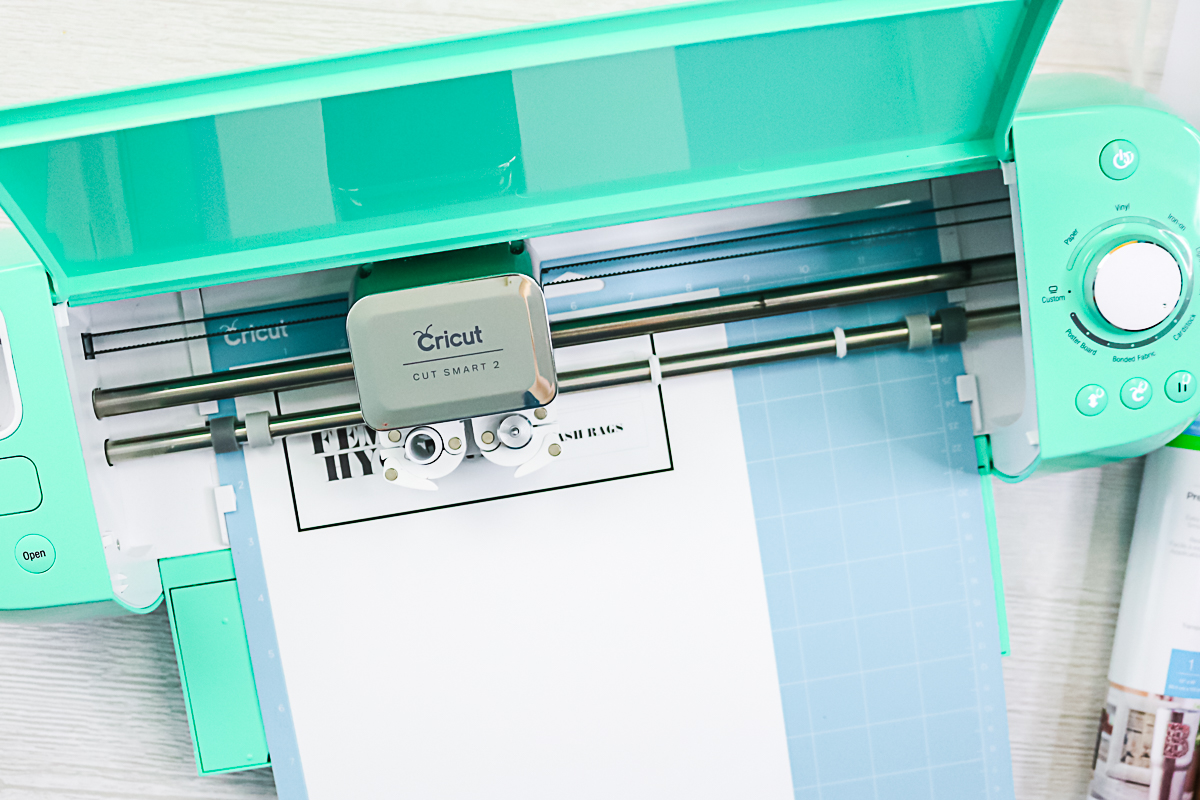
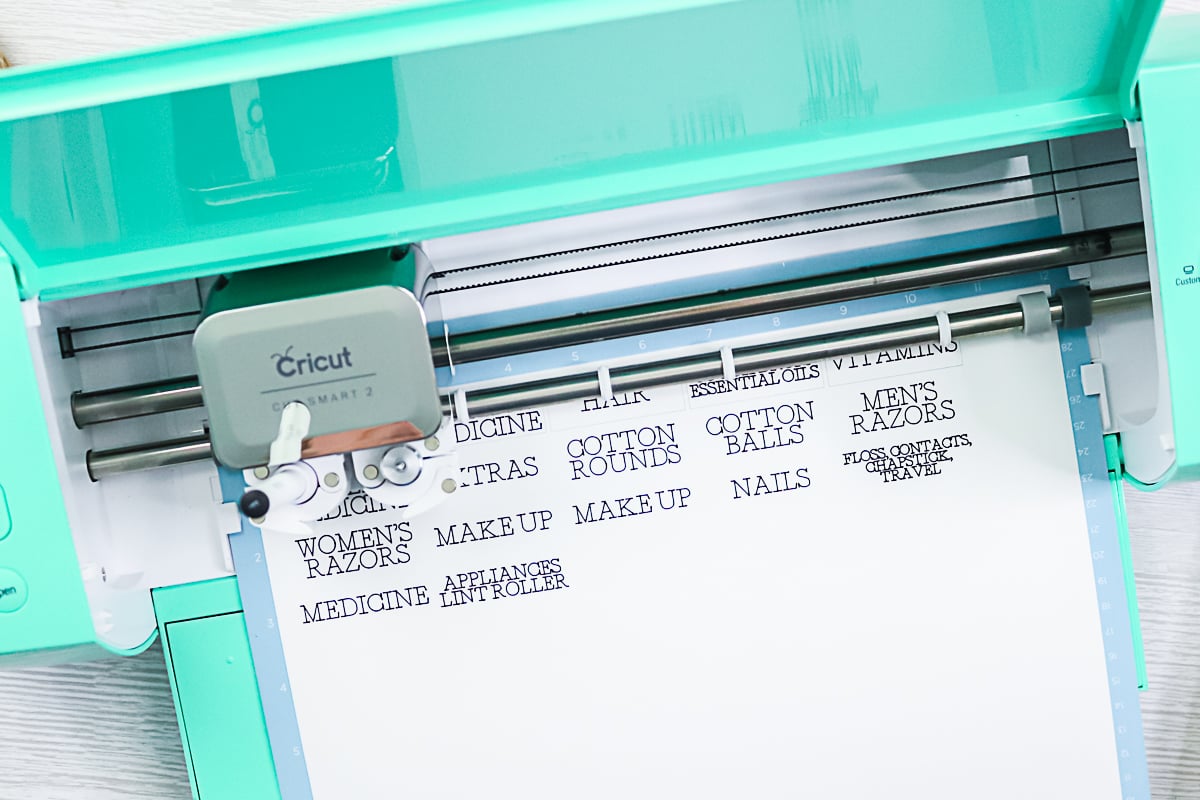
Step 1: Cut Labels
First, print your labels onto white cardstock and cut them with your Cricut. Remember that the Cricut Joy cannot make this type of label, so choose one of the others if you have this machine.
Step 2: Add Labels To Holders
Then, remove the pieces from the mat and put them in your holders.
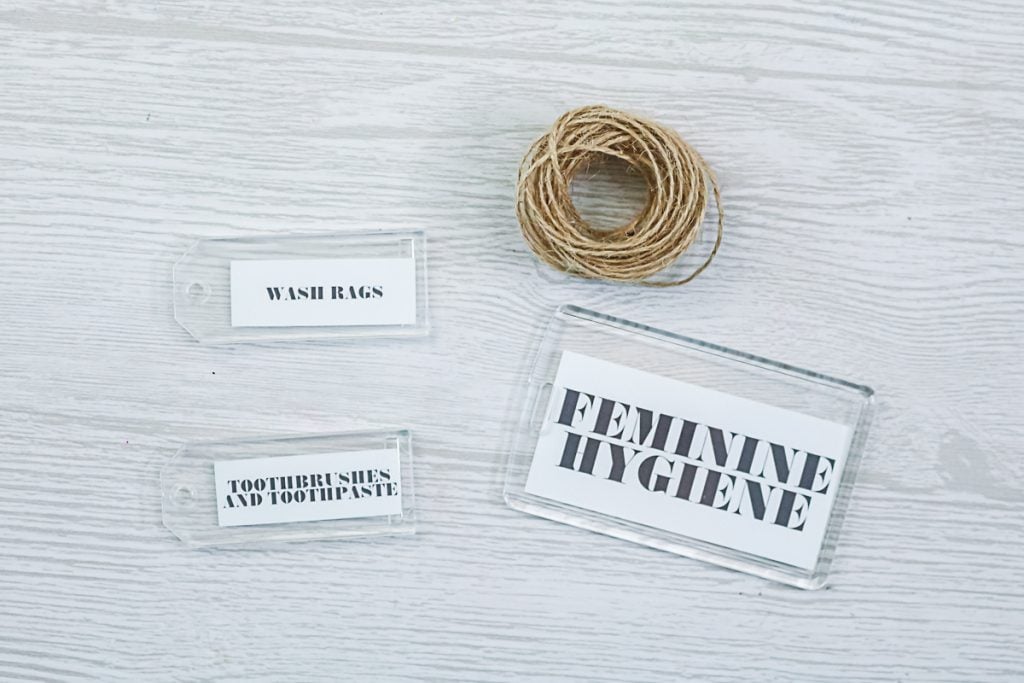
I have a small holder that was meant to be a keychain. For this one, I removed the keychain portion and added twine to hang on baskets.

I also found a larger holder meant for name tags. These work the same way, and I just added some twine for hanging. You can use either of these options or the adhesive label holders I'll share below.
How To Make Writable Waterproof Labels
Writing labels with a pen is another quick and easy way to organize! However, they will be easily damaged by moisture. The same methods that worked above for the print then cut labels will work for these. However, I am sharing another method below that you might like better.
Step 1: Write Labels
First, you will need to use your Cricut to write your labels.
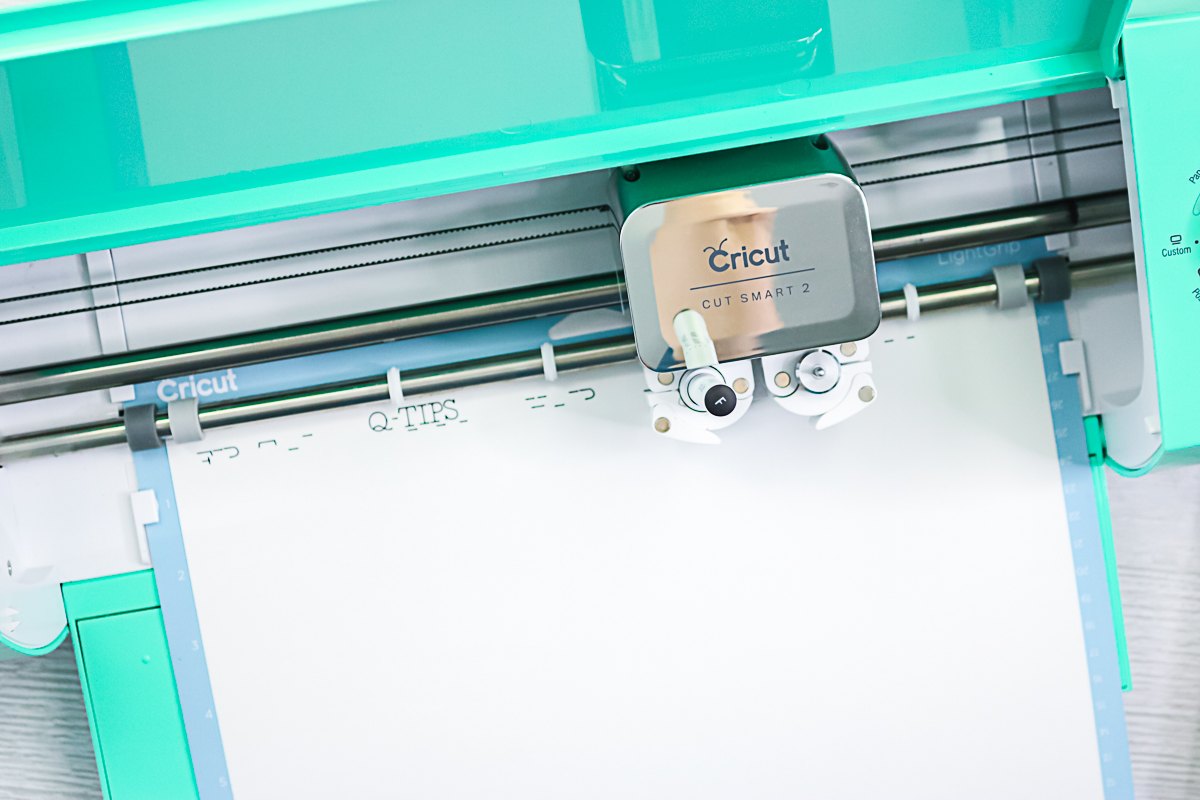
Step 2: Cut Labels
The Cricut machine will then cut around each label.
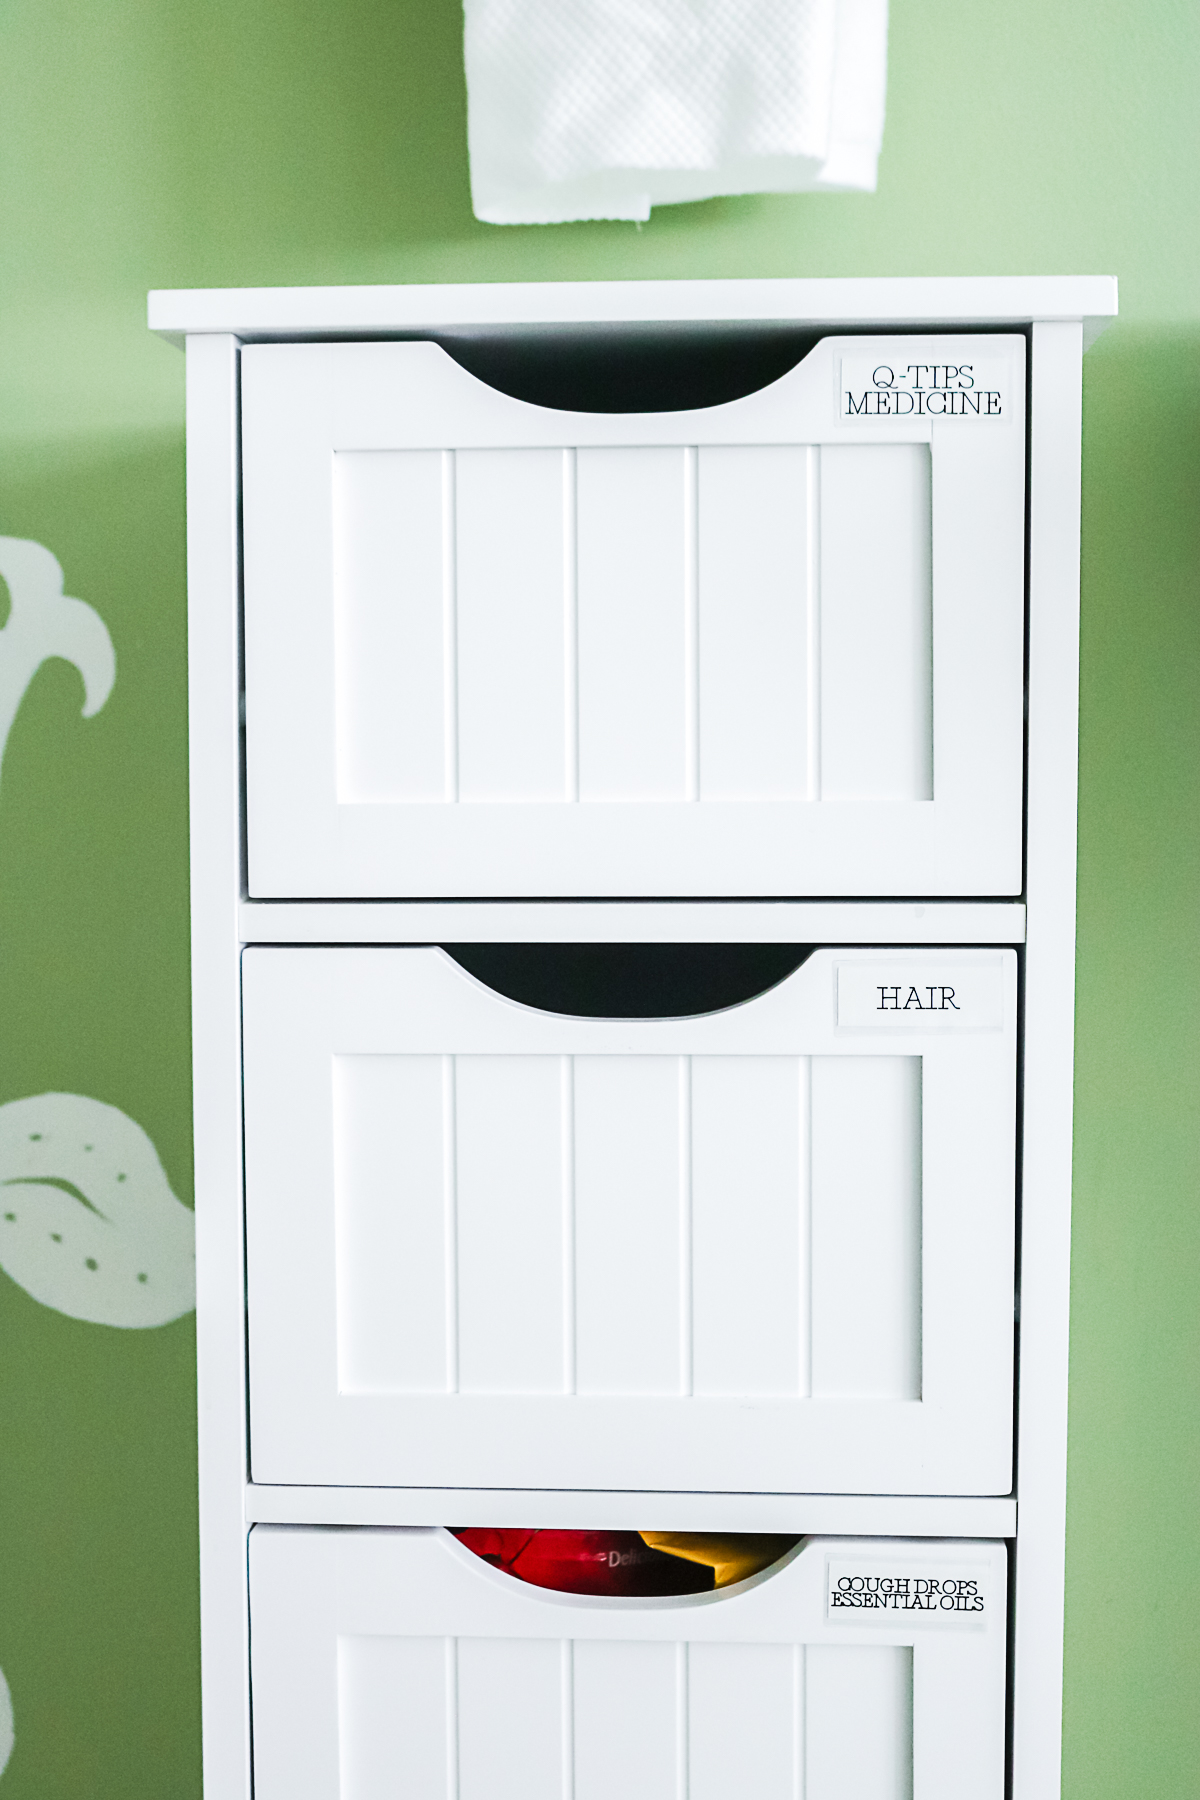
Step 3: Add Labels To Adhesive Holders
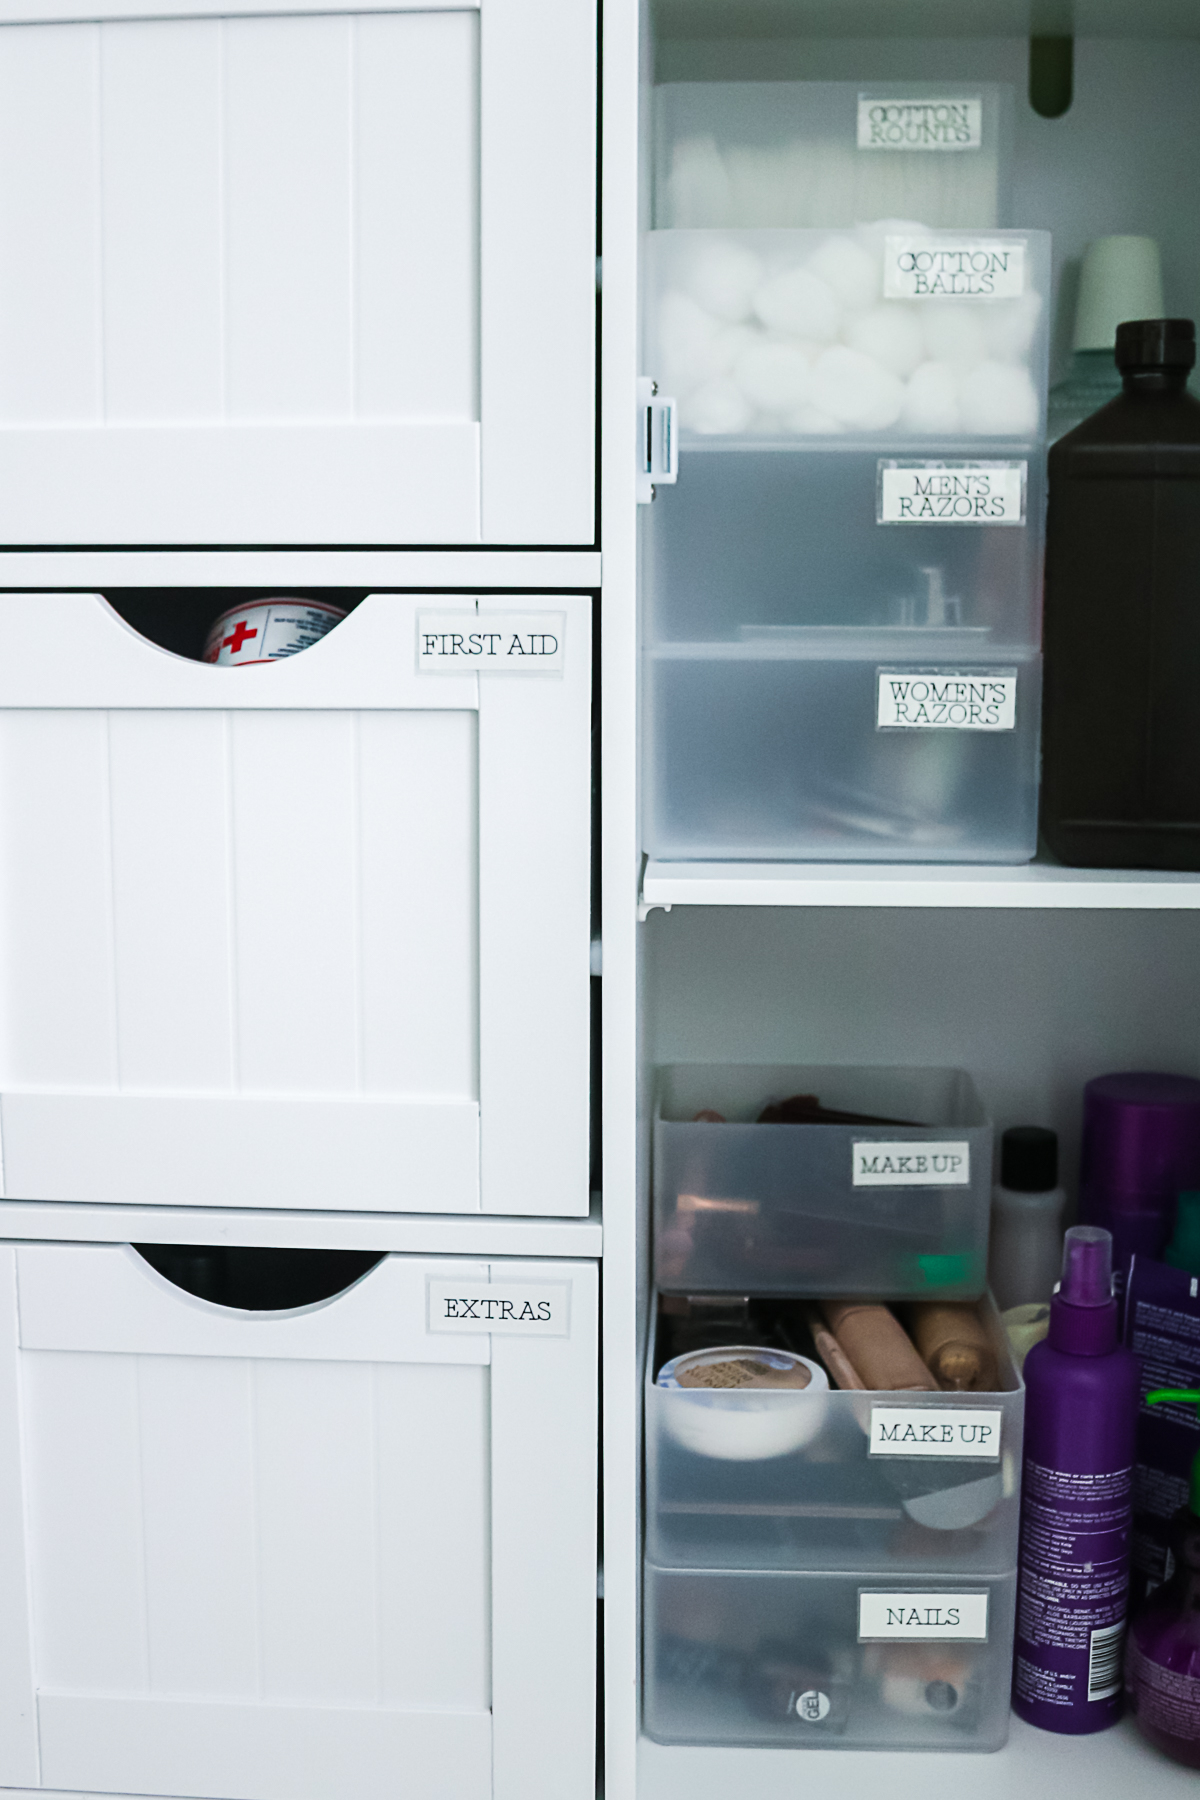
These adhesive label holders are meant for binder edges, but they work great for holding a label on any surface. You can even trim them with scissors if you need them shorter. Then, slide in your label. Again, these would also work with the print then cut version of the labels. I am using them on the front of my drawers.
Also, I used some of these on bins inside my cabinets. These bins may change often, so I thought this was a better option.
How To Make Vinyl Name Tags
If you want to use hang tags instead of putting your vinyl right on your bins, I have a solution for that as well. I love these clear acrylic tags.
Step 1: Cut And Weed Vinyl Label
Cut and weed the vinyl with your Cricut.
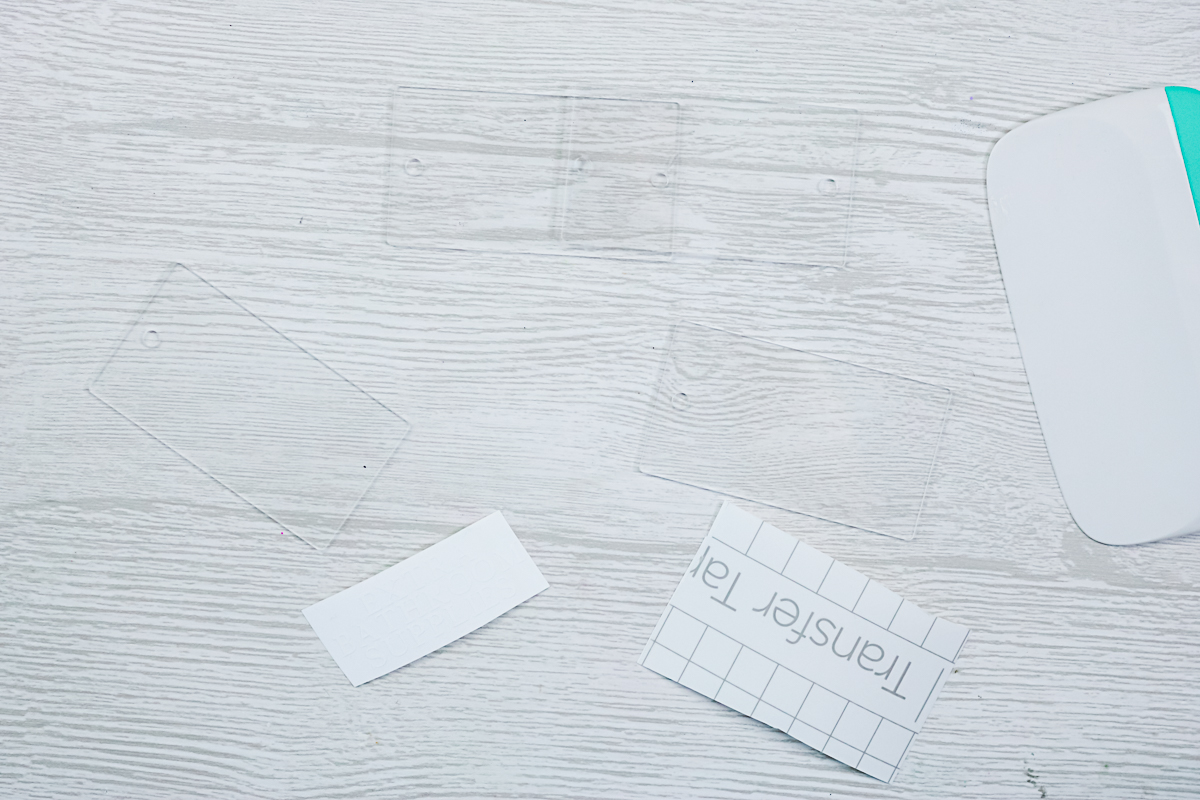
Step 2: Add Vinyl To Tag
Then, follow the directions for adding vinyl to the bins above to place it on the tag.
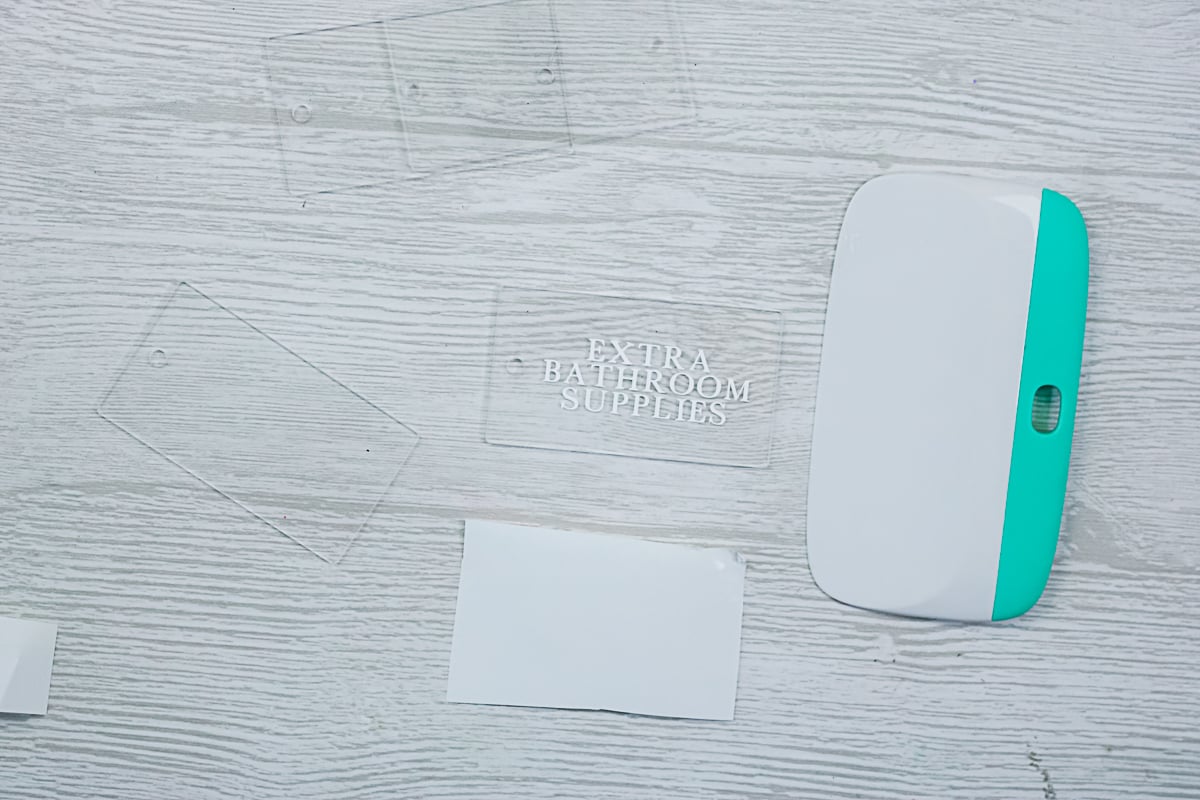
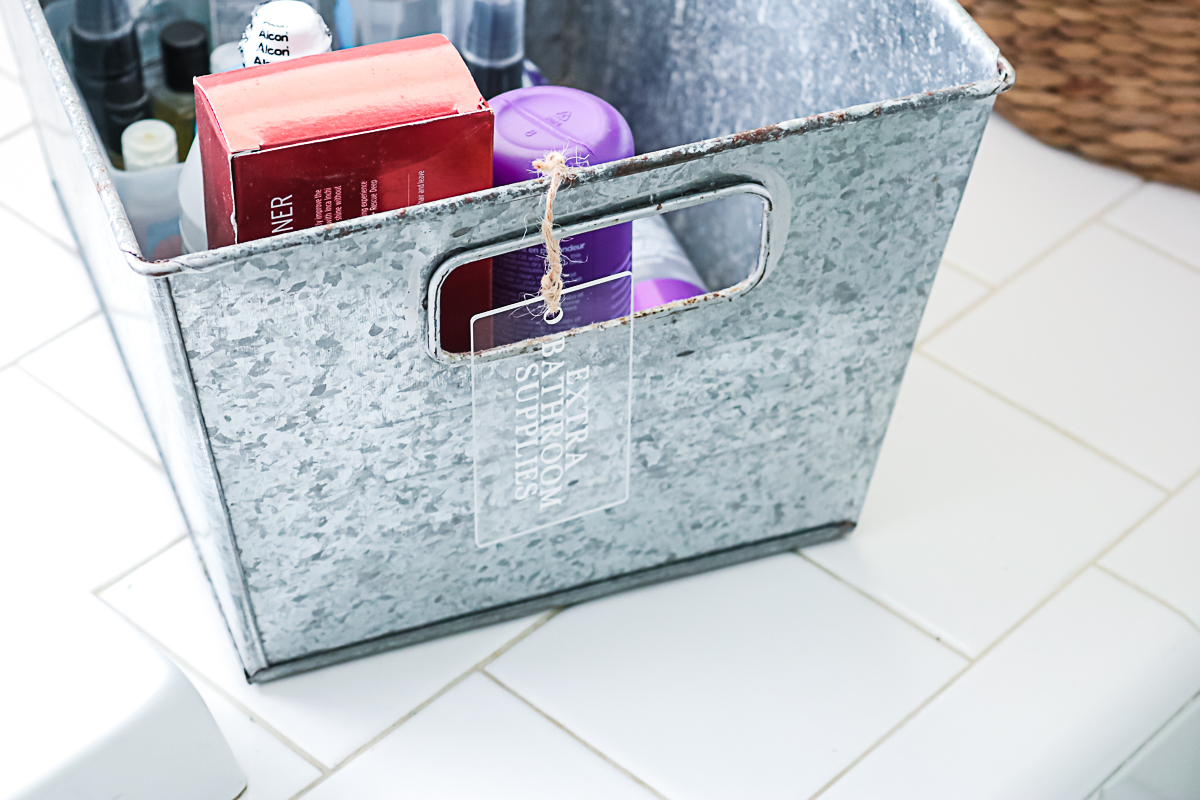
I added mine to my bins with twine, but you can use ribbon or another method to attach them.
Also, as a side note, these tags only come with one hole punch at the top. This worked great with some of my organizational bins, but not my baskets. As a result, I punched out another hole on the opposite side of some of the tags so I could add them to my baskets.
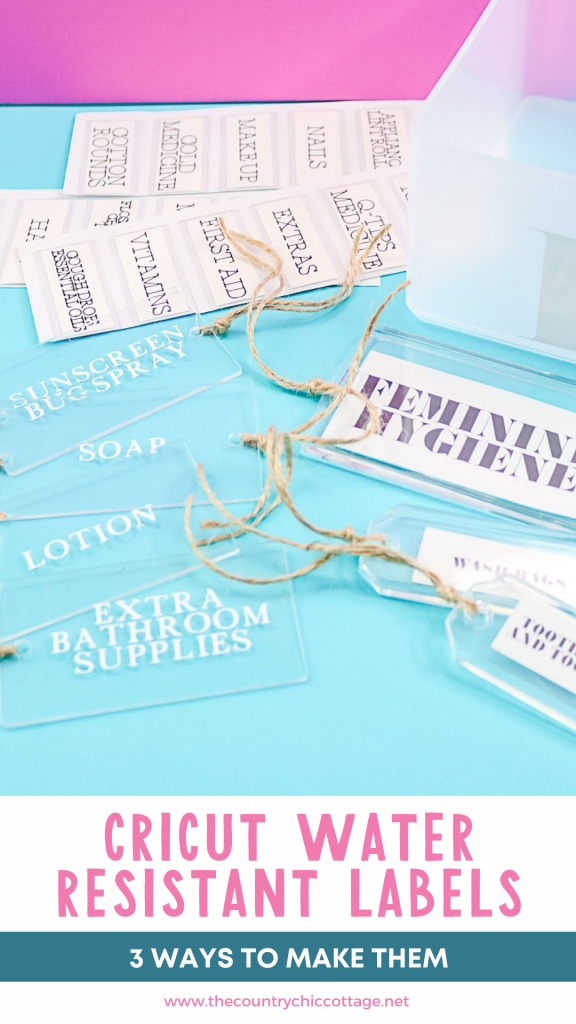
Which Of These Cricut Water Resistant Labels Should You Make?
With all of these options, which should you use in your bathroom or other areas of your home? It totally depends on which fits your needs. Here are a few things to consider:
- If you use the permanent vinyl option, the labels will be more difficult to change later. Use these in areas where you know the contents shouldn't change or you don't have another option.
- The print then cut option and the draw option are very similar. Choose the one that works with your style. Also, if you have the Cricut Joy, you will need to do the draw option.
- Consider which of these will fit in your space as well. Will the adhesive protectors work, or are they too large or too small?
- Then, pick the colors that will work in your space as well. Remember that these can be customized, so any color will work for the paper, pen, and vinyl color.
I hope this helps you add some Cricut water-resistant labels to any room in your home. I know you will love the way they turn out. And I am already loving how they are keeping my bathroom organized.
If you want waterproof label options, use our ideas above to create something amazing for your space. You will love how organized they will make you!
FAQs About How To Make Waterproof Labels
Here are answers to some of the most frequently asked questions I receive about making waterproof labels. If your question isn’t listed, feel free to drop it in the comments and I’ll be happy to help!
What Cricut Machine Do You Recommend For This Project?
For the vinyl and draw with pen labels, you could use the following machines: Cricut Maker, Cricut Explore series, Cricut Joy, Cricut Joy Xtra, or Cricut Venture.
For the print then cut labels, you would need to use the following machines: Cricut Maker, Cricut Explore series, or Cricut Venture.
The Cricut Joy series does not have the print then cut functionality.
Do You Have A Tutorial On How To Make Waterproof Print Then Cut Labels That Are Covered With Contact Paper?
Not at the moment. However, I would use transparent vinyl instead of contact paper. Then use the offset feature to cut the vinyl with a border. I actually considered that option, but I didn't have any place where a huge label made sense!
What Product Did You Use To Punch The Holes In The Plastic Tags? And Does It Work On Harder Thicker Plastics?
Yes, it does! It is a CropaDile. I use it all of the time for a ton of things.
Does It Matter If Your Printer Is Ink Jet Or Laser?
It should not matter for the purposes of using your Cricut to make labels.
Can I Do Pictures The Same Way?
I would say so!
6 More Cricut Label Ideas
Did you love learning how to make waterproof labels, and want more label ideas to make with your Cricut machine? Then check out the projects below!
- DIY Labels with Any Cricut Machine!
- Cricut Labels: 3 Ways to Make Them
- How to Make Writable Labels with the Cricut Joy
- Two Ways to Make Barbecue Labels with Your Cricut
- Printable Spice Jar Labels for a Cricut Machine
- How to Make Organizer Labels with Your Cricut Machine


Angie, this is so helpful as we are in the middle of a bathroom update.
I do have a question, I have a sheet of chalkboard adhesive material and was hoping I could use it for spice jar labels. Will my cricut be able to print and cut the chalkboard sticker material?
Thank you for your help.
Sarah
Generally that material is black so you would not be able to print on it with a standard home printer as they do not have white ink.