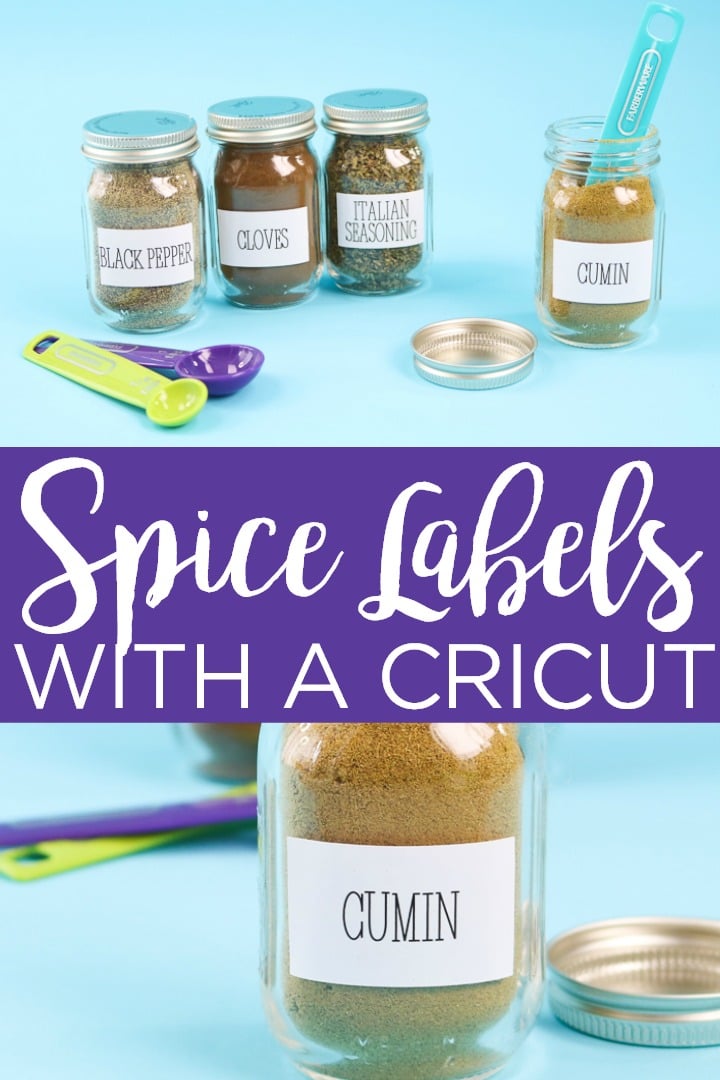
Everyone needs these Cricut spice labels to organize their kitchen! And when you use a Cricut machine with the print-then-cut feature, they are easier than ever to make. Just use our file below which is customizable to design your labels. Print the sheets, cut them on your Cricut, and you are well on your way to a more organized kitchen in the new year!
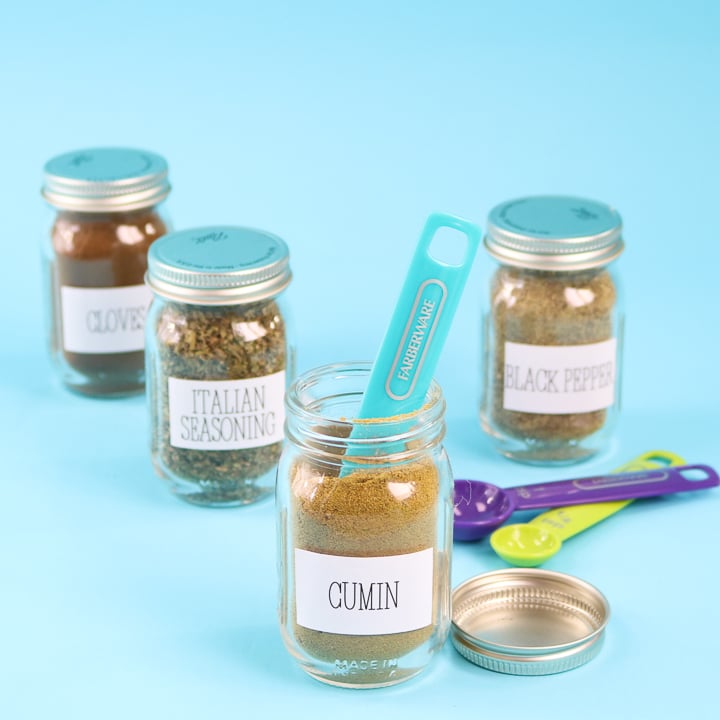
Cricut Spice Labels Video Tutorial
If you want to see just how I made these Cricut labels, you can watch the video below.
Can’t watch the video or need more information? Just keep reading for more instructions.
How To Make Cricut Spice Labels
If you have a home printer, you can use that in conjunction with a Cricut machine, to make these customizable Cricut spice labels!
However, before we begin, it’s important to note that the print-then-cut feature only works if you own a Maker or Explore series as Joy doesn’t have the sensor to do print-then-cut.
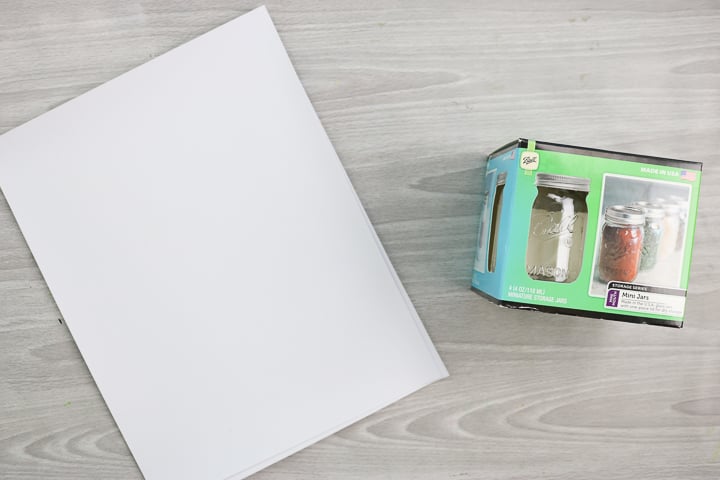
Also, I will be using printable vinyl for this project, but you can use sticker sheets instead. You can get a wide variety of printable vinyl, as well as printable sticker papers, what you choose will depend on the look of the label you’re going for.
Supplies Needed To Make Cricut Spice Labels
- Printable vinyl or full-size sticker sheets
- Cricut machine
- Small mason jars
- Printer and ink
- Cricut Spice Labels Design Space File
Step 1: Pull Up Cricut File
Start by pulling up my profile in Cricut Design Space and scrolling to “Printable Spice Labels”.
Step 2: Select Labels To Use
You can then customize the labels to whatever you like. I have a bunch of them pre-made in Design Space. You can delete any of those you do not want.
Step 3: Customize Text
To make your own, click where it says “custom text here” and add your own spices. Click center. The change in the text may not show until you center it. This is because the cut file is so large.
Step 4: Flatten Label
Then pick both the name and the square. Click align and then center. Then click flatten.
Step 5: Repeat Steps 3-4 For Each Label
You have just made a custom spice label. Continue adding custom labels until you have as many as you want. You can copy one before you flatten it to make even more copies.
Step 6: Click Make It
Once you have only the labels you want to make on the screen, click “make it” to start printing your labels.
Step 7: Print Labels
The computer will prompt you to send your file to your printer. Please note that a large black box will print around your labels. This is for the print-then-cut feature. You can see more about this feature here.
Step 8: Cut Labels
Then, once printed, you will be prompted to cut the material. The machine will use the large black box as a guide and cut each of your labels.
Step 9: Remove Printable Vinyl From Mat
Remove the mat from your machine once it has finished the cut and remove the label material from the mat.
Step 10: Add Cricut Spice Labels To Containers
Then peel away each of the printable spice labels from the sheet and stick them to mason jars or any other container.
Step 11: Fill Jars
Fill your jars and add them to your counter or cabinets!
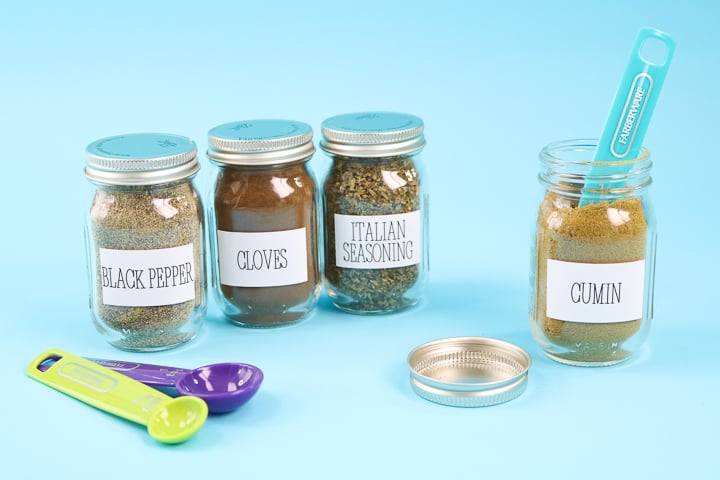
I love getting organized in the New Year and my Cricut makes it so easy to do so! You can print-then-cut any labels you can imagine with this same technique. In fact, you can use our file above again and again by using the custom option for labeling in every room of your home.
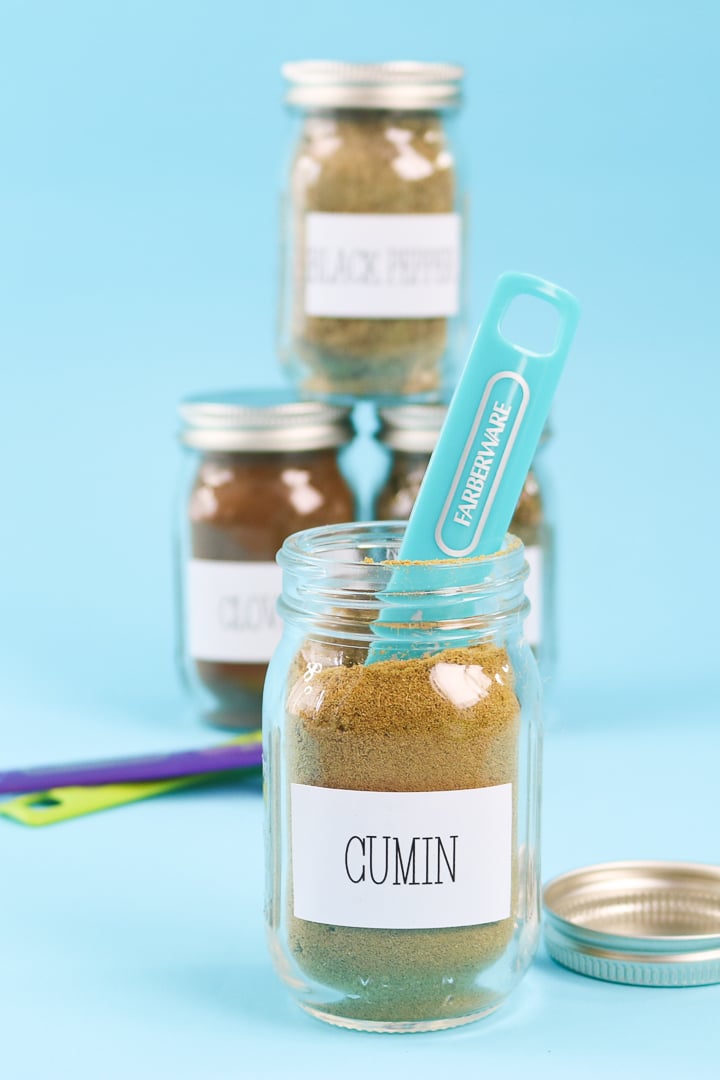
If you have not used the print-then-cut feature before, you are in for a treat! This is one of my favorite Cricut features for the precise cutting and customization options. I personally love the printable vinyl I used here but you can also use sticker paper if you prefer.
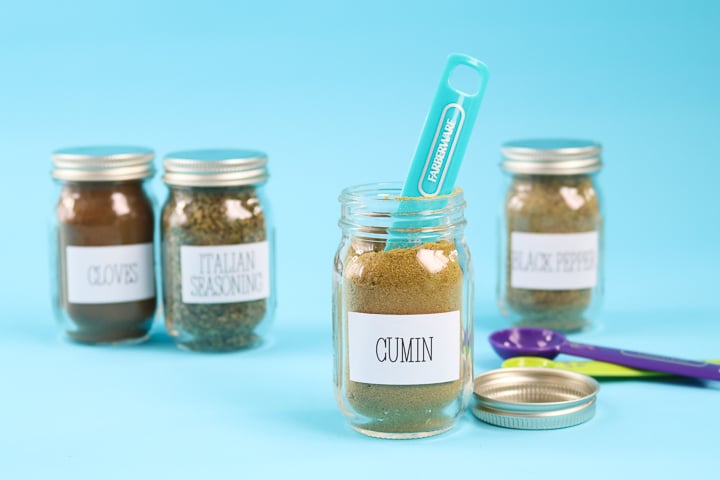
So, will you be adding these printable spice jar labels to your kitchen this year? I know I just love how they look!

FAQs About Cricut Spice Labels
If you have questions about making these Cricut spice labels, I have answers for you! Please leave your question for me in the comments if you don’t see it already answered below.
What Cricut Machine Do You Recommend For This Project?
To make print-then-cut labels, you need either a Maker or Explore series Cricut machine.
Do You Have More Resources On How To Print-Then-Cut?
Yes, I do! If you want to learn more about print-then-cut, check out our resources below.
- Print then Cut Feature in Cricut Design Space
- How To Make Labels With Any Cricut Machine – This blog post has a whole section (which includes photos) about how to make print-then-cut labels.
What Brand Of Vinyl Did You Use For The Labels? Also, Are They Oil/Water Proof?
I used Cricut printable vinyl and they are not really waterproof. I would use one with a laminate on top if you wanted waterproof.
Does The Printable Vinyl Work In A Bottom Loaded Printer? (Not Gravity Fed)
Yes! That is what I have and it works fine.
5 More Cricut Label Ideas
Did you love learning how to make these Cricut spice labels, and are now looking for more label ideas to make with your Cricut machine? Then check out the projects below!
- How to Make Organizer Labels with Your Cricut Machine
- Five Ways to Make Labels with Cricut Joy
- Cricut Labels: 3 Ways to Make Them
- DIY Pantry Labels on a Cricut Joy, Explore, or Maker!
- How to Make Writable Labels with the Cricut Joy
New to Cricut?

Sign up for our email list to download the Beginner's Guide to Cricut Design Space for FREE today!
Sign up to get the guide emailed to you!



Forgive me; I am new to Cricut. When I click on your link for the labels, “Cricut cut file,” I am brought to “https://design.cricut.com/#/launcher”. My design space is already open on my desktop. Am I doing something wrong? Thank you. Your labels are cute, btw.
Click open and then you may have to allow it to open the application on your browser. Then it should open for you!
Good day, I saw your video on YouTube. And this is exactly what I am looking for. But it reads “Project Saved” Private and will not let me open the file. Any help I would appreciate. Thank youde
I just fixed it! Sorry!
Thank you I will try this now