
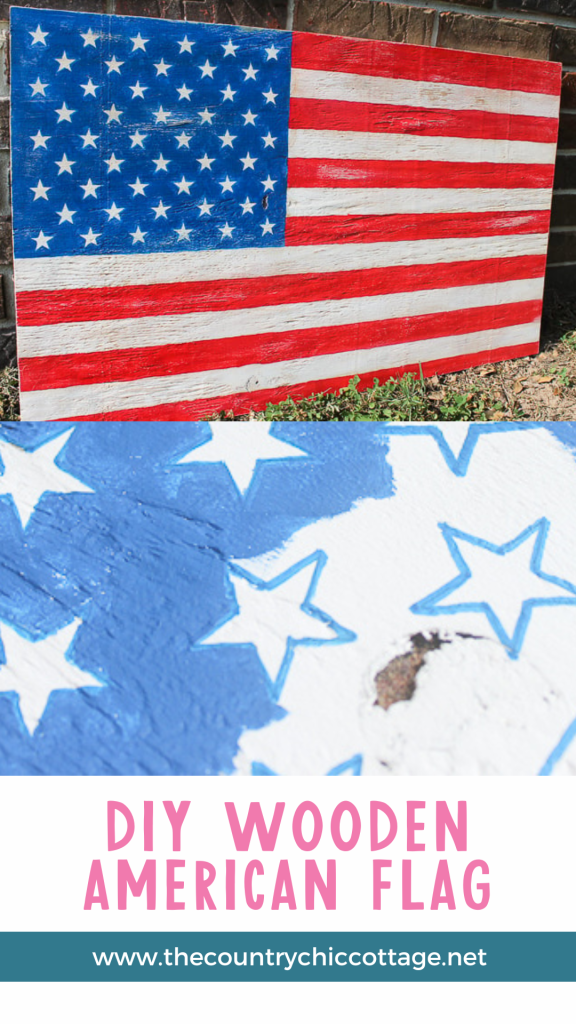
If you’ve ever wanted to learn how to create a wooden flag, you’re in the right place! Today, I will show you how easy and affordable it is to make one. I actually had all the materials I needed on hand, which made it even better since free is definitely the right price for me! Just grab a scrap piece of plywood, and you can follow our instructions below to create your own version. You’re sure to love the results!
How To Make A Wooden Flag
This wooden flag is a perfect piece to display year-round! It looks great inside your home and can easily be shown on a porch or patio as well.
One of the great things about this project is that it can be customized to match your patriotic decor style. For instance, I created a large flag with a rustic, distressed appearance, but you could opt for a smaller flag in bright colors. If you're ready to create your own wooden flag, take a look at our tutorial below!
Supplies Needed To Make Wooden American Flag
- Plywood (my piece was about 2 feet by 3 1/2 feet, as it was a scrap)
- Craft paint in red, white, and blue (be sure to use outdoor paint if you are going to use it outdoors)
- Paintbrushes
- Foam roller (optional)
- Ruler
- Pencil
- Paint pen
- Cricut machine (click here to see which one I like best)
- Star Stencil
- White cardstock
- Sandpaper
- Wood stain
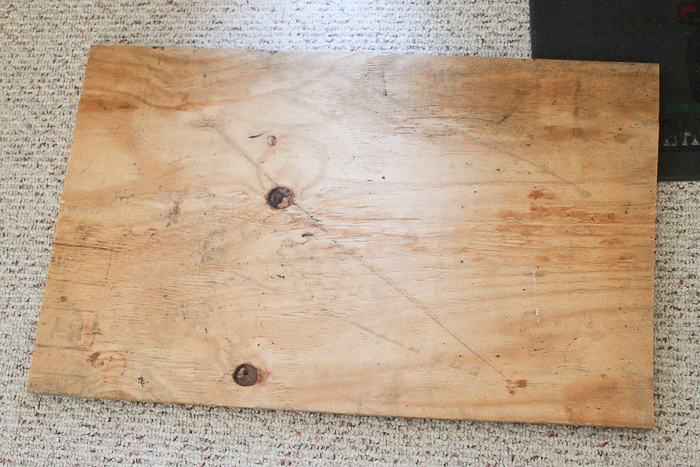
Step 1: Paint Wood Board
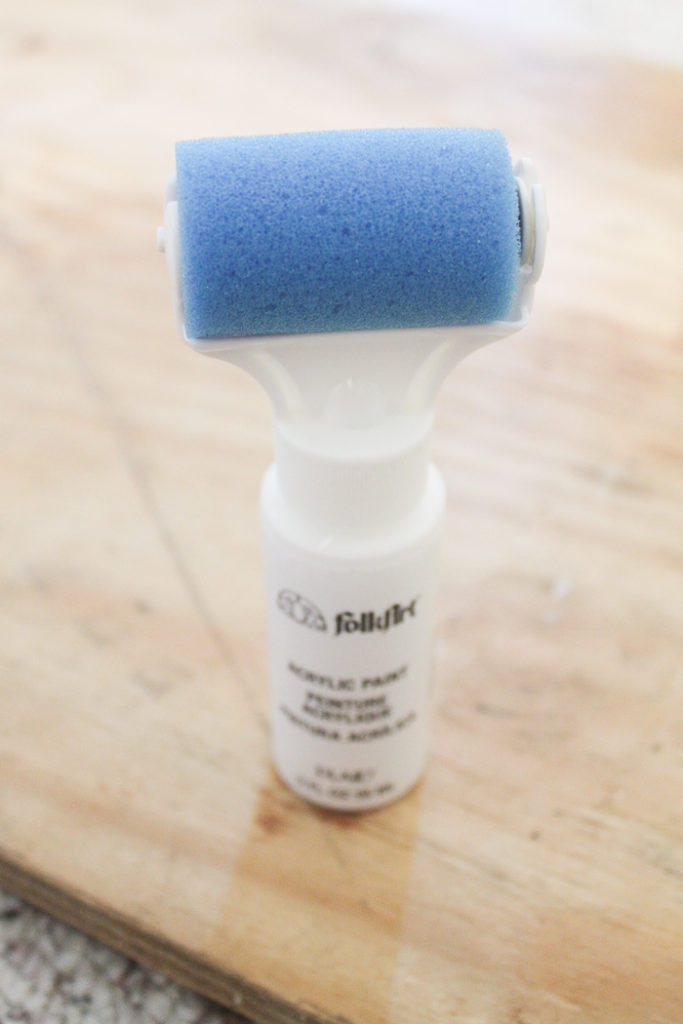
First, paint the entire board white. I have a super-easy secret weapon. I just discovered these fancy bottle tops from Plaid. They are available in the craft section at Walmart.
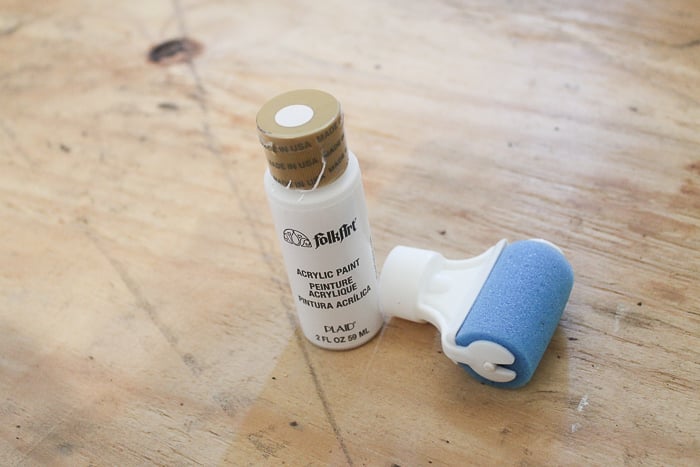
Just screw it onto your paint bottle and you have a paint roller! I covered this board in no time flat using this little trick!
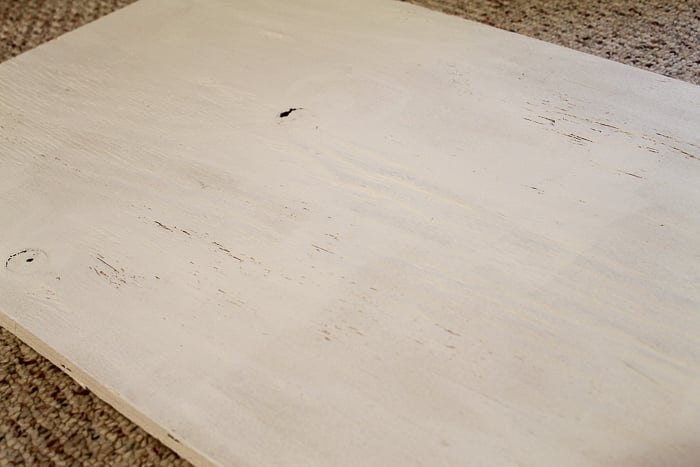
I did one coat of paint on the plywood. Yes, there were still some areas that were poorly covered. It will help us achieve a rustic look later. Allow this to dry completely before continuing.
Step 2: Draw Flag Onto Wood
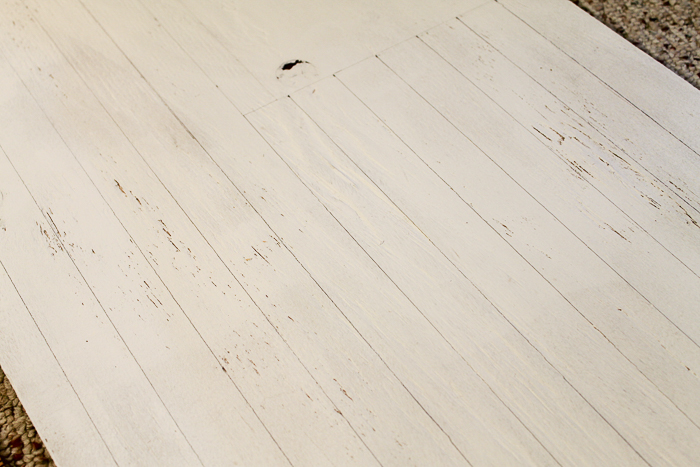
Take some measurements and come up with a layout that works, then draw it on the wood using a pencil.
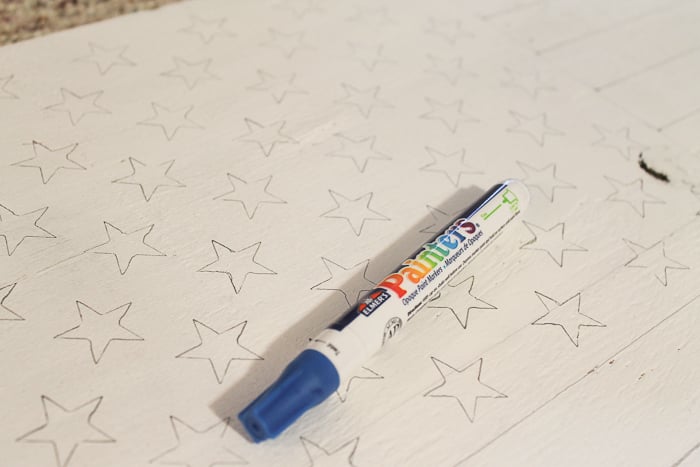
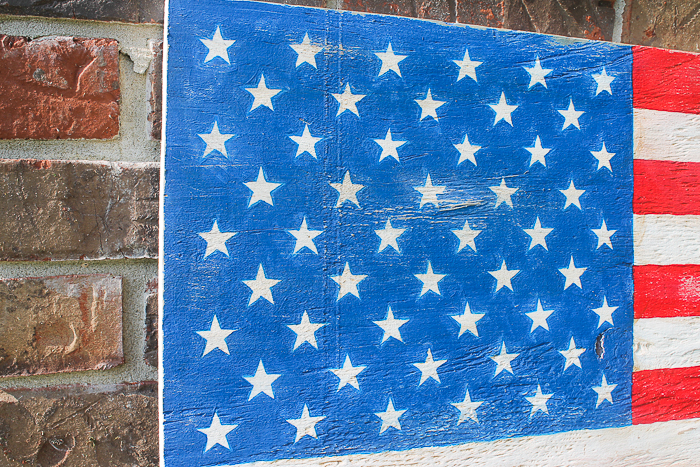
Step 3: Draw 50 Stars
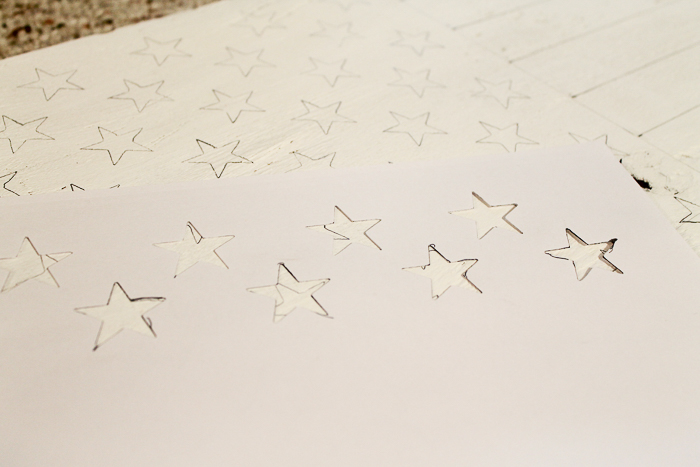
Then use your Cricut machine to cut a couple rows of stars out of white cardstock to use as a stencil. You can see how to use shapes to make a design here. You can actually just cut out a couple of rows and repeat those to fill your space. Then just use your template to draw fifty stars into the upper left-hand rectangle. Again, the placement was made by measuring.
Step 4: Trace Pencil Lines With Paint Marker
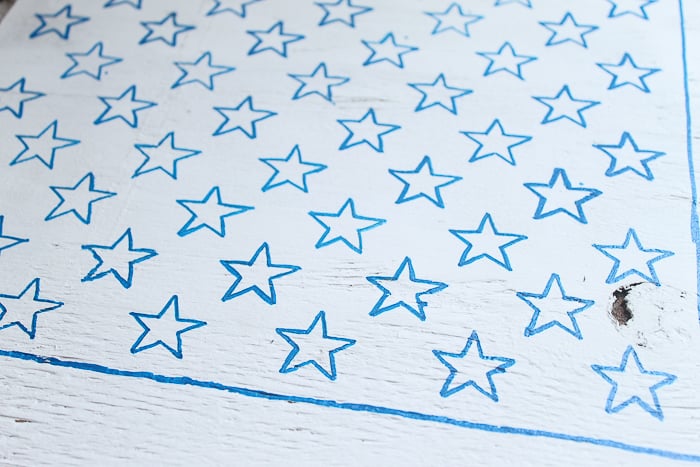
Here is a little hack for making the perfect DIY wooden American flag: trace your lines with an Elmer’s Paint Marker! This gives you more control over your lines, and you don’t have to be as steady with a paintbrush.
After you finish, you have broader lines that are easy to paint around with a brush.
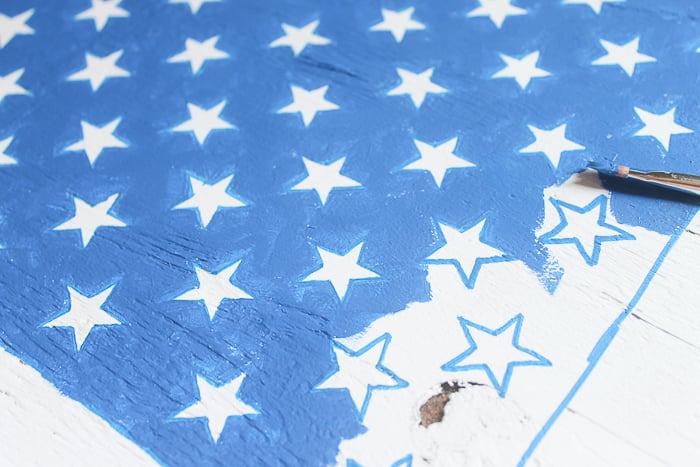
Step 5: Paint Flag
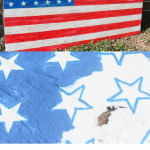
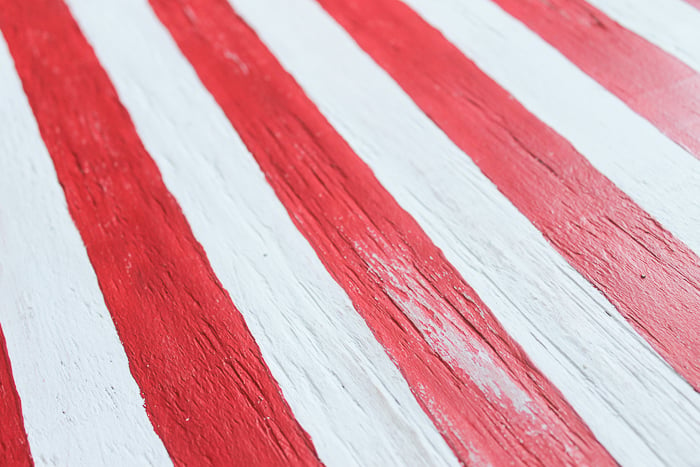
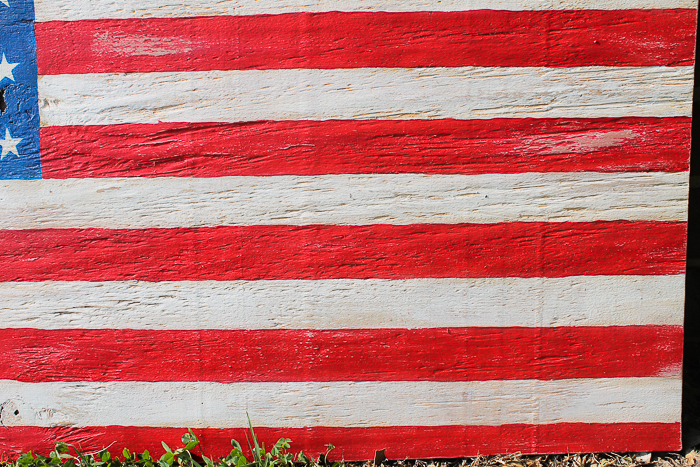
Then take your brush and fill in the white areas. Remember, we're going to be making this rustic, so areas of light paint are acceptable.
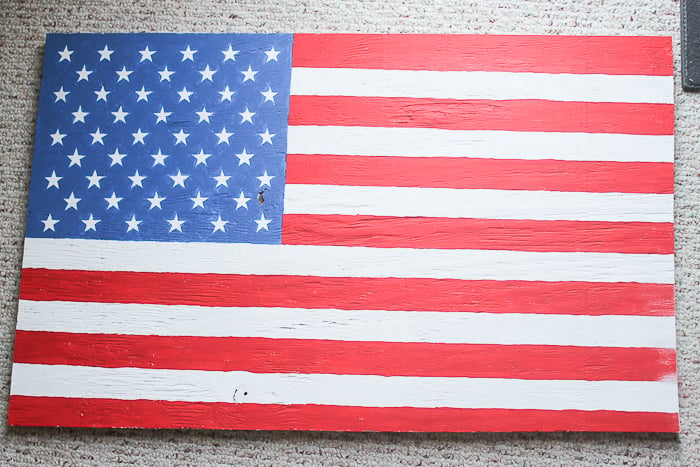
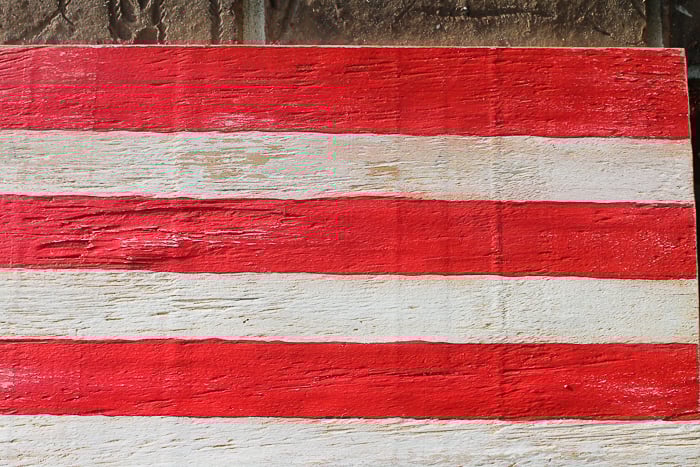
Paint your red stripes on your DIY wooden American flag with a brush. Then you can do some sanding.
NOTE: If you love the look of a bright and traditional flag, you can stop here. However, if you prefer the rustic or distressed look, proceed to steps 6 and 7.
Step 6: Sand Flag
Break out some ROUGH sandpaper. I used 60 grit. Sand until you get bare spots. Make it look as rustic as you like.
Step 7: Paint On Stain
But those sanded areas don’t look very “worn” or “old”? We are going to make them look that way! Mix equal parts water-based stain and water in a disposable bowl, and grab an old paintbrush.

Cover small areas with your stain mixture, then wipe it right off with a rag.
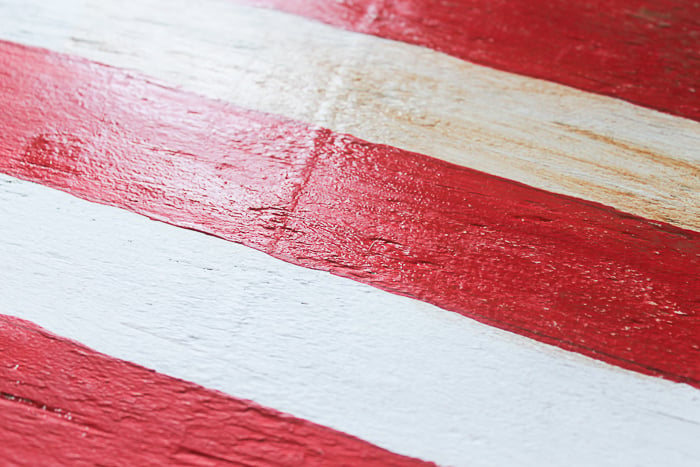
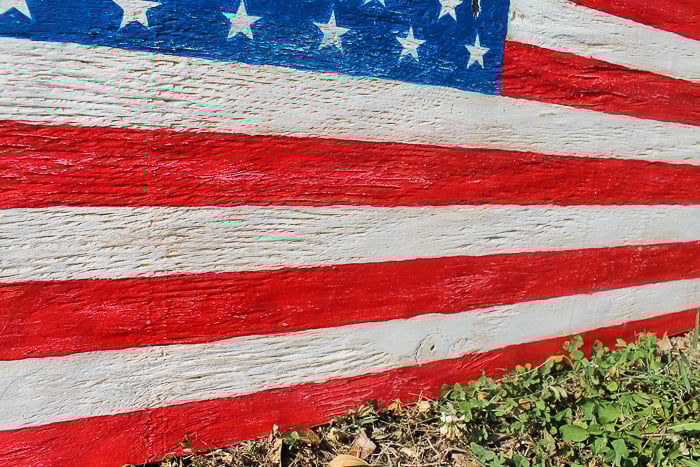
In the picture below, the right stripes have had a stain wiped on them, but the left ones have not. It changes the appearance and makes your sign look old, worn, and rustic….in other words, PERFECT!

Gorgeous rustic wear in just a few minutes!
Apply the stain mixture evenly over the entire flag, wiping it clean with a rag until the entire surface is covered. Then, let it dry. Your DIY wooden American flag is now ready! I would recommend sealing this one with a clear sealer if you plan to use it outside, just to be on the safe side.
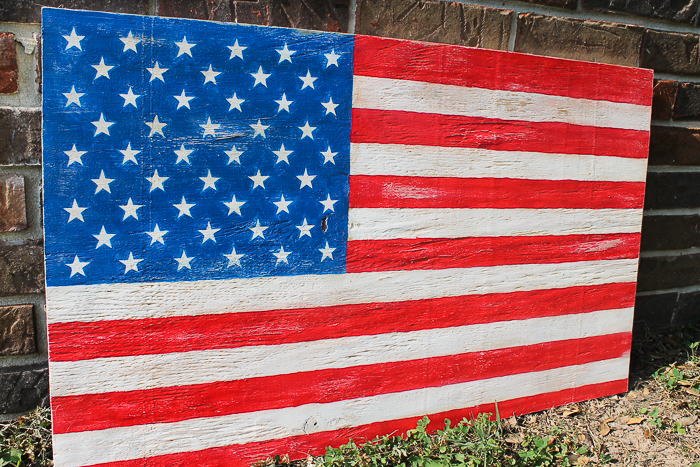
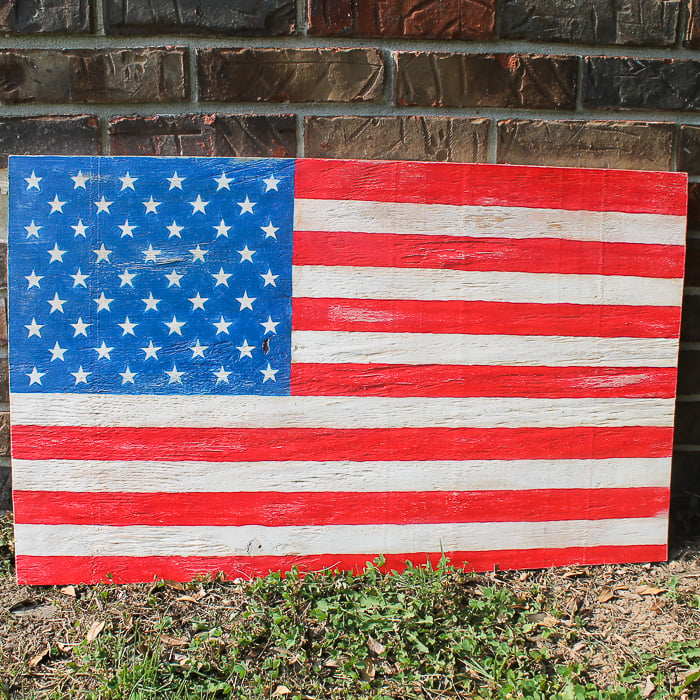
I was smitten with this one as soon as the stain was wiped away. It was perfectly rustic to my taste.
These stars and stripes are now resting on my summer mantle. Where will you put your version of this DIY wooden American flag?
Be sure to grab a scrap piece of plywood and start on your own version of this project. You'll be so glad you did!
This one is perfect for decorating your farmhouse home for summer!
Tips and Tricks for How To Make A Wooden Flag
Now that you’ve seen how to make a wooden flag, are you ready to make your own? Here are a few tips and tricks to ensure your project goes as smoothly!
- Change the Wood Size – For this project, I used a 2-foot by 3 1/2-foot piece of wood. However, you can scale this project up or down depending on the look you're going for.
- Use That Outdoor Paint – I chose to display my flag inside, which is why I used acrylic paint. However, if you want to display your flag outside, you can use outdoor paint instead!
- Get Straight Line – Since this American flag is rustic-looking, the lines don't have to be perfect. However, if you want your stripe lines to be straight, I recommend using a ruler or even some 1.5” wide painter's tape.
- Skip The Cricut – If you don't have a Cricut machine to make a star stencil, don't worry! You can easily use your own homemade stencil or a premade star stencil.
- Skip The Wood Stain – If you don't have wood stain, you can make your own ”stain” by using watered-down brown acrylic paint!
6 More Patriotic Crafts
Did you love learning how to make a wooden flag, and want more patriotic crafts? Then check out the projects below!
- 4th of July Crafts: 50 Ideas in 15 Minutes or Less
- Large Wooden Star: A Patriotic DIY
- Decorative 4th of July Paper Rockets with the Cricut
- Rustic Wood Flag You Can Make From Scraps
- Uncle Sam Decorations from Scrap Wood
- DIY 4th of July Decoration


Looks great Angie and you saved a ton of money too!
I love it, Angie! Look at all the money you saved! Great job!
XO,
Jane
I love it too, this is one PB item that I’ve thought about making too! It’s great.
Love it!
I haven’t seen those bottle tops before. I’m going to buy some tomorrow. Genius….why didn’t I think of it?