

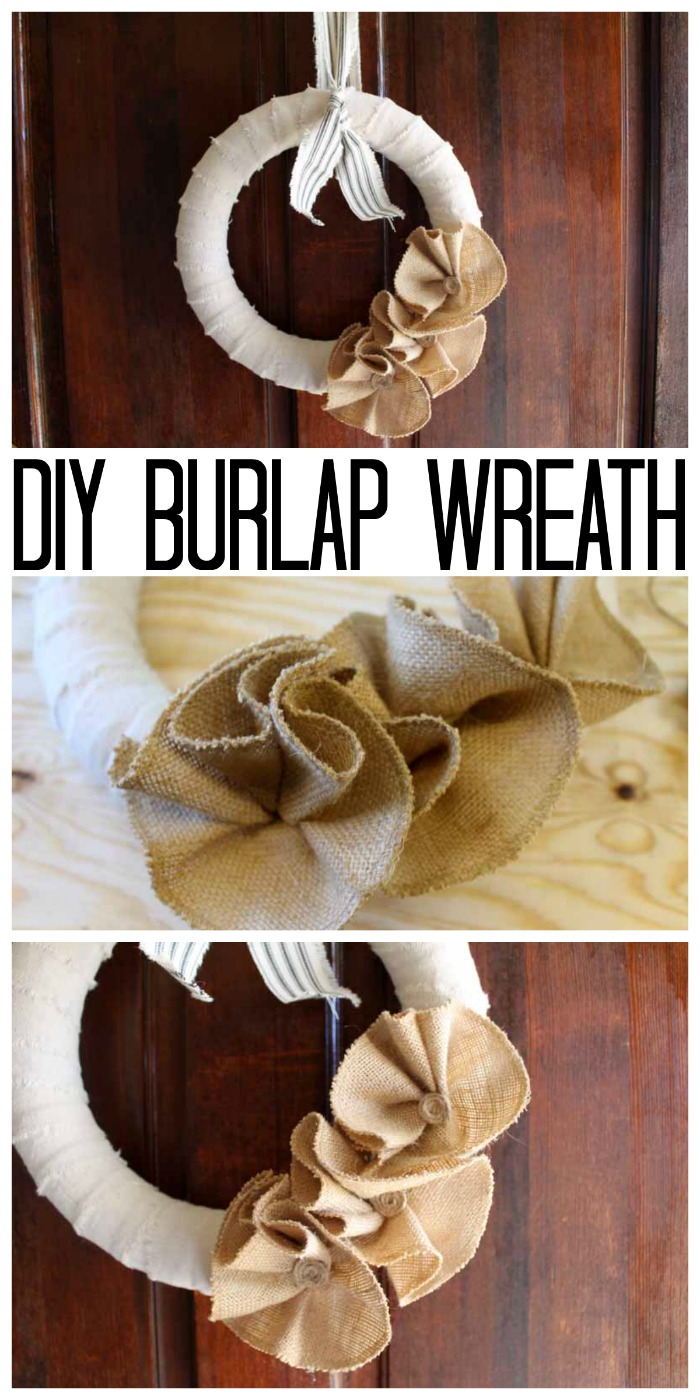
You are going to love this simple DIY burlap wreath tutorial! It is so easy to make and will look great on your front door any time of the year. Adding some decor to your home's exterior is easy as ever with these step-by-step instructions to create your own unique burlap wreath!
This is kicking off burlap Craft Lightning week as well where all of the crafts take 15 minutes or less. You can scroll to the bottom of this post to see the crafts from today. Then stay tuned for even more burlap fun all week!
Supplies needed for your easy burlap wreath:
Some links below may be affiliate links which means that you do not pay anymore, however, a small commission will go to this site.
- Wreath form
- Scrap canvas fabric
- Burlap 8″ Round Shapes (3)
- Ticking Fringe
- Jute Cord
- Hot glue and a glue gun
- Scissors
How to make a burlap wreath:
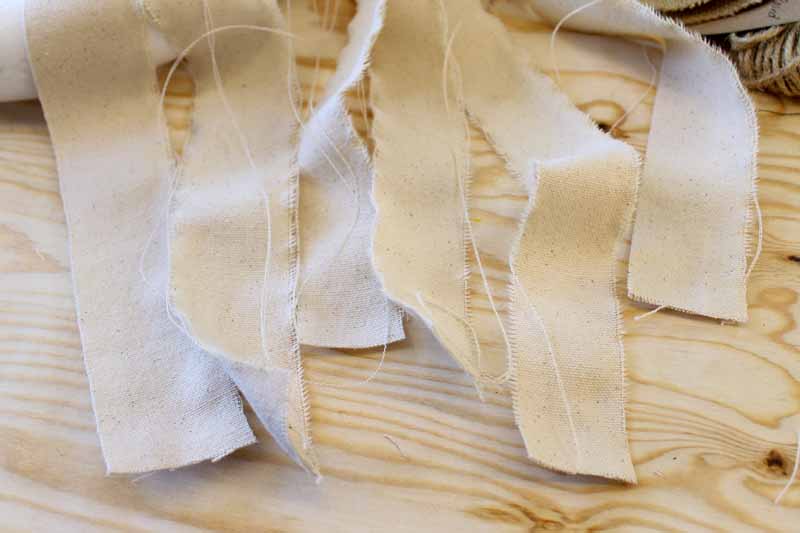
Start by ripping some scrap canvas into strips. Ripping the fabric gives you that tattered edge we all love. You can snip the edge and rip and you will get the perfect strip with the grain every time. Repeat until you have enough strips to cover your entire wreath form.
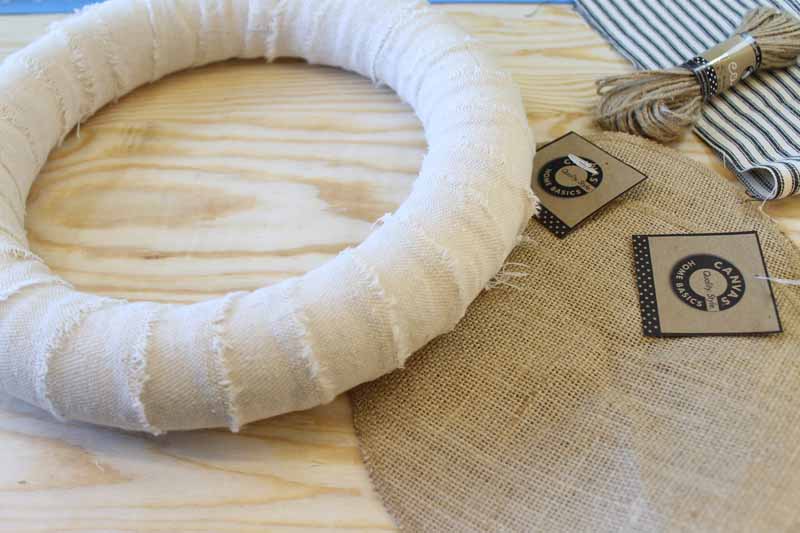
Next, wrap your wreath form with the strips securing the ends with hot glue. Let the rough edges stay exposed as shown in the image below.
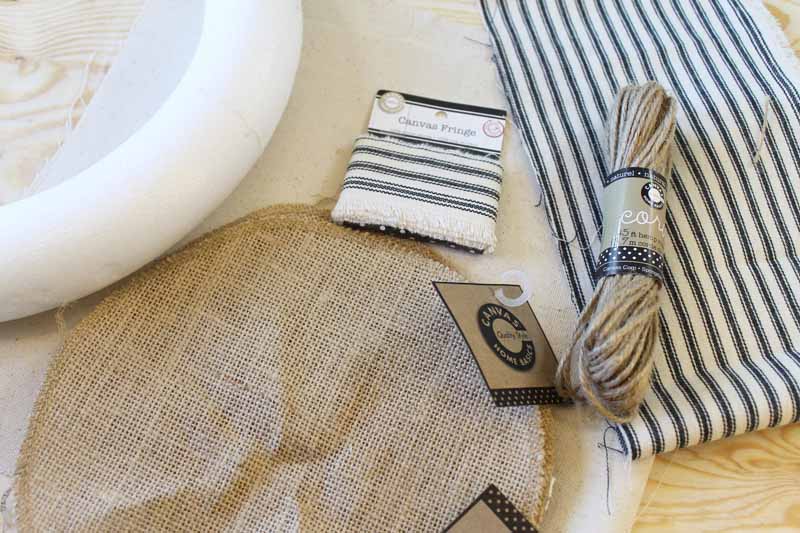
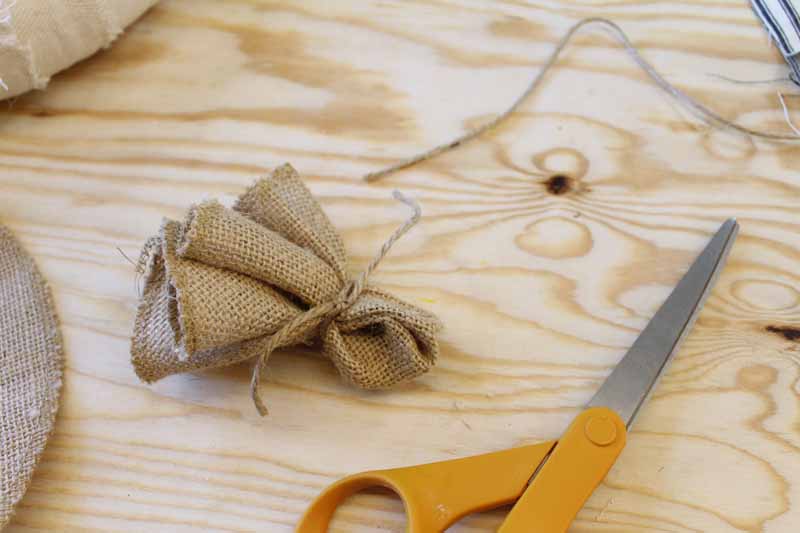
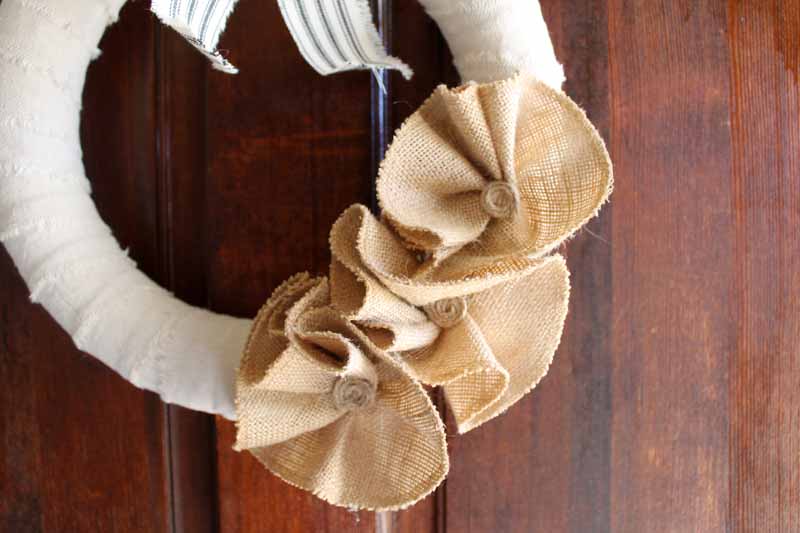
Then set the wreath aside and work on your burlap flowers. Gather up the burlap circles and secure with some of the cording as shown below to make a freestyle flower with finished edges. These rustic flowers are the perfect addition to a burlap wreath.
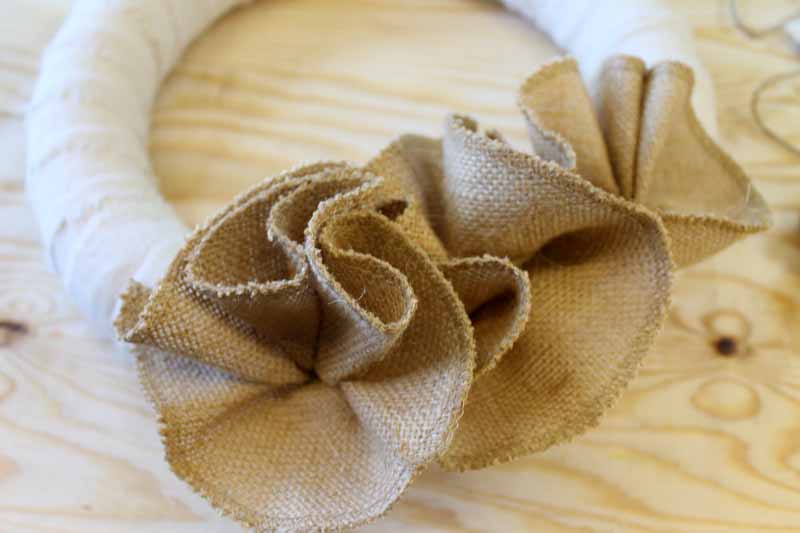
Work the burlap circle until it resembles a flower and then add to the wreath with additional hot glue. Repeat with three of the burlap circles as shown below.
Can't find the pre-made burlap circles? Try cutting burlap into 8-inch circles and stitching the edges on your sewing machine so they will not fray.
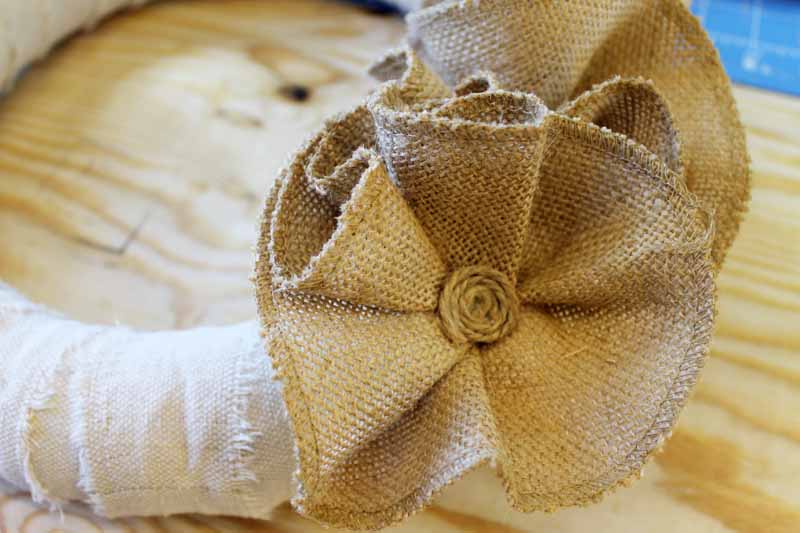
To make centers for your flowers, start with a pool of hot glue on some scrap canvas. Carefully add the jute in a circle as shown below.

Trim the excess canvas away from the jute with scissors and add the flower centers to the wreath using hot glue.
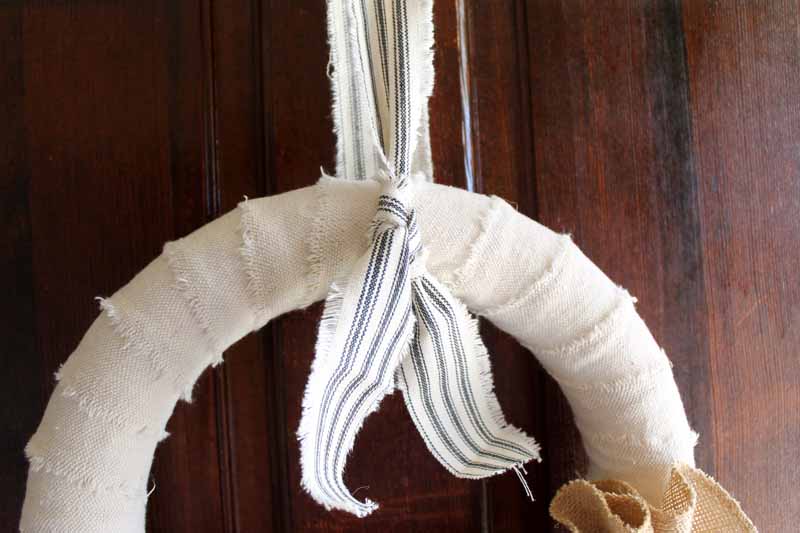
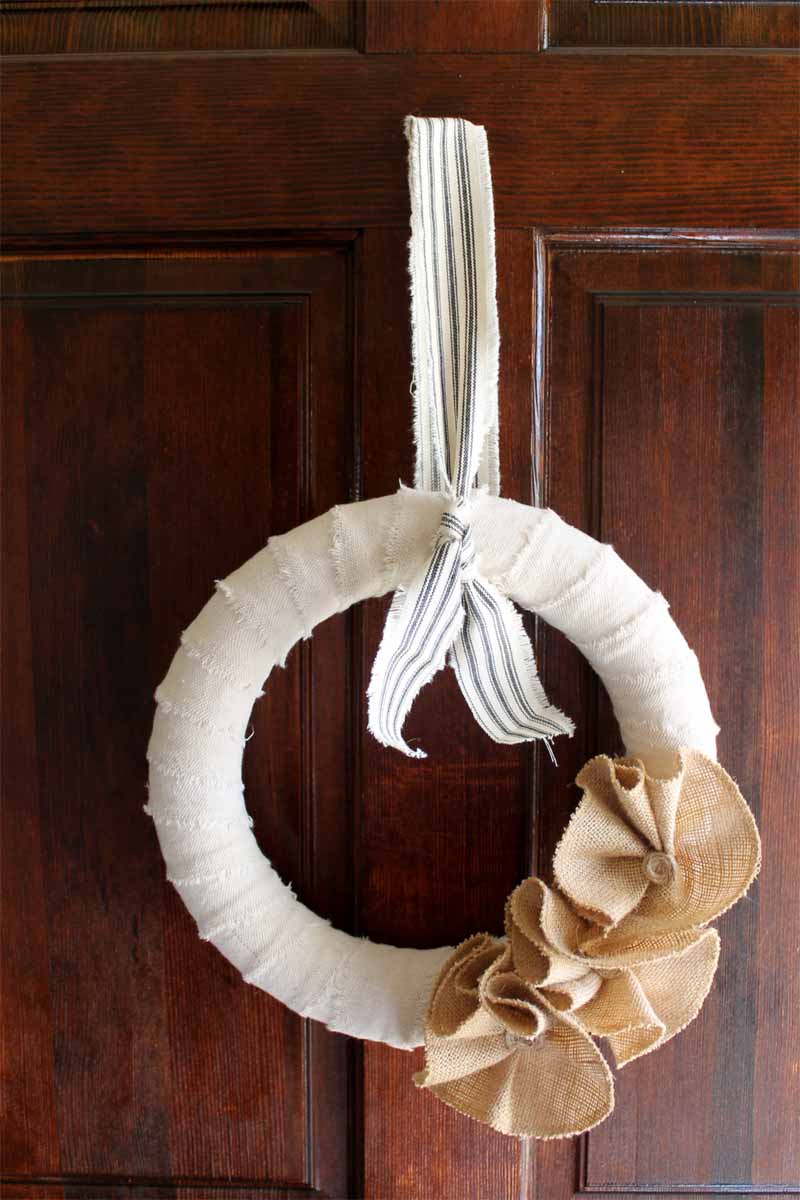
Now all that is left is to find something to use to hang your burlap wreath. You can use canvas fringe as shown below as a hanger for your wreath.
Then just hang your easy burlap wreath on your door or anywhere else in your home. Don't you just love a tutorial as simple as this one? Making a burlap wreath has never been easier or cuter!
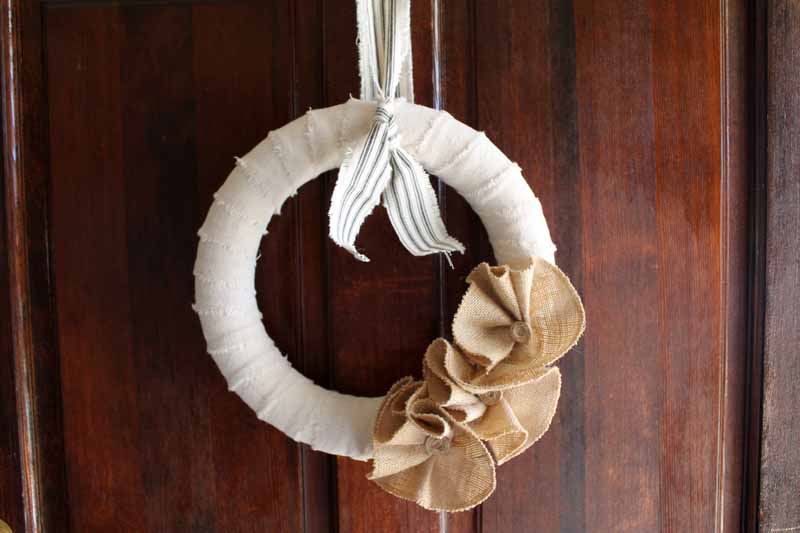
And those burlap flowers? Just gorgeous and oh so simple to make!
Make this a seasonal project!
Will you be making this rustic, farmhouse style burlap wreath for your home? Remember, you're always able to flaunt your personal style. Another idea is to switch it up seasionally by making our burlap sunflower wreath to brighten things up, or by getting into the autumnal spirit with our pumpkin burlap wreath.
Whatever you decide to do with your wreath creation, be sure to show us the results!

Supplies
- 1 Wreath form
- Scrap canvas fabric
- Ticking fringe
- Jute cord
- 3 Burlap 8" round shapes
Instructions
- Start by ripping some scrap canvas into strips. Ripping the fabric gives you that tattered edge. You can snip the edge and rip and you will get the perfect strip with the grain every time. Repeat until you have enough strips to cover your entire wreath form.
- Wrap your wreath form with the strips securing the ends with hot glue. Let the rough edges stay exposed as shown in the image below.
- Set the wreath aside and work on your burlap flowers. Gather up the burlap circles and secure with some of the cording to make a freestyle flower with finished edges. These rustic flowers are the perfect addition to a burlap wreath.
- Work the burlap circle until it resembles a flower and then add to the wreath with additional hot glue. Repeat with three of the burlap circles as shown below.
- Can’t find the pre-made burlap circles? Try cutting burlap into 8-inch circles and stitching the edges on your sewing machine so they will not fray.
- To make centers for your flowers, start with a pool of hot glue on some scrap canvas. Carefully add the jute in a circle as shown below.
- Trim the excess canvas away from the jute with scissors and add the flower centers to the wreath using hot glue.
- Now you can find something to use to hang your burlap wreath. You can use canvas fringe as shown below for a hanger for your wreath.
- Then just hang your easy burlap wreath on your door or anywhere else in your home.
Love this burlap wreath tutorial and want more ideas? Try the links below!
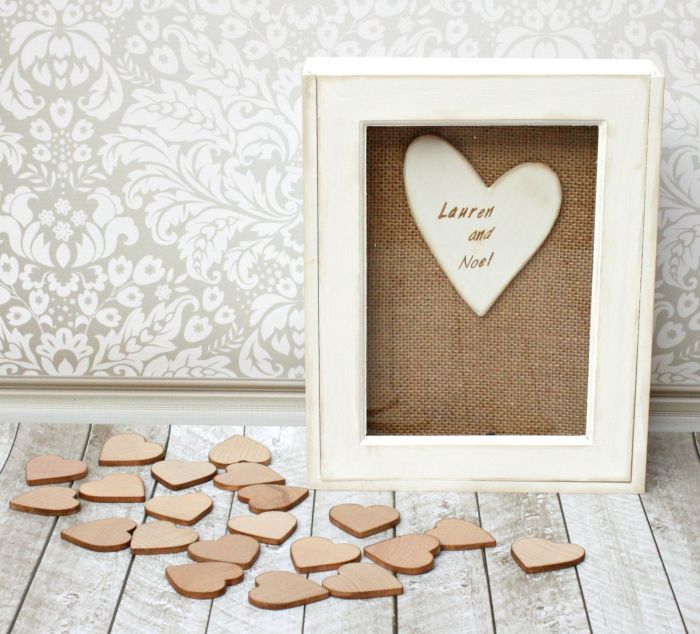
Looking for a rustic wedding guest book? Try this burlap heart wedding guest book from Morena's Corner.
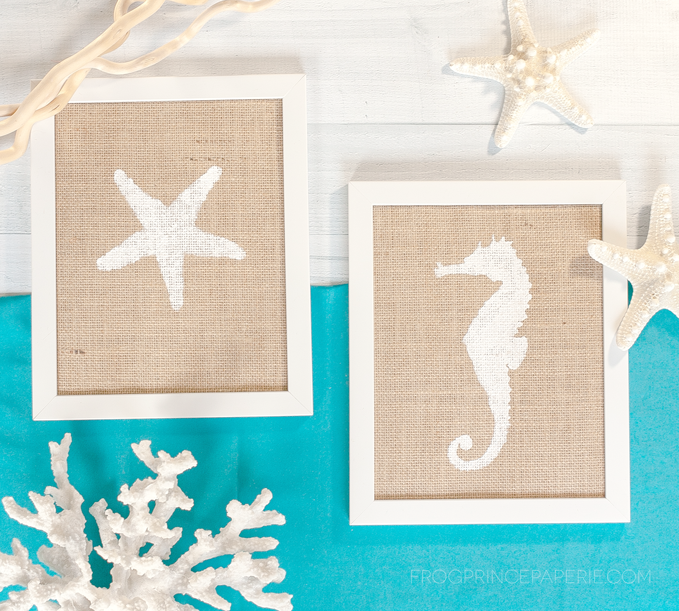
Looking for some beach inspired craft ideas? Try these burlap beach decor frames from Frog Prince Paperie.
Stay tuned as we have more great quick and easy burlap craft ideas all week! This DIY burlap wreath tutorial is just the beginning.


This is really cute! I love the burlap…I am starting to pick up some fall vibes already and I love it. 🙂
This wreath is so cute! I’ve alway been a fan of burlap and love seeing new ways to use it!
I love this! So cute!
I love how easy it looks to make the burlap flowers. The wreath looks fabulous! Thanks for sharing at #HomeMattersParty