
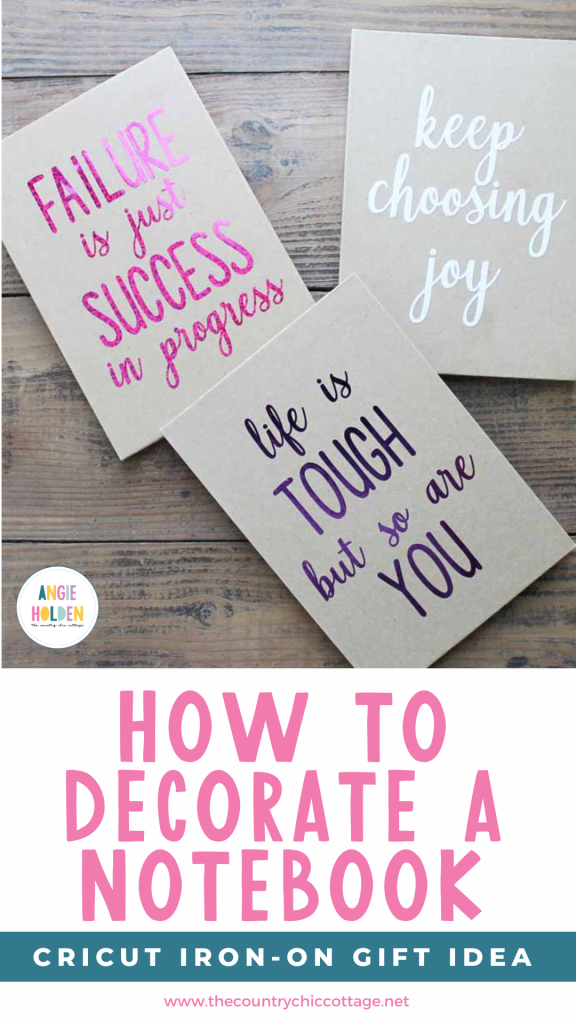
Learn how to decorate a notebook with your Cricut machine and some iron-on vinyl. This easy project makes a great gift for any occasion!
How To Decorate A Notebook
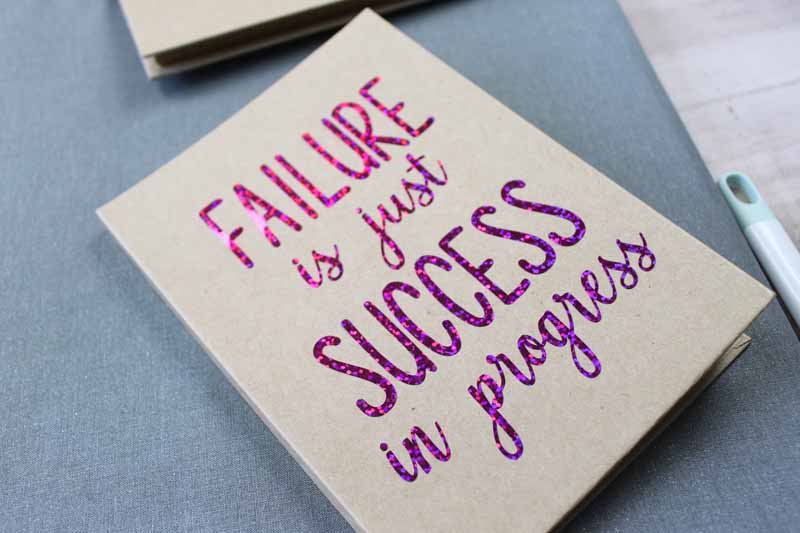
A custom notebook makes a great gift idea, and they are super easy to make with your Cricut machine and some iron-on. I couldn't leave Cricut Holiday week without a gift idea. I love giving handmade gifts for the holidays, and with projects like these, it is super simple to do so.
Supplies Needed To Decorate A Notebook
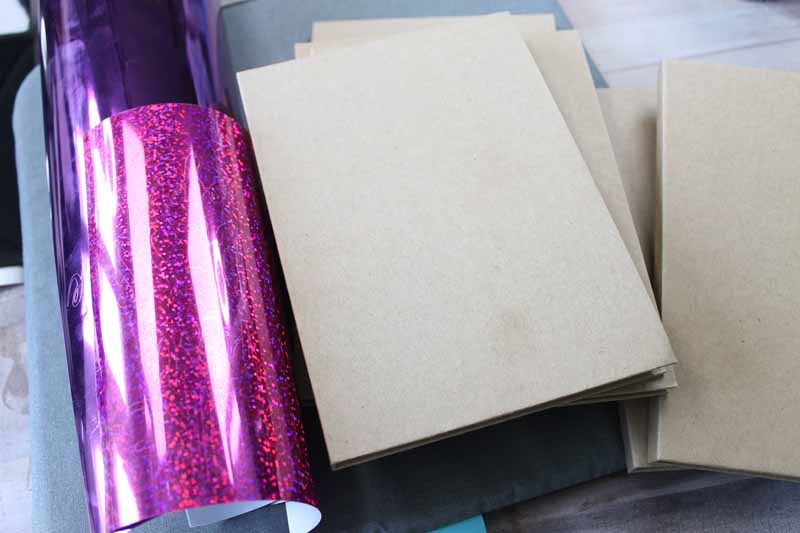
- Paper Notebooks (these are similar to the ones I used)
- Iron-on Material
- Cricut machine (the Explore or Maker will work here) (click here to see which is my favorite)
- Iron or EasyPress (click here to see why I like the EasyPress)
- Weeding Tools (Optional)
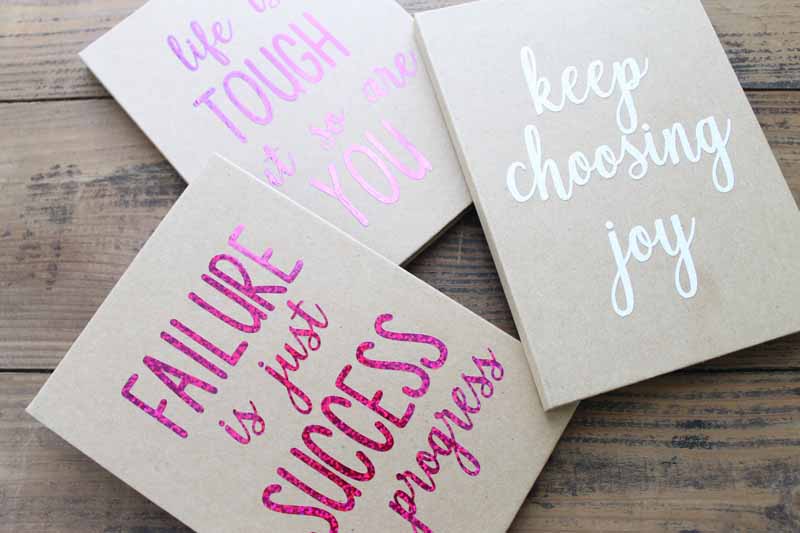
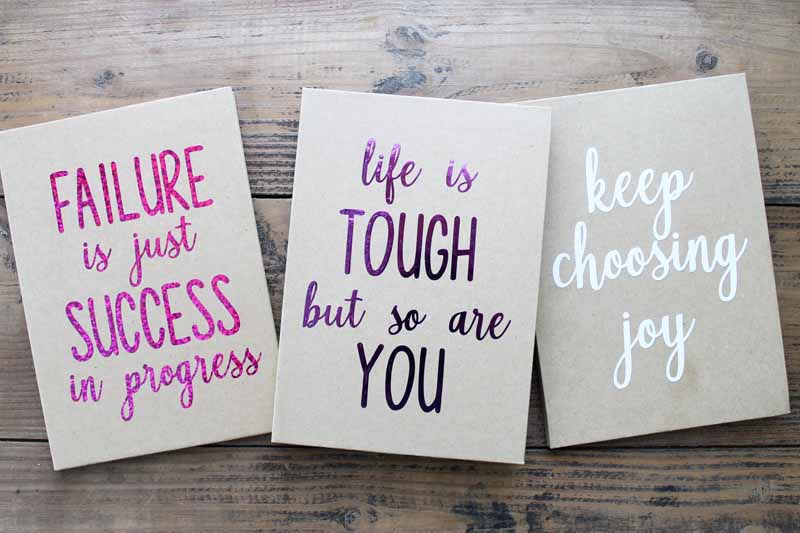
- Cut Files (life is tough, failure/success quote, keep choosing joy)
Step 1: Download Files
First, download the file you would like to add to the front of your custom notebook. We have three you can choose from, or you can create your own. Click on each of the links below to open up each file.
Step 2: Upload Files To Cricut Design Space & Cut Design
Then upload the design to Cricut Design Space for cutting. You can click here to see how to do that if you have trouble.
Once your design has been uploaded, cut your image from the iron-on product of your choice. Be sure to mirror your image before cutting and cut with the shiny side down on the mat. Weed away any excess vinyl after cutting.
Step 3: Iron Design To Notebook
Now you just need to iron it on your notebook. The iron-on product I used had directions for adding to cardstock, and I used those in this case for ironing. If yours doesn’t have directions, start with a medium setting or around 275 degrees for about 20 seconds. You will also want to make sure that your clear carrier sheet covers the entire surface so you don’t get any burns. If it does not, just add parchment paper over the top to protect while ironing.
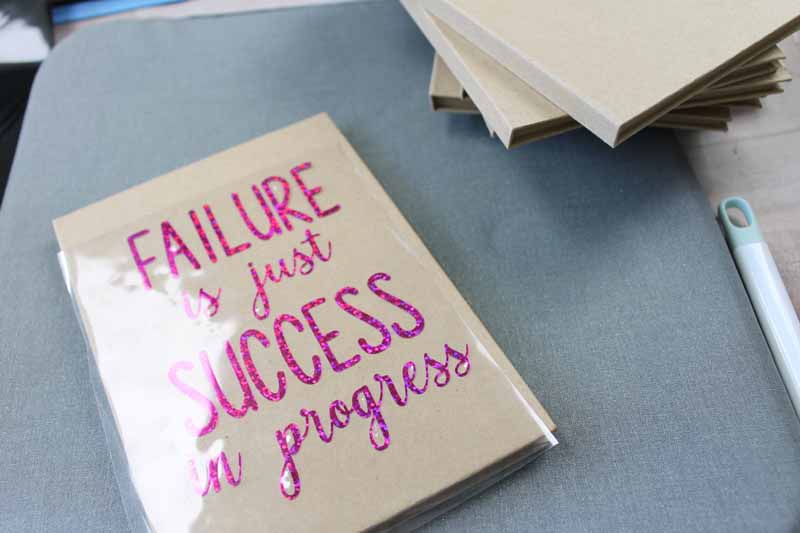
Allow to cool and peel away the carrier sheet to reveal your custom notebook.
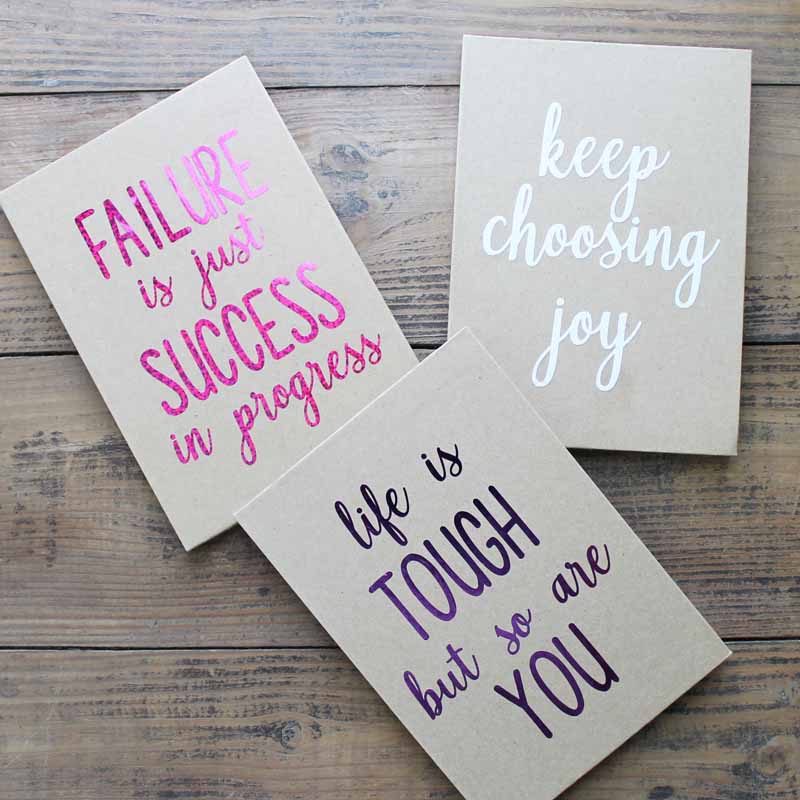
These cute notebooks are perfect for gifts for all ages.
Will you be making a custom notebook for anyone on your list this Christmas?
Love the idea of making a custom notebook and want more Cricut projects? Stay tuned because we will have tons more ideas that you can make with your Cricut machine all week!
Tips and Tricks for How to Decorate a Notebook
Now that you’ve seen how to decorate a notebook, are you ready to make your own? Here are a few tips and tricks to ensure your project goes as smoothly as possible!
- Change Up Your Notebook – Notebooks come in all shapes, sizes, and colors! Due to this, feel free to pick any type of notebook that you want for this project. – Just remember that the iron-vinyl you pick should complement your notebook color so you can see your design.
- Use Any Cricut Machine For This Project – When creating my custom notebook, I used my Cricut Maker. However, you can also use the Cricut Explore series, Cricut Joy, Cricut Joy Xtra, and Cricut Venture to make this project!
- Make Sure To Mirror Your Design – It's so easy to click ”Make It” on your Cricut machine and start cutting your design! However, before you press that button, make sure to mirror your image before cutting and cut with the shiny side down on the mat. Double-checking this will save you time and help you avoid wasting your iron-on supplies.
- Use Any Cricut EasyPress For This Project – Just like the Cricut Machine, you can use any Cricut EasyPress that you have for this project! I used my regular-sized EasyPress, but you can also use your Mini Cricut EasyPress.
5 More Iron-On Crafts
Did you love learning how to decorate a notebook, and are now looking for more iron-on crafts? Then check out the projects below!
- Iron On Shirt: Three Superhero Designs for Your Cricut
- How to Use Iron-On Vinyl on Metal
- DIY Baby Shoes with Iron-on Vinyl
- Iron On Shoes with the Cricut EasyPress Mini
- Decorating a Wooden Box with Iron-On (HTV)


That vinyl is gorgeous!
When I clicked on the link for the specific quotes, it would only save as a jpeg … which means it would be a print-then-cut. Is there a way to save the quotes as an svg instead?
This is an older post and that is how I was making the files back then 🙂 You can erase the background in Design Space and even turn it into a layered cut file for free if you have a Cricut Access Subscription. If you don’t there are other free jpg to SVG converters you can use, just do a quick search on Google 🙂
why use HTV iron on and not permanent vinyl?
You can use either. I like using HTV on projects like this because it’s easier to reposition since the adhesive isn’t sticky until heat is applied 🙂