I am so excited to share a project I've been wanting to make forever. I'm going to show you how to cut and sublimate clear acrylic, and I'm using my FLUX beamo laser to do it.
You cannot cut clear acrylic with a diode laser, but the FLUX beamo is a CO2 laser, which means I can finally make my own clear acrylic sublimation blanks.
If you haven't heard of the FLUX beamo, make sure to check out my full review.

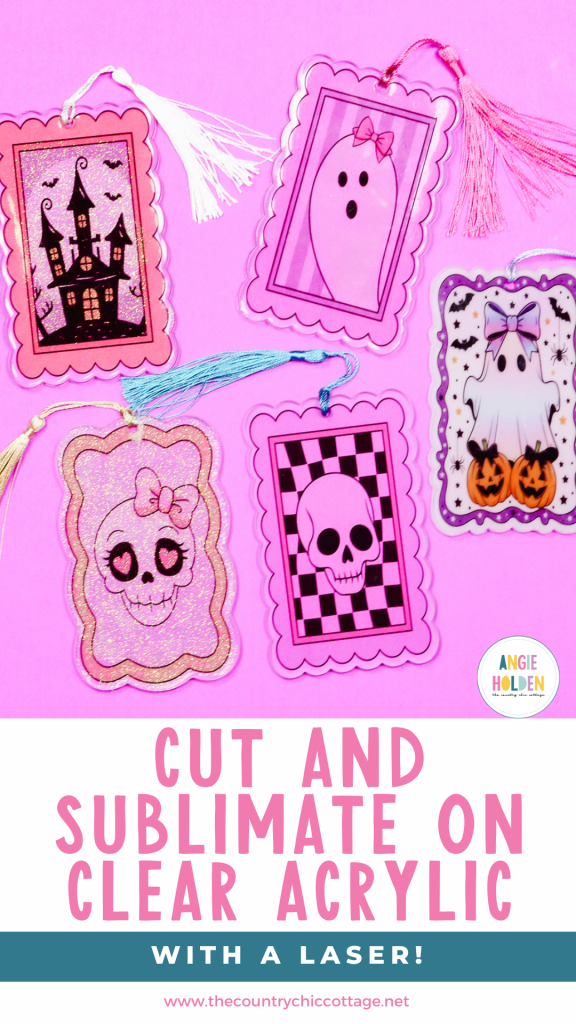
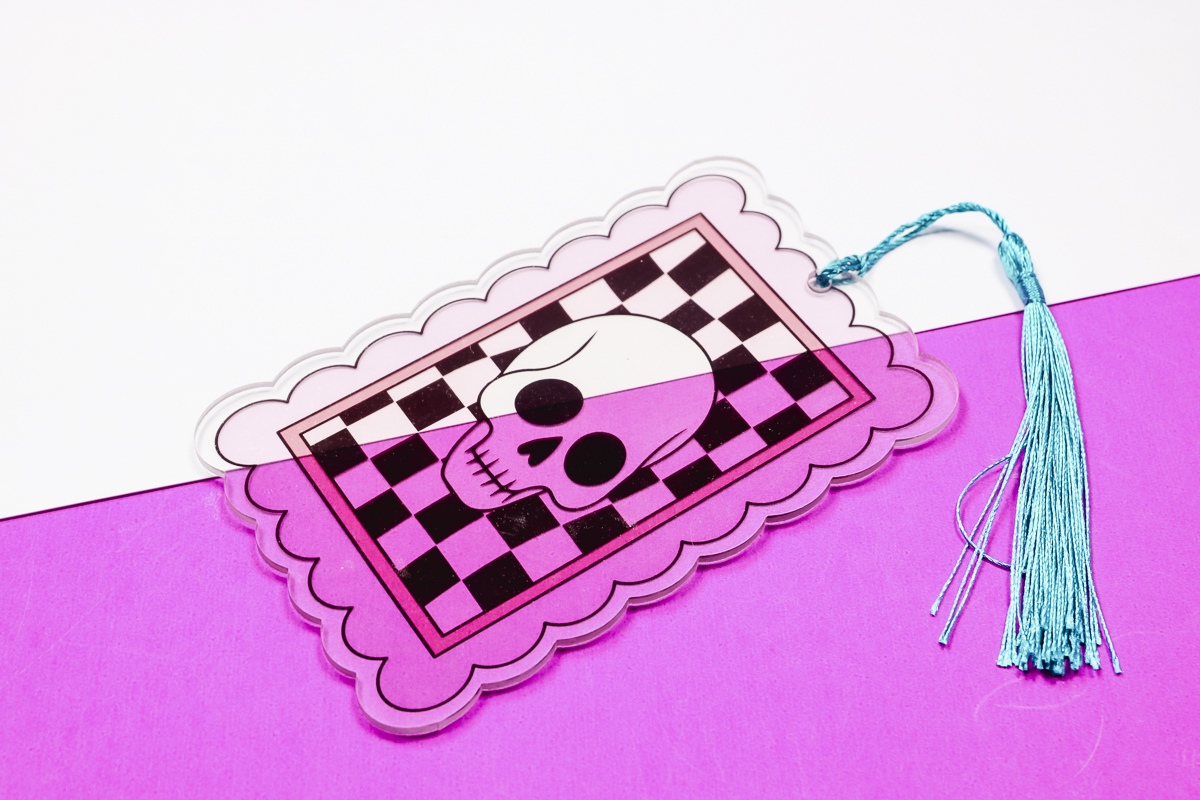
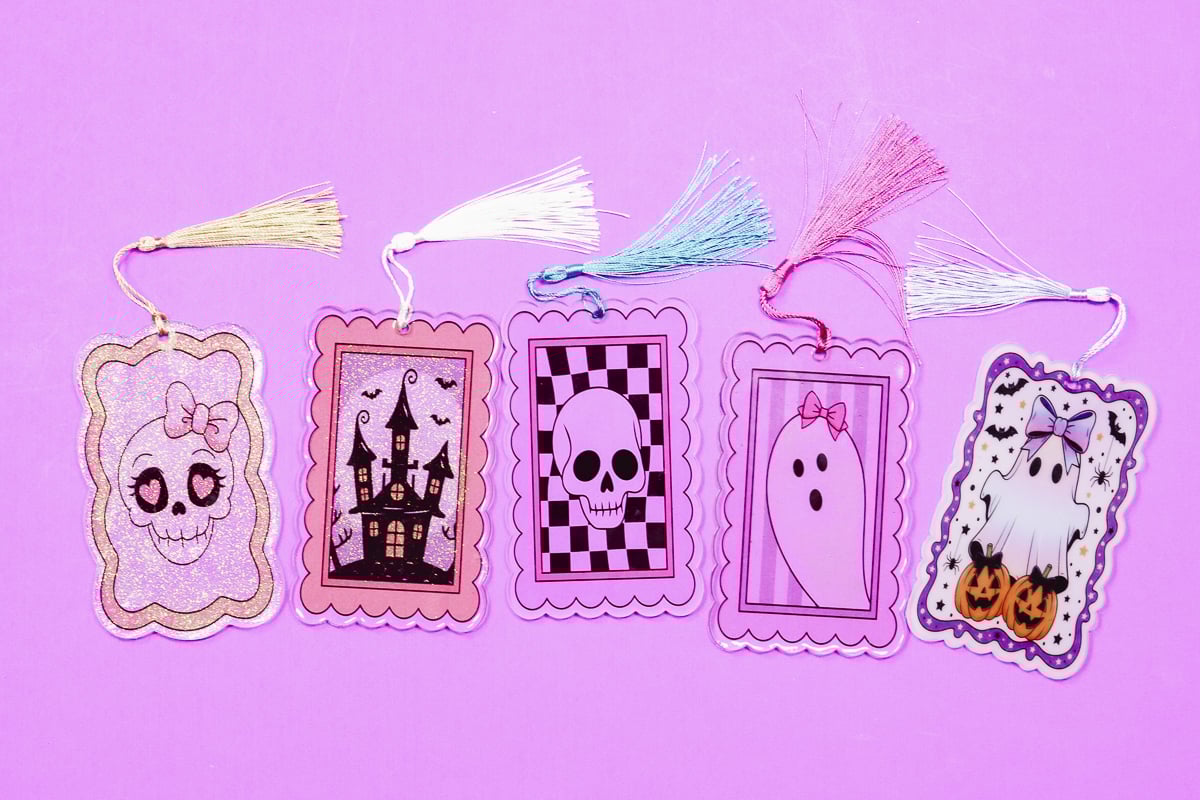
I'm going to show you how to make these cute Halloween stamp-style sublimation bookmarks, but you can use this tutorial to create any cut and sublimated clear acrylic project you want.
You can watch me make these bookmarks with my beamo laser and sublimation printer by pressing play on the video below.
Cut and Sublimate Clear Acrylic Bookmarks
I've seen these stamp-looking designs popping up all over the place. Combining the stamp look with these cute Halloween designs is very on trend, and I knew they'd be great as an acrylic bookmark.
Supplies Used
You will need all of these supplies to make the bookmarks the way I am making mine today. If you want to change things up, you may not need everything listed below.
Designs Used
Laser Supplies
Sublimation Supplies
- Heat-Resistant Mat
- Brother Sublimation Printer
- Sublimation Paper
- Lint Roller
- Pixie Spray
- Heat-Resistant Gloves
- Protective Paper
- Paper Dispenser
- Heat Press
Resin Supplies
What Laser Do I Need?
To cut clear or light colored acrylic, you need a CO2 laser. I really like the FLUX beamo, it is a small CO2 laser, which makes it great for people with limited space.
You can learn all about the beamo here, how to set it up, what projects you can make, etc. If you're looking for a laser, this may be the right choice for you.
Cutting clear acrylic with a laser has been on my project wish list for a long time. Until the FLUX beamo, I only owned diode lasers, and they cannot cut clear acrylic.
What type of acrylic do you need?
To make sublimation acrylic bookmarks with your laser, you need cast acrylic. Cast acrylic can be sublimated and cut with a laser. Extruded acrylic won't work, so make sure the acrylic you purchase is cast acrylic.
Step 1. Add Material to Machine and Focus
The first thing I am going to do is place the acrylic in the beamo. My acrylic sheet is three millimeters thick. If your acrylic is thinner or thicker, make sure you make adjustments to your settings.
For my acrylic, I found that removing the protective film before cutting worked best.
I am using the autofocus module. Double-click it to focus on the material and then head to Beam Studio to upload the design.
Step 2. Create a Cut File in Beam Studio
Upload your image then resize the design to whatever size you want your bookmark to be. I have mine sized to three inches by five inches. Repeat the process for each additional design.
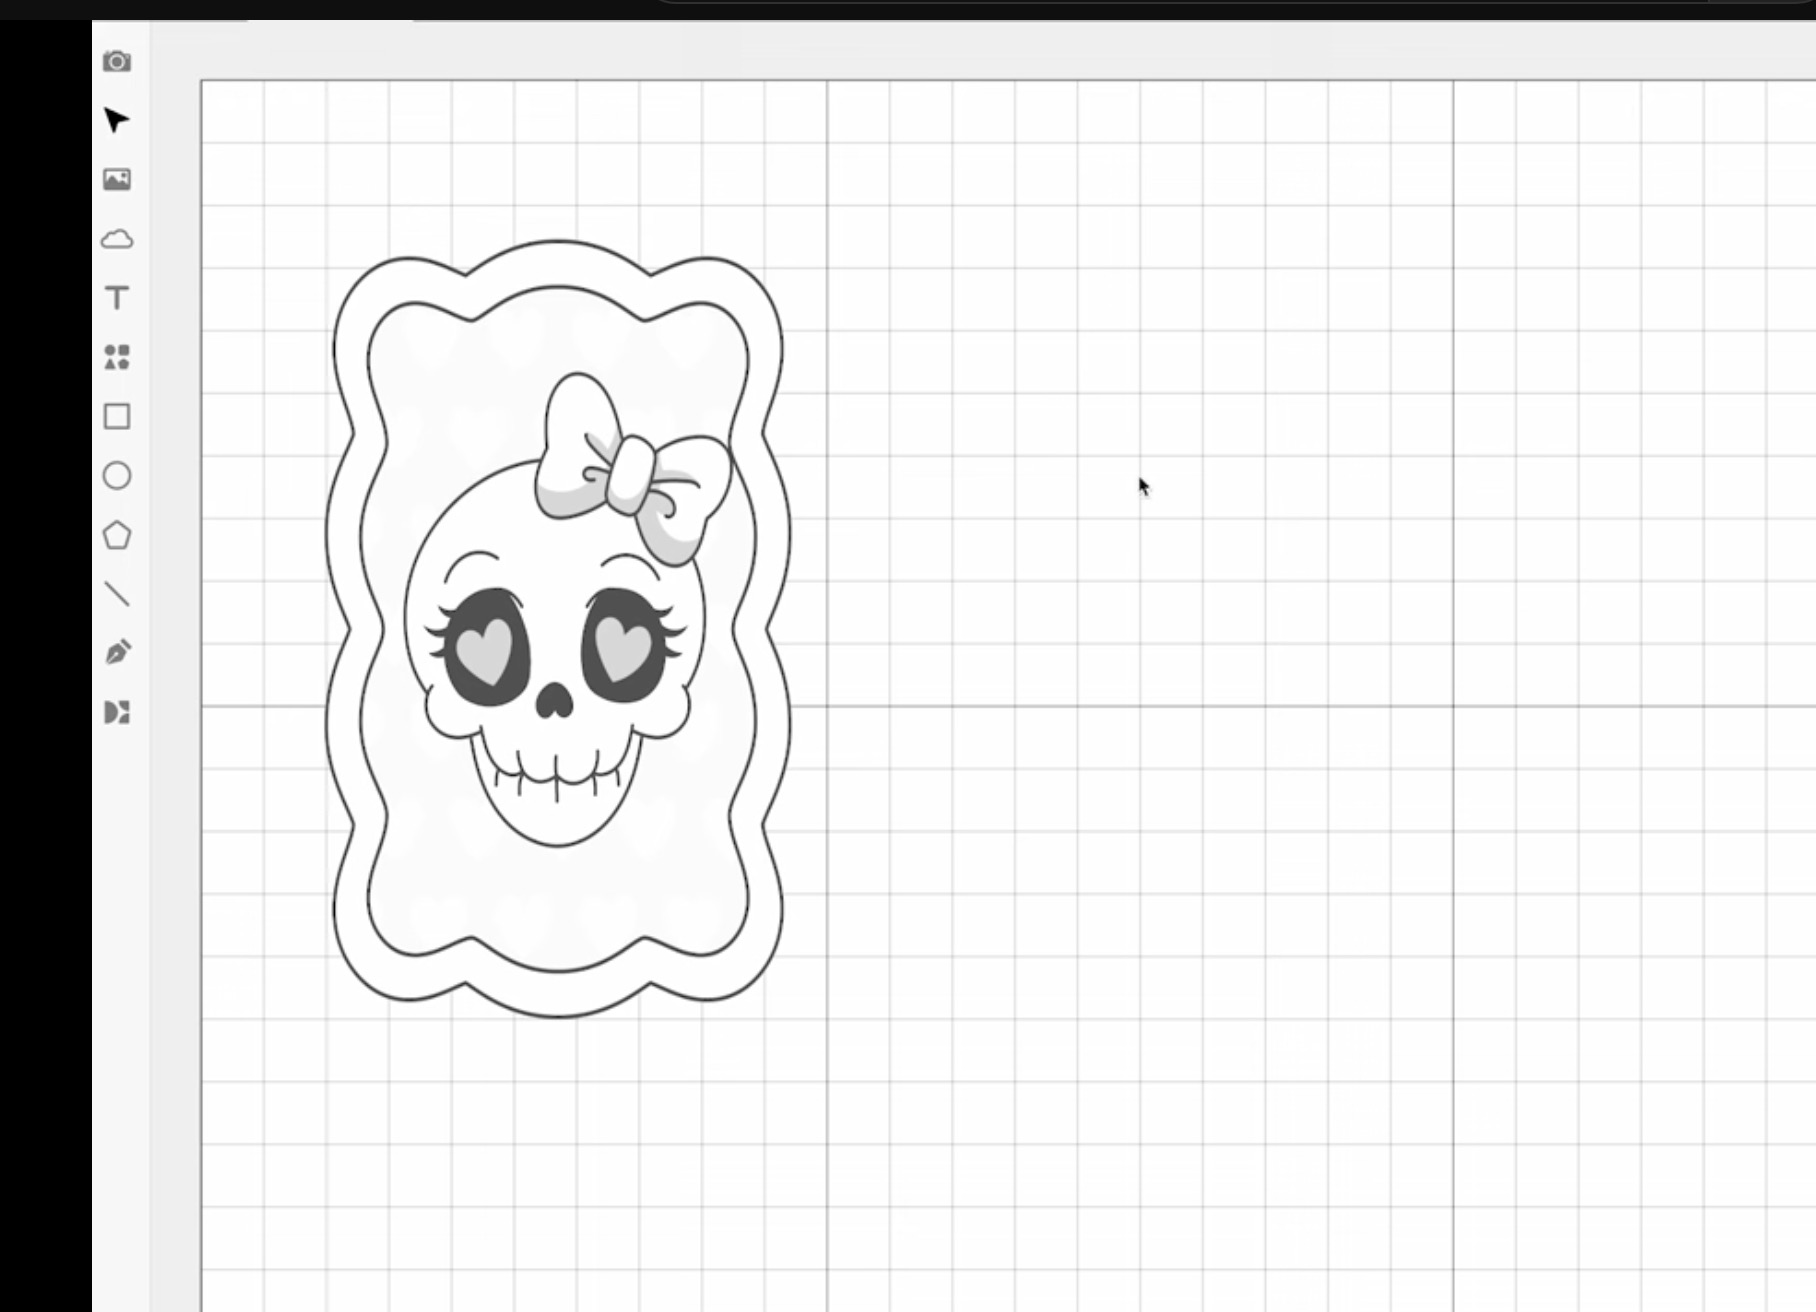
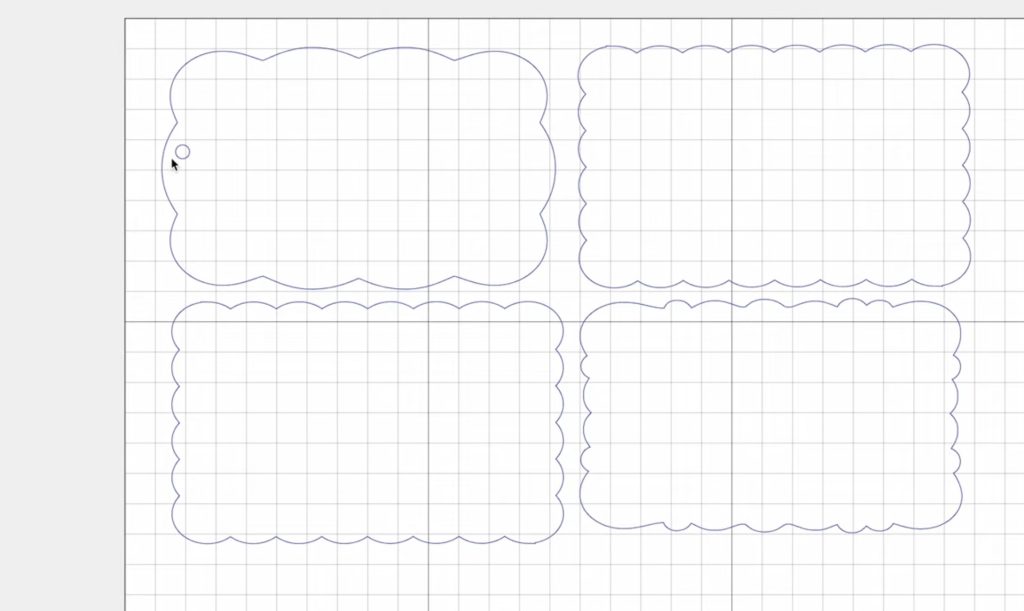
I want to add an offset to my designs. This is an optional step, but I really like the way it looks.
Click on the image and then click Outline. This will outline the outer edge of the design, not the details on the inside, since I am only cutting out the outside.
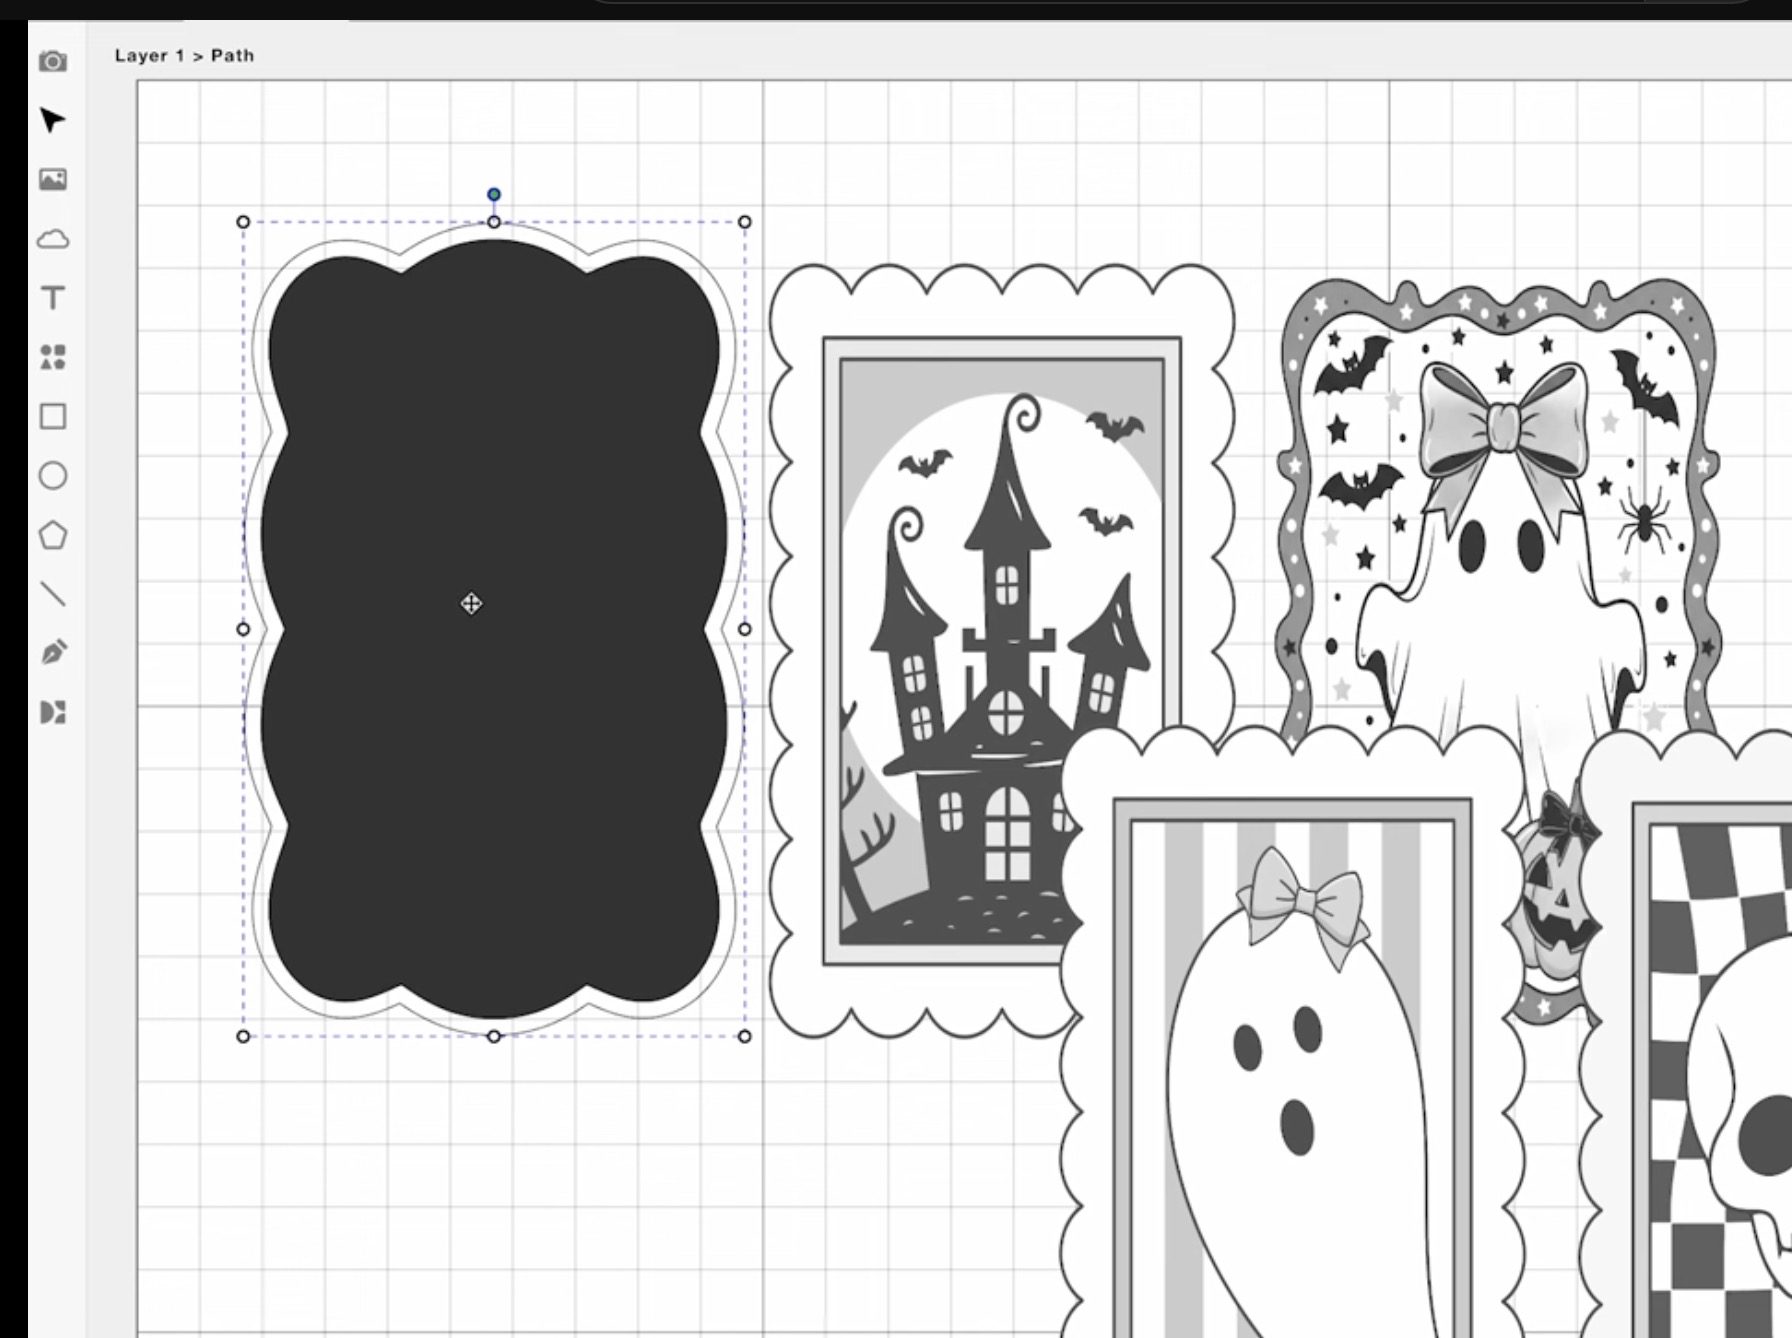
Next, I am going to add an offset. For these projects, I like a 0.1-inch offset, which gives a little clear edge.
With the offset applied, we can delete everything else from the Beam Studio screen. We only need the offset that was added to the outline because that is what we're going to cut.
Repeat this process for each design.
Since I want these to be bookmarks, I am adding a circle to each design within Beam Studio. You can make the circle any size you want and locate it within the outline.
Step 3. Locate Designs on Material
With the designs set up, we can rotate and move them as needed to fit them on the acrylic sheet. Make sure that you don't overlap the designs.
I love that when you scan the inside of the laser bed, you can see exactly where your material is.
Step 4. Cut Out the Acrylic
For the acrylic I am using today, I chose the Acrylic .2 inch setting. I changed the power to 65% and the passes to six. These settings worked great for my material.
Click Process to send the design to the FLUX beamo.
On the beamo touchscreen, you can see the progress of the cut so you know how much time is left.
Step 5. Remove Cut Pieces from Machine
When the machine is done cutting, open the lid to remove the cut pieces. Once they're cut out, they're ready to sublimate.

Note – Before sublimating, make sure you have removed any protective coating from the front and back.
Step 6. Create a Sublimation Design in Creative Fabrica Studio
Open Creative Fabrica Studio and click Create a Design. I have mine set to inches and made it the same size as my sublimation paper.
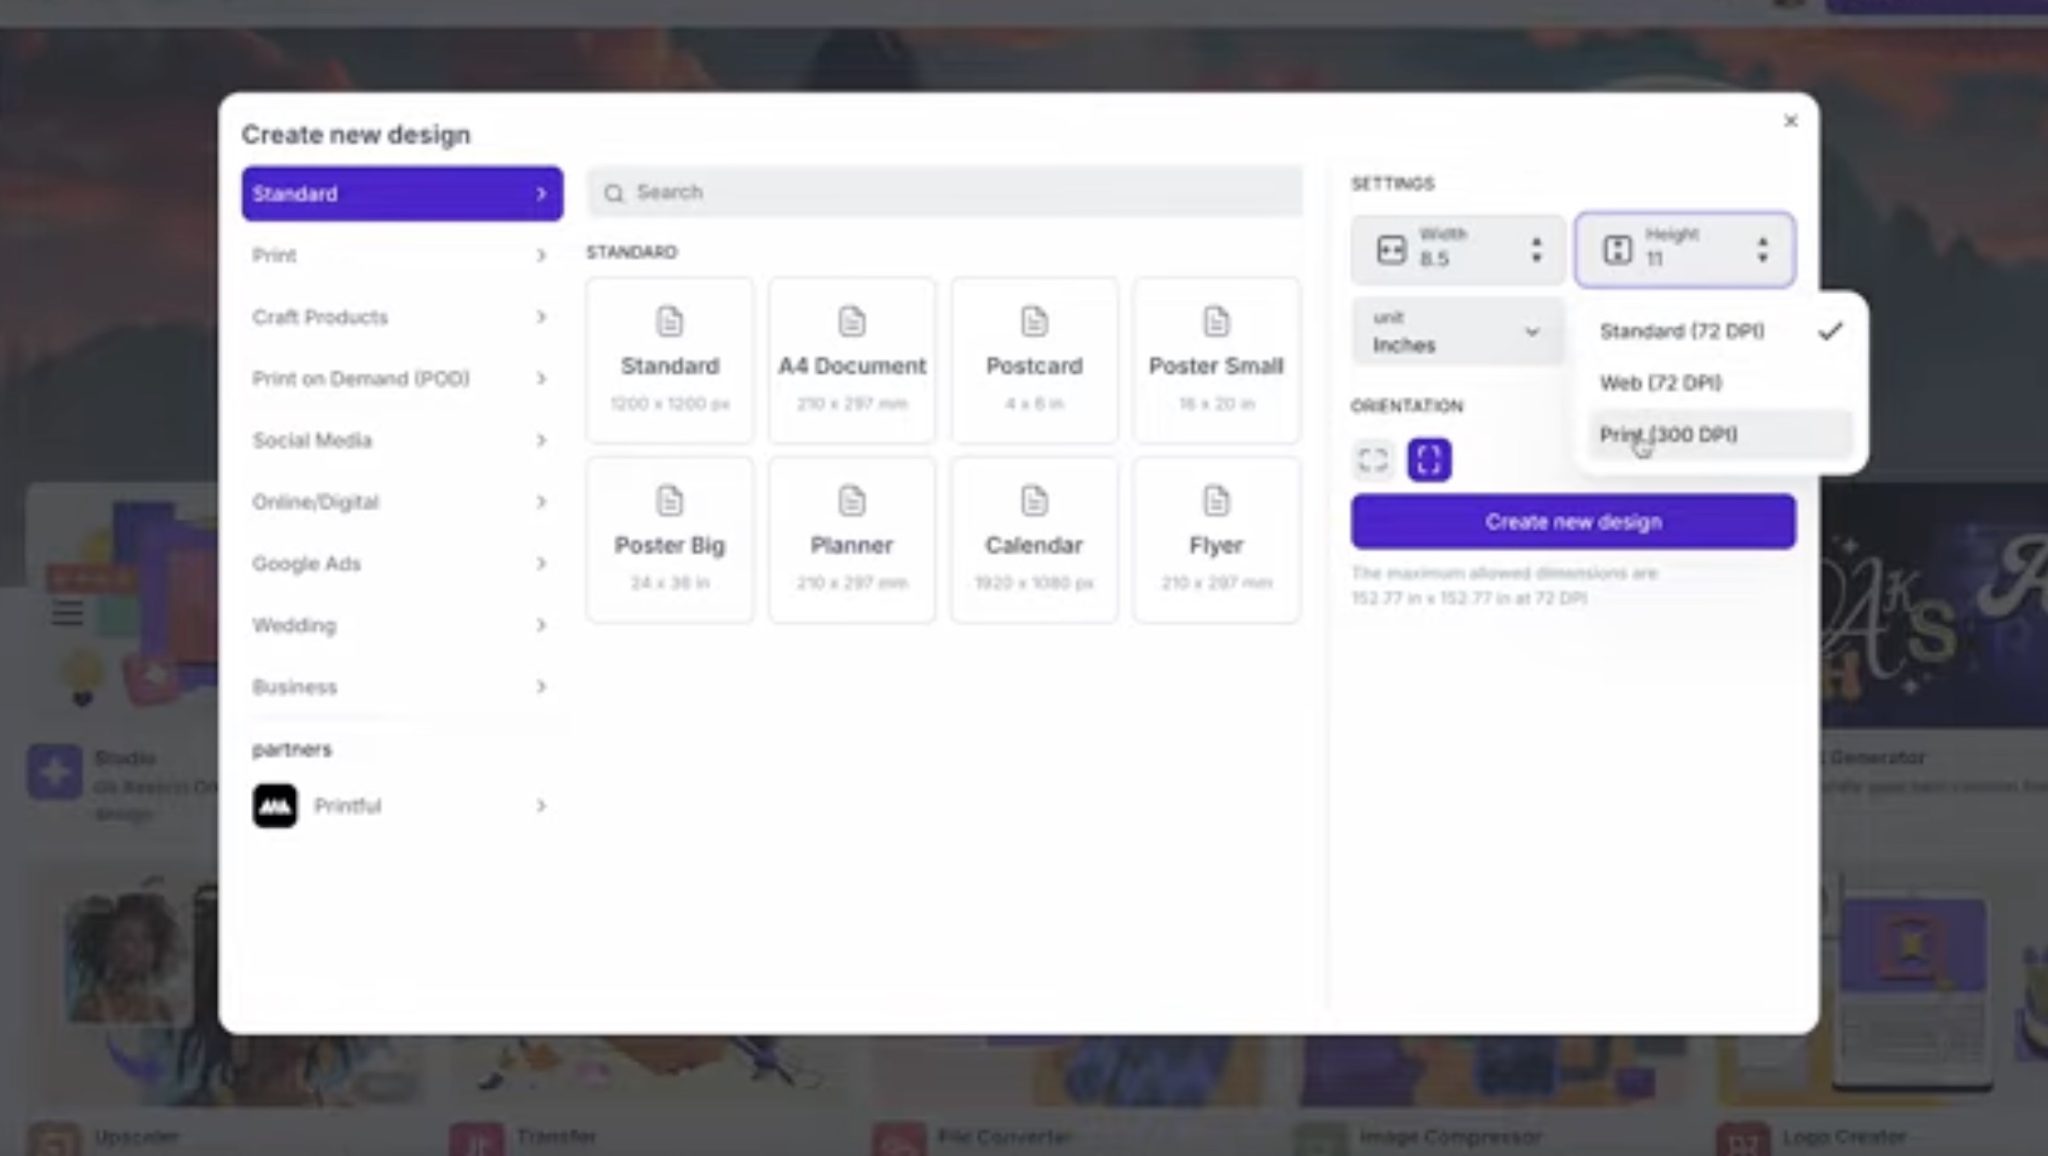
Click DPI and select Print at 300 DPI, and then click Create a New Design.
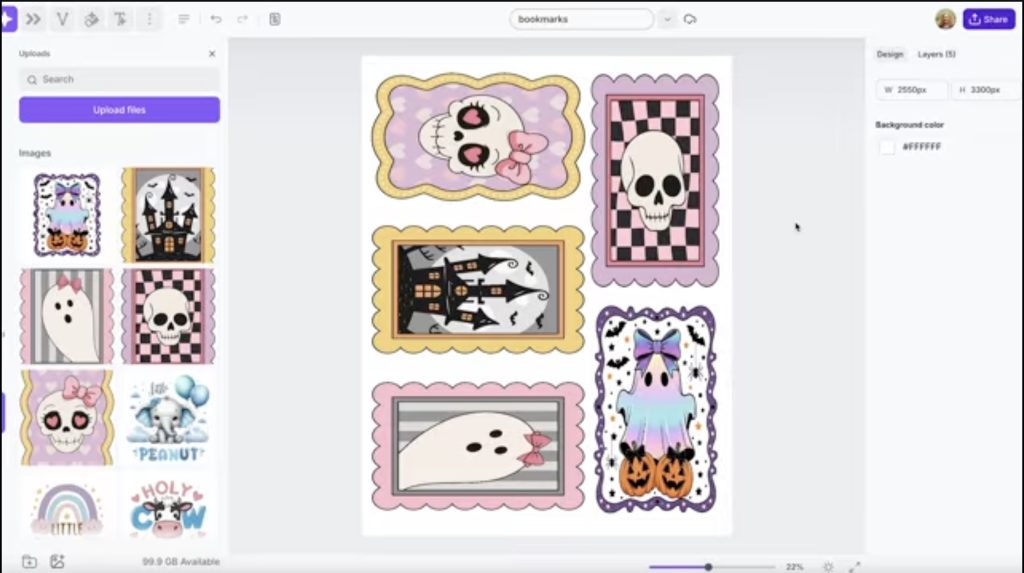
Upload the designs and click to add them to the canvas.
Make sure the design is the same size as the design you used in Beam Studio. In Creative Fabrica Studio, the width and height are in pixels. Unlock the design, and then we need to adjust the measurement we used in Beam Studio to pixels.
For the width, my measurement was 3 inches. We want to multiply that by 300 because that is our DPI setting, and that gives us 900px for the width. For the height, we need to multiply 5 times 300, which gives us 1500px.
With these settings, my design is the same size as the design was in Beam Studio before I added the offset. I want to have a clear offset around my design, so I will keep this design the same size as the original.
Repeat this process for each design.
Step 7. Print the Sublimation Designs
Before printing, I moved and rotated the designs so they would all fit on one sheet of 8.5 by 11 sublimation paper.
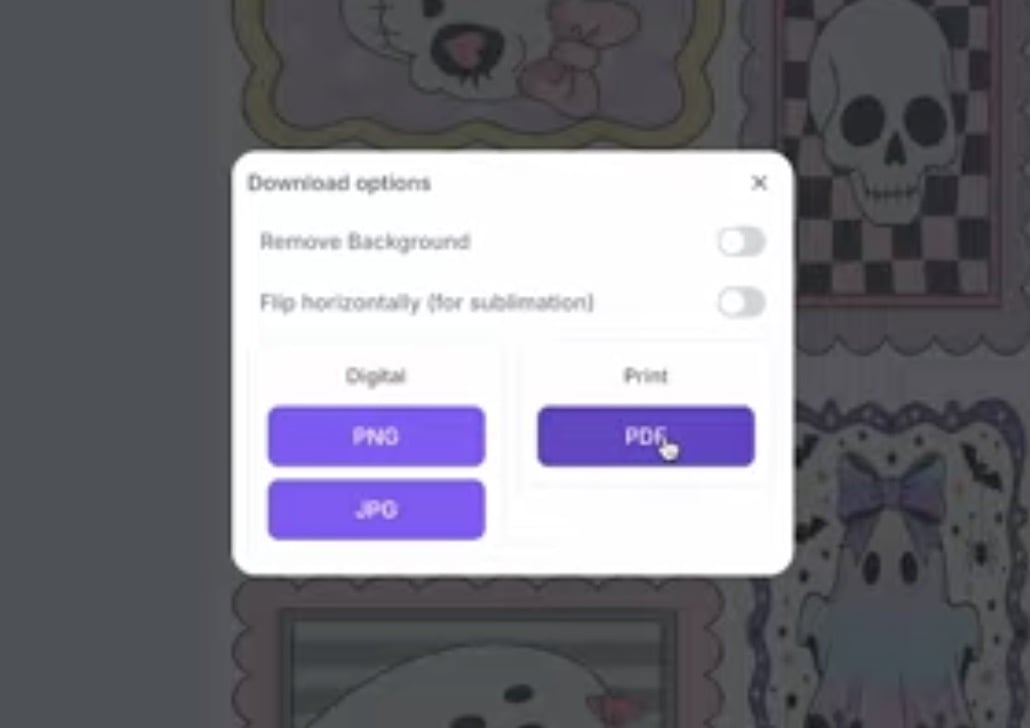
Click Share and then download as a PDF for print. Because I am sublimating on the back of my acrylic, I do not need to mirror the design. If you are sublimating the front of your blank, make sure you mirror the design.
Send the design to be printed to your sublimation printer. Make sure you print with sublimation ink on sublimation paper.
Step 8. Prepare the Blanks
Next, we need to remove the protective film from the back of our acrylic. If the acrylic hole is stuck, you can use a weeding tool or something similar to push the hole out.
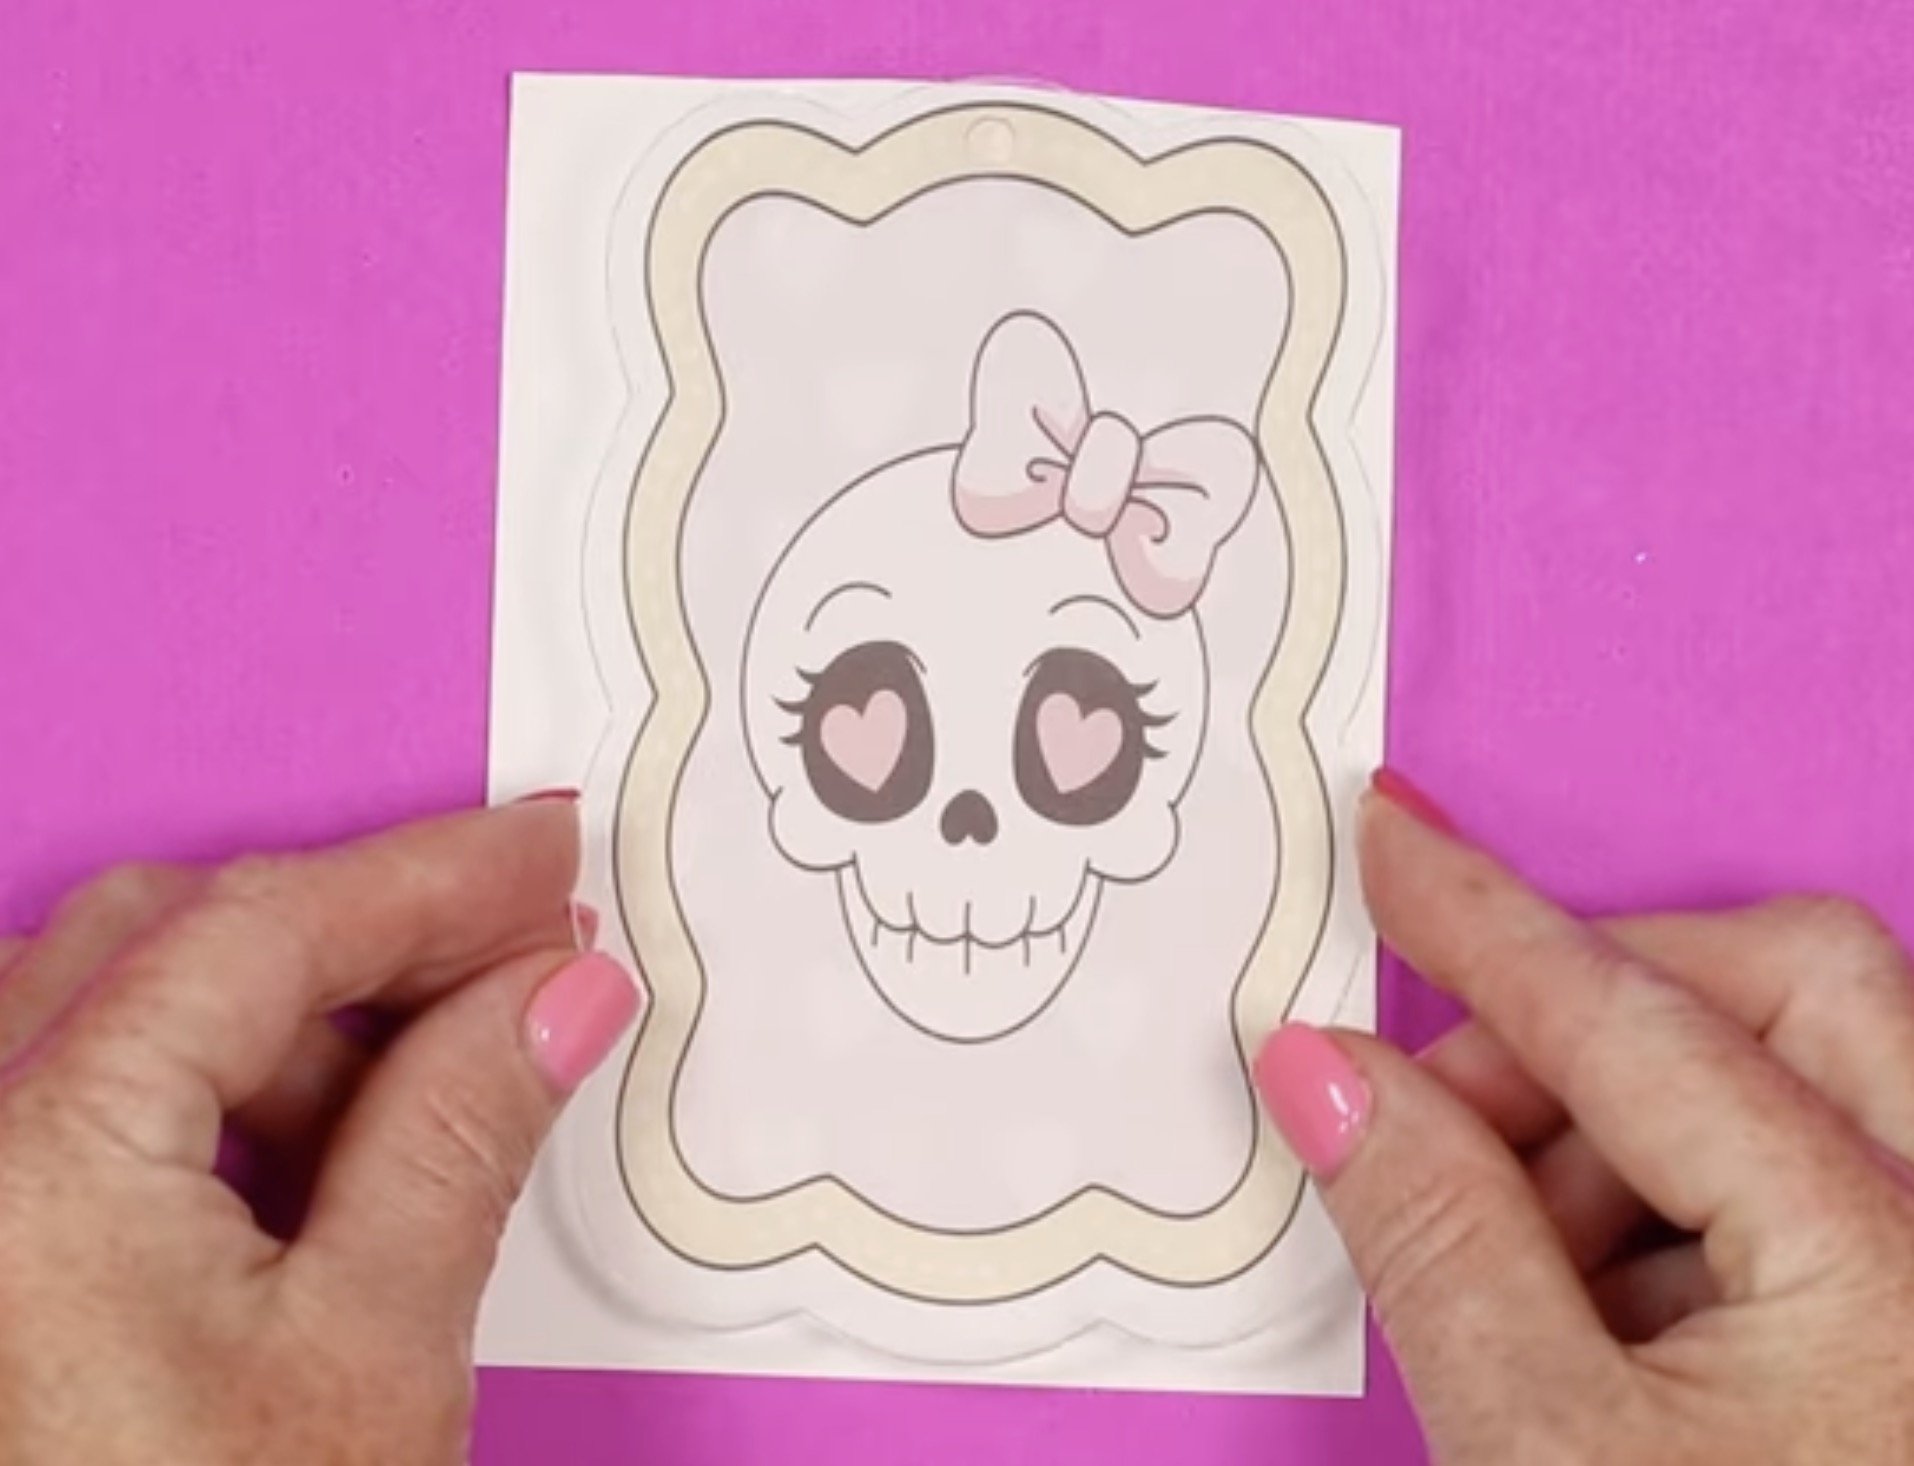
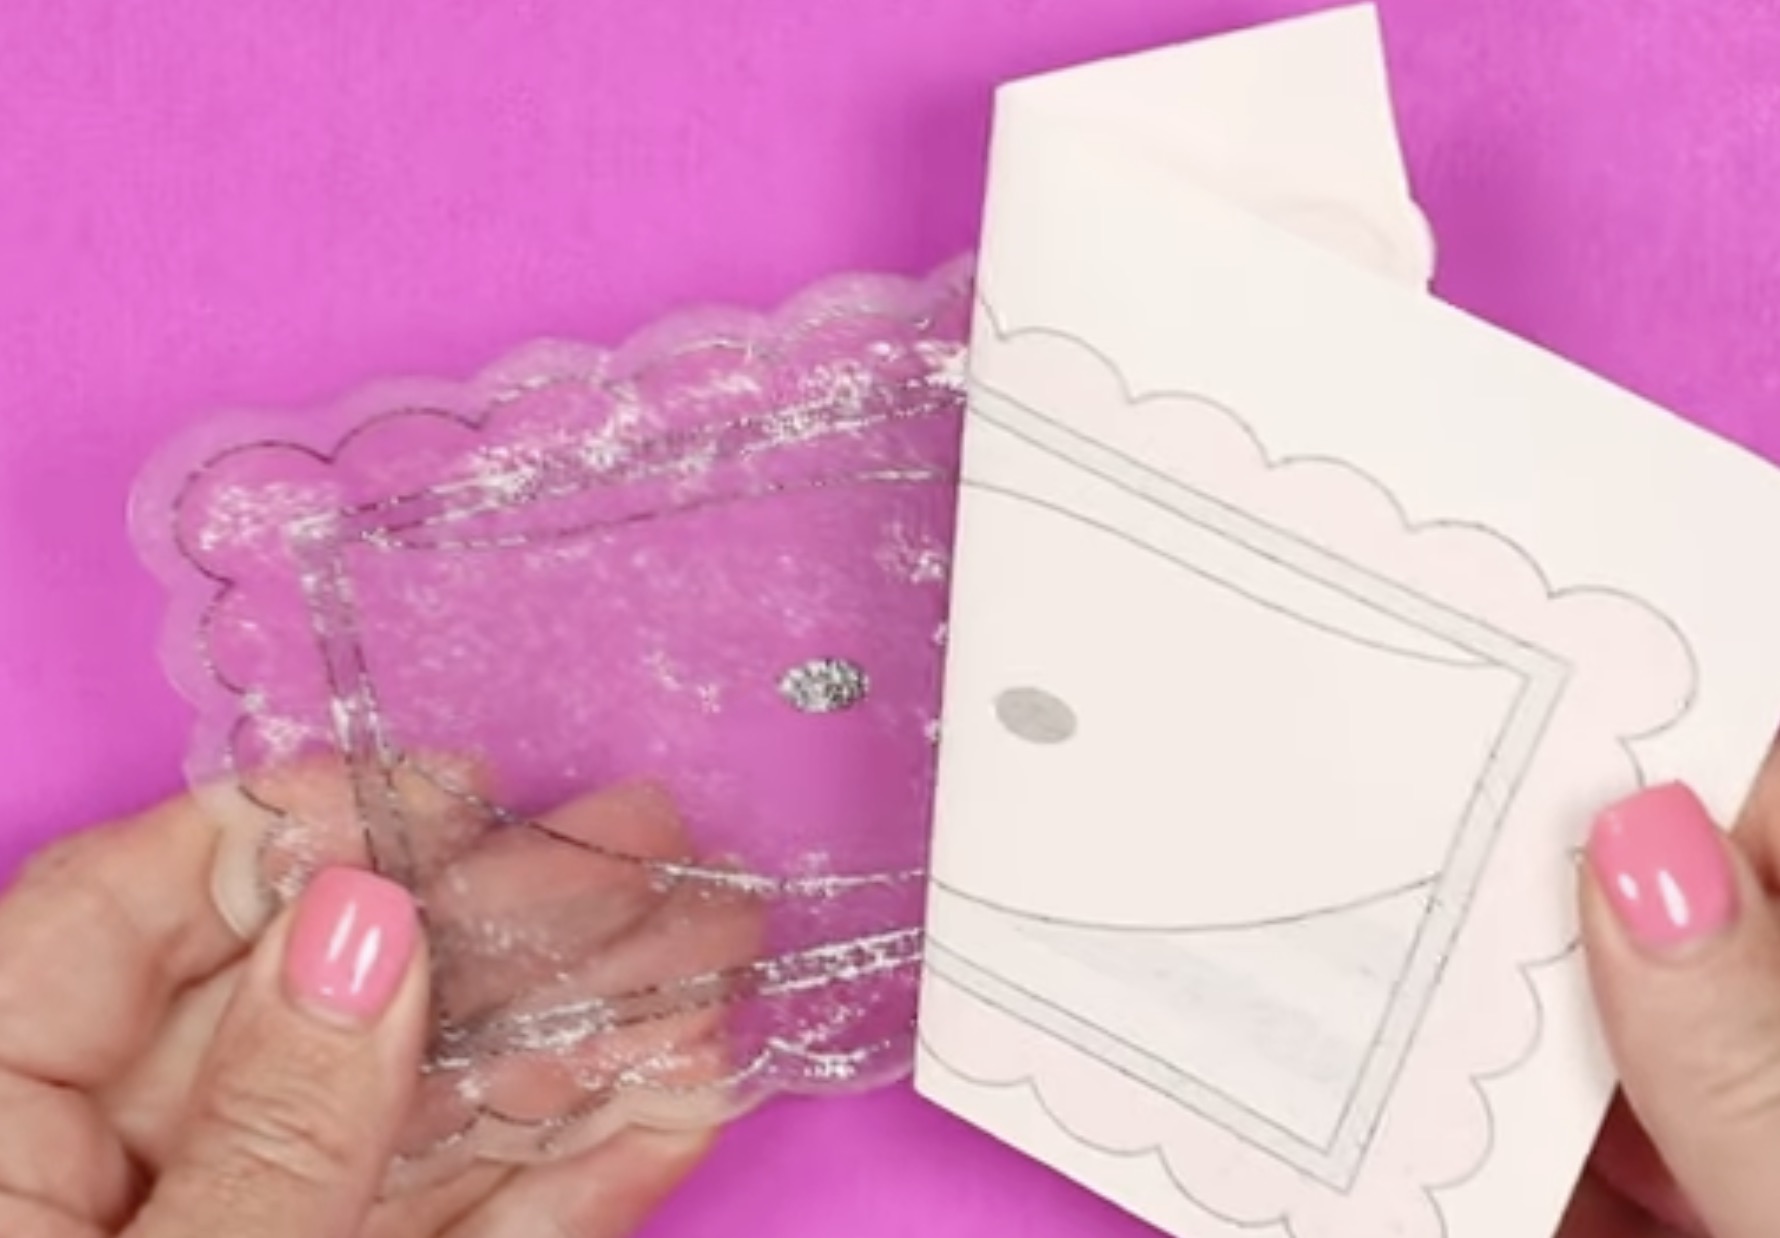
Now we're ready to locate the designs. Double-check to ensure the print sizes are correct for the blanks you cut out.
I am using a few different brands of acrylic, and I feel like they vary a little bit in width. Because of this, I am cutting apart my prints and will be pressing them one at a time.
Because acrylic gets flexible as it's heated, you can get press marks from tape and from the edges of the paper. To prevent those marks, I am using a repositionable adhesive spray. I like the Pixie Spray brand the best.
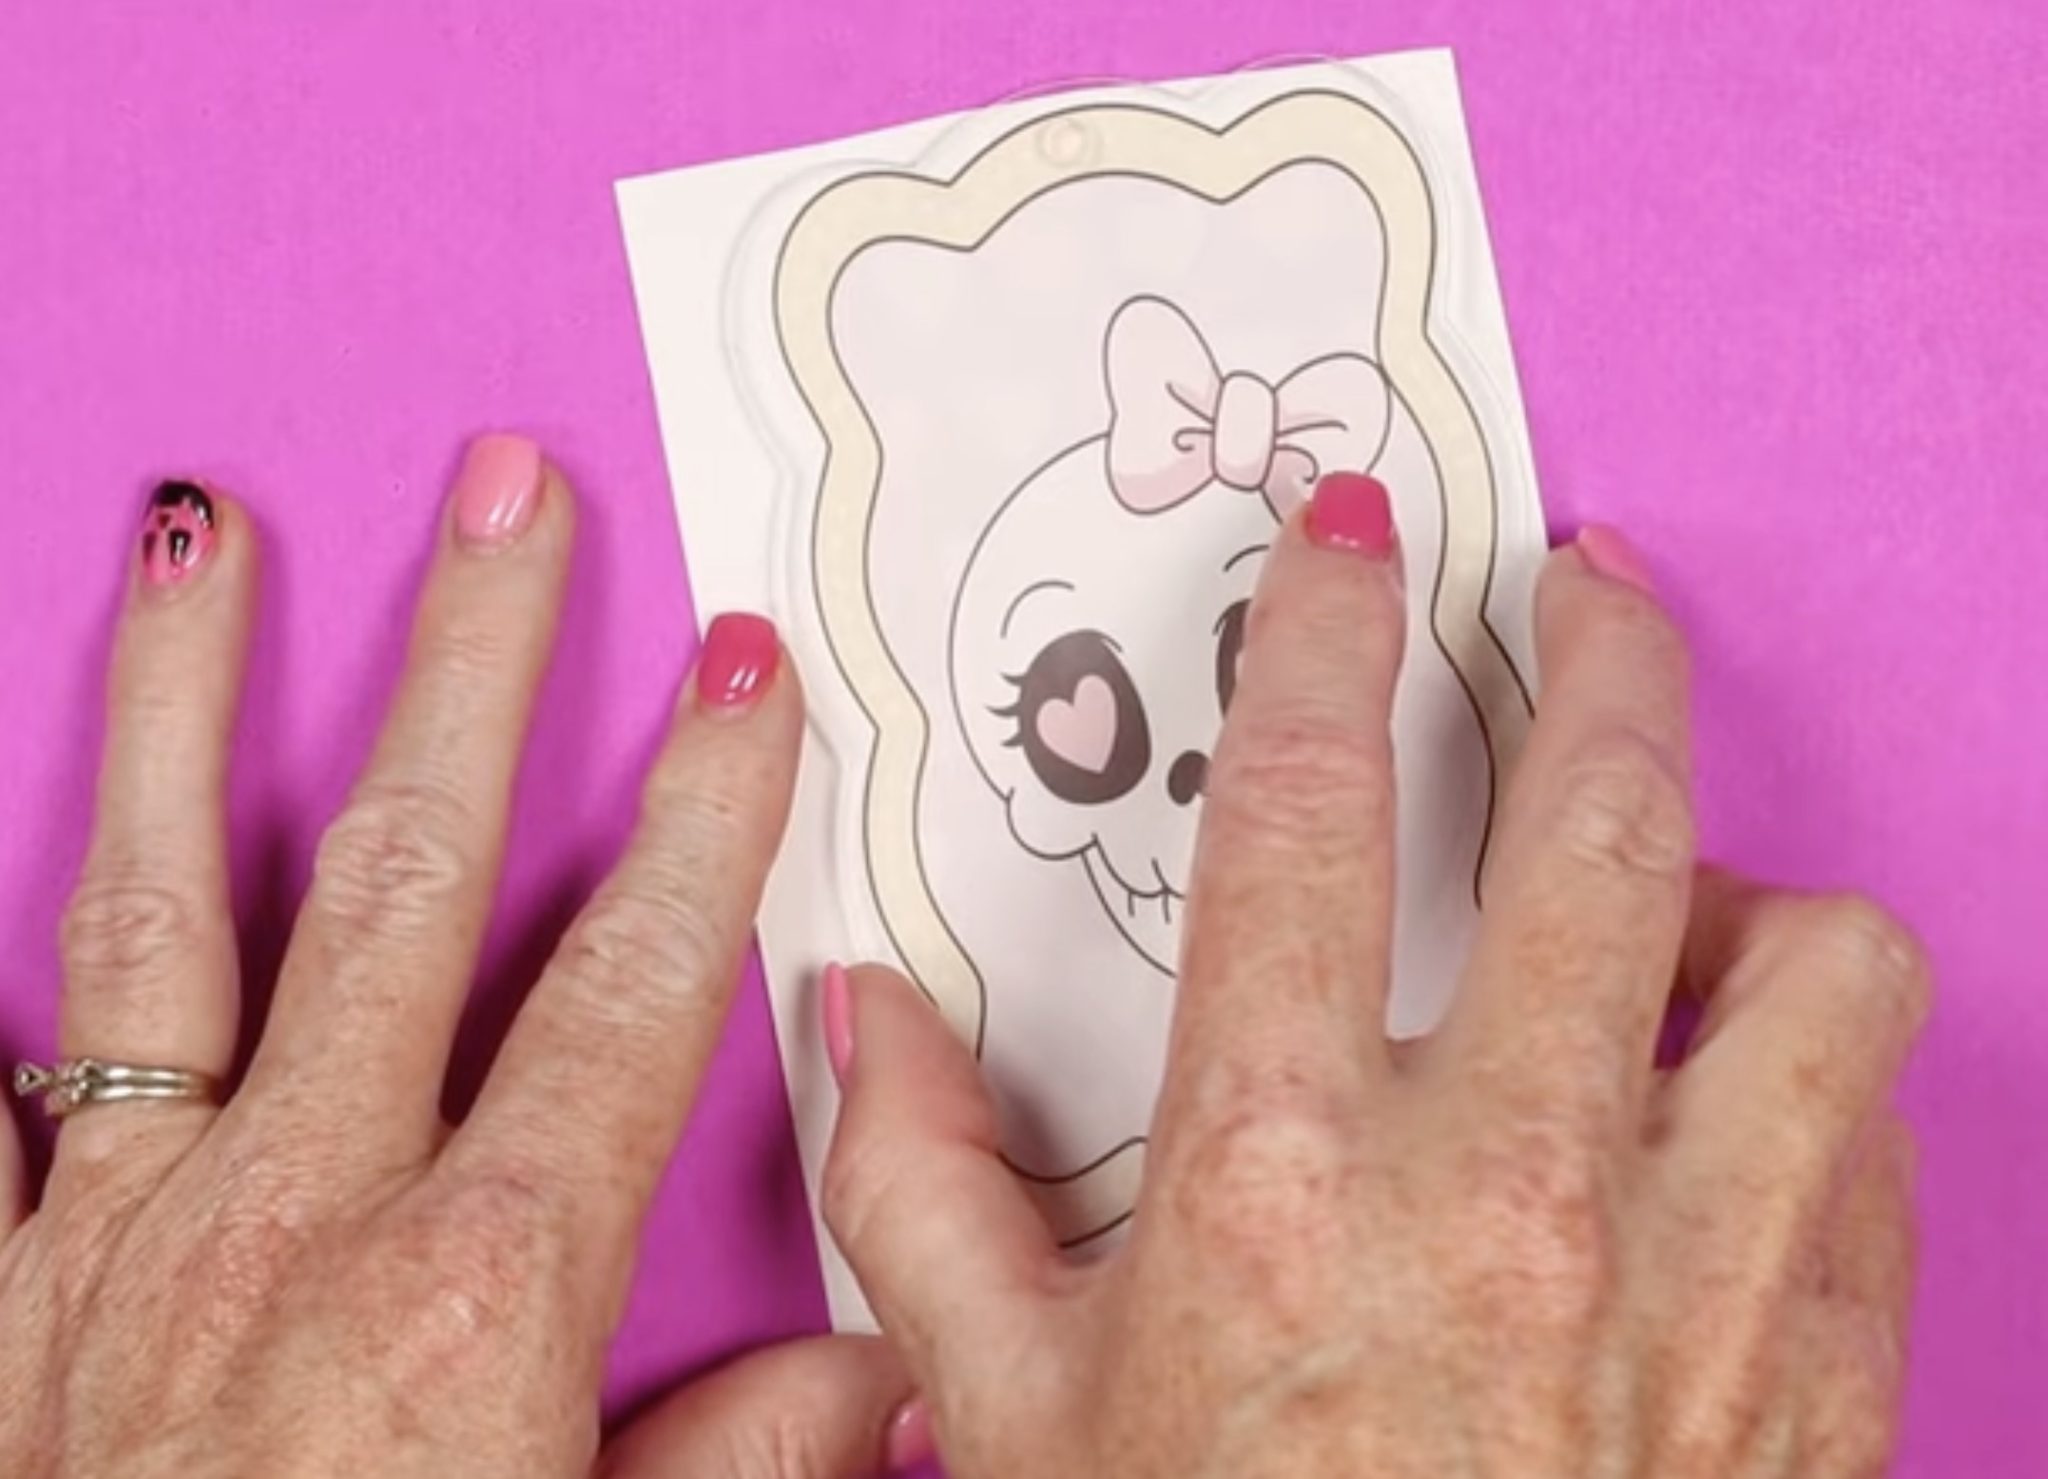
Even though the acrylic had that protective cover, I like to wipe it down really well before sublimating. Use a lint roller or lint-free cloth, and make sure you know which side is the back.
Place the sublimation print in a box and gently spray with the Pixie Spray. Allow the adhesive to dry for a few seconds and then locate the acrylic on top of the print. Make sure you place the back of the acrylic on the print.
Press the acrylic down on the design, and we're ready to press.
Step 9. Press the Acrylic Bookmark
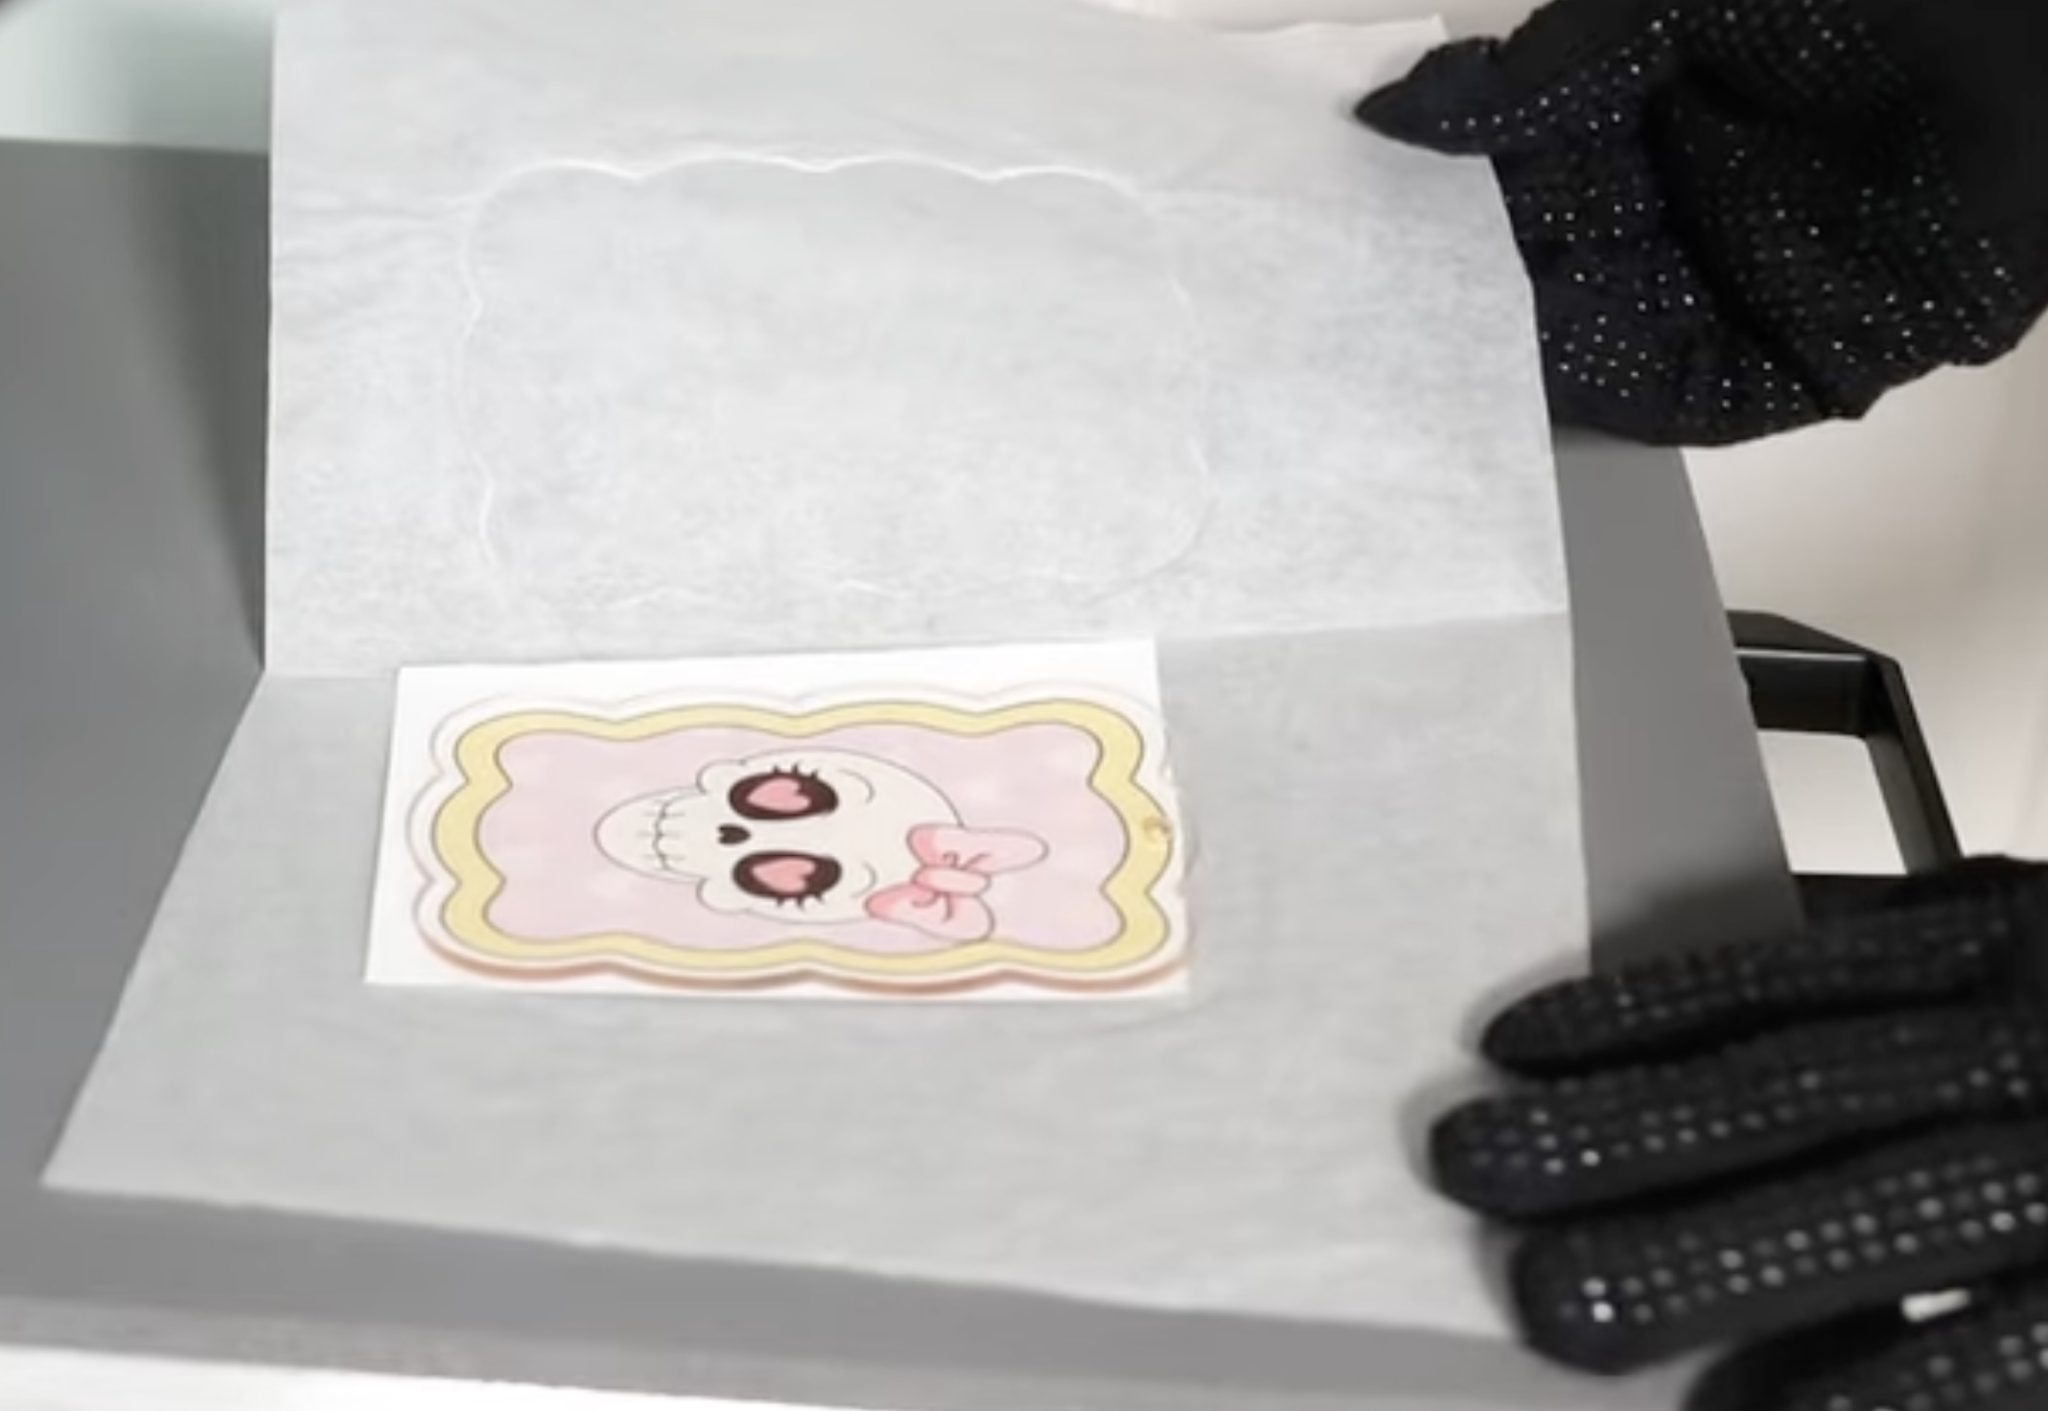
Now that we have the print located, we're ready to press. Place protective paper under the acrylic and on the top of the print.
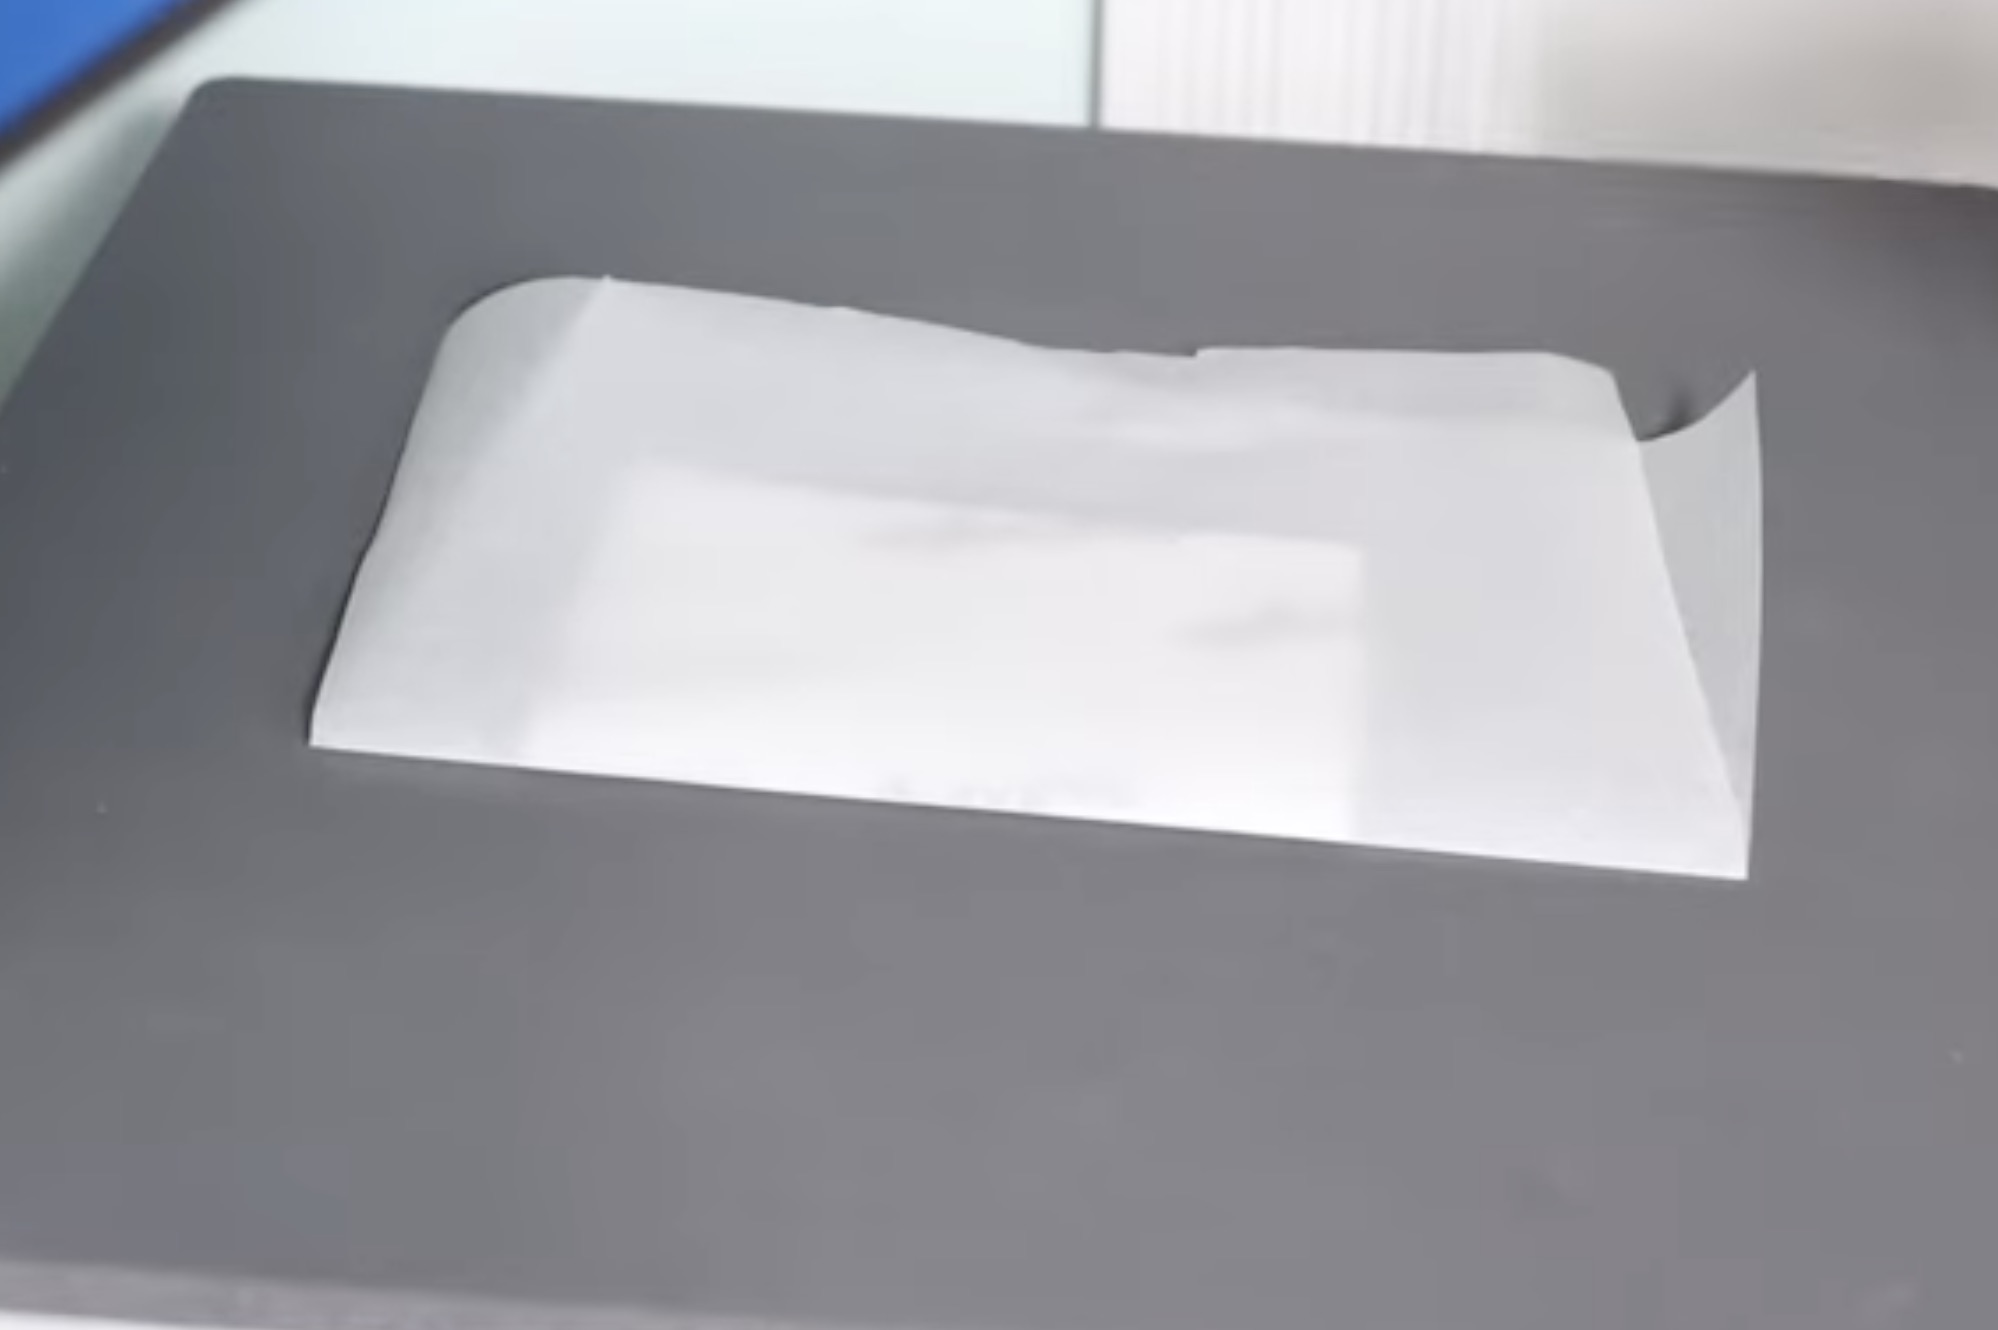
Place the whole stack in the heat press with the print side facing up and press at 380 degrees for 2 minutes with medium pressure.
Use heat-resistant gloves to lift the bookmark because it will be very hot.
With clear acrylic, you can easily see if the design transferred because you can see through the front to make sure it sublimated.
If the design has transferred, place it on a heat-resistant mat and cover it with something heavy. You want it to cool as flat as possible.
Step 10. Remove Sublimation Print
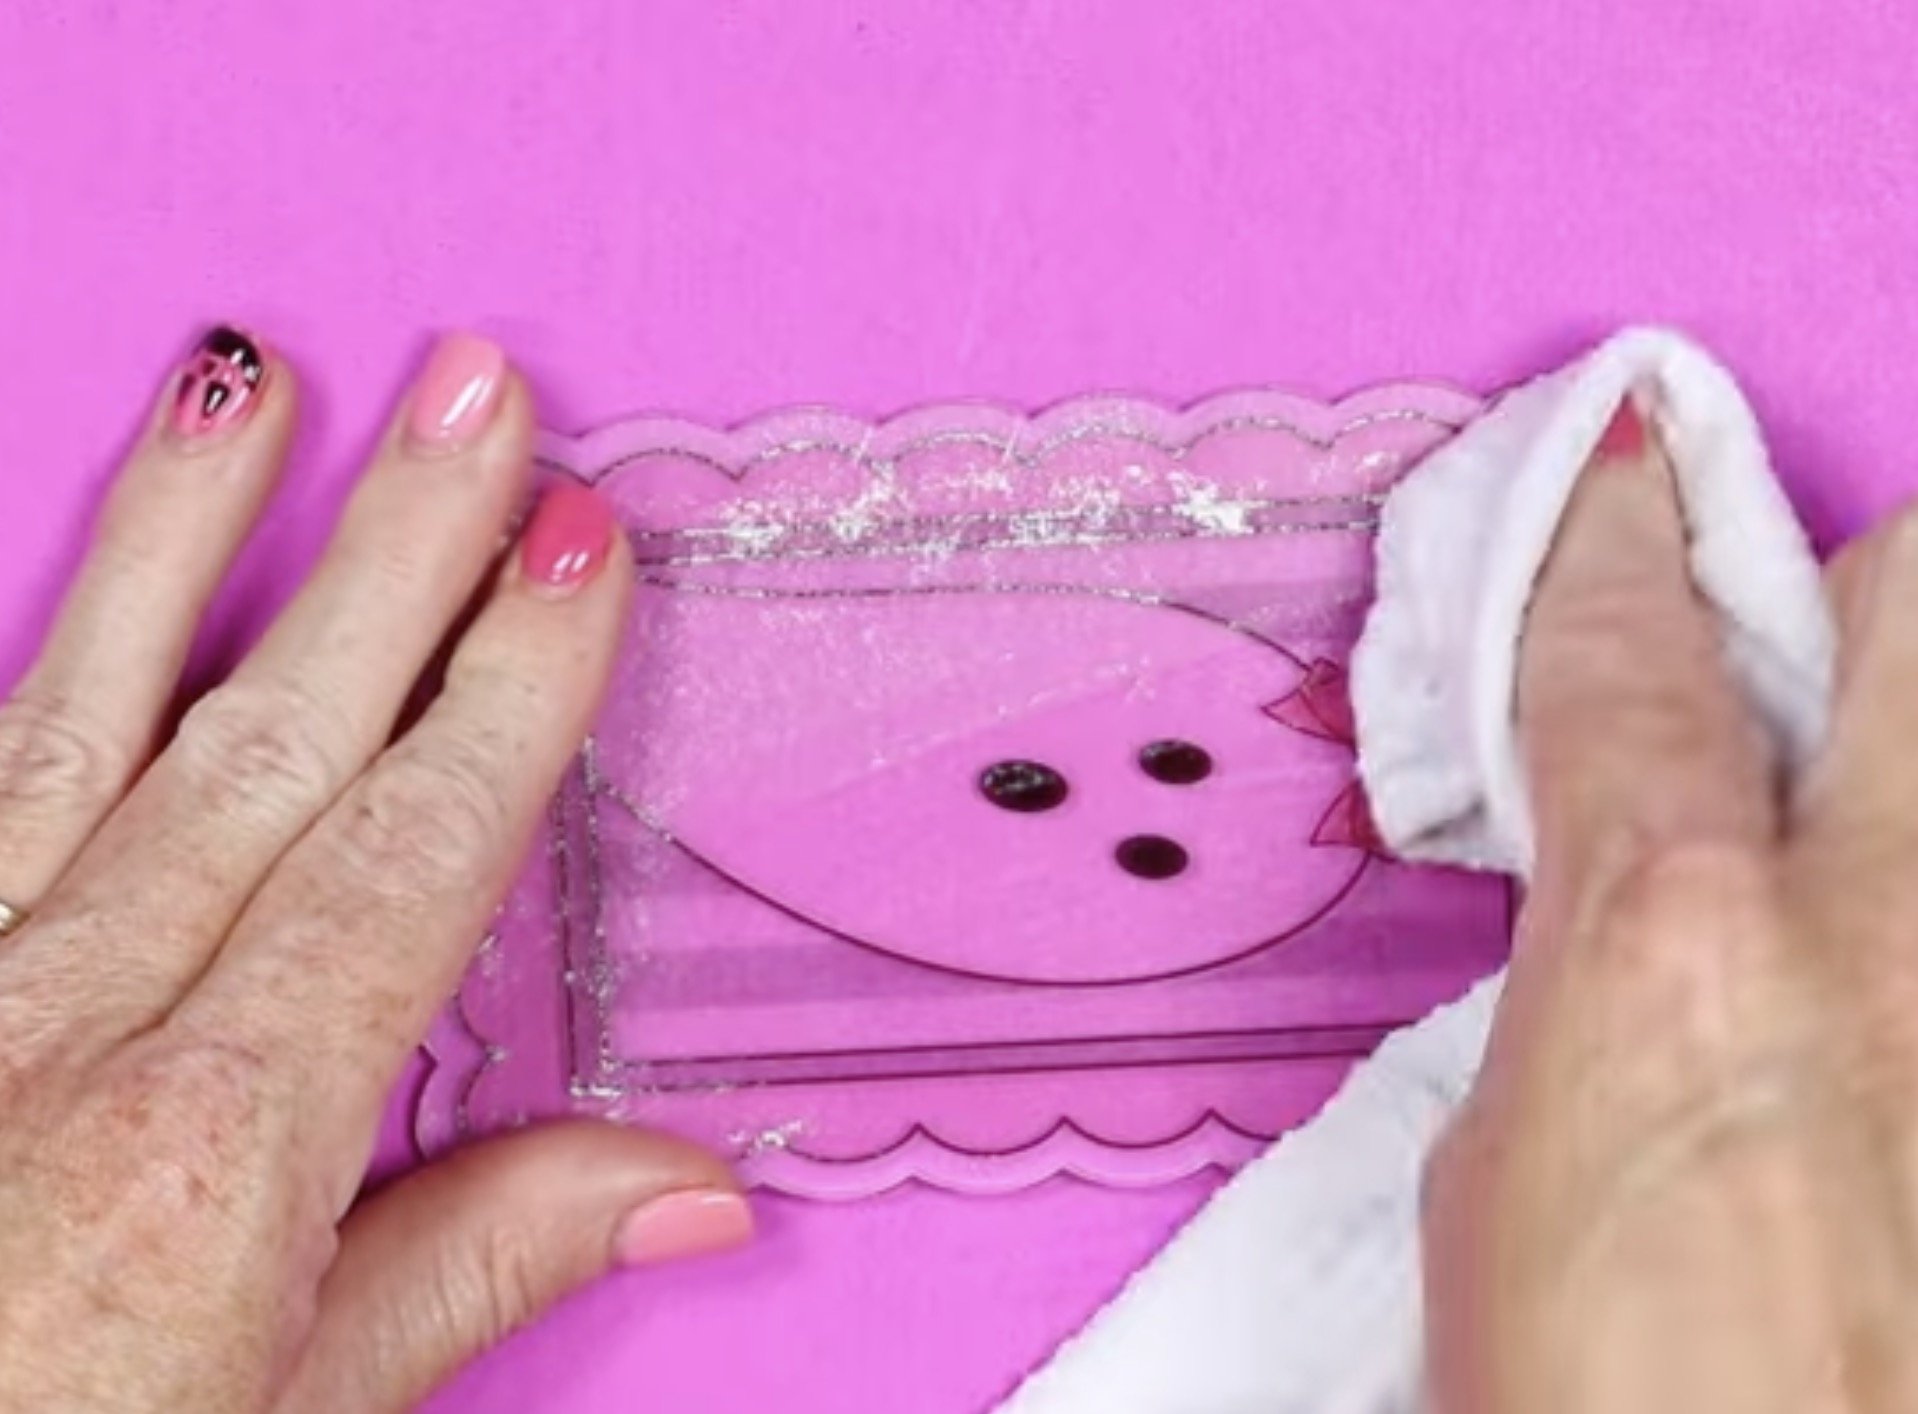
When the acrylic is cool, we can remove the sublimation paper. You may notice the paper is sticking or that the back looks cloudy. Don't worry, we can take care of that.
If the paper sticks a lot, you may need to soak the acrylic to get the paper off. Mine stuck some, but it wasn't too bad, so I was able to remove the residue with a damp cloth.
This acrylic sublimation bookmark has nothing additional added to it.
Sublimation ink is translucent, which means you can see through it. On clear acrylic, you get a stained glass look.
On the back, the acrylic looks more matte and a little dull.
I am going to show you a few other ways to finish these acrylic sublimation bookmarks using UV resin.
How to Add UV Resin to Sublimated Acrylic
I am excited to use UV Resin with my acrylic sublimation bookmarks. There are a variety of ways to use the resin. I am using it on its own, mixing it with white glitter, and mixing it with glow-in-the-dark powder.
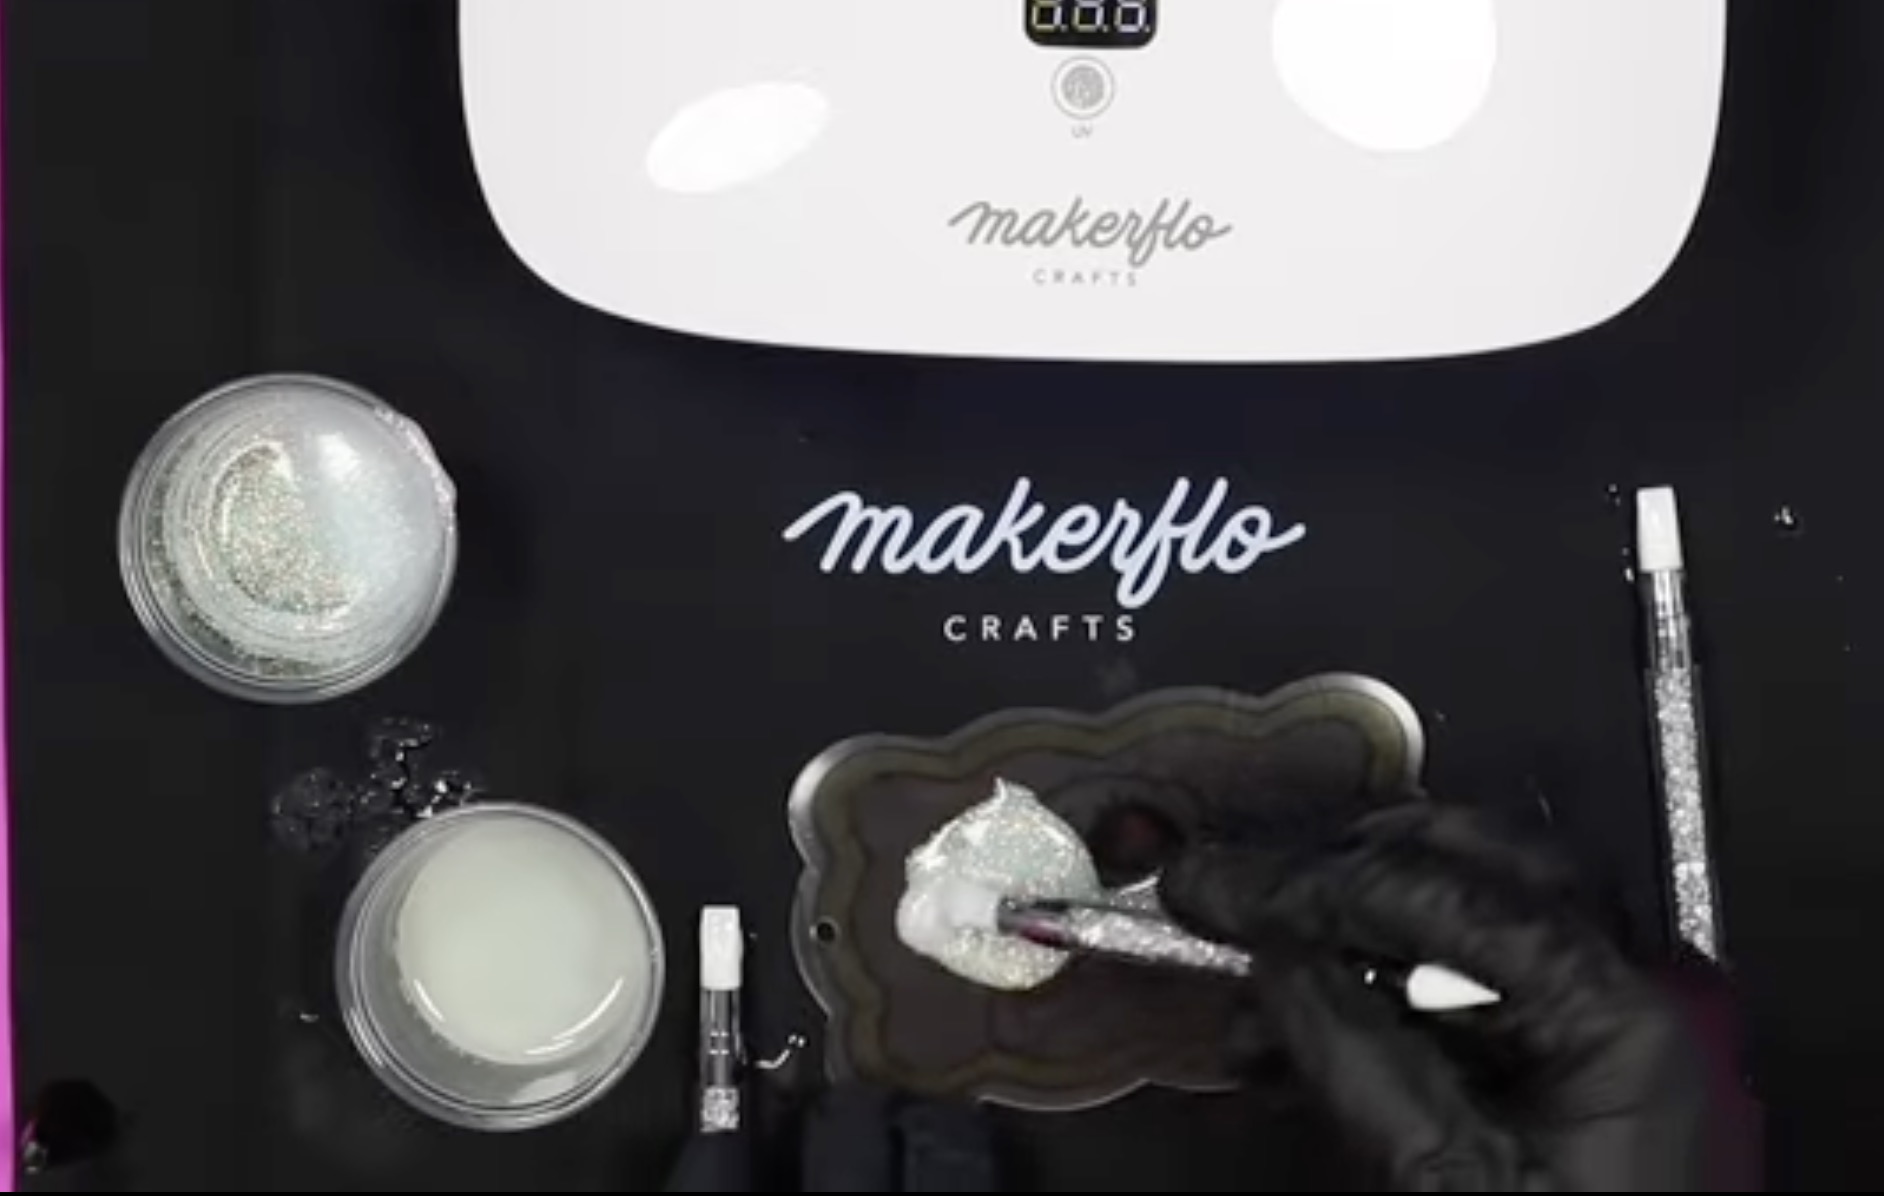
Mix Resin with Glitter or Glow in the Dark Powder
Add some resin to a mixing container and then add the glow-in-the-dark powder. You can add as much or as little as you want. I like to start with a little bit and add more as needed until it looks right.

Repeat the process for the white glitter resin.

I am using a mat under these projects so that the resin will not stick to it. Make sure you have your area set up to protect your surface from the resin.
Add UV Resin to the Sublimation Bookmark
For this first bookmark, I am going to add clear UV resin to the back, right on top of the sublimated design.
You can squeeze the UV resin right onto the acrylic and use the silicone-tipped pen to push the resin right up to the edge.
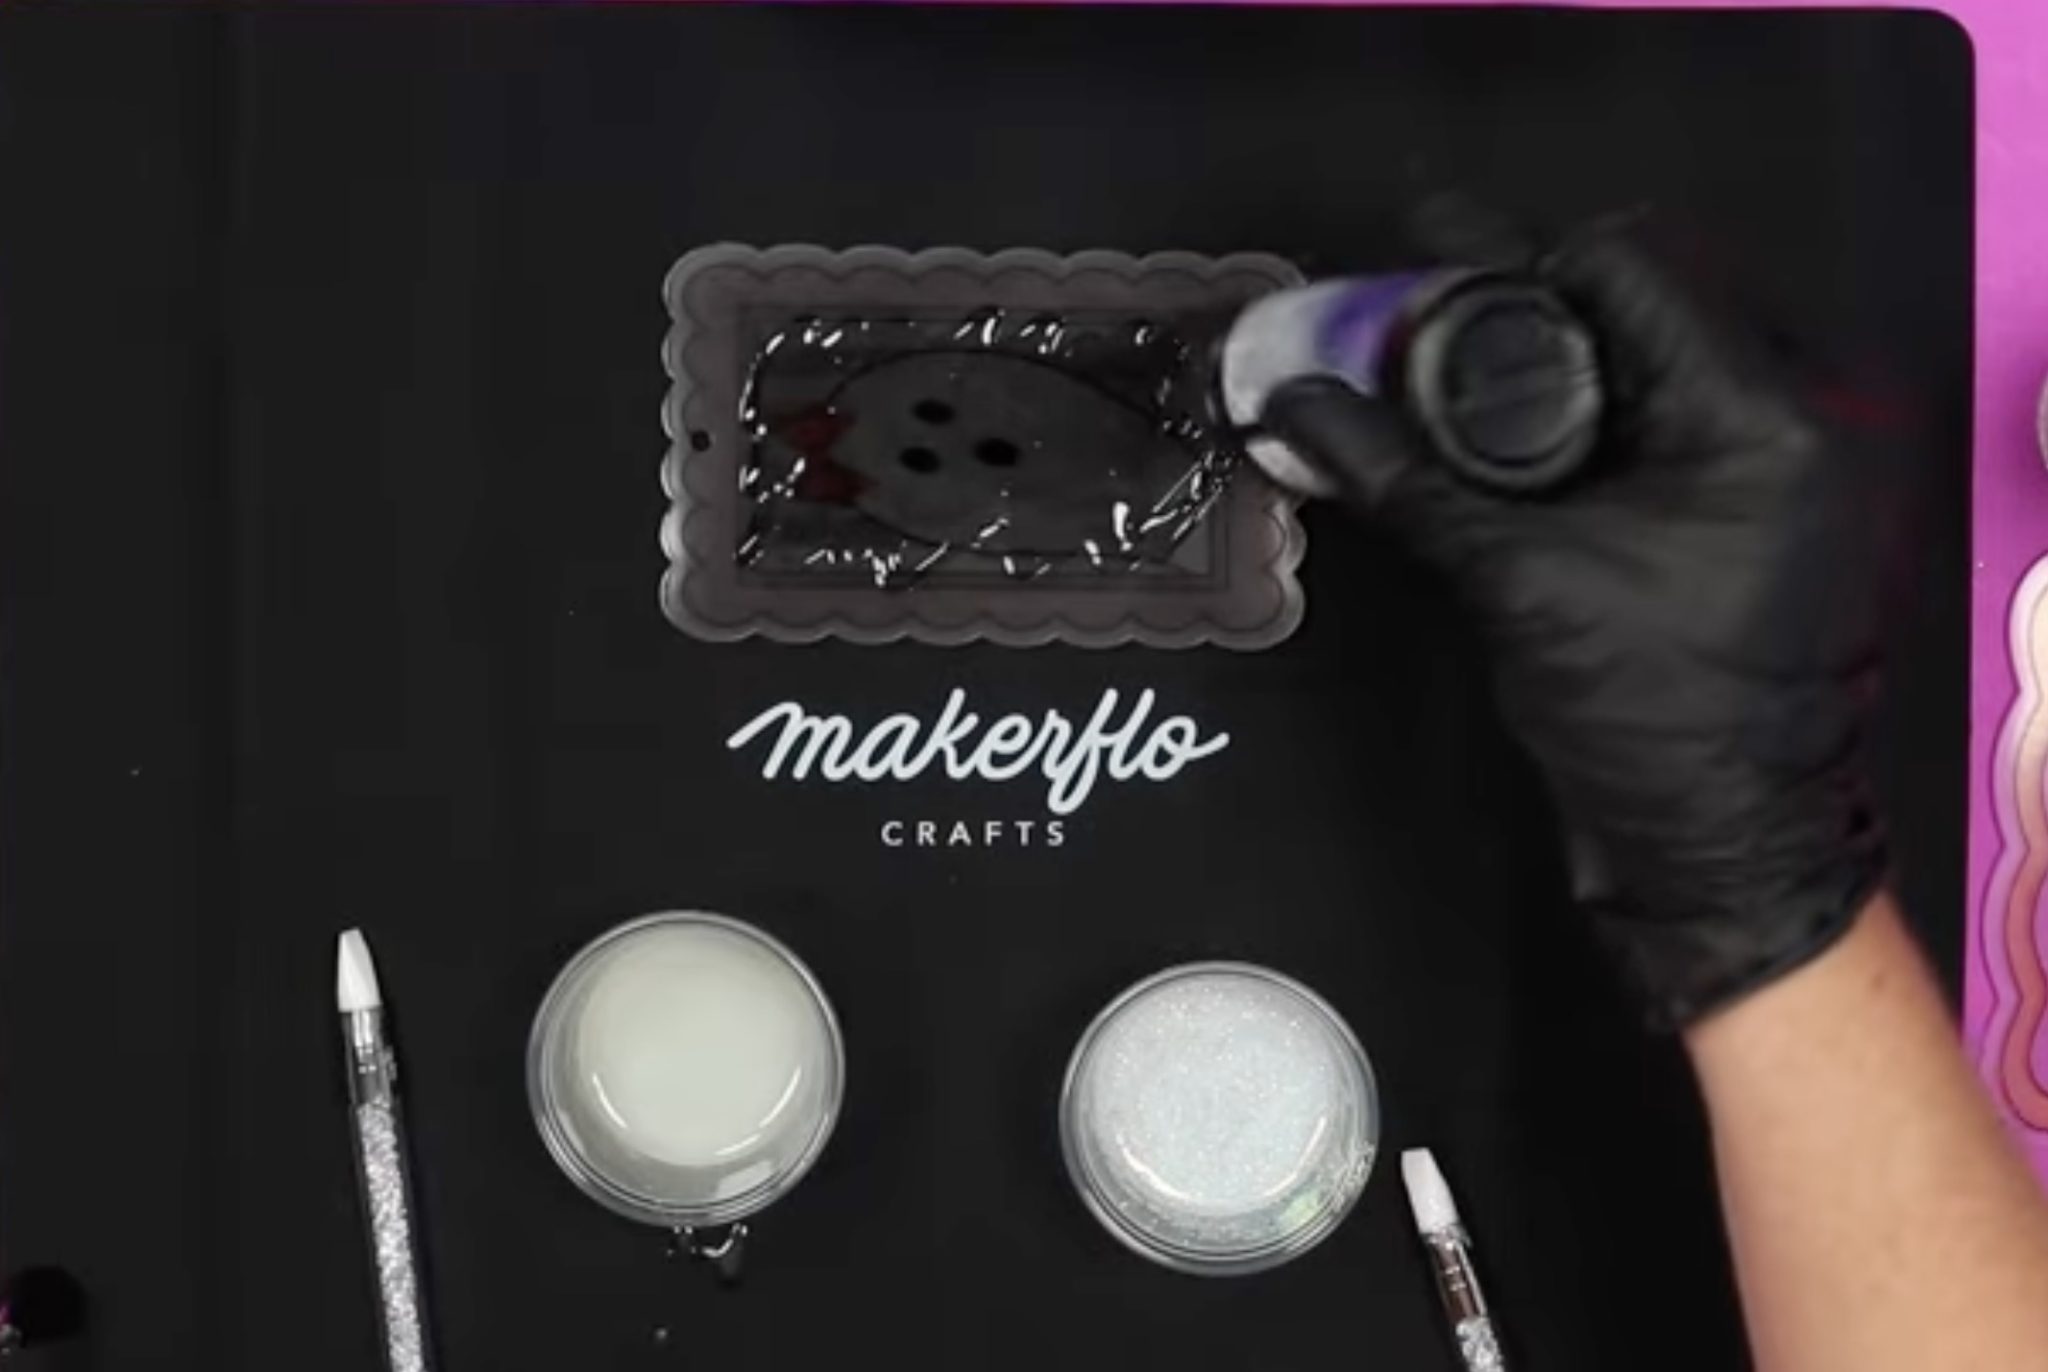
Don't add too much resin. You want to push it to the edge, not flood over the sides.
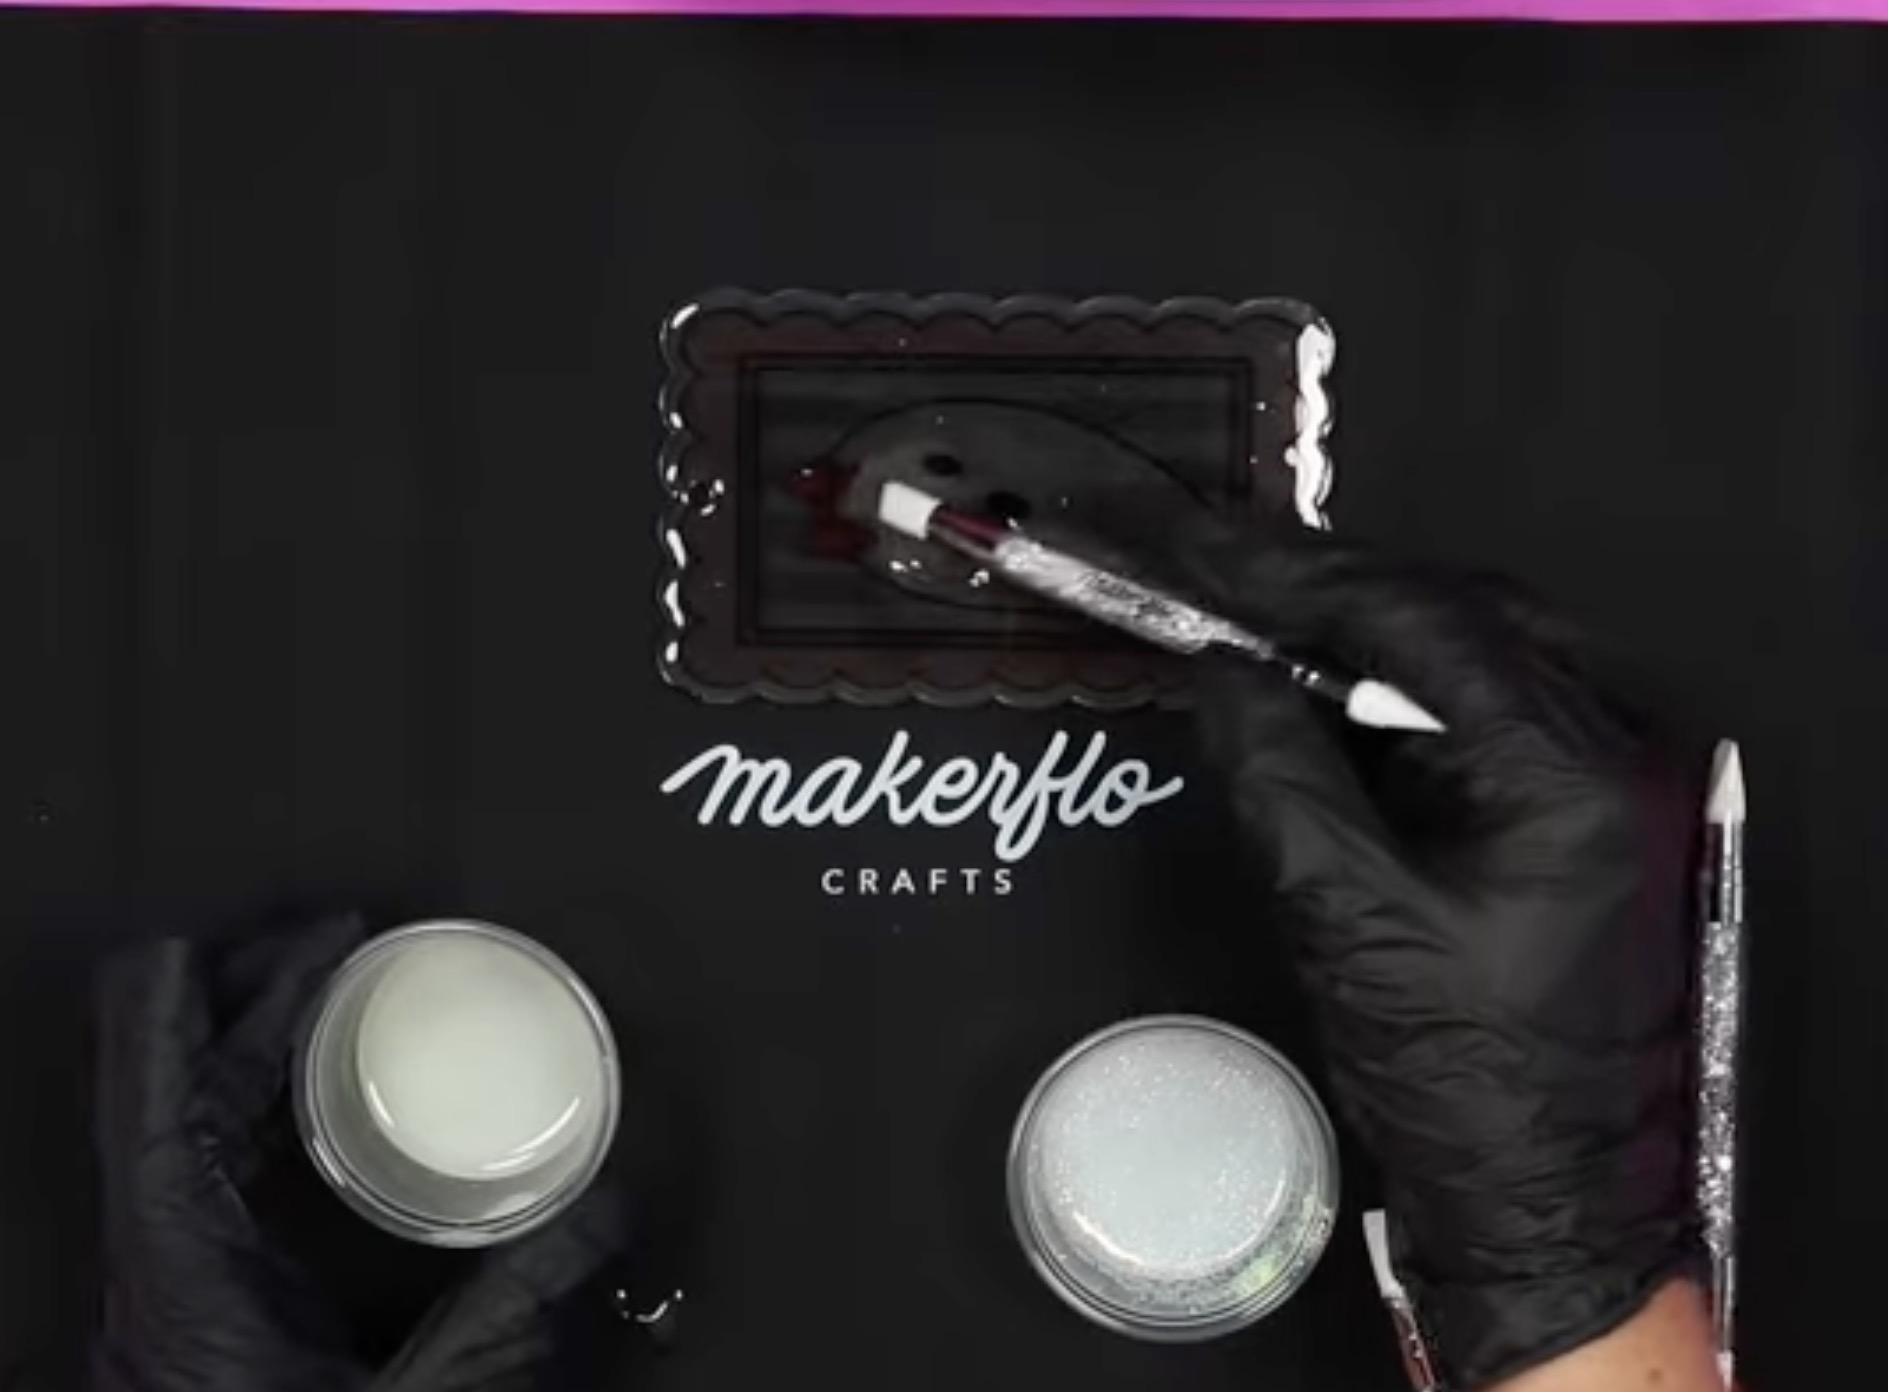
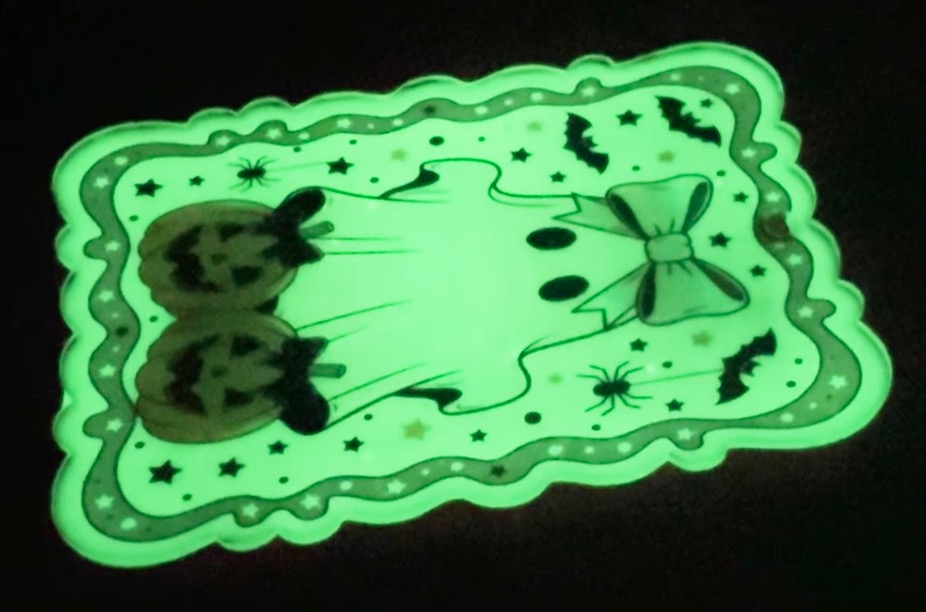
I originally planned to only add clear UV Resin to this bookmark, but I couldn't help it. I had to add a little glow-in-the-dark resin to the ghost.
After I added the clear UV Resin, I used the silicone brush to swirl the glow-in-the-dark resin in the ghost area.
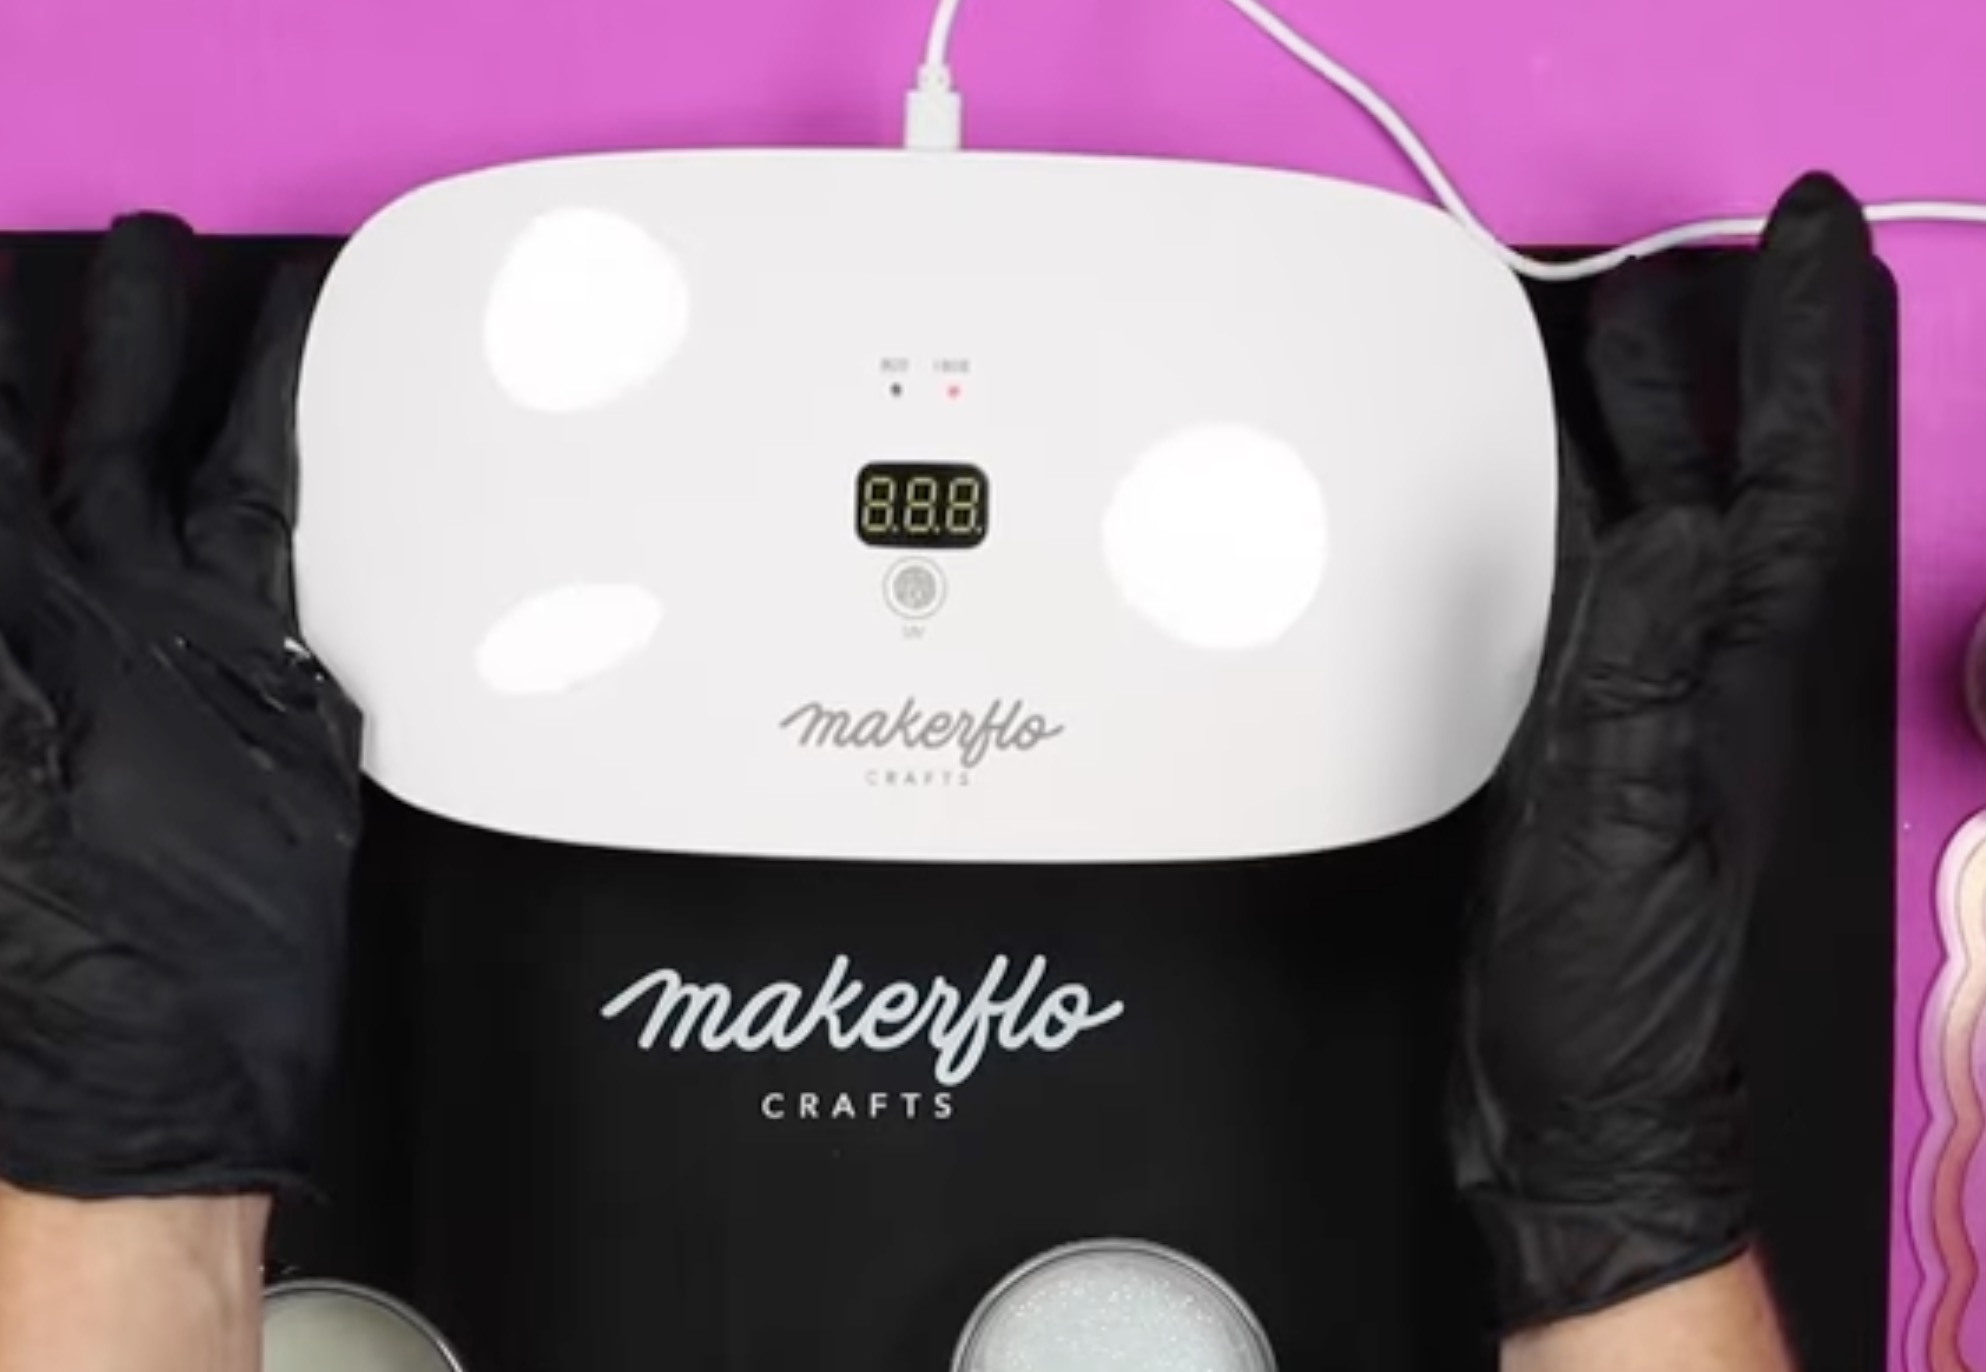
With the UV Resin in place, put the bookmark under the UV light to cure it.
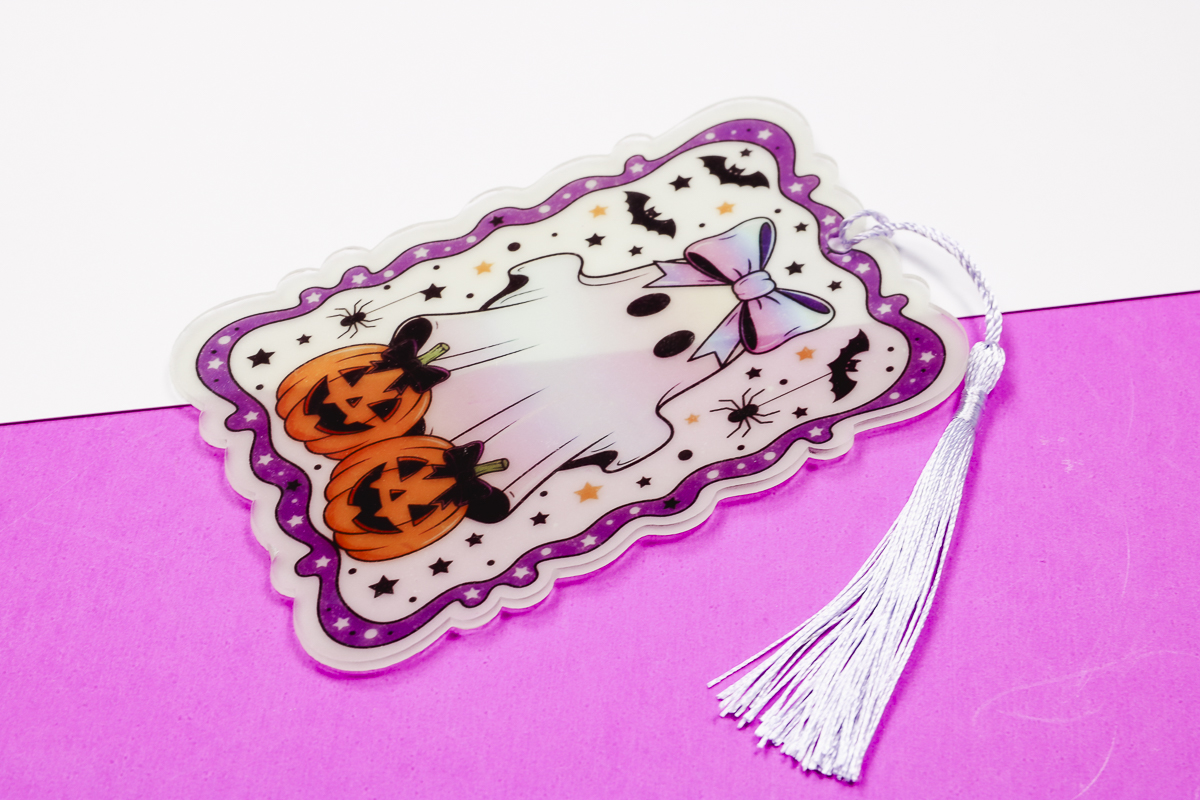
Here you can see what the design looks like with the UV Resin on the back.
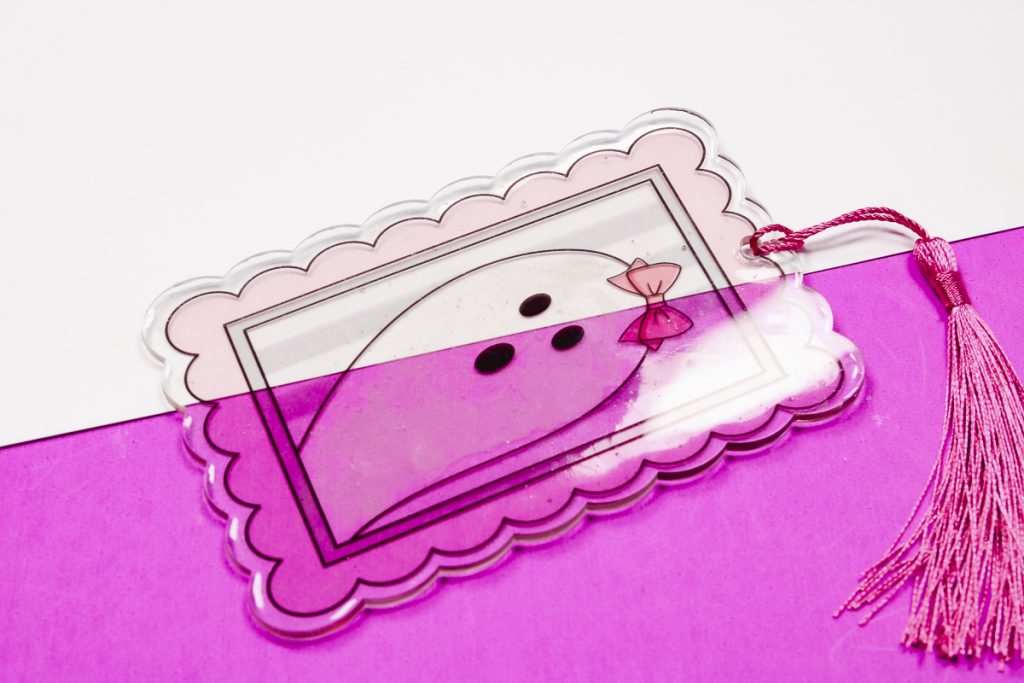
This looks really good. I think the resin gives it a more professional finish. The ghost stands out a little more than the rest of the print because it has a bit of white to it from the glow-in-the-dark resin.
Remember, I swirled the glow-in-the-dark resin in with regular resin for this bookmark. The ghost does glow, but it isn't as crisp as it would be if I had added the glow-in-the-dark resin first.
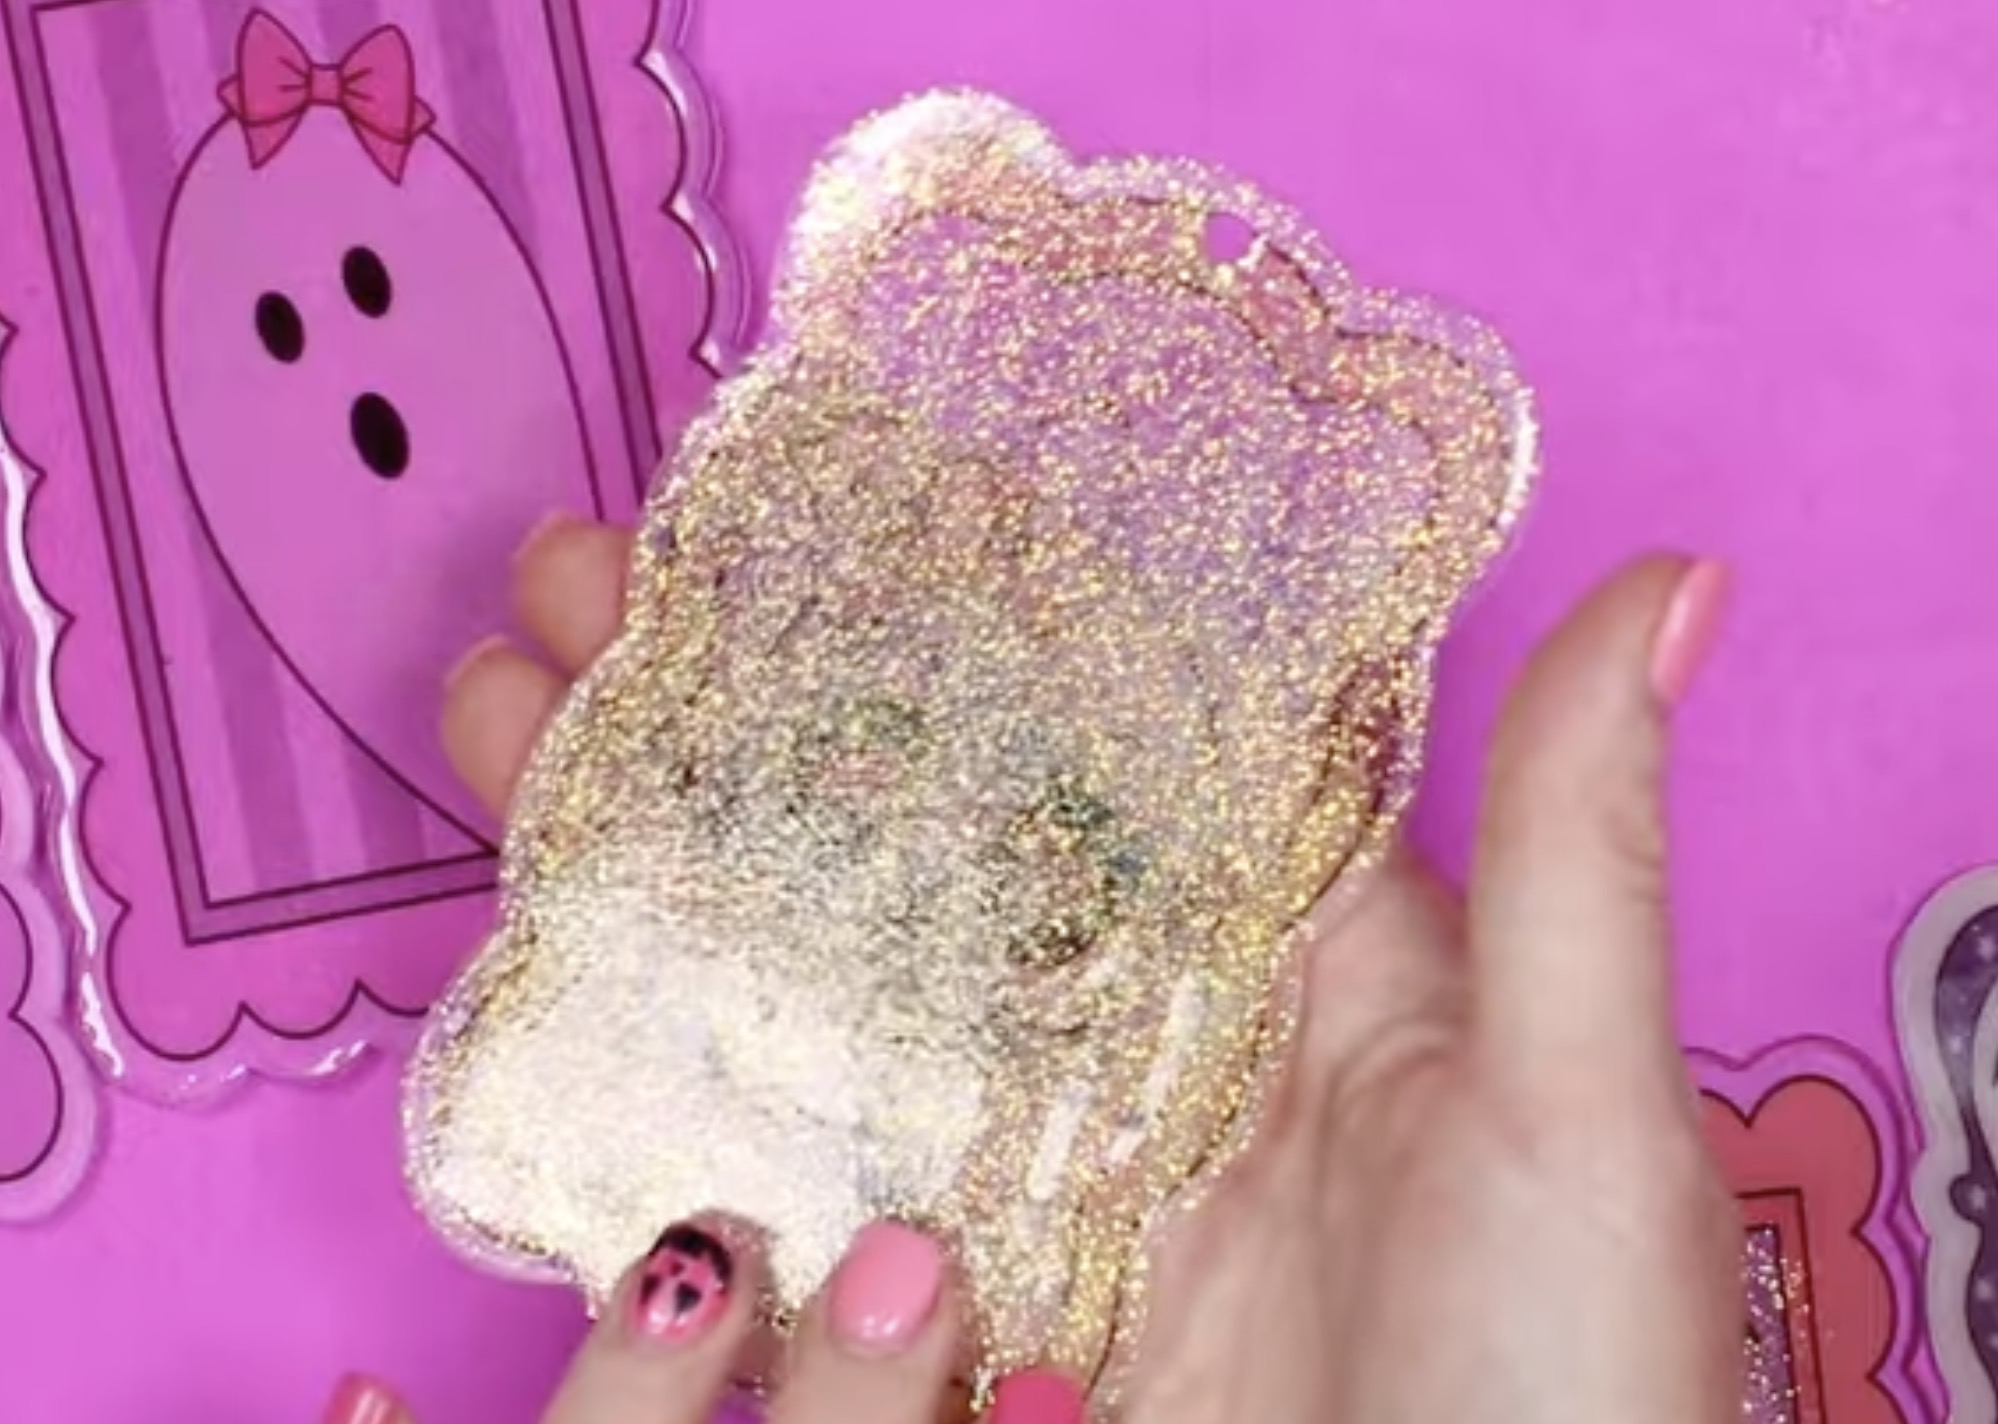
Making a Sublimation Acrylic Bookmark with Glitter UV Resin
For the next bookmark, I added UV Resin with white glitter added to the back.
This process was pretty quick and was just one layer.
With the glitter UV resin on the back, place the UV light over the top and cure it.
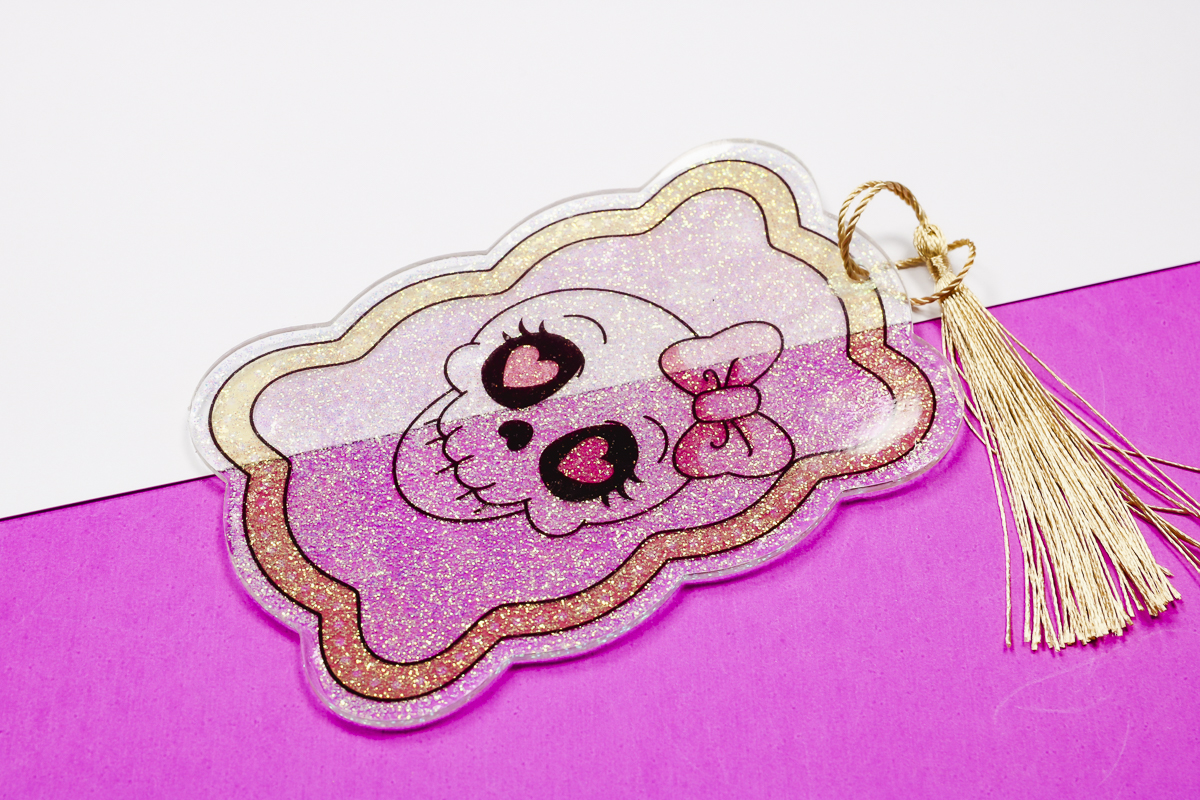
Here is that finished acrylic bookmark, and it looks so good. I love the glitter on the back, and the resin makes the back of the bookmark look really professional.
Acrylic Sublimation Bookmark with Multiple UV Resin Types
For the next sublimation acrylic bookmark, I wanted to add multiple types of UV resin to see how it would turn out.
I added clear UV resin to the frame area, glitter UV resin to the sky area and the house, and glow-in-the-dark UV resin to the haunted house windows.
I love the way this bookmark turned out. It did take a little more time to add the different resins to the different areas, but I think it looks great.
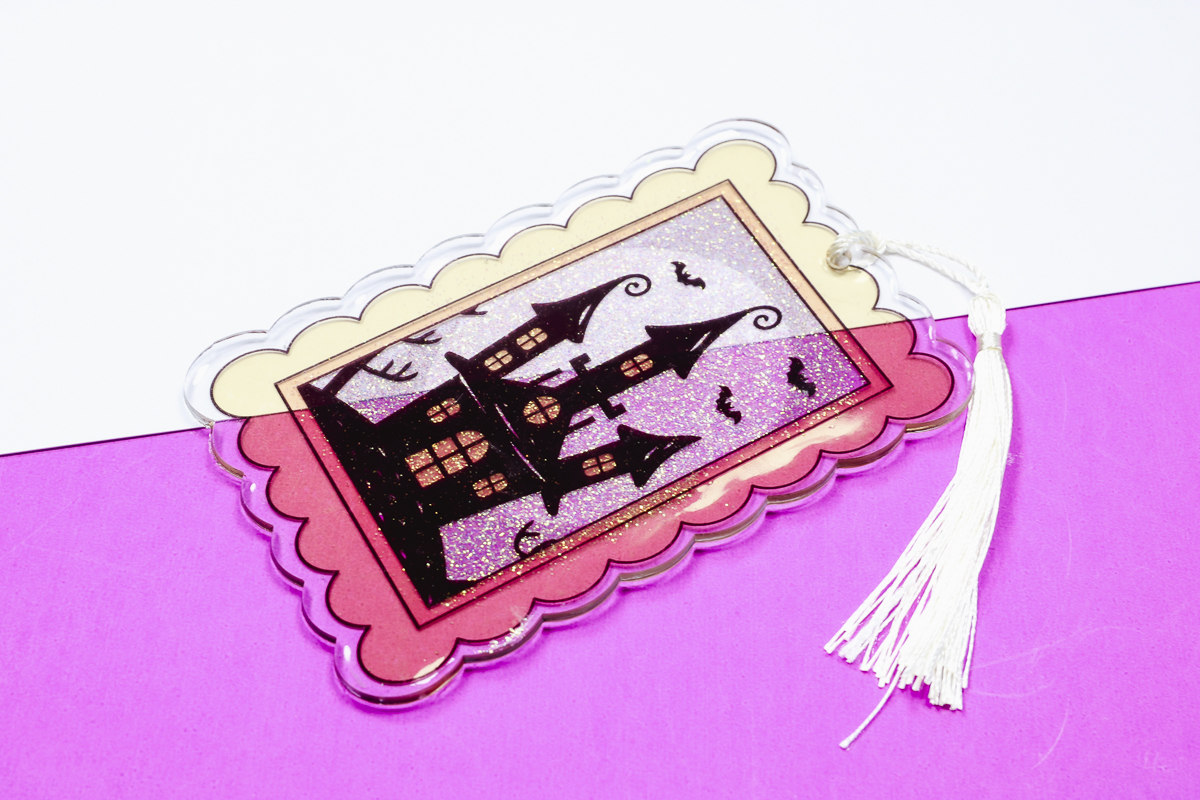
The windows do glow in the dark. It was a little difficult to get a photo of it, but this is a great option if you want to combine a few different resin types.
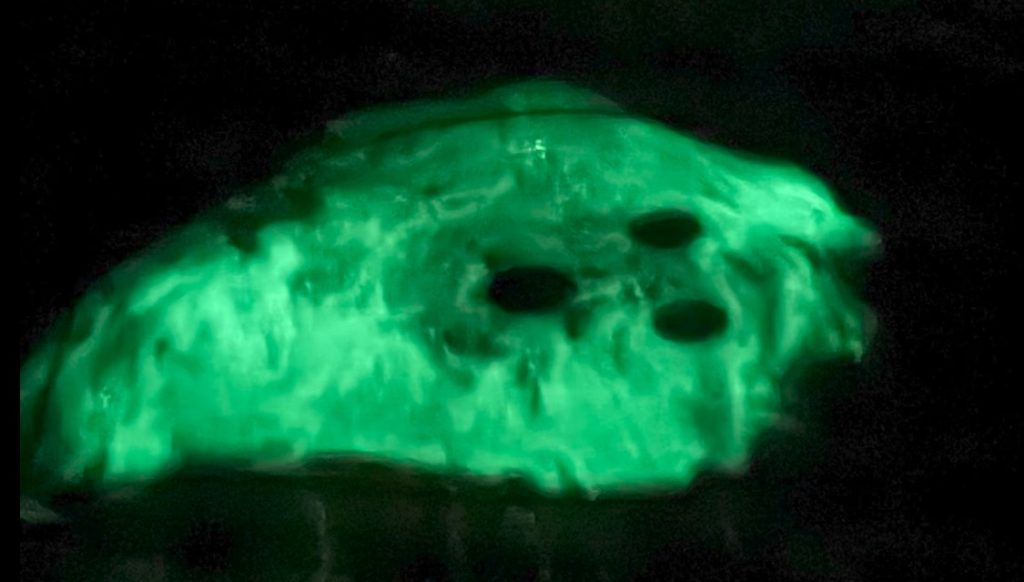
Glow-in-the-Dark UV Resin on FLUX beamo Cut Clear Acrylic Bookmark
For this last bookmark, I added more glow-in-the-dark powder to the UV resin and added it to the entire back of the bookmark.
The glow-in-the-dark UV resin makes the bookmark more opaque. You can see that the color is more vibrant and pops off the acrylic.
Adding more glow-in-the-dark powder really helped make the bookmark glow. This is so bright, I love it.
This may be my favorite of all the acrylic bookmarks I made today. The glow-in-the-dark is a great addition to the ghost design.
Tips and Tricks for Sublimating on Clear Acrylic
I really love how these acrylic bookmarks turned out. The FLUX beamo cuts clear acrylic really well, and sublimating it is really easy.
Adding UV resin to the acrylic makes the back of the bookmark look more professionally finished. I had a mark on one of my bookmarks from a hair or something being pressed into it. After adding the UV resin, you couldn't see the mark at all. Resin is a great way to save an acrylic blank that may have a little flaw.
Without resin added to the back of the sublimated acrylic bookmarks, the back has a matte finish. If you like that look, you do not need to add anything. The bookmark is finished, and the design is permanent.
I am a fan of all the UV resin options we tested today. I love it with glitter, glow-in-the-dark powder, and on its own, or combining them all.
Adding UV resin is a fun way to change a regular sublimation project. The glow-in-the-dark powder works really well. I think you'll be really happy with the way it glows.
I hope I've answered any questions you have about how to sublimate on clear acrylic and how to combine those projects with UV resin.
If you have any additional questions, feel free to leave them in the comments, and I'll be happy to answer them for you.