
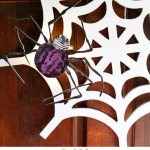
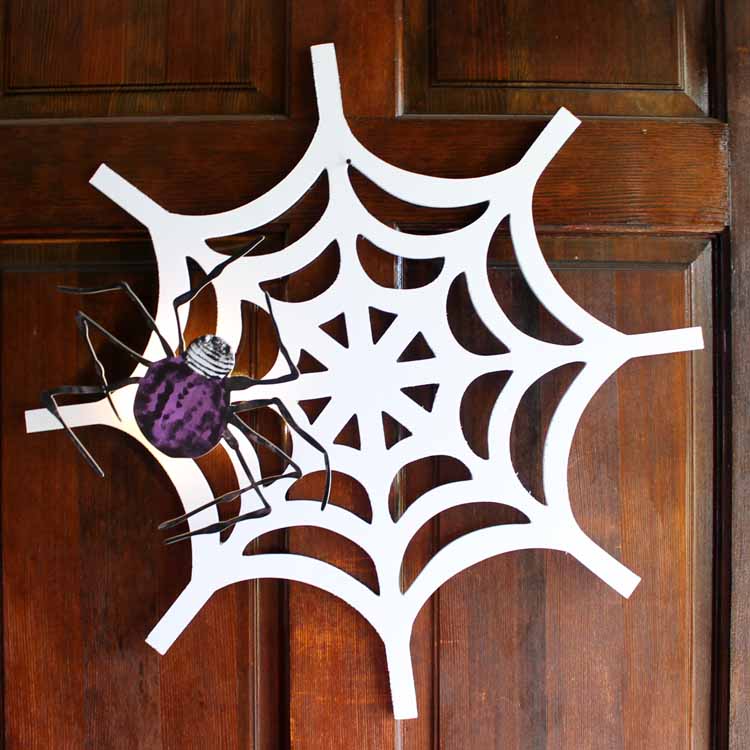
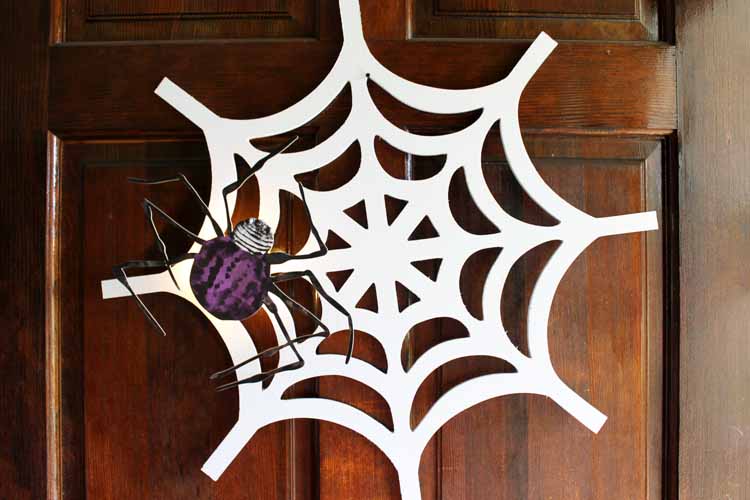
Every front door needs a terrific Halloween wreath adorning it. Learn how to make this fun light-up DIY spider web wreath to light the way for trick-or-treaters!
If you have an eye for Halloween wreaths, you've probably noticed that there are a plethora of designs available to make. I've even made a few great ones myself, including my Trick or Treat Halloween Wreath, Scary Halloween Wreath, and my DIY Halloween Wreath with Googly Eyes.
If you're a traditional wreath enthusiast, you probably lean towards round designs. I love to mix things up, so sometimes I'll do a round design, and sometimes I'll explore with other shapes.
This fun spider web wreath design is sort of a combination. It's round but created in a spiderweb shape, so there's no singular large hole in the middle.
It's the perfect idea for adding to your door before the big night. The trick-or-treaters will love this adorable wreath. The fact that it lights up is a fun bonus!
Making this spider web wreath has never been easier!

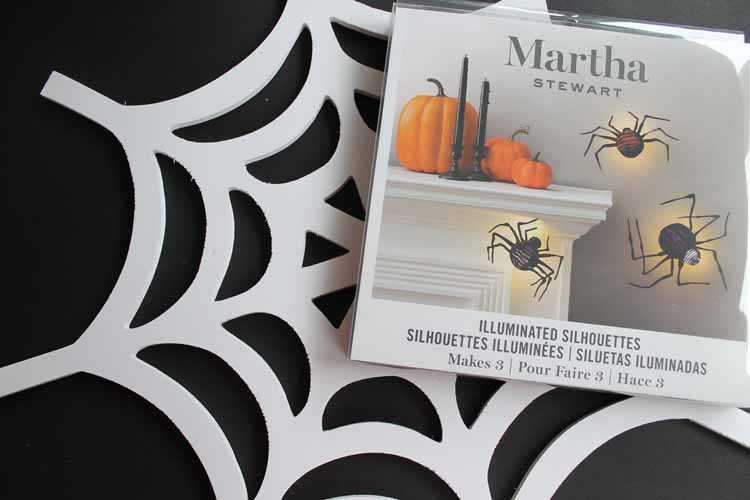
Supplies Needed To Make A Spider Web Wreath
I've included a list of what you'll need for this project and even added links for some items to make finding them easier.
- Wood Spider Web (or you can make your own)
- Spider Decorations (options below)
- Cricut Maker
- Knife Blade (if cutting wood or chipboard)
- Battery-operated fairy lights
- White Paint (for the spider web)
- Craft Paint (if painting your own spiders)
- Paintbrush
- Hot Glue and Glue Gun
- Adhesive Strips
How To Make A Light-Up Spider Web Wreath
You're going to be amazed at how easy this project is! Just follow the steps below. If you want, you can grab the handy printable recipe card at the bottom of this post.
Step 1 – Paint spider web
Start by painting your spider web blank with white paint. Set it aside to dry while you work on your spiders.
I totally forgot to take a picture of the spiderweb before it was painted! You all can just imagine it in the image above as plain wood and then imagine me painting it white. 😉
If you can't find a wooden spider web, you can make your own using a craft laser, or cut chipboard or wood with your Cricut Maker. There are several cut files for spider webs, or you can search for one in Cricut Design Space.
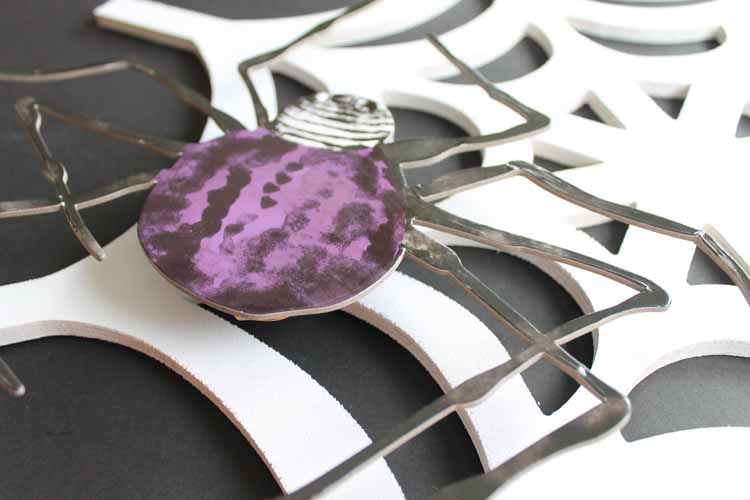
Step 2 – Add spiders
Next, move on to your spiders. The spiders that I originally used for this project are no longer available. Fear not! I have some spider options for you.
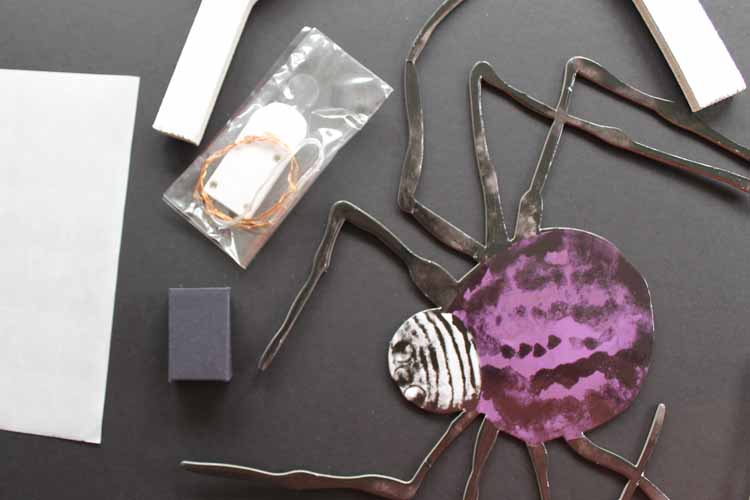
Spider Options:
- Make your own spider with a Cricut Maker. Look in Cricut Design Space, or your favorite place to find SVG files, for a spider design that you like. Then you can cut them out of wood or foam board and finish by painting.
- Choose a Print Then Cut design and add an offset. Print the spider on sicker paper or printable vinyl and then cut the offset out of a stronger material.
- Get your hands on some unfinished wooden spiders and paint them to your liking.
- Purchase premade spider decorations.
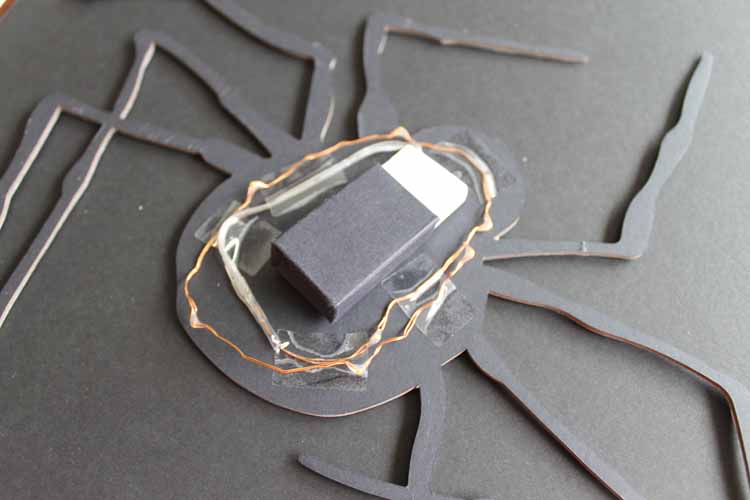
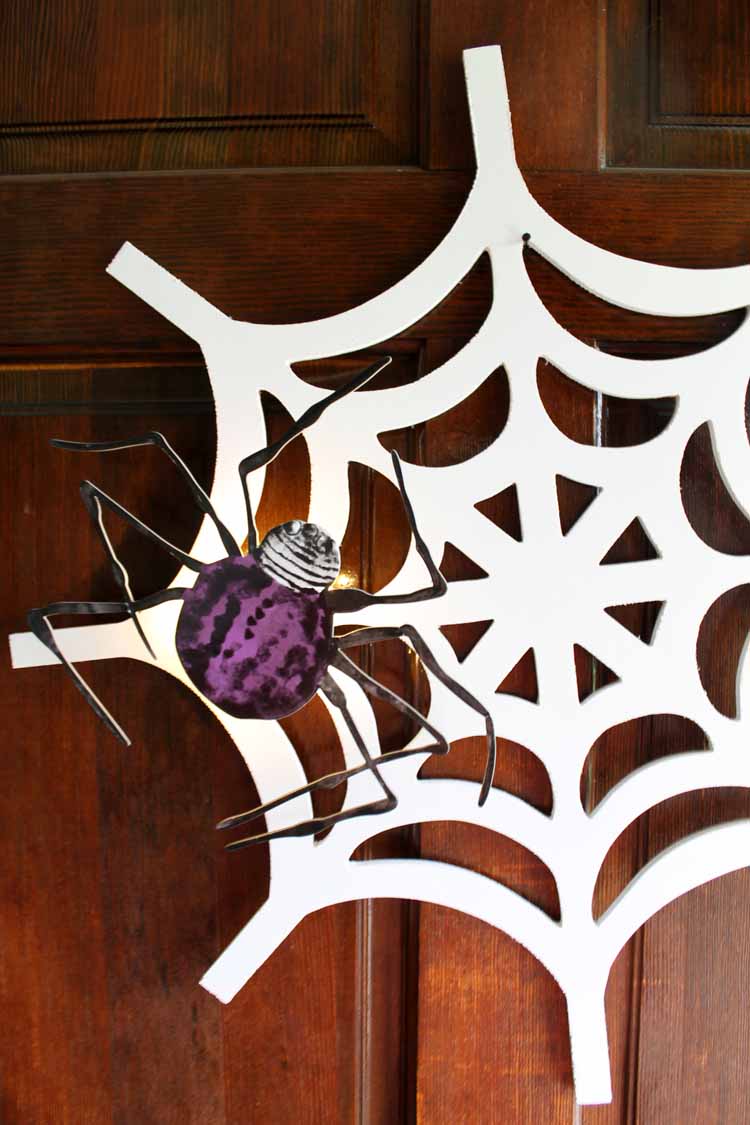
Step 3 – Attach lights
Attach the light battery to the back of your spider. Some light kits come with an adhesive strip, but if not (or you want a stronger hold), you can use hot glue to attach the battery.
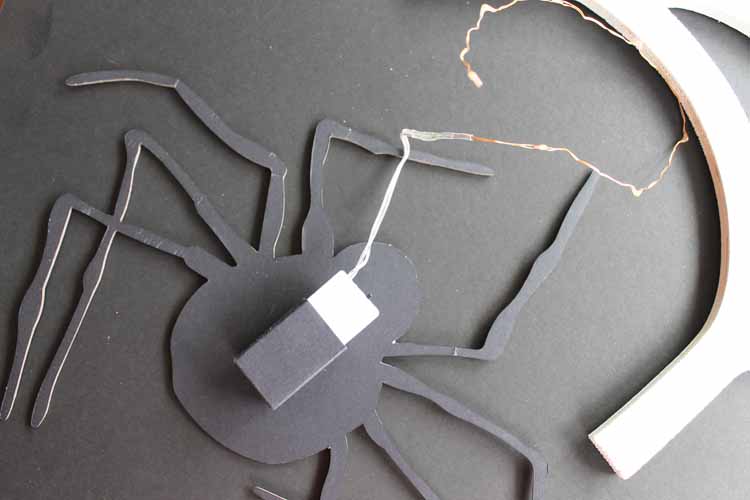
Use adhesive strips or tape to secure the lights to the back of the spider as shown in the image below.
Step 4 – Add spider to web
Finally, once your web is dry, attach the spider to the outer surface. I used a bit of hot glue on the black box and secured it to the spider web that way.
Then, you can light up your spider for some spooky glow fun!
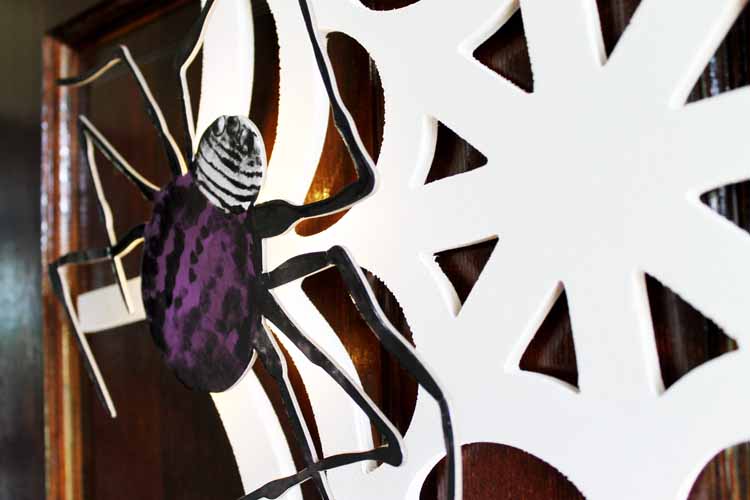
Add this fun wreath to your front door for some fright this Halloween!
DIY Halloween Wreath FAQs
Here are some common questions from readers about this DIY Halloween wreath project. If you have a question but don’t see it down below, please leave it in the comments so I can answer it for you.
Can I make the entire wreath light up?
Yes! But you won't be able to do that as is. In order to make your entire wreath light up, you'll need to get a string of lights (preferably fairy lights) and wrap them around your spiderweb. That would look amazing at night!
What type of paint should I use on my spider web wreath?
I recommend using outdoor acrylic paint if you plan to hang your wreath on your front door, where it would be exposed to the elements.
If you use plain indoor acrylic paint, you'll want to seal your spiderweb with clear spray sealant before adding the spider and putting it outside.
Have you ever made a DIY Halloween wreath that was easier than this one?
I definitely haven't!
Grab your supplies and get started making your own today. Halloween will be here before you know it. If you put it off, you might get busy and miss the opportunity to display this for the spooky holiday altogether!
More Halloween Inspiration
If you love this DIY Halloween wreath and want more ideas, try the links below!


Thanks so much. I love when you post projects that I can just duplicate on my own. So cute. Some of the links don’t work for me to see where to purchase the items.
Sorry! There is a company that went out of business during the pandemic and I haven’t had a chance to source all of their products with someone else.