It is almost Halloween! Okay maybe not almost but close enough that my kids are counting the days. So I thought I would put a Halloween wreath on our door to welcome the season. My oh so scary Halloween wreath…ok just a tad bit scary….
This was originally posted on September 18, 2012, however, I am republishing with more information.
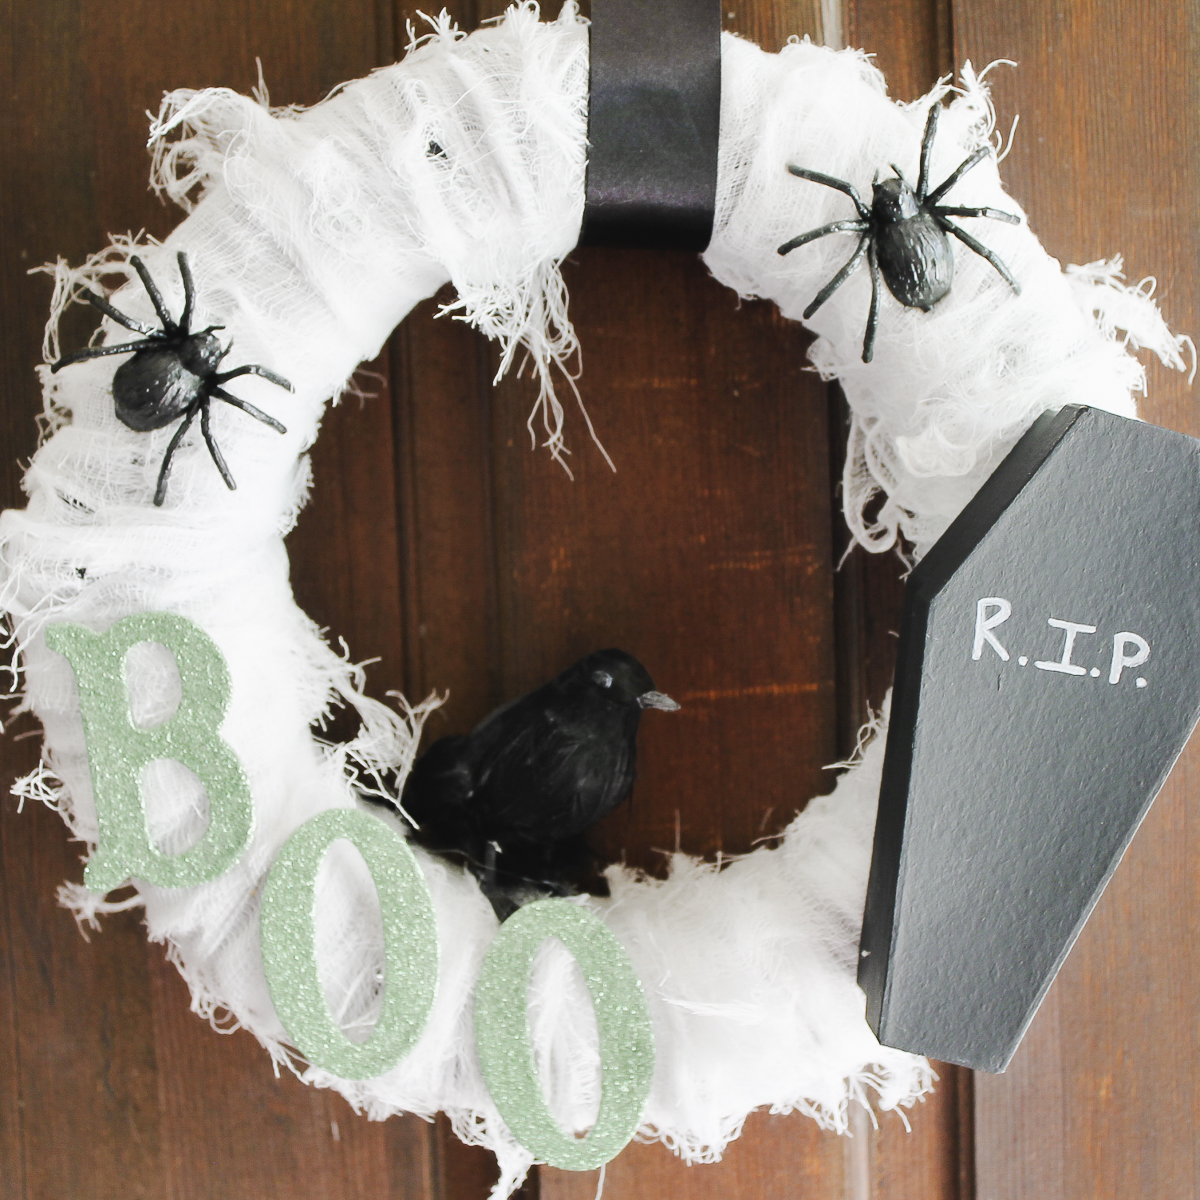
Scary Halloween Wreath Instructions
Want to make your own? I have a few different options for if you have a Cricut machine or even if you don’t! So grab your supplies and make your own.
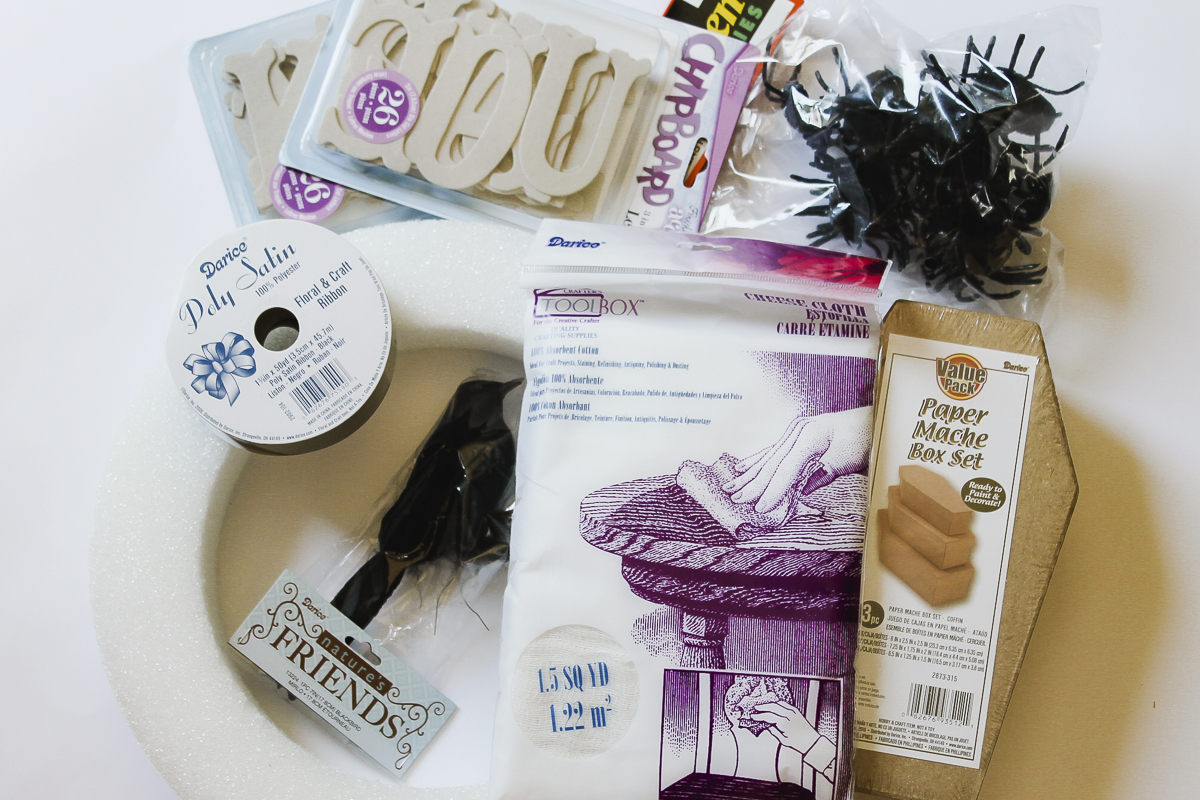
Supplies needed:
- Styrofoam wreath form
- Wide satin ribbon in black
- Cheesecloth
- Black bird
- Plastic spiders
- Paper mache coffin
- Chipboard letters (You can purchase some like these or make your own with a Cricut machine and the instructions below.)
- Black paint
- White paint pen
- Green glitter
- Mod Podge
- Hot Glue and Glue Gun
Step 1: Paint Coffin
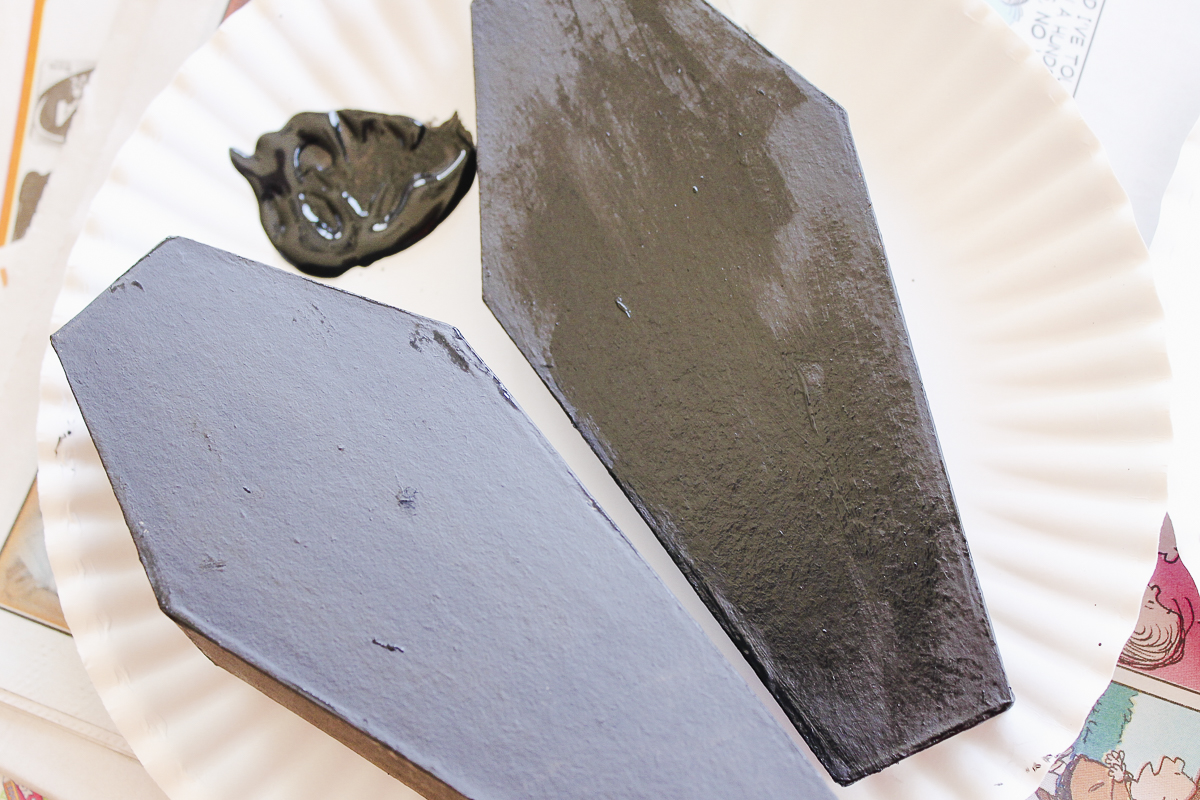
I used the smallest coffin in the set for this project. I love these coffins! Perfect for spooky Halloween decor.
Paint the coffin black and set aside to dry. Light coats are best on paper mache so you do not damage the surface.
NOTE: You could make your own coffin from paper with this tutorial and a Cricut machine. Just make it as large as possible!
Step 2: Cut BOO Letters (optional)
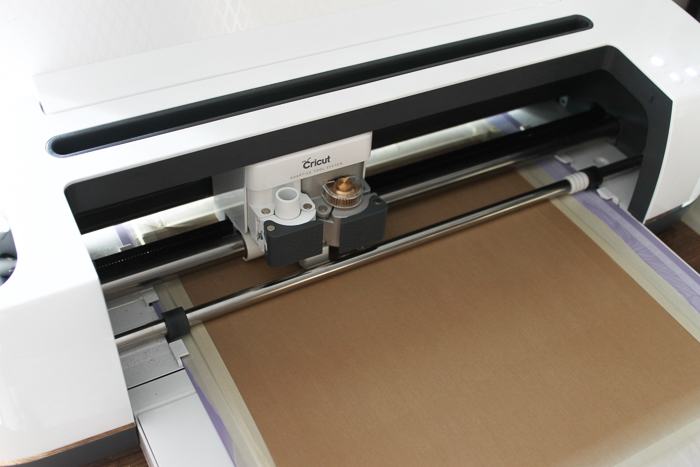
If you did NOT purchase pre-cut letters, add the word BOO to Cricut Design Space. Then add your material to the mat.
You have two different options.
- Cut from chipboard using the Cricut Maker and the knife blade.
- Cut from kraft board using any Cricut machine and cut multiple pieces then layer them with glue.
Either way, you can cut the word BOO with your Cricut machine!
Step 3: Add Glitter to Letters
NOTE: Not a huge fan of loose glitter? Try cutting glitter cardstock with your Cricut machine when you cut the letters then just glue it on top!
Apply a coat of Mod Podge to the chipboard letters (BOO). Then apply glitter in green.
Allow to dry.
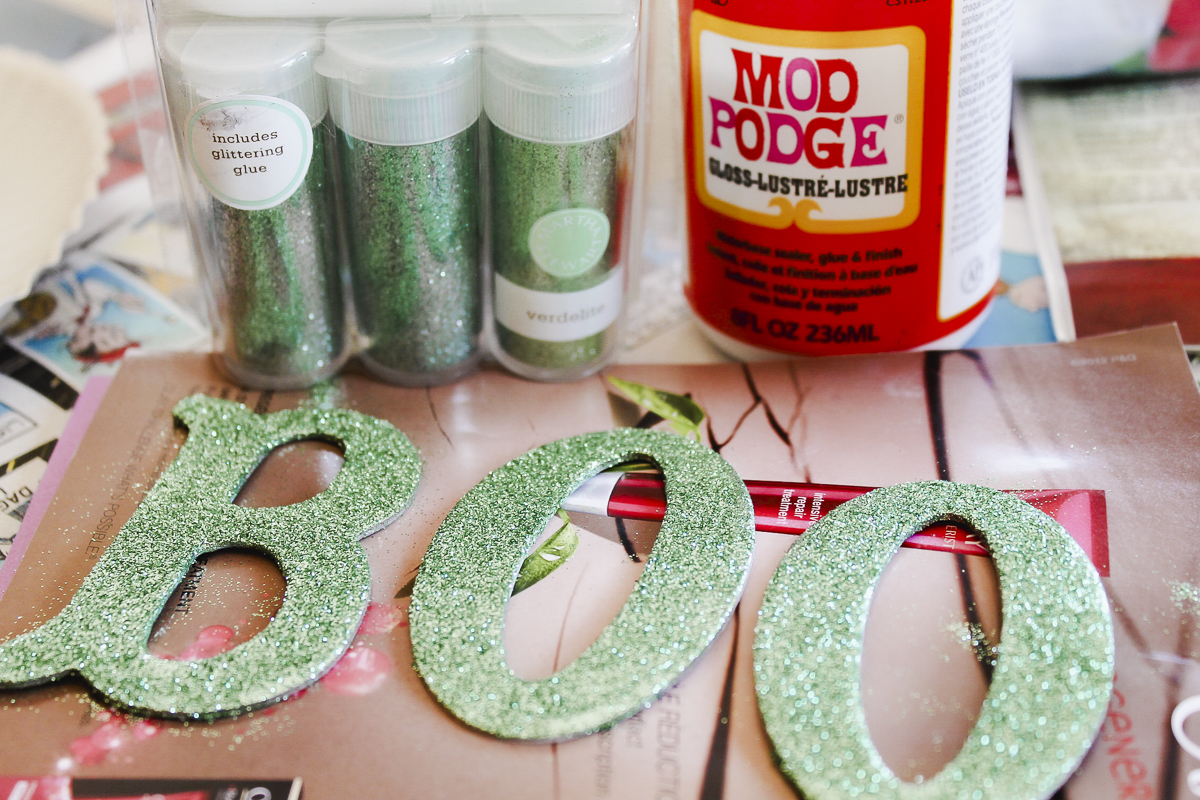
After they dry, the glitter will still be coming off on your hands. Apply another thick coat of Mod Podge to the letters to hold the glitter in place.
Once again, allow to dry completely.
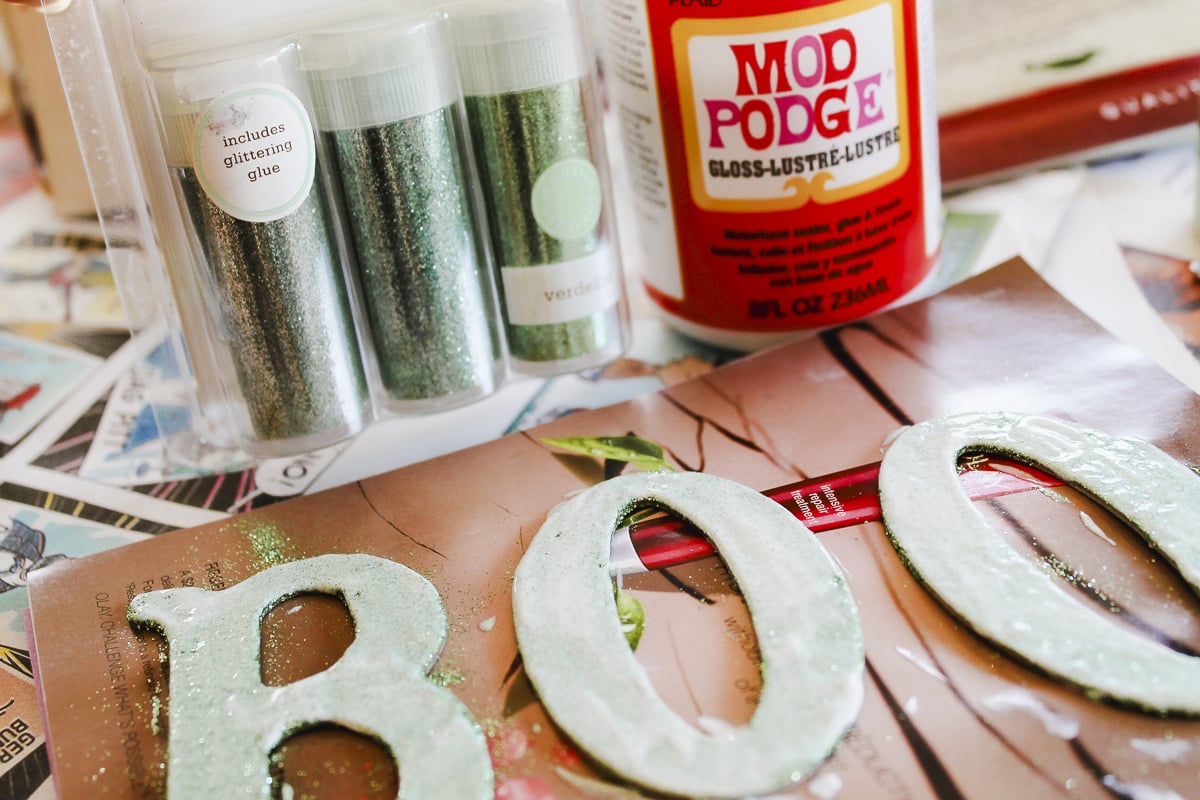
Step 4: Wrap Wreath Form
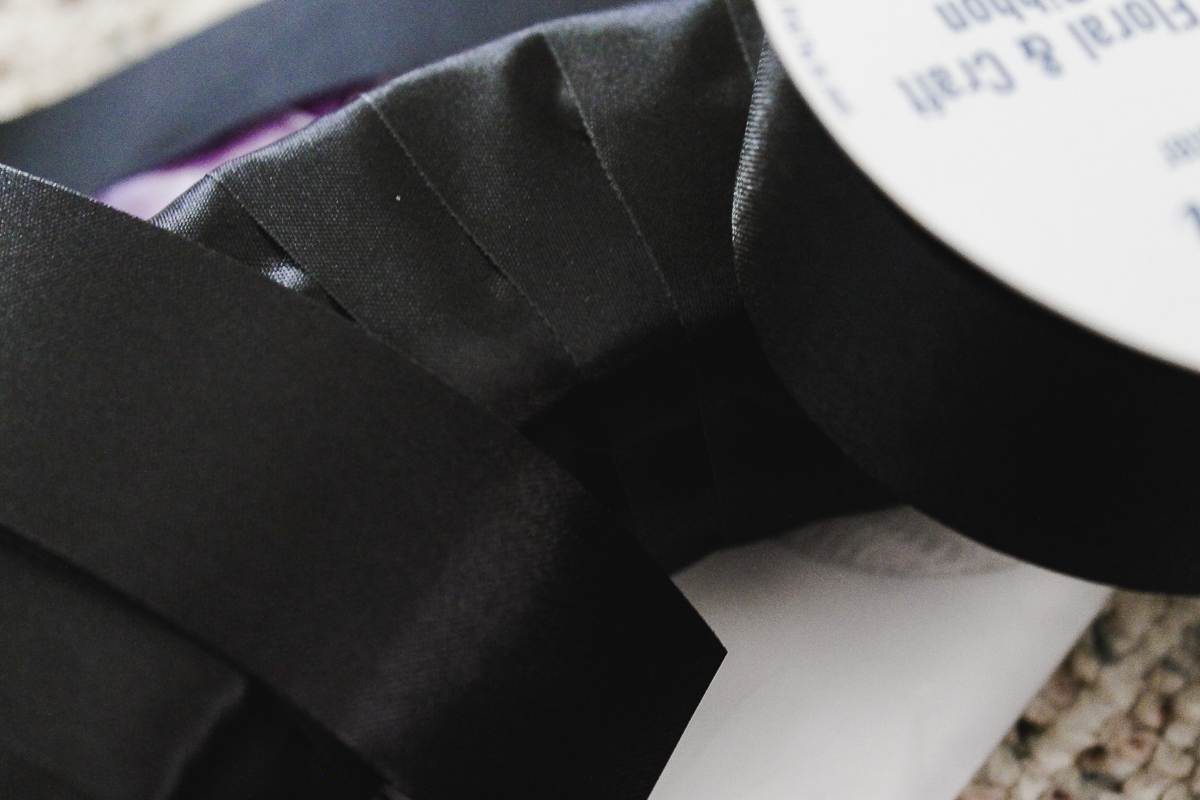
Now for the wreath form. First wrap the form in the black satin ribbon and used hot glue to secure.
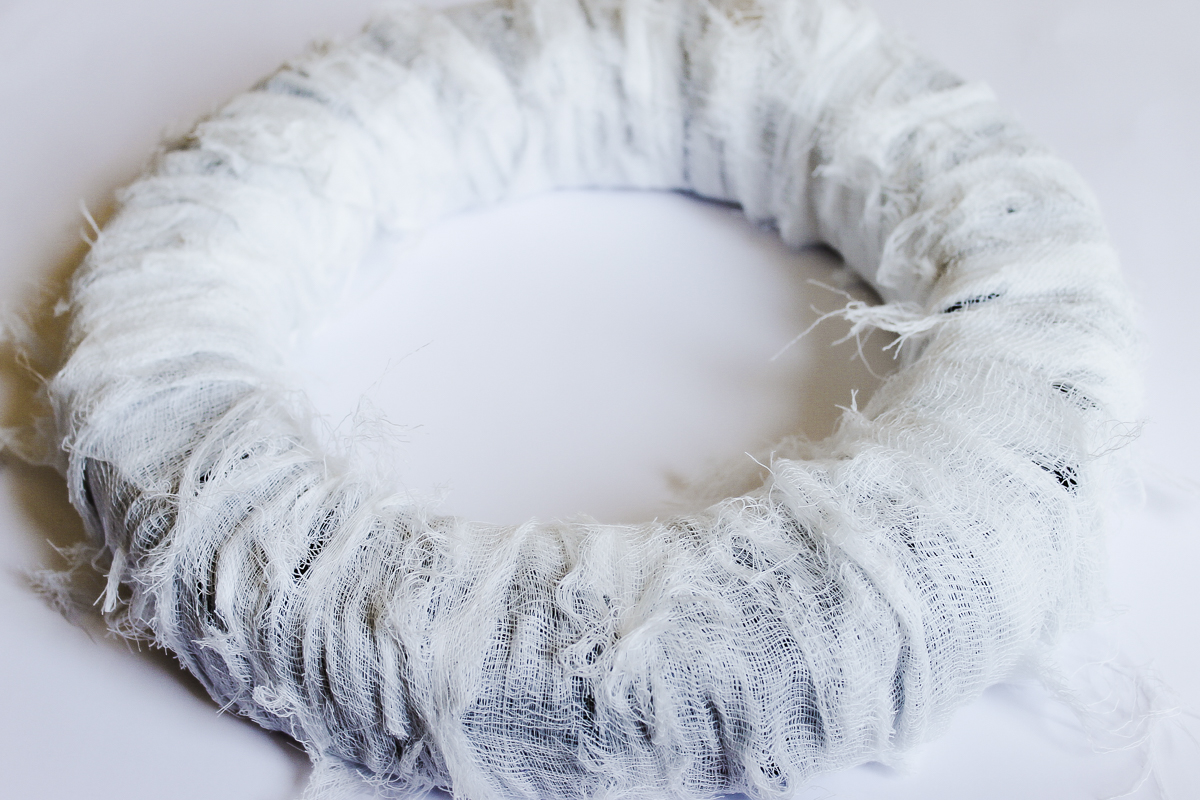
Then wrap the entire wreath form in cheeseit cloth by cutting it into strips and wrapping around. Again secure all ends with hot glue.
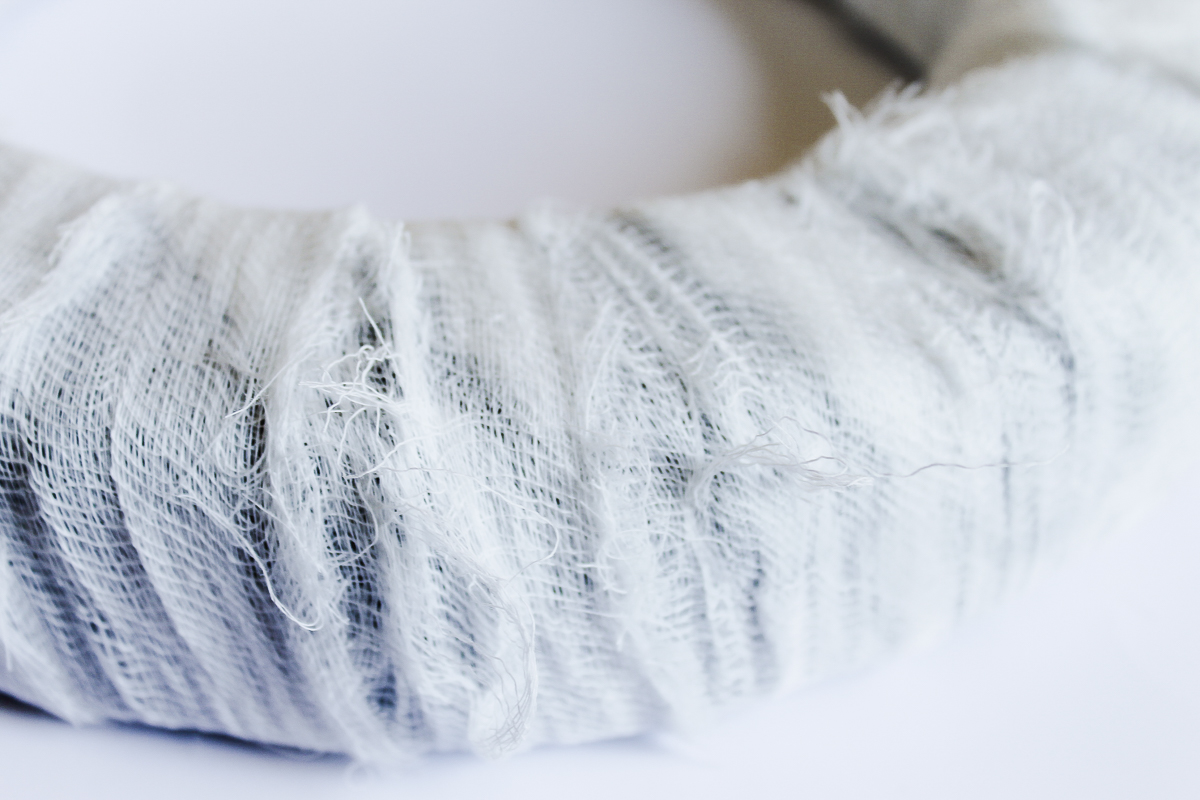
Then take your scissors to the cheese cloth and mess it up. I literally wanted it to look disheveled and spooky!
Step 5: Add Decorations to Wreath
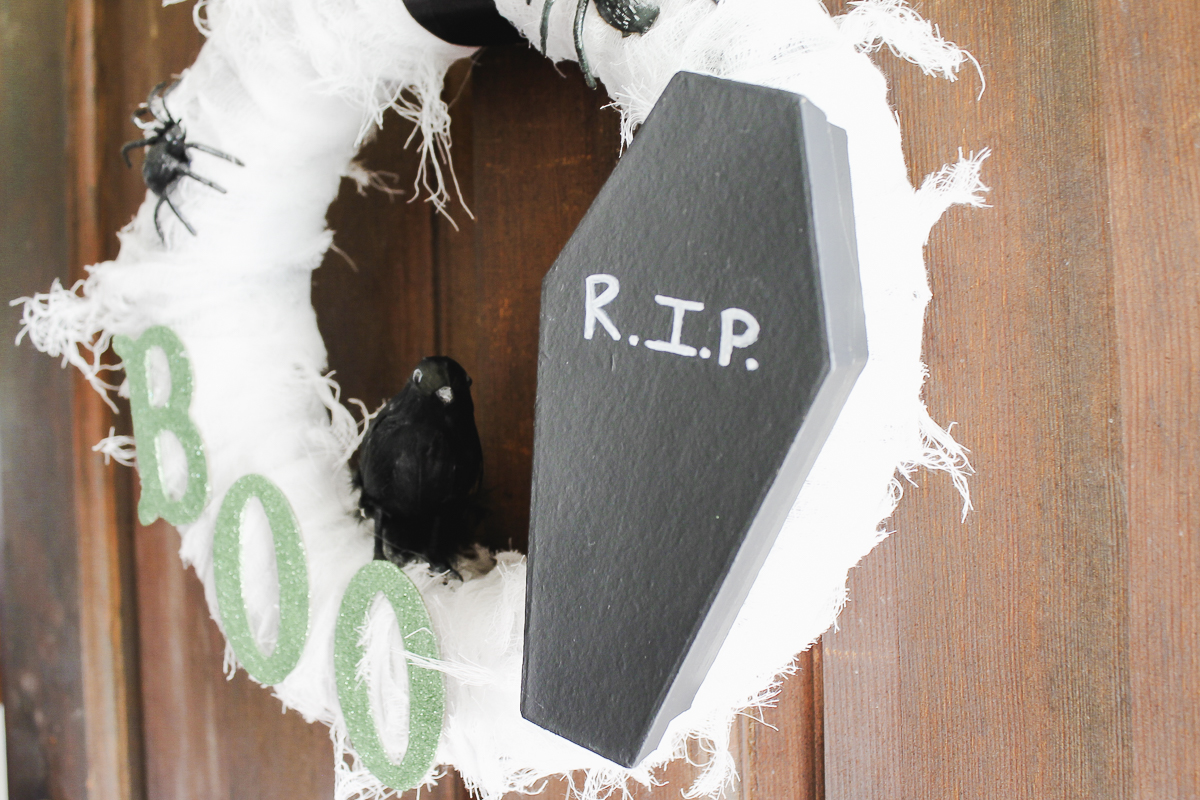
Use a white paint pen to write “R.I.P” on the coffin. You could also cut these letters from vinyl on your Cricut machine and apply to the front of the coffin.
Secure everything in place on the wreath using hot glue.
The chipboard letters spell “BOO”.
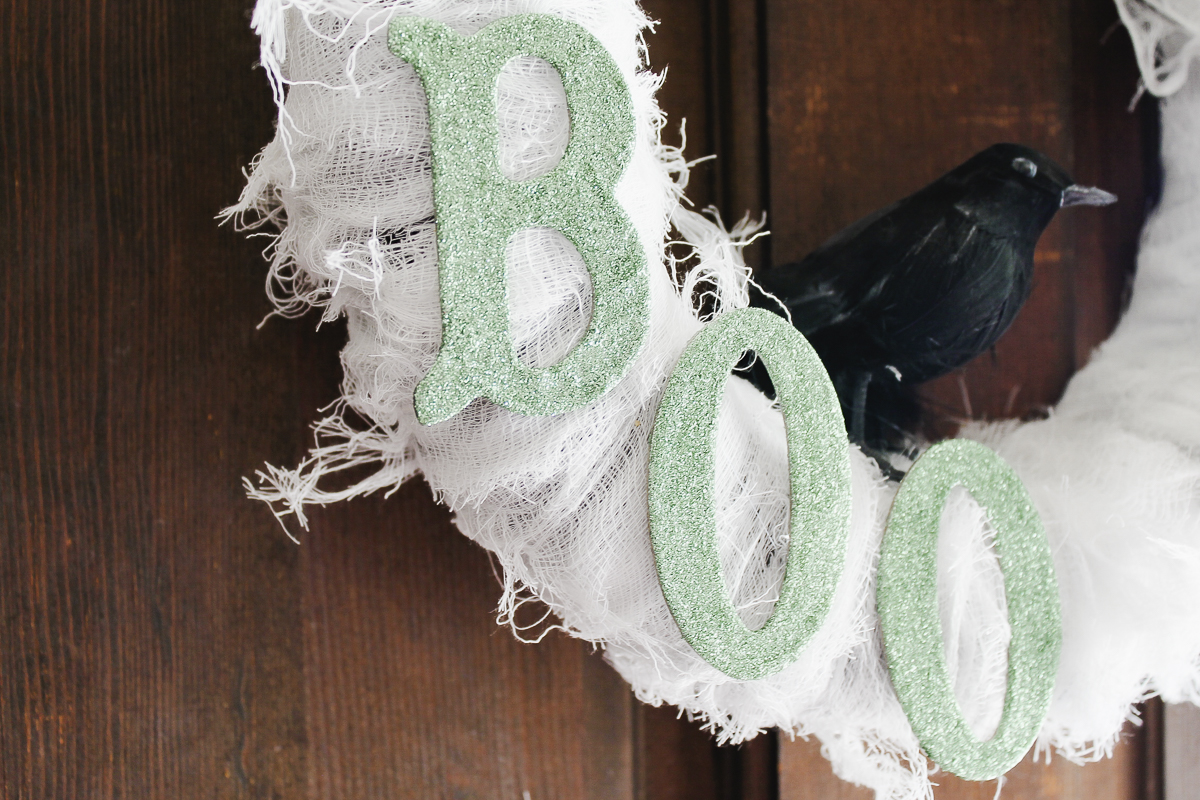
The coffin was placed on the opposite side and the crow in the middle. Secure the coffin top to the bottom using hot glue also.
Add a few spiders randomly around to level up the spooky feeling!
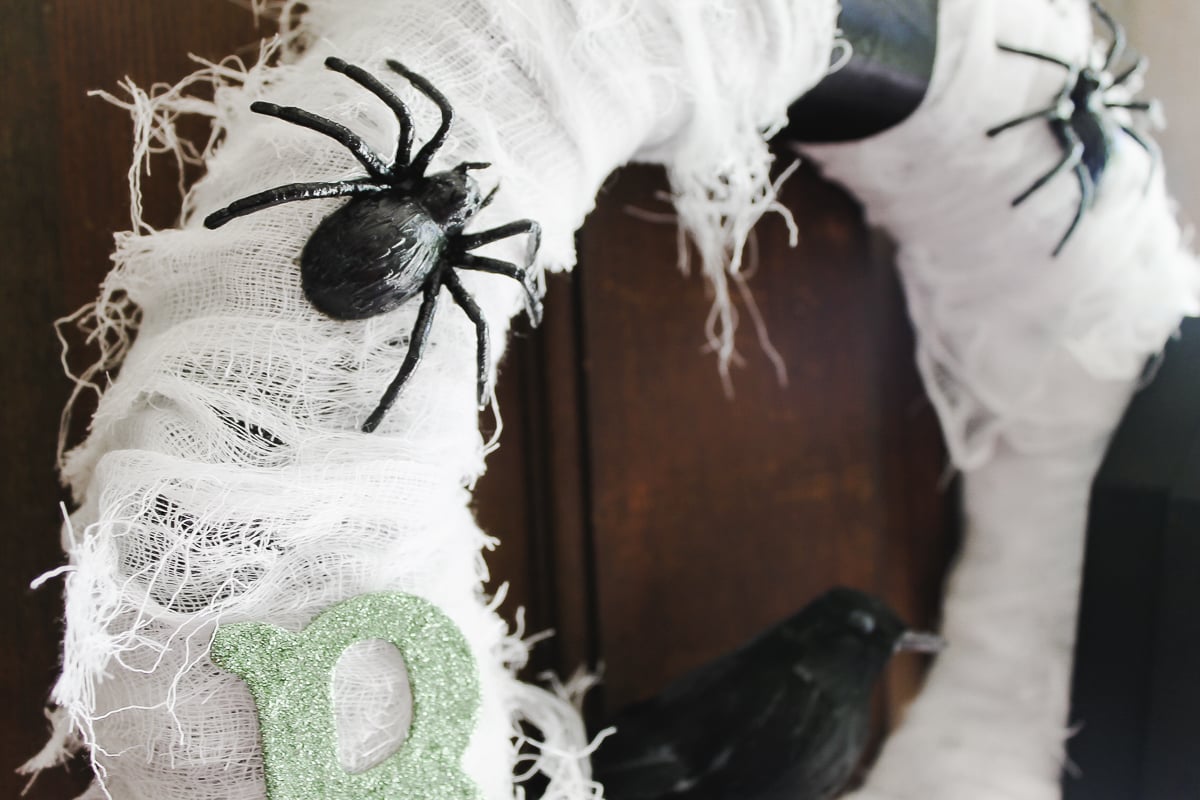
Then add more satin ribbon to hang on the door and this spooky Halloween wreath is complete!
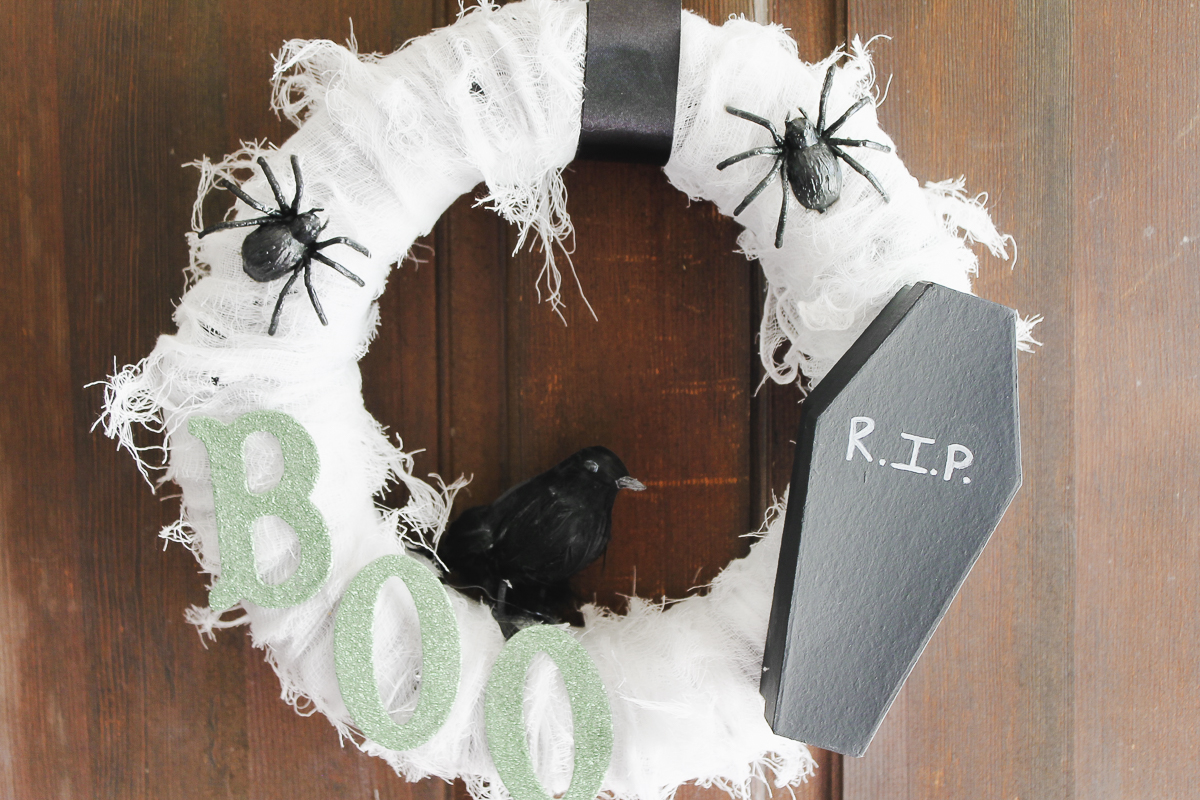
A very scary addition to my front door this season! So have you started decorating for Halloween?
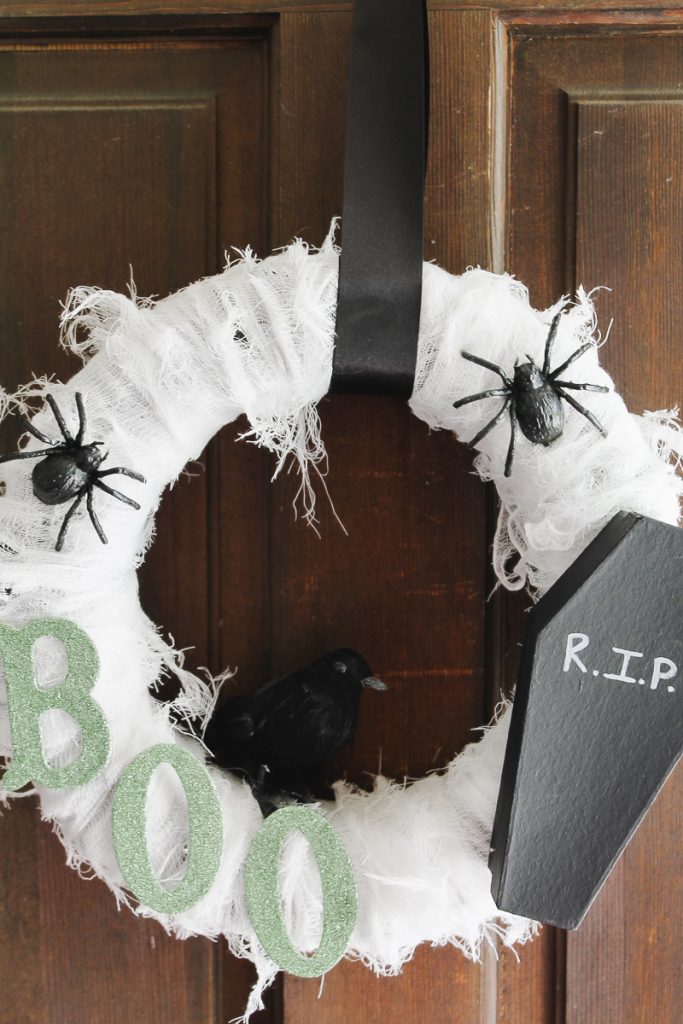
You are going to love the way this wreath looks on your front door and you will be ready for all of those trick-or-treaters! Grab your supplies and make your own version of this spooky Halloween wreath today!
More Halloween Craft Ideas
Want more ideas for Halloween? Give these crafts a try!


Cute idea. Love wrapping the weath in cheese cloth. 🙂
This comment has been removed by the author.
I love this!! You did a great job. So, now that I see your cheese cloth looking all disheveled, I am thinking I could do something with it for a project I have… I was looking on that website for the Consumer Crafts but didn’t see that item specifically- is it something you can get at a local store? Thanks! Love it!
I love this and can’t wait to make it! Sometimes they have “spooky” fabric like this with the Halloween decorations.
This is so cute, the cheese cloth is perfect for this wreath and the cute little BOO L O V E!
Jacque @theDIYvillage
Love it! This is the best Halloween wreath I have seen yet. Thanks for sharing!