

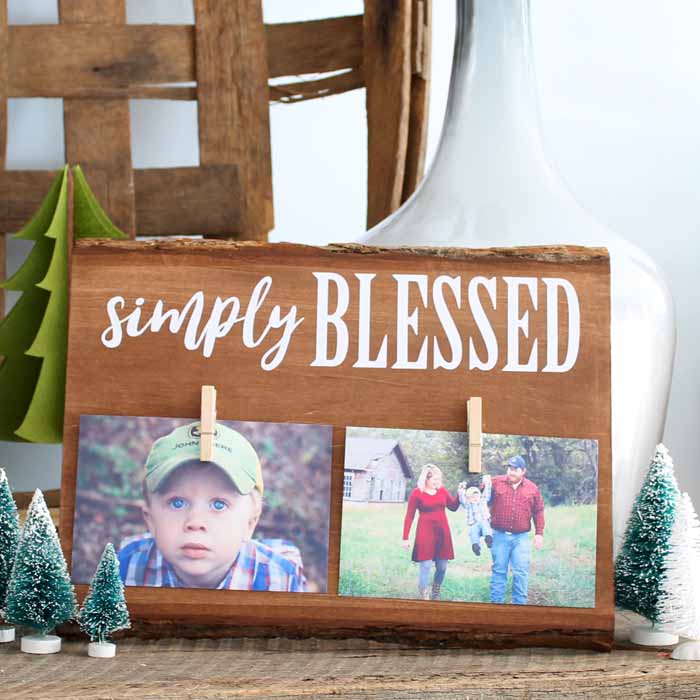
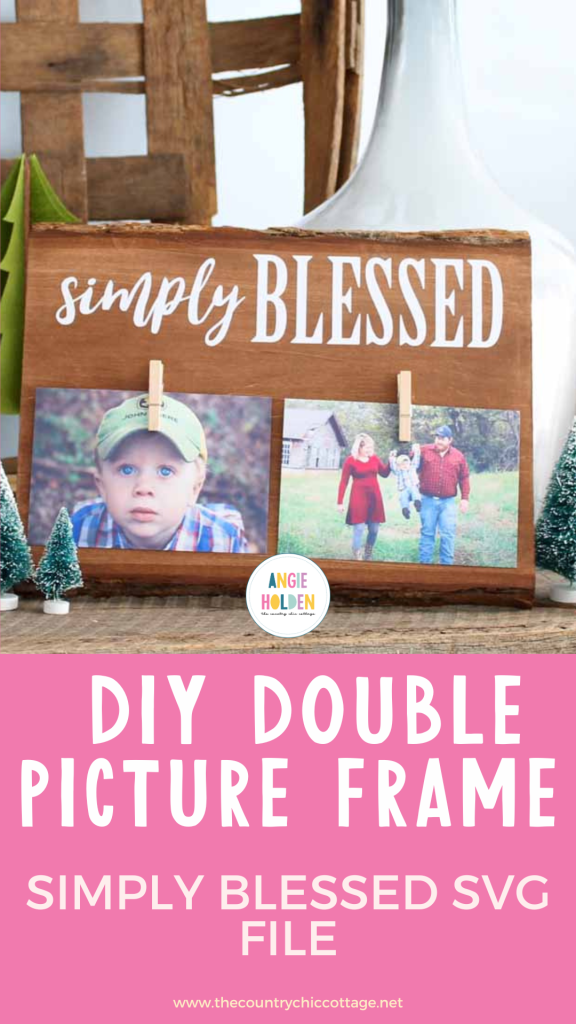
Use this simply blessed SVG file to create this fun double picture frame! Super rustic and made from wood, this picture frame is perfect as a gift or for styling your home. Fun to make with simple supplies, you can create your own customized photo frame in minutes!
Simply Blessed SVG File Double Frame Video Tutorial
I thought I would make a really quick video explaining the process of making this double photo frame. You can watch it below!
Can't watch it or missed some of the steps? Follow along below!
How To Make DIY Double Picture Frame Using Simply Blessed SVG File
This easy project is great for whenever you're looking for an extra craft to do or wanting to stay on a budget! You will enjoy making this DIY picture frame whether you're creating it for yourself, a friend, or a loved one. If you're concerned about time–don't worry. This craft is ready in minutes!
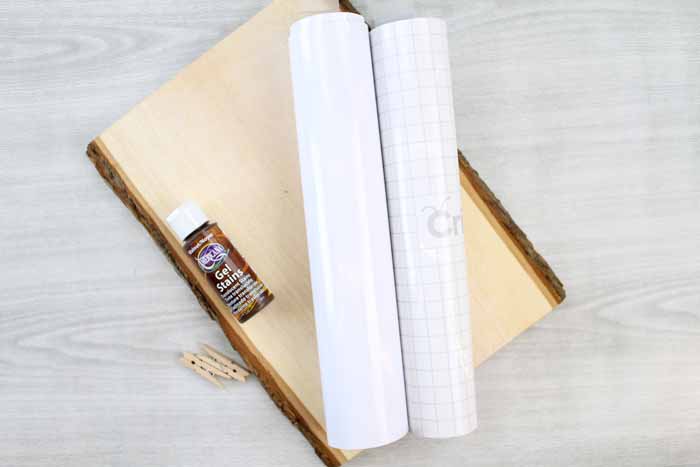
Supplies Needed To Make DIY Double Picture Frame
- Rustic Board with Bark Edge
- Dark Wood Stain: Find it at your local hardware store.
- White Vinyl
- Transfer Tape
- Cricut Cutting Machine (Want to see the difference between the machines? I compared the Cricut Maker and Explore here.)
- Clothespins
- Hot Glue and Glue Gun
- Paintbrush: Any size is fine.
- Rag
- Weeding Tools (optional)
- Pictures
- Simply Blessed file
Note: Hang this picture frame on the wall by installing brackets on the backside.
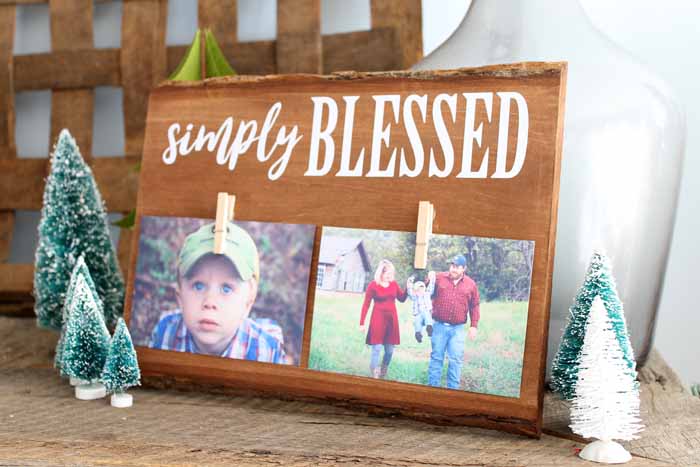
Step 1: Stain Plank
You want to start by staining your plank a dark color with the wood stain. Be sure to stain both the front as well as the sides that have no bark.
Brush on the stain in the direction of the wood grain. Allow it to set a few minutes then wipe away with a rag. Set aside to dry completely.
Step 2: Upload Simply Blessed SVG File To Cricut Design Space
Next, you will need to download the simply blessed template here and upload it to Cricut Design Space. If you don't know how to do this, be sure to follow along with the instructions in our Cricut Beginner's Guide here.
Step 3: Cut Design
Cut the white vinyl with your machine. Don't forget to measure your board and then size your design to fit before cutting.
Step 4: Weed Design
Weed any excess from the vinyl. Weeding tools make quick work of this task.
Step 5: Add Transfer Tape To Design
Then use transfer tape to put the design onto your stained wood piece.
Step 6: Add Clothespins To Plank
You will then use hot glue to secure the clothespins into place. Eye the placement by adding your pictures to the pins before adding glue.
Your double photo frame is now ready to be displayed anywhere in your home! Grab your supplies and your Cricut machine and make your own version of this fun project today! Trust me, you will love the results and will love how this one looks in your home!
How To Use Double Frame
Make this DIY double picture frame to give away as a Christmas gift, birthday present, housewarming gift, or just as a token of love. The recipient will be eternally grateful!
If you're giving this picture frame to a friend or loved one, place a picture of you and that person on the picture frame.
FAQs About Simply Blessed SVG File Double Frame
Here are a couple of questions that I see readers ask about making this simply blessed SVG file double frame. If you have a question, please check to see if I’ve already answered it below. Don’t see your question? Leave it for me in the comments!
Can I Make This Project In Any Size?
Yes! For this project, I used a standard-size rustic board. However, you can make this project bigger or smaller depending on the look you are going for.
What Cricut Machine Can I Use For This Project?
All of them! The Cricut Maker, Cricut Explore series, Cricut Joy, Cricut Joy Xtra, and Cricut Venture, can all cut vinyl!
The only thing to keep in mind is that each Cricut machine is different in regard to project size capabilities and the materials it can cut. So, depending on what project you have in mind, you might need to resize the design or cut it out in a different material.
Do You Have Other SVGs I Can Use For This Project?
Absolutely! To see all of our free SVG files click here!
I Don't Have Stain, Can I Still Make This Project?
Yes, you can! if you don't like the look of stain, you don't have to use it in this project. You could just use the raw wood to display your photos. However, if you don’t have wood stain, you can make your own ”stain” by using water-down brown acrylic paint!
Would This Project Work For Instax Photos?
Yes! If you are using photos of different sizes (like Instax), you can create a different layout and add more clothespins to hold more pictures.
8 More Farmhouse Home Decor Crafts
Did you love this simply blessed SVG file double frame, and are looking for more farmhouse home decor crafts? Then check out the projects below!
- Farmhouse Pillow
- DIY Farmhouse Kitchen Menu Board
- Rustic Farmhouse Bathroom Ideas
- Free Farm Fresh Eggs SVG for Cricut and Silhouette
- Farmhouse Style Office Area
- Make a Farmhouse Cricut Wreath with Iron-on
- Large Glass Terrarium with Farmhouse Style
- Farmhouse Wood Garland


