

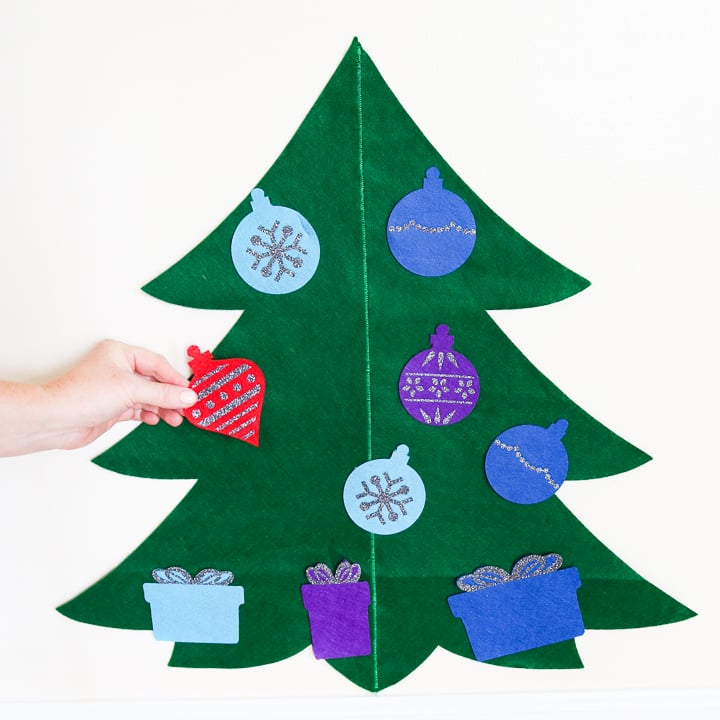
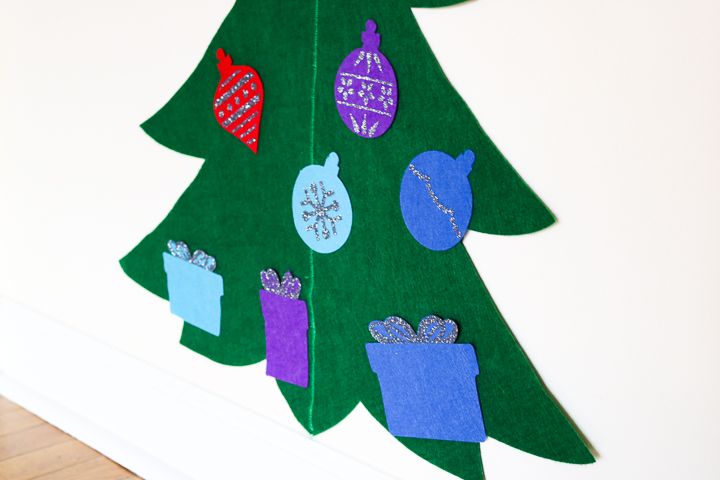
This felt Christmas tree for toddlers is a great way for little ones to enjoy decorating without worrying about broken ornaments. Hang it on the wall in their room or place it next to the big tree so they can decorate and rearrange it as much as they want. Best of all, the ornaments can be made in any colors you choose to match their personalities.
Felt Christmas Tree For Toddlers Video Tutorial
Want to know how to make this felt Christmas tree for toddlers? Just watch the video below for instructions.
Can't watch the video or missed some of the steps? Follow along below!
How To Make A Felt Christmas Tree For Toddlers
Everybody likes to go overboard at Christmastime, right? There are so many great decorations for Christmas, but the most important is the Christmas tree. I always worried about my grandkids breaking ornaments or tipping the tree over. Plus, I hated being the bearer of bad news when I wouldn't let them play with some of my precious glass ornaments.
I decided all of the worry wasn't worth it, so I made this felt tree just for them. It's a great way to distract them from the real thing and give them something of their own to keep them occupied.
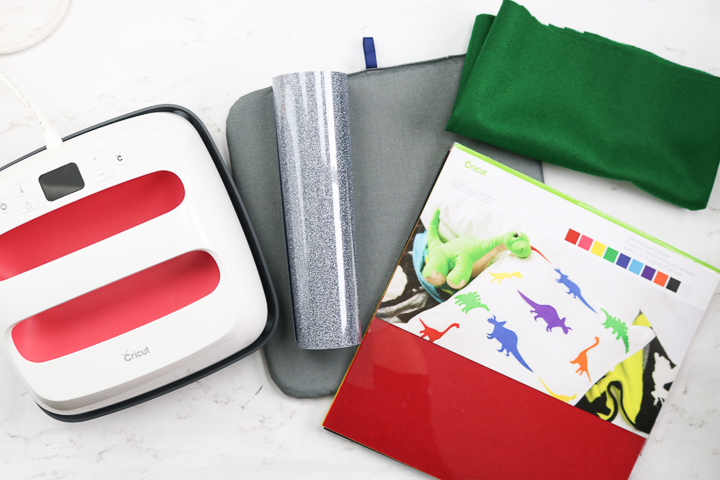
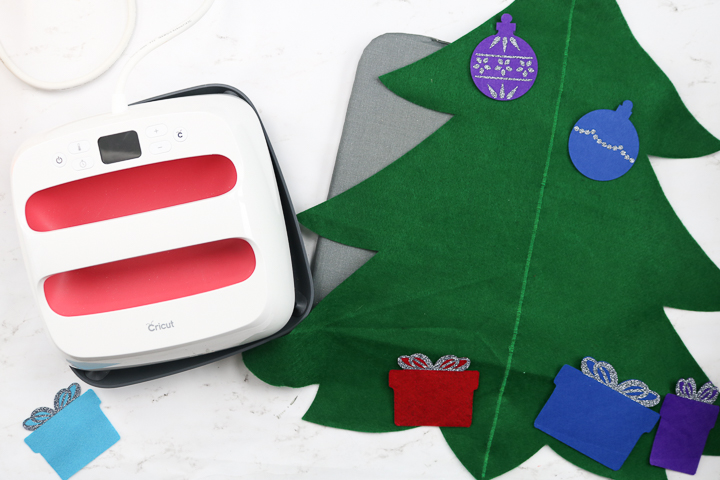
To make this project, I decided to use my Cricut machine. I thought it would make the project even easier, and I love cutting felt with a Cricut. You can use either the Cricut Explore or the Cricut Maker for this project, but I think the Maker does a much better job with felt. Y'all enjoy and make a toddler Christmas tree for your kiddos this holiday season.
Supplies Needed to Make A Felt Christmas Tree For Toddlers
- Green Stiff Felt (try buying from the fabric section since you will need two pieces that are 12×24)
- Stiff Felt (in the colors of your choice)
- Cricut machine (I like the Maker better for cutting felt)
- Glitter Iron-on
- Cricut EasyPress
- EasyPress mat
- Weeding tools (optional)
- Cricut cut file (click here to access)
- Sewing machine
- Green thread
- Command strips
- 12×24 Cricut mat
Step 1: Cut Felt Pieces & Heat Transfer Vinyl
First, you will need to cut all of the pieces with your Cricut machine. You can find the cut file here. You will also want to weed away all of the excess from your iron-on.
Remove the outer pieces as well as any internal pieces that are not a part of the design.
You can see more about cutting and working with heat transfer vinyl here if you do not understand how to cut it. Please note that you will need the 12×24 mat to cut the felt tree pieces.
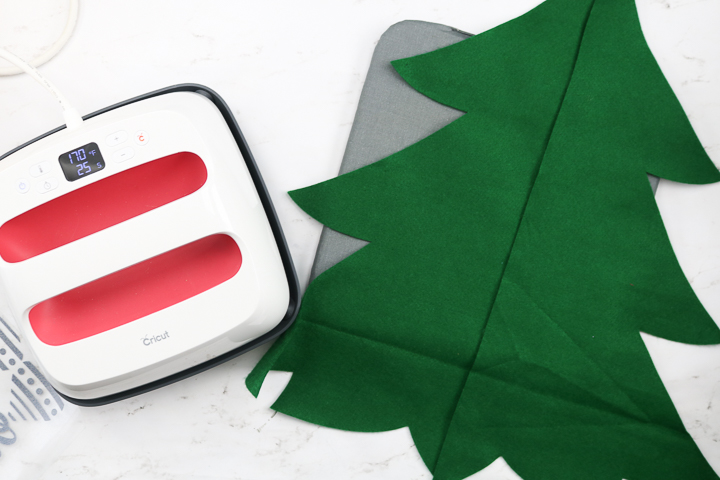
Step 2: Sew Tree Halves Together
The tree itself is cut into two halves. You will need to sew these two together. I slightly overlapped them and zigzagged down the center with my sewing machine.
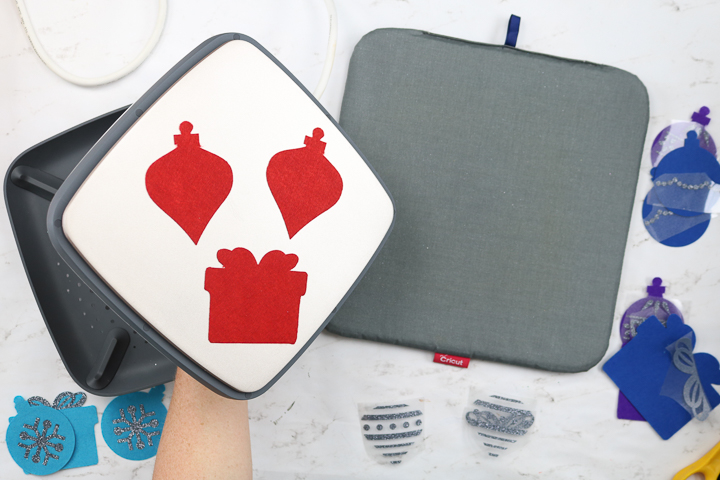
Step 3: Pre-Heat Felt Ornaments & Presents
Then you can add the iron-on to both the ornaments and the presents. For each one, preheat your felt for a few seconds before applying.
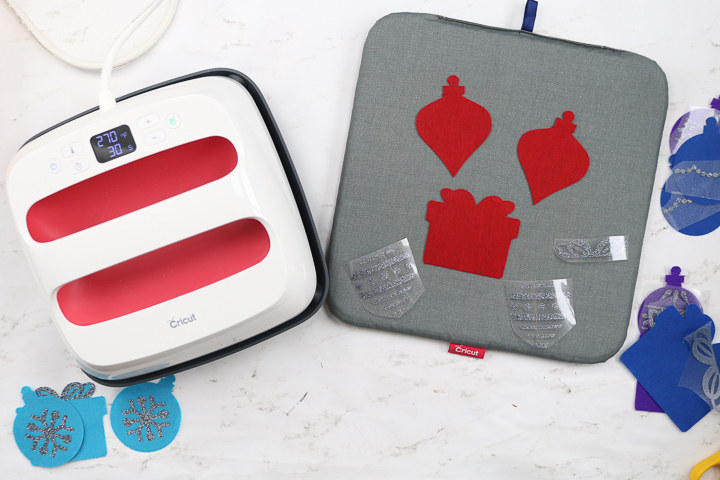
NOTE: I always have issues with the felt sticking to the bottom of my EasyPress. I just carefully remove the pieces with something like the tip of a pair of scissors or tweezers.
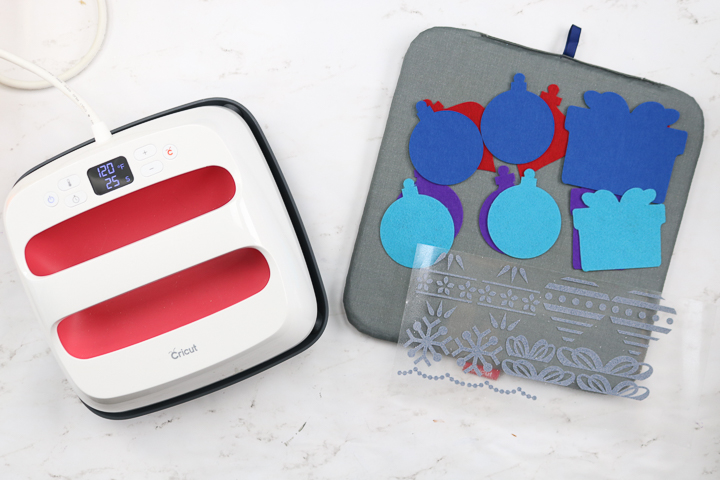
Step 4: Add Heat Transfer Vinyl To Felt Pieces
Position your heat transfer vinyl on your pieces. I am pressing two ornaments and a present all at the same time.
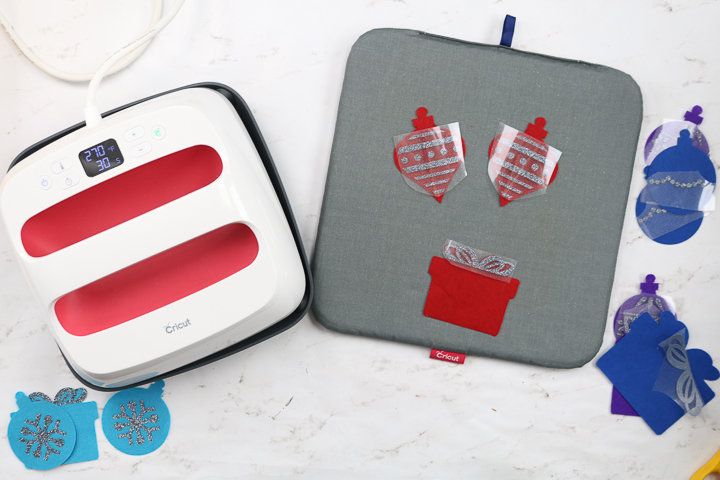
Press with the EasyPress for the recommended time and temperature. You can find all settings on the Cricut Heat Guide. You will need to press from the front, flip the pieces over, and press from the back.

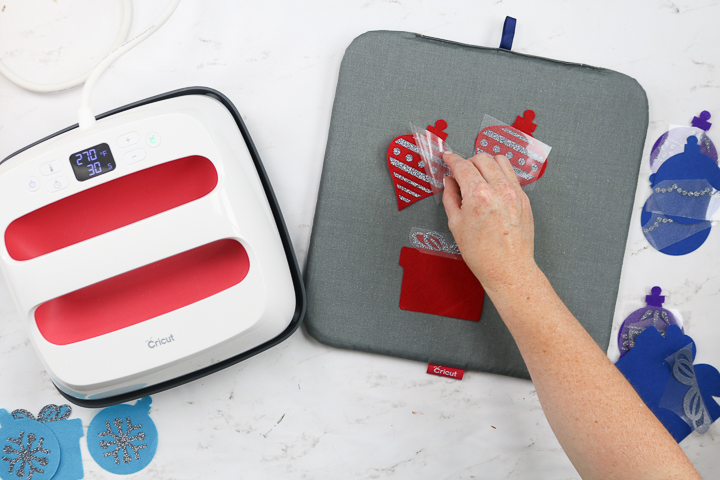
Step 5: Peel The Carrier Sheet Away From The Felt Pieces
Then you can peel back the carrier sheet that is over the iron-on.
Step 6: Repeat Steps 4-5 For Your Other Felt Ornaments & Presents
Repeat this same process for all of your ornaments and presents.
Step 7: Add Command Strips To The Back Of The Green Felt Tree
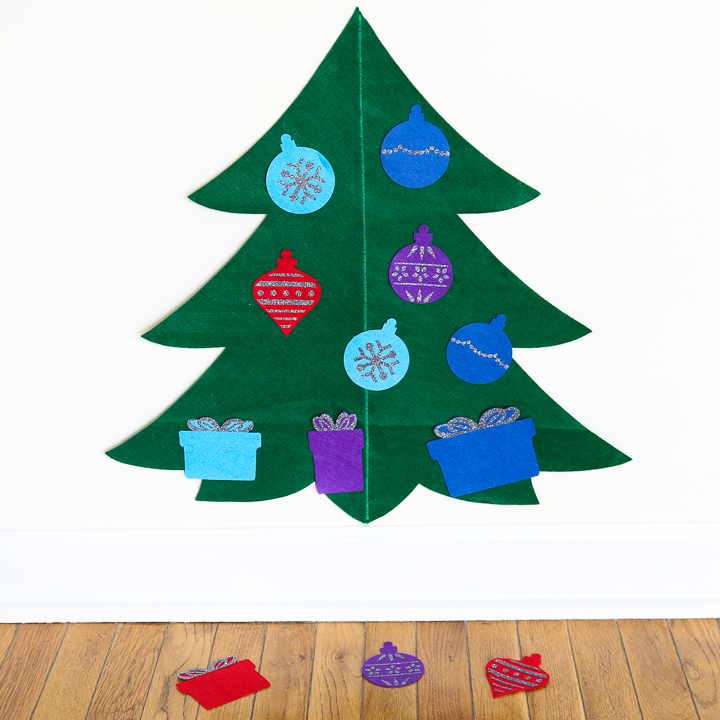
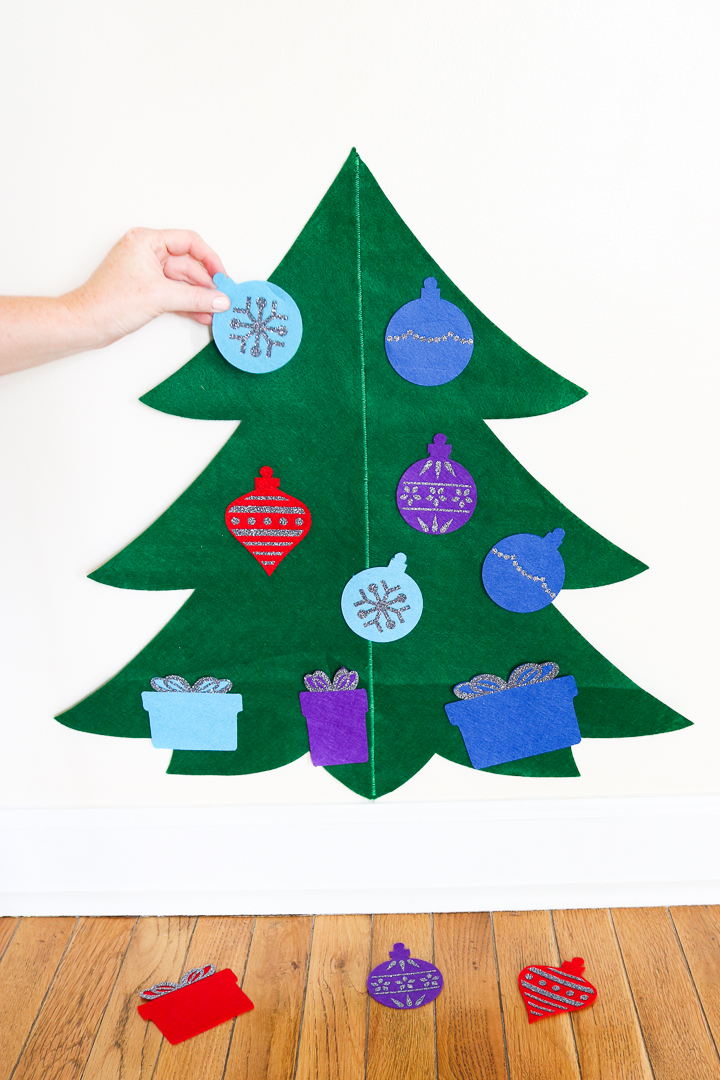
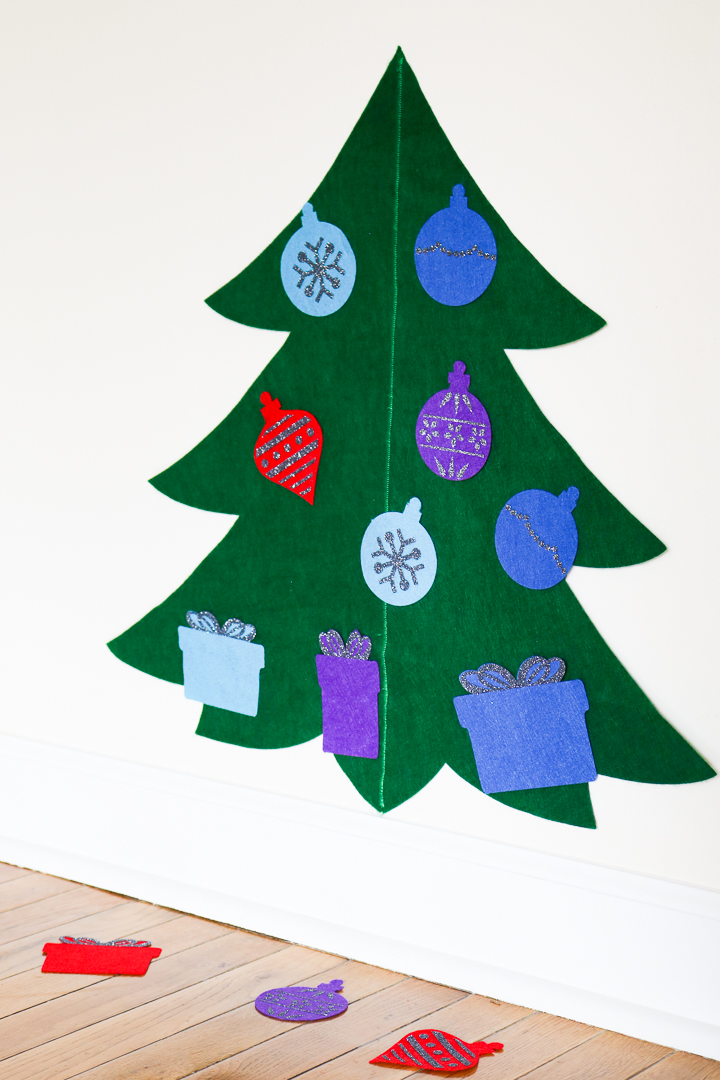
Use Command strips to hang the green felt tree on your wall. Then let the kids stick the ornaments and the presents to the tree over and over again!
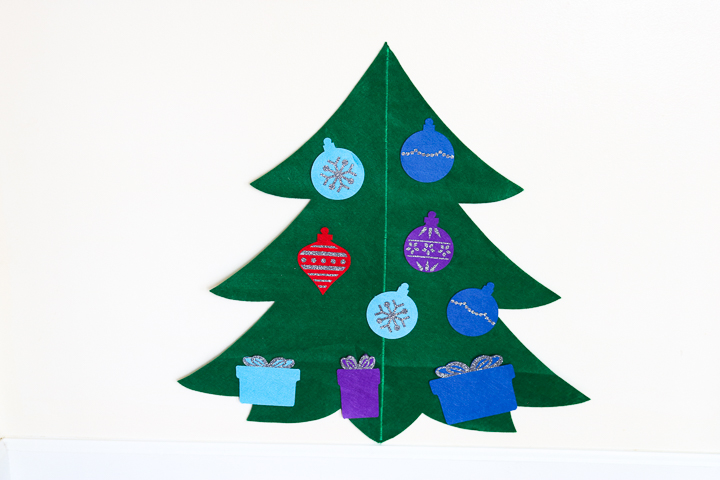
Felt sticks to felt, so no additional adhesive is needed! This makes it a wonderful craft for kids of all ages. However, please use caution when allowing children under three to participate. Always supervise young children!
So, will you make a toddler Christmas tree for your little ones this holiday season?
A kids' Christmas tree may be just what they want! I would go ahead and make this one now so they can play with it until the big night.
You can also mix and match the colors on this project to match the holiday decor in the rest of your home. That is the benefit of making your own gifts! You can make them however you like.
So, whip up a felt Christmas tree this year. The kids will love decorating it, and you will love them leaving your ornaments alone! Want another design for this tree? Try the design over at That's What Che Said!
FAQs About Felt Christmas Tree For Toddlers
Here are questions I frequently see readers ask about making this felt Christmas tree for toddlers. If you have a question but don’t see it answered below, please leave it in the comments so I can answer it.
What Cricut Machine Can I Use To Make This Christmas Tree For Toddlers?
For this project, you can use the Cricut Explore or Cricut Maker. However, I recommend the Cricut Maker series because it can cut felt easily and handle a wide variety of felt types.
How Can You Make This Felt Tree Using 12×12 Mats?
You could cut the tree into four pieces and sew or glue them together. Use the green mat for felt, and if you use stiff felt, the fine-point blade will work; I prefer the rotary blade.
I've Never Cut Felt Before Using My Cricut. Do You Have Any Cricut Felt Resources?
Yes, I do! If you have never cut felt before using your Cricut machine and don't know where to start, check out our Cutting Felt With A Cricut: A How To Guide!
How Can I Personalize This Felt Christmas Tree For Toddlers?
You can customize this felt tree in a variety of ways! Below are just a few ideas, but the possibilities are endless!
- Change the color of the felt ornaments and presents
- Create your own style of felt ornaments and presents
- Change the color of the vinyl
- Adjust the size of the tree, ornaments, and presents
- Add the child's name to the tree, ornaments, or presents
5 More Felt Crafts For Kids
Do you love this felt Christmas tree for toddlers and are looking for more felt crafts for kids? Then check out the projects below!
- Make Your Own Fridge Magnets with a Cricut
- Easy DIY Felt Flowers
- Make Your Own Felt Food for Kids with the Cricut
- Felt Crafts for Kids
- Magnetic Fishing Game with the Cricut EasyPress 2


Suggestions for making this to scale using 12×12 mats? I would like to keep it this same size but I only have 12×12 mats. Also, which strength mat and blade do you suggest for felt?
You could cut the tree into four pieces and sew or glue them together. Usually the green mat for felt and if you use stiff felt, the fine point blade will work but I like the rotary blade.
I have looked and looked for the file for this Felt Christmas tree and I can not find it. HELP!!!
The file is in Cricut Design Space. There is a link in this post. Just click the link and it will open.
Hi Angie, I get an error message when I click on that link.
I have fixed the link in the post so it will take you to the Design Space project :). Sorry about that!
I tried to acces the cut files from both links and am unable to do so. Can you help please? Thank you.
I have fixed the link in the post so it will take you to the Design Space project :). Sorry about that!
Help, please! The links in the post are not working. I would love to make this, though!
I have fixed the link in the post so it will take you to the Design Space project :). Sorry about that!