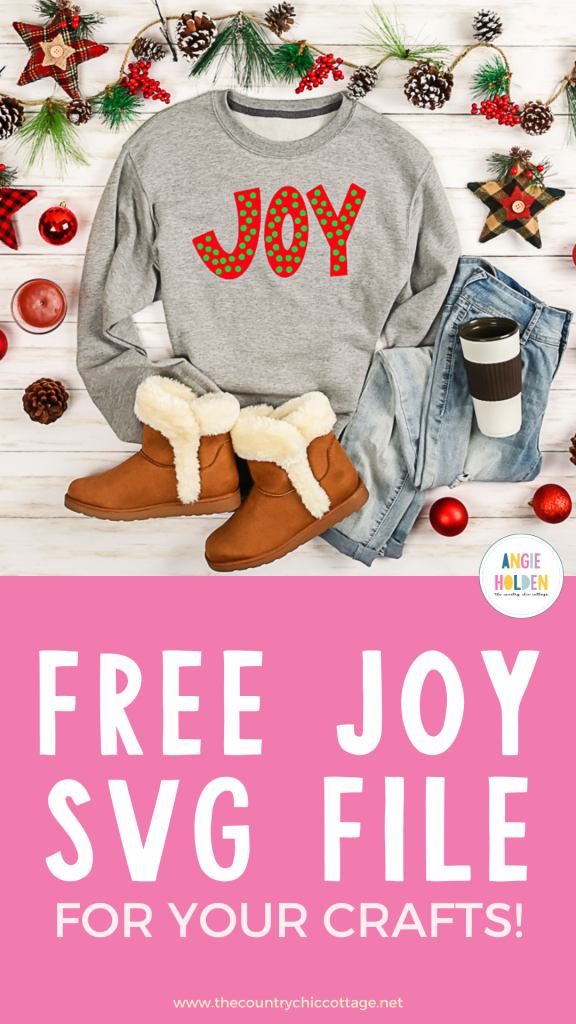
Are you ready to get a free Layered Joy SVG and make a cute sweatshirt using HTV? I love holiday-themed clothes and this sweatshirt turned out so cute. You could use this design to make a variety of projects, today I'm going to show you how I made my sweatshirt.
This design includes two layers of HTV. Layering HTV is different than projects with just one layer. Learn more about layering HTV in my How to Layer Iron-on Beginner's Guide.

How to Make a Layered Joy Sweatshirt
To make a layered Joy sweatshirt with the free SVG we need to gather the supplies we're going to use today. I am going to use my Cricut Autopress for this project but you can use any heat press including a handheld press.
Supplies Used
Step 1 – Download the Free Layered Joy SVG File
Download the free layered Joy SVG here by entering your information. If you've signed up for emails before you will need to enter your email address again and the file will be sent right to you. You will not be signed up for any extra emails.
Download the SVG file to your computer and next, we'll upload it into Design Space. If you're using a different cutting machine there are different file types included that may be helpful.
Step 2 – Upload the File into Design Space
Upload the file into Design Space. Learn how to do that in my How to Use an SVG with Design Space tutorial.
Step 3 – Adjust the Joy SVG for Your Blank
Next, we need to adjust the design to fit the blank we're using. I'm adding the design to an adult sweatshirt and I like my design to be 10-11″ across.
Make sure you resize both of the layers at the same time so the design stays proportionate.
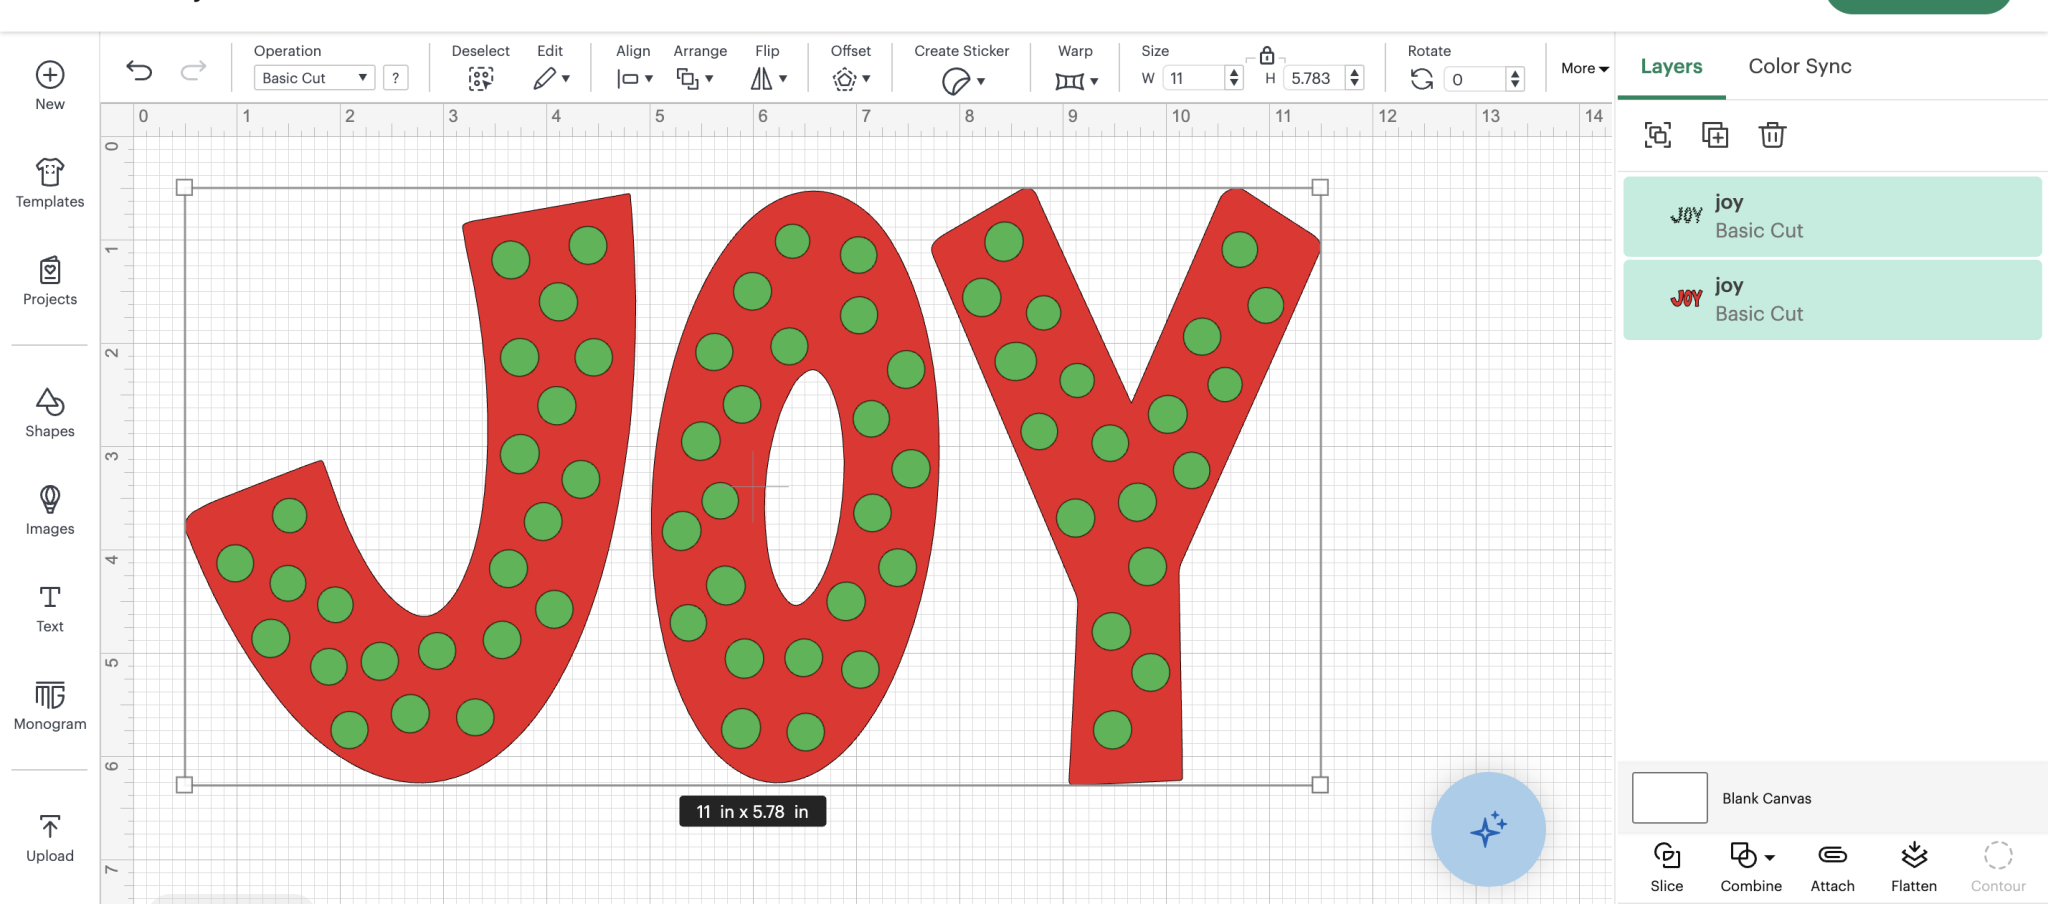
This design comes onto the canvas in 2 colors. You can change any of the colors in the layers panel. The color on the screen helps give you an idea of what your project will look like. I like to match the colors as close as I can to the materials I'm using.
Make sure you mirror the design on every mat.
Step 4 – Cut Out the Iron-on
HTV is cut with a Fine Point Blade so you can make this project with any Cricut machine.
Place the material on the mat shiny side down so it cuts correctly and load the mat into the machine.
Select the material setting that matches the HTV you're using and press Go. Repeat for each additional material.

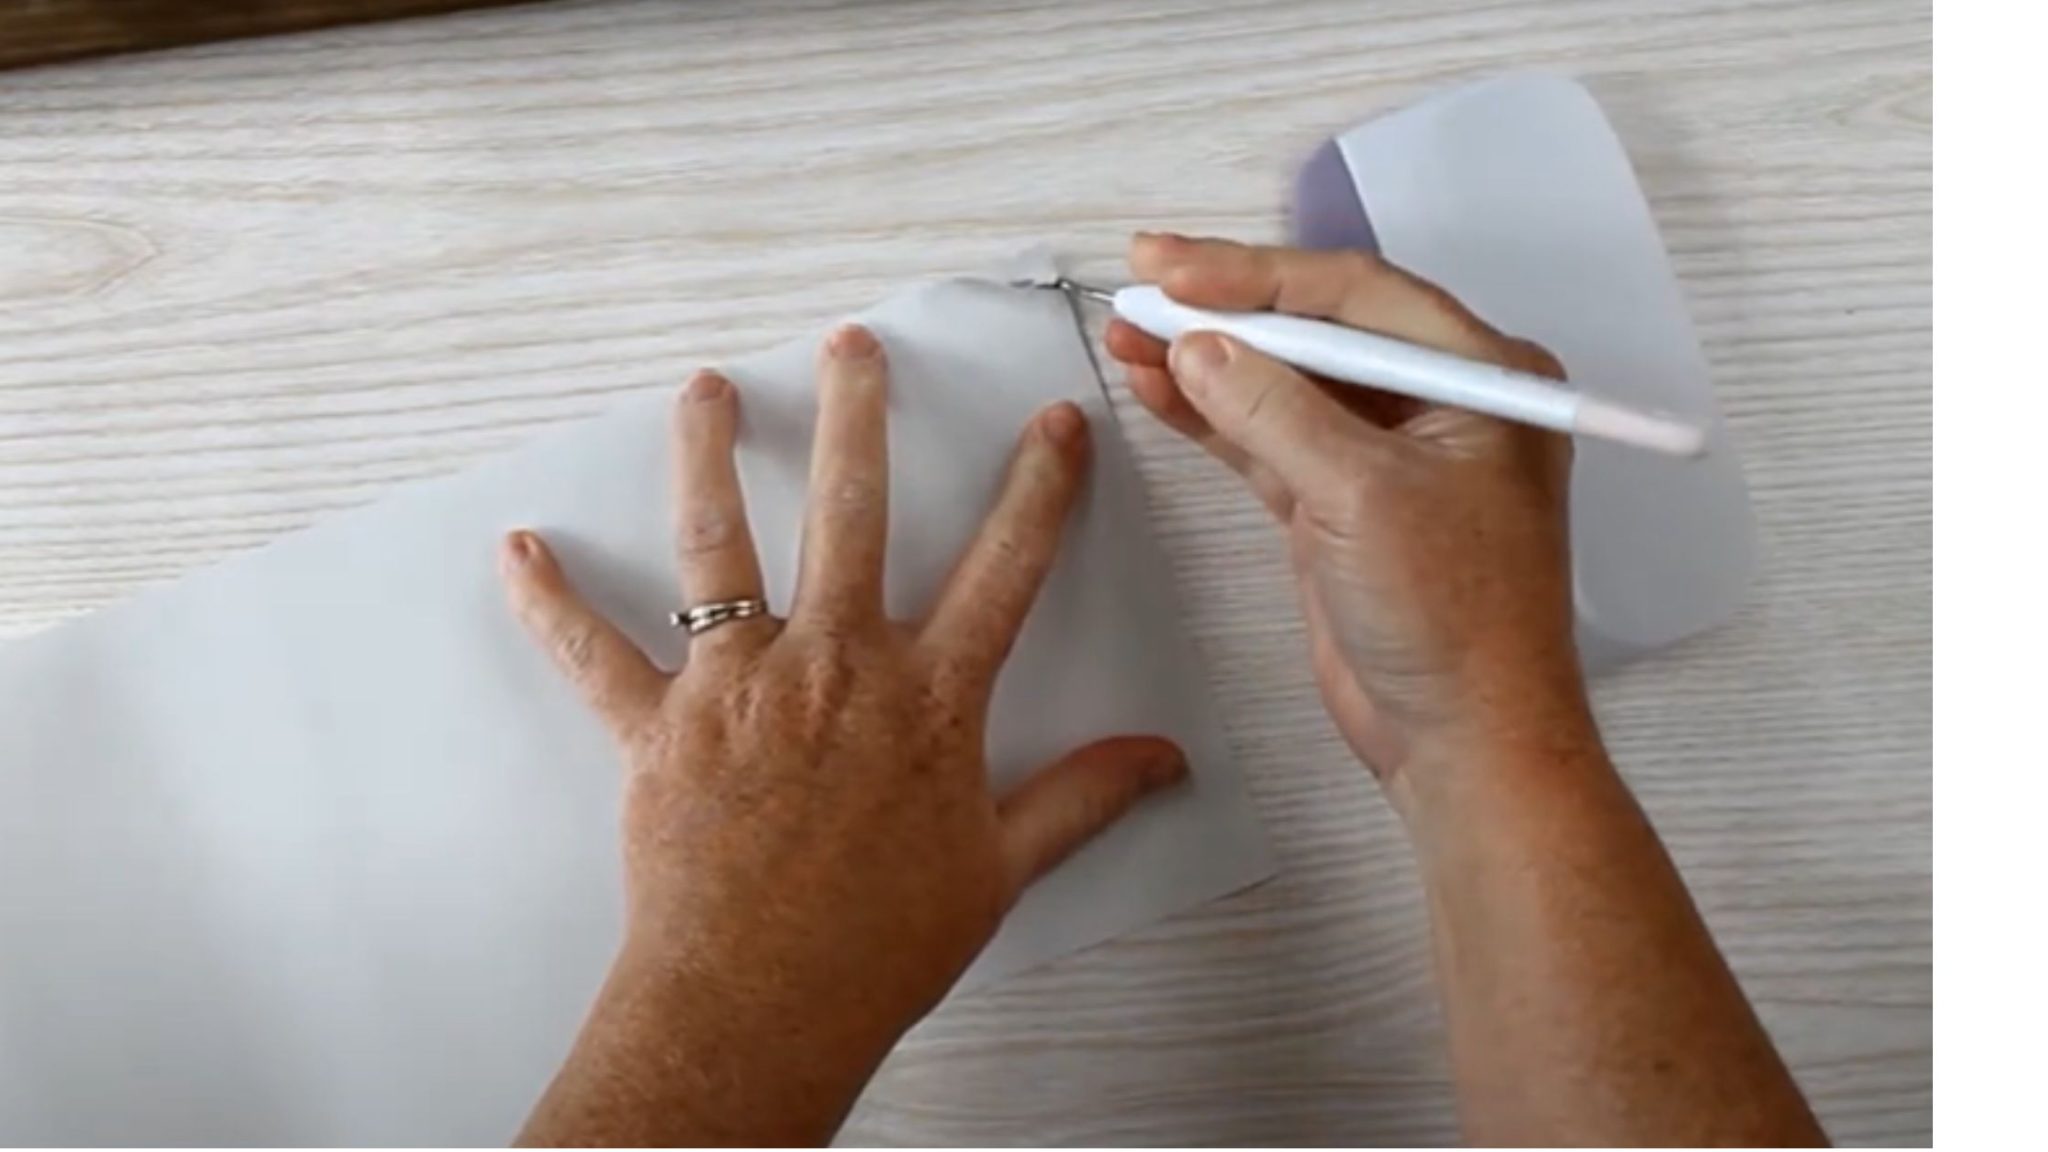
Step 5 – Weed Away Excess HTV
Use a weeding tool to remove all the excess HTV. Don't forget the inside pieces including the insides of the letters.
Step 6 – Locate the Free Joy SVG
With everything weeded, we can locate the design on the sweatshirt.
I like my designs to be about 3 inches below the neckline and centered on the sweatshirt.
Step 7 – Press Each Layer
First, we need to preheat the sweatshirt to remove any wrinkles and moisture. With Everyday Iron-on we'll press at 315 degrees for 30 seconds.
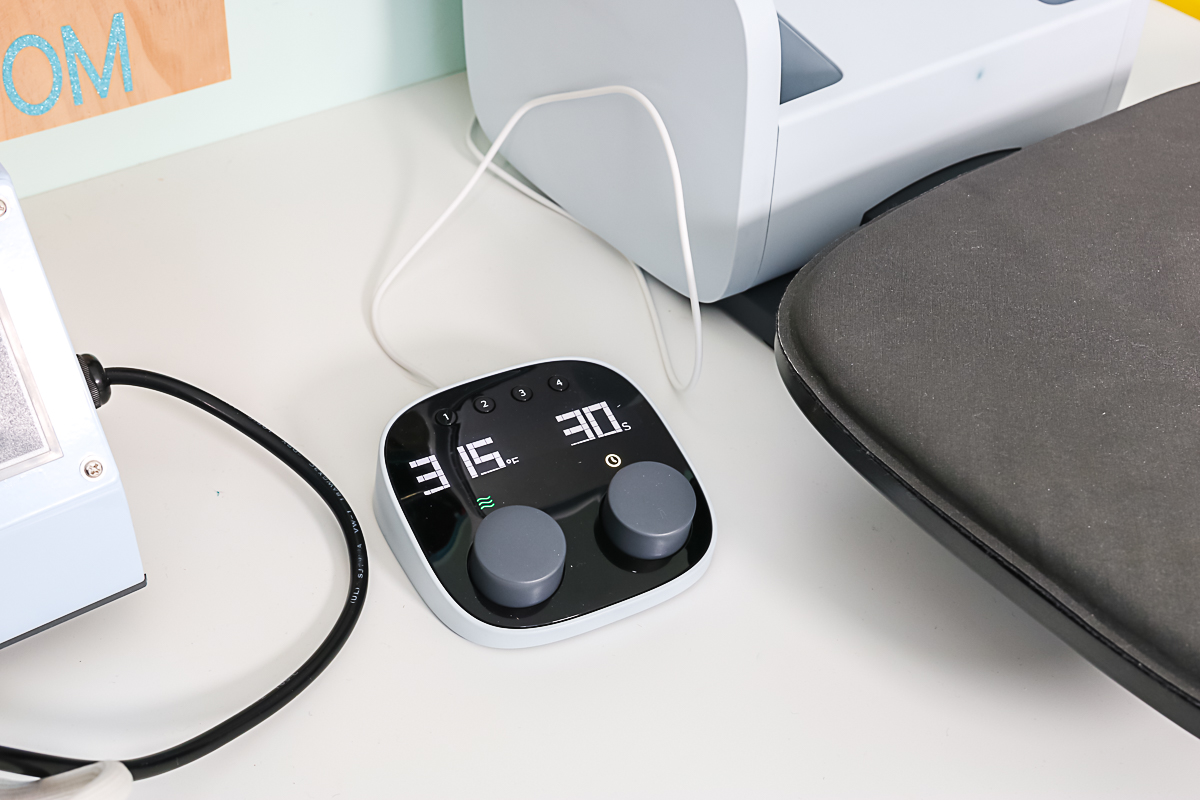
I'm pressing the red layer first. Because the whole design will be pressed a second time I'm going to press this layer for about 15 seconds.
Allow the HTV to cool for a few seconds and then carefully peel off the carrier sheet. It's okay if the design isn't stuck down completely because we'll press it for the full time with the second layer.
With the first layer stuck down, we're ready to locate the second layer.
You never want to press directly on top of uncovered HTV. If you have any exposed HTV from previous layers, cover the HTV with a protective paper or Teflon sheet.
Press the second layer for the full-time. For my HTV that is 30 seconds.
Allow the HTV to cool long enough for the adhesive to stick to the fabric and peel back the carrier sheet.
If there are any parts that feel like they're not stuck down all the way cover the whole design with protective paper or a Teflon sheet and press for a few more seconds.

Don't forget to get this free layered Joy SVG so you can make your own sweatshirt, shirt, or tote today.
If you have any questions about making a Joy SVG sweatshirt, leave them in the comments and I'll be happy to answer them for you.