

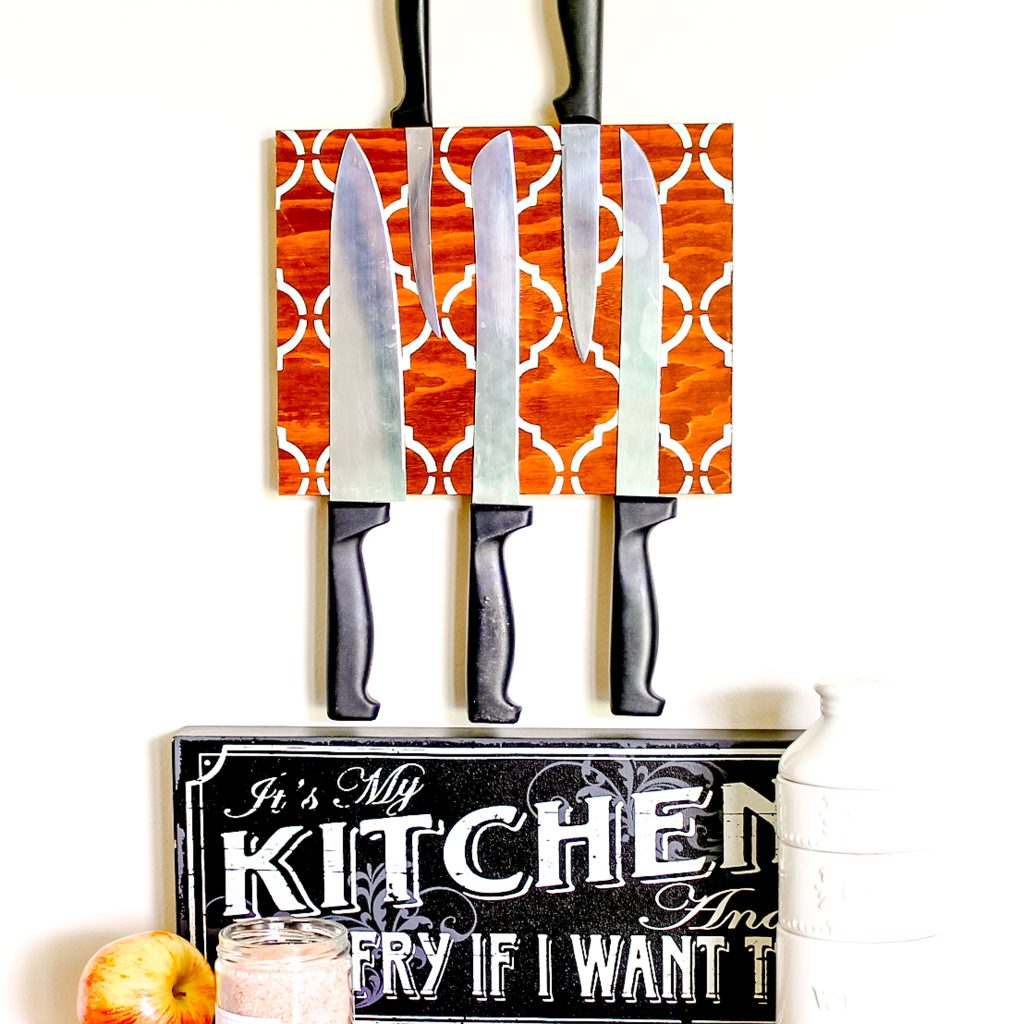
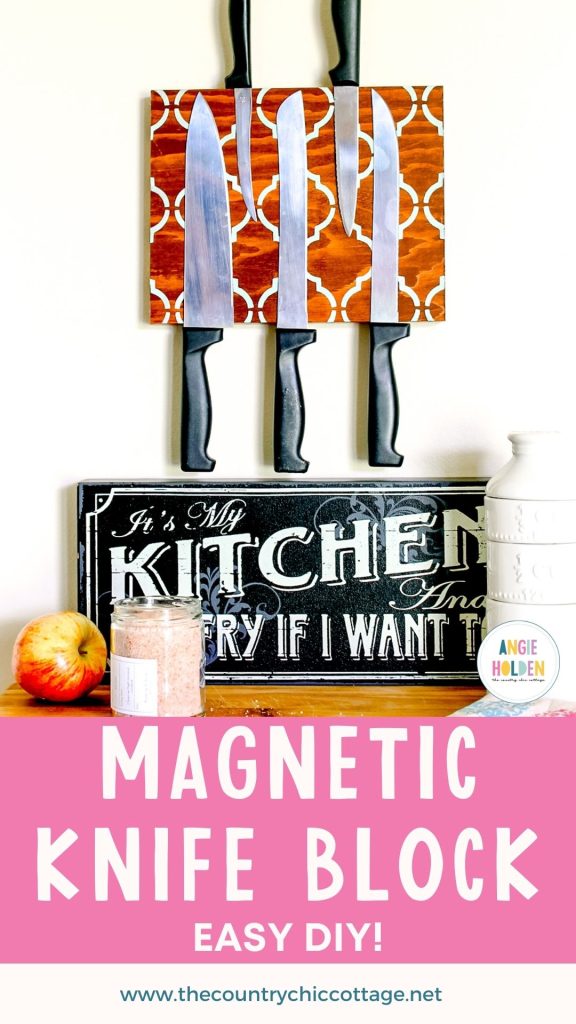
You can make a magnetic knife block for your kitchen with just a few supplies. This is a great way to get your knives off your kitchen counter and onto the wall (and it looks good, too!). I love organization ideas that look great hanging right in plain sight.
Staying organized in the kitchen is key to a well-run household. Everything just works better. Since the kitchen is our main command center, I really have to keep my act together. Ammiright?
I was using a knife block for the longest time, but it took up a lot of counter space and I was always bumping my wrists pulling out the knives, so a magnetic block needed to happen asap!
I love the way this project turned out. It was pretty easy to put together, and you can add your own style to it with the stain and stencil. I can't wait to see what you come up with!
How to make a magnetic knife holder
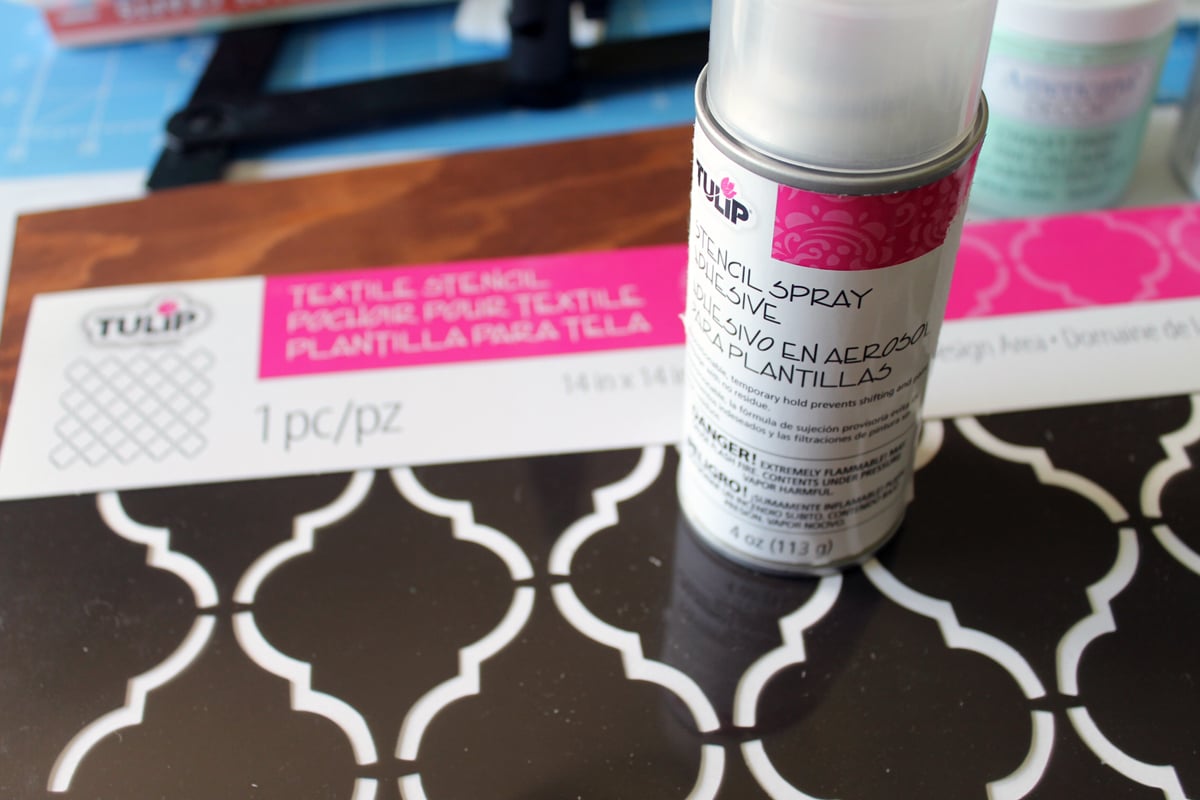
I'm including instructions to make your own stencil for the knife block, but you could also use a premade one along with stencil adhesive. Note: When I originally made this magnetic knife block, I used a premade stencil.
Supplies needed
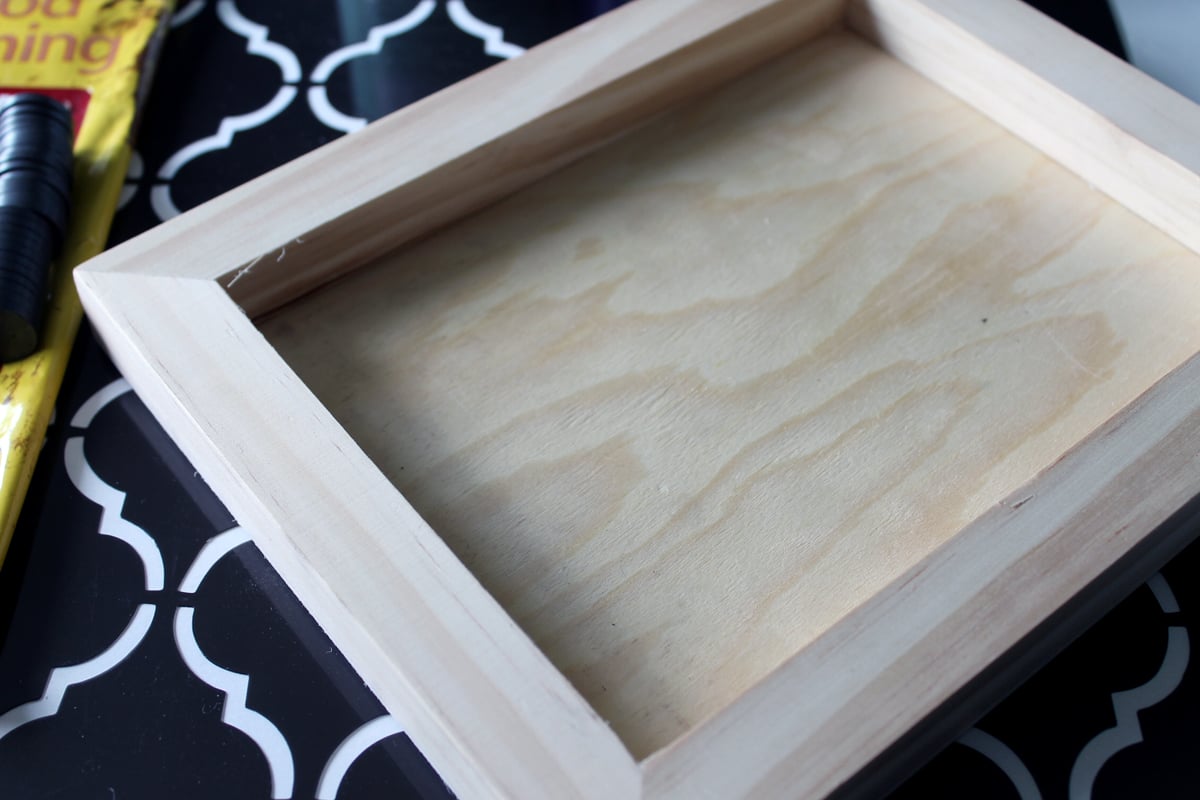
- Unfinished wood panel
- Wood finishing cloths
- Cricut Machine
- Stencil vinyl or Removeable vinyl
- Transfer Tape
- Craft paint
- Varnish
- Painter's Tape
- Paint brush
- Heavy duty magnets
- Permanent adhesive

Pro Tip: Be sure that the wood panel you use has a recess for the magnets in the back. This will be very important to make this work for your knives.
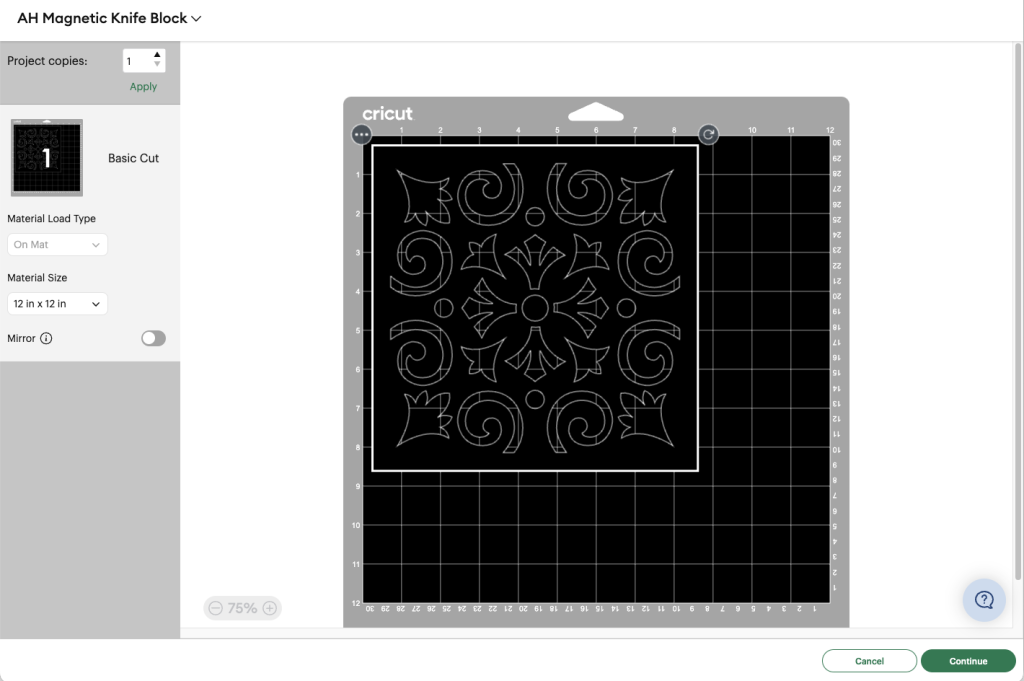
Step 1: Design and create a stencil
Open Cricut Design Space to a blank canvas and search for stencil designs. You can customize your stencil to match your decor or theme that you want to use.
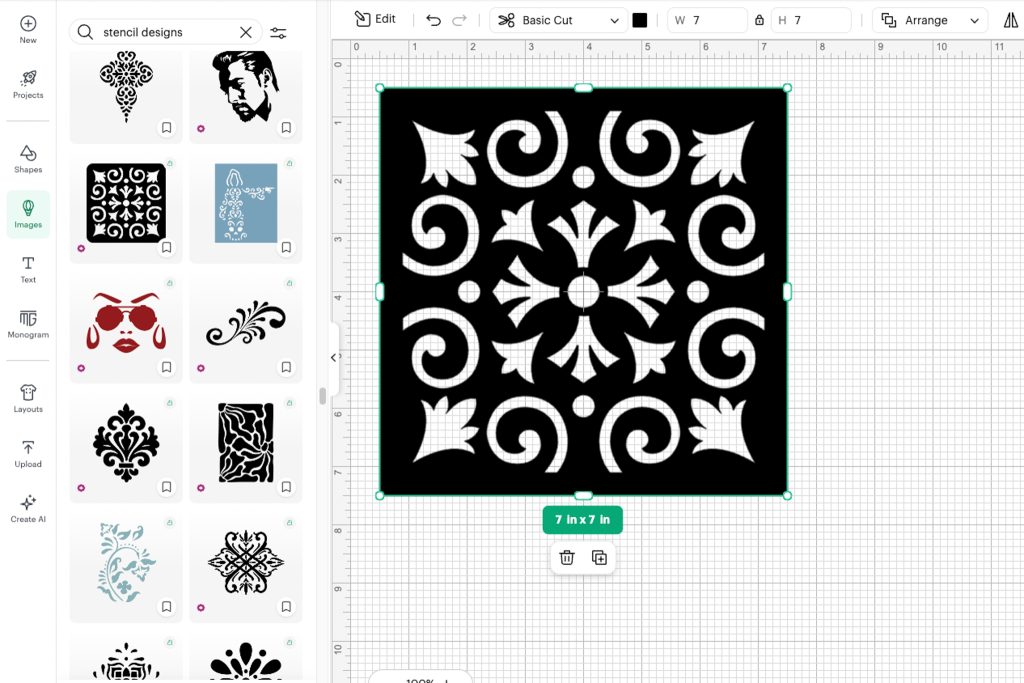
Adjust the size of the stencil so it fits on your wood block, and then send it to cut. You can use stencil vinyl or an adhesive vinyl to create the stencil.
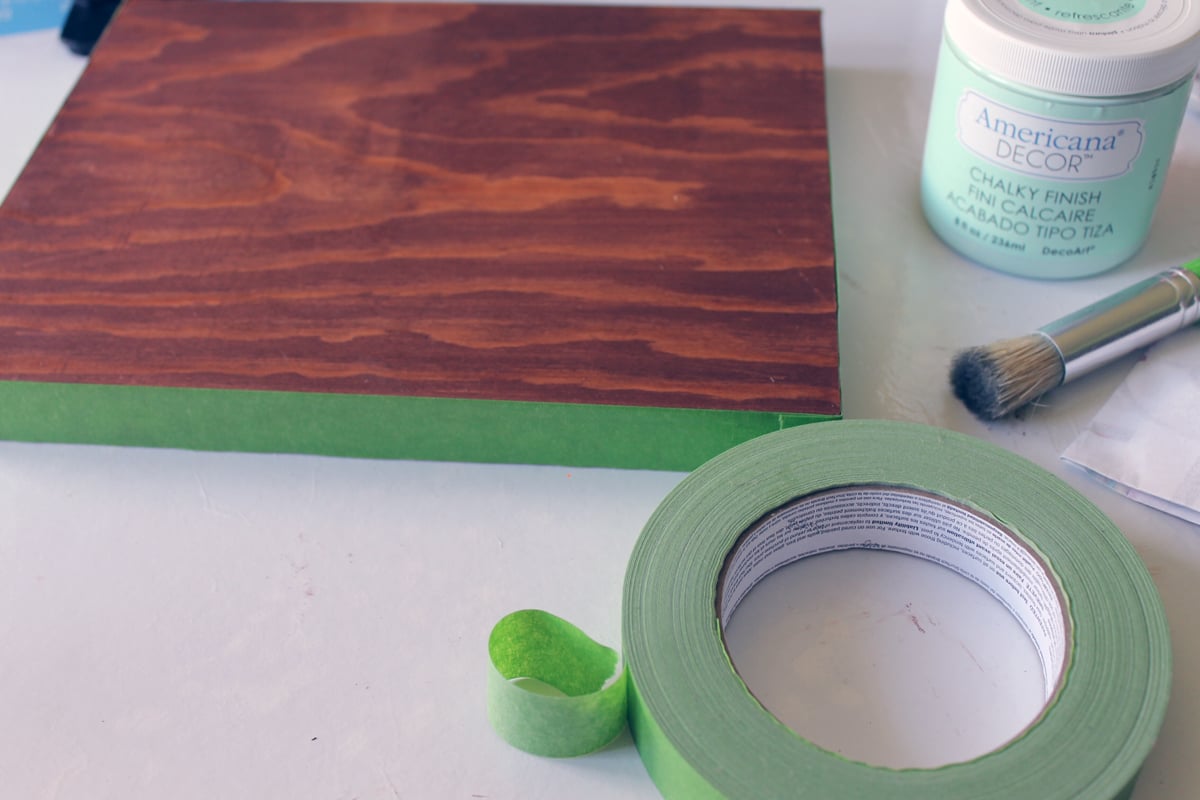
Step 2: Stain the wood block
Start by staining your panel with the wood finishing cloths. Wipe away any excess stain and allow to dry completely.
Step 3: Add a pattern using a stencil
Add painter's tape around the edges of the wood block.
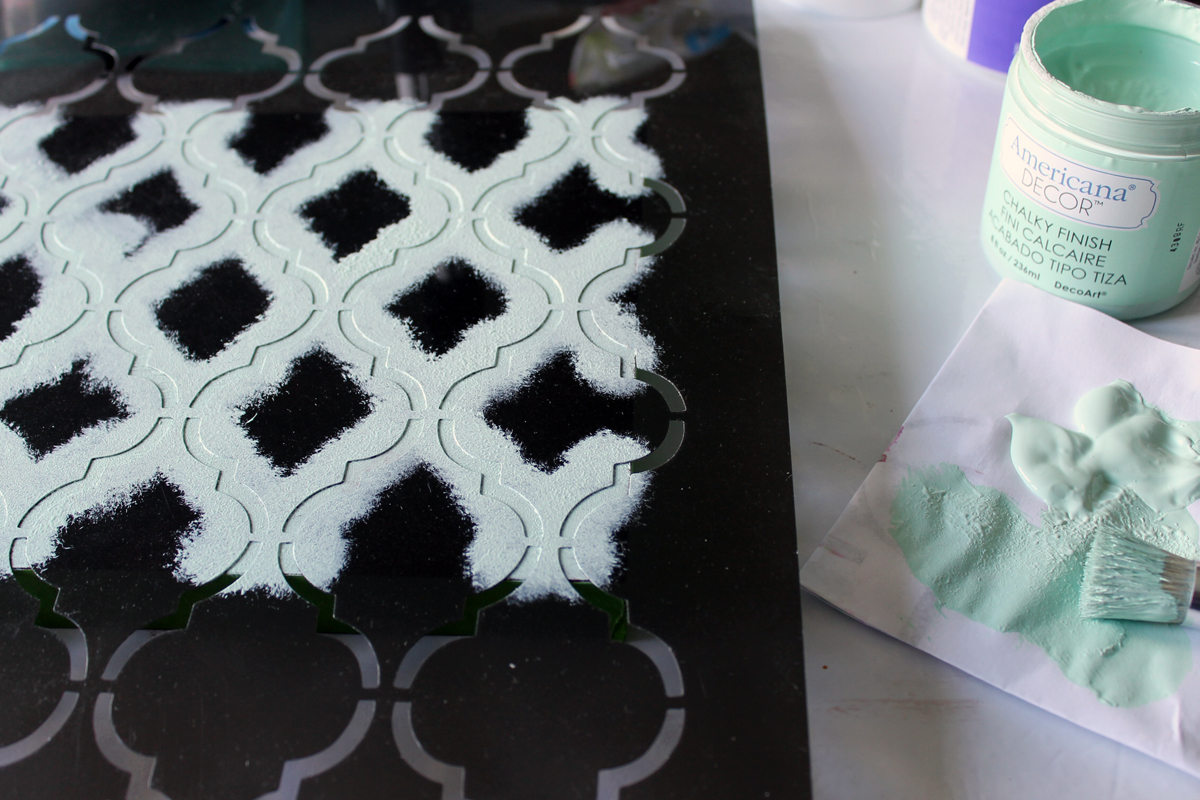
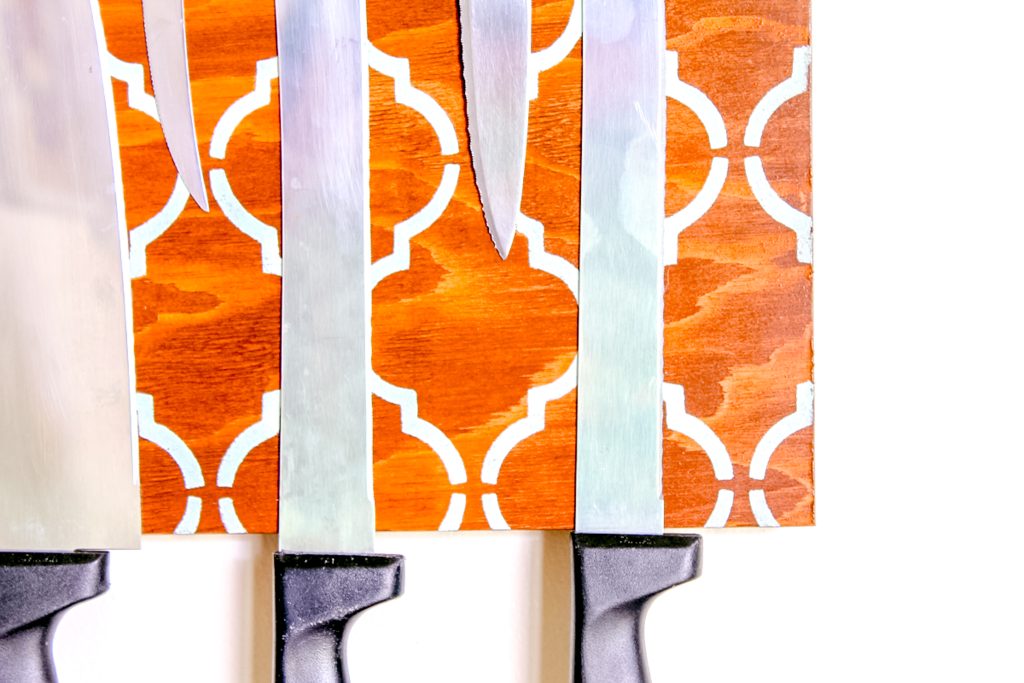
Then, using the transfer tape, adhere the stencil into place on the front of the wood panel. Use a paint brush to apply the craft paint to the stencil. Remember, with stencils you don't need a lot of paint on your brush.
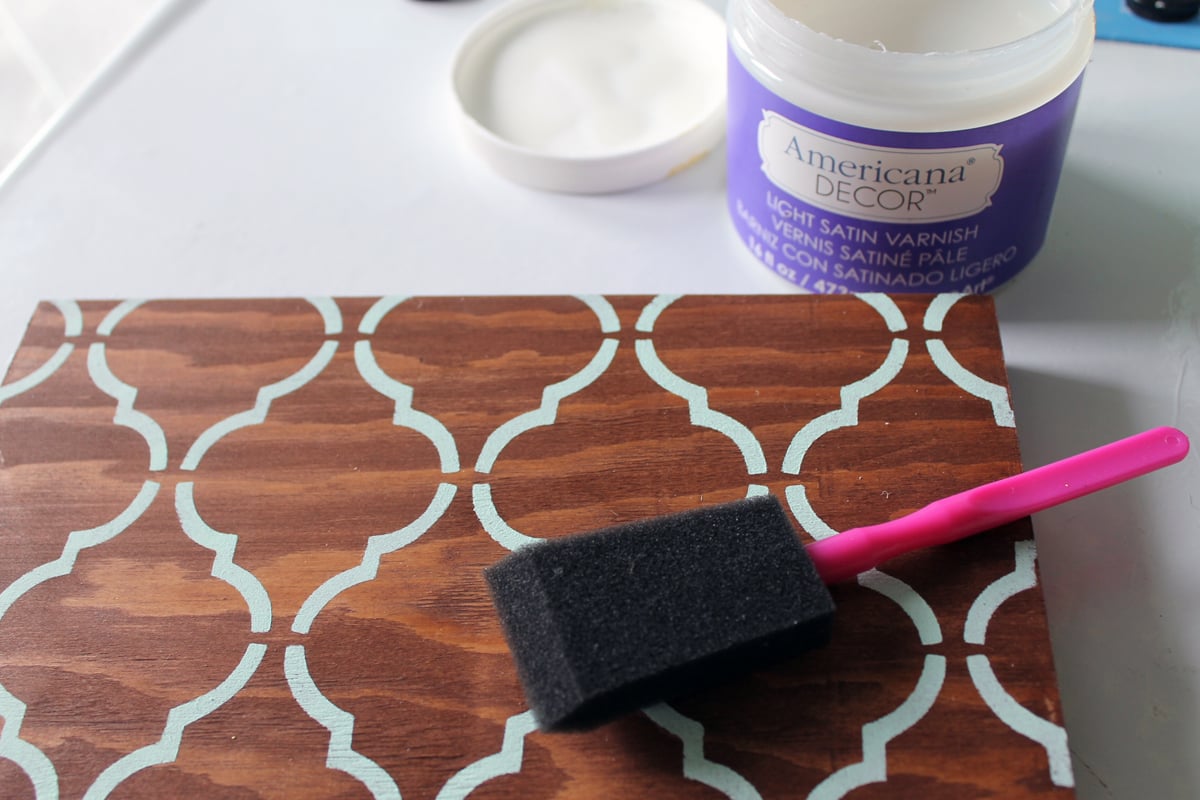
Remove the stencil and tape and then allow the paint to dry completely. Apply a couple of coats of varnish over the top of your project. This will protect your painting from scratches when you add your knives and the environment in your kitchen.
Step 4: Attach magnets to the back of the block
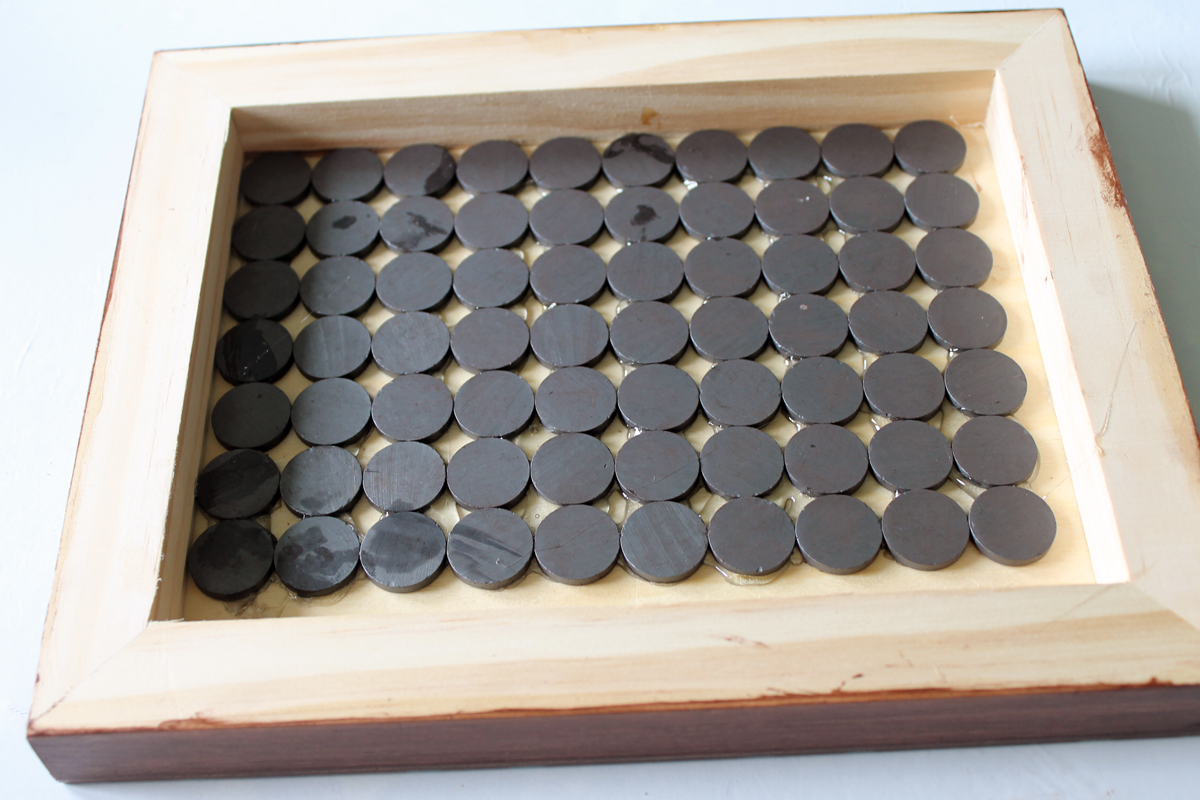
Make sure everything is dry then start adding magnets to the back of the project. Use a strong adhesive to apply heavy-duty magnets to the inside of your panel. When applying the magnets, experiment with which end of the magnet will attract and which will repel. You will want to lay the magnets in such a way that they are attracting each other. Hold the adjoining magnets as you apply each one. This will keep them from lifting from your surface.
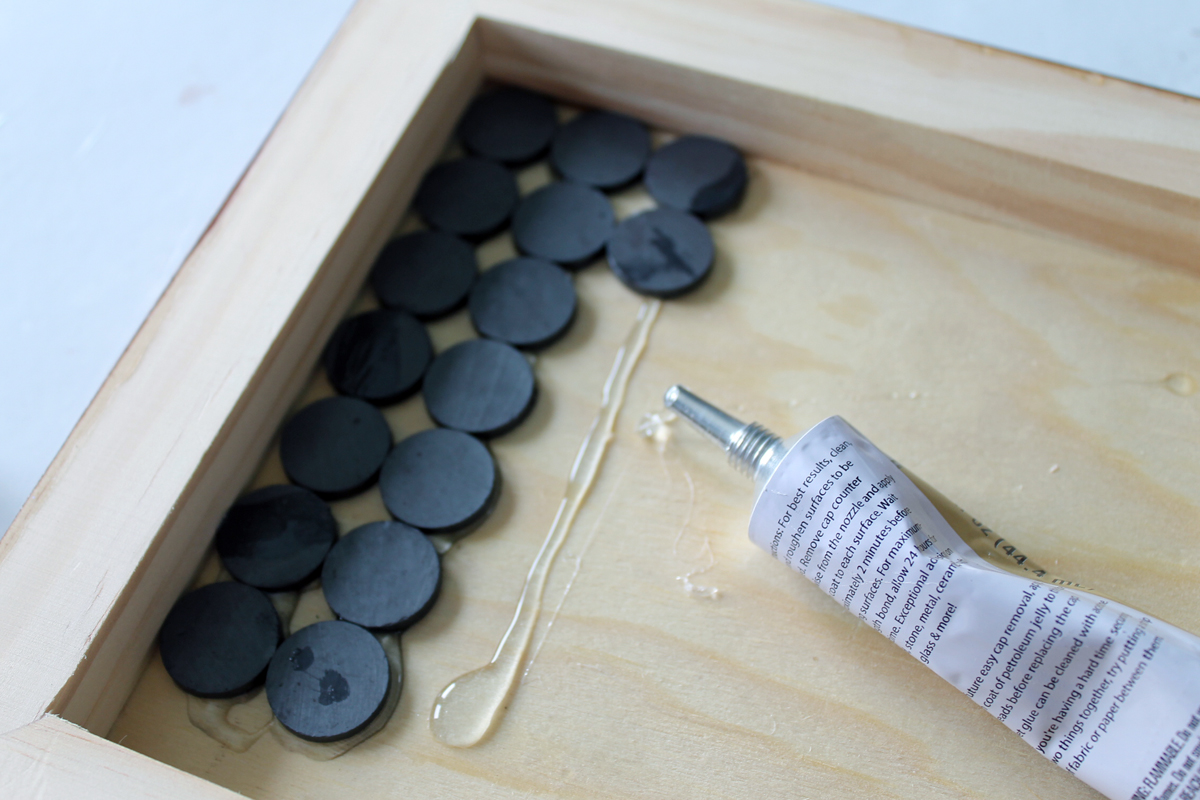
I used 70 magnets on my project. You need to fill the panel to get the knives to stay in place. Allow the adhesive to dry completely.
Step 5: Mount the magnetic knife block in your kitchen
Once dry, your project is ready to hang in the kitchen! Be sure to hang this one out of the reach of any children. We don't want anyone getting hurt!
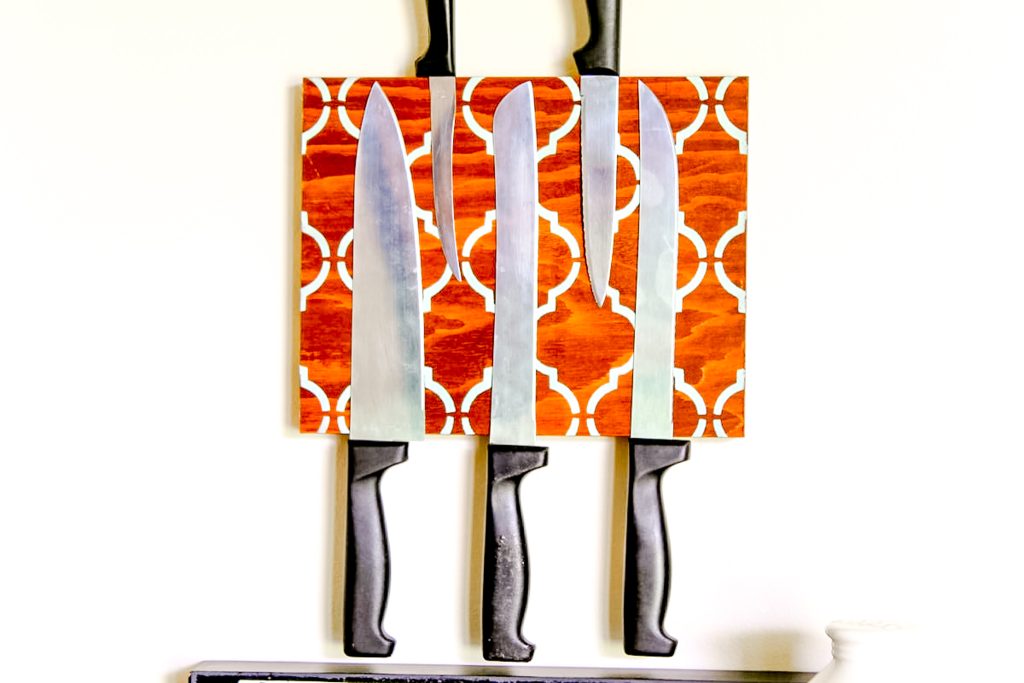
Add your knives to the front and you are left with some gorgeous kitchen organization.
Gather your supplies and make a magnetic knife block for your kitchen. You will love the results and just how organized it makes your space.
This easy project that would also make a great gift. Think about using this project in other rooms of your home as well. It can organize anything that will attract to the magnets in the back. You will be making quite a few of these. A DIY magnetic knife block will be a great addition to your home.
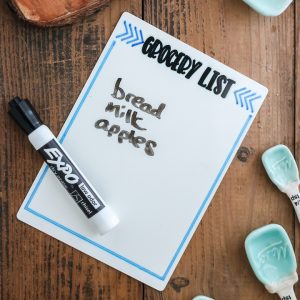
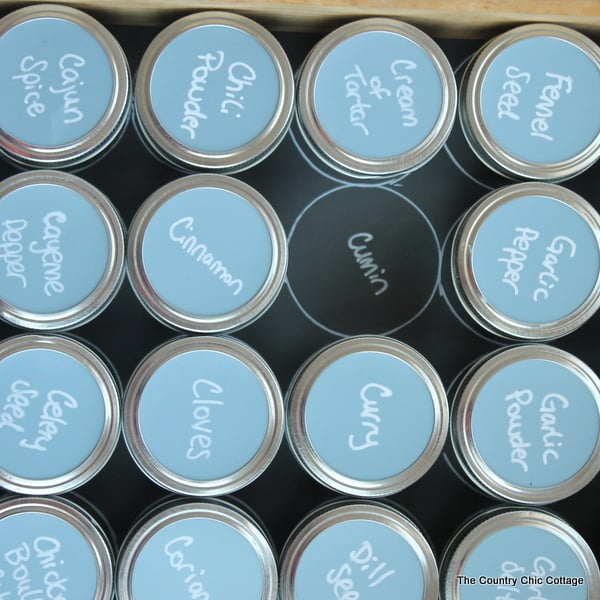
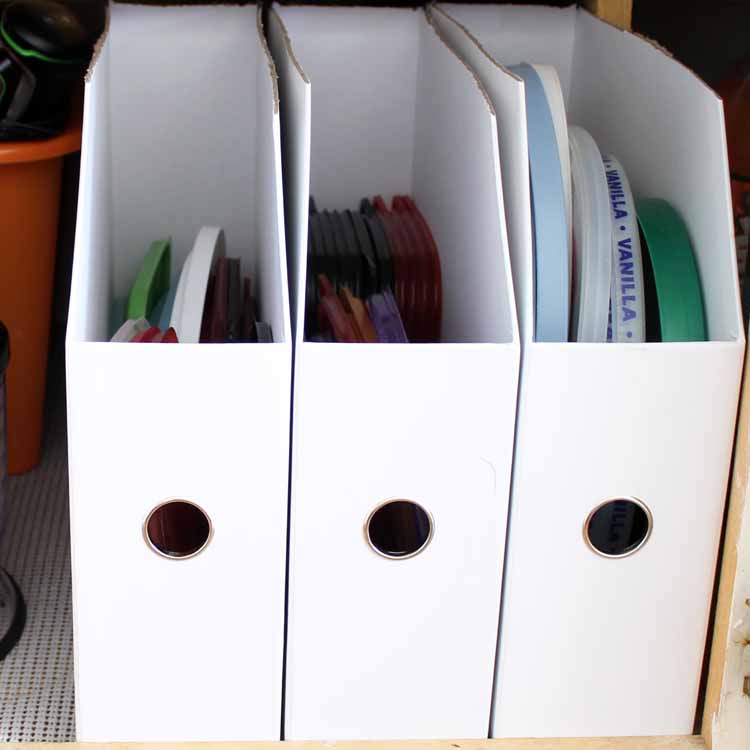
More Kitchen Organizing
If you are working on organizing your kitchen, be sure to check out these other kitchen organization tips. Your home will be looking better in no time!


I love this idea, Angie! I really dislike those bulky knife blocks taking up counter space. I really think this would be a great addition to my kitchen!
Thank you for sharing this week at Brag About It link party on VMG206 (Mondays at Midnight). I plan to feature you next week!
~ Megin of VMG206
What a neat project. It looks fantastic.
Love getting things off the counter!
This turned out beautiful especially with the addition of the stencil. Pinning & sharing!
Wow! I really like fun and fantastic idea to keep your knife off the kitchen counter. So long knife blocks! Now I keep my knife in a container because I don’t have much wall space in my kitchen. But thinking of rearranging in the future soon. Thank you for sharing this.
Cheers,
Ping
Thanks for this great idea. I love it. I would like to invite you to link up with us at Family Joy Blog Link Up party. Check us out http://thinking-outside-the-pot.com/?p=3310
I love this idea! I currently have all my knives in a drawer, but this puts them in a much more accessible location. Thank you!
Great idea to free up counter space from a butcher block. Love the stencil you used too! Thanks for linking up with Funtastic Friday!
Wow! This is such a great idea! I like the stenciled design on this too.
What a great idea! It looks great and is so practical. Thanks for sharing at Snickerdoodle. We’ll be featuring this at today’s party. Hope to see you there!
I am in love with this project! I would not have guessed you could make a hanging magnetic knife block like this. Well done and it’s so gorgeous!
This is genius. Such a great idea for all the DIY’ers to create something useful for the kitchen. Thanks for sharing on Merry Monday. Pinned.
Loving the great ideas ! -You make them look so easy to do so, it has encouraged me to try and so, next day off I’m all over it. Hope it turns out as pretty as yours : ) Thanks Angie