
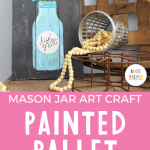
This painted pallet mason jar art craft is an easy and creative way for you to bring some handmade art into your home. Whether you're making this art craft for yourself or someone else, you will love how simple this painted pallet is!
If you're looking for more arts and crafts to do at home, be sure to check out my blog post on how to make a pallet garden!
Make Your Own Painted Pallet Art Craft
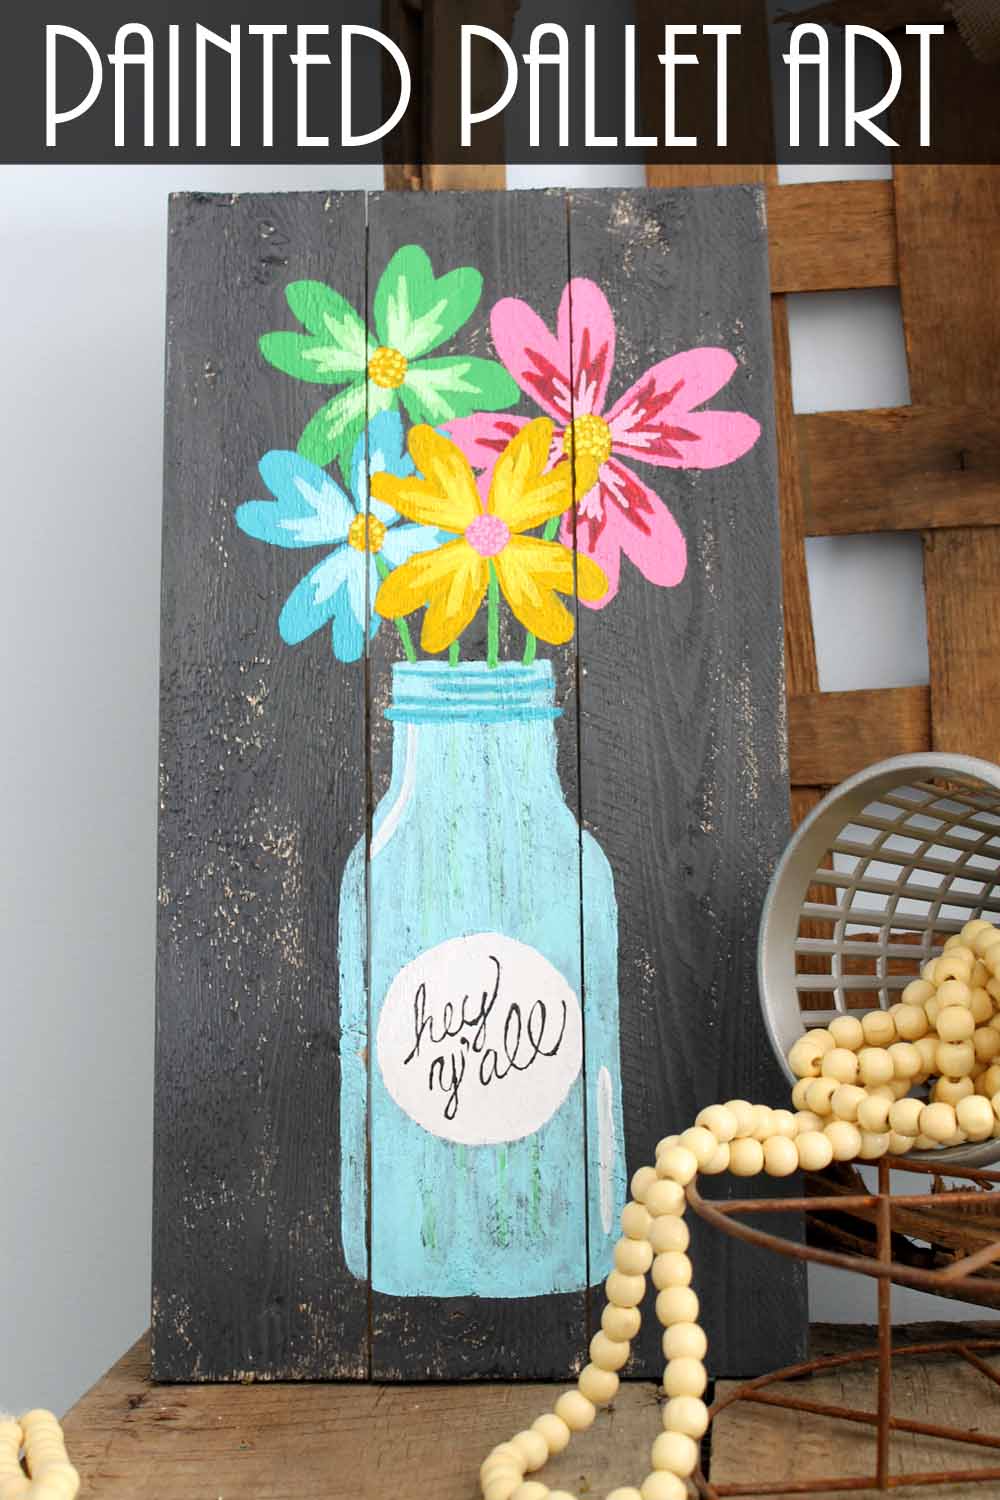
This painted pallet is so fun! You're going to love the mason jar art on this art craft– choose any colors you prefer! With just a handful of basic steps, you'll have this project ready in no time.
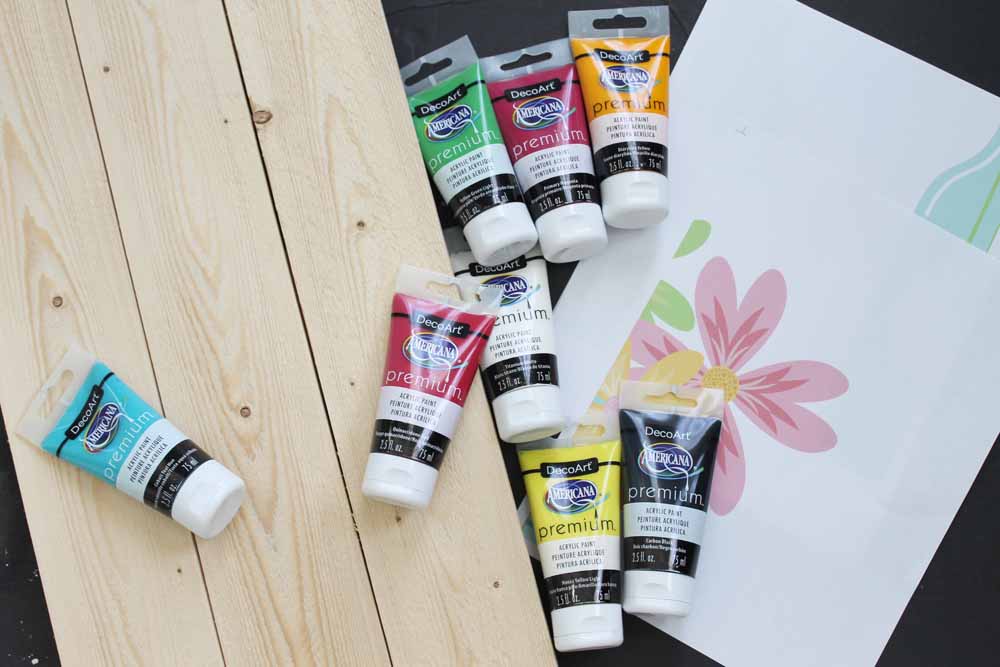
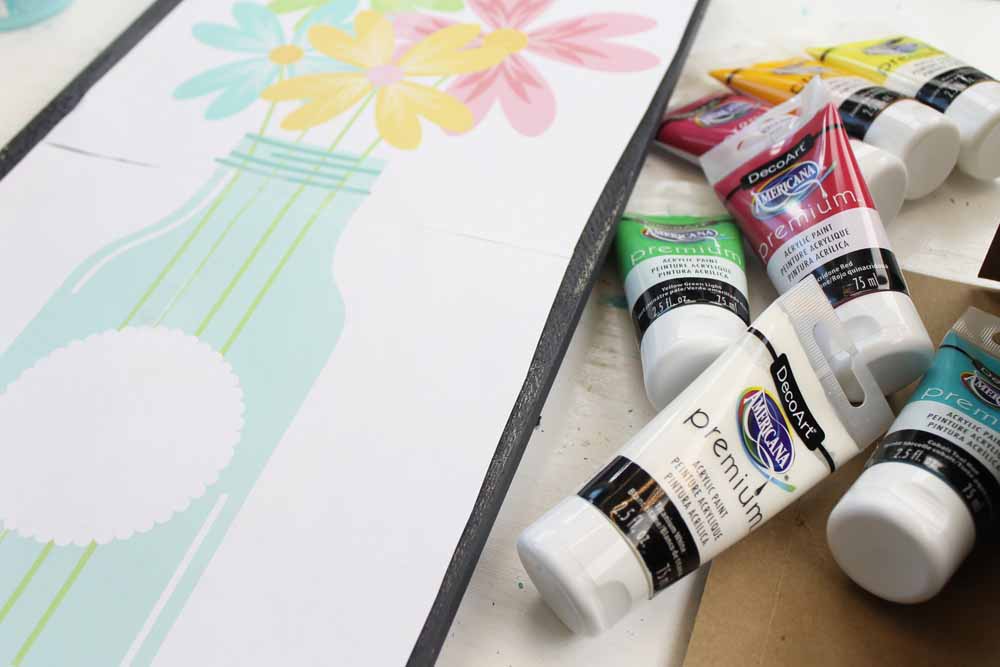
Supplies Needed
Some products below were given to me free of charge but all projects and opinions are my own.
- Wood pallet sign
- Craft paint in a variety of colors (I used Americana Premium Acrylics)
- Paint brushes
- White transfer paper
- Printer
- Scissors
- Tape
- Pen
- Free mason jar art pattern (click here to access and print)
Note: Be sure to keep some newspaper or paper towels near you to clean up any messes.
How to Make Your Own Painted Pallet Art Craft
In no time at all, you will have your very own painted pallet! Make sure you have all the supplies ready to you can jump right into this activity. Those of all ages will enjoy this fun art craft.
Step 1
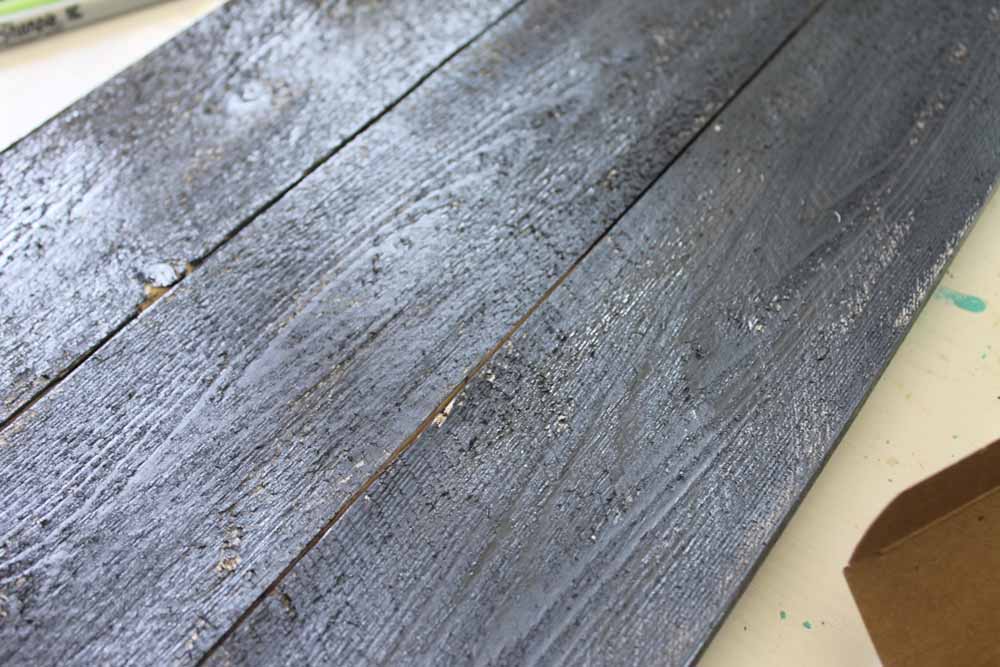
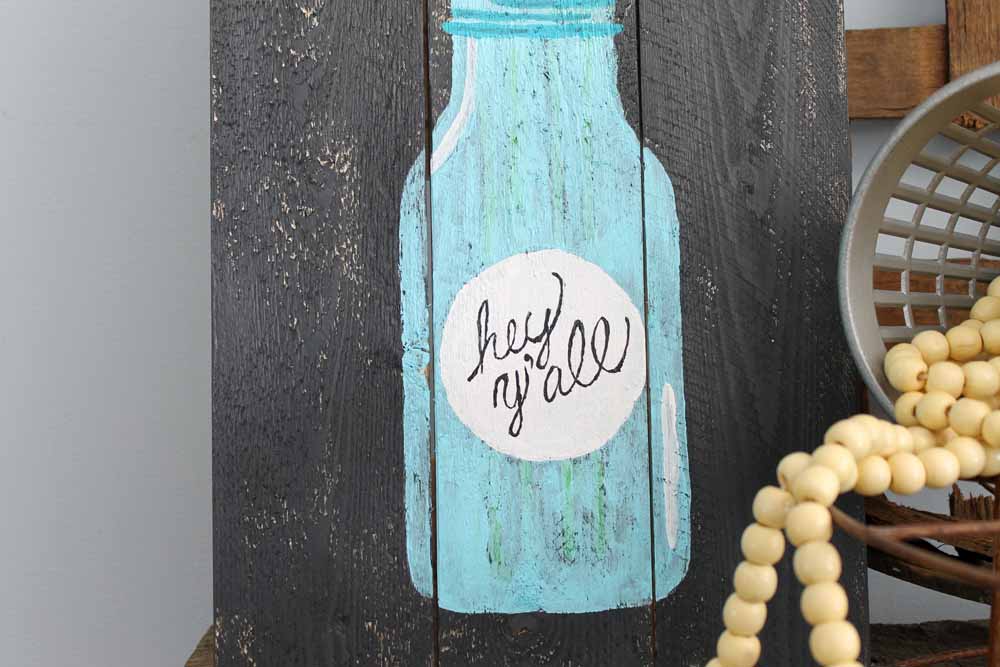
First, start by painting the entire surface of your pallet sign with dark grey paint. I mixed a bit of black and white. You can use very little paint during this process and a dry brush to create a rustic finish with a bit of wood showing through. Set aside and allow to dry completely.
Step 2
Then, you need to print the mason jar art file that you can find here. I printed mine on the poster setting of my printer so that it took up four sheets of paper and was large enough for my sign.
Then just cut away the edges with scissors and tape together to make one large piece for tracing.
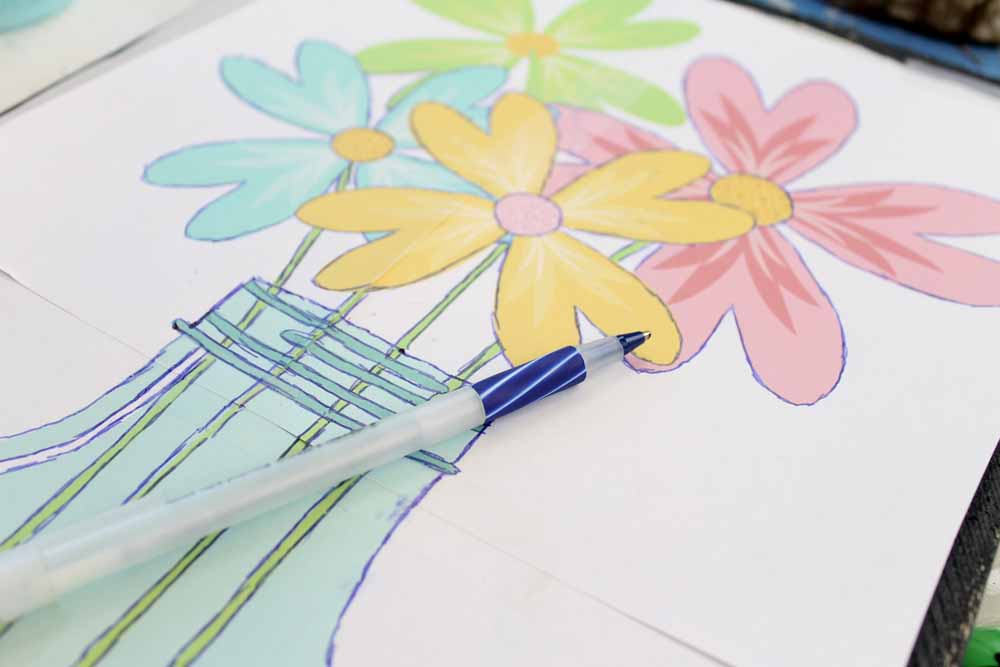
Step 3
Next, put white transfer paper shiny side down on top of your dried sign. Add the flower mason jar print on top of this and tape everything into place, then trace around every line with your pen.
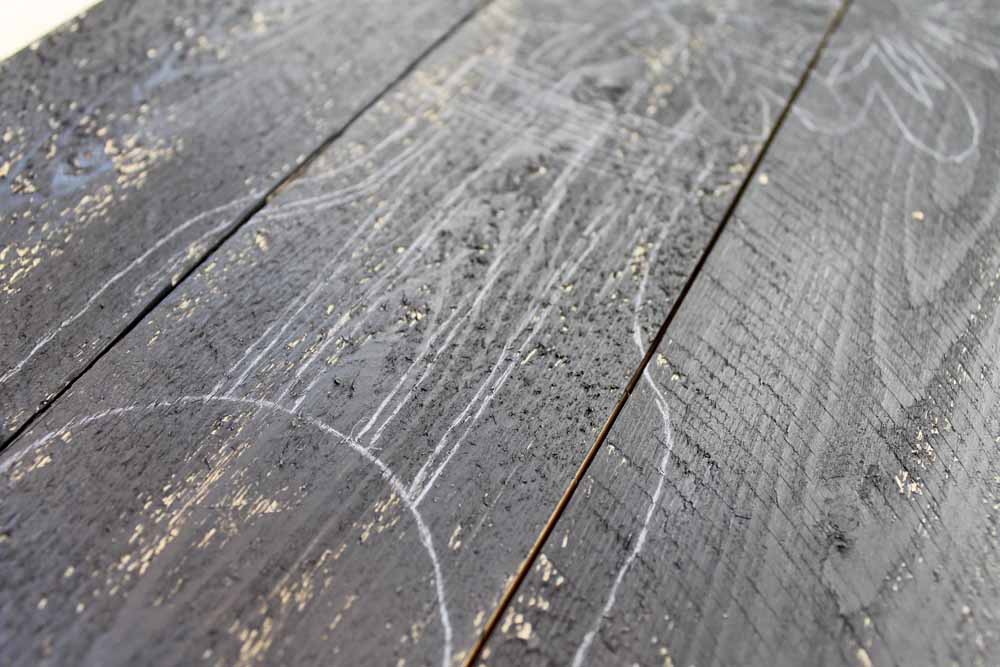
Step 4
Once complete, you can lift the paper and tracing paper to reveal that your lines have been transferred to the sign. You can also look for black tracing paper especially if you want to use this same method on say a white sign.
Step 5
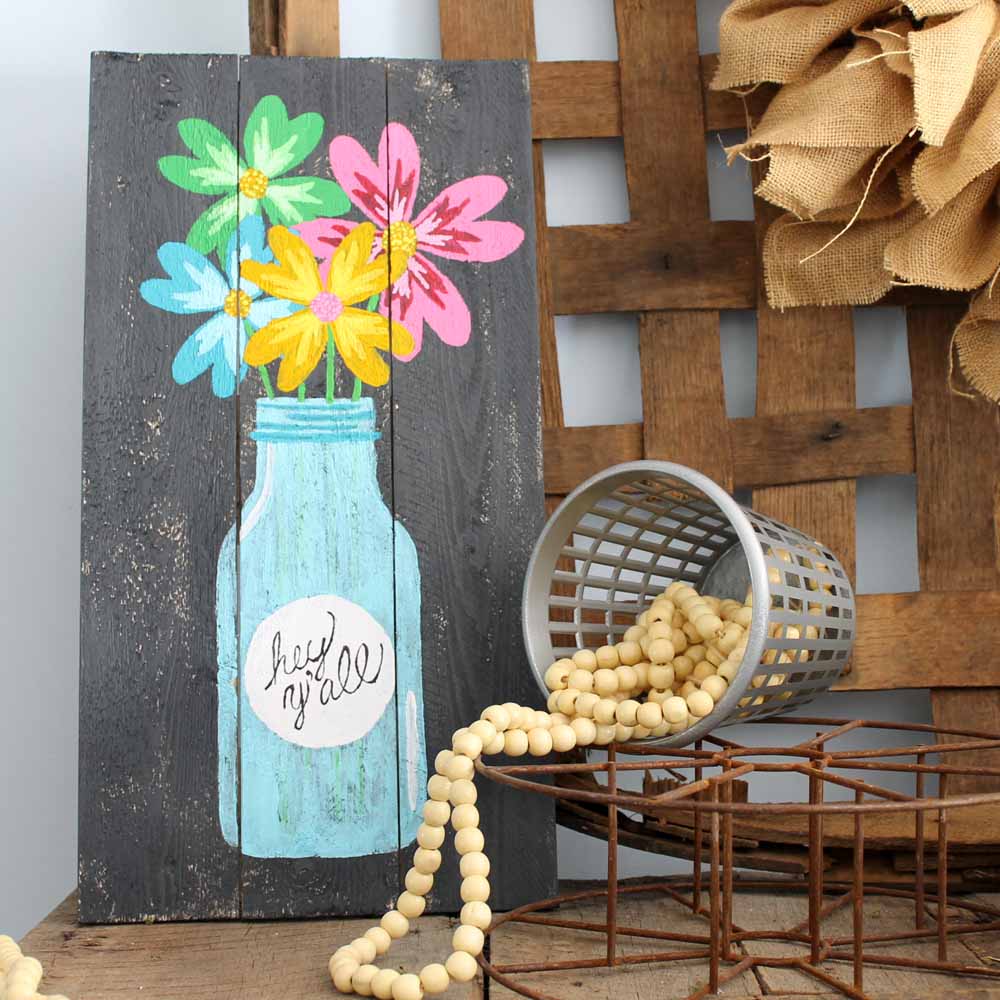
Next, start filling in your lines with different colors of paint. Mix colors to create your own shades or use them straight out of the bottle. Remember that this is your painted pallet and there are no rules.
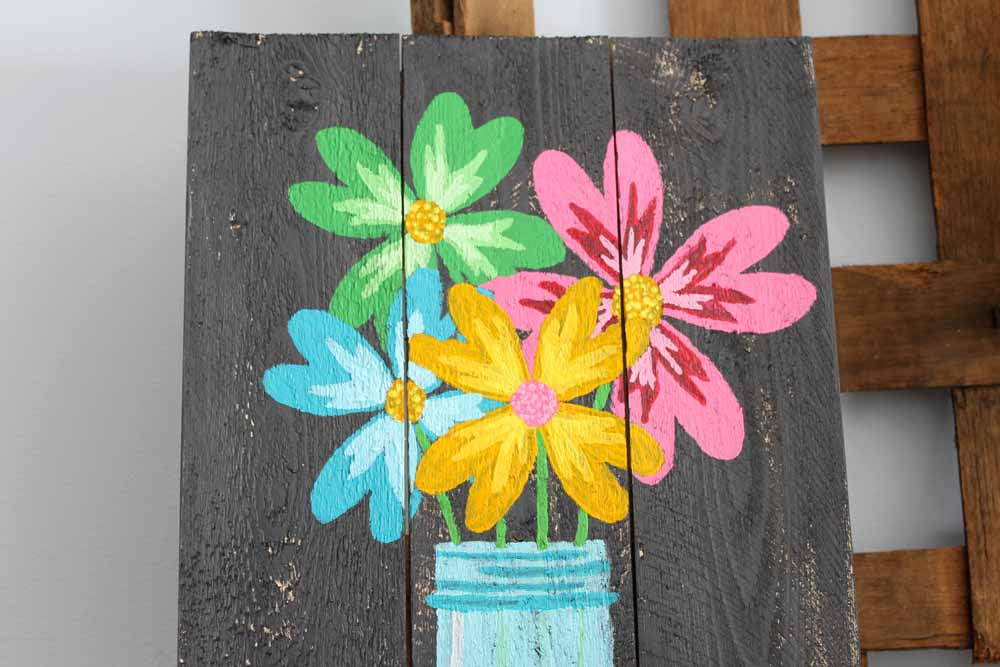
Step 6
Next, for the jar itself, I painted the stems first, then allowed them to dry. Then, I did one light teal coat over the top so it looks somewhat translucent. If desired, paint on a label and add some script.
Step 7
Once you have added all the lines, then allow the painted pallet art craft to dry completely.
How to Use
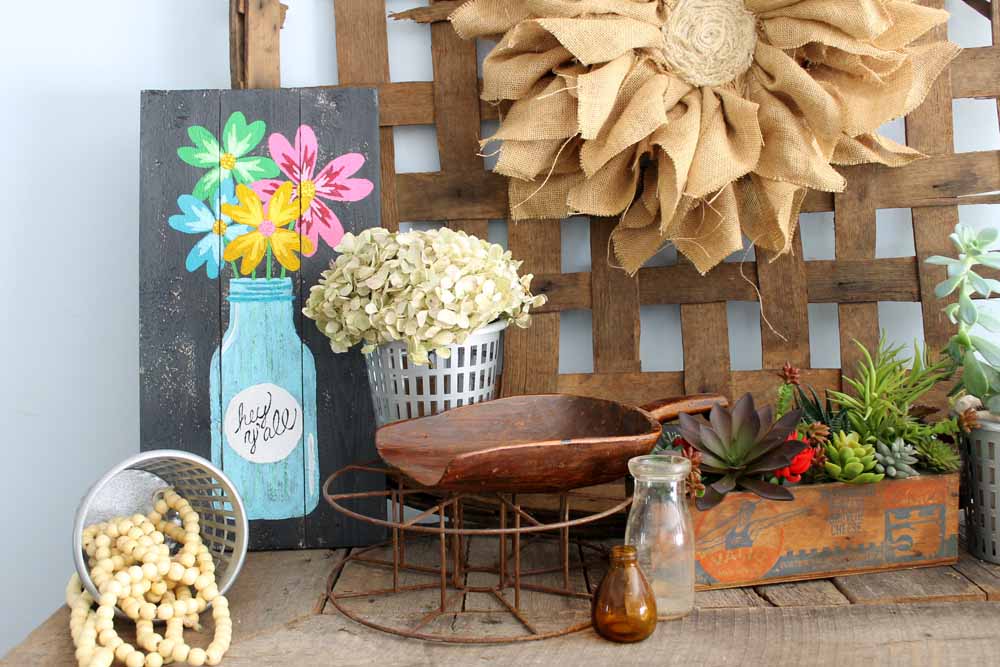
You can use this painted pallet art craft for almost anything! Place this art on the mantle above the fireplace, on the wall, or display on a table– the options are limitless!
This art craft is also great for gift-giving. If you're looking for a gift for the holidays or just want to make a craft for someone, then you may really enjoy this painted pallet.
Love This Idea for a Painted Pallet Mason Jar Art Craft? Click the Links Below!
- Pallet Ideas
- DIY Scrap Wood Projects
- Mason Jar Lighting Fixtures
- DIY Mason Jar Decor
- Mason Jar Printable Art

Supplies
- wooden pallet
- craft paint variety of colors; I used Americana Premium Acrylics
- paint brushed
- white transfer paper
- printer
- scissors
- tape
- pen
- free mason jar art pattern
Instructions
- Start by painting the entire surface of your pallet sign with a dark grey paint. I mixed a bit of black and white. You can use very little paint during this process and a dry brush to create a rustic finish with a bit of wood showing through. Set aside and allow to dry completely.

- You then need to print the mason jar art file that you can find here. I printed mine on the poster setting of my printer so that it took up four sheets of paper and was large enough for my sign. Then just cut away the edges with scissors and tape together to make one large piece for tracing.
- Put white transfer paper shiny side down on top of your dried sign. Add the flower mason jar print on top of this and tape everything into place. Then trace around every line with your pen.
- Once complete, you can lift the paper and tracing paper to reveal that your lines have been transferred to the sign. You can also look for black tracing paper especially if you want to use this same method on say a white sign.
- The rest is super easy! Start filling in your lines with different colors of paint. Mix colors to create your own shades or use them straight out of the bottle. Remember that this is your painted pallet and there are no rules.
- For the jar itself, I painted the stems first and allowed them to dry. Then I did one light teal coat over the top so it looks somewhat translucent. Paint on the label and add some script if desired.
- Once you are done painting in all of your lines, just set aside your project to dry completely. You can then add to a spring mantel for a big pop of color.


The colors are so vibrant! I haven’t tried that paint out yet, but I think I have to!
I just love this one Angie! It looks amazing!!! Hugs…