
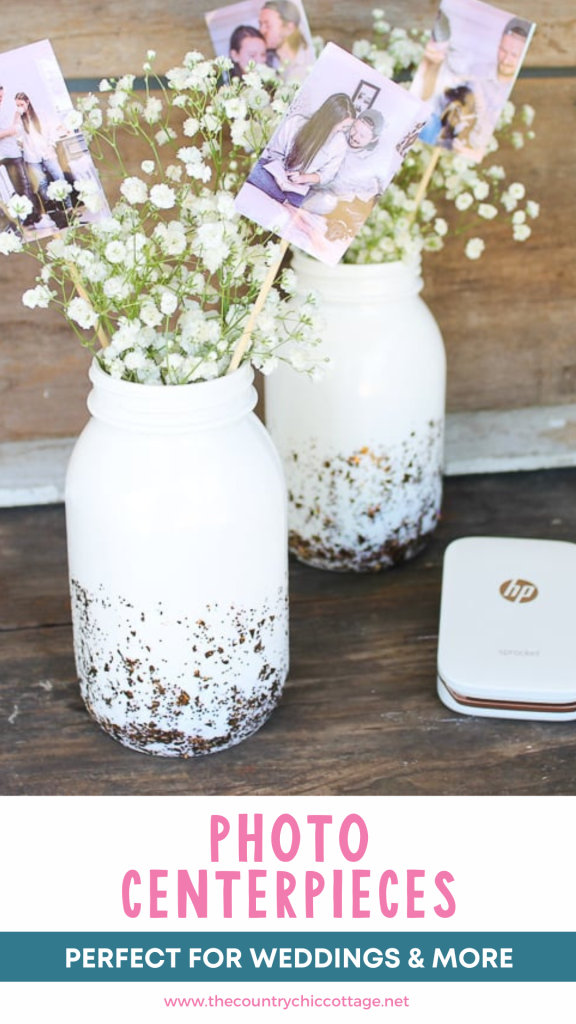
Special occasions like weddings and graduations deserve beautiful decorations. Use this tutorial to create unique and stunning photo centerpieces for your event tables.
We have hosted multiple graduations and a wedding at our home, and for each event, we created DIY decor. One of my favorite projects while preparing for these special occasions, which may only happen once in a person's life, is designing centerpieces.
I've made a few different types of centerpieces, from DIY Magnolia Garland to Mason Jar Fairy Light Centerpieces and more. While all have been beautiful and suited our events, I especially enjoy making sentimental photo centerpieces!
DIY picture holders for tables allow me to showcase special moments from the honoree's life. They add a unique touch that only photos can!
I am going to show you just how easy it is to make your own custom picture centerpieces in minutes. A picture holder table centerpiece is perfect for a wedding, graduation, bridal shower, retirement, and so much more.
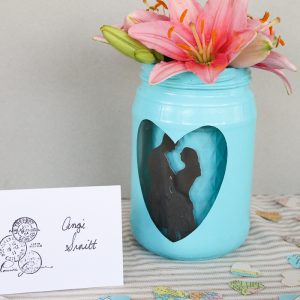
NOTE: We have tons of centerpiece designs here! If you want even more centerpiece inspiration, check out our Paper Flower Centerpiece, Rustic Gold Centerpiece, and Felt Mason Jar Wedding Centerpiece ideas!
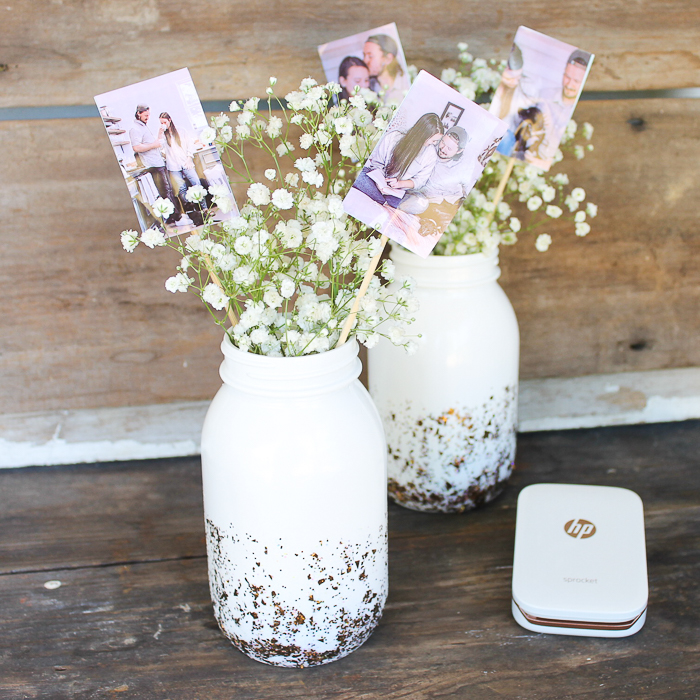
Photo Centerpieces Video Tutorial
If you prefer watching videos over reading directions, I have you covered! Here's a short video showing just how quick and easy this one is to put together.
Ok, if you watched the video, you now know just how easy this project is. However, if videos aren't your thing, I've also got you covered with written instructions.
How To Make Photo Centerpieces
I love how this project turned out, as did my daughter (the bride)! If you're planning a wedding on a budget, something simple and equally gorgeous as these photo centerpieces is perfect!
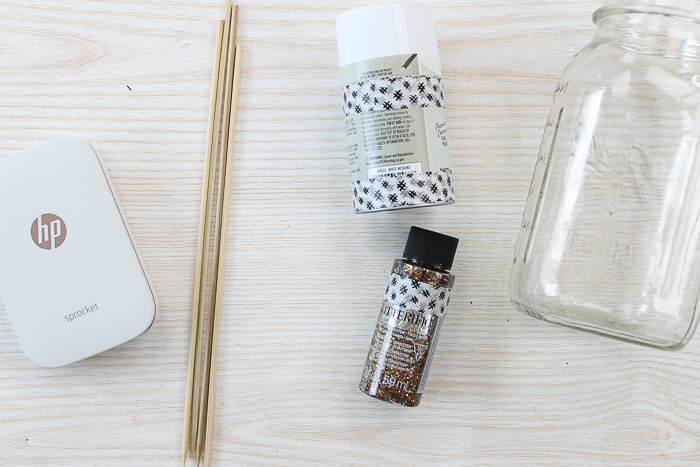
Supplies Needed To Make Photo Centerpieces
- Mason jar
- White spray paint
- Glitter paint in the color of your choice
- Wood skewers (metal skewers would also work)
- Paintbrush
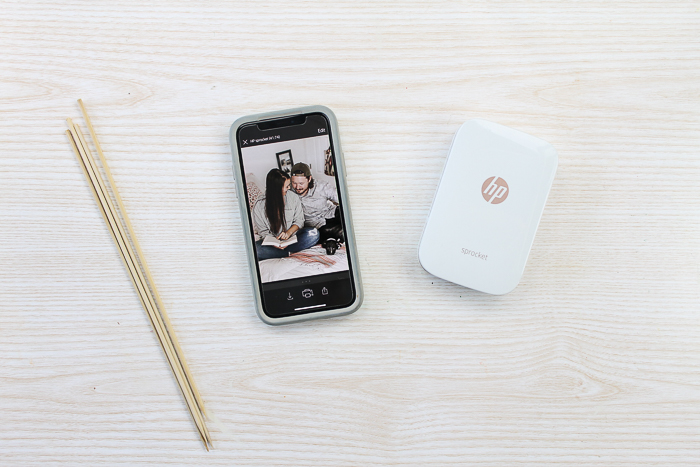
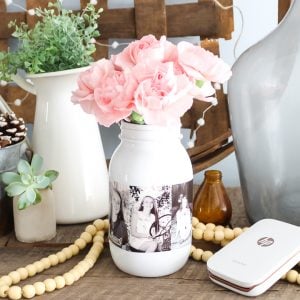
- HP Sprocket and paper
- Flowers (faux or real)
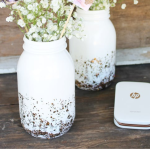
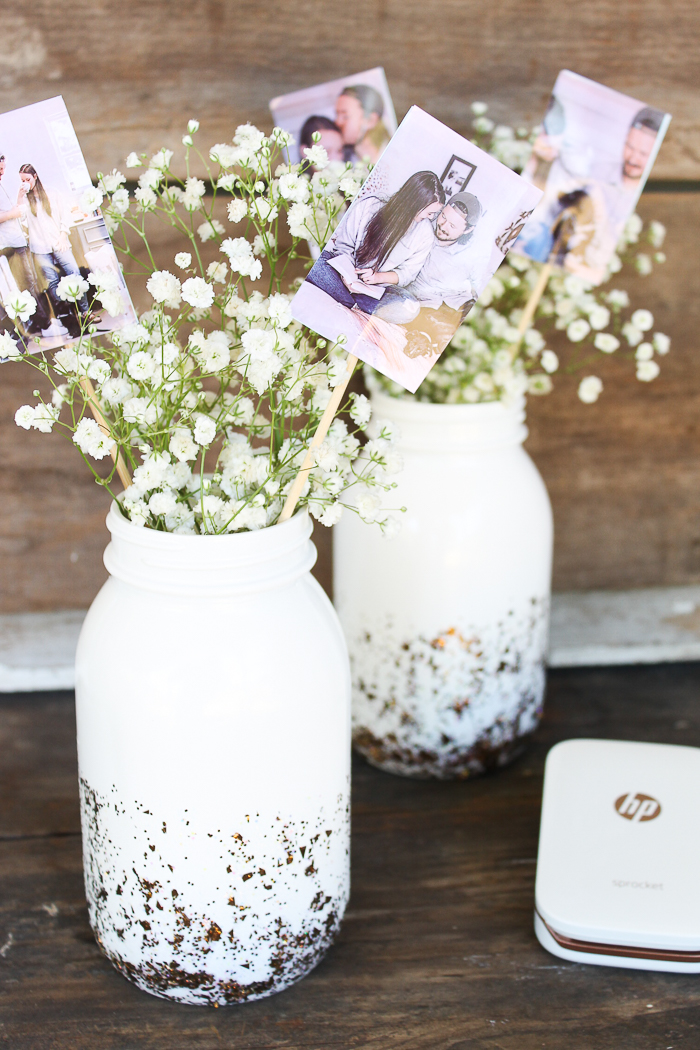
Step 1: Paint Mason Jars
Start by painting your mason jars. Do a few coats of white spray paint over the entire thing and allow them to dry completely after each coat.
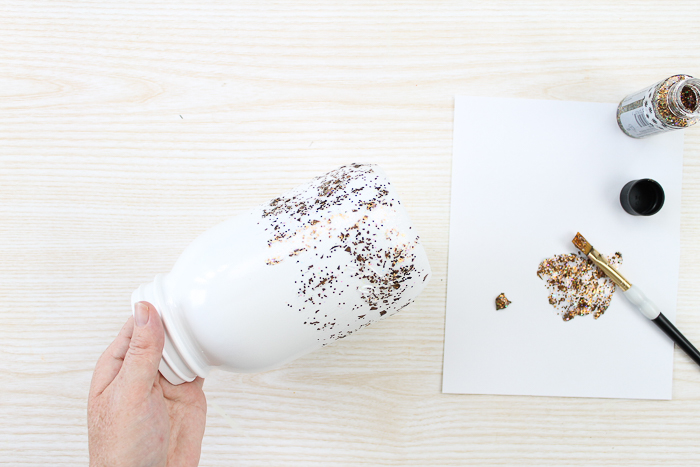
Step 2: Add Glitter Paint To Mason Jar
Then come back with glitter paint in the color of your choice and just do a little on the bottom half, as shown below.
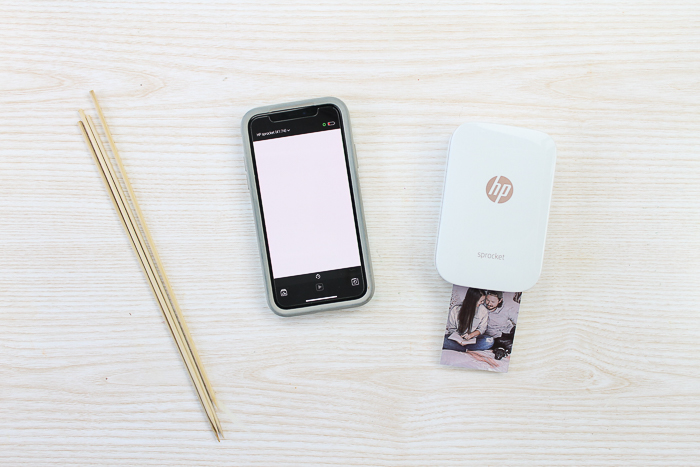
Step 3: Print Pictures
Set your jar aside to finish drying while you work on the picture portion of these centerpieces. I chose to print the pictures with the HP Sprocket printer, but you can use your home printer with photo paper.
These can be anything from engagement pictures of the bride and groom to senior photos of the graduate.
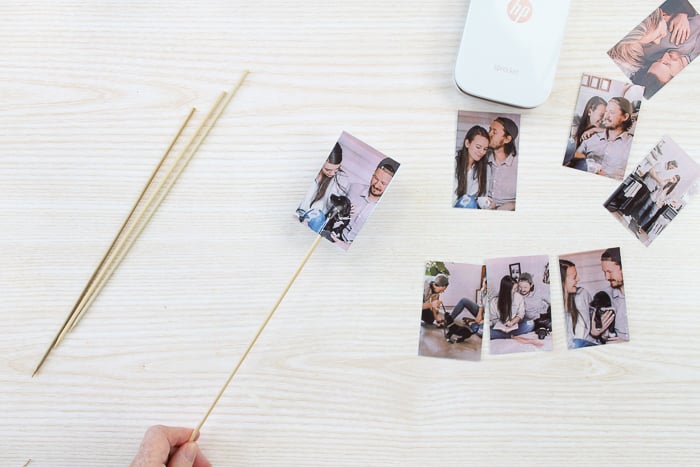
NOTE: You will need two pictures per skewer.
Step 4: Add Photos To Skewers
The pictures have a peel-and-stick adhesive on the back of each one, so just peel away the protective liner on one picture, then add a skewer to the center.
Then peel and stick a second picture on the back, sandwiching the skewer in between the two. How's that for easy?
Step 5: Add Flowers To Photo Centerpieces
Add flowers to your mason jars once they are dry (Baby's Breath is always a nice choice) and pop in your skewers of pictures.
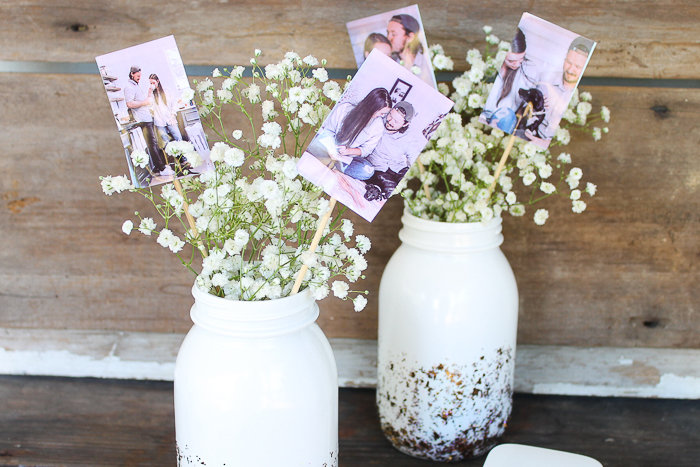
I love these simple and easy picture centerpieces that you can make yourself in minutes!
Everyone will love a picture holder table centerpiece, and the pictures you choose to showcase will become the talk of the tables while people eat!
Grab your supplies to make your own photo centerpieces with pictures of the bride and groom (or graduate) today!
Then, you can keep them afterward and add them to your home's decor (which I did).
FAQs About Photo Centerpieces
Here are answers to some of the most common questions I get about making photo centerpieces. If your question isn’t listed, feel free to drop it in the comments and I’ll be happy to help!
Can I Use A Different Color Of Spray Paint?
Absolutely! You can use any color of spray paint and glitter paint for these photo centerpieces!
Should I Use Real Flowers Or Faux Flowers In This Photo Centerpiece?
Since the vase part of the display is a simple mason jar, you can use either real or faux flowers. The benefit to using faux flowers in these picture centerpieces is that you don't have to deal with water, AND you can reuse the flowers for another project or event.
However, if you really want to use real flowers, I recommend using metal skewers instead of wood. That's because the wood skewers can soak up the water in the jars and ruin the pictures if they sit there for a while. Metal skewers would offer an equally chic look and prevent that problem.
Can I Print The Pictures On My Regular Printer?
Yes, you can, but it will require extra work and supplies. The benefit of using the HP Sprocket is that the photo paper has a sticker backing. If you want to use your regular printer, you'll need to buy special paper, or you'll need to laminate the photos and glue them together on the skewer.
Either way you do it, these picture centerpieces will be a wonderful and affordable highlight of your special event.
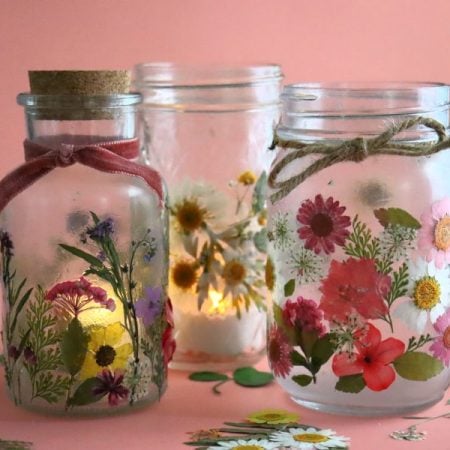
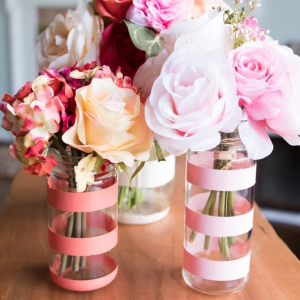
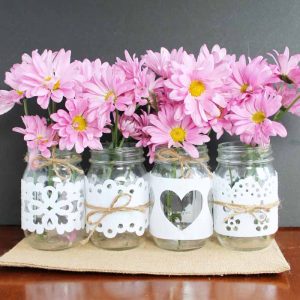
5 More Centerpiece Crafts
Do you love these photo centerpieces and want more centerpiece crafts? Then check out the projects below!


Very helpful idea, thank you.
Can you share what size mason jars are best to use? 🙂
I use quart size jars.
What size pictures are used ?
The Sprocket prints 2″ x 3″ photos. If you’re not using the Sprocket printer you could print a larger size if you wanted 🙂