Have you ever wanted to make your own custom window decals? If you have, printable window cling for laser printers may be just what you're looking for.
I'm going to show you how to make window decals using both clear and white printable cling and the Print Then Cut feature within Design Space.
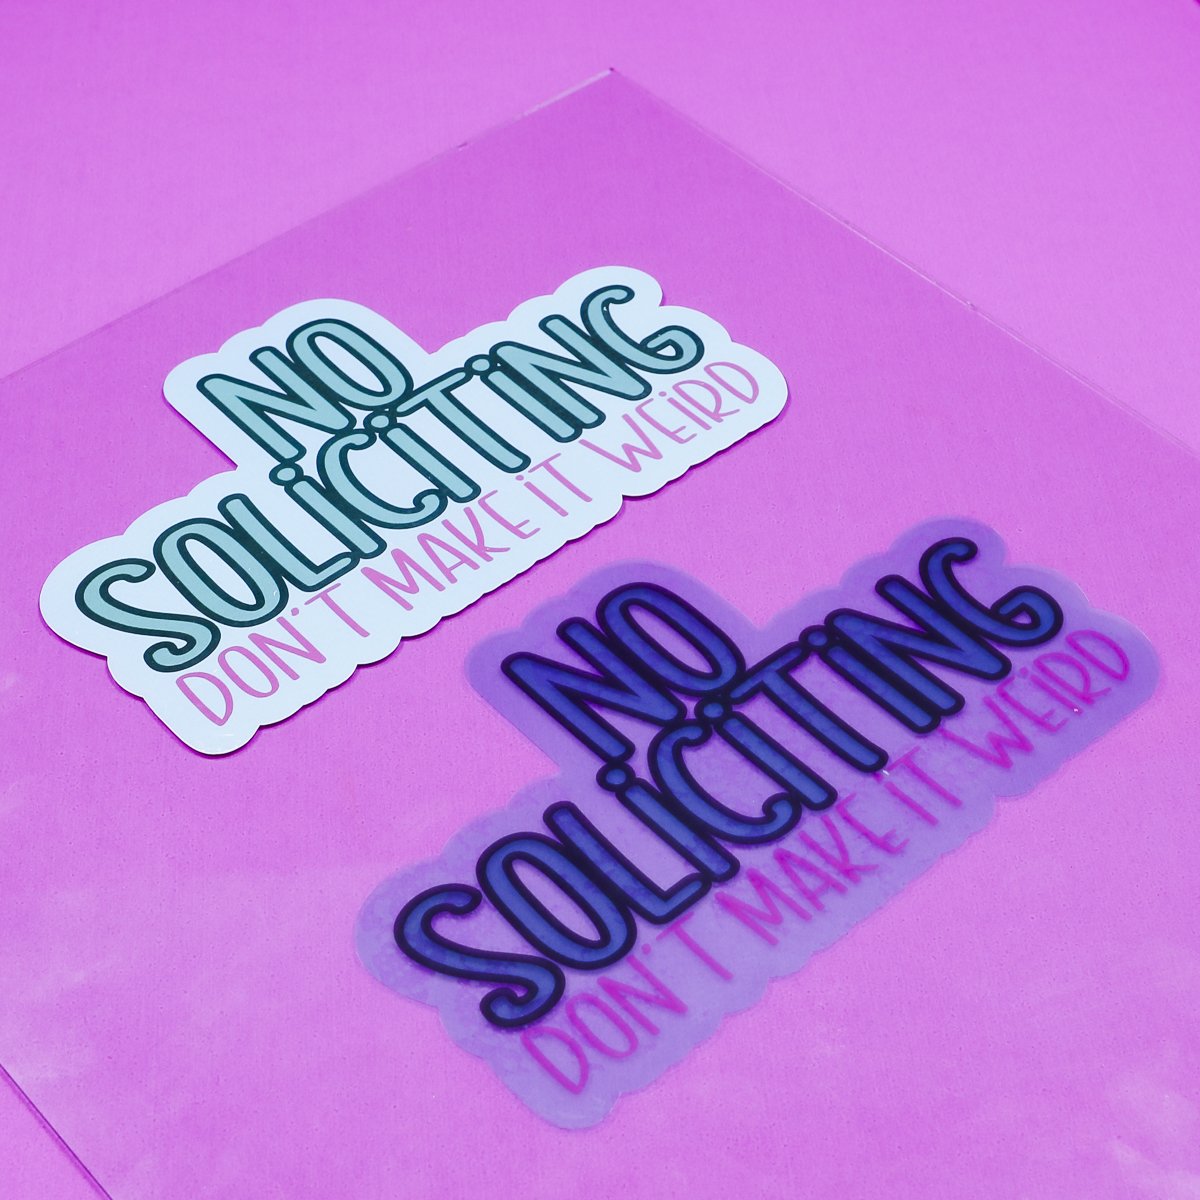
I've shown how to make window decals in the past using vinyl. This process is different than that and perfect for places where you want to add a design that is easy to remove and reuse later.
You can watch me make these printable window cling projects from start to finish by pressing play on the video below.
Options for Decorating Windows
I have been asked for years to show you how to use printable window cling, but until now, I haven't found a printable window cling material that could hold up over time.
Ink Jet vs Laser Printable Window Cling
Regular ink and sublimation ink from Ink Jet printers are not UV-resistant. If you place them on windows in your home, they'll fade very quickly.
Laser printer toner is a lot more UV-resistant. Now that there is a printable window cling for laser printers, I knew it was time to try it out.
You can use this material in any laser printer, including a white toner printer if you have one of those.
Because toner is much more UV-resistant, these decals will last a long time, even in the sun.
Window Cling vs Vinyl
Before we get into the tutorial, I want to talk about why you'd want to use printable window cling instead of vinyl.
In the end, whether you choose to use printable window cling or printable vinyl will depend on the project you're making.
Window cling will stick to windows and glass, and it won't go anywhere. When you're done with it, you can easily lift it off the glass. It removes easily, and you can place it back on the carrier sheet to use again later.
Vinyl is more difficult to remove, as it can leave behind a residue, and it is usually not reusable. The adhesive will lose its stick and can get misshapen when it's removed.
Where can I use printable window cling?
I think this material is great for windows in your home. Unless you use the clear version and mirror your image, you will need to place the cling on the outside of the window. That doesn't make it ideal for use in cars.
Another reason I wouldn't recommend it for cars is that car windows get very hot, especially in the sun, and I don't think it will stick well. For interior windows or even mirrors, this is a great product.
How to use Printable Window Cling
Today, I'm going to show you how to make a multi-colored No Soliciting sign. You can use this tutorial for any design you want to use.
Supplies Used
Step 1: Create Design in Cricut Design Space
I am using the No Soliciting design I have included for free at the link above, but you can use any design for this project.
Since this is a printable product, you can use photos or other multicolored images.
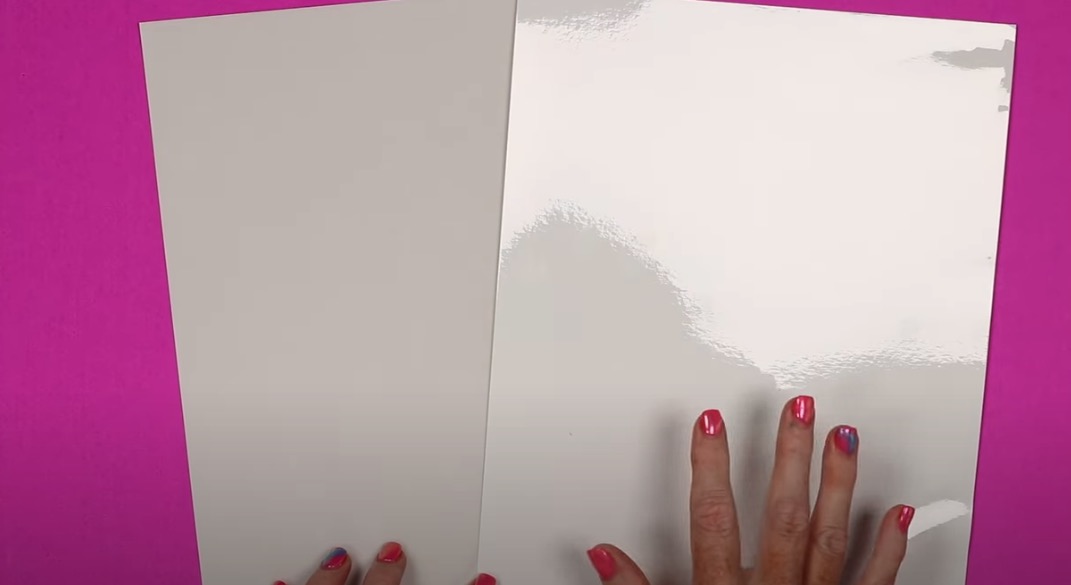
I am using both clear and white printable window cling in this tutorial, and I am using the 8.5 by 11-inch size. You can find it in other sizes as well.
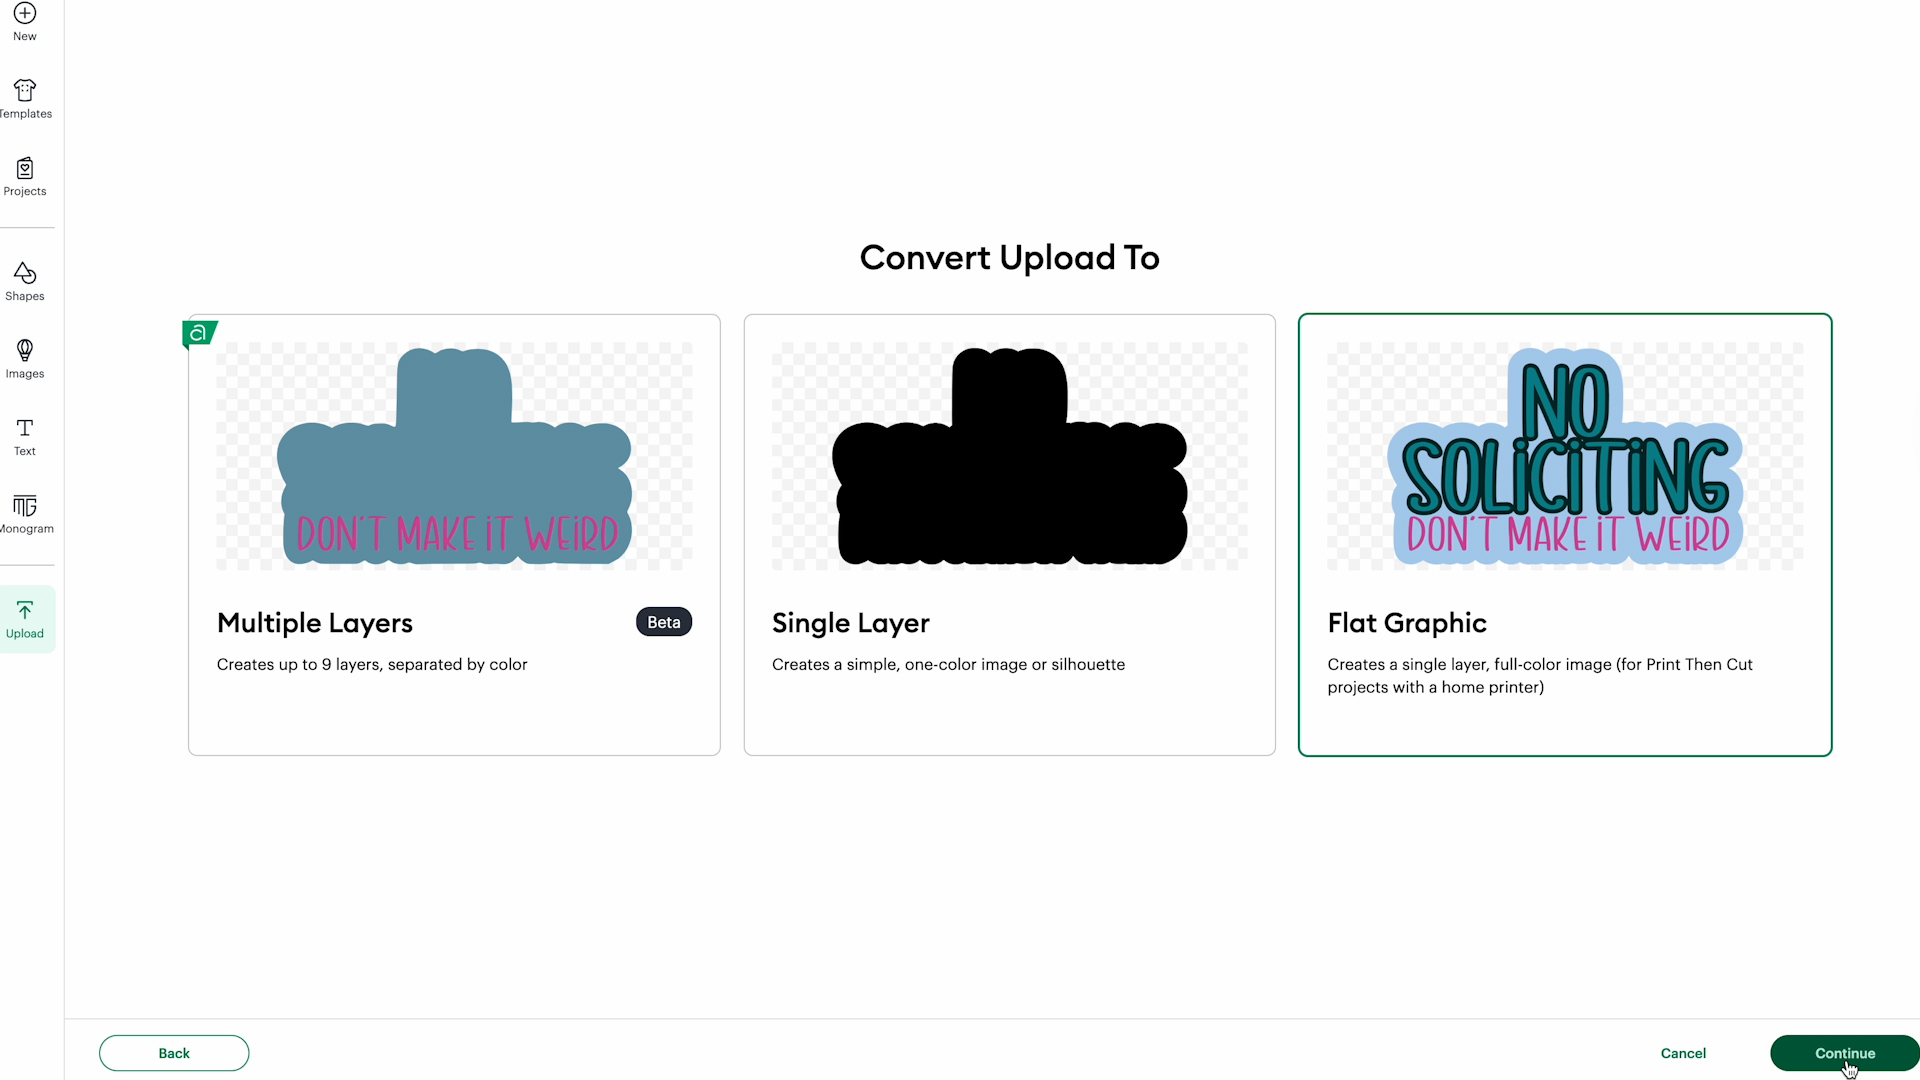
In Design Space, click Upload and find the image on your computer. Click Continue and prepare the image. If you need to, remove the background and then click Continue.
My design already has the background removed. Next, we want to upload the design as a Flat Graphic since we are doing a Print Then Cut. Click Continue and Upload.
With the image on the canvas, resize it to the size you want. The size will be limited to the Print Then Cut maximum size.
With the image resized, click Make. Here you can duplicate the design if you'd like to fill the whole sheet.
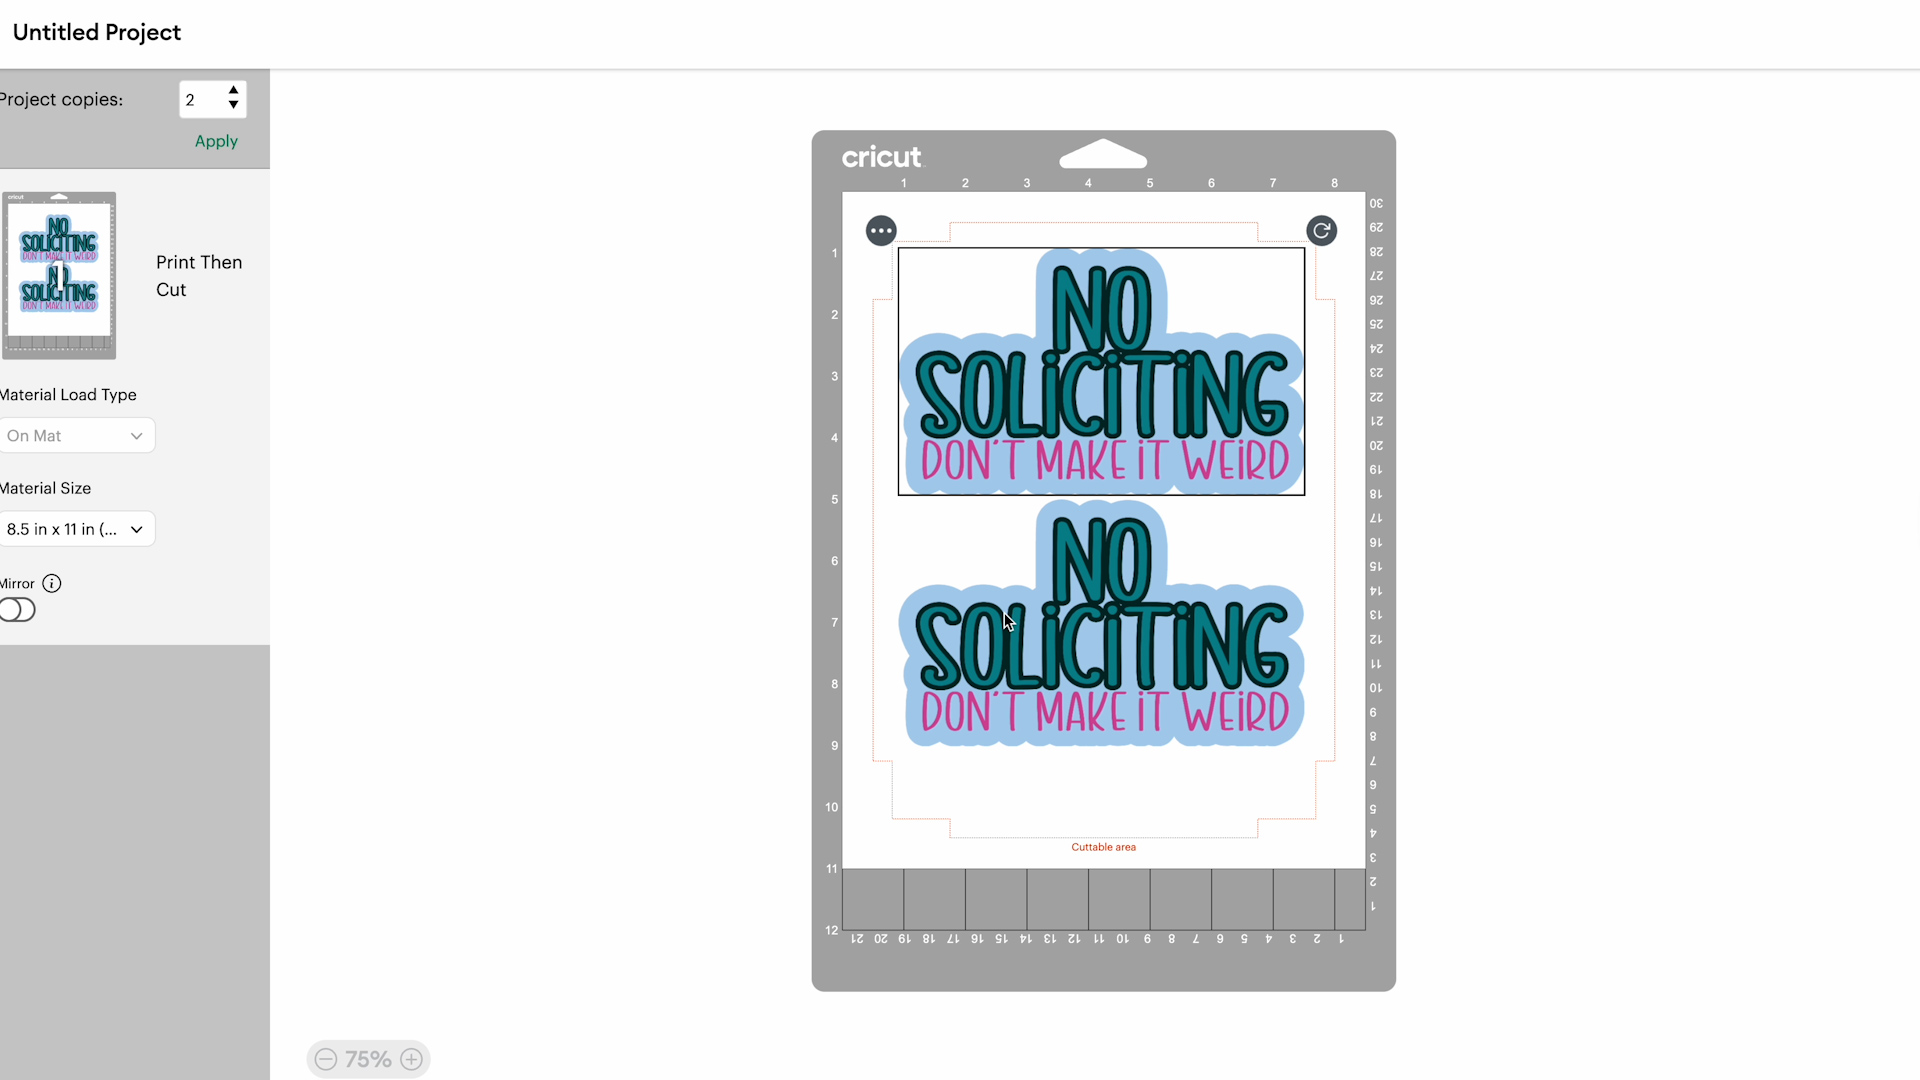
Step 2: Print Window Cling
Click Continue and Send to Printer.
Remember, the material I'm using is for laser printers. Make sure you select the correct printer. For this design, I am leaving Bleed on to get a clean cut. Choose Use System Dialogue and click Print.
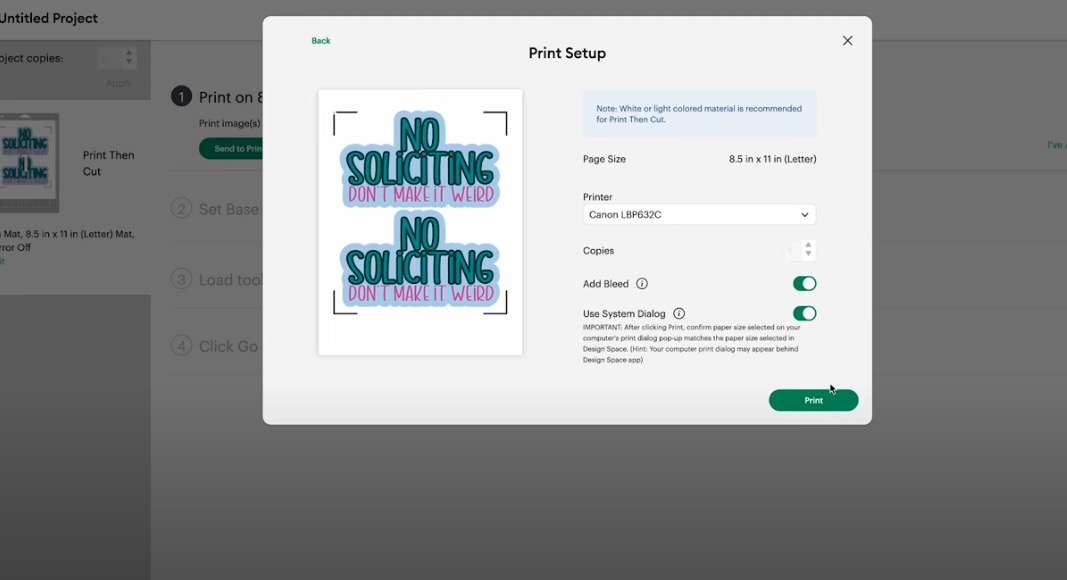
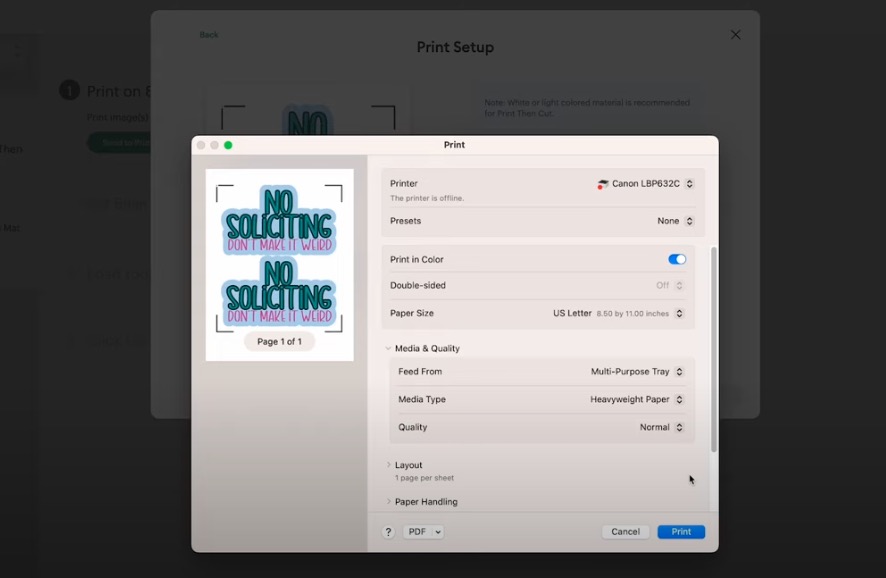
Load the material into your printer so it will print onto the shiny side.
The settings you choose will depend on your printer. You'll want to select a paper type that is heavier. Click Print to send to the printer.
Step 3: Cut Out Design
I printed the design on both the clear and white printable window cling. Both look really good, and there is no smearing.
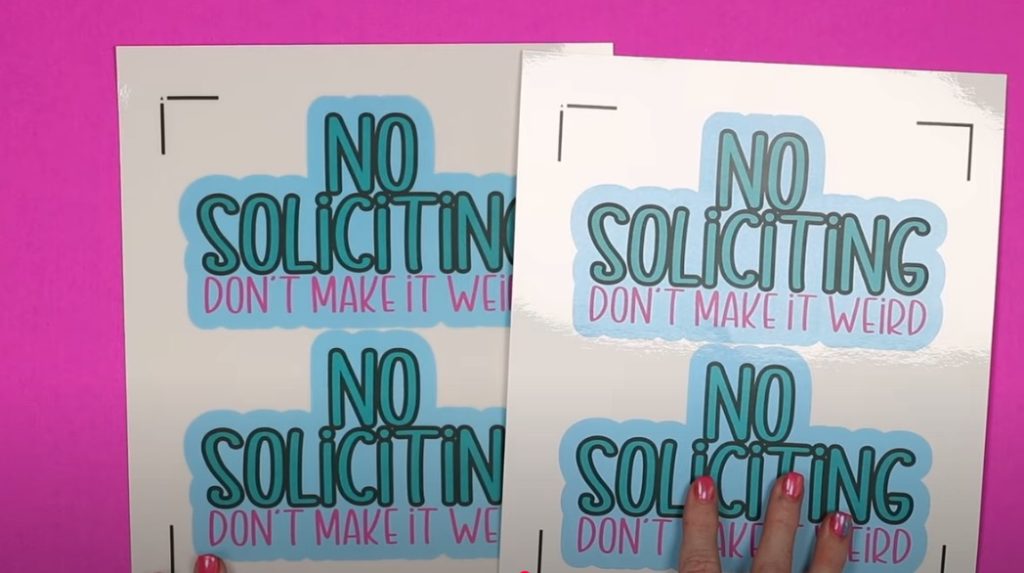
Both have a white backing paper. Do not remove the backing paper before placing the material on the cutting mat.
You could cut this material with scissors, but I'm going to use a Cricut machine.
Next, we need to add the print to the Cricut mat. When placing the design on the mat, make sure the arrow on the registration mark is in the upper left-hand corner.
Use a brayer to ensure the material is stuck on the mat really well.
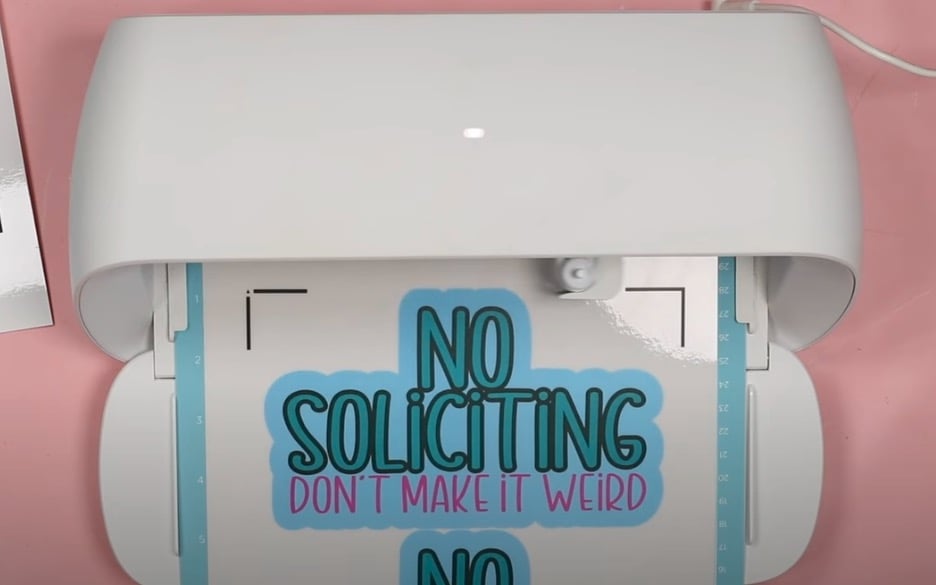
Load the mat into your machine. I am using a Cricut Joy Xtra, but this can be made with any Cricut machine except the Joy.
I am using the Printable Waterproof Sticker setting. There is an option for clear and white, and I used the white on the white window cling and the clear on the clear window cling.
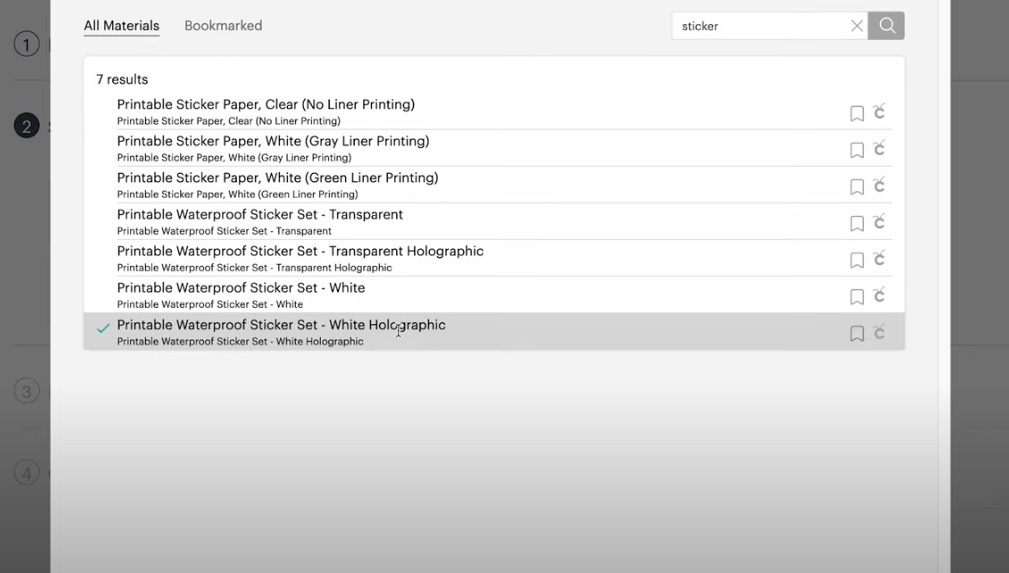
Press Go, and your machine will first scan all the registration marks and then it will cut out the design.
Step 4: Weed Printable Window Cling
When the cutting is complete, unload the mat, and we're ready to weed away the excess.
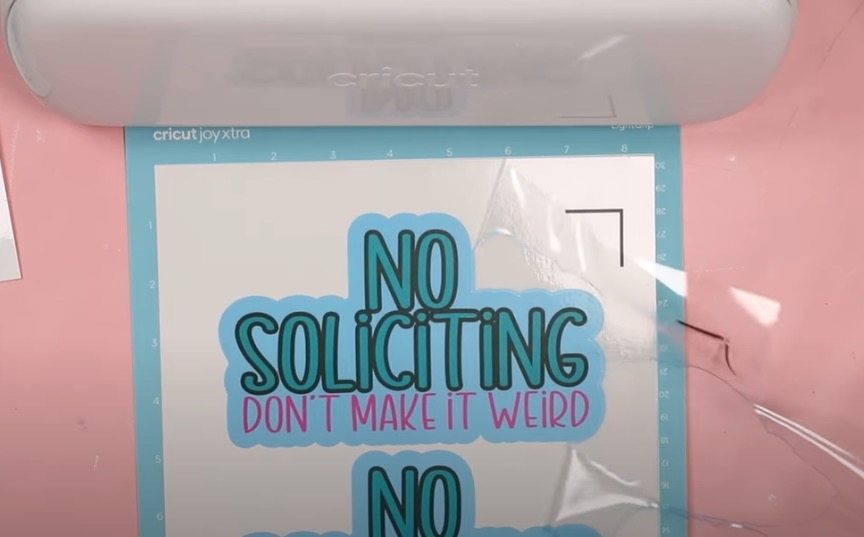
I had the best success leaving the material on the mat while peeling away the excess.
With the outside removed, flip the mat over and roll it away from the material.
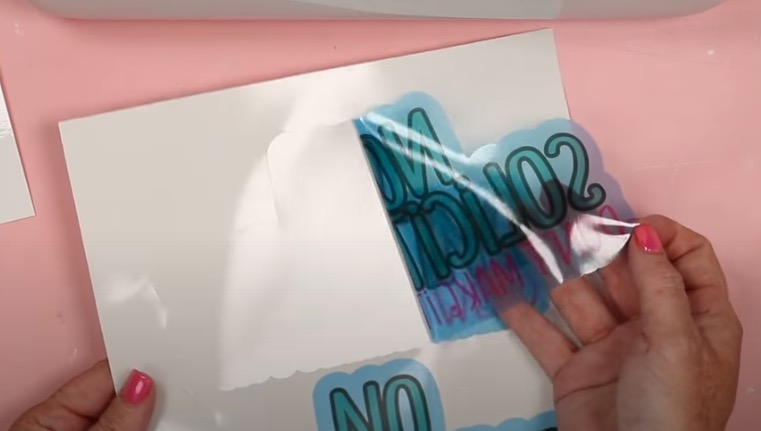
Now, the window cling designs peel easily off the backing paper. Don't throw the backing paper away; you can add the cling back to the backing paper to reuse it later.
Clear Printable Window Cling vs White Window Cling
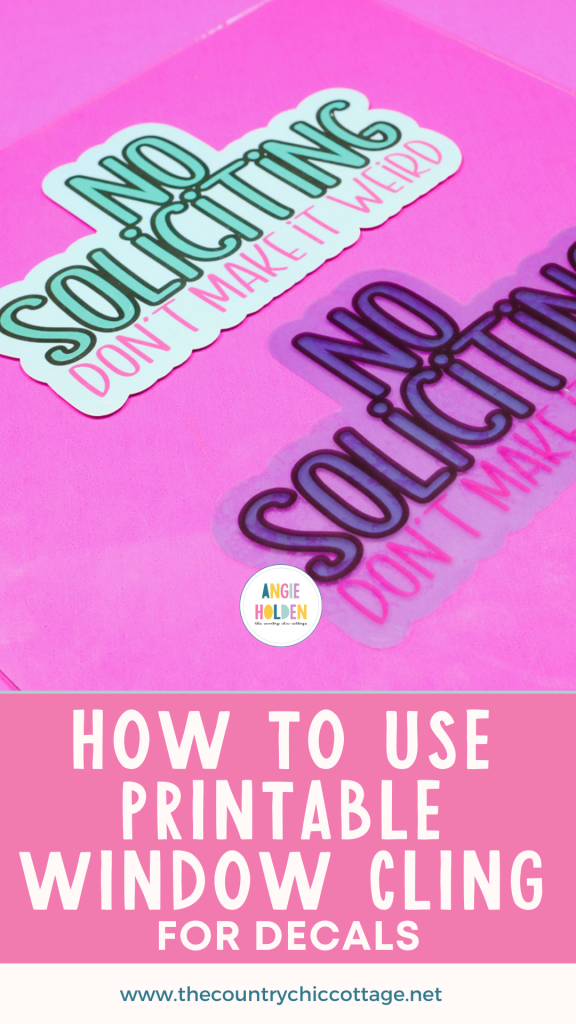
Here you can see both the clear and white printed window cling on glass.
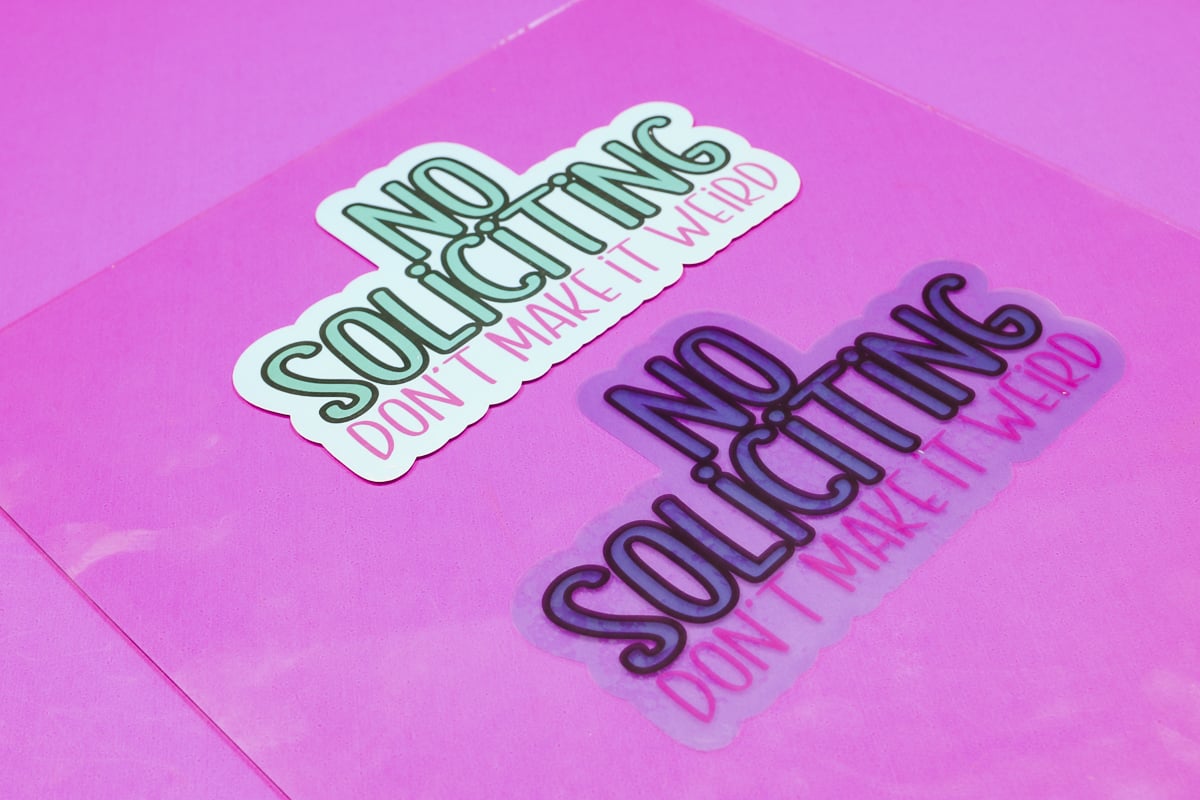
The clear window cling is clear. I feel like you can see the design really well, but any color behind it will show through.
The white version is opaque and is great for any space where you don't want what's behind it to show through.
The printable window cling only clings from one side. That means printed as these ones are, they would need to be on the outside of the window.
If you want the window cling on the inside of your window, you'd need to use the clear window cling and mirror your design. The design will show through the back, allowing you to put it on the inside of the window.
Should You Use Printable Window Cling for Laser Printers?
This product is great. I love that laser printer toner is way more UV-resistant than ink from inkjet printers. This will help the window cling last a long time.
Whether you choose the white or clear will depend on the project you're making and where you want to put it. I really like the white. You can't see through it, which makes it much brighter on your window.
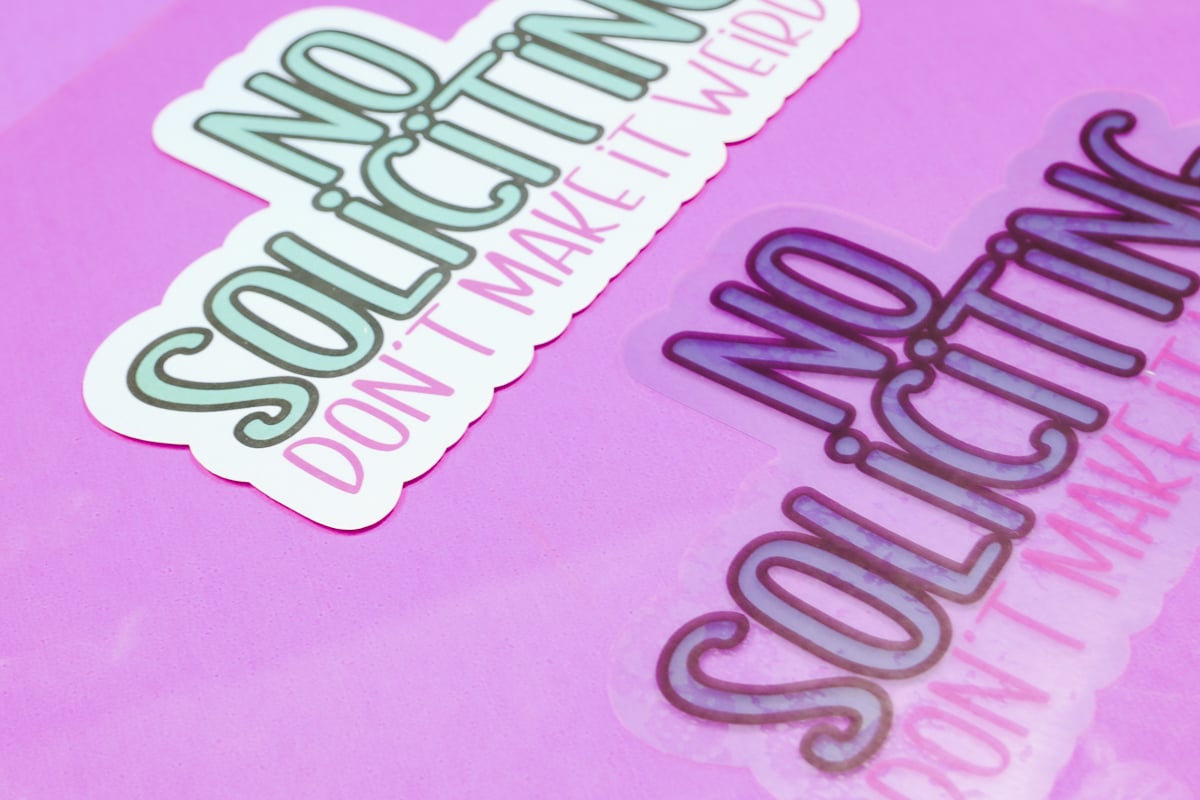
If you want something more subtle or you want the ability to put it inside your window, you'll want the clear material.
I also love window cling because it's perfect for seasonal decor. Don't throw away the paper backer that you removed the window cling from, and you can put the window cling back on it to save it to reuse later.
If you're looking for a printable window cling, I recommend using this material for laser printers over the window cling for inkjet printers, because anything with an inkjet printer is going to fade quickly.
I hope I've answered any questions you have about printable window cling. If you have any additional questions, leave them in the comments, and I'll be happy to answer them for you.



What product will work with a inkjet printer? I plan to use the window cling in an office, so I’m not worried about UV fading, and I don’t have a laser printer.
I haven’t tried any inkjet printer materials to have a specific brand to recommend so I would check reviews before purchasing 🙂