
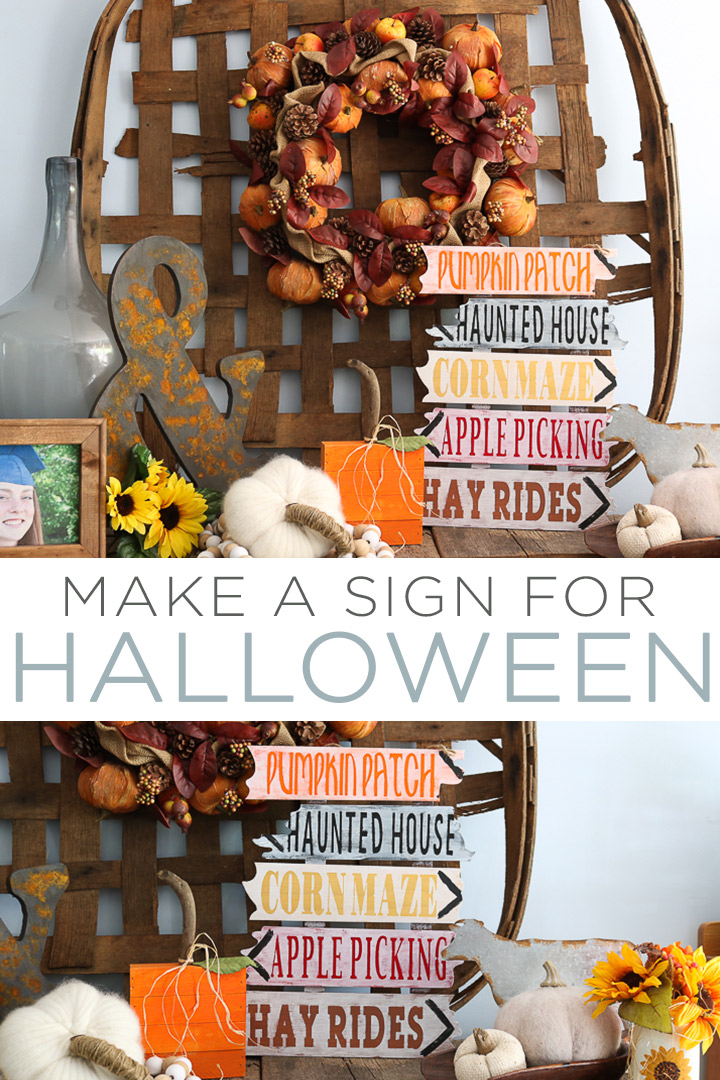
Great DIY Halloween wood signs add that special pizazz you crave in your holiday decor. Make your own Halloween wood sign with this simple technique to take your Halloween decor from cute to incredible.
The Halloween season is perfect for crafting! Between all the striking colors and spooky things that go bump in the night, inspiration abounds.
In the past, I've made other Halloween signs, a DIY Halloween countdown calendar, and even a festive DIY Halloween Vase with a skeleton hand. This year, I wanted to create a different kind of Halloween sign.
Today, I'm showing you how to make an adorable Halloween wood sign that you can paint in just minutes. All you'll need to do is grab some stencils made from your Cricut, basic supplies, and use our special painting technique. It makes this sign oh-so-easy to create!
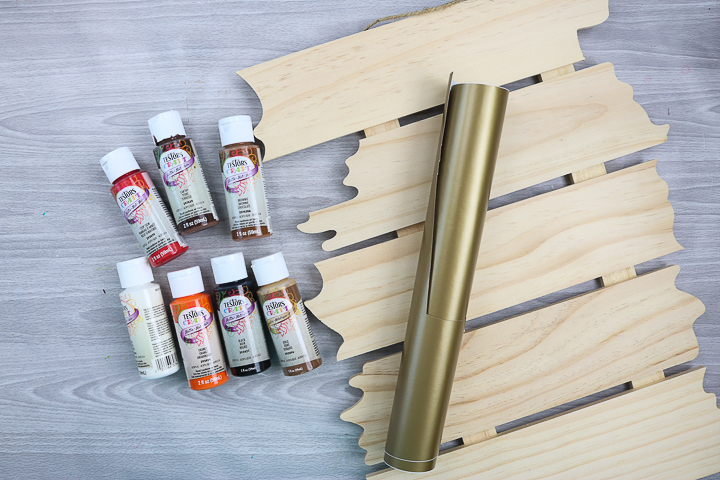
Supplies Needed To Make A Halloween Wood Sign
I've included a list of everything you'll need for this project and even added links for some items to make finding them easier. Some links below are affiliate links which means that you do not pay anymore but a portion of any purchase will go to this site.
- Wood sign
- Testors craft paint in a variety of colors
- Cricut machine
- Vinyl (in any color)
- Cricut cut file (from my Cricut Design Space profile, scroll to “Halloween Sign”)
- Paintbrushes
- Transfer tape
- Weeding tools (optional)
DIY Halloween Sign Video
Are you a visual learner? If you want to see how to make this project instead of reading about it, I made a video to show you the full process. Check it out!
Can't watch the video or missed a step or two? We have everything you need to know laid out below as well!
How To Make Halloween Wood Signs
Are you ready to create your own work of art? The process looks long, but I promise it isn't complex or hard. Just follow each step and you'll be amazed at how simple it really is!
Step 1
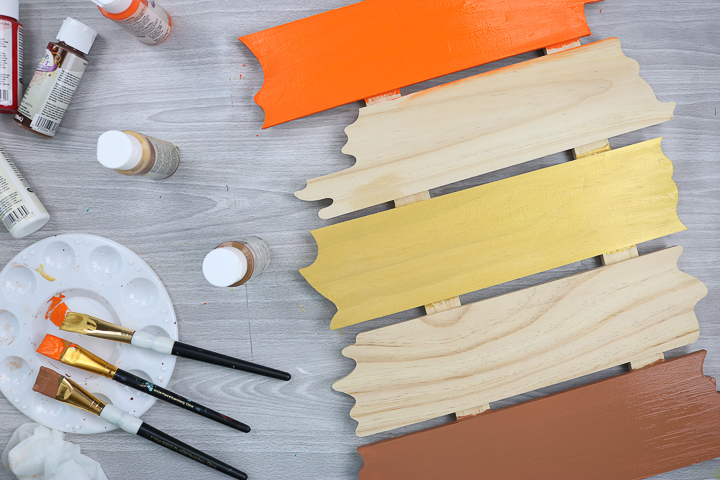
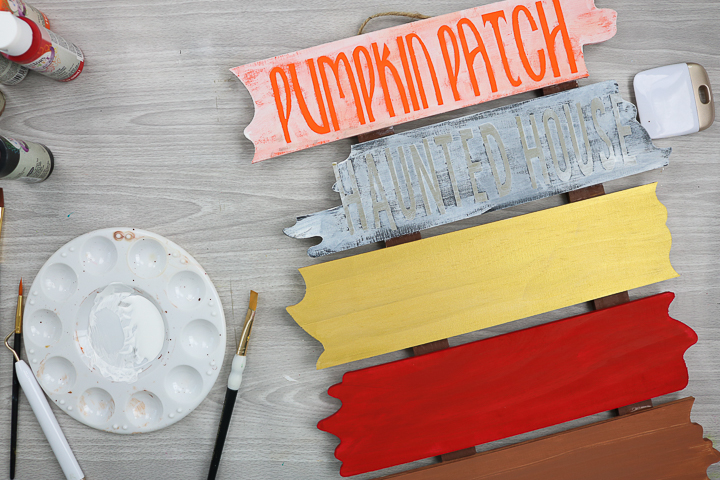
TIP: You will want to decide which color you'll paint each slat before starting. I wrote down on a piece of paper which slat would have which saying and what colors I wanted to use. Remember that these will be the colors of your letters because we are doing a reverse stencil technique.
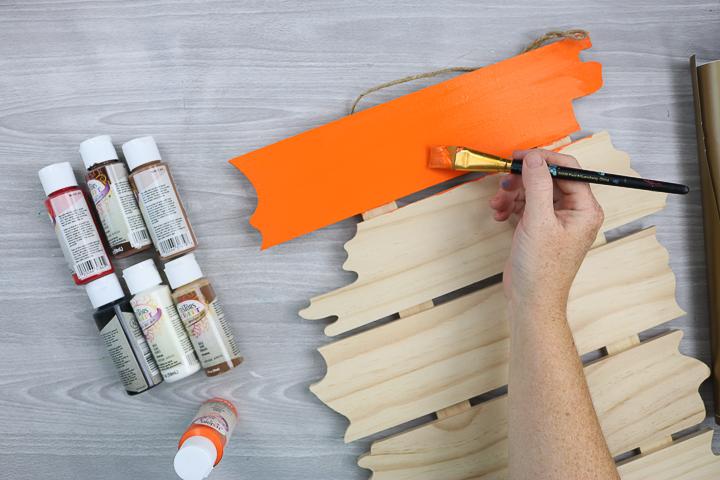
Start by painting your sign using one coat of Testors craft paint on each slat. One coat gives great coverage so there is no need for a second coat.
Step 2
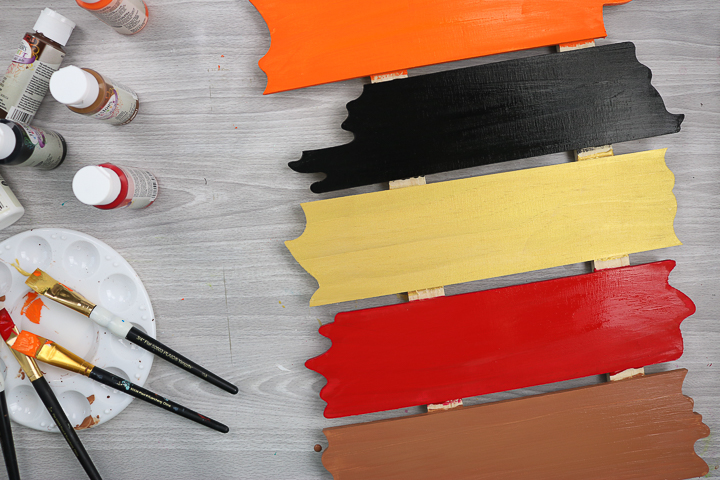
Continue until you have painted the front and sides of all the slats. If you are putting this sign outdoors, flip it over and paint the back once the front dries.
Step 3
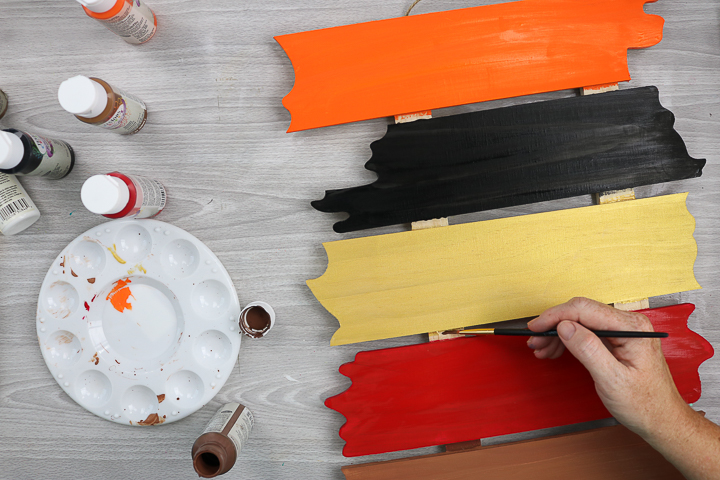
For a more finished appearance, I also went back in with a darker brown and painted where the back slats show through to the front.
Step 4
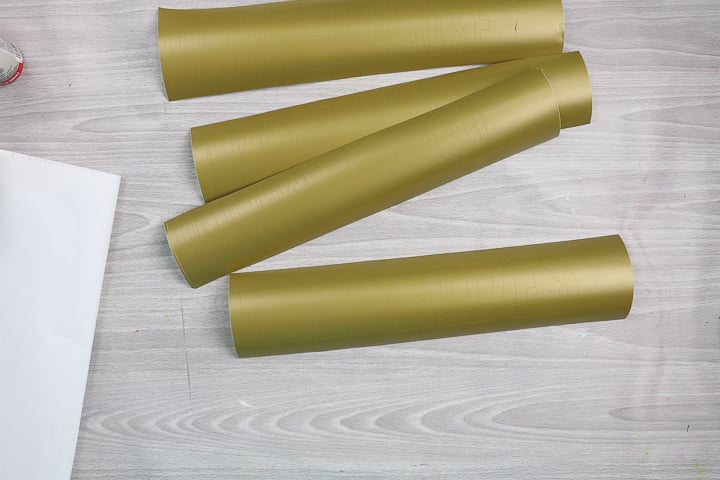
Set your sign aside to dry. In the meantime, go ahead and cut the vinyl for your stencils.
Don't worry about the vinyl color because it doesn't matter. We are only using it as a stencil, so it will not be on your finished sign.
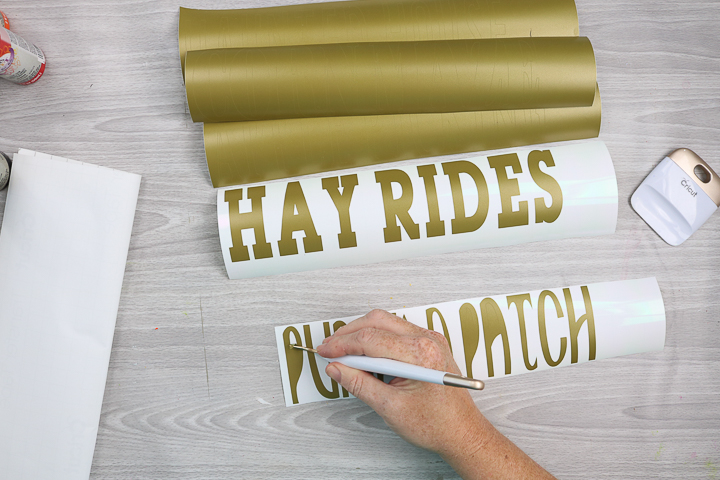
Weed away all excess vinyl on each piece.
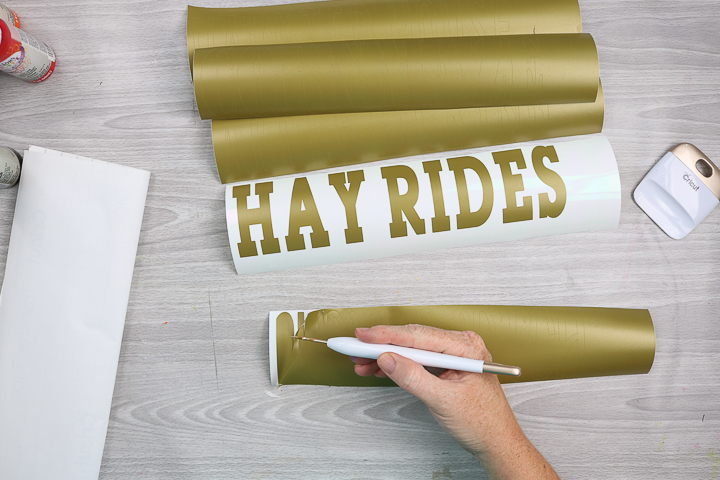
Make sure you don't forget about the outer edge as well as the centers of any letters!
Step 5
Once you have weeded out your pieces, you will use transfer tape to put them on your sign after it dries.
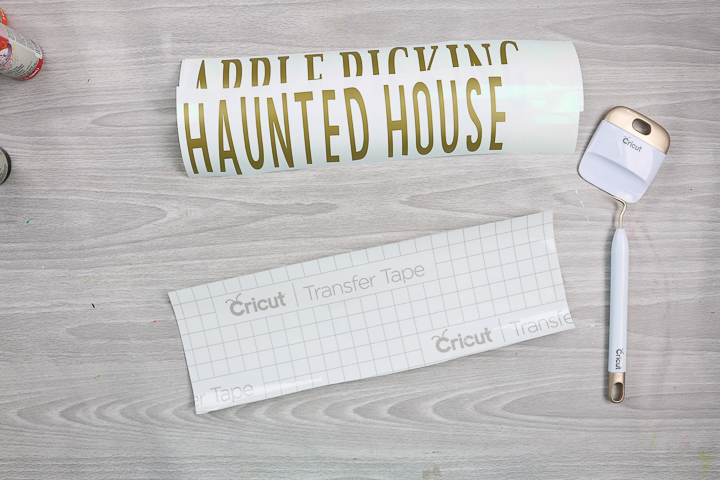
You can use the same piece of transfer tape for all of your pieces. Just peel back the tape from the backing paper.
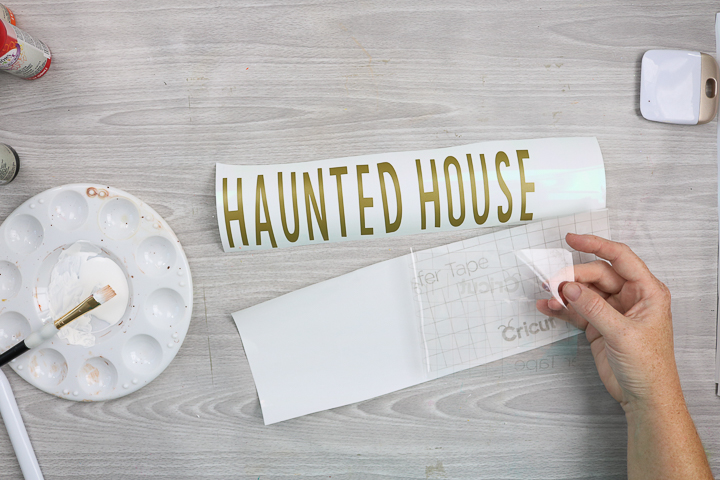
Then, apply to the front of your vinyl. Be sure to press down well.
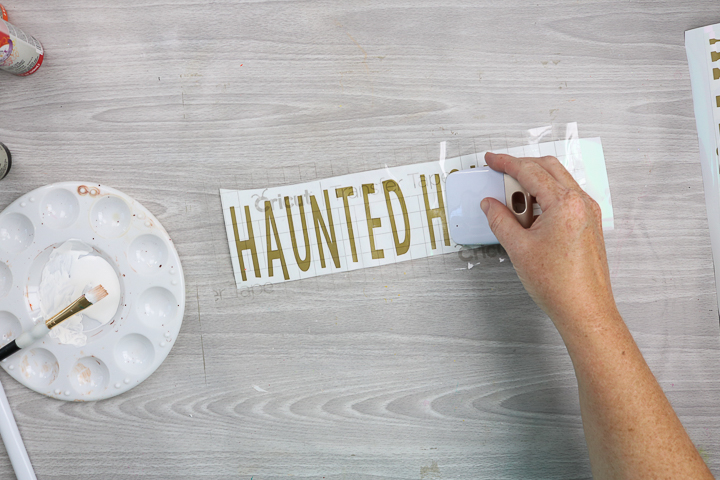
Step 6
Remove the backing paper from the vinyl and your pieces should stick to the transfer tape.
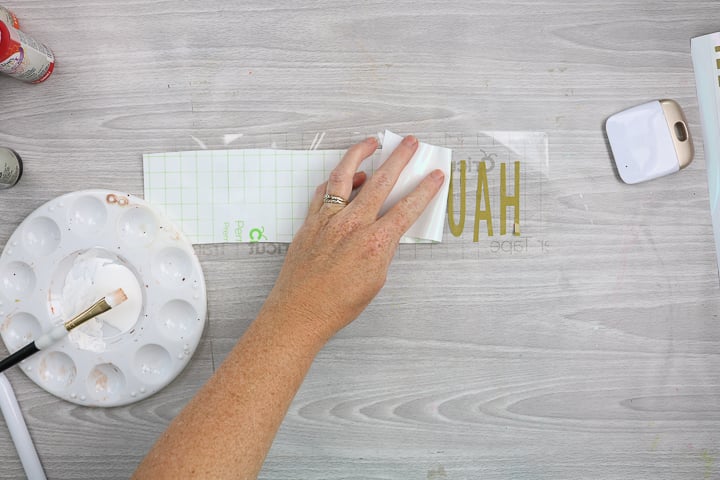
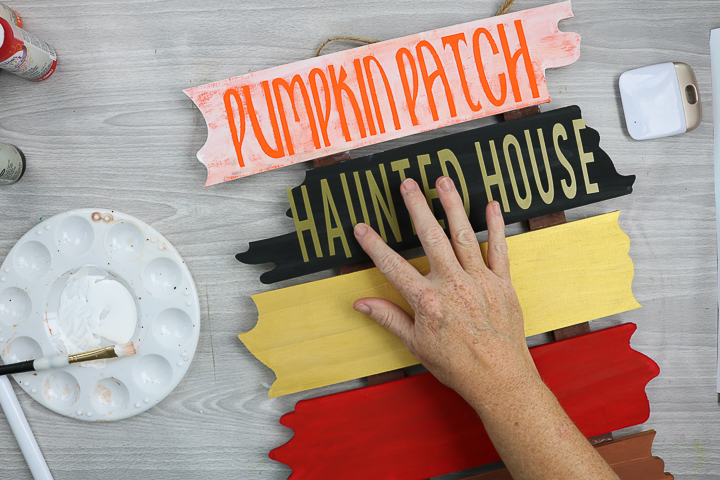
Step 7
Apply the vinyl to the slat you want to work on.
Once again, press it down well.
Then, peel back your transfer tape and your vinyl will stay in place on your Halloween wood sign.
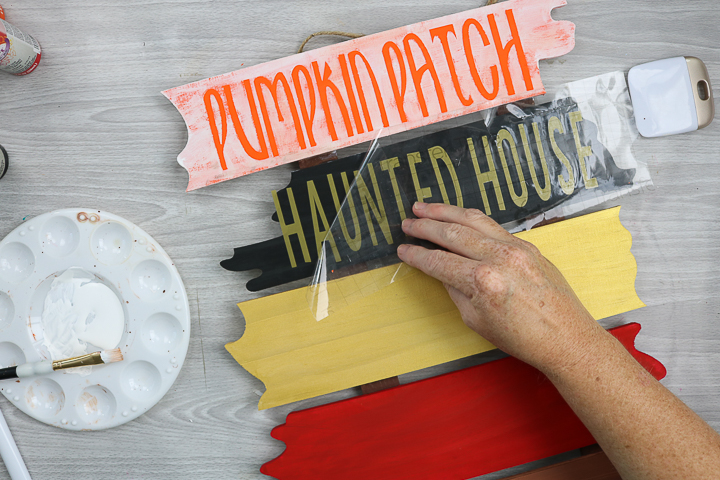
Press it down well once more just to make sure it is on there really well.
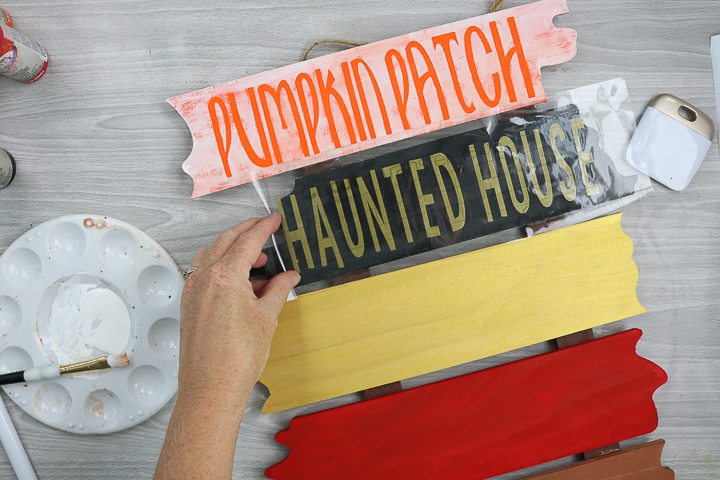
Step 8
Start painting over the top with white paint. You want a really dry brush with just a small amount of paint on it.
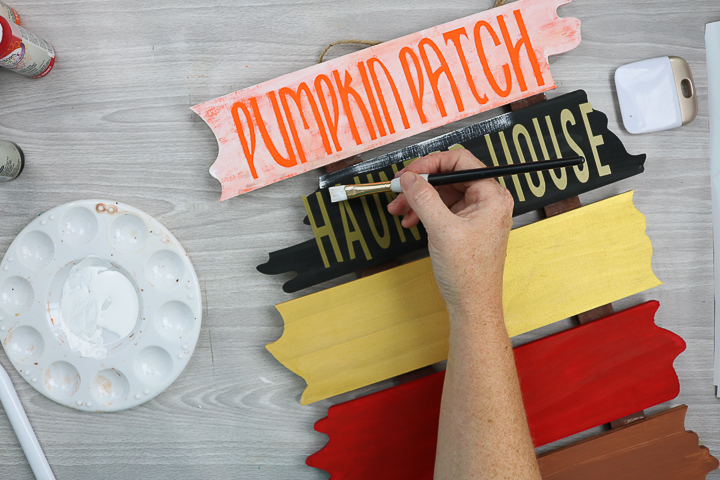
Your goal here is NOT complete coverage. You want to just give a REALLY light coat over the top of the vinyl letters.
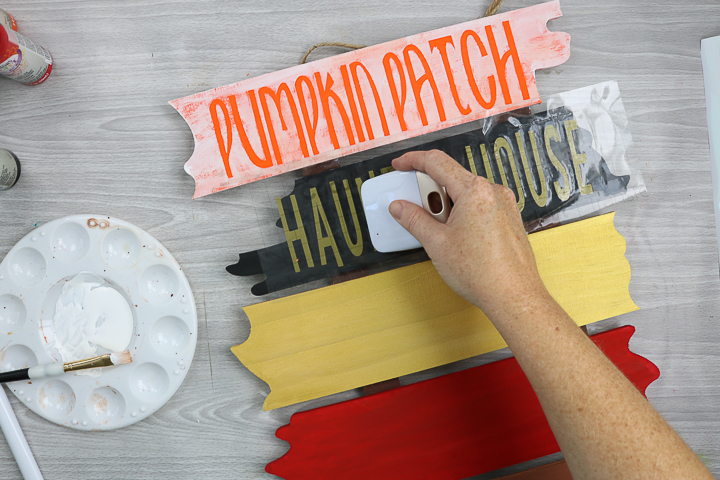
Step 9
Go over the entire sign with the white paint. You can see that I did not have complete coverage. That is EXACTLY how you want to do this technique.
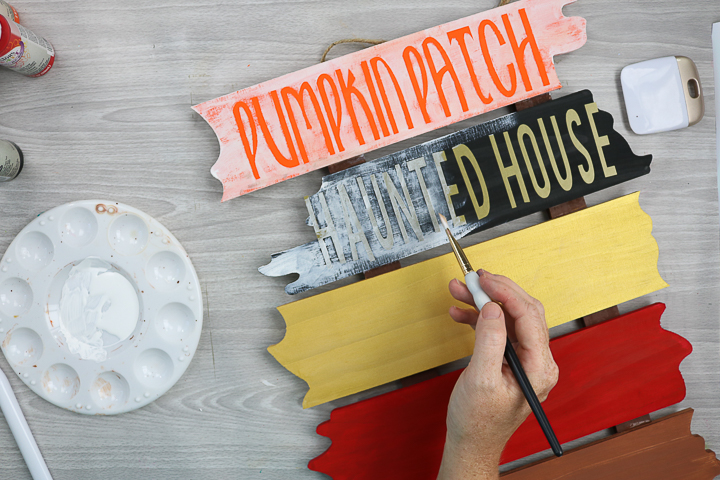
Step 10
Then you can immediately start pulling off the vinyl letters. I find that a weeding tool helps with this.
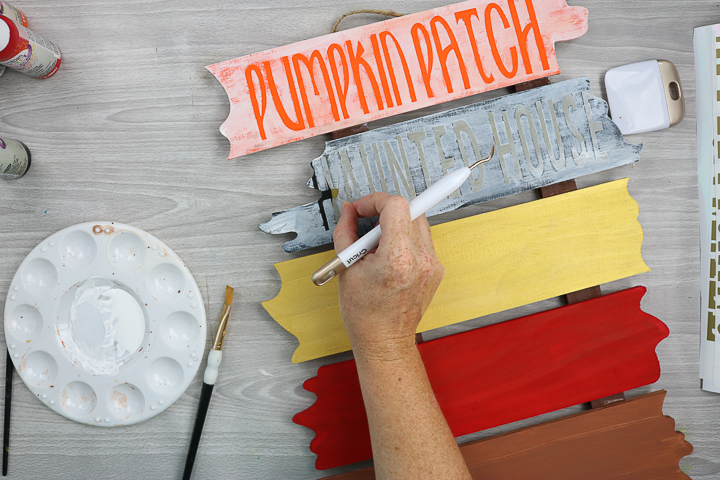
Continue until all of your letters are off. Then repeat this same process for all of the slats on your painted wood sign.
Step 11
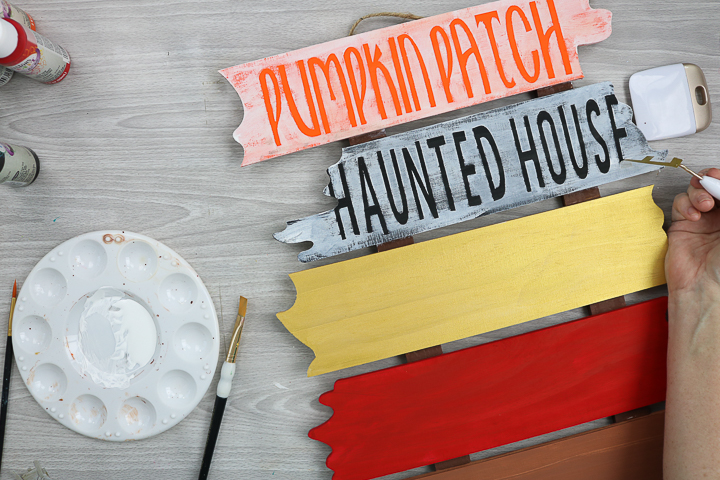
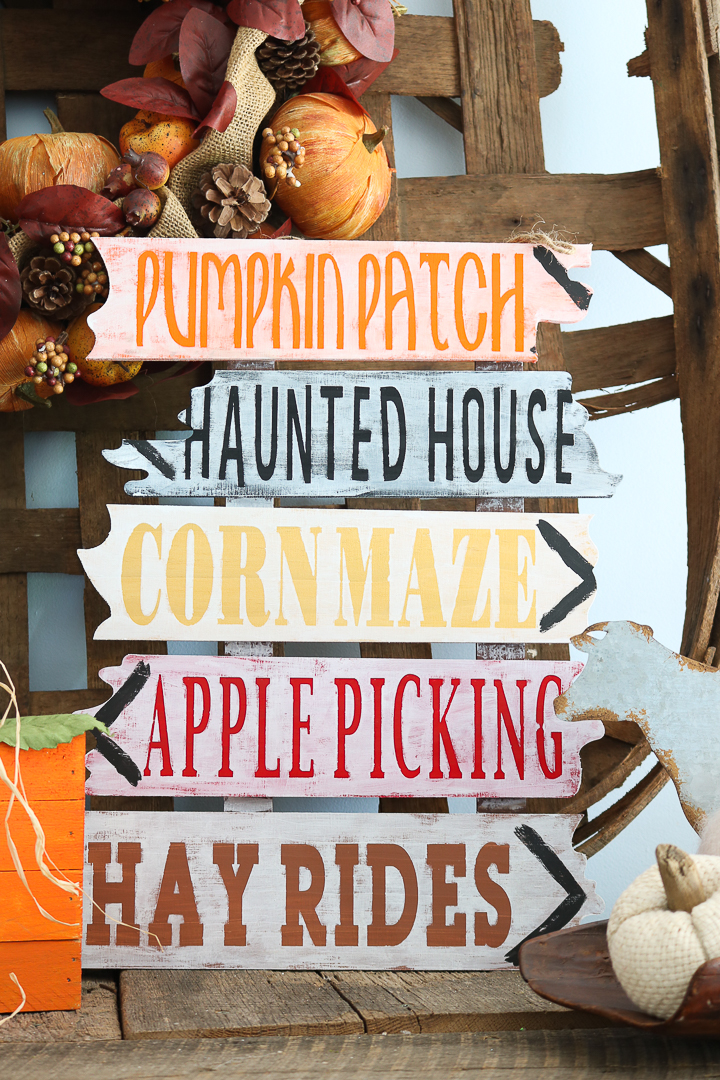
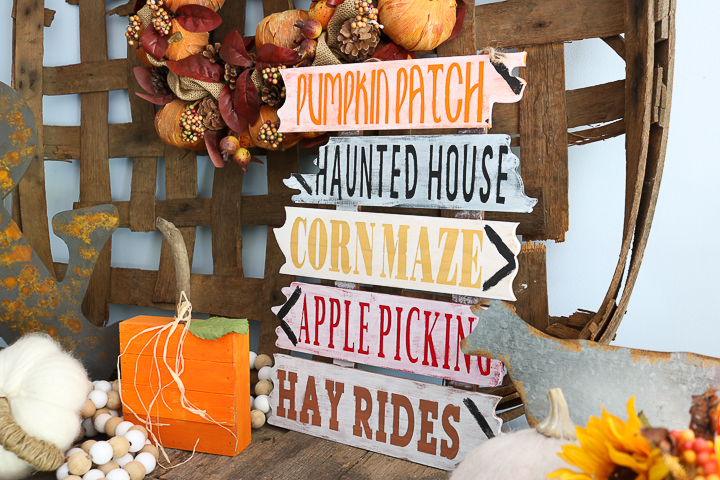
After everything is painted and has dried, It's time to go back in and add your arrows. Just use black paint for this and a really dry brush to make rustic-looking arrows.

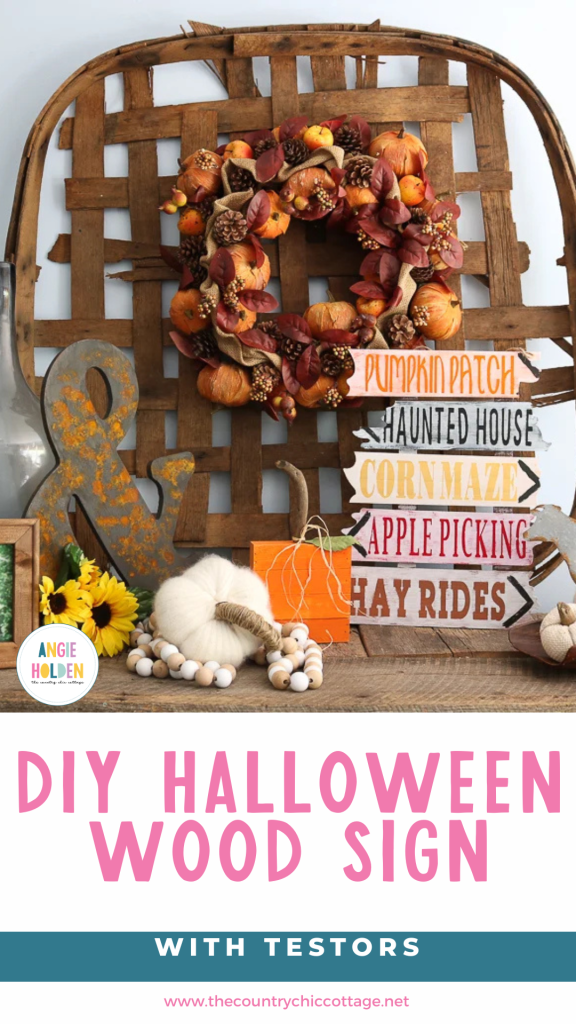
Allow those to dry and your Halloween wood sign is complete!
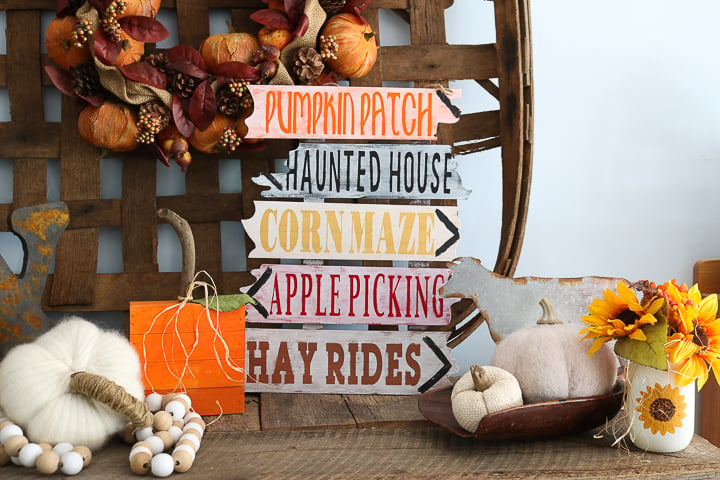
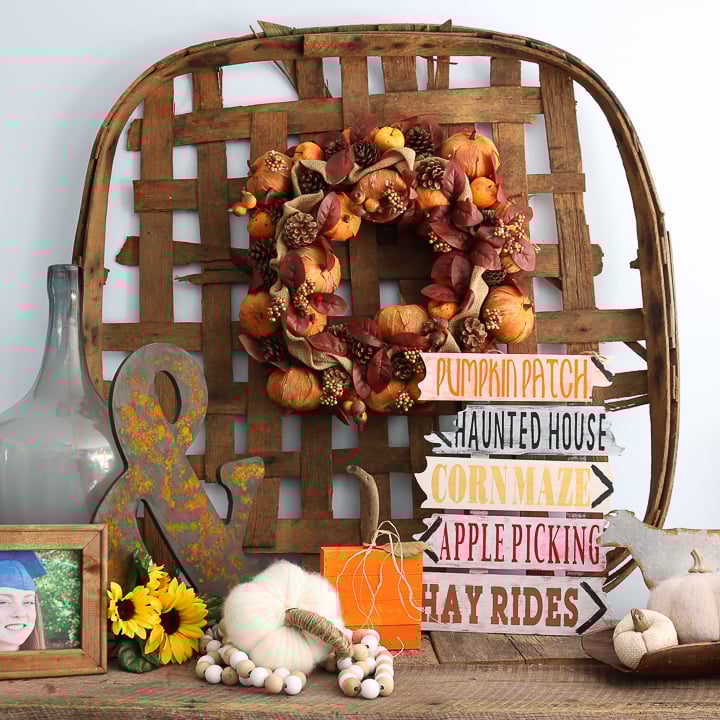
Isn't it fun? I added mine to my fall mantel along with my rust-painted ampersand.
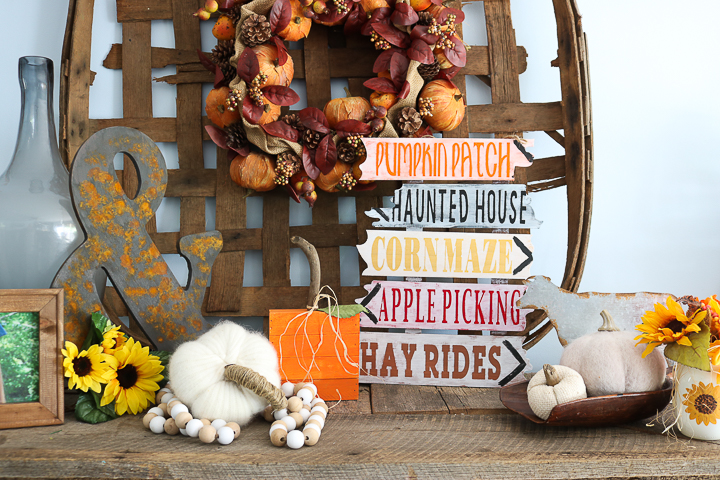
Your DIY Halloween wood sign is just a few steps away. This easy-to-make sign will look great indoors or outdoors this season.
FAQs
Here are a couple of common questions I get about this Halloween wood sign project from readers. If you have a question but don’t see it down below, please leave it in the comments so I can answer it for you.
Can I use a different type of paint?
Sure, you could use acrylic paint for this project, but keep in mind a couple of changes you may need to make. First, you may need to make multiple base coats because acrylic paint doesn't usually have coverage that's as good as Testors brand.
Second, if you want to display your sign outside, make sure you use outdoor acrylic paint OR seal your sign after it's complete with a clear spray sealant.
Why not just use a regular stencil method for this sign?
Good question! This reverse stencil method gives very clean lines because there's no paint bleeding, which can happen sometimes with stencils. Plus, the effect of the darker letters on a white-washed background is amazing!
Now that is what I call fun! I hope you enjoy this Halloween wood sign project. To make it even better, you could invite a few friends over to do this project with you. Everyone leaves with their own sign, and creating is so much more fun with friends!
More Halloween Inspiration
Want more Halloween crafts to enjoy with your Halloween wood sign? Try these ideas!
- Halloween Signs
- DIY Halloween Bags Personalized with Names
- Halloween Tree
- DIY Halloween Paper Bags with Any Cricut Machine
- Halloween Lanterns
- DIY Halloween Treats with Witch Legs

Equipment
Supplies
- Wood sign
- Testors craft paint in a variety of colors
- Vinyl in any color
- Cricut cut file
- Paintbrushes
- Transfer tape
- Weeding tools optional
Instructions
- Start by deciding which slats will get which color of paint. I wrote down my plan of which color and which saying I would put on each slat so I didn't lose track on a piece of paper. Paint your sign with one coat of Testors craft paint – that's the only coat you'll need.
- Paint the front and sides of all slats. If you plan to display this sign outdoors, be sure to flip it over and paint the back once the front is dry.
- I also went back in with a darker brown and painted where the back slats show through to the front for more of a finished appearance.
- Set your sign aside to dry and, in the meantime, you can cut the vinyl for your stencils. The vinyl color does not matter because it's only a stencil.Weed away all excess vinyl on each piece. That includes the outer edge as well as the centers of any letters.
- Once your pieces have been weeded, use transfer tape to add them to your dry sign. Apply it to the front of your vinyl and press down firmly.You only need to use one piece of transfer paper for the entire sign.
- Remove the backing paper from the vinyl. Your pieces should stick to the transfer tape.
- Apply your vinyl stencil to one of the slats. Press down firmly.Peel back your transfer tape. Your vinyl stencil will remain on your Halloween wood sign.Press down one more time – just to be sure!
- Paint over the top of your slats (with the stencils in place) with white paint. You want to use a really dry brush with not much paint on it.You only want to use a VERY light coat of white paint here.
- Do this same technique to every slat on your sign.
- Right away, start pulling off the vinyl letters. I find that a weeding tool helps with this.Continue until you remove all the letters on your sign.
- After everything dries, go back in and add your arrows. Use a dry brush with black paint to create rustic-looking arrows.Allow those to dry and your Halloween wood sign is complete!


Hello! Where did you get the wood from? Your link is broken?
Sorry. The place where it is originally from shut down. I see these on Amazon that you could stack: https://amzn.to/2UOAmBL
Hi cute craft. I can’t seem to get yo the Cricut link. Can you tell me the fonts you used please.
Joann
Not sure! Maybe try the link on desktop if you are trying on mobile.
May I ask what brushes you are using?
I really have no idea! I have a bunch I have collected over the years. I am not picky when it comes to paintbrushes.
When I click on your cut file it says the project is not available because it was saved as private. Could you tell me what fonts you used? Thanks!
Sorry! There is a glitch in Design Space. When you click tell it to open in the online version of design space instead of desktop and see if it will open.
Did you get this to work? I can’t get the files either!
Can you try again? I got some information from Cricut and am trying to fix the issue! Thanks!
Cute idea. Since I do not own a cricut but a different cutting machine therefore I cannot use this.
Yea I will have to work on an SVG. Sorry about that!
I do not have a Cricut machine. Where can I find a SVG with these fonts
I am going to try and work on one soon that is similar!