
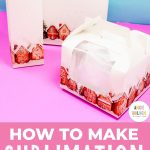
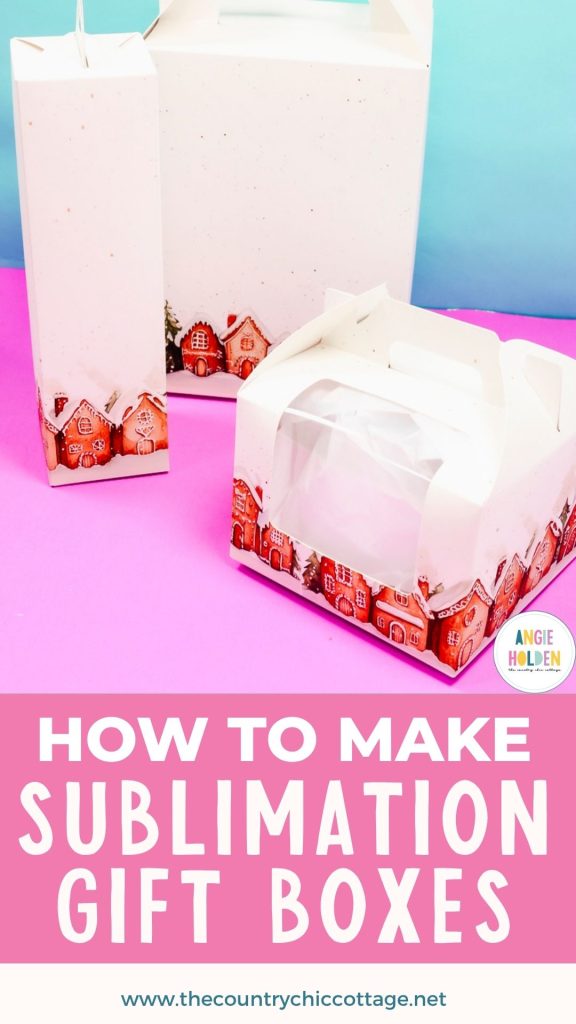
Sublimation Gift Boxes are perfect for any occasion but I love them during Christmas! These can be customized with any sublimation design, you could even add names to personalize them more.
If you're new to sublimation I have a free 7-day class that is delivered right to your inbox every day for 7 days to help you get started.
IMPORTANT: These are special sublimation boxes; you cannot just purchase any box and sublimate them. Make sure you're using a sublimation blank.
You can watch me make these boxes from start to finish by pressing play on the video below:
Sublimation Gift Boxes
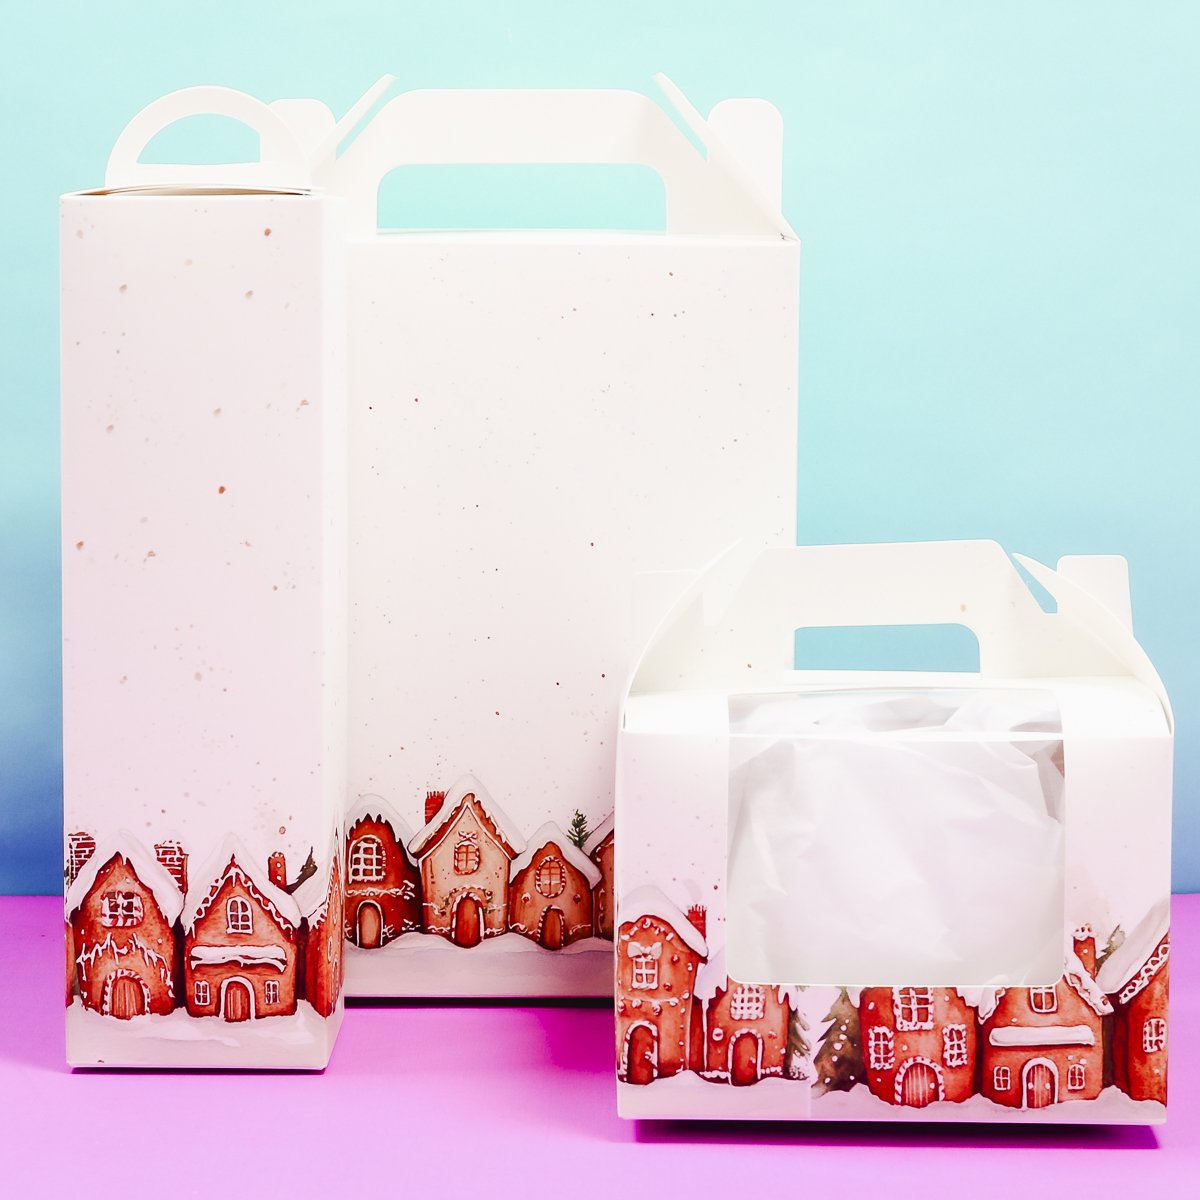
I am using this cute gingerbread house print for my sublimation boxes but you can use whatever print you'd like. If you want to use the gingerbread house designs, you can get them for free below.
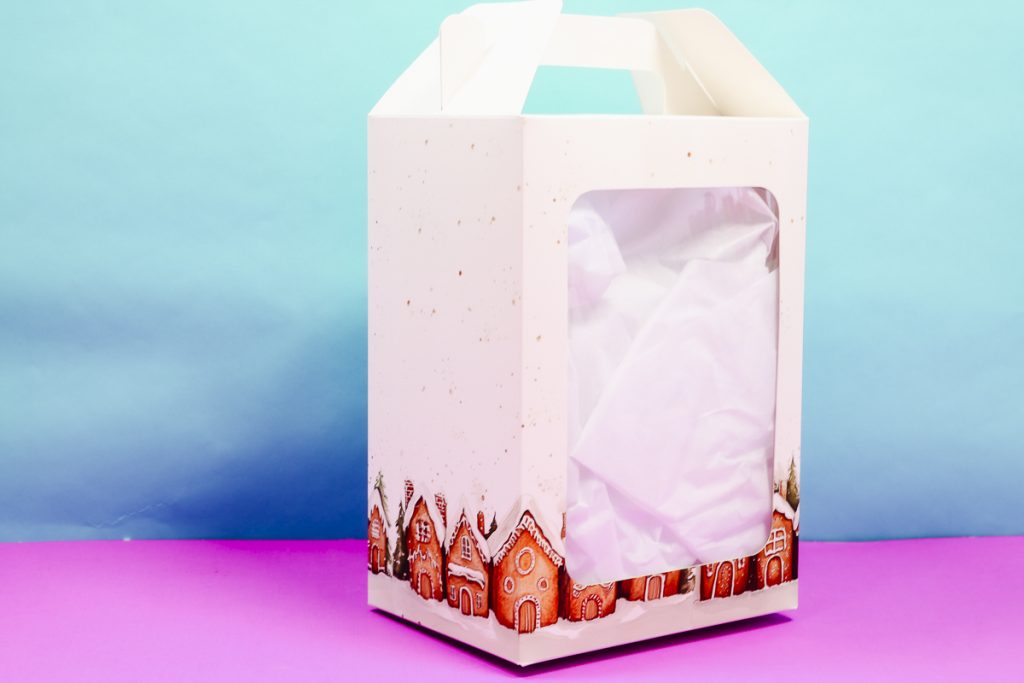
I am making three boxes of different sizes for my examples. There are more shapes and sizes, some with a see-through window and some without.
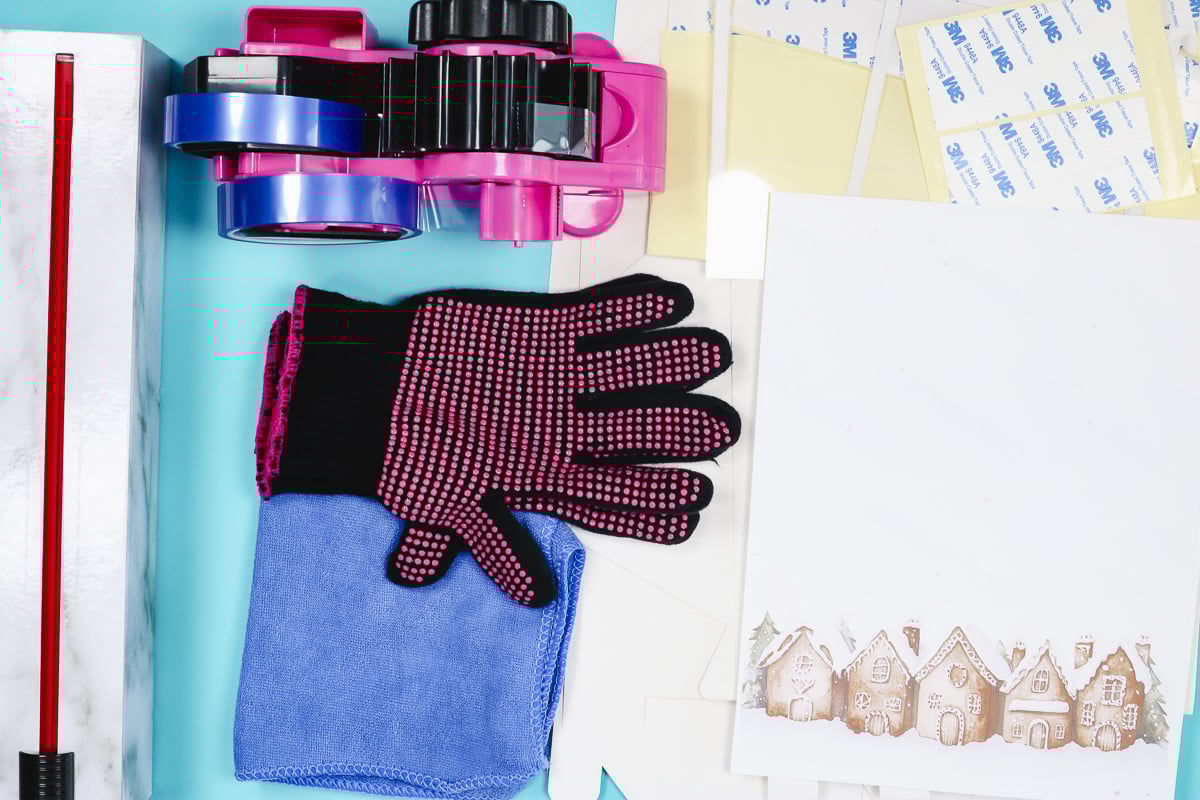
Supplies Used
- Free Gingerbread House Designs
- 20 oz Tumbler Box
- Large Box with Window
- Small Box with Window
- Brother Sublimation Printer
- Sublimation Paper
- Heat Press
- Lint Free Cloth
- Heat Resistant Tape
- Heat Resistant Gloves
- Tape Dispenser
- Protective Paper
- Protective Paper Dispenser
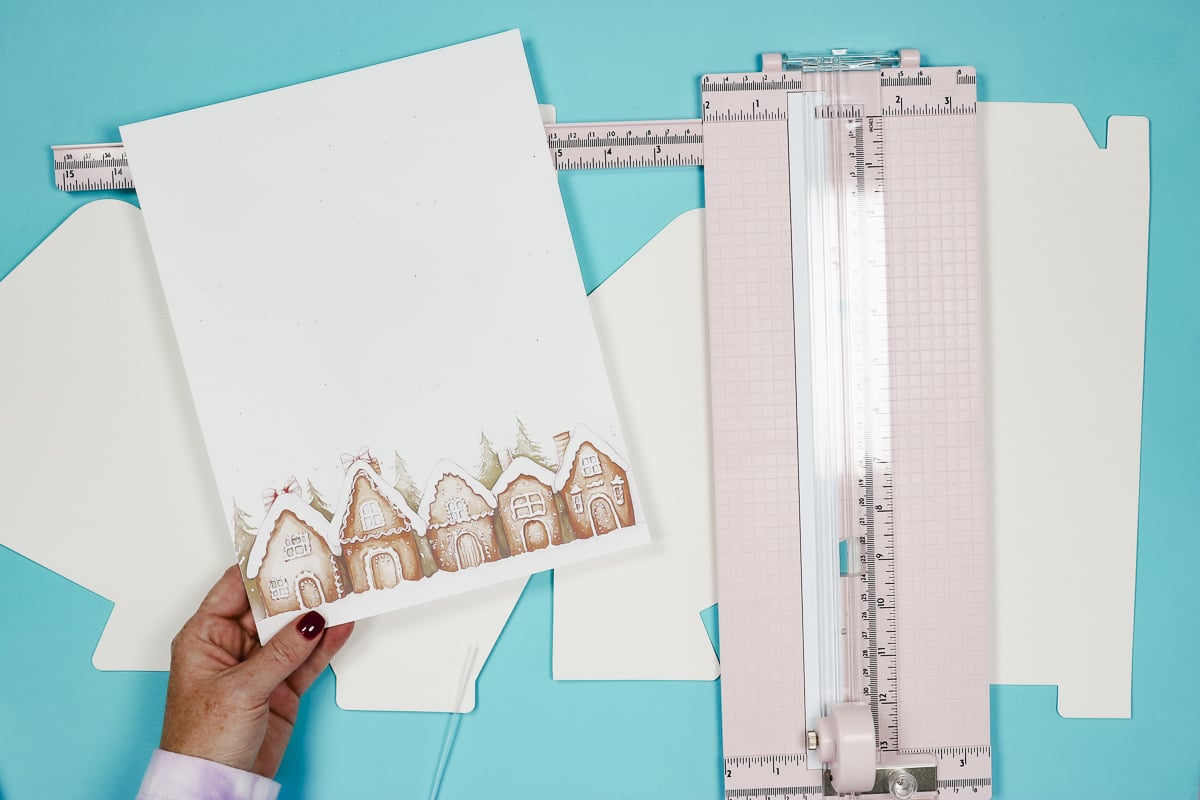
- Paper Trimmer
Step 1. Print Sublimation Designs
Before we begin I want to talk about what type of design works best for these sublimation gift boxes.
Depending on the size of your box you'll likely need more than one sublimation print. I find using a design like these gingerbread houses makes it a little easier because there is a lot of white space.
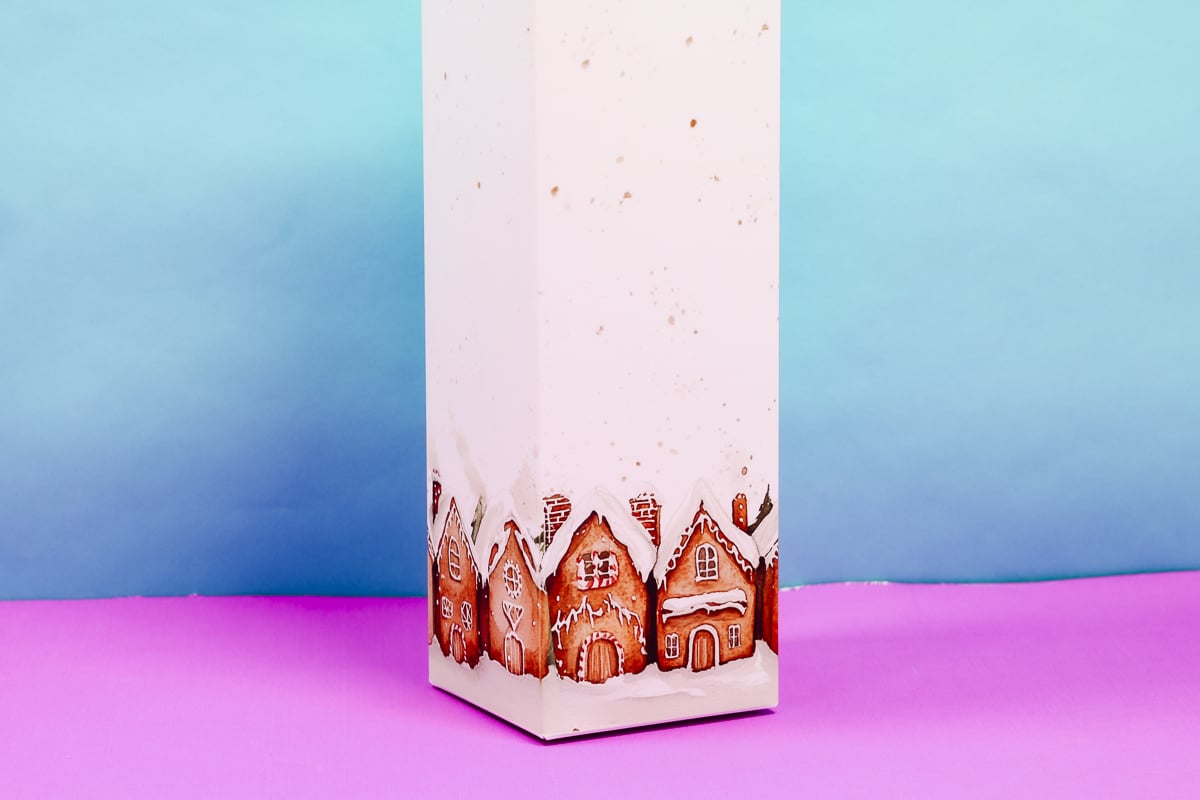
When locating the design I am not worried about the bottom portion of the box. Since the bottom folds under it won't be seen anyway.
If you're using a full-page print design, you can follow these same instructions but you may need to play with the areas where you piece the prints together.
The prints I'm using today are printed on a full 8.5 by 11-inch sheet of paper. The main design is the gingerbread houses but there are little dots above the houses that add a little extra to the boxes.
Remember, you need a sublimation print. That is sublimation ink, printed onto sublimation paper from a sublimation printer. This isn't regular ink printed onto regular paper.
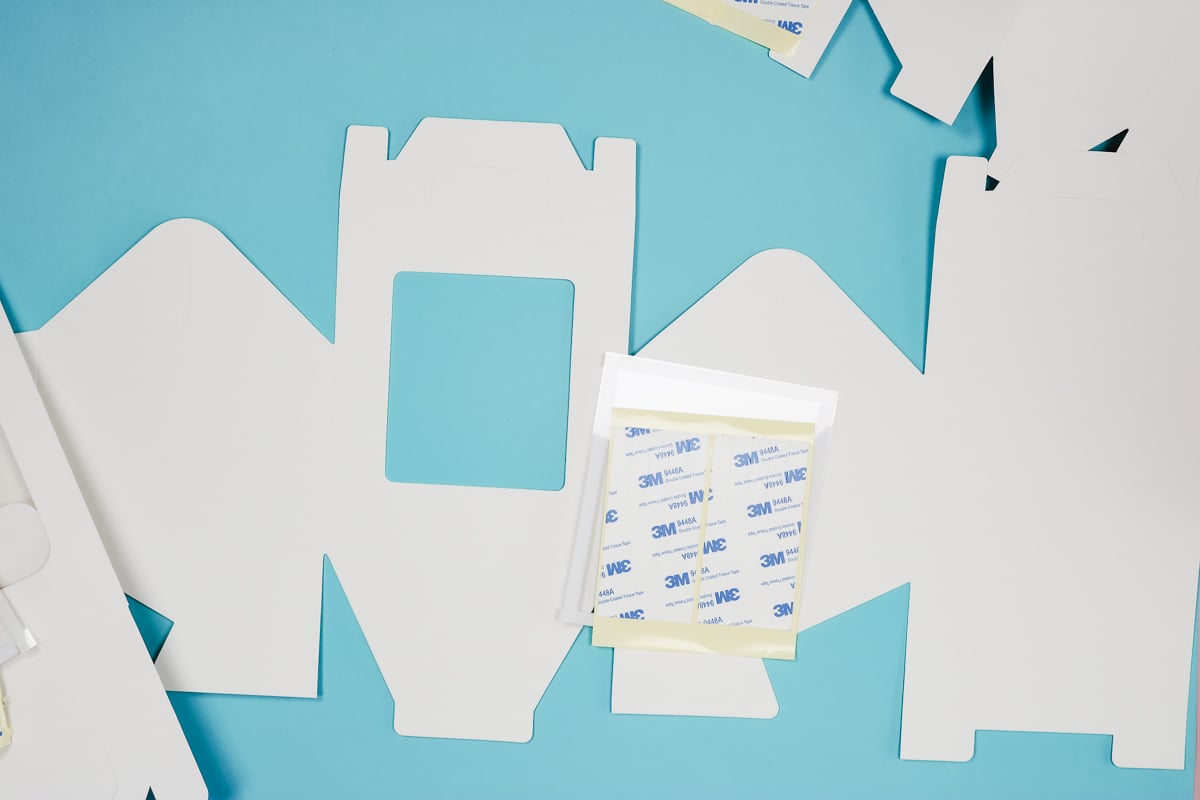
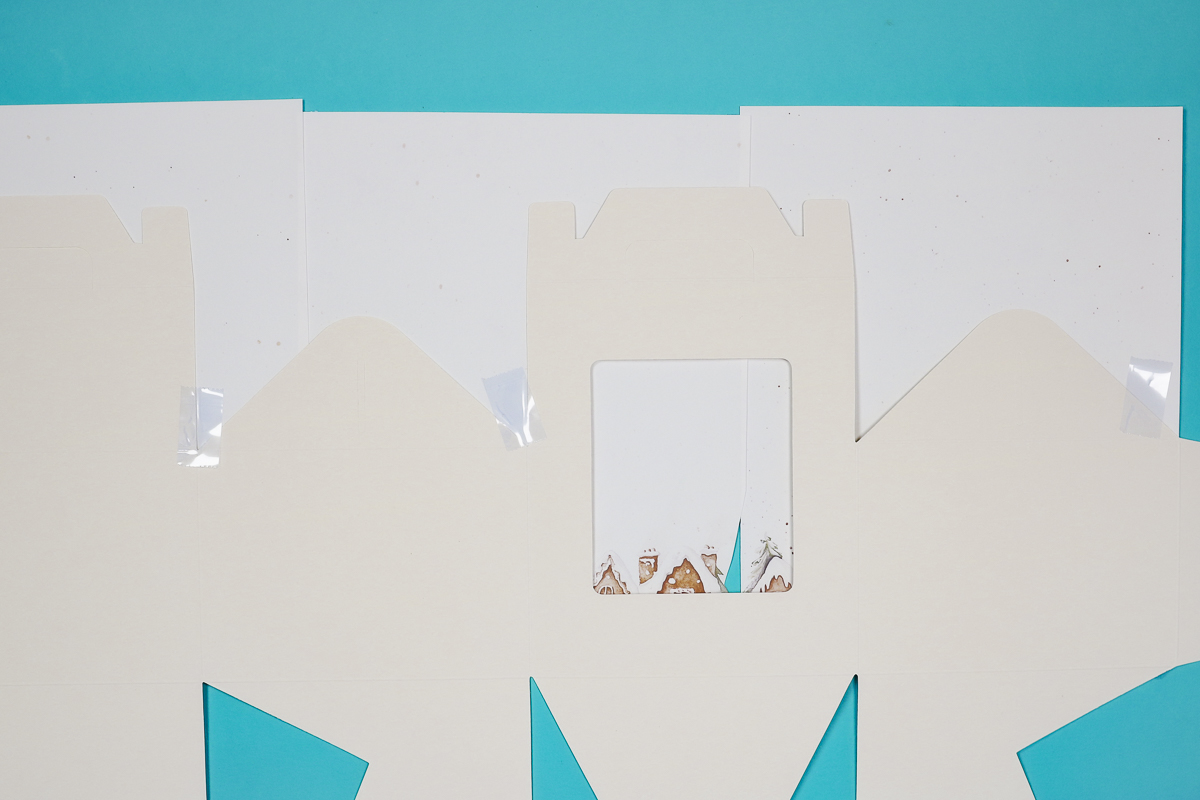
Step 2. Prep the Sublimation Boxes
To prep the boxes, remove anything that isn't the paper box itself. Set aside any adhesive and clear window pieces. We'll use those after the boxes are sublimated.
To clean off the box, I don't use anything adhesive like a lint roller. We don't want it to stick to the paper. I am using a lint-free cloth to dust off any hair or other debris that may have landed on the paper.
Next, we need to make sure we know the bottom of the box from the top. Since the boxes come lying flat it can be confusing to know which side is the top and which is the bottom. If you can't tell, you can fold the box together to see which end is up.
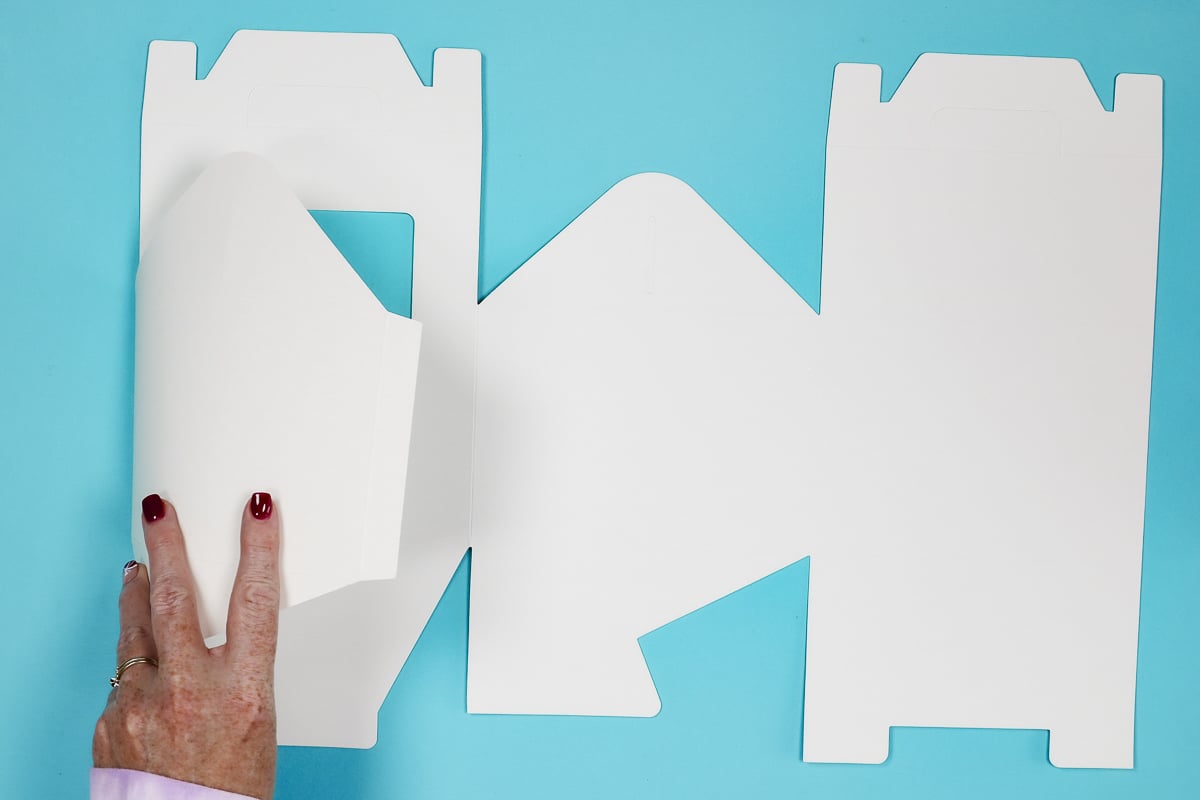
Make sure you're prepping the correct side of the box. The sublimation side is sort of shiny and smooth. The other side is dull and a little rough. Make sure you're adding the print to the smooth/shiny side.
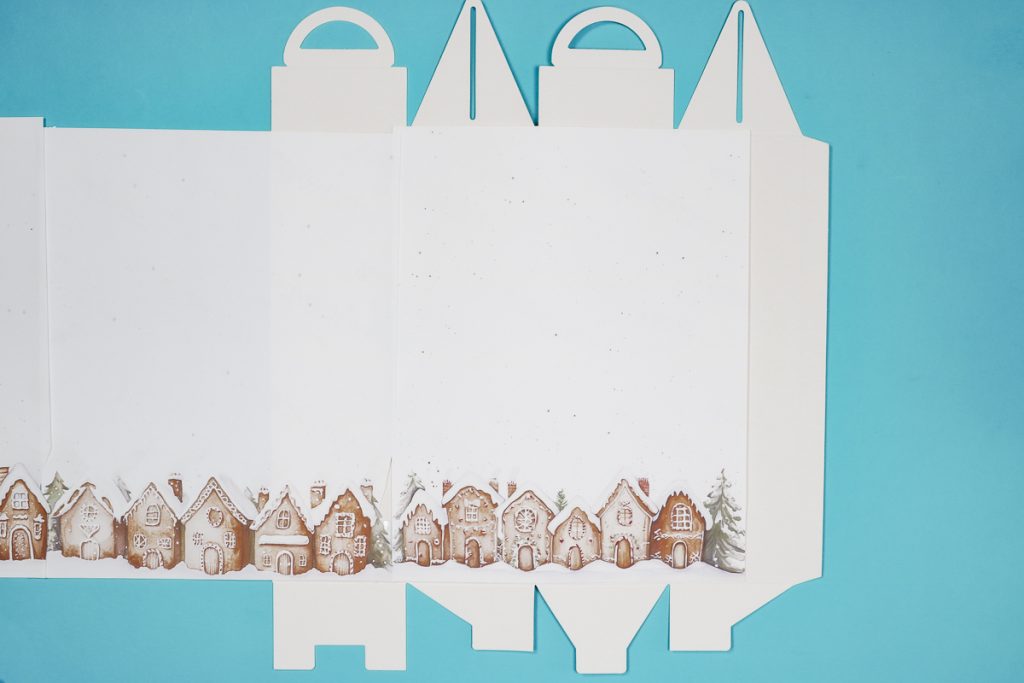
Step 3. Assemble Sublimation Prints
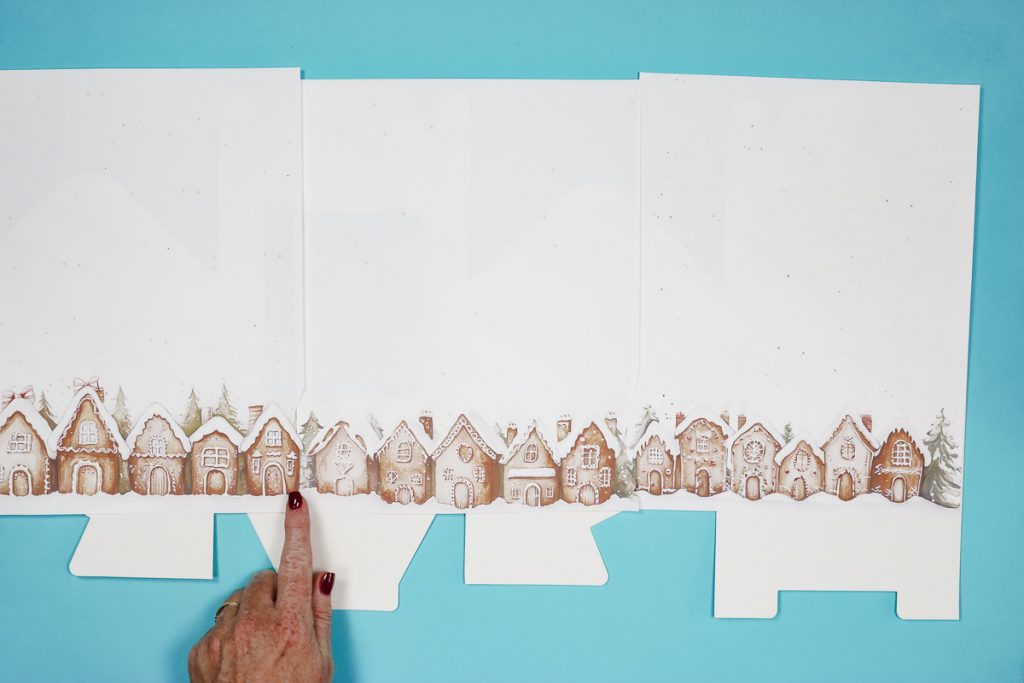
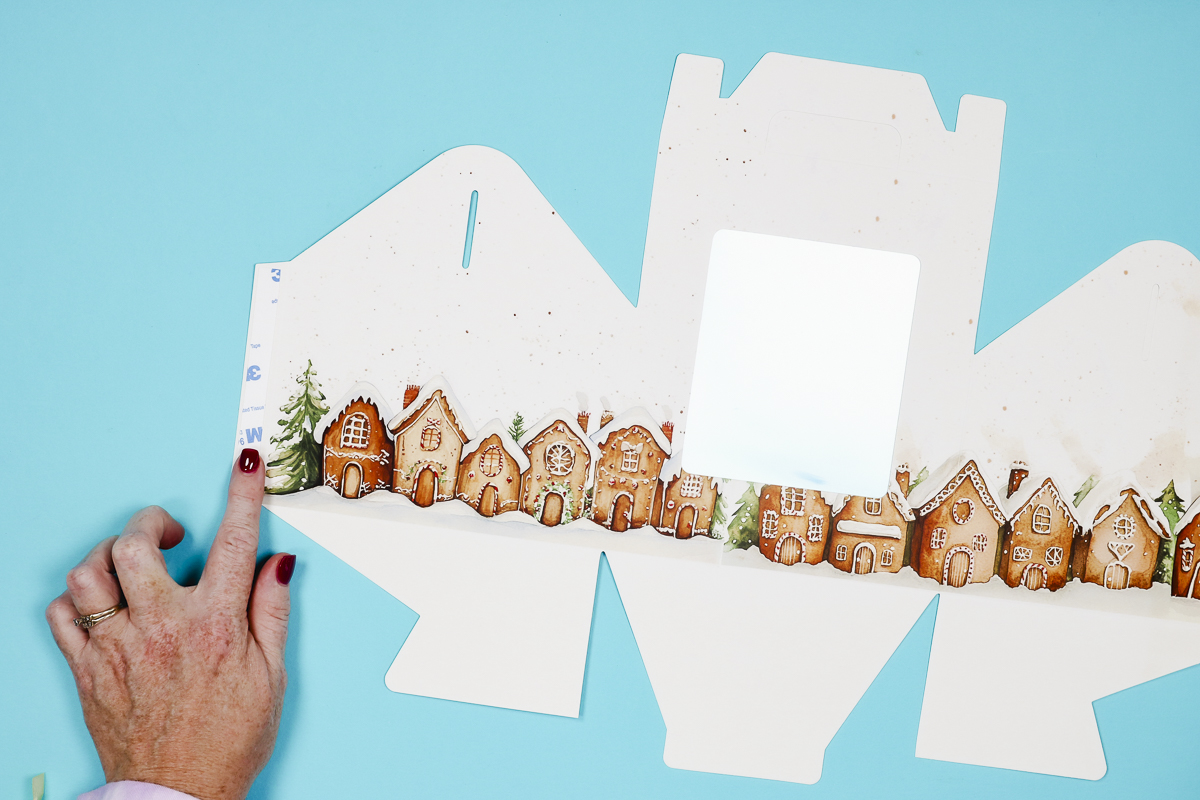
Next, we're going to line up the sublimation prints so they'll fit where we want them on the sublimation box.
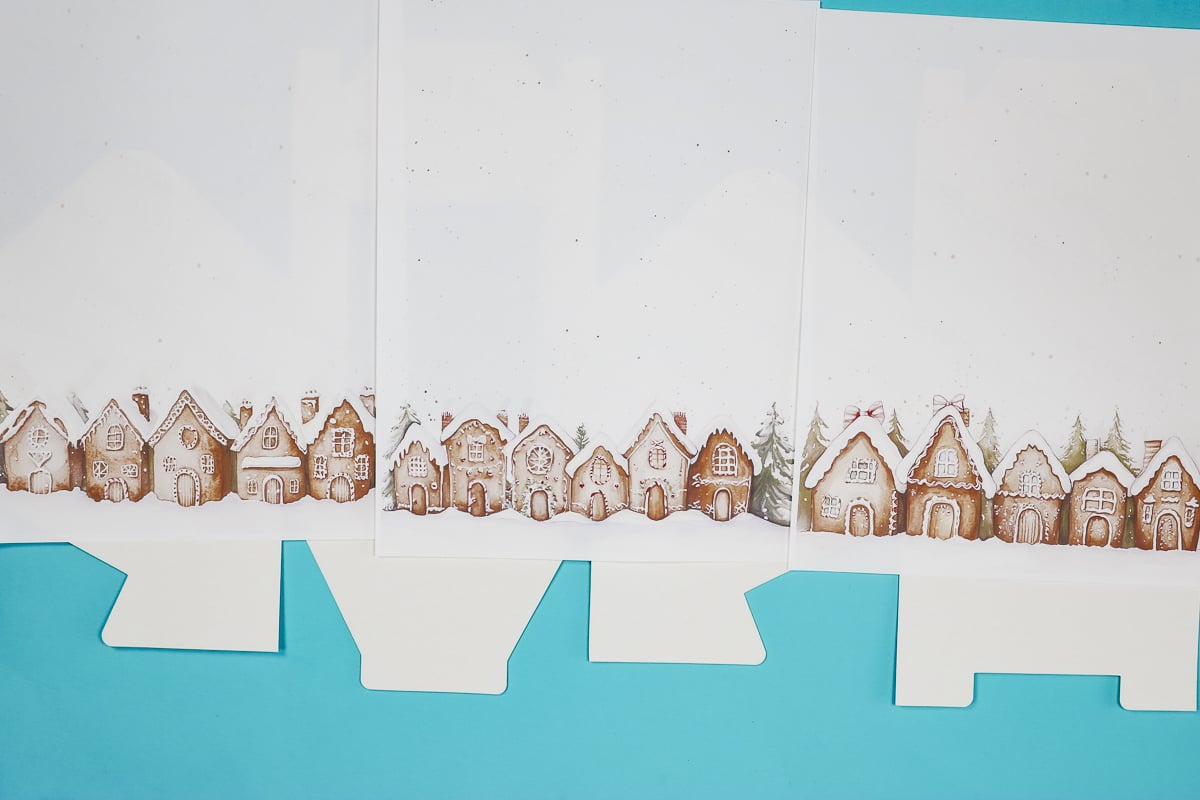
There are four different prints in this collection. My sublimation printer prints a white border around all four edges, make sure to cut those off so you don't end up with gaps between the prints.
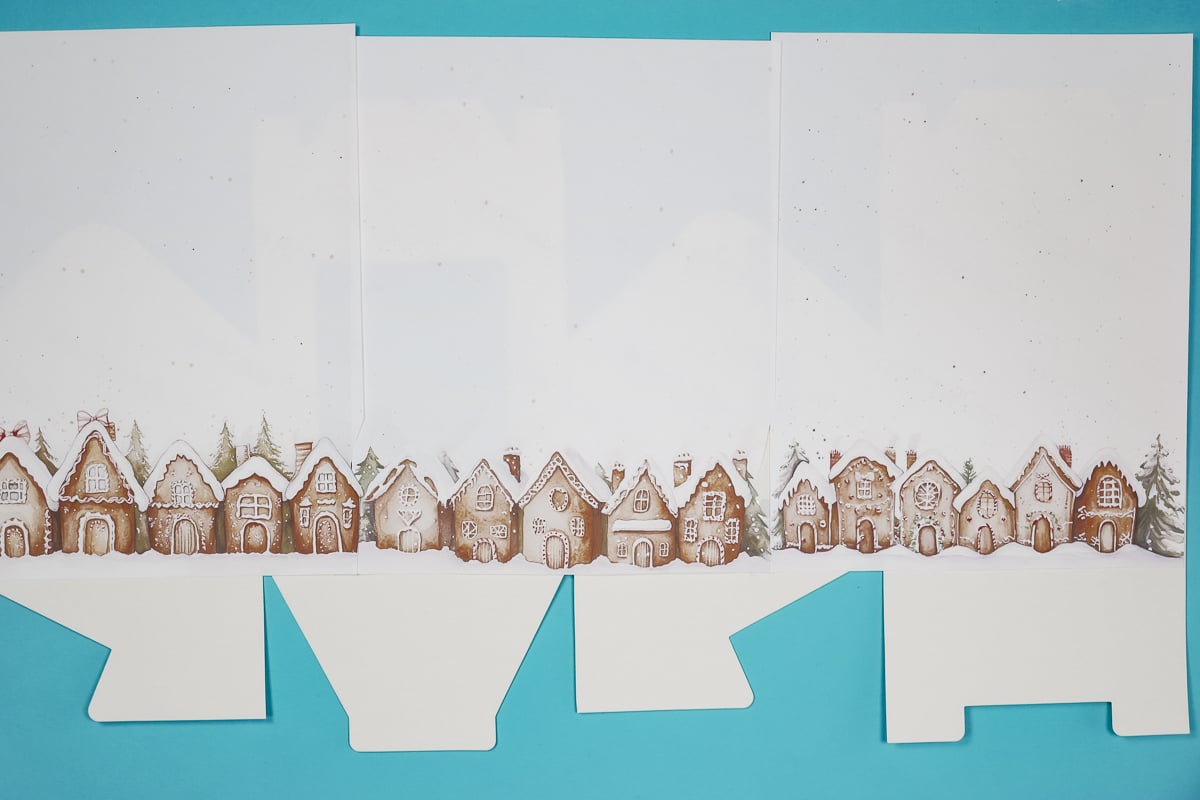
I am using three of the prints for my first box and I've lined them up so they look like one continuous line of gingerbread houses. I lined up the bottom of all the houses and they look great. You can arrange the pages however you want.
I want the bottom of my print to line up with the bottom fold line of the box.
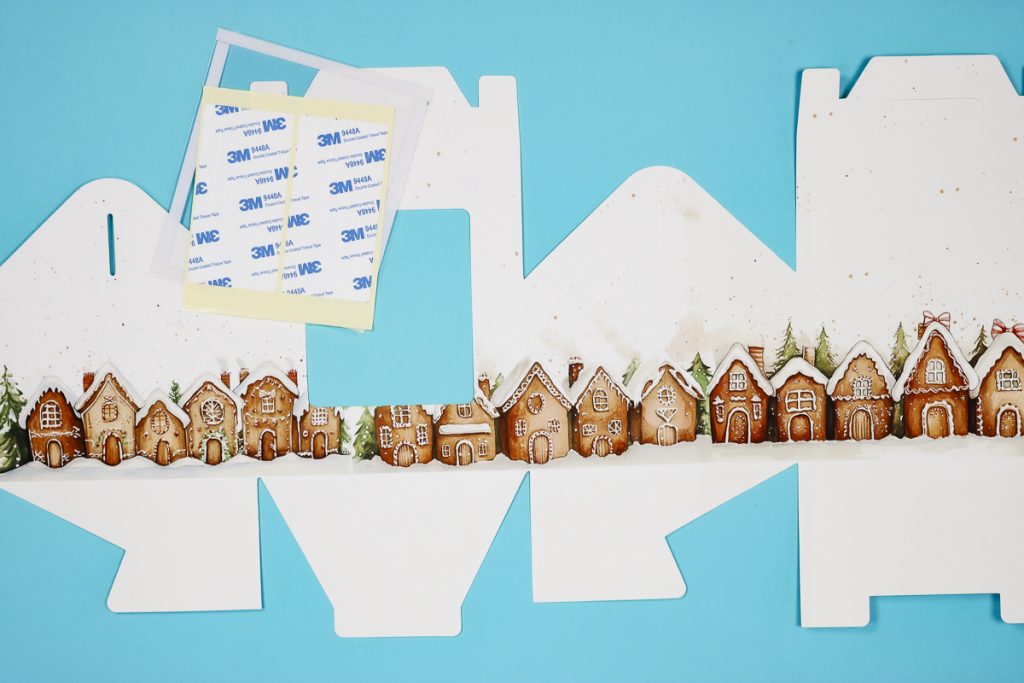
If you look closely in the photo below you can see that I trimmed around one of the houses to show more of the tree on the other print. This is an option with these prints that will allow you to get the look you want.
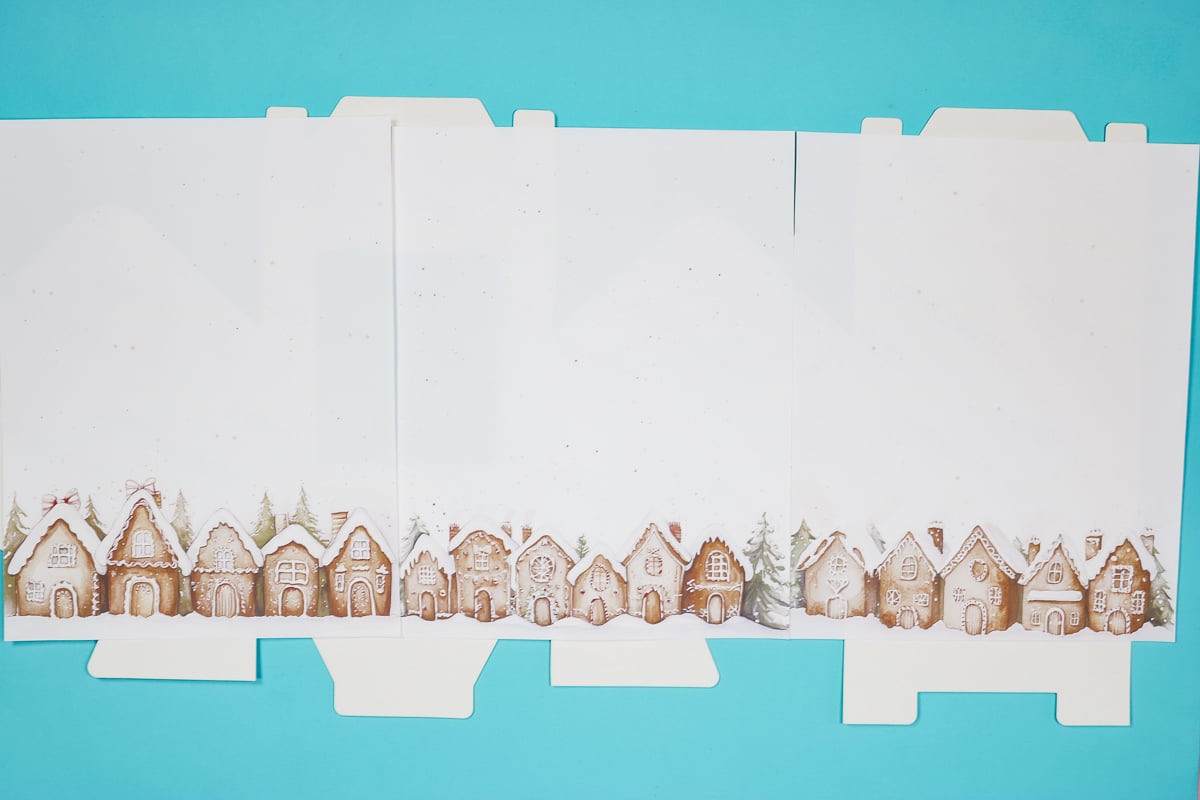
Next, I am going to tape the sublimation prints together. I didn't want the print to move so, with the design facing up I slid a piece of heat-resistant tape under the seam and pressed the seam onto the tape.
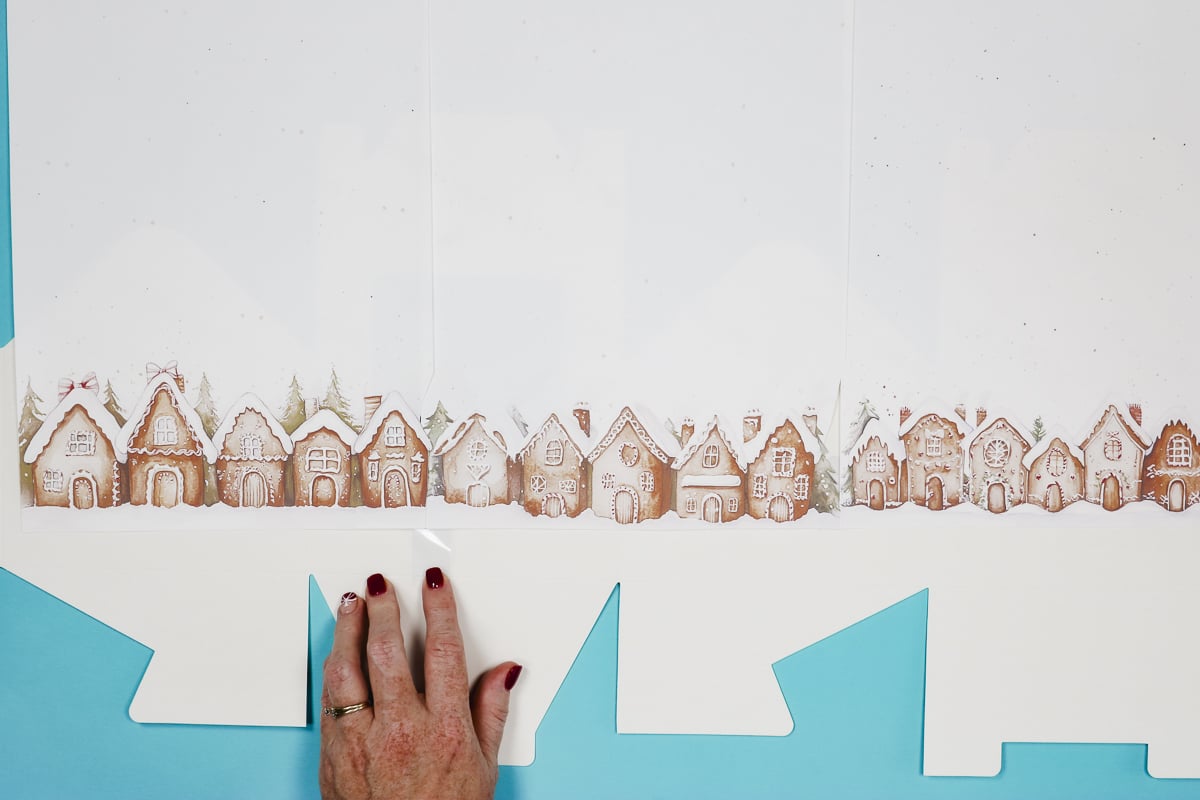
Place tape at each seam on the bottom and top and then flip the whole print over and add more heat-resistant tape to the seams.

Step 4. Add Sublimation Print to Sublimation Gift Box
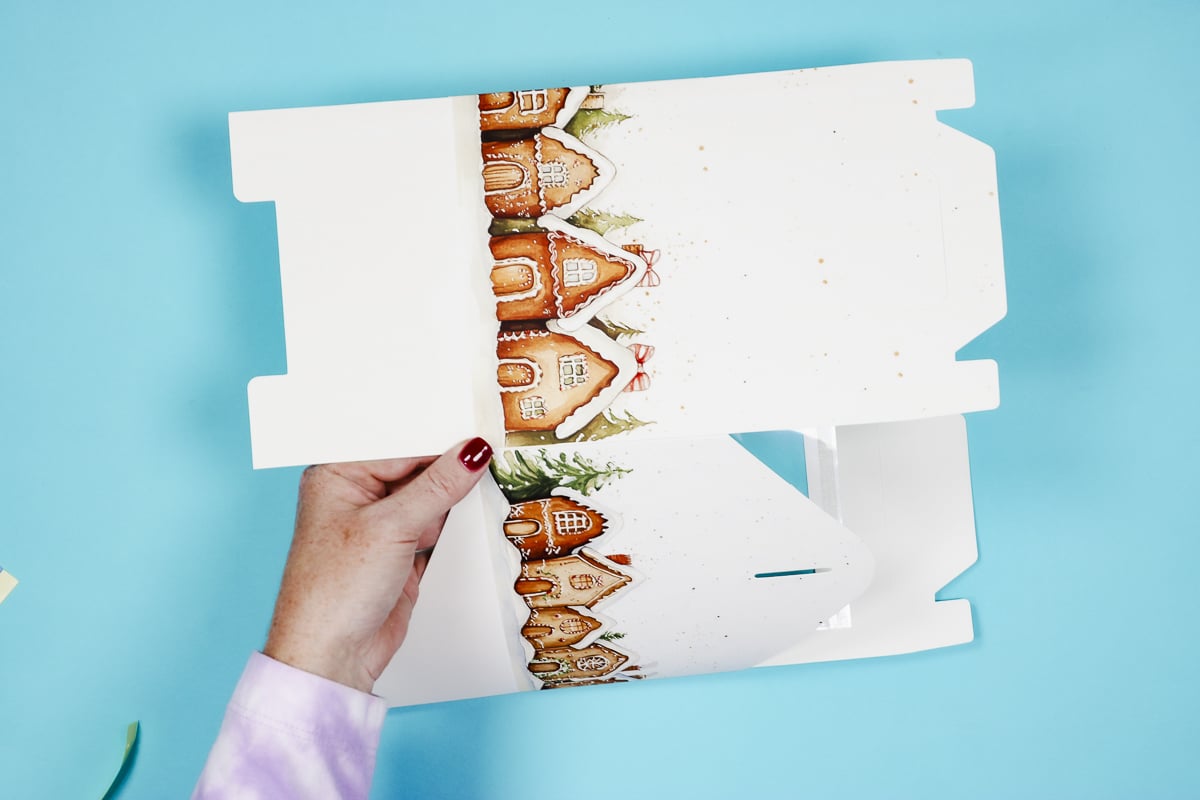
For this sublimation gift box, the prints cover all of the box except the bottom flaps. I lined the bottom of the print up with the bottom fold line of the box.
When you're sure the print is sized correctly flip it over and locate it on the sublimation side of the gift box.
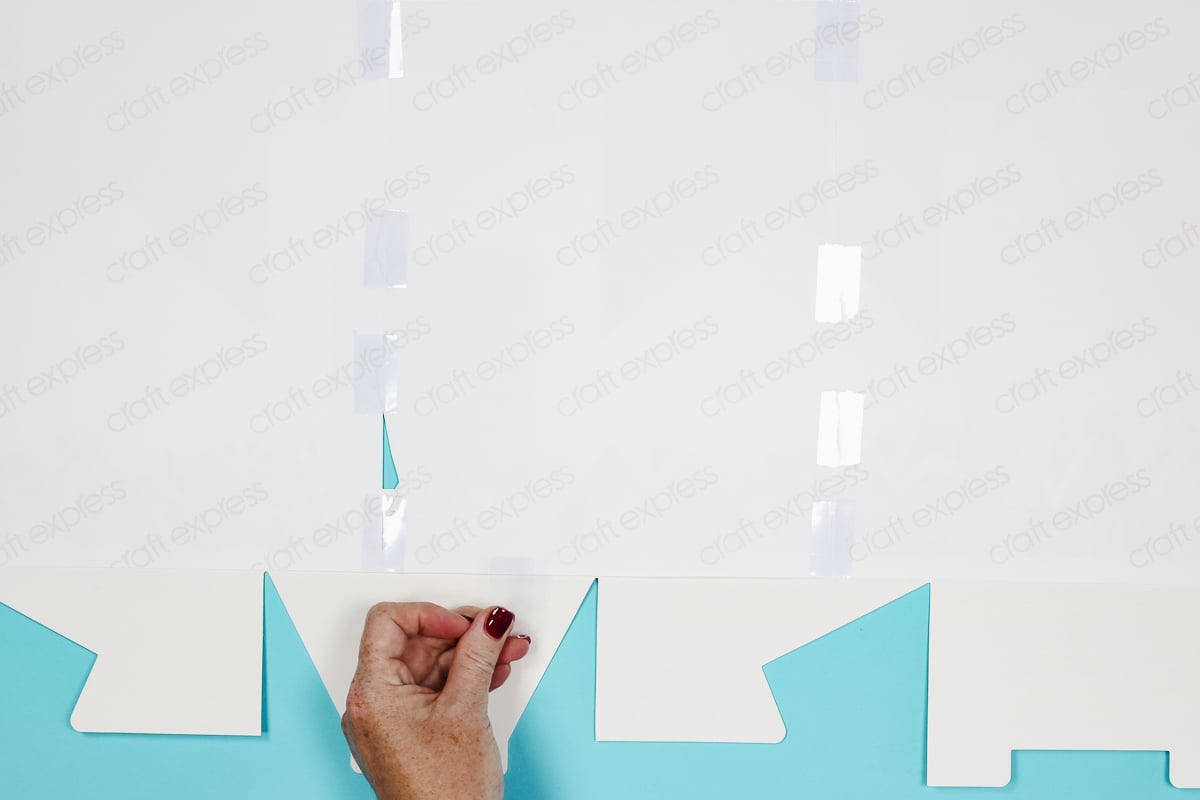
Don't worry about the places where the sublimation print overhangs the box. When pressing we'll have a protective paper under the blank that will catch any ink.
Secure the print in place with heat-resistant tape. Repeat this process for any additional boxes.
This next box fits a 20-ounce tumbler and it is taller than the sublimation prints. To make the design on this look intentional I'm trimming the sublimation print at both the bottom and top seams. I will sublimate the side panels and leave the bottom and top flaps not sublimated so it looks intentional.
Step 5. Press Sublimation Gift Boxes
These sublimation gift boxes have a recommended pressing temperature of 355 degrees for 60 seconds.
This box is too large to press at one time in my heat press so I am going to press it in segments. I suggest overlapping where you press a little to make sure you get a full sublimation print.
Place the protective paper under the entire sublimation print, you may need more than one piece. Add the sublimation box with the print on top and cover it with more protective paper. Make sure to cover the entire box with protective paper to prevent the paper from scorching.
Press for the full-time and then move and press the next section. Repeat as many times as needed to press the entire gift box.
I used a traditional heat press but any heat source that gets hot enough should work. I used light to medium pressure which can be done even with a handheld press.
When the entire design is pressed you can peel back the sublimation print to reveal the design. Remove the tape carefully so you don't damage the box. The tape was removed easily from the smooth sublimation side. The rough side of the box can more easily be torn from the tape.
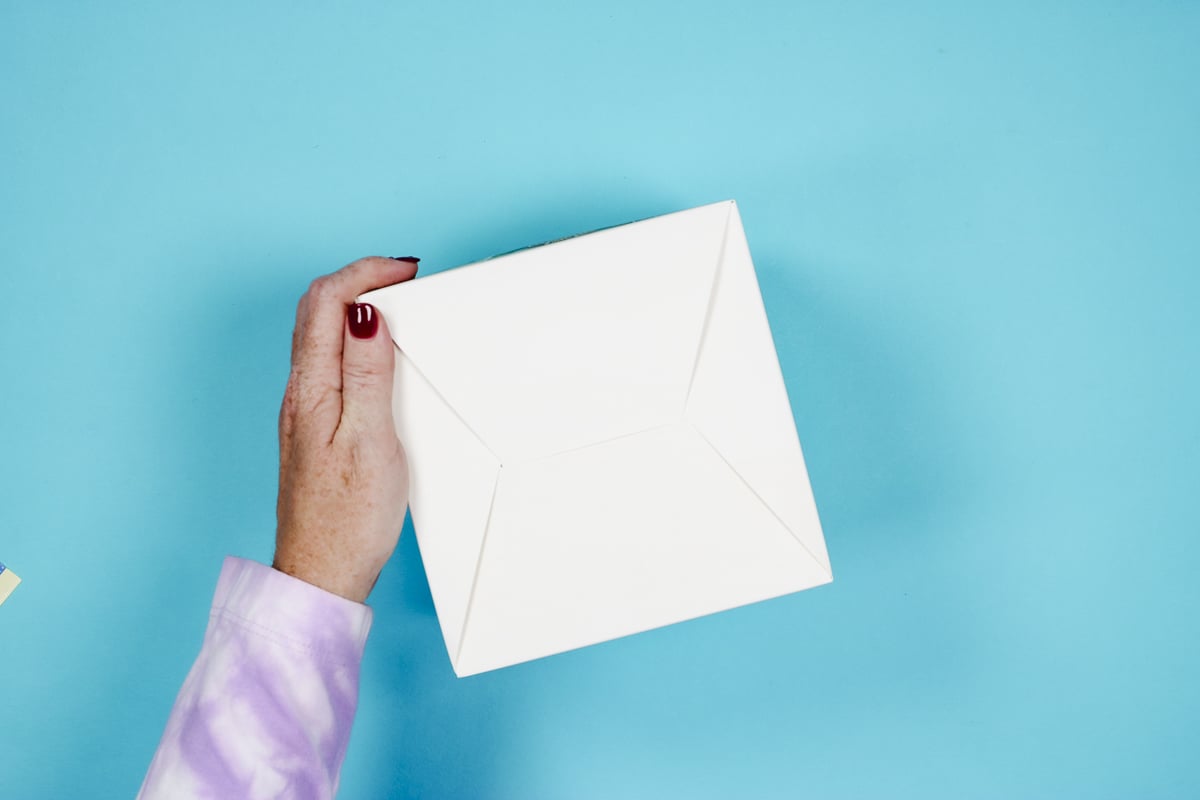
Step 6. Assemble Sublimation Gift Box
Now that the designs have been applied to the sublimation gift boxes it's time to assemble them. The boxes come with everything you need to assemble them completely.
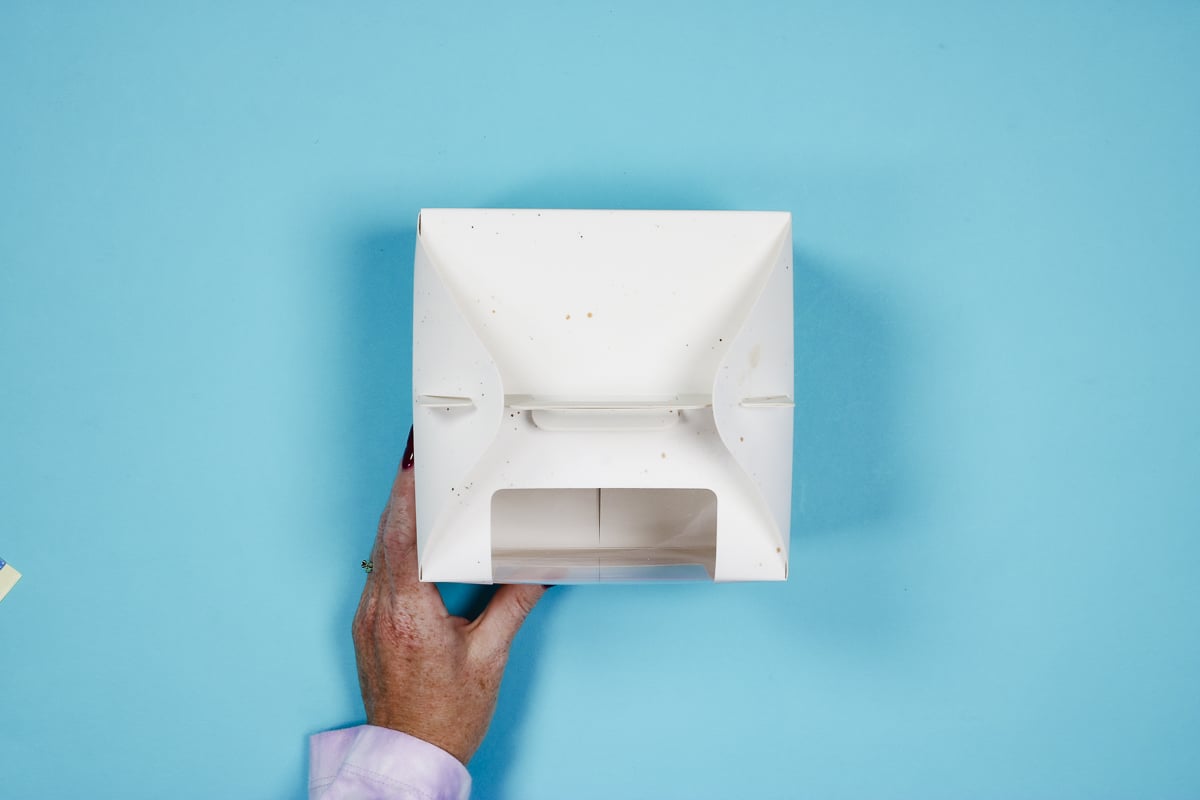
The first thing we need to do is add the film to the open window portion of the box. Remove the adhesive from all four sides of the film
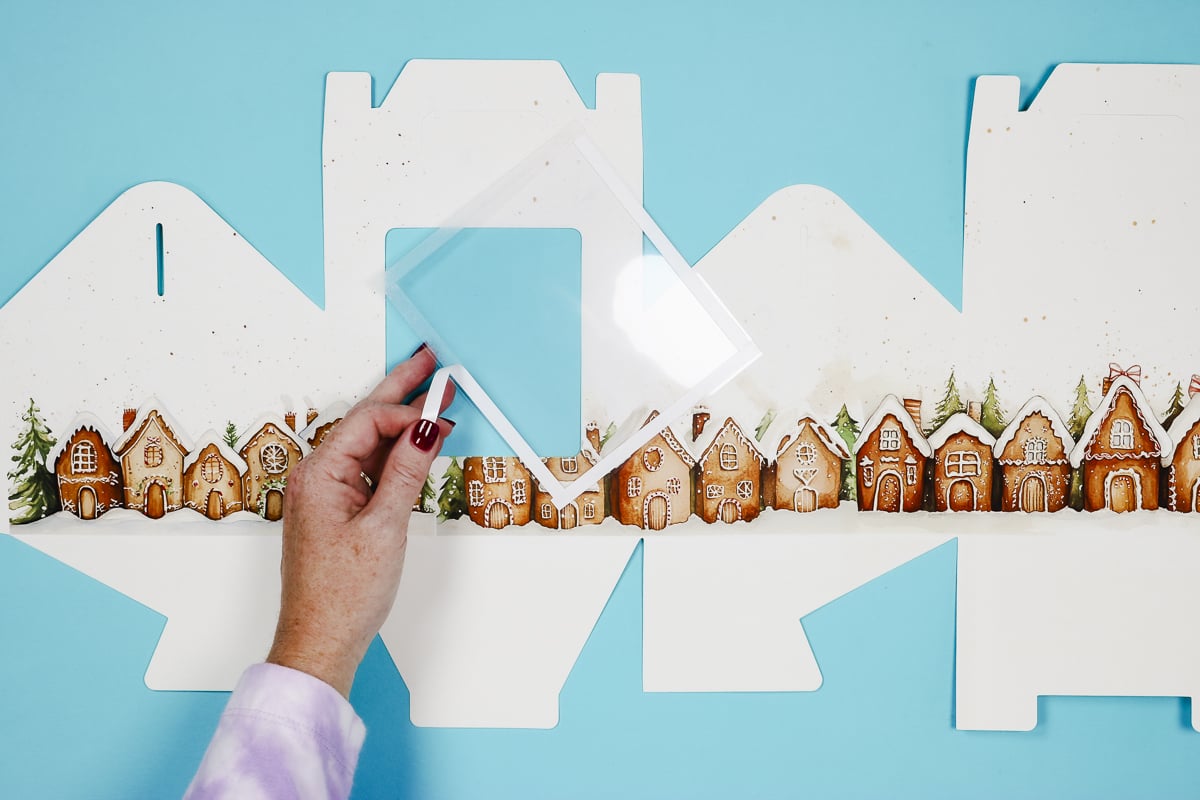
Secure the film to the inside of the box, the side without the sublimation print. Make sure the film covers the entire open window and smooth all four sides down.

Fold all of the seams to assemble the box. There is a tab on one side, trim a piece of the double-sided adhesive and smooth it onto the tab.
Remove the protective film from the adhesive and secure it to the other edge of the box. Line up the seams on the top and bottom before pressing the two sides together.
Fold the bottom flaps together to close the bottom of the box.
Adhesive isn't required to close up the boxes. After you fill it up, close the top and you're ready for gifting.
Ideas for Making Custom Sublimation Gift Boxes
I absolutely love how these sublimation gift boxes turned out. They're easy to customize and assemble and perfect for so many different things.
I made three different-sized boxes today but there are even more options that are perfect for gifting or using in your business.
The 20-ounce tumbler box is a great option for a small business. If you sell 20-ounce tumblers you can offer customized gift wrapping and add a sublimated box with a name.
The smaller boxes are perfect for baked goods. If you have the window box and don't want the gift to be seen you can add tissue paper to the inside or create something like a gift tag that you add to the inside to cover the window.
For this version, I did a design that had a bit of white in it to make it easier. If you want a more challenging all over design, be sure to watch this video from Creative Housewives!
These aren't just for the holidays either. I used a gingerbread house design but you could add any design to these including your logo if you wanted to use them for your business.
I hope I've answered any questions you have about making your own custom sublimation gift boxes. If you have any additional questions leave them in the comments and I'll be happy to answer them for you.


Quick question. I am looking for a window custom box that will fit a 15oz mug. my blank ones measure 4.1×4.3×4.9″. All the boxes I find are smaller than that. Do you know if they make the ones I need?