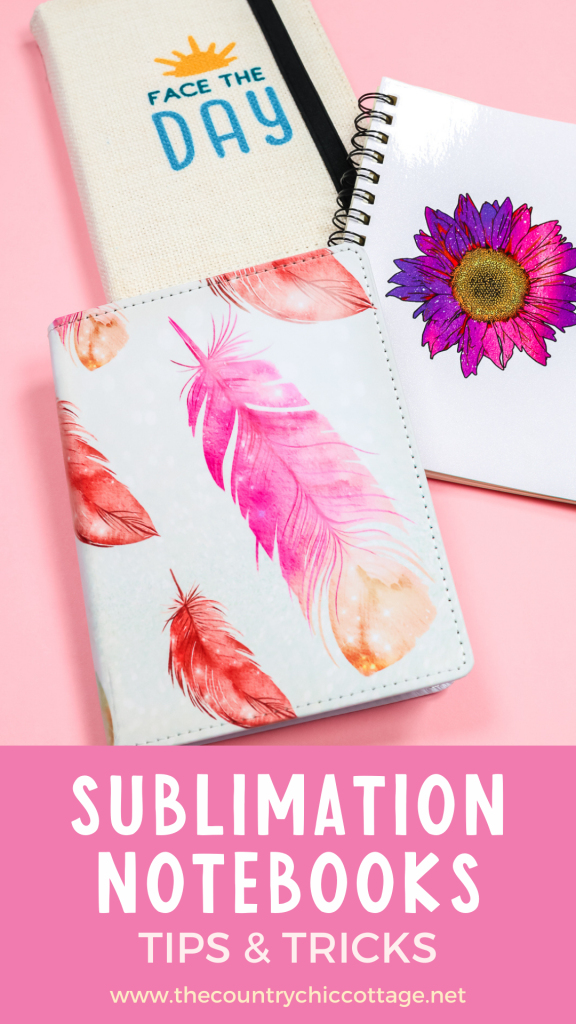
Are you ready to make personalized sublimation notebooks? In this post, I’ll show you which notebook blanks work best for sublimation — and which ones don’t. Once you know what to use, you can try this project for yourself! These notebooks make great projects for kids or fun, personalized gifts for friends and family.
New to sublimation? Check out my sublimation beginner's guide here.

Sublimation Notebooks Video
We're going to walk through all the steps for creating personalized sublimation notebooks. I'm testing 5 different notebooks and spoiler alert – they aren't all successes. You can actually watch me test all of these blanks. Just click play on the video below.
Can’t watch the video or missed some of the steps? You can also follow along below with how to make each of the projects shown.
Sublimation Notebooks: What Works And What Doesn't Work
Below is my full breakdown of each sublimation notebook project, along with my thoughts on each! Also, make sure you keep reading to the bottom of the post to see my final thoughts and my recommendations on what you should use and avoid!
Supplies Used For Sublimation Notebooks:
- Sublimation Printer
- Sublimation Ink
- Sublimation Paper
- Heat Press or EasyPress
- Lint Roller
- Heat-Resistant Tape
- Tape Dispenser
- Artesprix Protective Paper
- Heat-Resistant Mat
- Heat-resistant Gloves
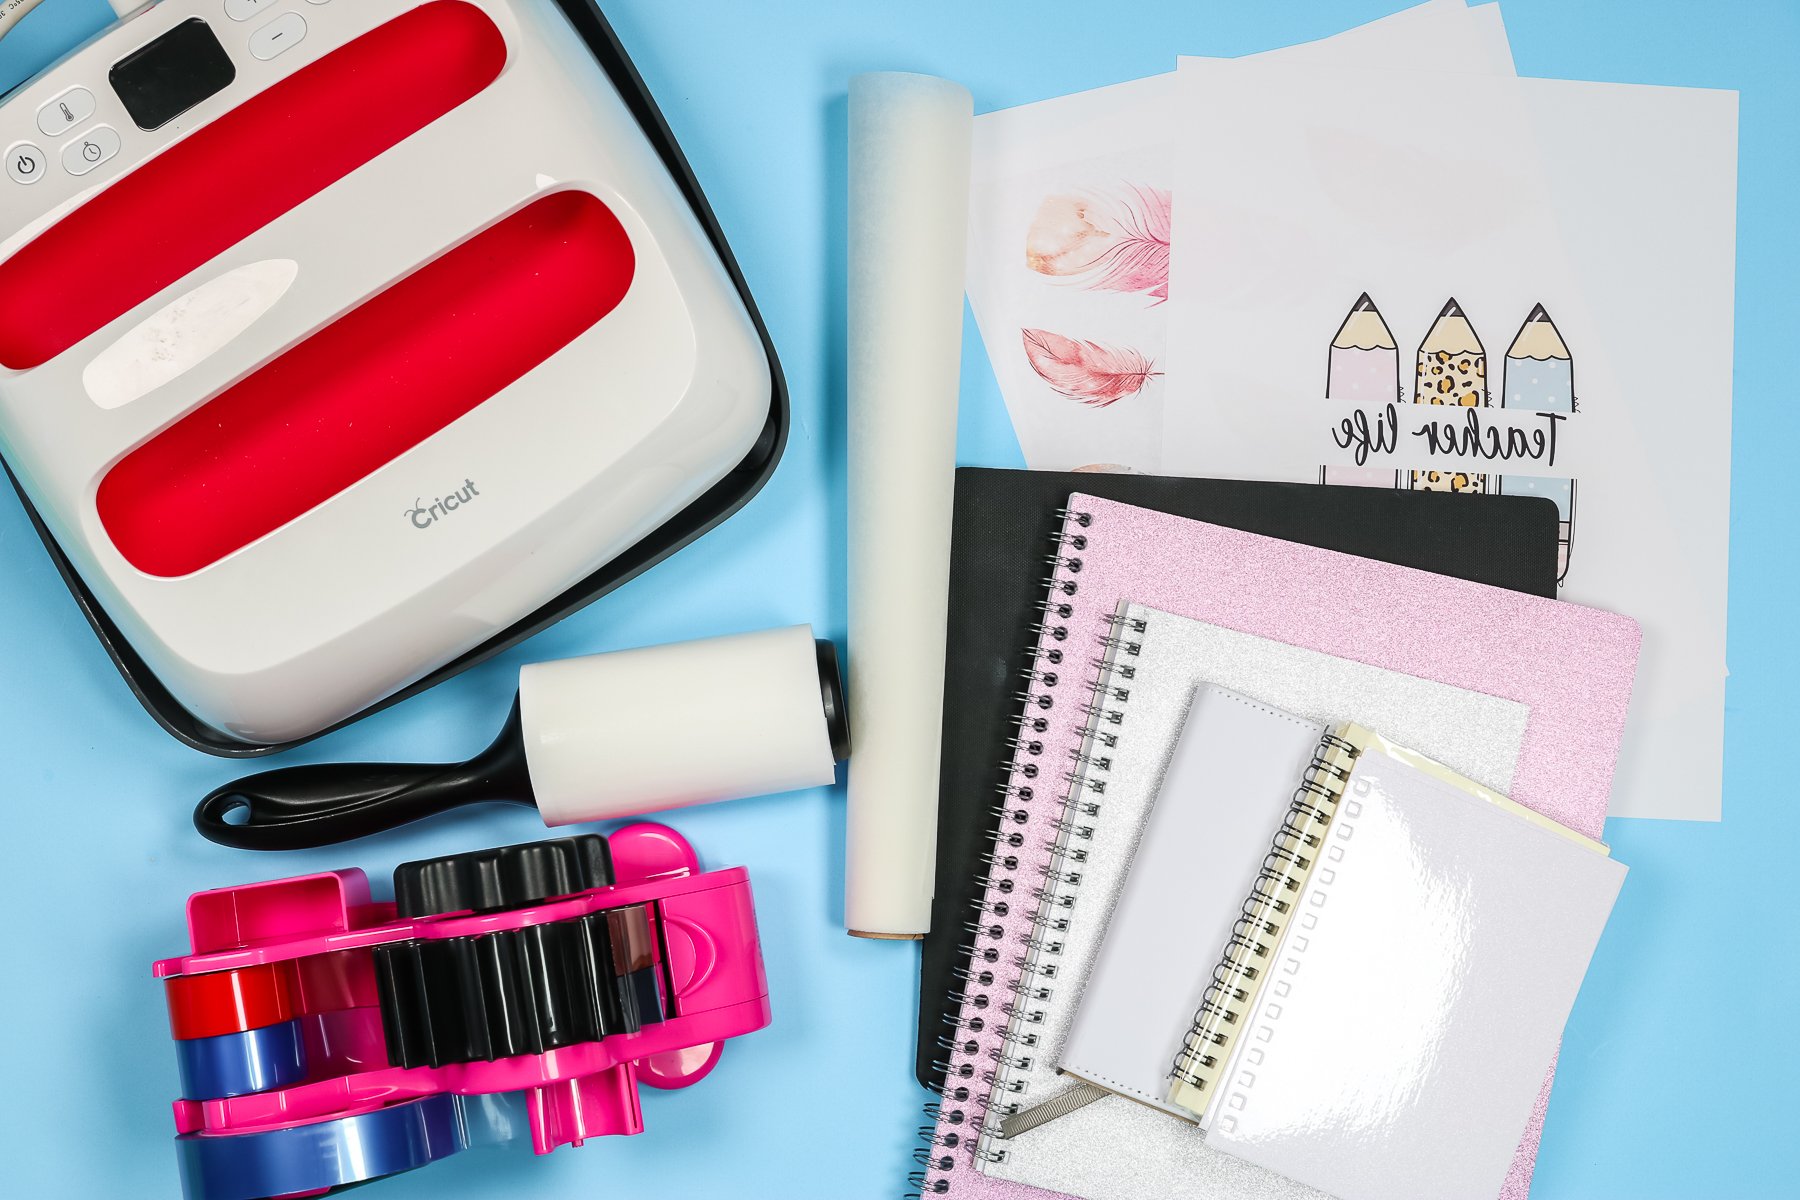
Blanks Used:
- Pink Glitter Notebook (DID NOT WORK!)
- Small Glitter Notebook (DID NOT WORK!)
- Faux Leather Notebook
- Spiral Notebook
- Linen Notebook Cover
Glitter Sublimation Notebooks
Last year, I heard that a lot of people were finding regular glitter notebooks at Dollar Tree and successfully adding sublimation images to the covers. Unfortunately, I was unable to find these notebooks last year. I have continued to look, but I still haven't seen them. I really wanted to try them out, so I ordered a few from Amazon.
As you'll see, I had no success applying sublimation to regular glitter notebooks. I am testing Amazon glitter notebooks, not Dollar Tree glitter notebooks, so I can't say whether they will work. If I can find the Dollar Tree ones, I'll try them out to see if they will work. I don't have much hope because I was sure the Amazon ones would work, but they didn't.
How to Sublimate on Glitter Notebooks
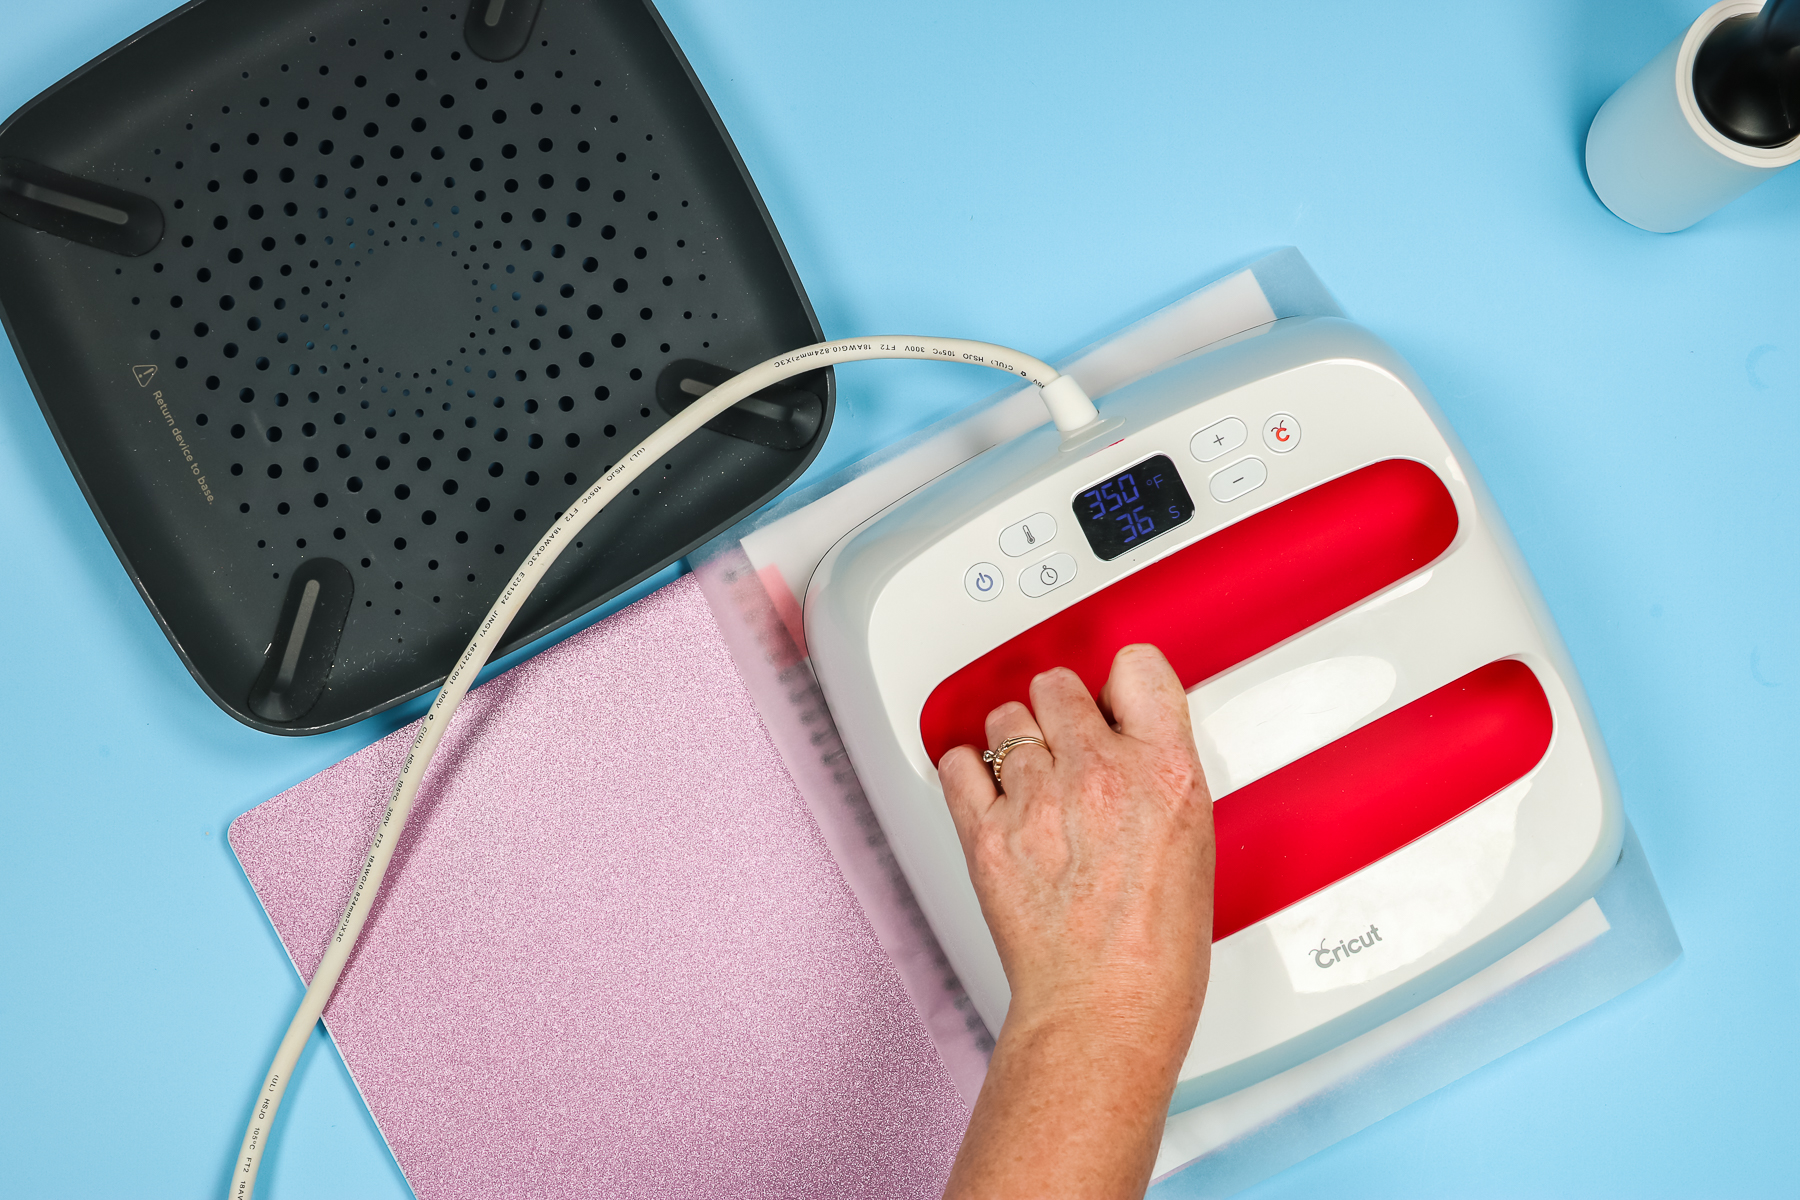
Maybe this section should be titled “How NOT to Sublimate on Glitter Notebooks” since I didn't have any success. I wanted to share my process in case you had success with something different. I am using an EasyPress set to 365 degrees and pressing for 50 seconds for all of my projects today.
Step 1: Lint Roll Glitter Notebook
For this first glitter notebook, I used my lint roller to quickly go over the surface, making sure to remove any lint or hair that might affect the finished project.
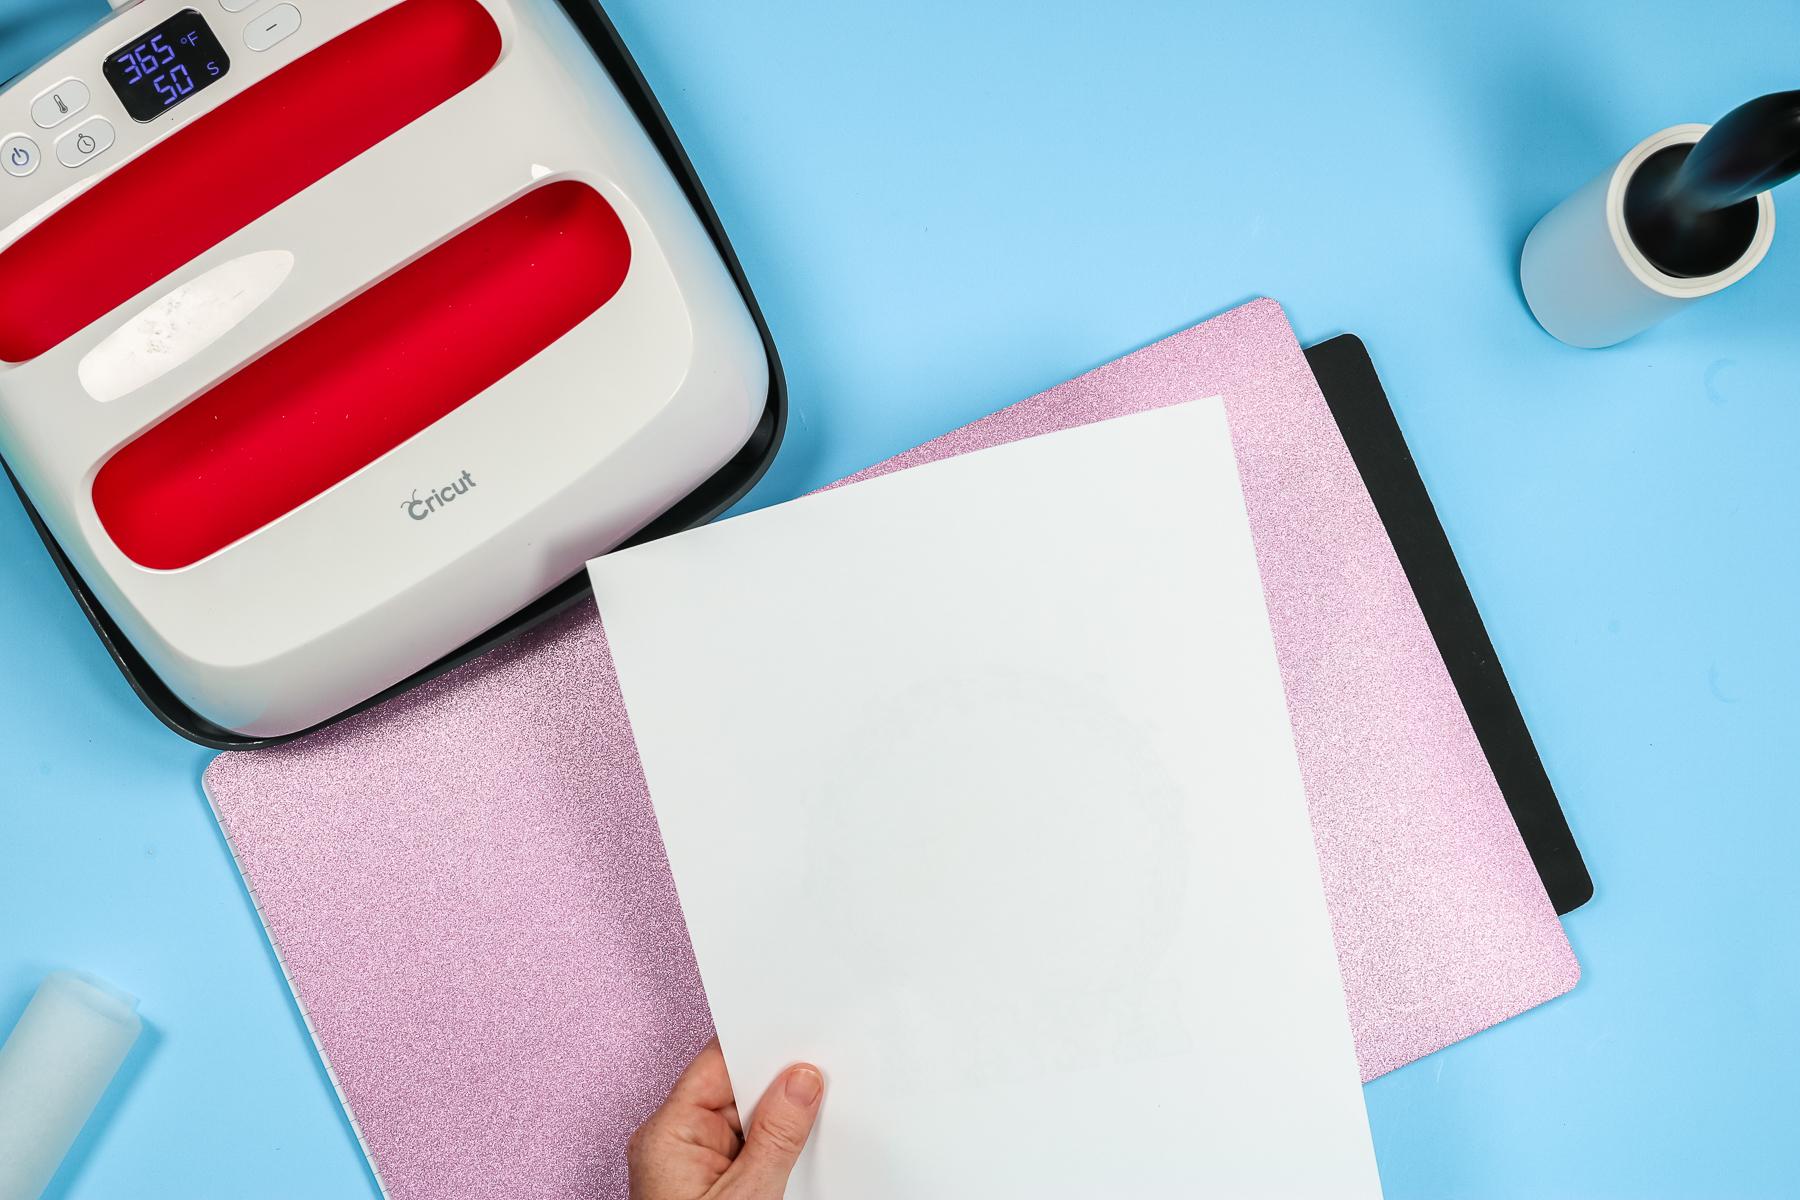
Step 2: Add Mat Under Notebook Cover
I used my Artesprix mat because it's firmer than the EasyPress Mat in hopes of preventing any warping of the notebook covers. I mirrored all of my sublimation prints so they were ready to apply to my notebooks. Because my image was smaller than the cardboard notebook cover, I needed to protect my mat.
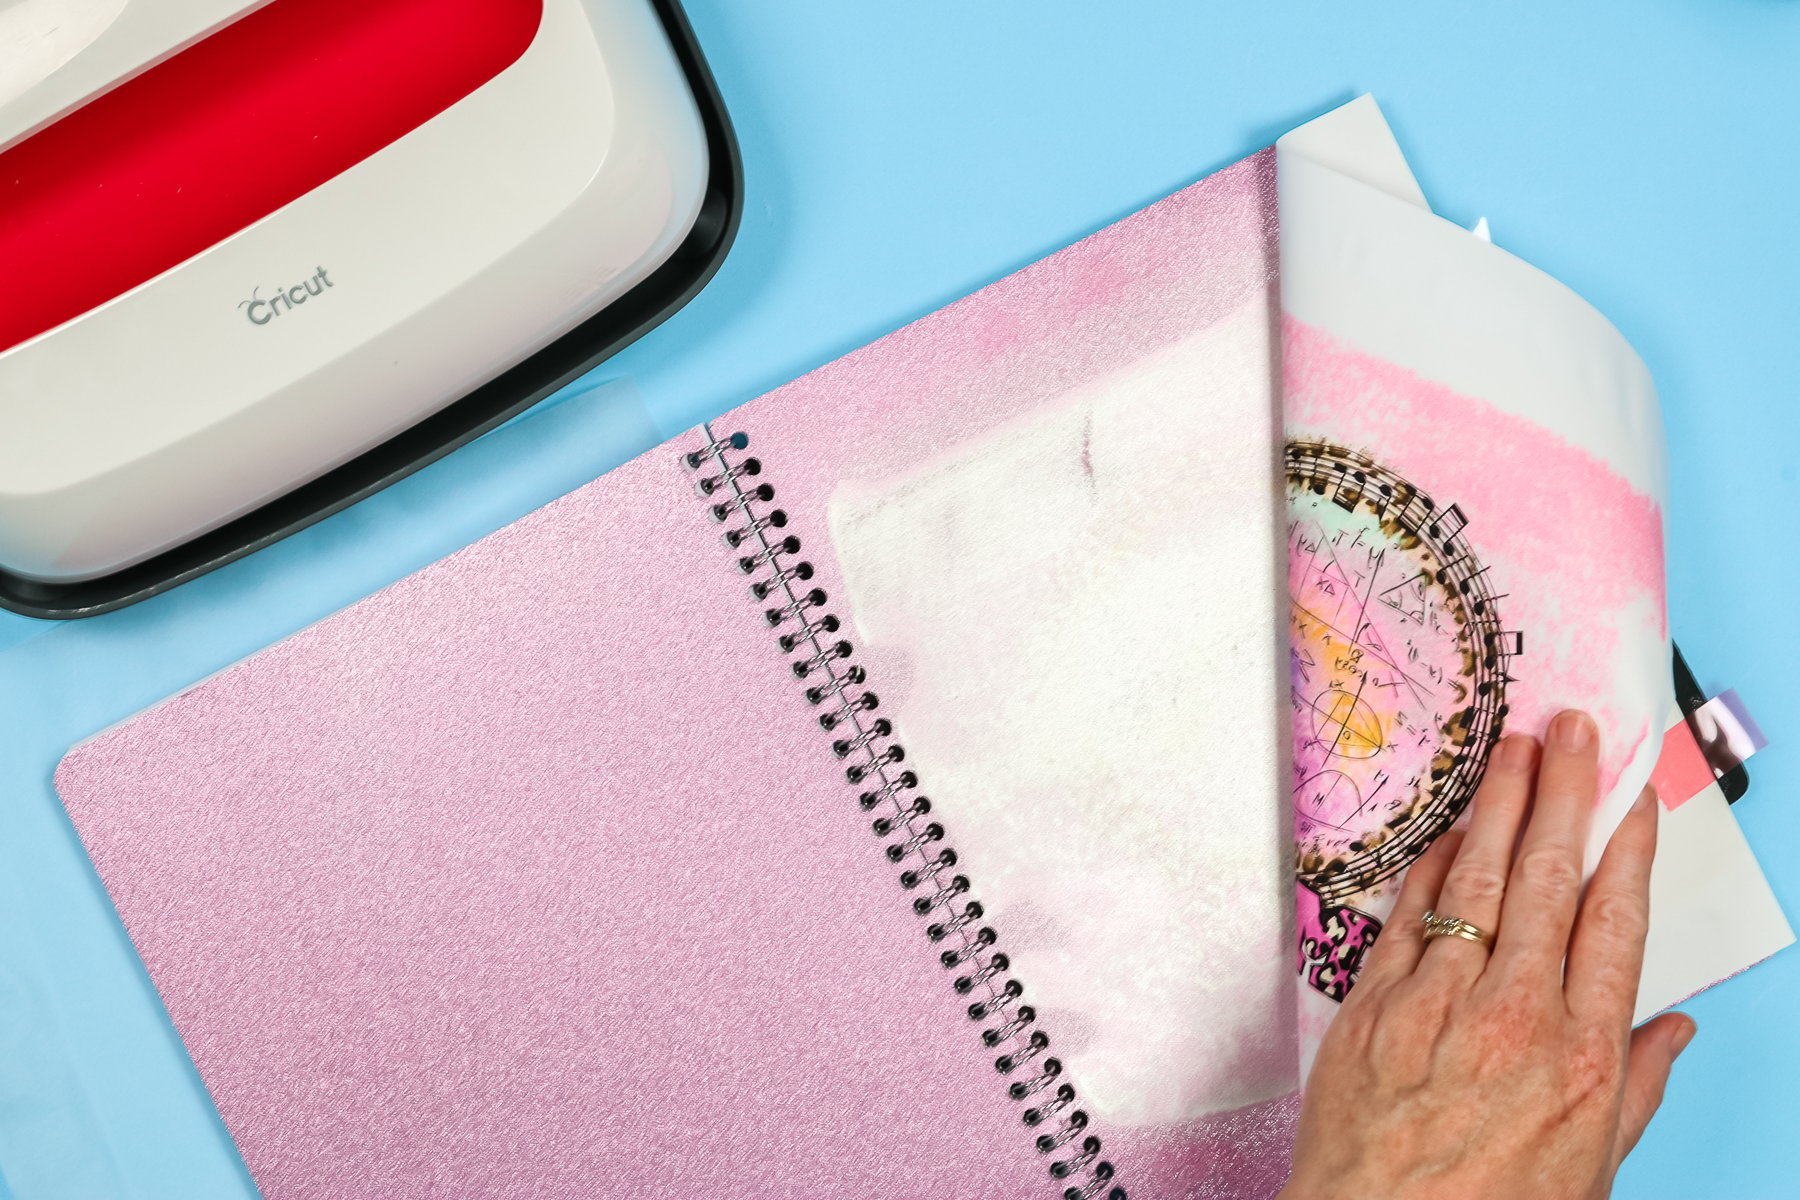
Step 3: Tape Down Sublimation Image
Tape down your image well so it doesn't move. With these glitter notebook covers, I didn't want to risk tearing them when I remove the tape, so I tacked the print to the wire spiral spine and to the mat with heat-resistant tape.
Step 4: Press Sublimation Image To Glitter Notebook
NOTE: Always use protective paper between the image and your heat source. You don't want to risk having any of your image transferred to the plate of your press.
Unfortunately, for this project, the notebook started melting. I could smell the melting; the cover was actually melting to the sublimation print, and it still did not sublimate at all.
For the smaller glitter notebook, I followed all the same steps but reduced the pressing time to 30 seconds. I was hopeful that maybe I had just pressed for too long.
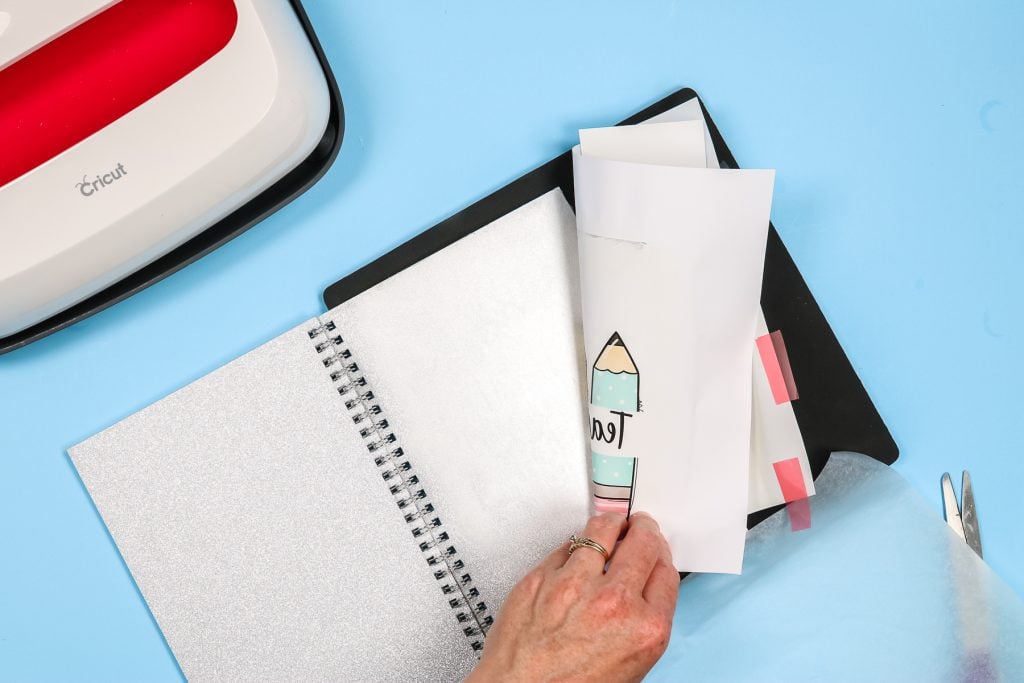
I checked the image at 30 seconds and, once again, saw that nothing had transferred. So I went ahead and laid the image back down and tried pressing for longer, and still had zero success. As you can see, both glitter notebooks I ordered are total failures.
Sublimation Notebook Blanks
Now that we know those non-sublimation blank notebooks didn't work, let's move on to ones that are actually sublimation blanks!
How To Sublimate On Sublimation Notebook With Page Insert
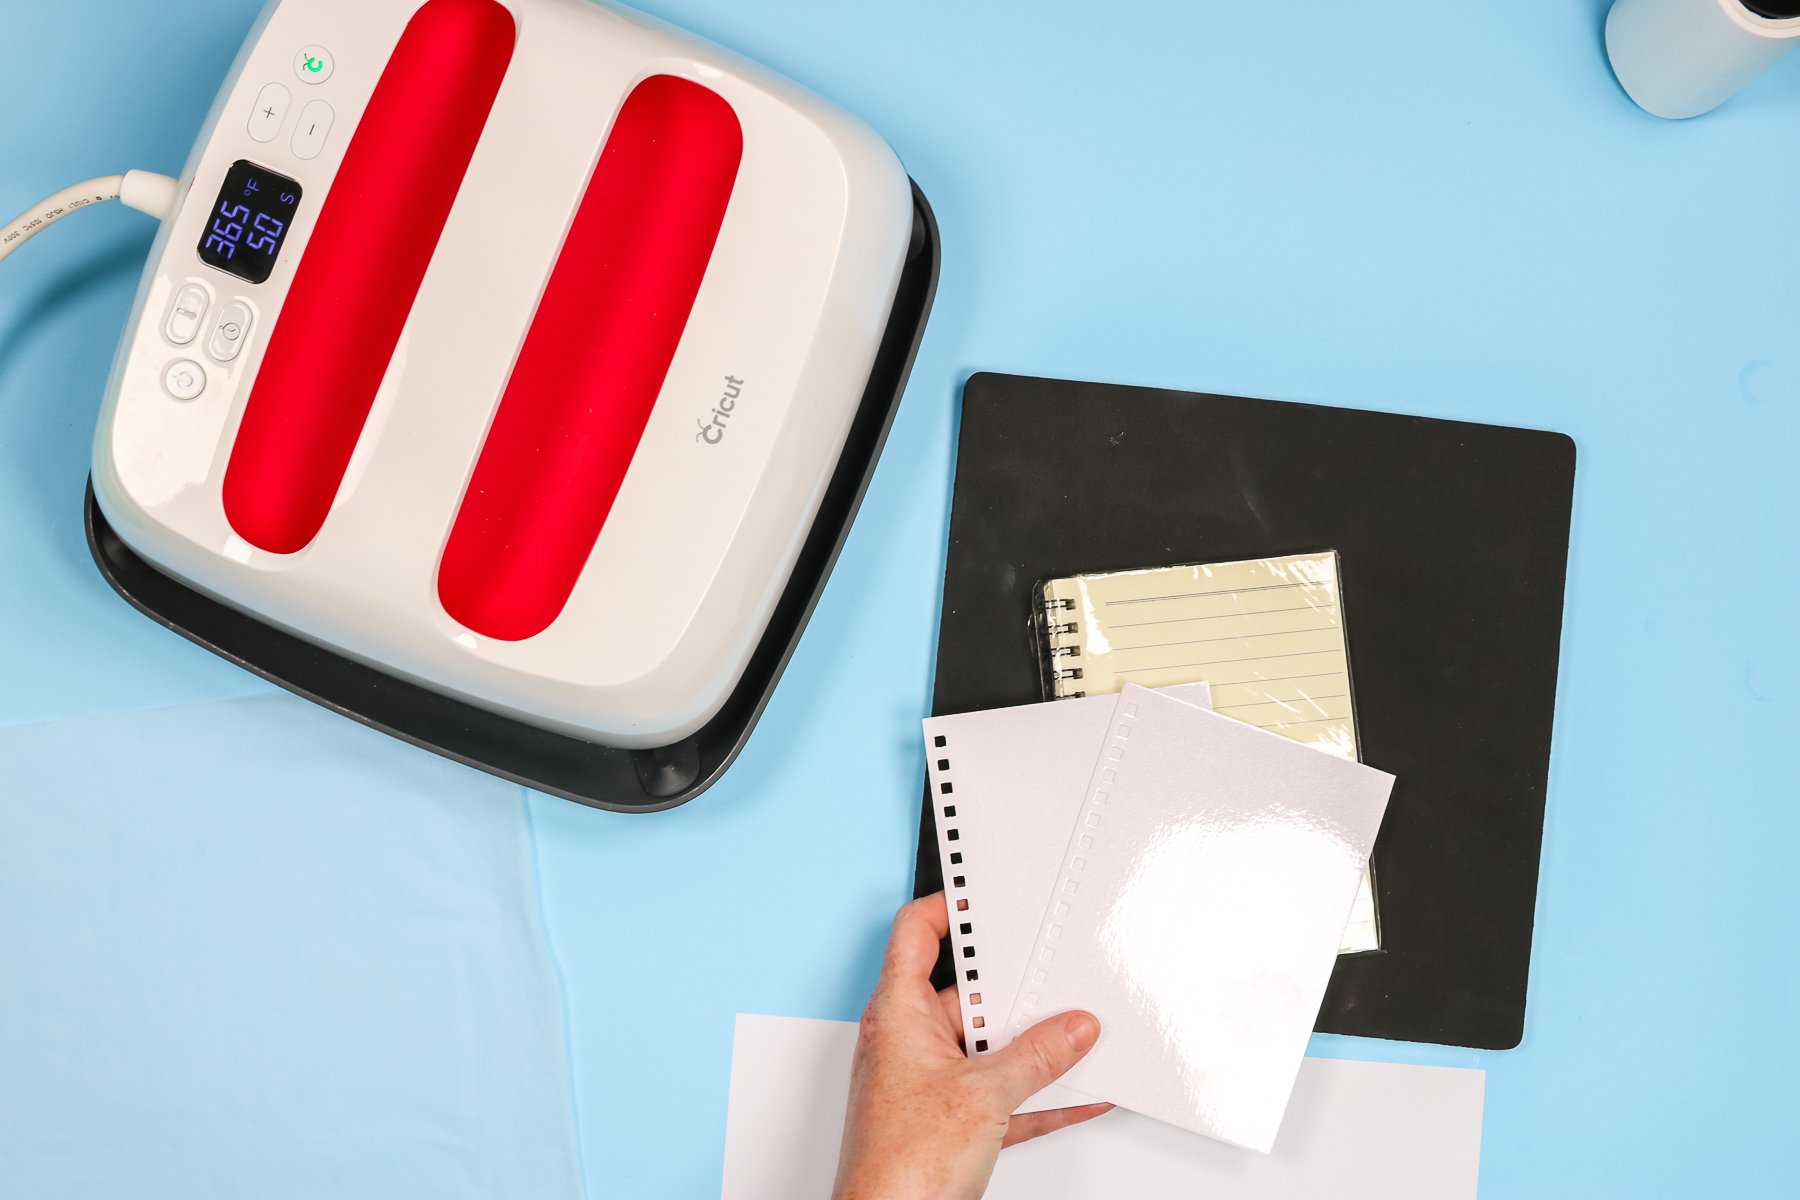
This sublimation notebook came with several pieces. There is the cover, the page insert, and adhesive sheets. I am going to sublimate the entire cover.
Step 1: Lint Roll Sublimation Notebook
Start by lint rolling the entire thing to remove any dust, dirt, or hair.
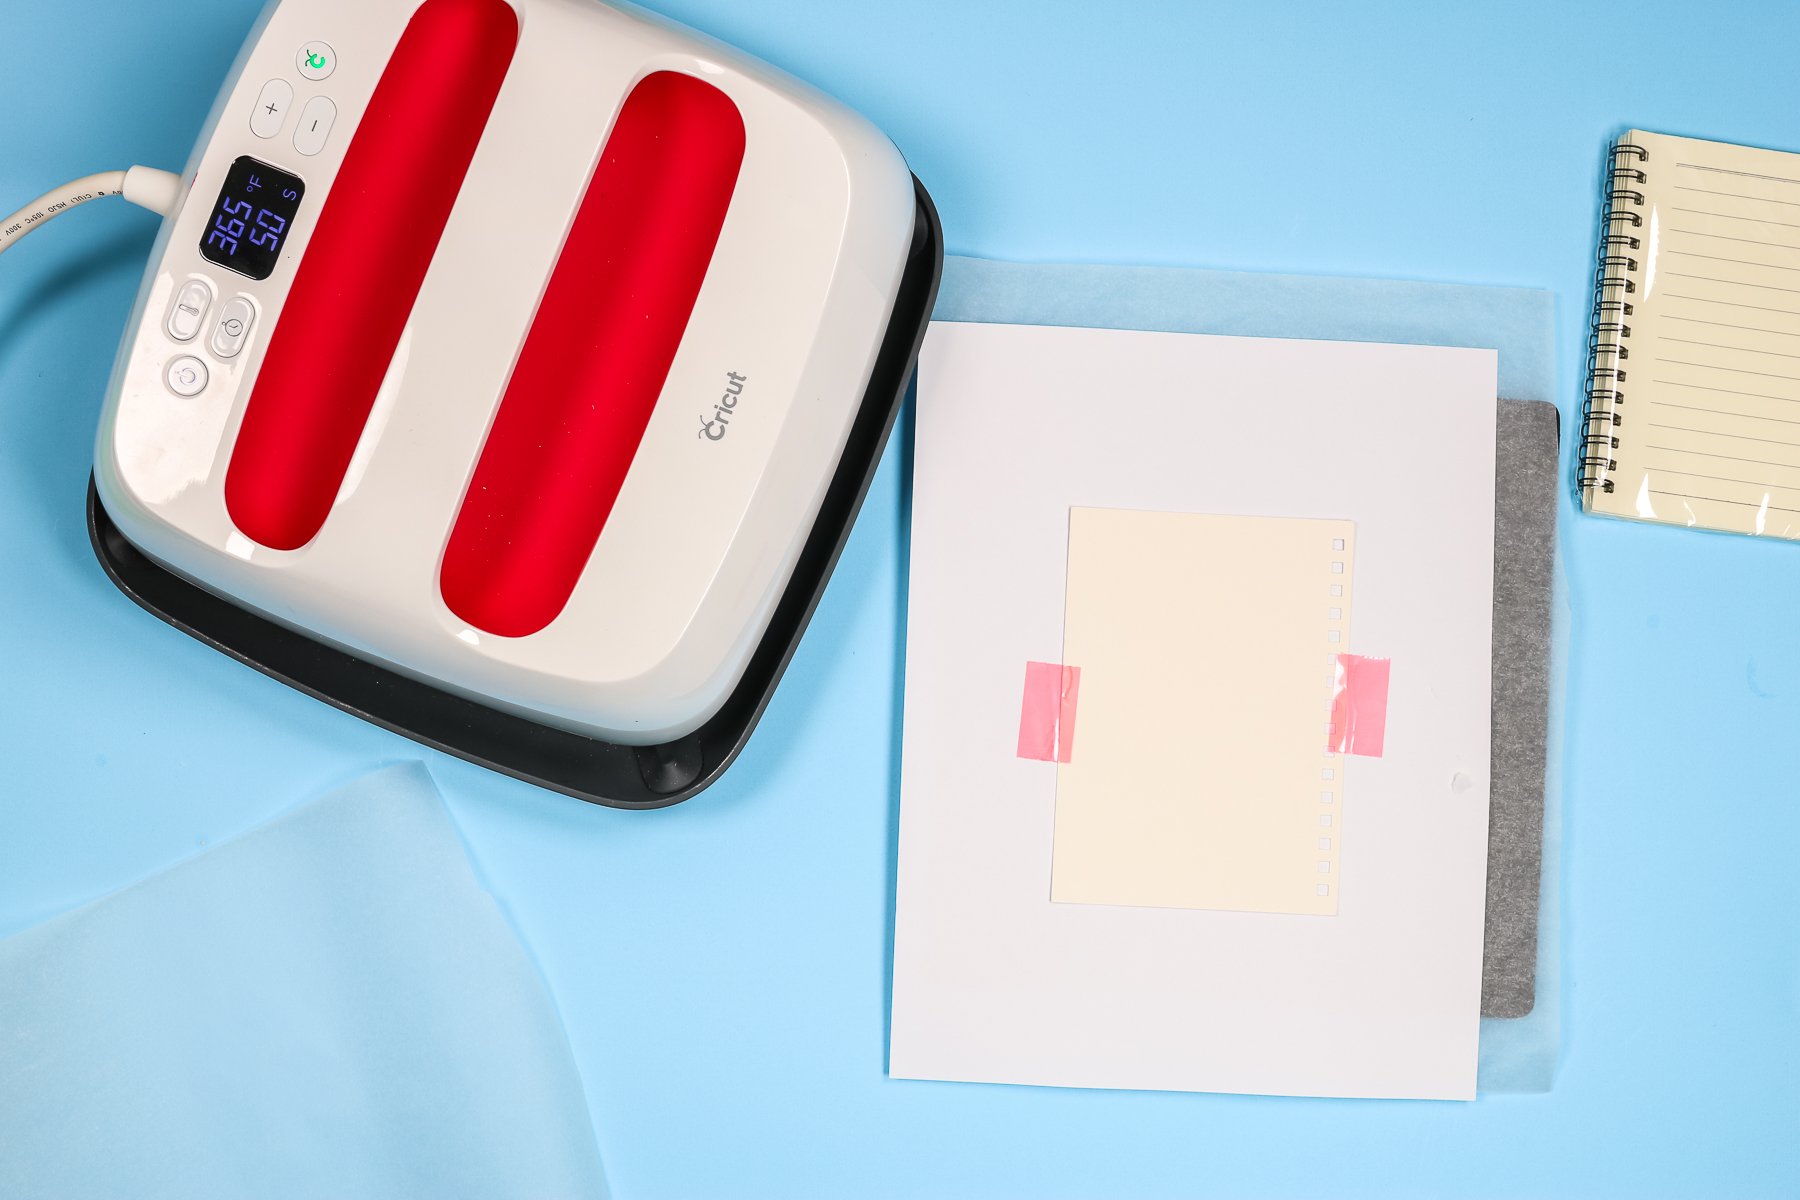
Step 2: Tape Down Sublimation Image
Add the sublimation print with a few pieces of heat-resistant tape. I am making sure to keep the tape on the white part of the cover, not the inside cardboard.
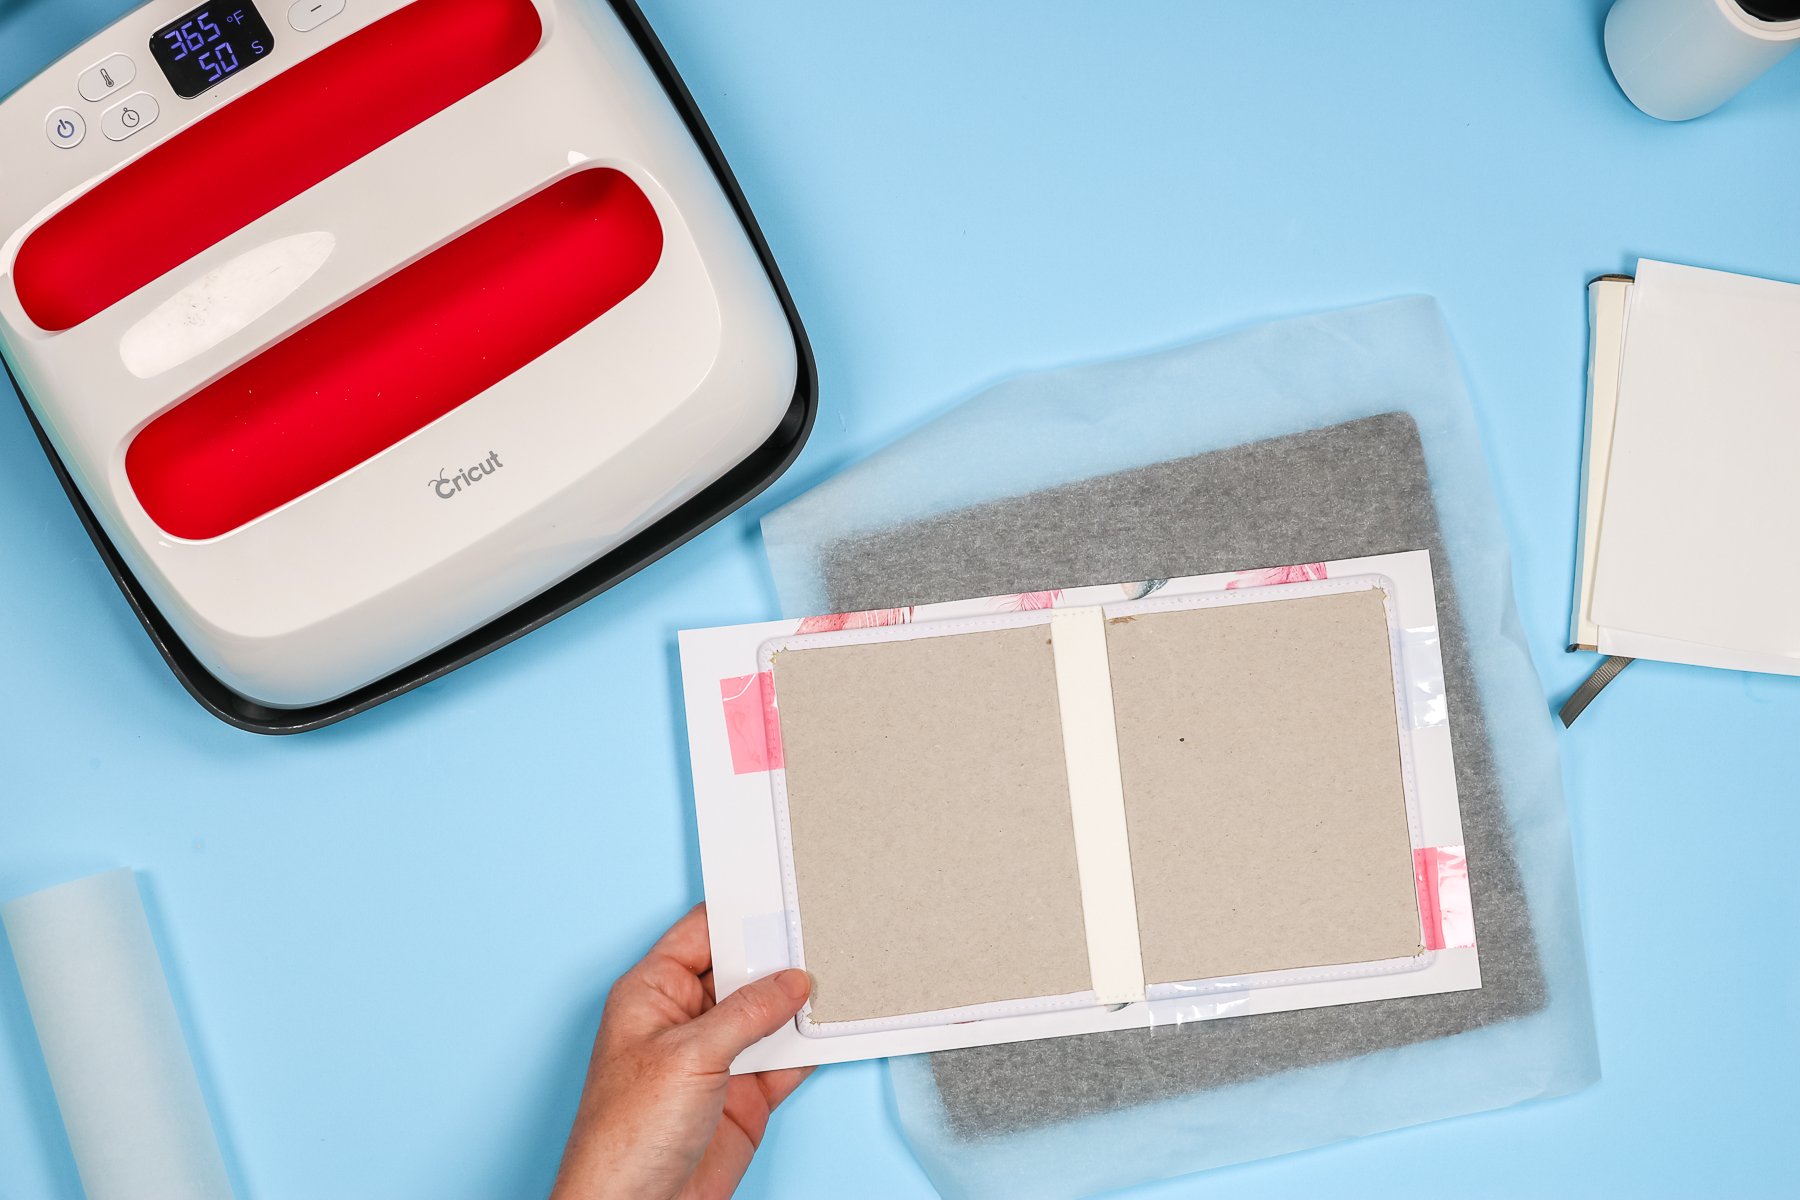
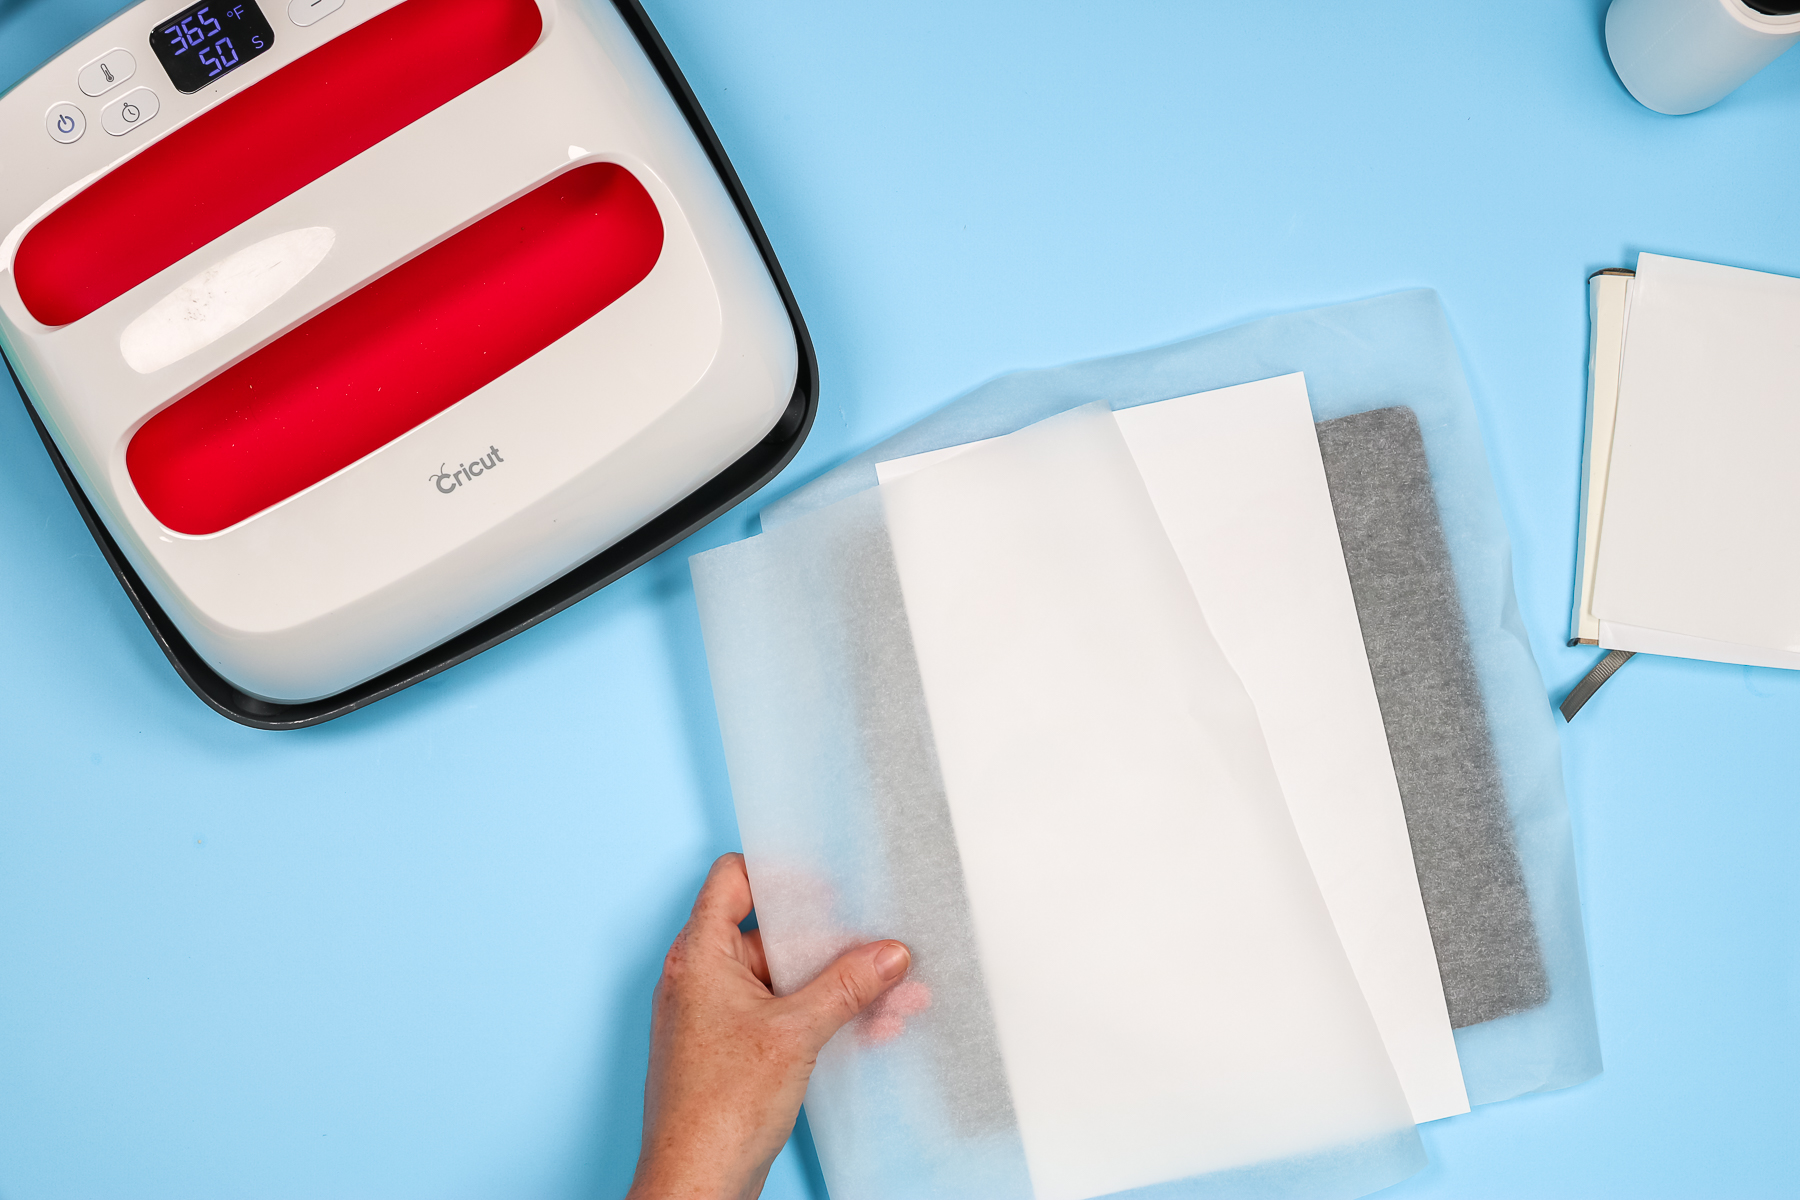
Step 3: Add Protective Paper
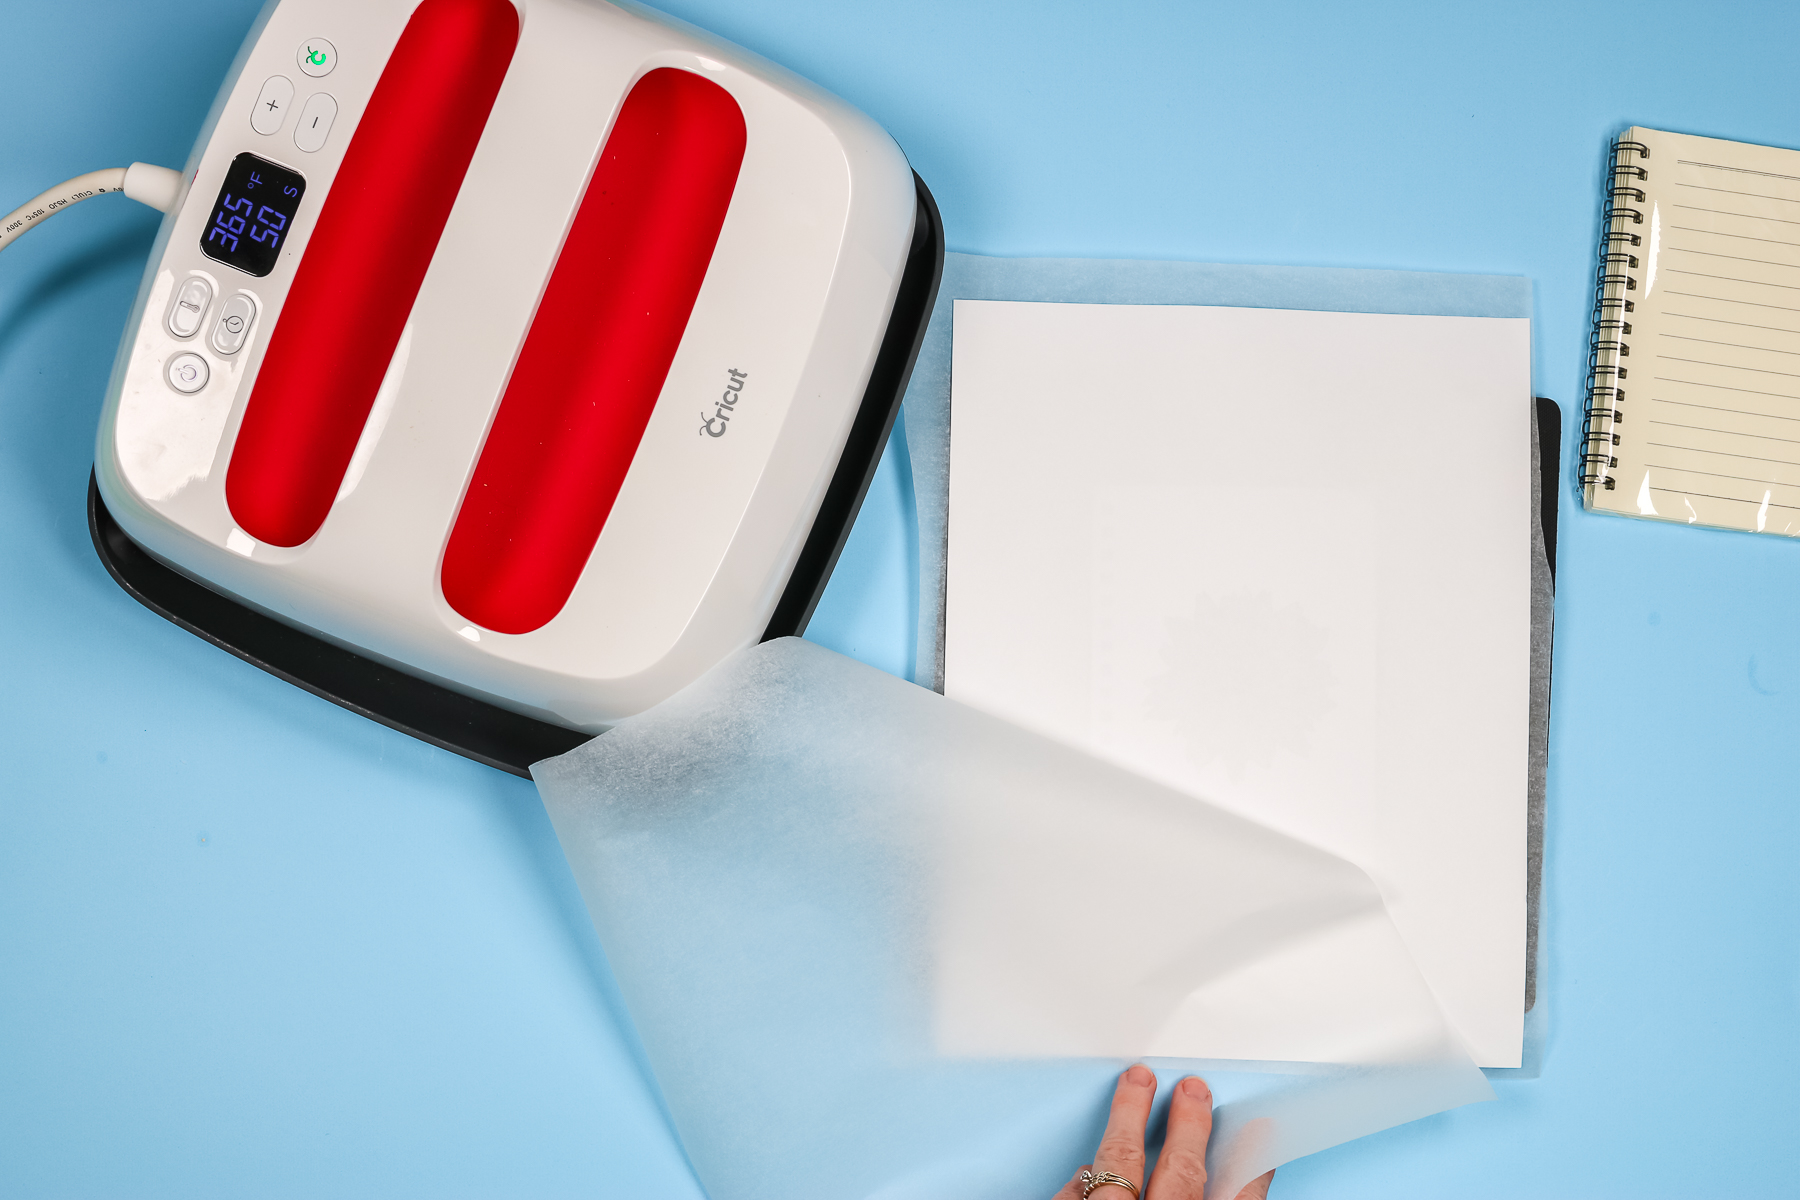
My sublimation print is larger than the cover, so I am going to put a piece of protective paper on my mat and then place the notebook sublimation side up on top. Add protective paper to the top to protect your heat source. Make sure your protective paper covers the entire sublimation image.
Step 4: Press Sublimation Image To Notebook
This notebook cover is larger than my EasyPress, so I will need to press it twice. I'll press for the full time in one place and then lift the EasyPress, move it over, and press again for the full time. After pressing the entire thing, I'll remove the protective sheet and the sublimation print.
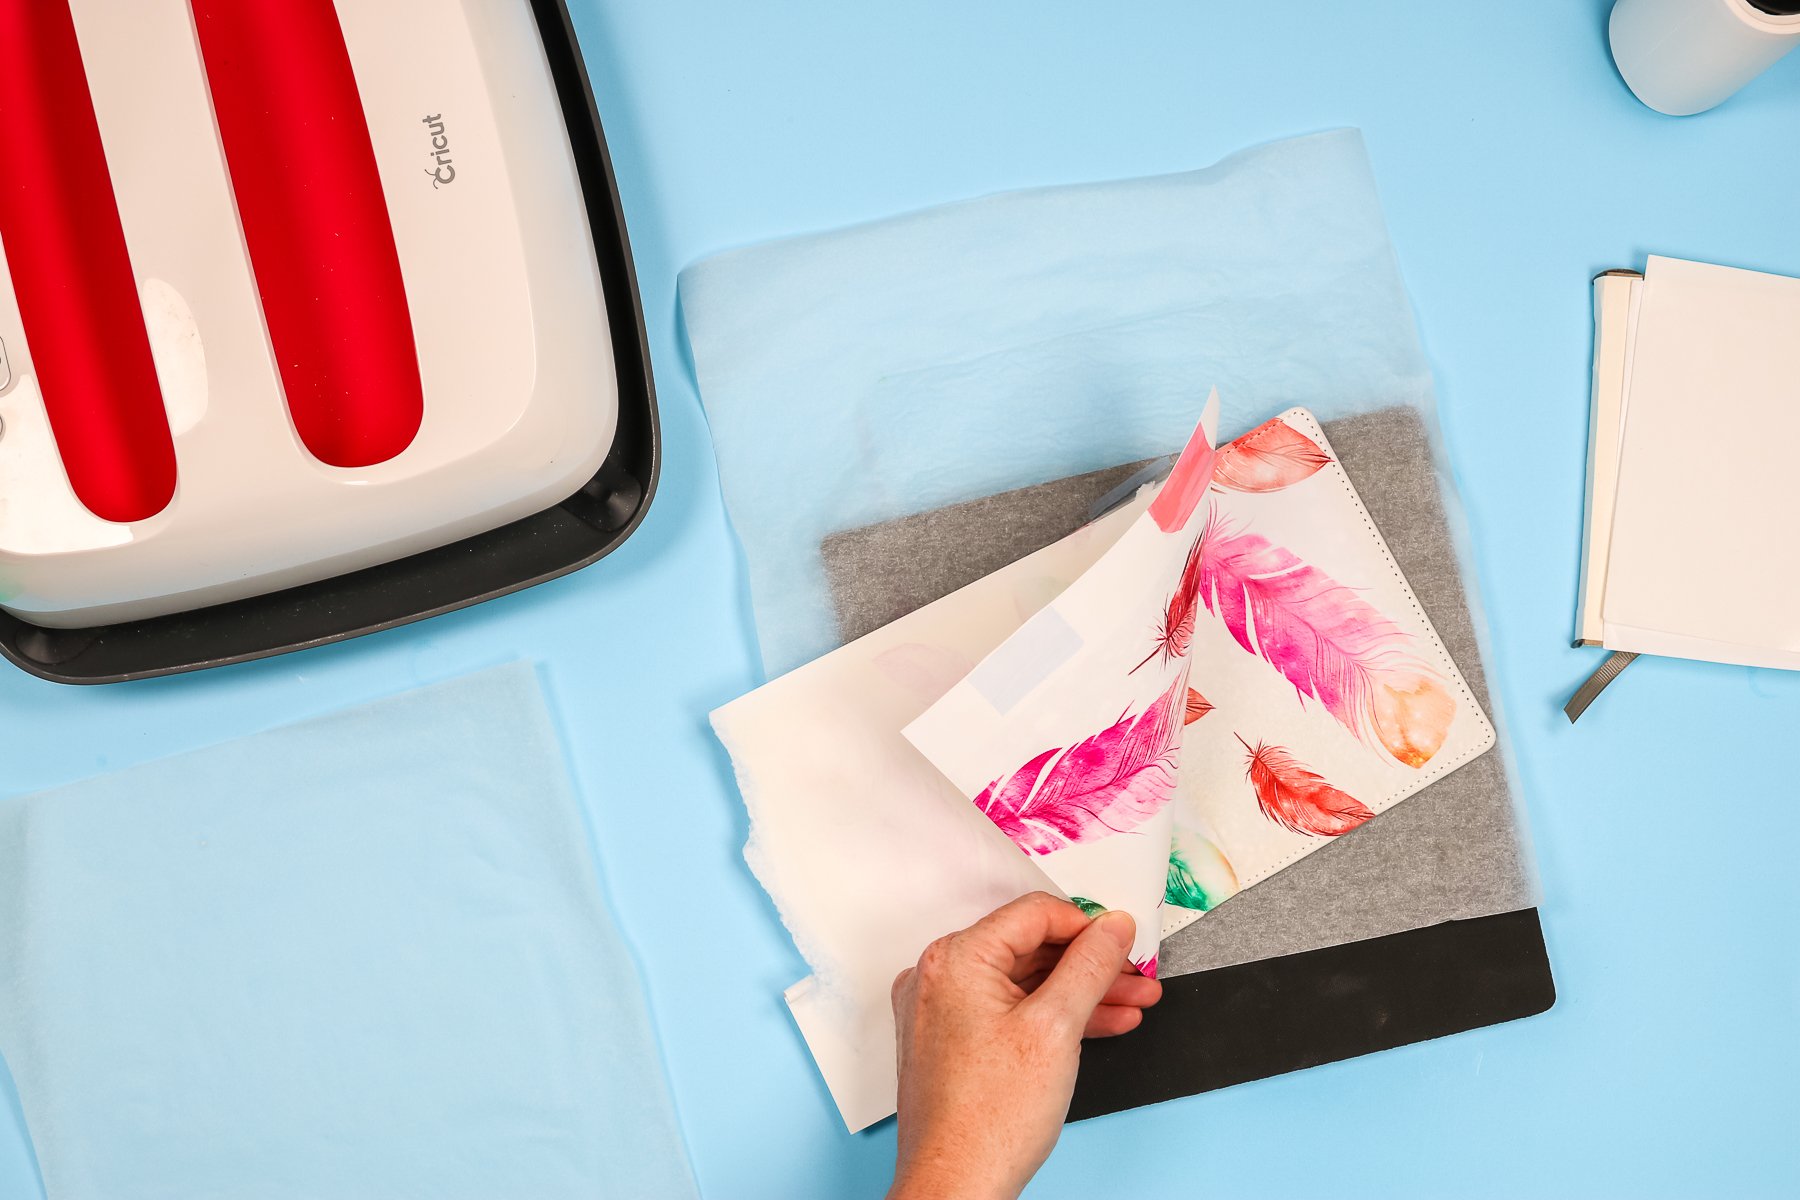
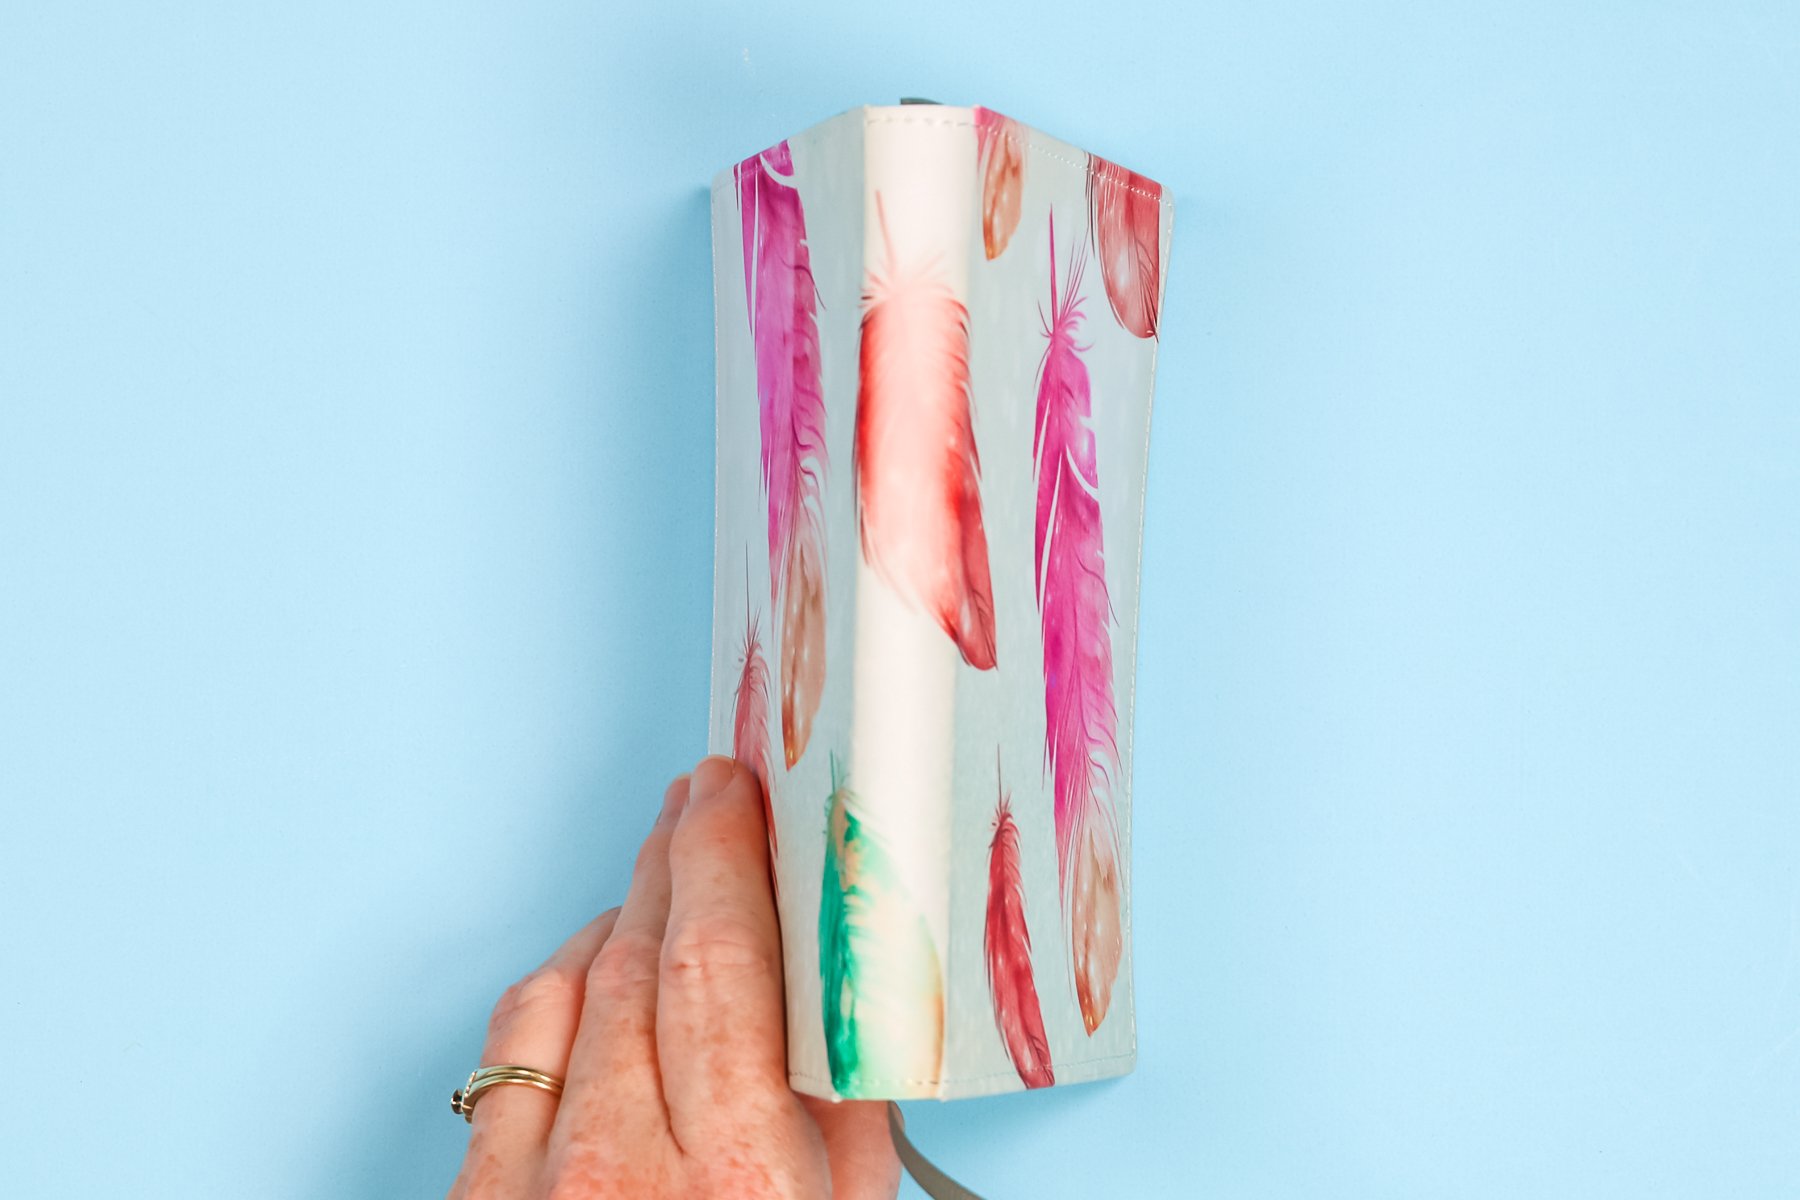
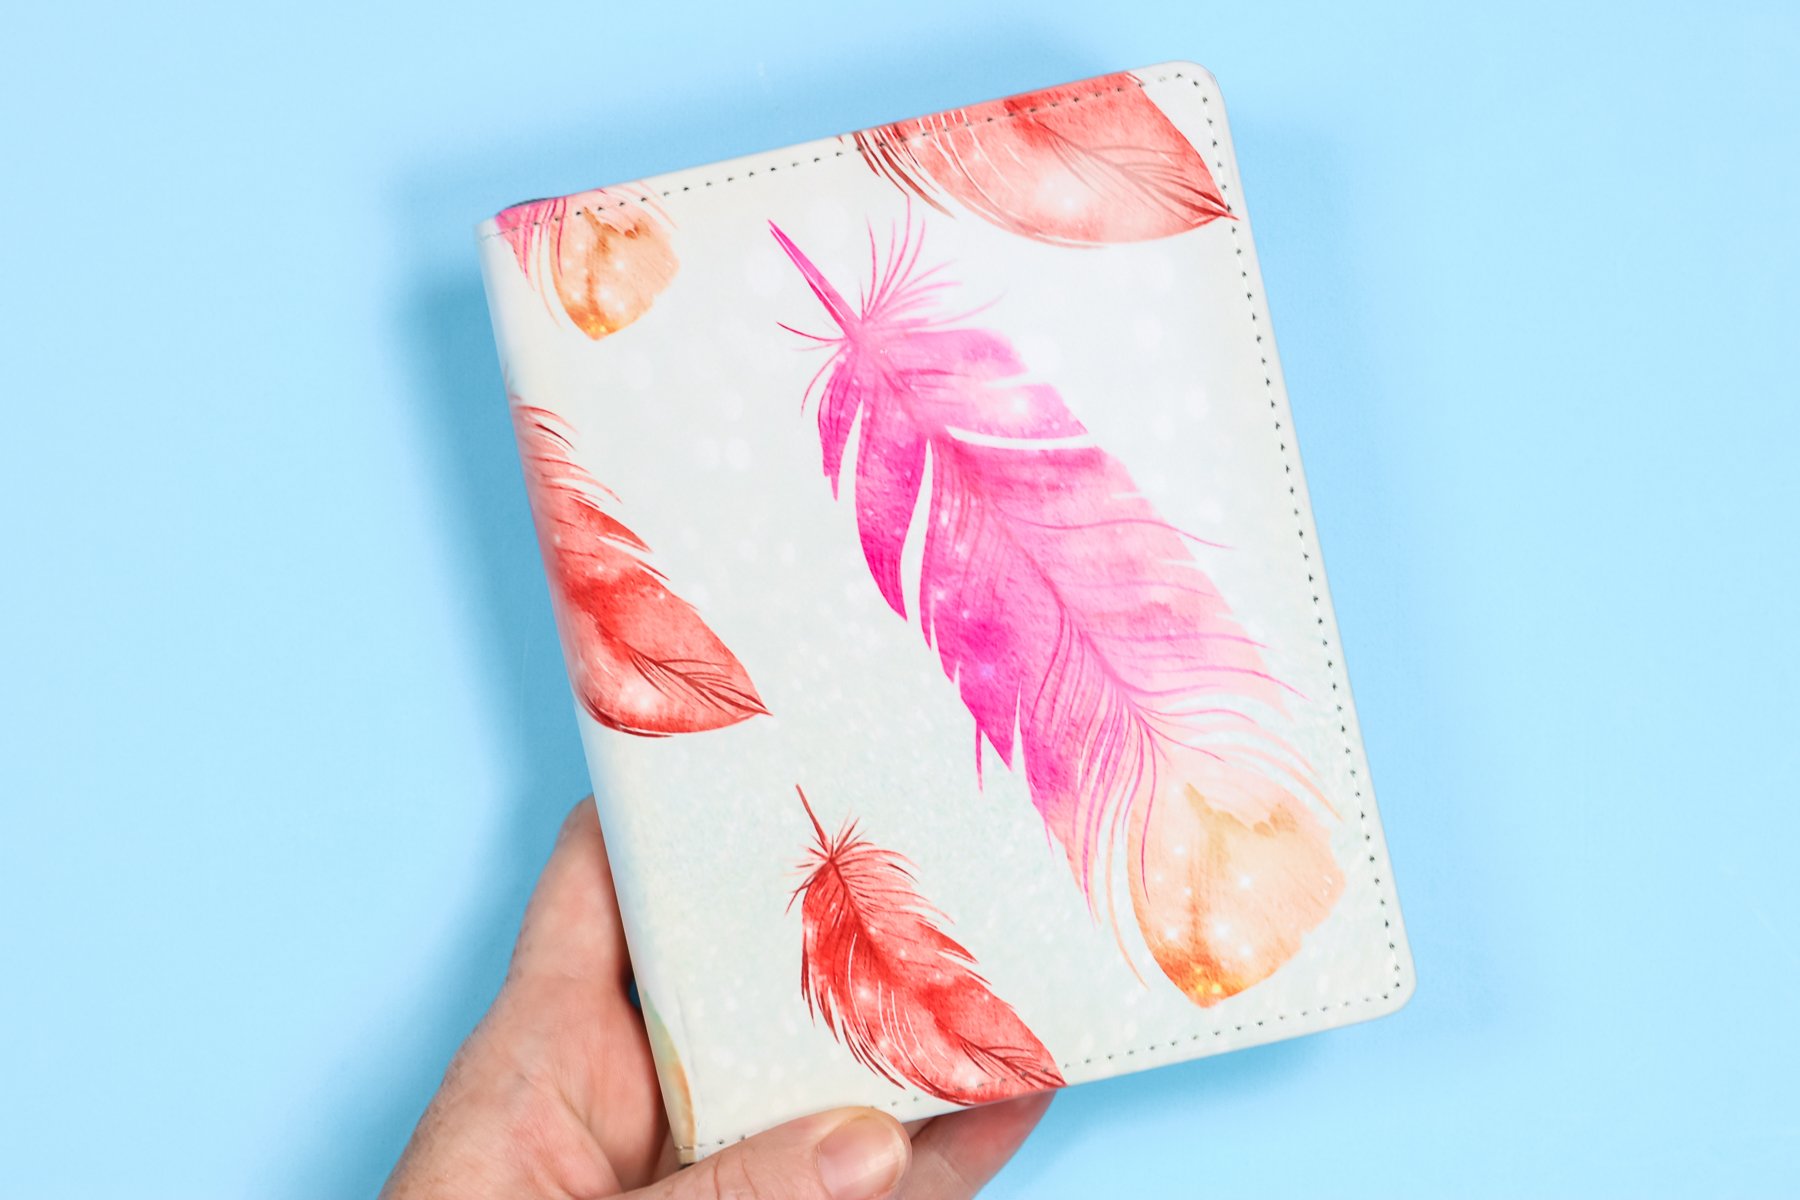
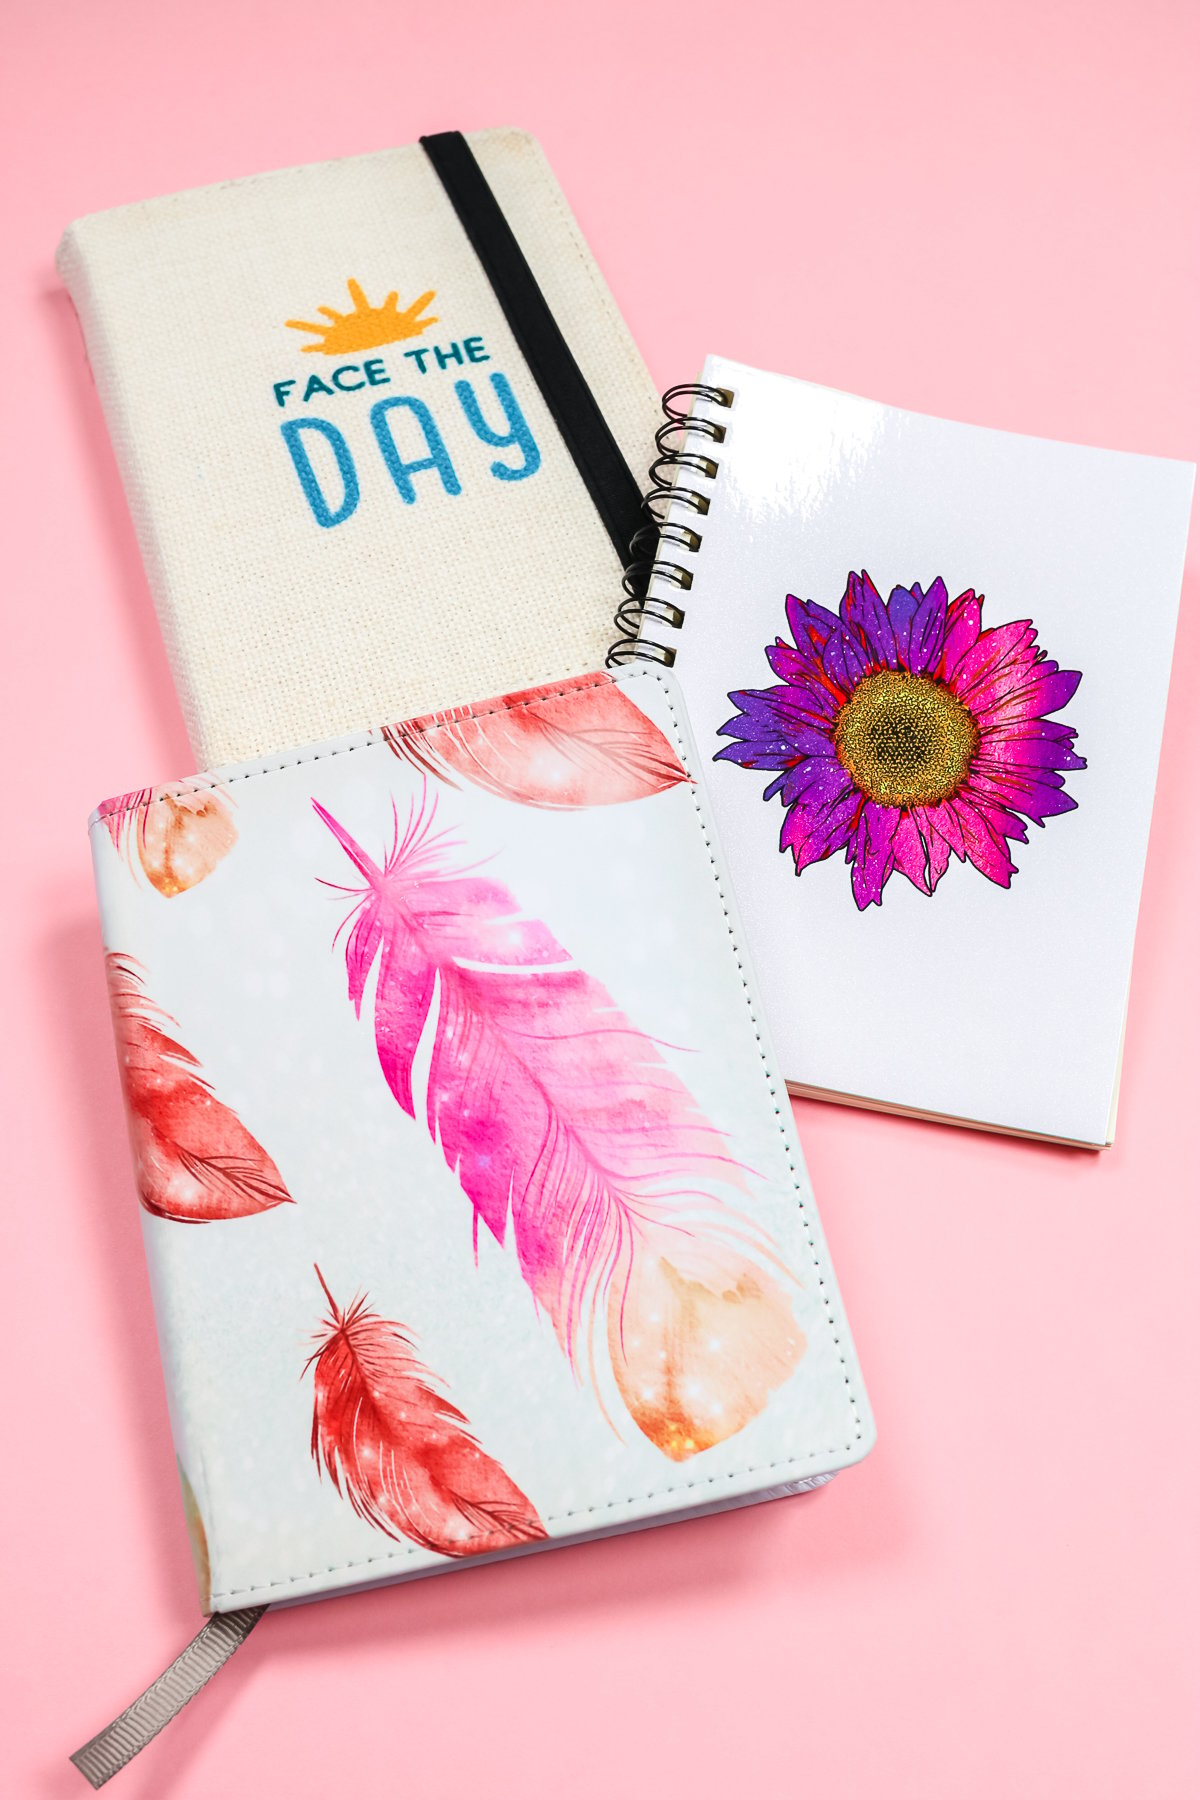
Isn't this beautiful!? I used light pressure with my EasyPress, and along the spine it didn't transfer as well. In the future, I would use more pressure, especially along the spine. You could even add something thick under the spine to get more pressure in that area.
How To Assemble Notebook With Page Insert After Sublimation
Now that we have the sublimation print removed and everything is cool, we can assemble the notebook.
Step 1: Peel Back Lining
To put the notebook together, we're going to peel back the lining on one side of the adhesive sheet. That will expose the sticky adhesive, and then you're going to line that up onto your notebook and press it down. Repeat on the other side.
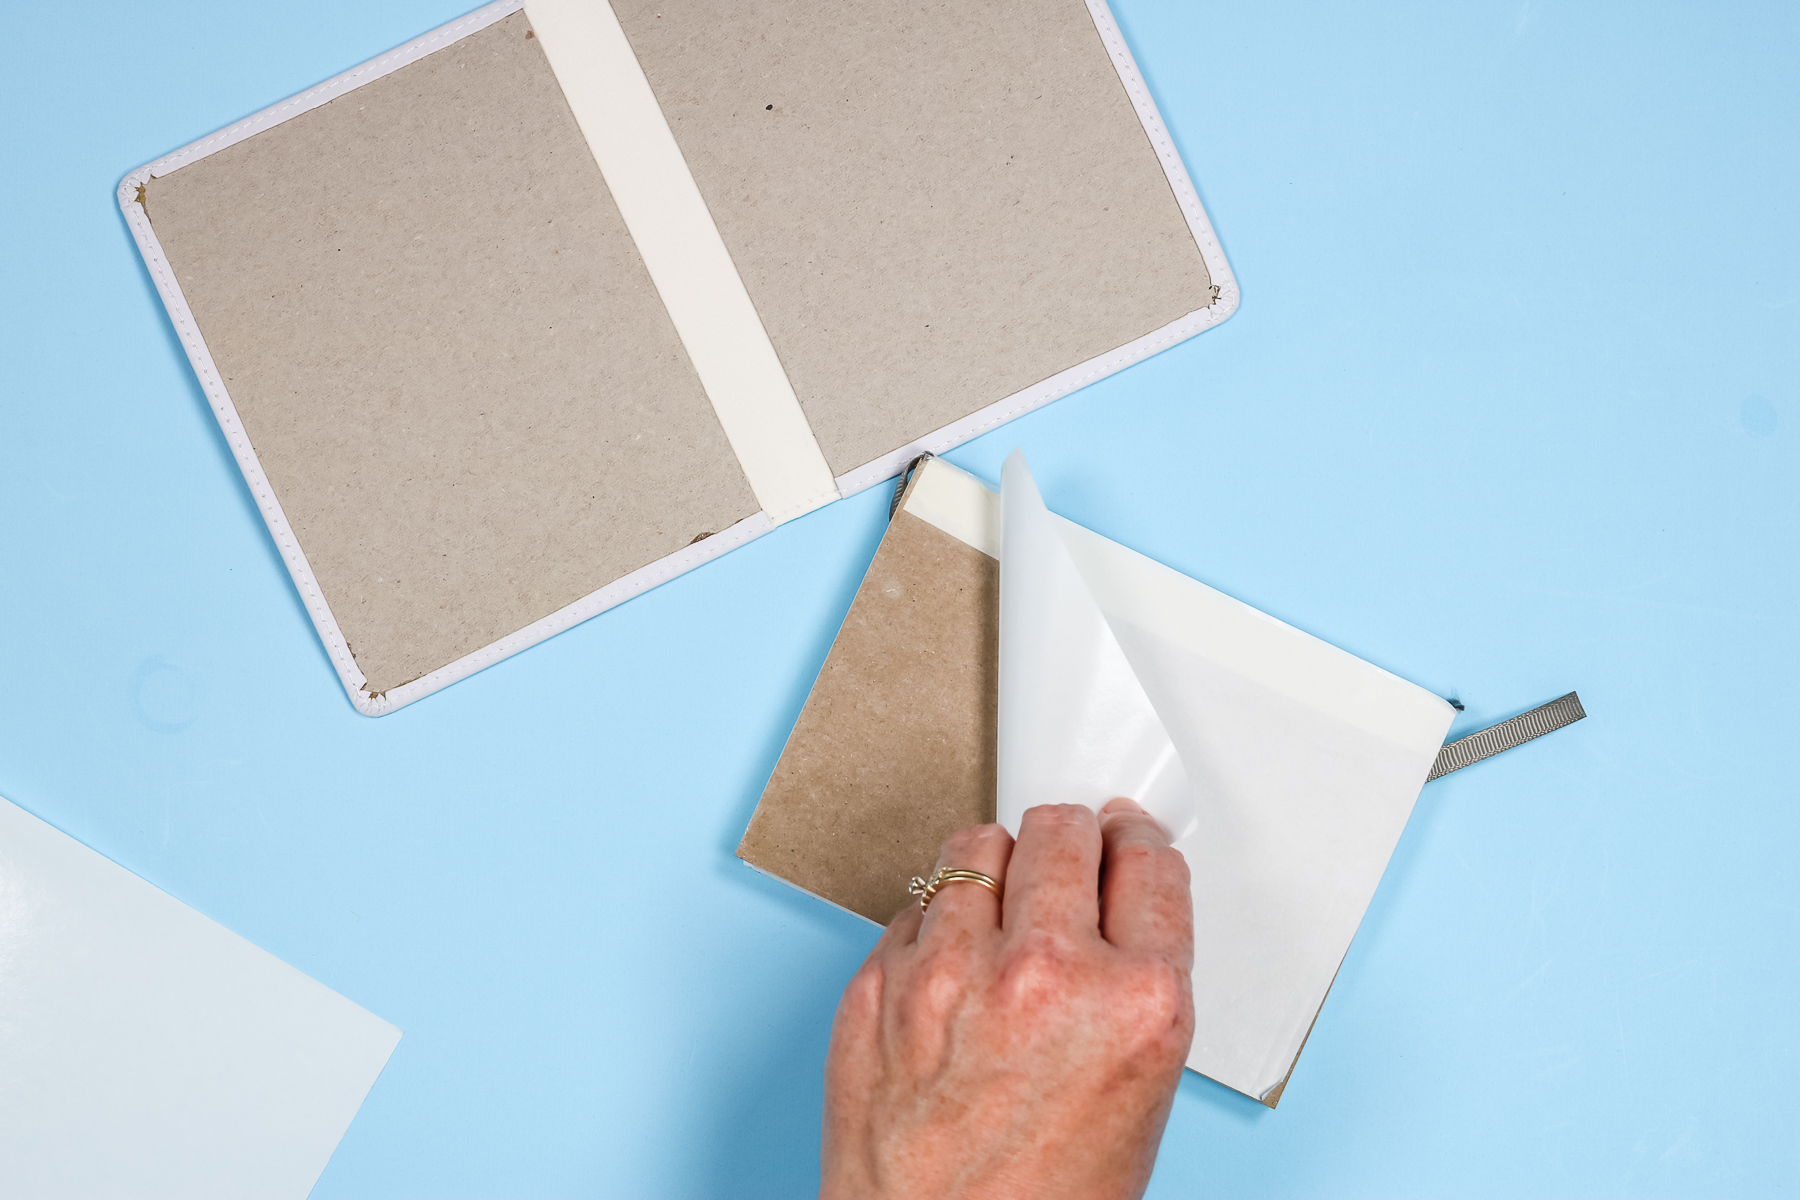
Step 2: Add In Pages
The next step is to remove the lining to expose the adhesive. Once that adhesive is exposed, we're going to put that on one side of the notebook. Make sure you line it up and then press it down really well. Repeat on the other side.
I recommend closing the notebook and placing something heavy on it for a while so the cover can fully adhere to the inside.
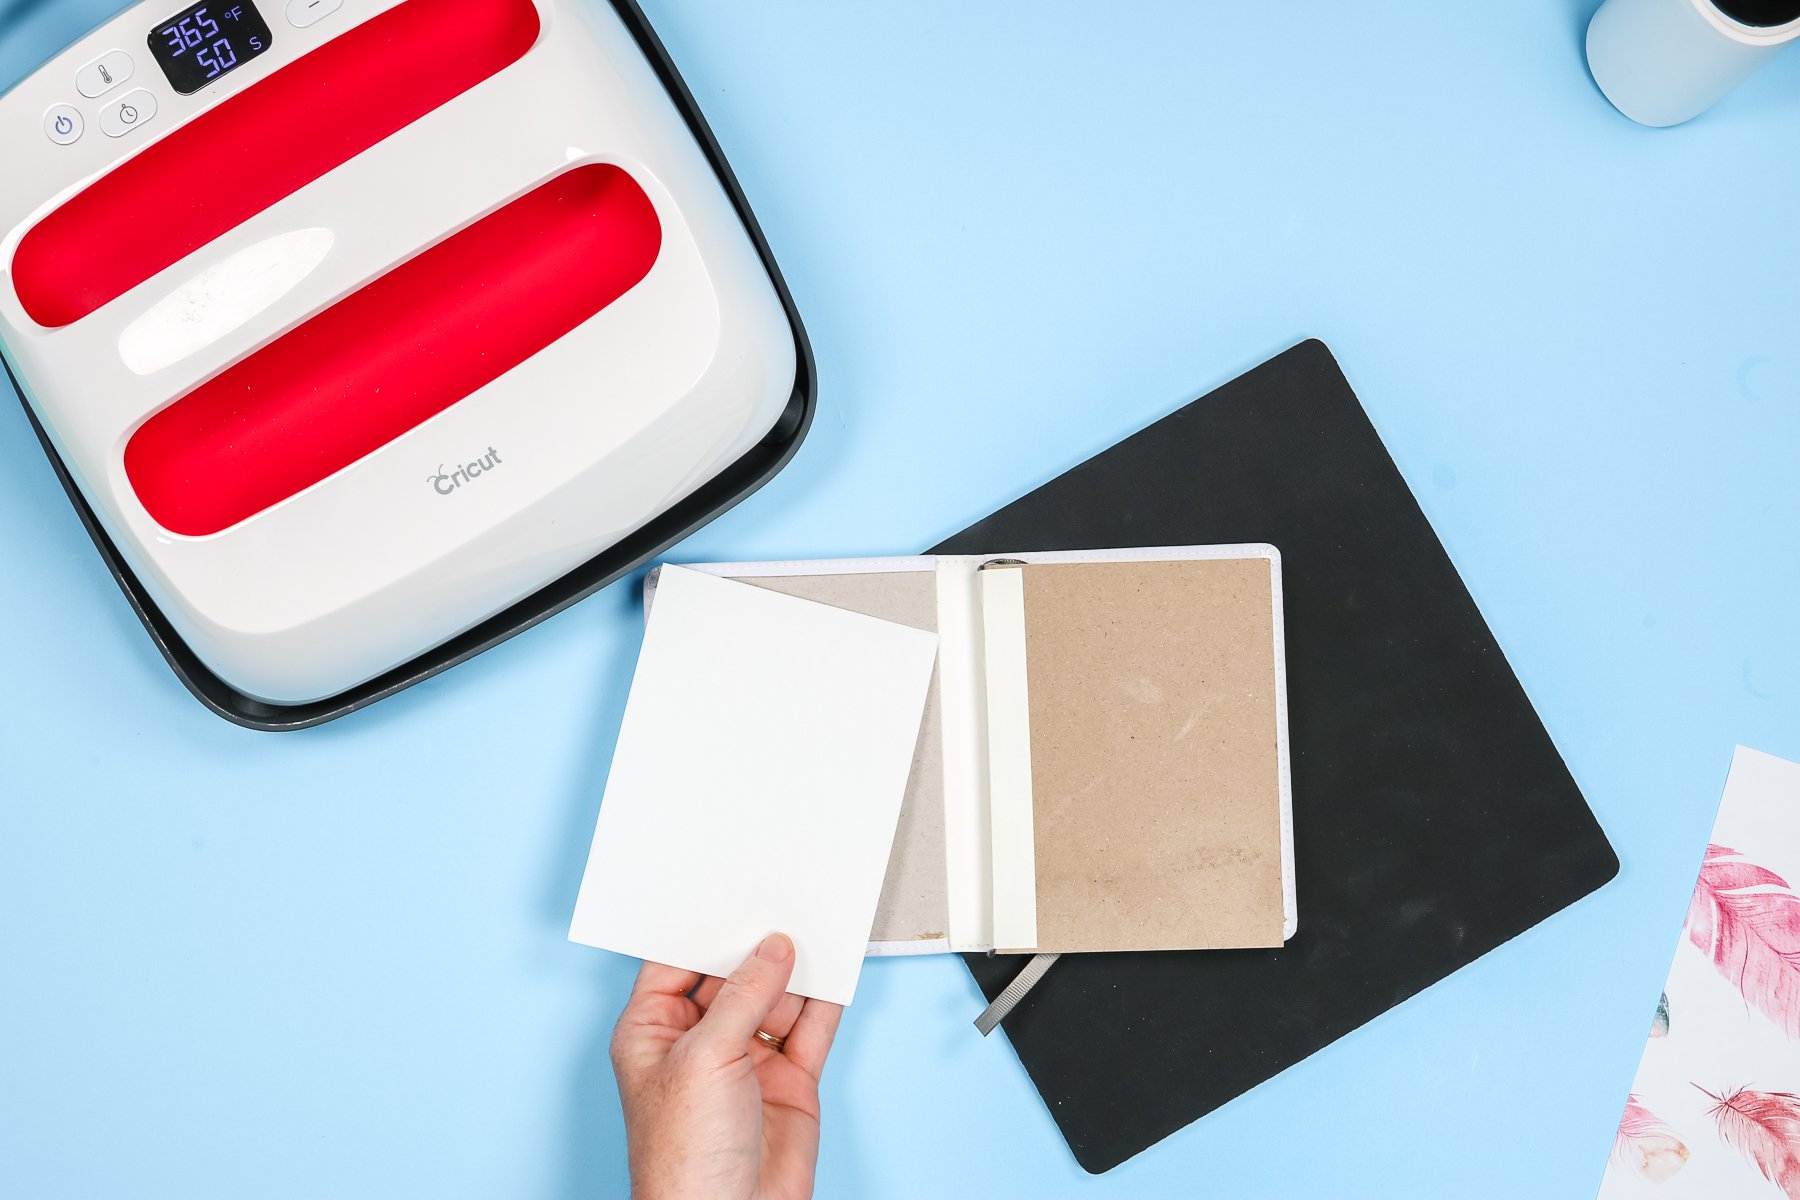
How To Sublimate On Spiral Bound Sublimation Notebook
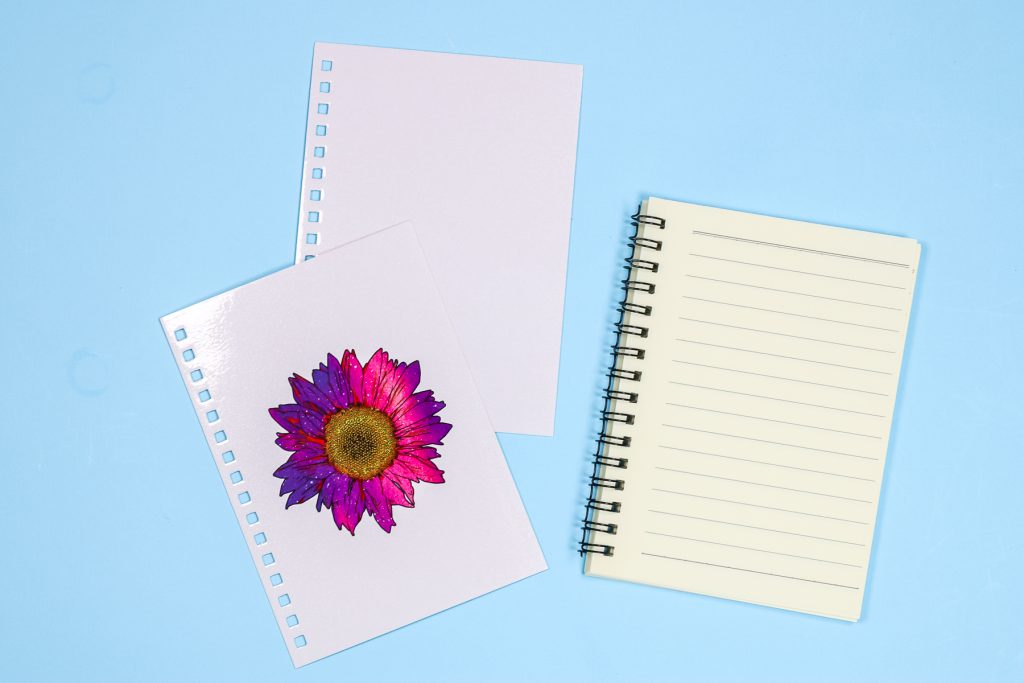
For the spiral-bound sublimation notebook, you can see that it comes with the interior notebook part and then two covers.
Step 1: Lint Roll Sublimation Notebook
Using a sheet from a lint roller, go over the cover to remove any debris.
Step 2: Tape Down Sublimation Image
To apply the sublimation print, I am going to lay the cover on top of the print, locating it right where I want it with the shiny side facing the print. Use a couple of pieces of heat-resistant tape to hold the cover in place.
Step 3: Double Check Stack
Before pressing, make sure you have your materials stacked in the appropriate order:
- Pressing Mat
- Protective Paper
- Notebook Cover
- Sublimation Print
- Protective Paper
Make sure your protective paper sheets are both larger than the sublimation image to protect your pressing mat and heat press.
Step 4: Press Sublimation Print To Spiral Sublimation Notebook
Now we're going to press at 365 degrees for 50 seconds. Peel back the sublimation print while it's still hot and then place a piece of the protective paper back on top. Place something heavy on it to help flatten it out. You can also use your hands to flatten it as it cools.

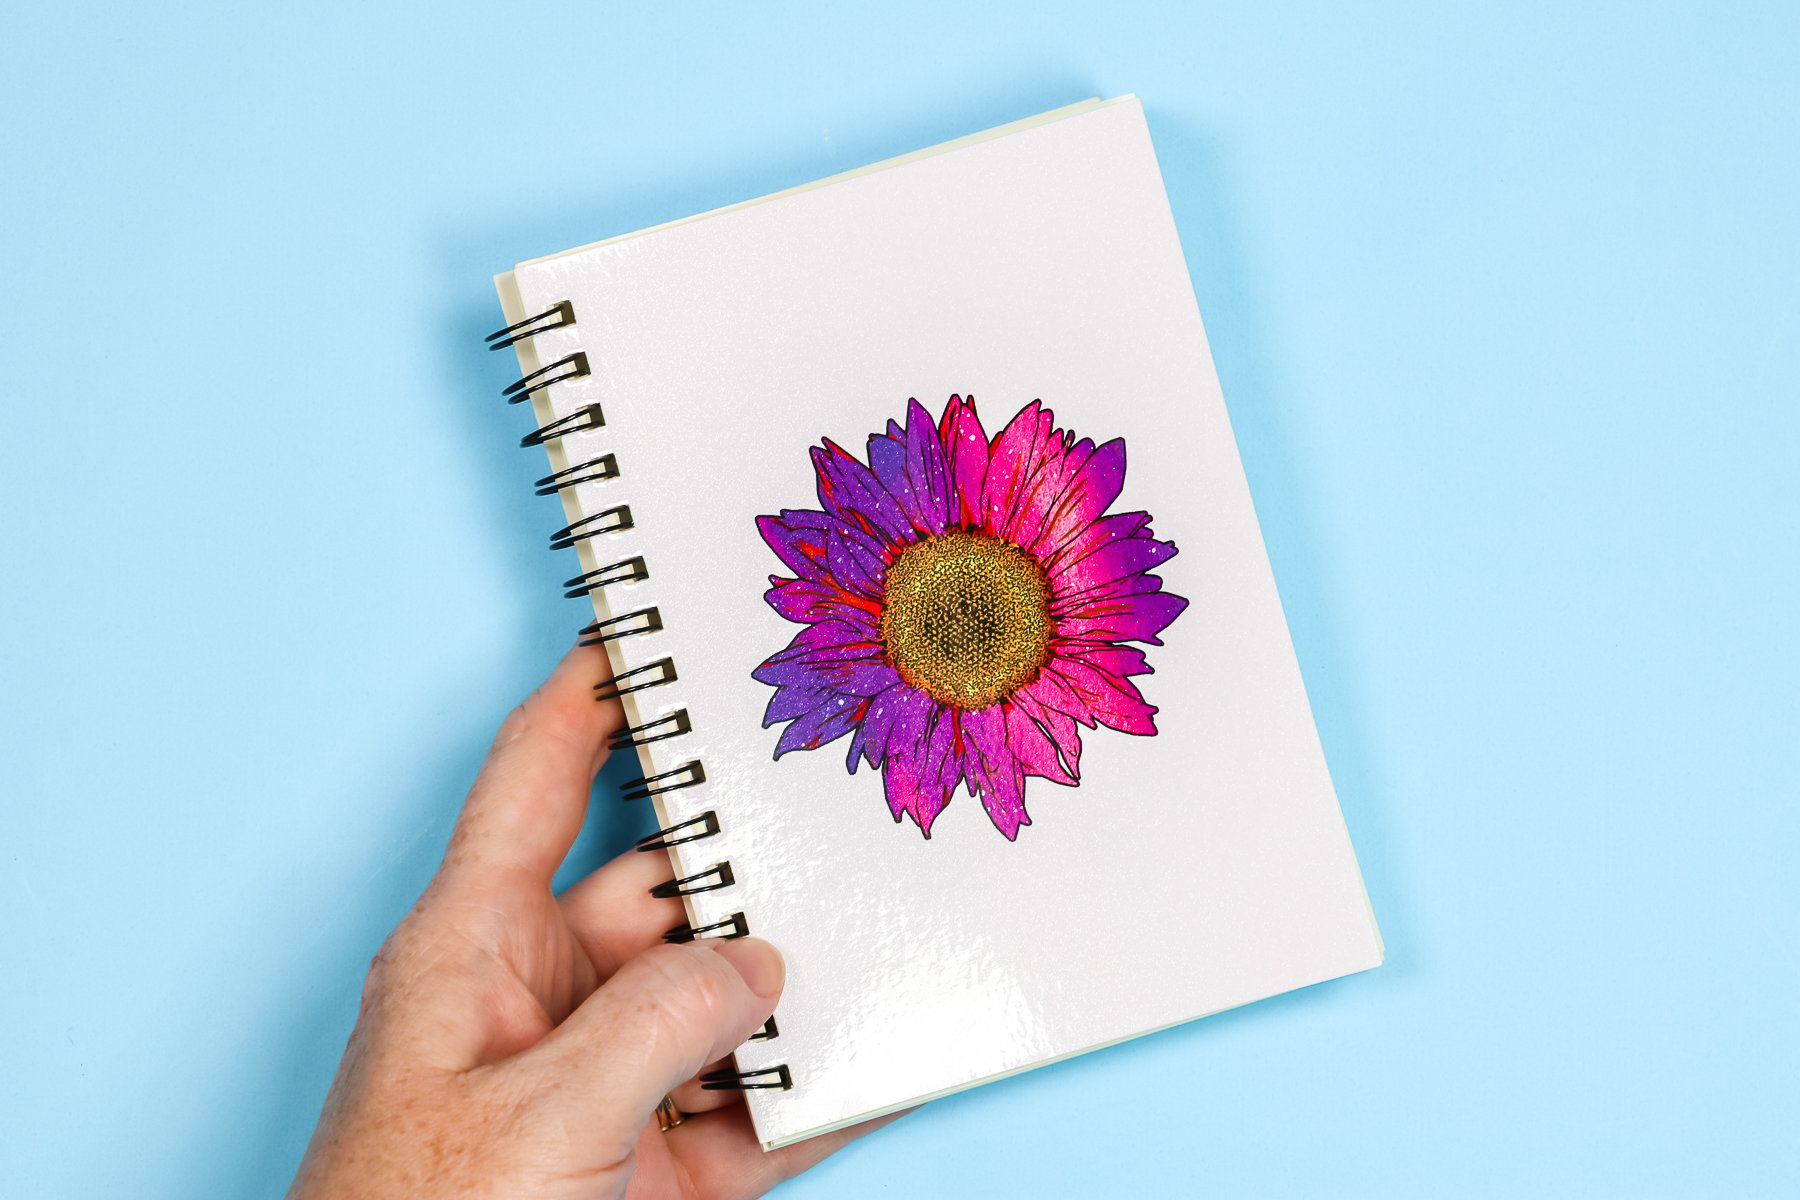
Now our cover is completely cool, nice and flat, and ready to assemble.
How To Assemble a Spiral-Bound Notebook After Sublimation
The assembly process for this notebook I would say is a little more difficult. You have to work the covers into the spiral, and it will take a few minutes. I do love that the cover comes separately, so you can actually sublimate the entire cover, even into the area that is in the spiral. I think it would look amazing with a full-cover sublimation print.
Linen Sublimation Notebook
Earlier, I showed you the little leather sublimation notebook, and this linen one is very similar. The linen cover is sublimatable, so you can add a sublimation print to as much of it as you want. Unlike the leather notebook, this linen cover has pockets on the inside so you can slide the pages in and out. You could probably even replace the pages when you've filled the initial pages.

Final Thoughts On Sublimation Notebooks
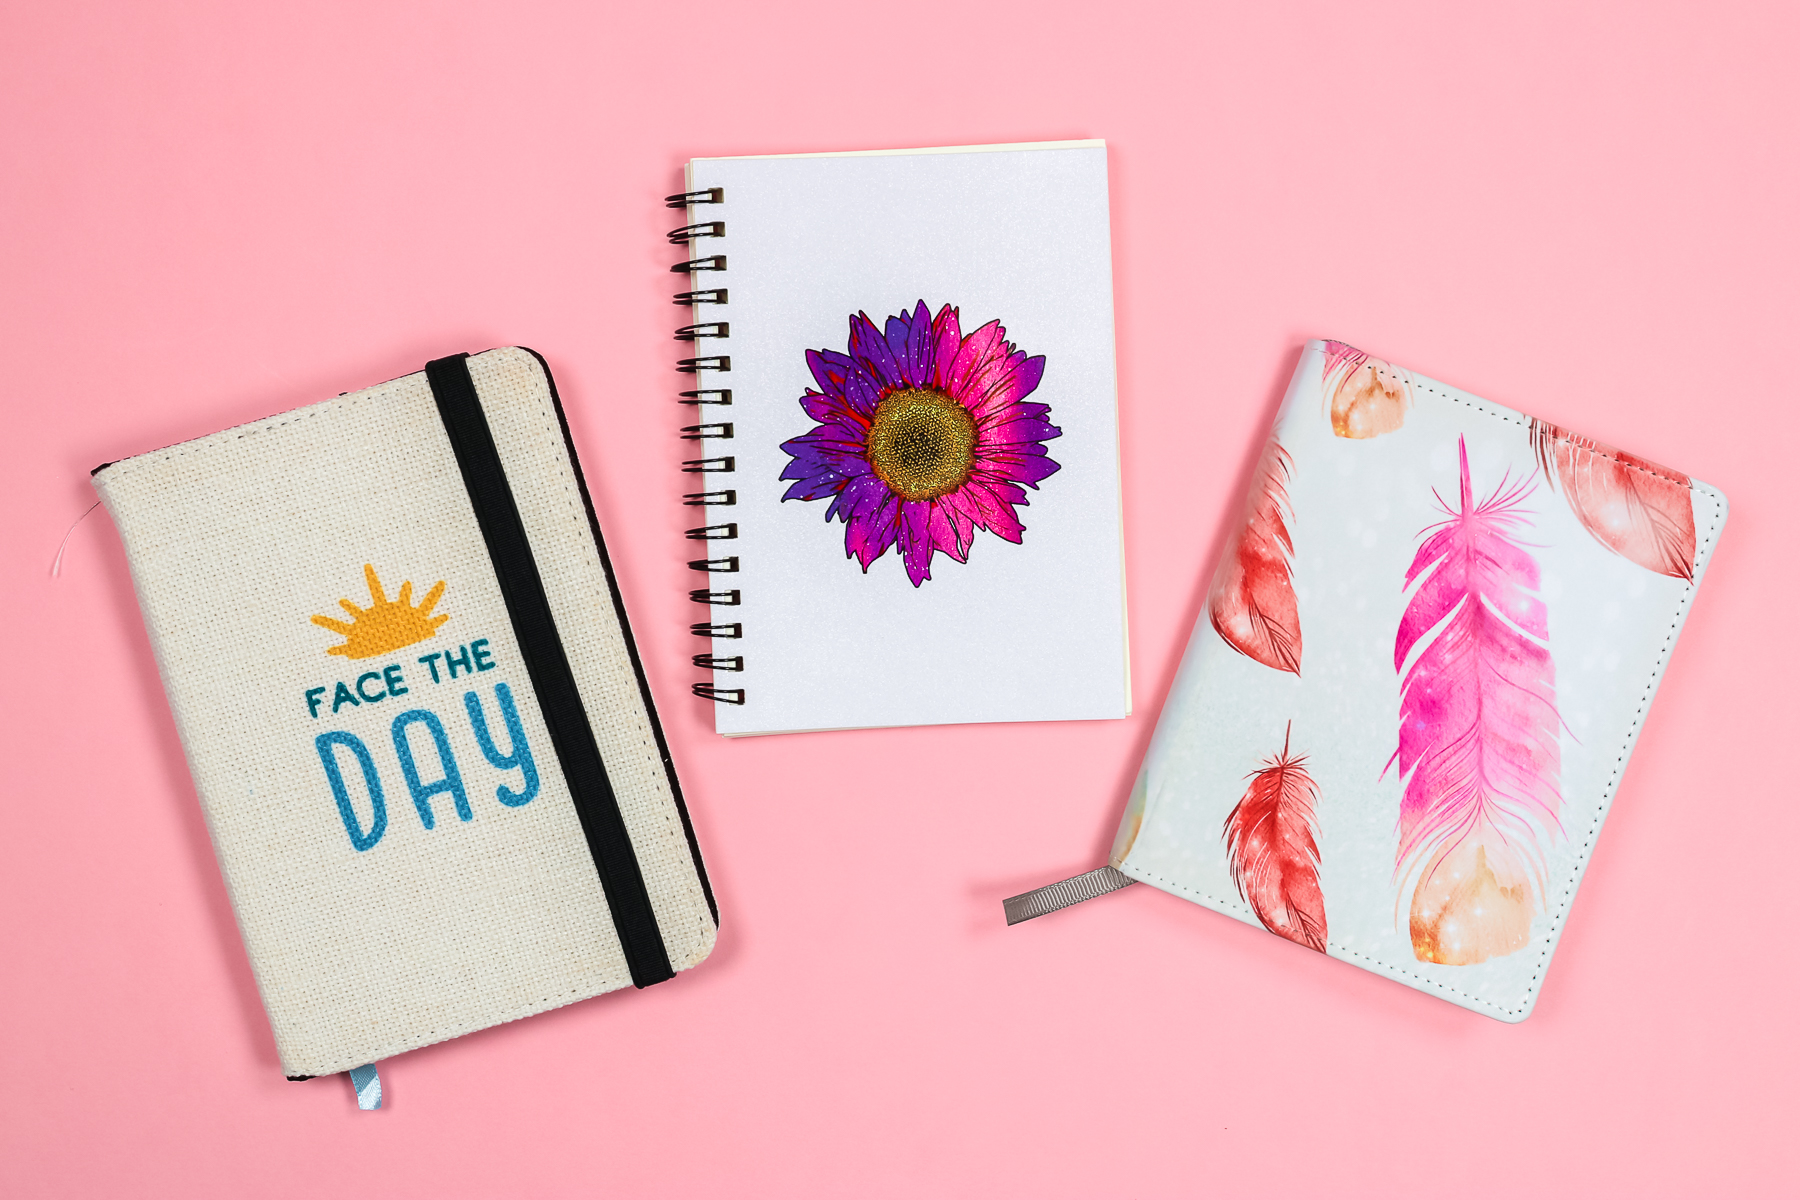
Now you have several options for making your own sublimation notebooks. I would avoid regular glitter notebooks since those didn't work for me at all. With the sublimation notebook blanks I used, I ordered the smaller size of all of them. They each come in a variety of sizes if you're looking for something larger.
If you have any questions about sublimating notebooks, leave them in the comments. I'm happy to answer them. If you've had success adding sublimation to the Dollar Tree glitter notebooks, tell us in the comments what you purchased and the settings you used so everyone can make them. I'll continue stalking my Dollar Tree in hopes of finding something that will work.
Now all that is left is for you to make some sublimation notebooks of your very own! Grab a few blanks and give this one a try. These make great gifts, and the kids would love a personalized notebook for back to school!
Sublimation Notebooks Recap
I know I just threw a ton of information at you about sublimation notebooks. So, below are the 4 most important things to take away from this post.
- Sublimation on glitter notebooks (in my experience) did not work and was a total failure.
- Sublimation on sublimation notebooks worked beautifully, but there are pros and cons depending on the type of notebook you use (page inserts, spiral-bound, etc.).
- Sublimation on linen notebooks worked great, and the process was the same as what you would do on regular sublimation blanks.
- All the notebooks that work for sublimation are available in different sizes.
5 Sublimation Resources
If you loved learning about sublimation notebooks and are looking for more sublimation resources, check out the blog posts below!
- How to Use Curved Sublimation Templates the Right Way
- How to Make Custom Sublimation Fabric
- What are Sublimation Shrink Sleeves? How Do They Work?
- The Best Sublimation Protective Paper Roll Storage
- What Sublimation Pads and Pillows Do You Need?