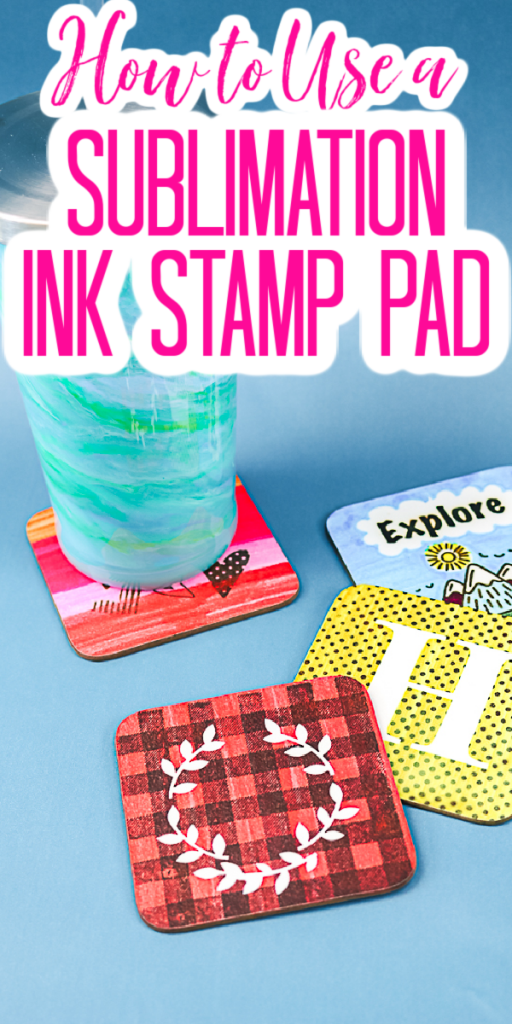
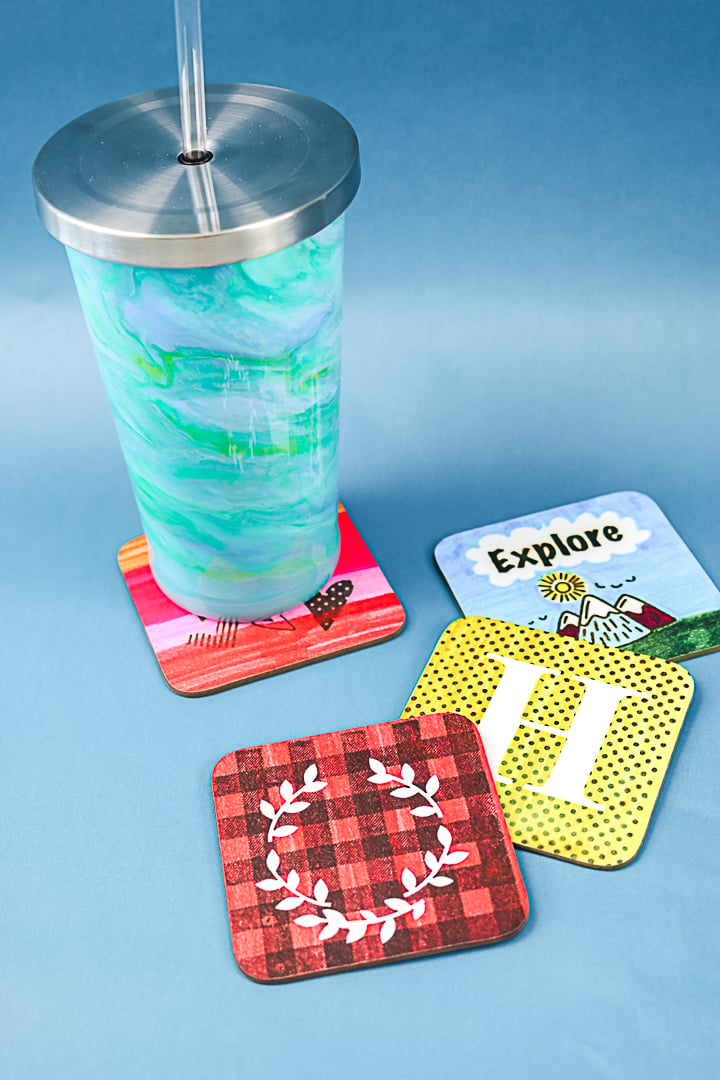
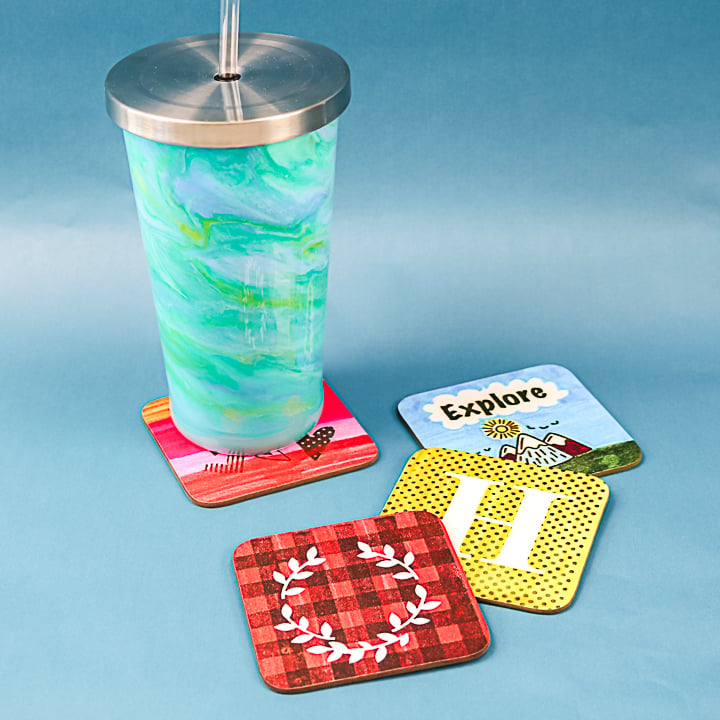
Once you learn how to use a sublimation stamp pad to create custom projects, you’ll be hooked! Let me show you how to use a sublimation ink pad to create coasters for everyone. You will love how each this project is and the professional results you can get using sublimation ink.
Supplies needed:
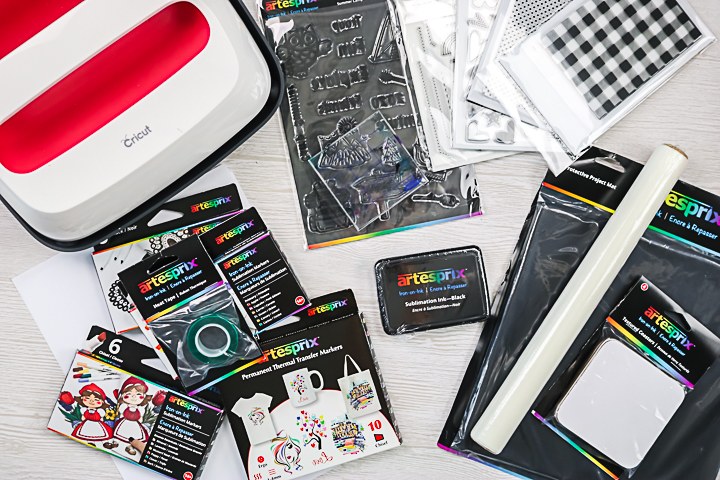
- Sublimation ink pad (These are currently only available in black. You can get just the ink pad or there is also a refill bottle to refill the sublimation ink inside.)
- Stamps (Artesprix makes stamps or you can use any stamps you have on hand. See below for examples of both.)
- Acrylic block (unless you have stamps that are already on the block)
- Protective mat
- Protective paper
- Sublimation coasters
- Heat tape
- Artesprix sublimation markers
- Cricut EasyPress or a heat press
- Cricut machine
- Copy paper
- Pencil
Can I use regular stamps to create sublimation designs?
Yes, you can use regular stamps to create sublimation designs! If you have stamps on hand you can use those or you can purchase specialty stamps just for the sublimation ink pad. This opens up a whole new world of designs you can create!
The benefit of using Artesprix stamps is for any letters or words. You have to stamp those mirrored in order to have them transfer correctly to your surface. You can see more of that in the example below but be aware of that when choosing your stamp designs. I would recommend the Artesprix stamps if you want to use any letters or words with your designs.
How to Use a Sublimation Stamp Pad
I made a few different coaster designs and did some experiments using a variety of methods. You can watch me make all four coasters in the video below and get a ton of tips and tricks for using a sublimation stamp pad for your crafts.
Can’t watch the video or missed some of the steps? You can also follow along with the step by step instructions below.
Artesprix Cling Stamps
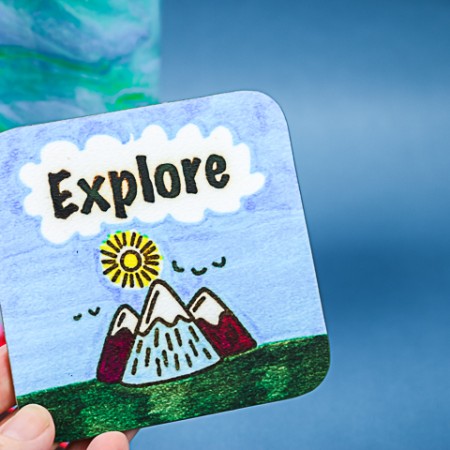
First, let’s look at using some Artesprix stamps with the stamp pad to create a coaster that has a word on it. From this, you can see the importance of those stamps to make your design mirrored before pressing.
Supplies
- Sublimation ink pad These are currently only available in black. You can get just the ink pad or there is also a refill bottle to refill the sublimation ink inside.
- Artesprix Stamps
- Acrylic block
- Protective mat
- Protective paper
- Sublimation coasters
- Heat tape
- Artesprix sublimation markers
- Cricut EasyPress or a heat press
- Copy paper
- Pencil
Instructions
- To begin, remove the cover just like any ink pad. It does have a protective plastic piece which I leave in place to offer up additional protection.
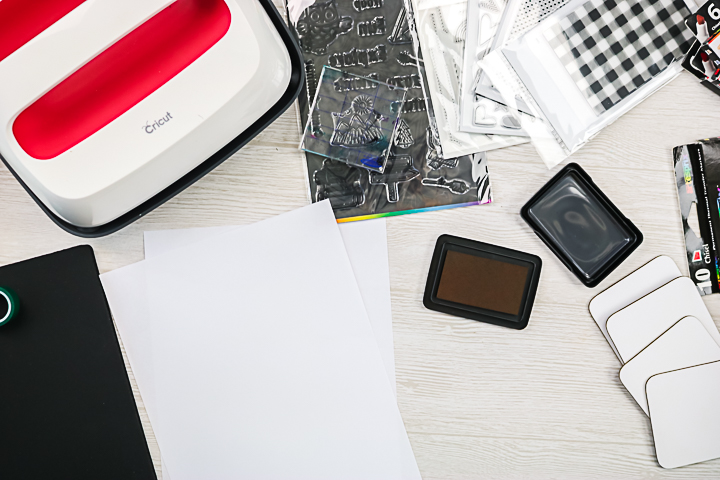
- Take one of the coasters and, using a pencil, trace around it onto the copy paper. The pencil gives you a guideline for adding your stamps. If you want a background color, now's a great time to do that. Or you can stamp and then color around the outside, either way. Use an acrylic block almost the same size as your coaster and add whatever stamps you are going to use. Ink up your stamps just as if you were stamping regular paper with a regular ink pad.
- Center the design on the outline of the coaster and press down really well. Make sure you get all the areas. If you have text in your design, the words will be backwards, but when we turn it over onto the coaster to press, it will be the correct way.
- If there is something that isn’t as dark as you want it to be or you want to add more colors, you can color things in and go over the top. It’s a lot like a coloring book at this point! Use as many colors as you like. The colors are pretty vibrant when coloring with them but I do want to note that it will be even more vibrant once you press it. You can color outside of the pencil line you made earlier, but the design that goes on your coaster will be just to the edge of the pencil line.
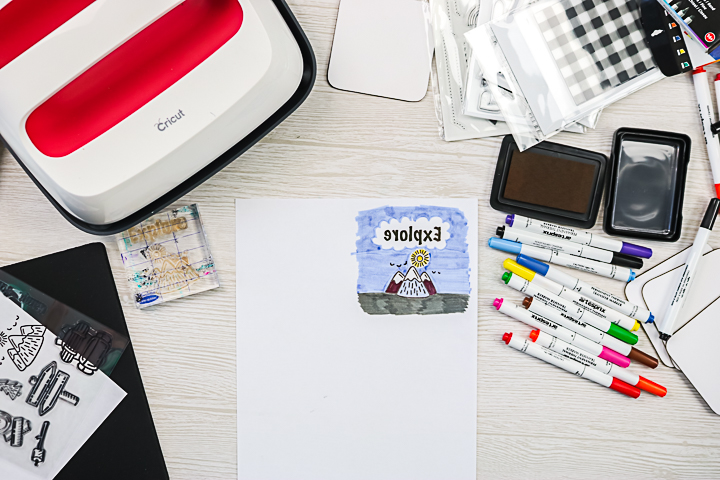
- Please note that you will need to clean your stamps with a damp cloth when you're finished with your design.
- Now it's time to press your design onto the coaster! Cut around the design, but not on the line to give a little extra space around the outside. Center the paper onto the coaster. Apply the heat resistant tape. Put the coaster face up and place another piece of protective paper over the top. Heat the EasyPress to 400 degrees and press for 90 seconds. Allow to cool and pull back the paper to reveal the design!
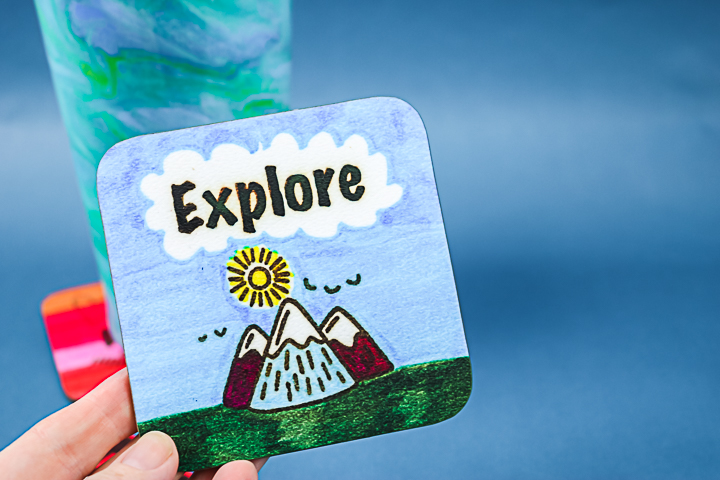
Once you’re done with the sublimation process, your project is ready to use. Sublimation is completely permanent after the chemical reaction is over. The only requirement is that you press the design on a sublimation-ready surface.
Using a Cricut to Cut a Design
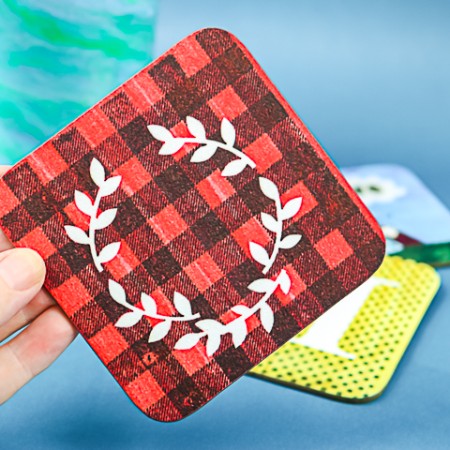
You can also change things up and mix and match stamps with your Cricut machine. Here I am making a stamped design then cutting that on the Cricut to get a reverse effect that I love!
Supplies
- Sublimation ink pad These are currently only available in black. You can get just the ink pad or there is also a refill bottle to refill the sublimation ink inside.
- Stamps Here I am using Kingston Crafts stamps.
- Acrylic block unless you have stamps that are already on the block
- Protective mat
- Protective paper
- Sublimation coasters
- Heat tape
- Artesprix sublimation markers
- Cricut EasyPress or a heat press
- Cricut machine
- Copy paper
- Pencil
Instructions
- As with the first project we made, trace around the coaster onto the copy paper. This time we'll do the entire coaster in color with the sublimation markers. Just use the broad tip to color over the entire surface.
- For this design, I'm going to take a stamp, that's an all-over pattern, like dots. Attach it to the acrylic block and press it in the sublimation ink. Line up on the copy paper and press down really well and lift up. You'll end up with a polka dot pattern on paper with sublimation ink.
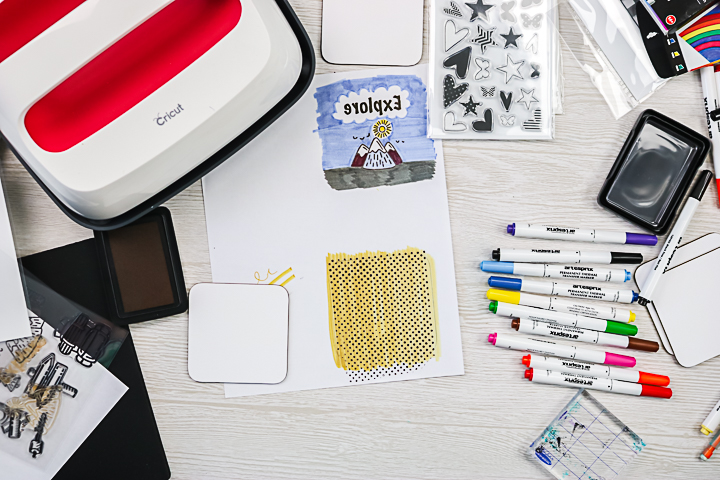
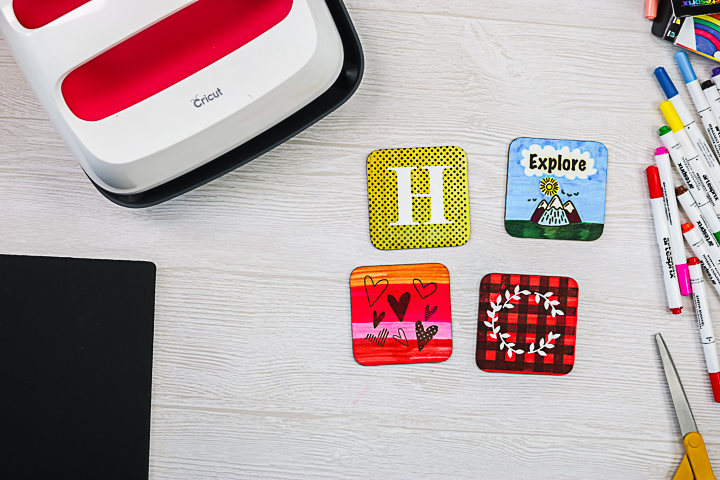
- Allow to dry a few minutes then use your Cricut to cut out a mirrored design. I made a monogram as well as a wreath design using two different patterns. Tip for cutting: Use SnapMat on iOS to locate your design or use the markers on your mat to locate. Once cut, remove all of those inside pieces before pressing.
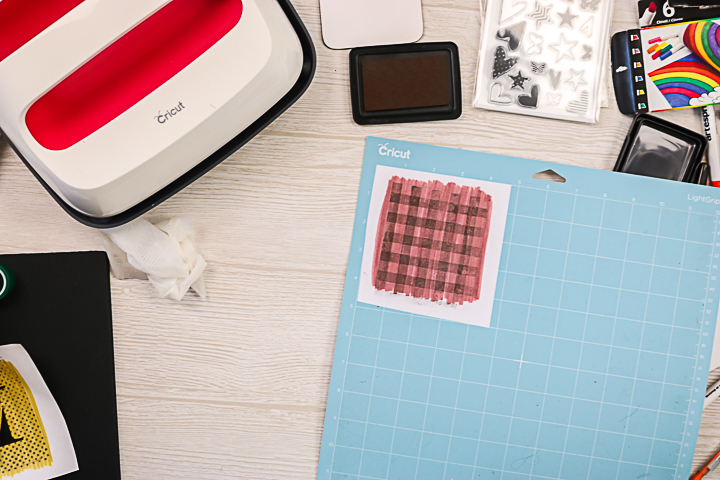
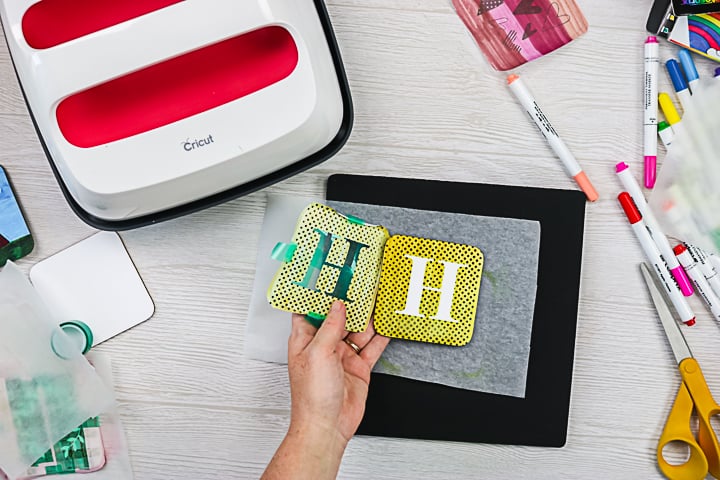
- When you press this design on the coaster, the monogram or design will show through white and everything around it will be the pattern. Once again, you will want to cut around the outer edge of your design but not on the line. Add protective paper on your mat, then the coaster, then your design face down.
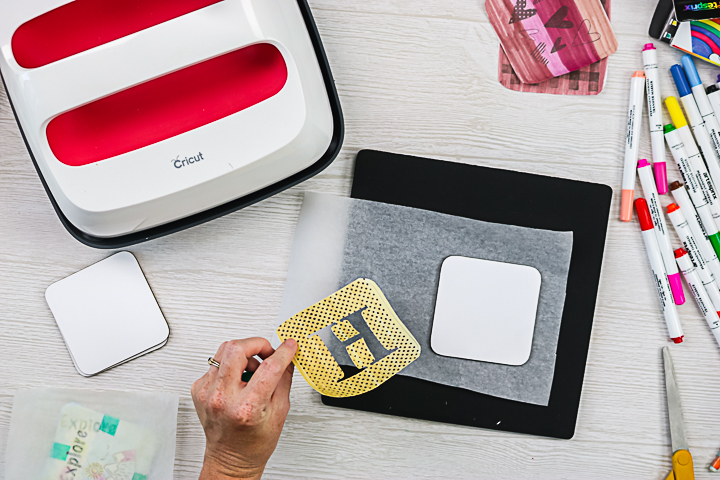
- Apply the heat resistant tape around the outer edge as well as holding the design down in the center.
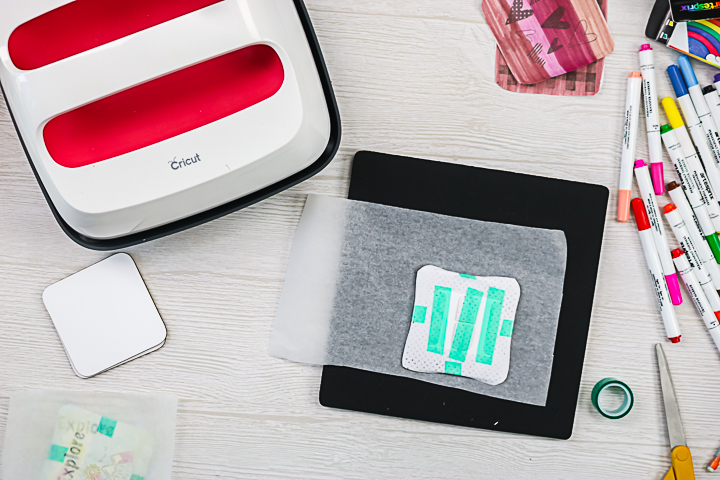
- Add protective paper over the top and heat with the EasyPress to 400 degrees and press for 90 seconds.
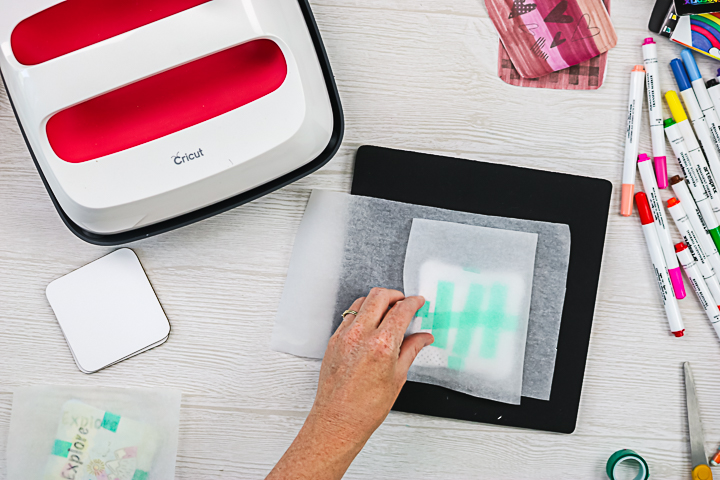
- Allow to cool and pull back the paper to reveal the design!
I continued to play with a variety of methods. I did not get to use my watercolor sublimation method on these coasters but I think that would be really cool as well! I know you will be hooked into trying new things once you get started with using a sublimation stamp pad for your crafts.
Tips for Pressing Sublimation Designs
- Pressing for too much time is perfectly okay. So if you find yourself pressing a design and ignoring the time, while maintaining pressure, that is okay. Too little time is an issue, though.
- Do not move anything! Any movement will ghost your image. So when you’re done pressing your design, pull straight up and allow to cool.
- If you can see any leftover ink on the protective paper, you cannot reuse it.
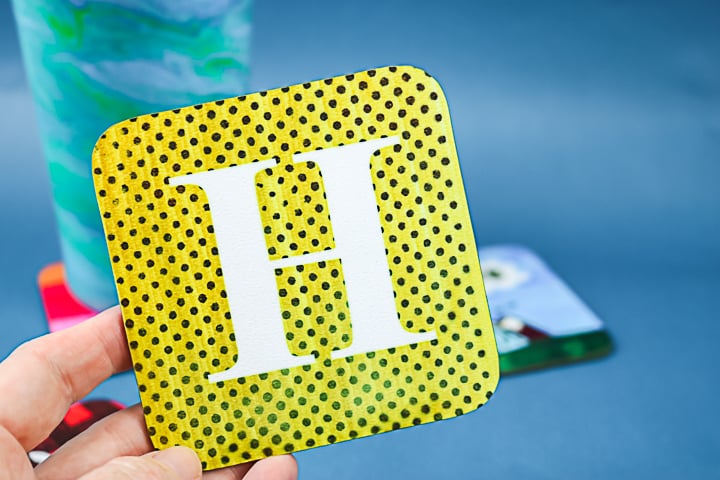
What are you waiting for? I know that you can make some amazing designs with a sublimation ink pad. These coasters are just one example. You can use these stamps on so many other surfaces. You could even make mugs and tumblers.
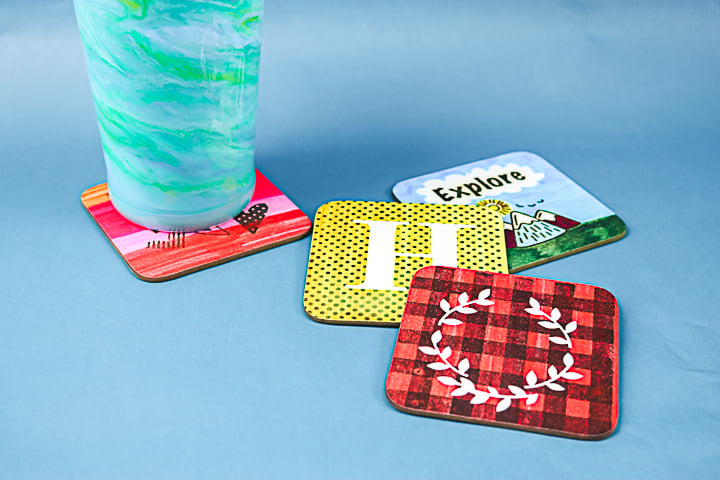
So, will you be adding a sublimation ink pad to your craft room? If you have wanted to try sublimation but a printer is just too expensive, this may be the way to try it without the huge commitment.
Plus you can always invest more later once you fall in love with sublimation ink crafts. So, now that you know how to use a sublimation stamp pad, what will you make?
If you love this, you will also want to check out these other Cricut tutorials:
