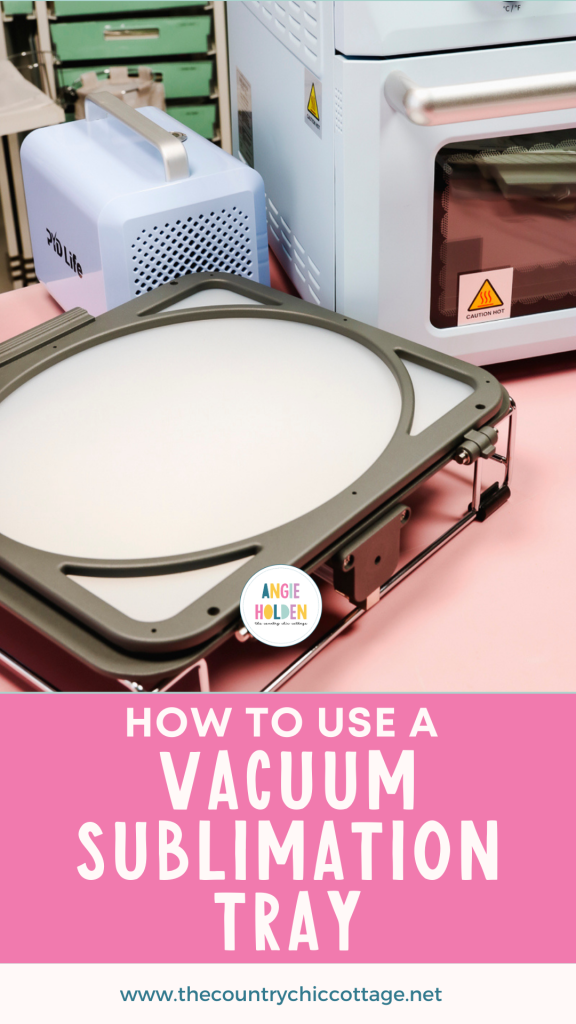
Ever thought about making more 3D sublimation items? One way to do that is with a vacuum sublimation tray that you can add to the PYD Life Sublimation Oven. Today, I'm going to show you how to install and use this accessory.
Before we begin, I want to clarify that this vacuum accessory only works with the 25-liter PYD Life oven. PYD Life has multiple ovens, one larger and one smaller. Make sure you have the right oven before purchasing the sublimation vacuum tray.
This tutorial includes modifying your sublimation oven. This modification follows the instructions from PYD Life for using the sublimation vacuum.
I highly recommend watching the video for that process if you are able to. Watch the video now by pressing play on the video below.
What is a Sublimation Vacuum Tray?
When making sublimation projects, you have to have pressure. A vacuum tray accessory can create pressure on odd-shaped surfaces within a sublimation oven.
This has traditionally been done in sublimation ovens with shrink wrap. Shrink wrap can be frustrating. It is an additional step, and it can be difficult to remove if it gets too cold.
A vacuum tray can alleviate some of that frustration for some blanks. Unfortunately, things like tumblers will not work in the vacuum tray. The blanks can have a curve, but they need to be fairly flat.
With the vacuum tray accessory, air is sucked out of the tray pulling the top film tight around the blank.
What Type of Blanks Will Work in the Vacuum Tray?
When thinking about what blanks will work in this vacuum accessory, we need to look at things that are relatively flat, only need to be pressed on the top/sides, and will fit within the tray.
This accessory is great for things like slate because it is not a flat surface. I am testing sublimation fingernails. They have a curve but don't need to be sublimated on the back.
Another option that could work in this tray is cell phone cases. This tray would allow you to press the top and the edge onto the sides.
Sublimation Vacuum Tray for the PYD Life Oven
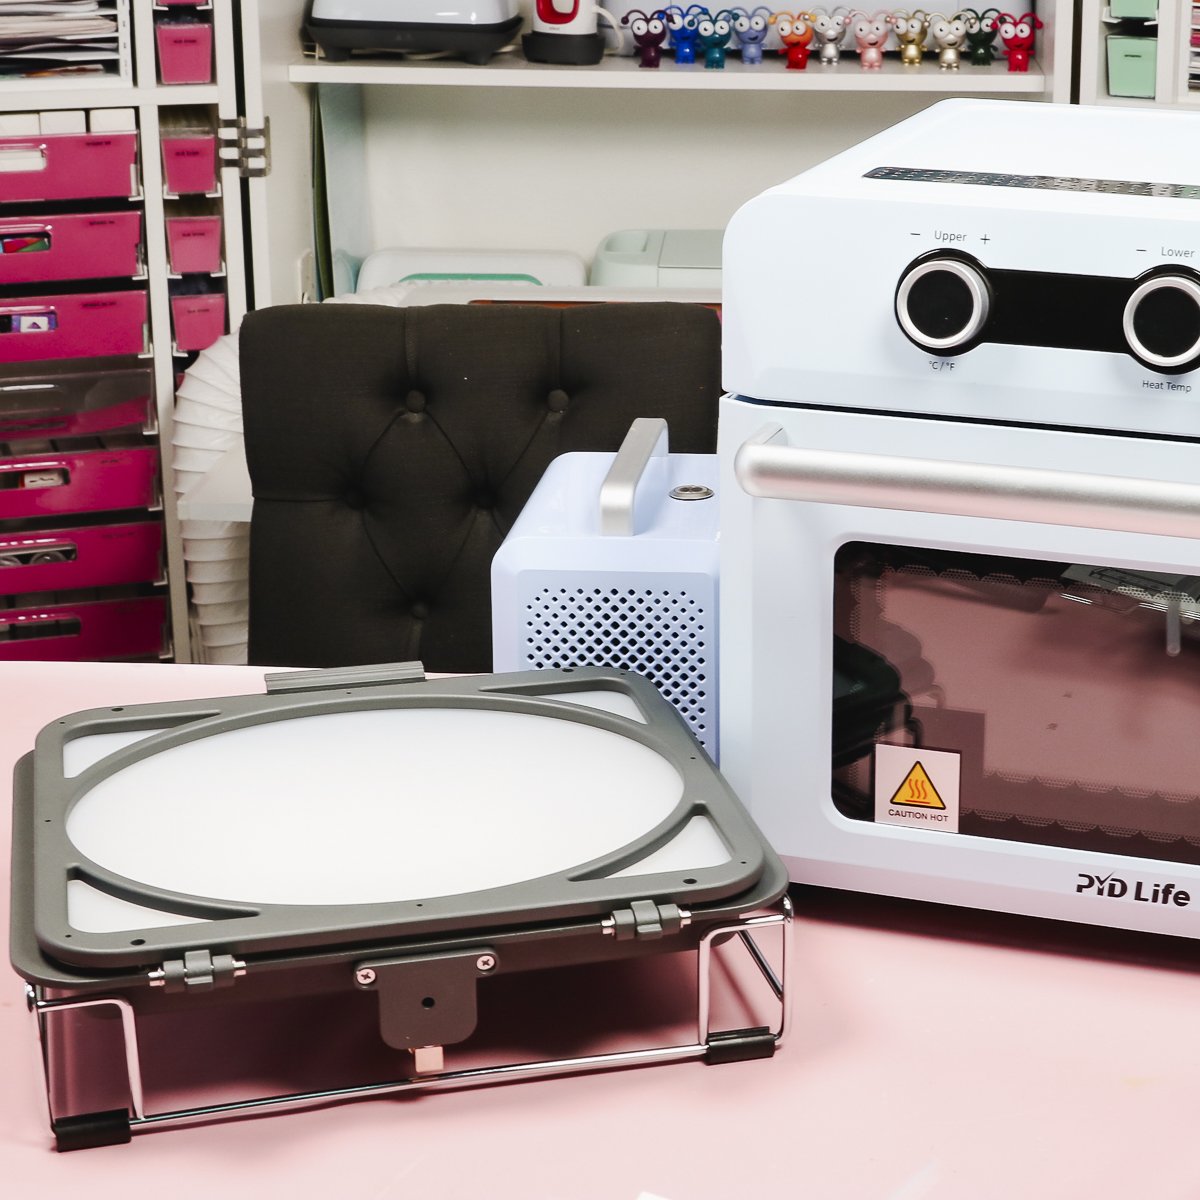
Now let's take a closer look at the vacuum accessory for the PYD Life Oven.
What comes with it?
There are a lot of pieces that come with the tray. You do need to modify your oven; don't let that scare you. I was able to do this myself, following the instructions from PYD Life.

I want to advise you that once you set up the oven for the vacuum tray, you never have to do it again. Setting it up the first time will take a little while, but you only have to do that once.
Do not throw away anything from inside the box until you have everything set up. There are some items you need that may look like packaging.
Inside the box, you'll find:
- Vacuum Tray
- Mold Base
- Perforated Paper
- Drill Bit
- Allen Wrench
- 1 Large Sealing Cloth
- 2 Small Sealing Cloths
- Large Silicone Wrap
- Air Hose Tubing
- Hose Clamp
- Suction Device
- Rubber Stoppers
- Air Filter
- Screwdriver
- Power Base
- Seal Rings
- Hole Punch
Remember, don't throw anything away until you have everything set up. You will need the perforated paper to mark where to drill a hole in the back of your oven.
You will need a drill to put the hole in the back of the oven, the drill is not included.
Convert the Sublimation Oven for the Vacuum Tray
IMPORTANT: Before you begin, make sure you have the right sublimation oven. This tray will only work with the 25-liter oven.
First, remove everything from inside the oven and make sure it is unplugged.
Step 1: Mark Hole Location
Turn the oven around and use the piece of paper that came with the tray to mark the location where you will drill the hole.

On the bottom of the back of the oven, there are 2 spacers that stick out. These keep the oven from getting too close to the wall. The holes in the bottom of the paper line up with those spacers.
Use a marker to mark where you need to drill the hole. If things are lined up correctly, the mark should be in the center of one of the concave triangles.
Note: Converting your sublimation oven does not prevent you from using it without the vacuum tray in the future. You will still be able to use it for items that don't require the vacuum tray.
Step 2: Drill the Hole
You do need a drill for this process. It is a quick process, so if you don't own one, you can borrow one.
The appropriate drill bit comes with the sublimation vacuum tray; make sure you use this drill bit. Add the drill bit to the drill, and you're ready to convert your sublimation oven.
Use the template to ensure you're drilling in the right location and drill the hole through the back of the sublimation oven.

If you want to use the sublimation oven without the sublimation vacuum tray in the future you'll simply remove the attachments and place a plug (included in the kit) in the hole.
Step 3: Convert Sublimation Oven
The suction assembly comes assembled. Remove the nut and one large black washer. The rest of that piece will be installed from inside the oven.
Open the oven door and push the suction assembly through the hole. Replace the washer and then tighten the nut.
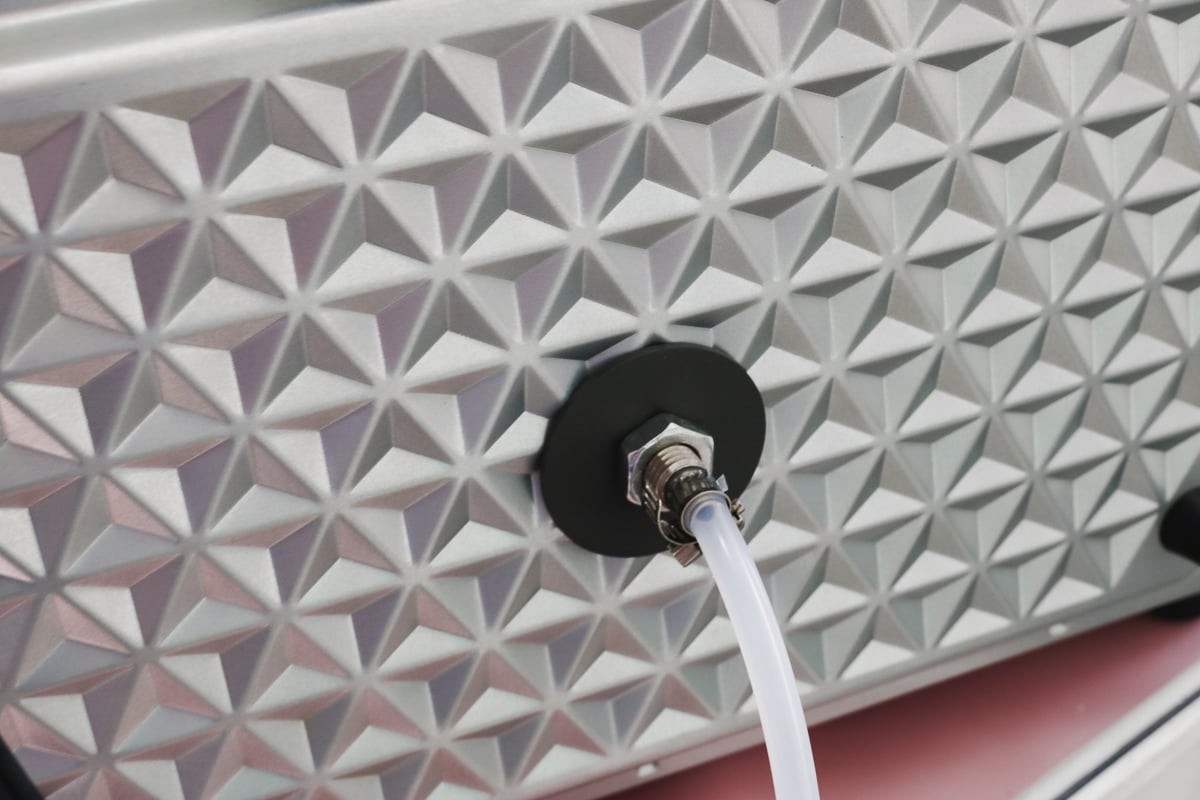
Add a clamp to one of the air hoses and attach one end of the air hose to the suction piece. Push the hose all the way to the threads.
Move the clamp up to the end and tighten it with a screwdriver. You want that hose to be really tight so you get a good vacuum suction.
Step 4: Attach Sublimation Vacuum Tray to Suction Pump
Next, we need to connect the hose from the sublimation vacuum tray to the filter. The other end of the filter will connect to the hose from the small vacuum pump.

Ensure all the hoses are pushed as far as they can be so they don't come off while in use.
Prepare the Sublimation Vacuum Tray
Now that we have the sublimation oven ready for the vacuum tray let's prep the tray itself.
When you open the packaging, there will be a zip tie around the entire tray. Use a pair of scissors and cut that zip tie.
There will be stuff inside the tray. I found additional sheets and brackets inside.
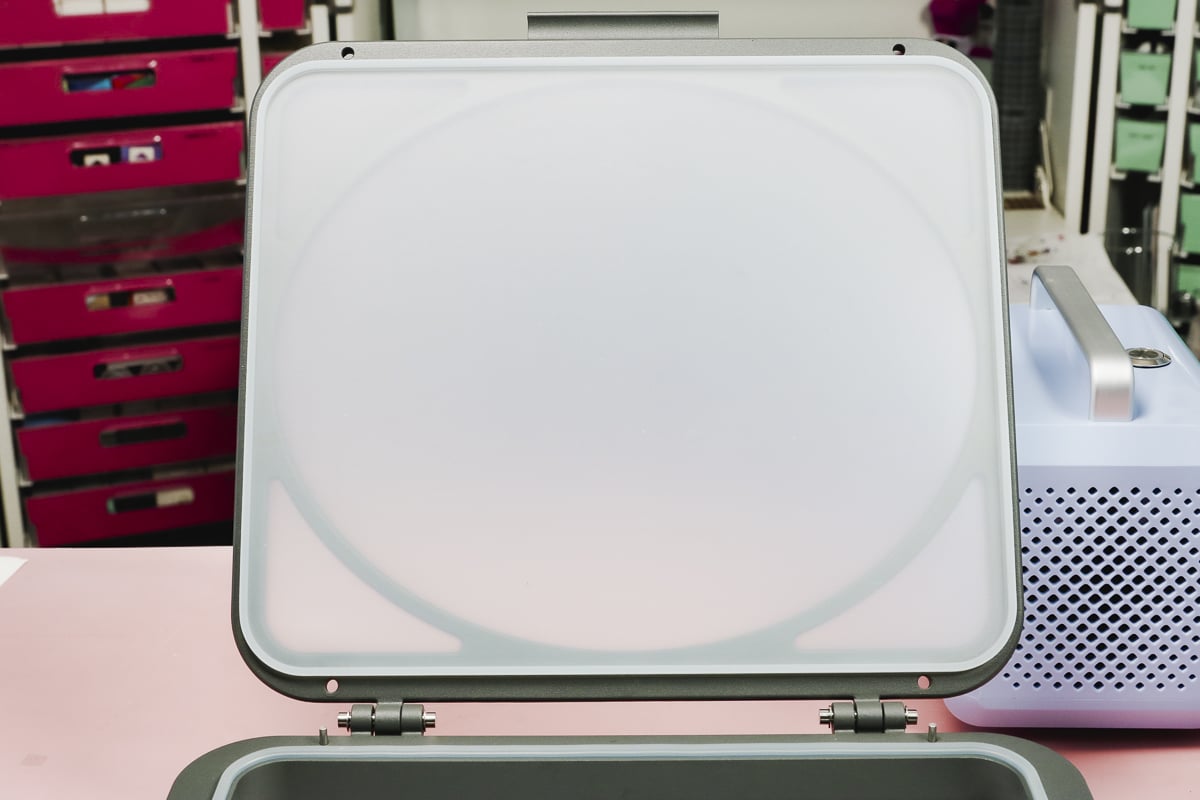
There is a sheet already installed on the top of the vacuum tray, and there is a seal around the base of the tray and the lid.
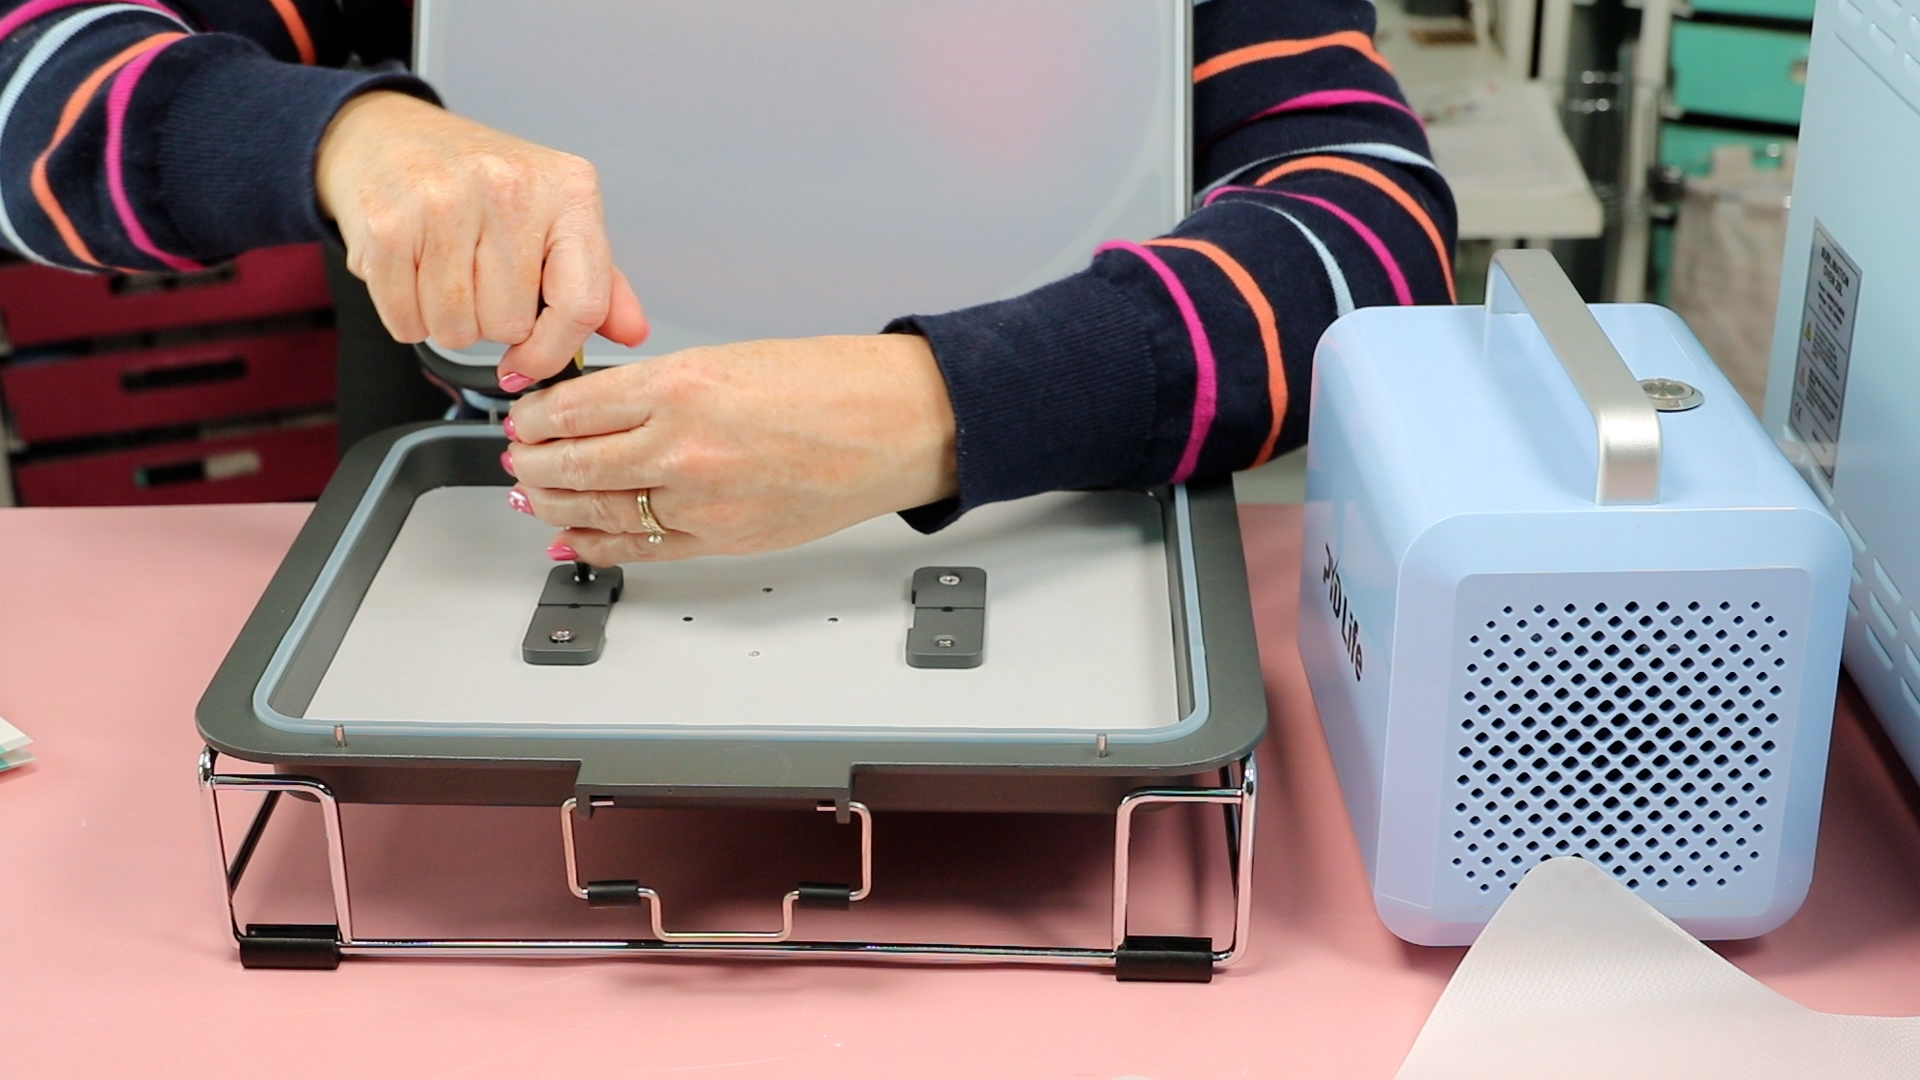
The additional sheets and brackets I am not using today. Those are for when you use molds with the sublimation vacuum tray. I am not using those today so using a screwdriver, I am removing those brackets.
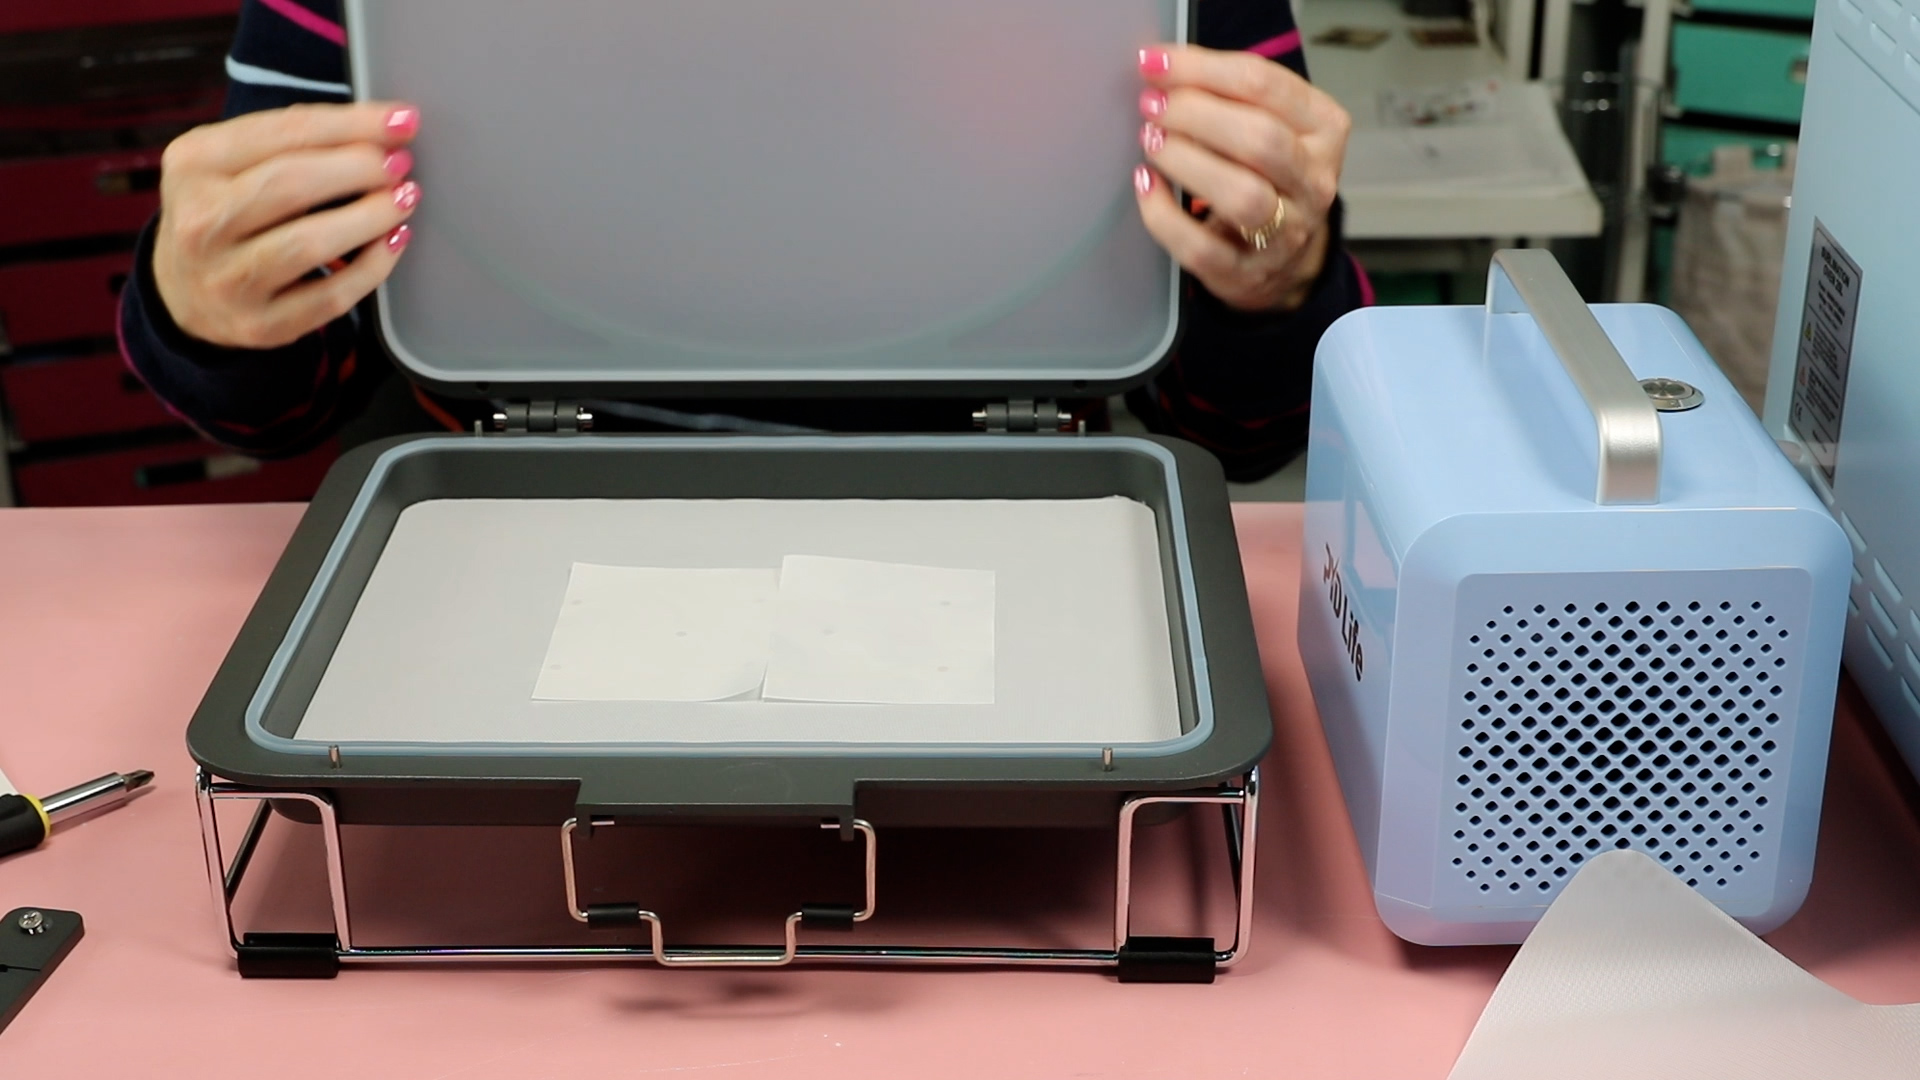
With the brackets removed there are holes in the bottom of the tray. You will use a sealing sheet to cover the holes so air does not escape during the vacuum process.
How to Use the Sublimation Vacuum Tray
I am using regular sublimation paper for the sublimation nails I am making today. Sublimation nails are slightly curved and only need to be sublimated on one side.
You could also use the sublimation vacuum tray for items that are flat, like glass or ceramic ornaments. I will continue to use a heat press for things that are flat because it's easy.
This would be good for things like slate that is not naturally flat or for something like a sublimation plate that has a curve to it.
Supplies Used
- Free Floral Design
- PYD Life 3D Vacuum Sublimation Tray
- PYD Life 25L Oven
- Press On Nails
- Molds for Nails
- Brother Sublimation Printer
- Sublimation Paper
- Lint Roller
- Heat Resistant Tape
- Heat Resistant Gloves
- Tape Dispenser
- Heat Resistant Mat
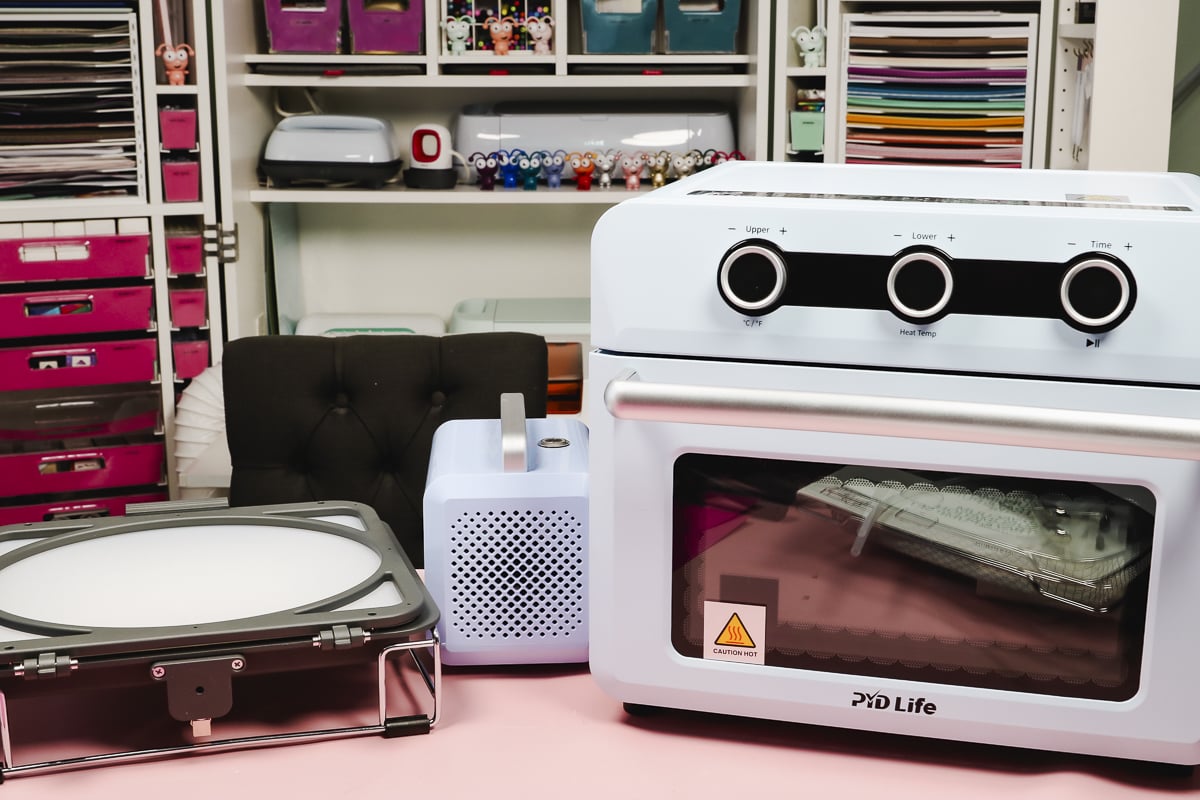
Step 1: Preheat Sublimation Vacuum Tray
The sublimation vacuum tray needs to be preheated with the oven. Place the tray in the oven to preheat.
The settings for my sublimation nails for preheat are 293 degrees for 15 minutes.
Slide the tray into the middle section so the back is going to line up with the suction to make a vacuum.
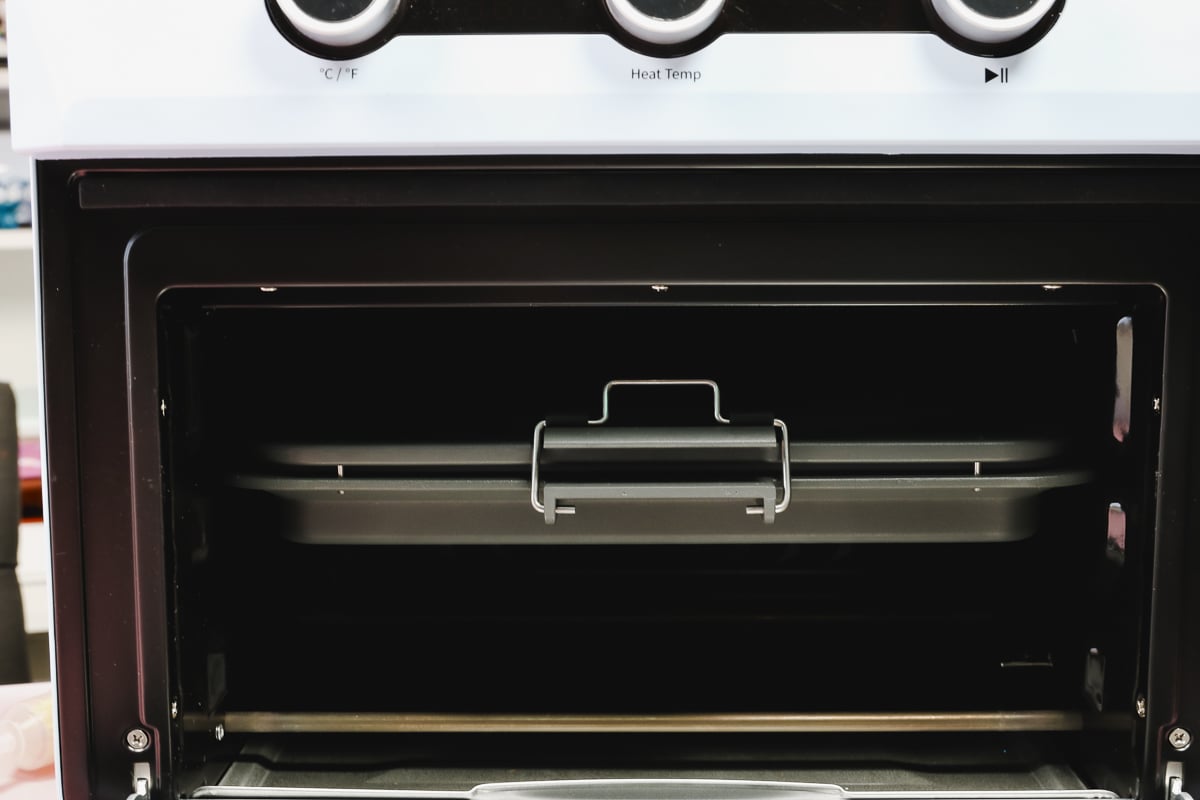
Close the oven and press start. You do not need to turn on the vacuum for this portion.
Step 2: Prepare Sublimation Nails
These faux nails are made for sublimation. They come in strips, and you need to sublimate them individually.
Because these are thin and plastic, if I placed them on their own in the vacuum tray they would flatten out with the pressure of the vacuum.
I am using a set of fingernail molds to sublimate my nails. These are reusable, so you can purchase them once and use them again and again.
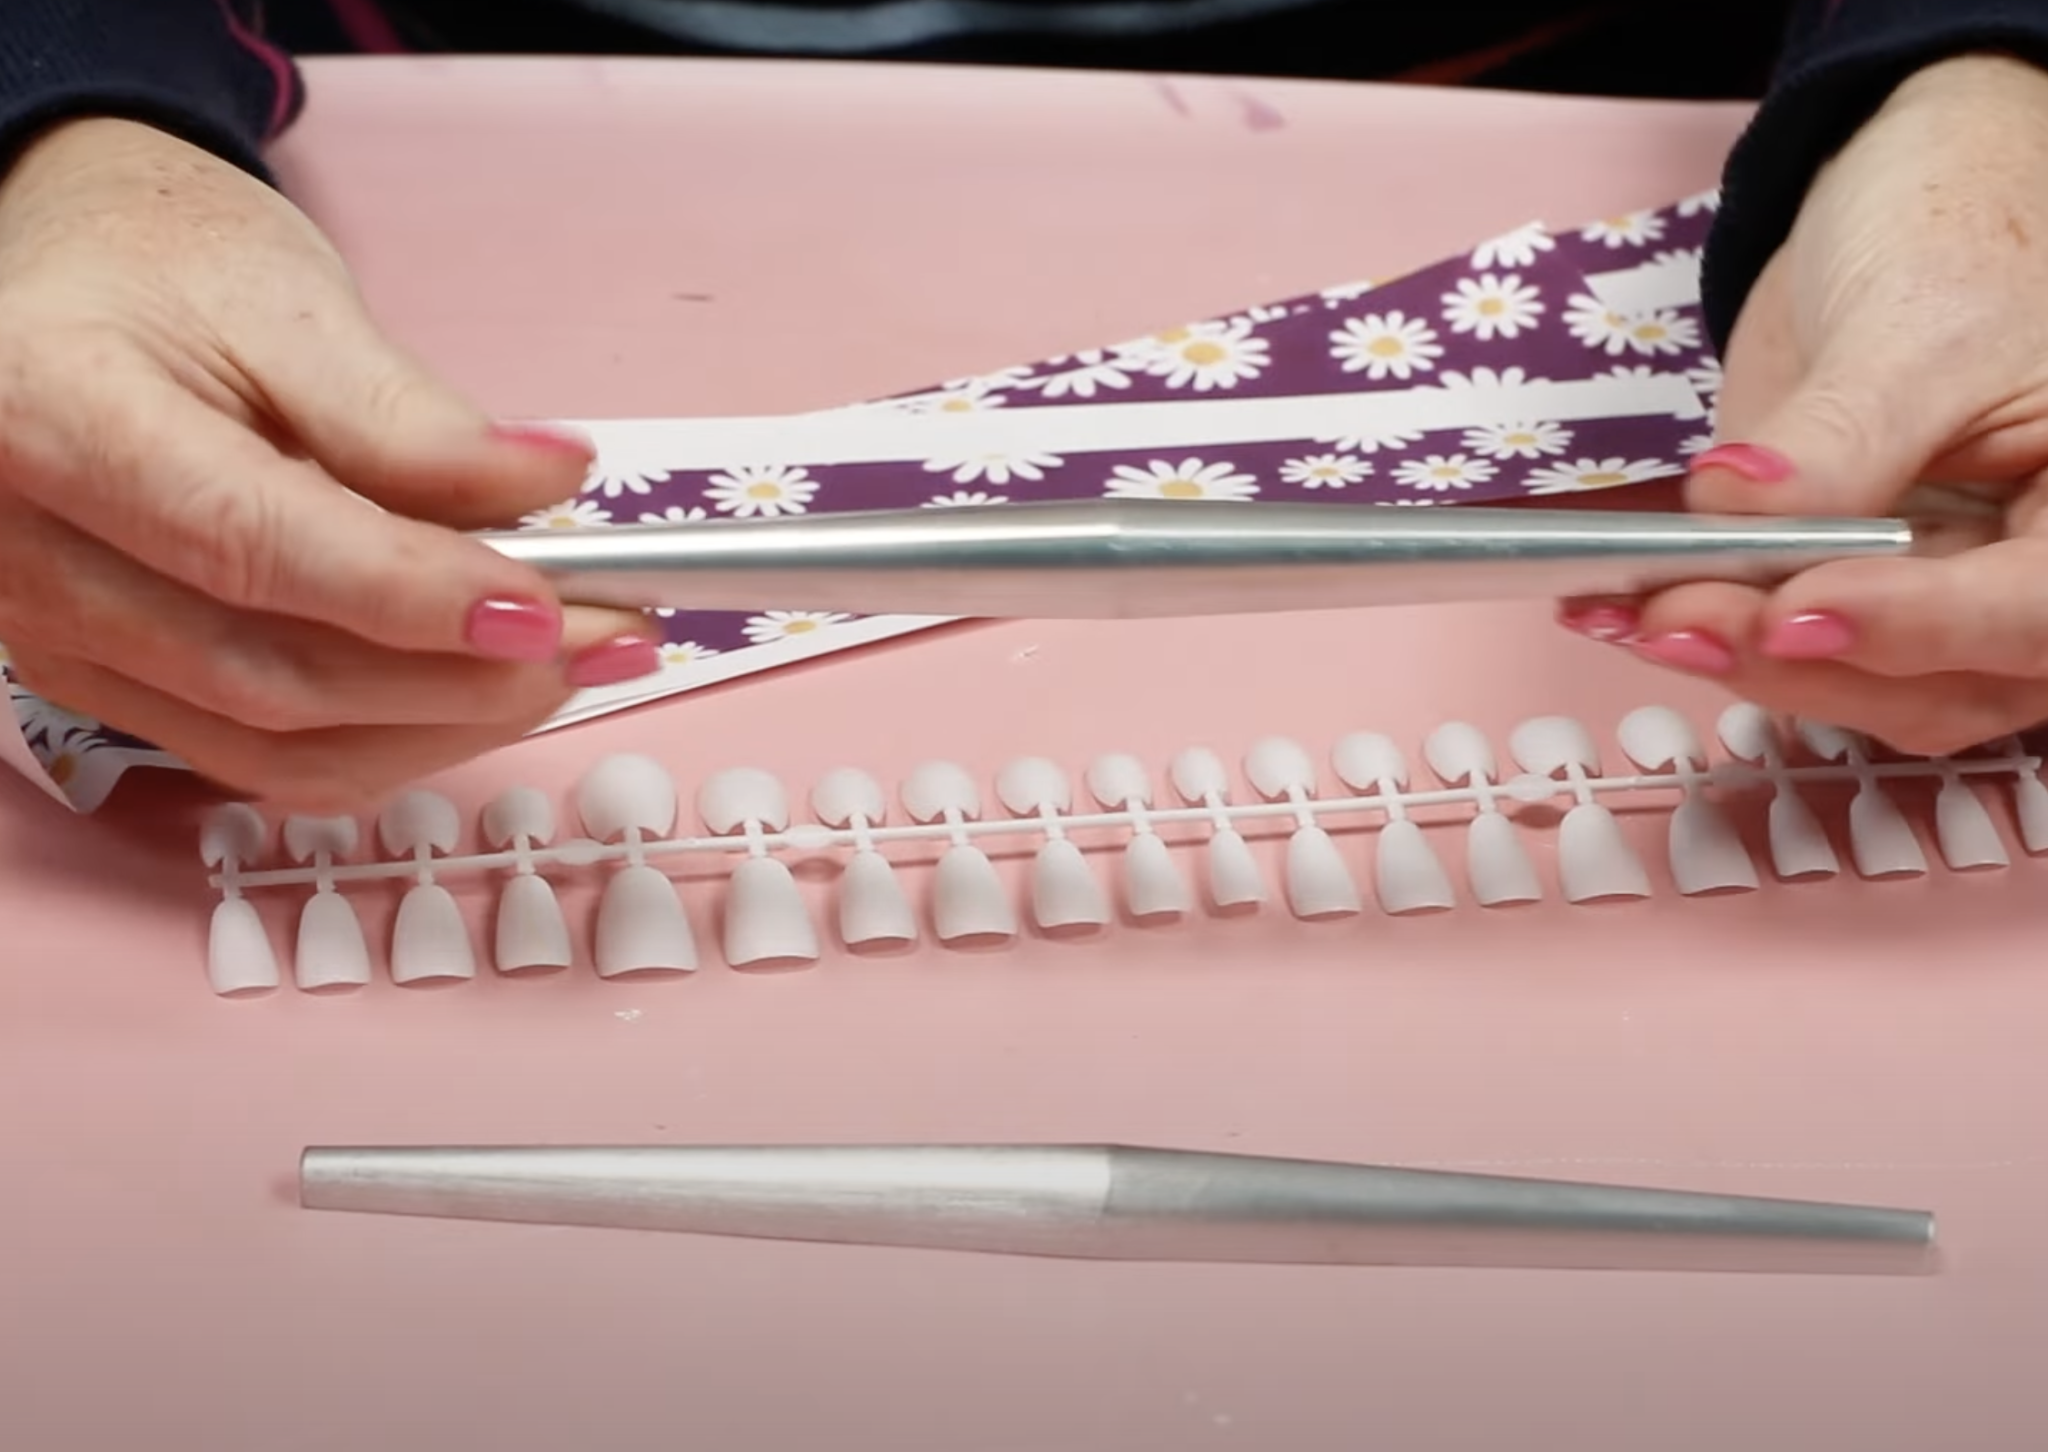
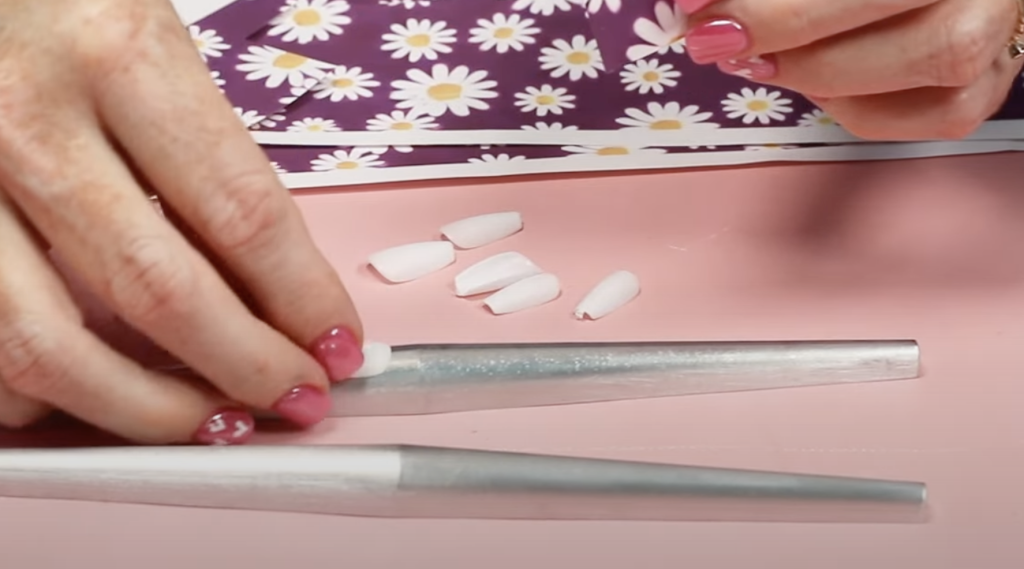
Cut the nails you want to use off the strip and locate them on the form so they fit snuggly.
I am using sublimation print scraps for my nails. You can use any sublimation print but it does need to be sublimation. A sublimation print is sublimation ink printed onto sublimation paper from a sublimation printer.
I save small scraps from sublimation prints, and projects like this are great for those scraps.
Trim the print to fit the nail. With the fingernail on the form use heat-resistant tape to locate the print in place on the nail.
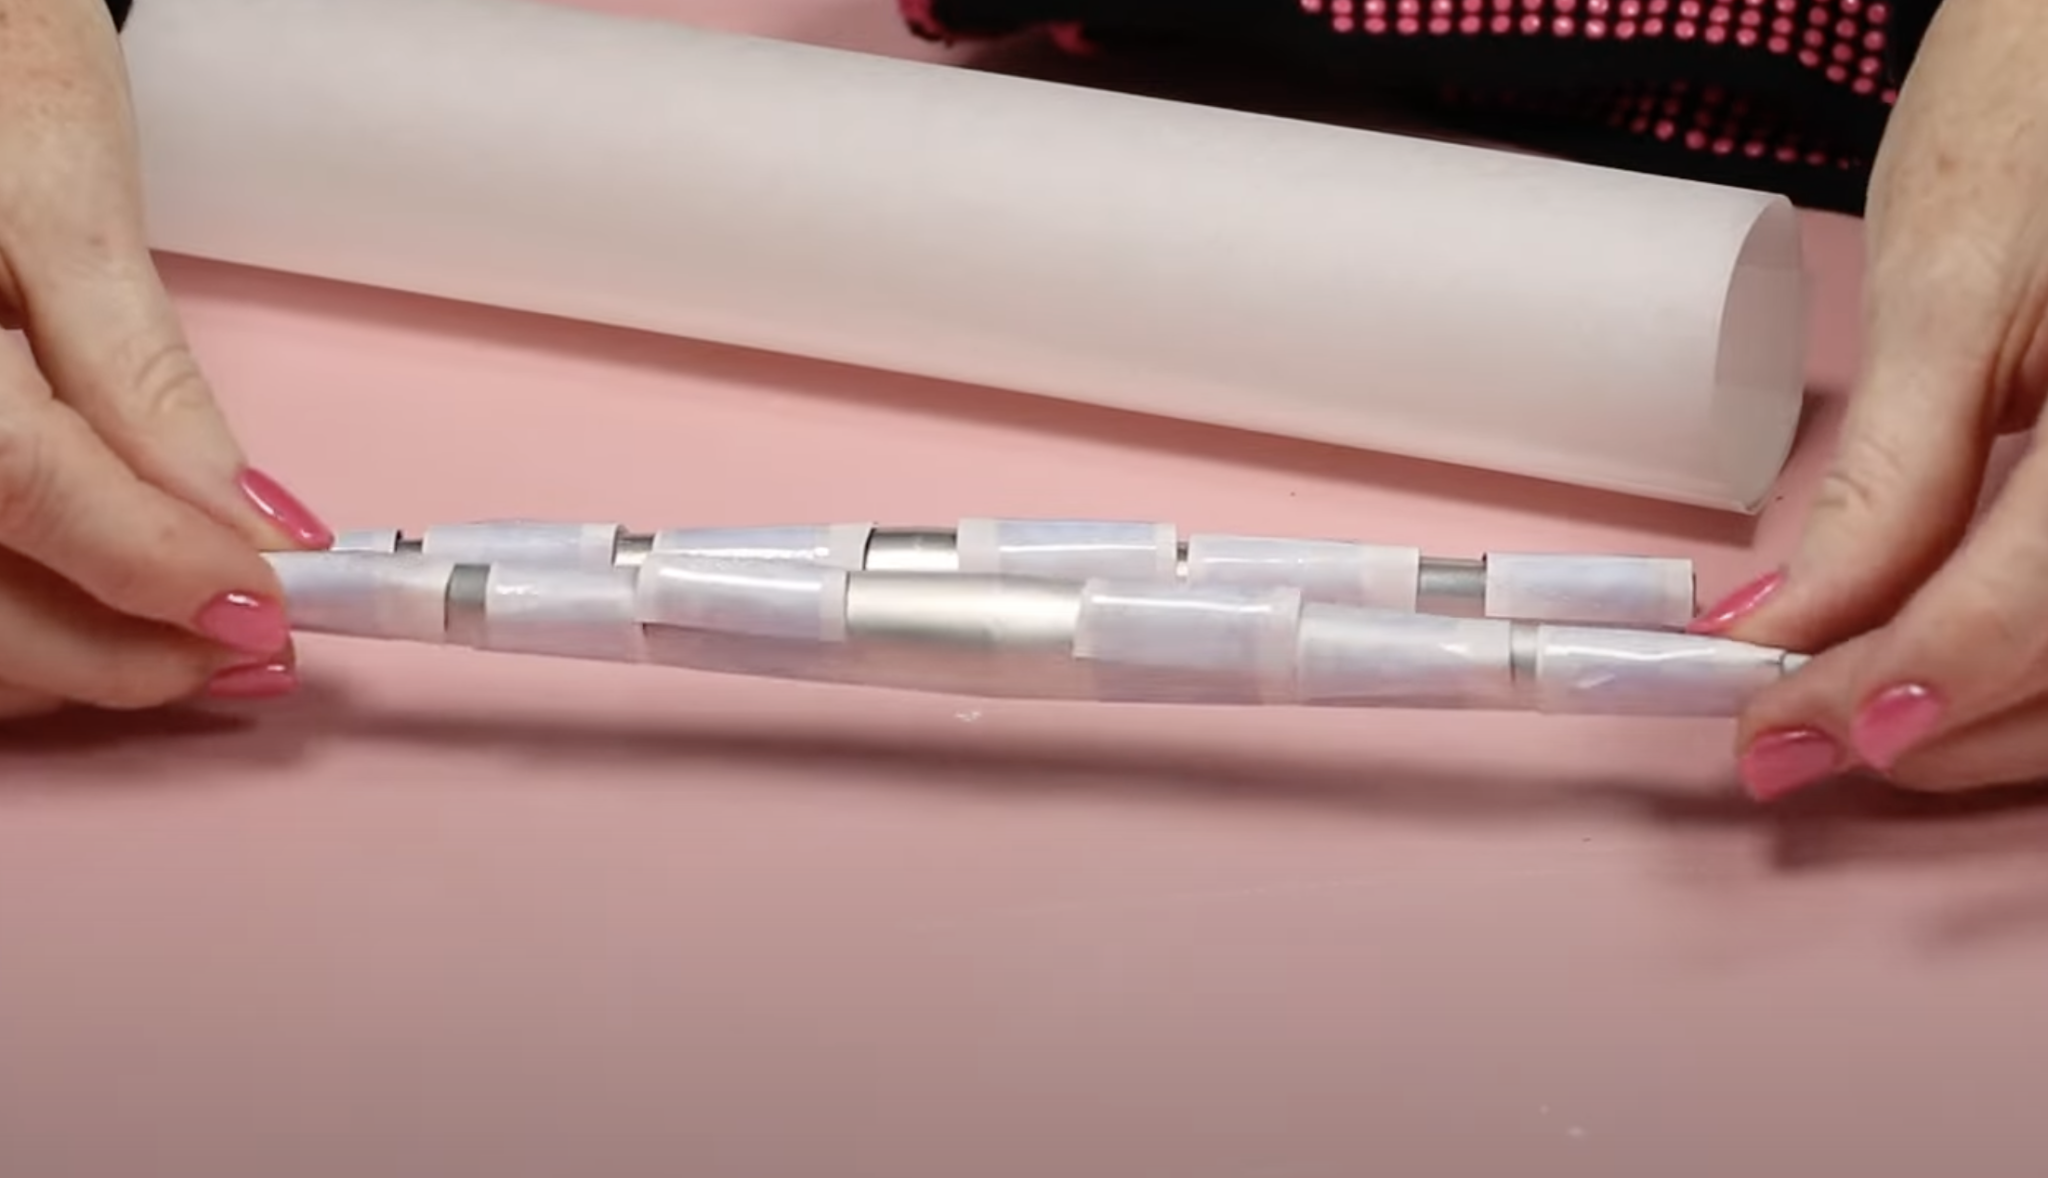
The molds are tapered, so make sure the nail fits well on the part of the mold you place it on. With all the nails prepped, we're ready to add them to the tray.
Step 3: Add Sublimation Nails to Vacuum Sublimation Tray
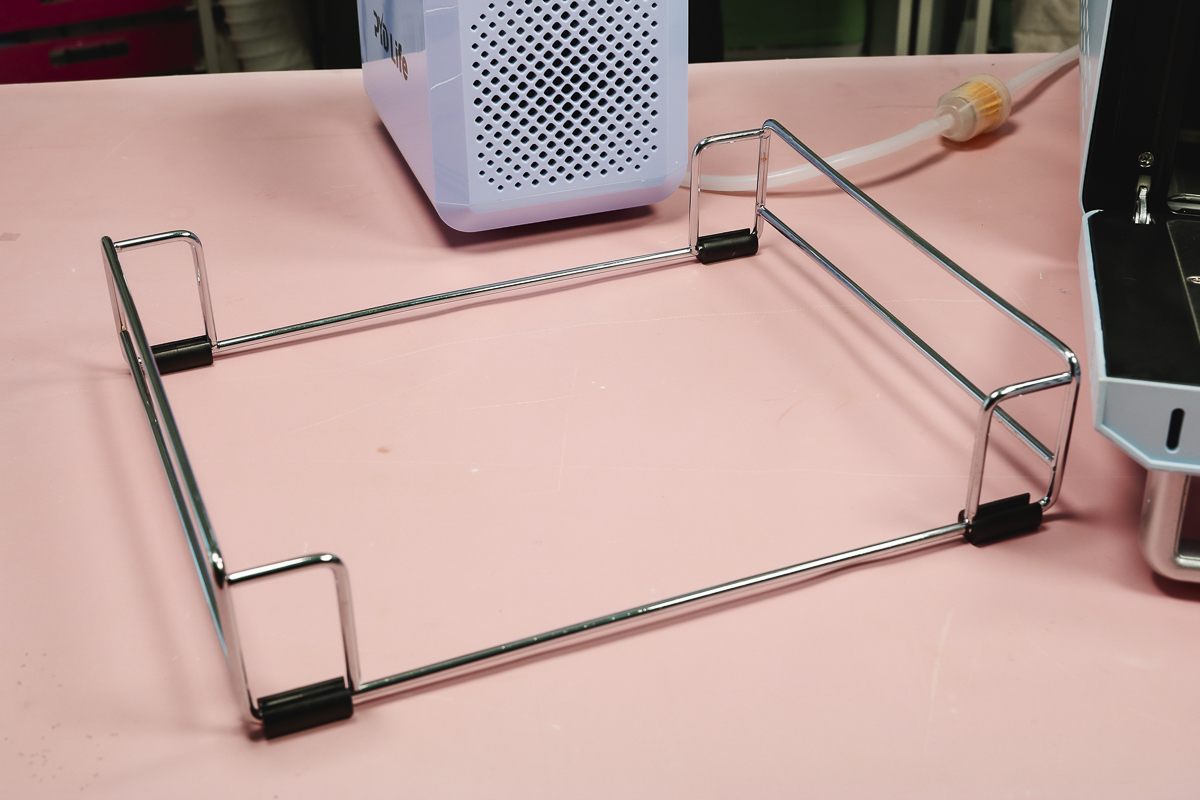
The sublimation vacuum tray is going to be very hot when you remove it from the oven. Make sure you use heat-resistant gloves to remove it and then place it on the metal stand.
Adjust the time to six minutes, keeping the heat at 293 degrees.
Lift the lid and ensure the sealing cloths are covering the holes in the bottom of the tray. Place protective paper on top of the sealing cloths and then place the nails on the forms on top of the protective paper.
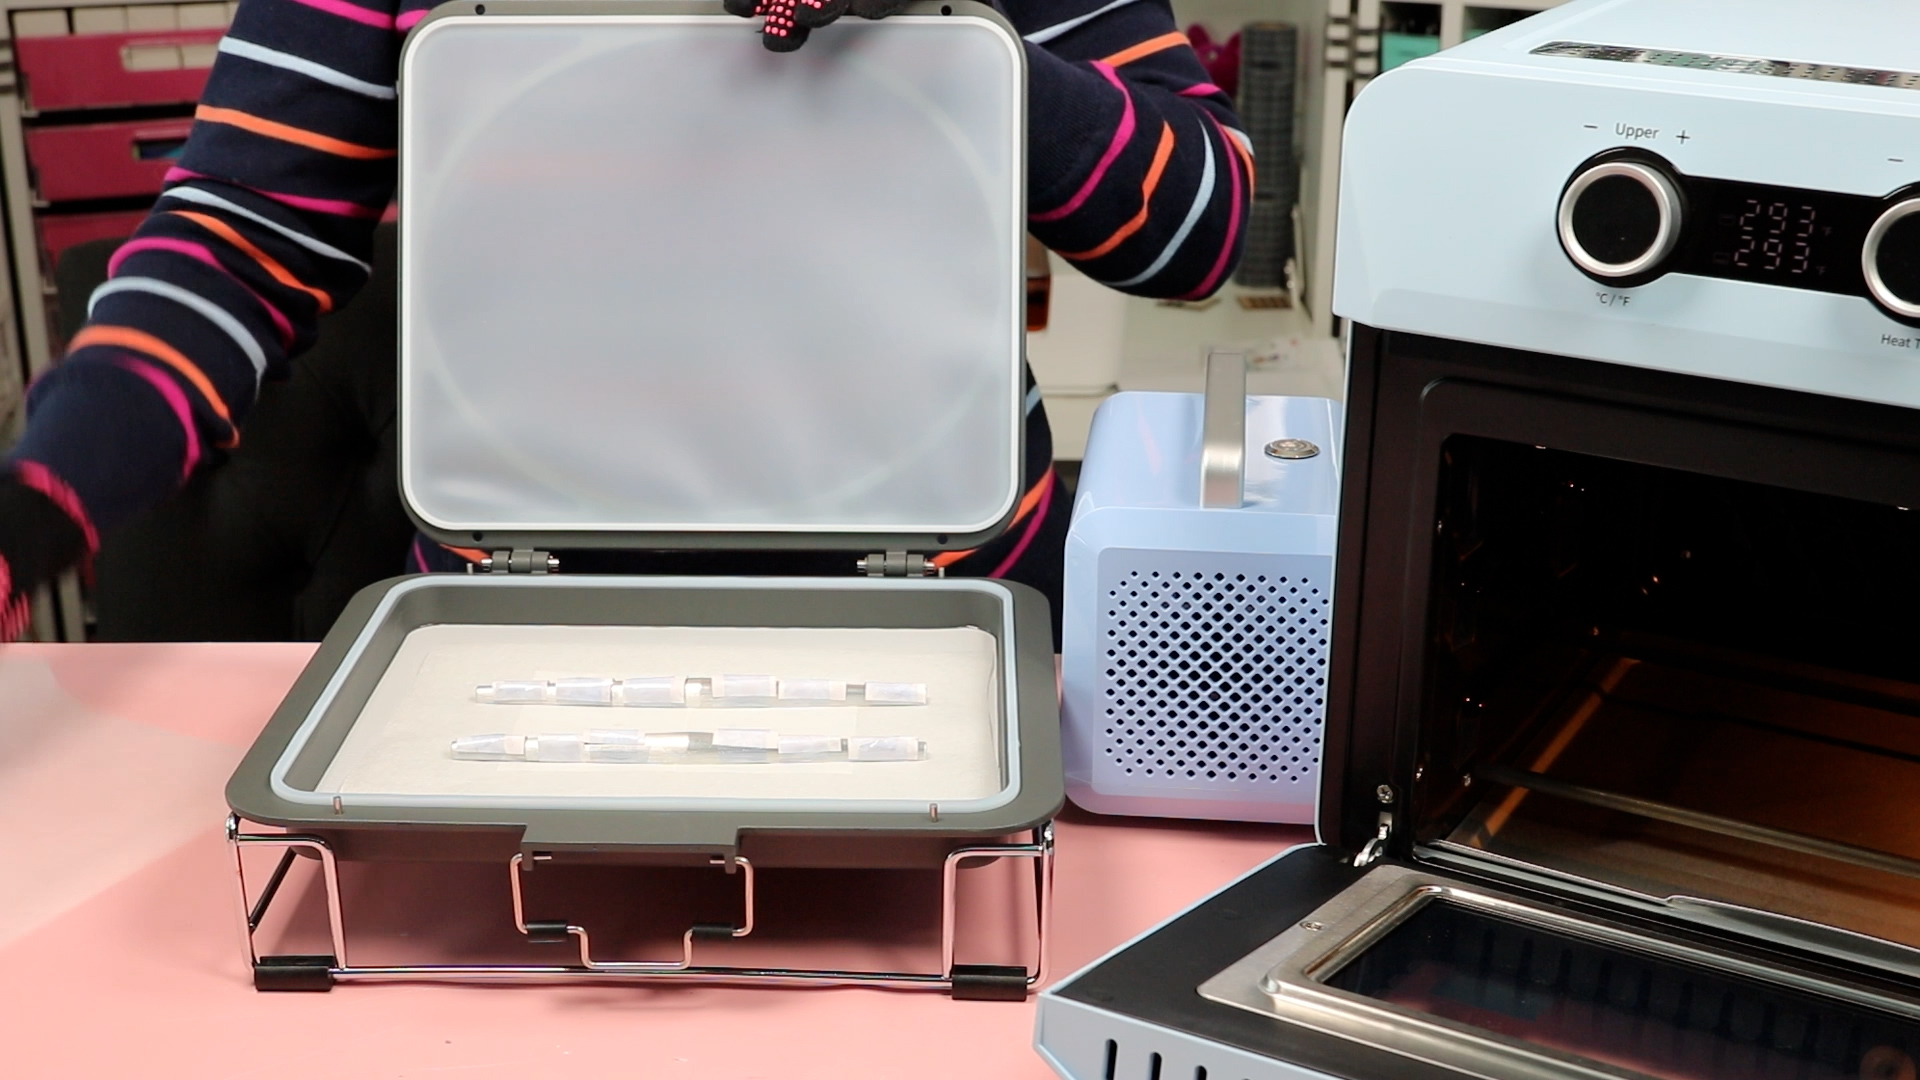
Make sure the forms are not too close, we want the top to be able to suction down around the forms.
Place a sheet of protective paper over the top of the sublimation nails and close and lock the lid.
Step 4: Sublimate Nails in Vacuum Tray
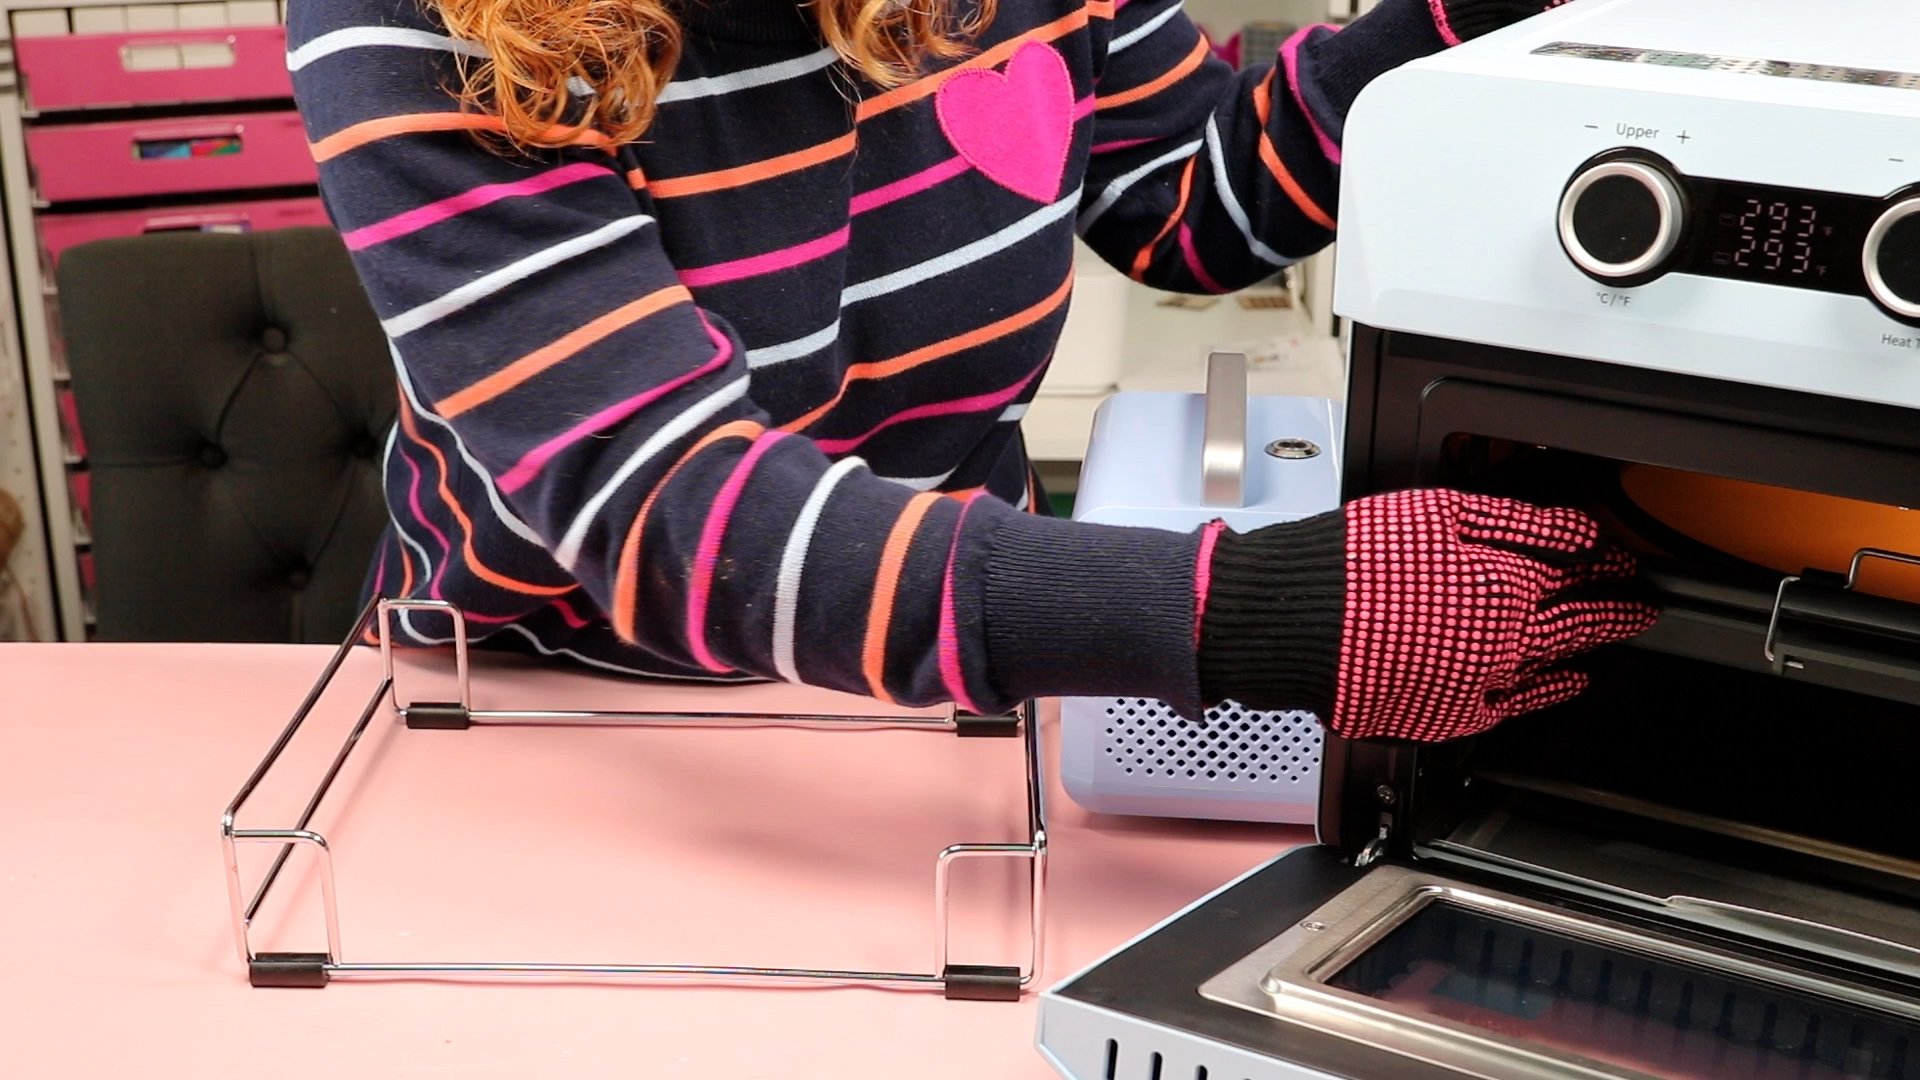
Place the tray into the sublimation oven, making sure it's pushed back all the way. Close the door and start the oven and the vacuum accessory.
The vacuum accessory is loud, I don't want you to think this will be a quiet process.
Step 5: Finishing Sublimation Nails
When the time is up, turn off the vacuum accessory before opening the door of the oven.
Using heat-resistant gloves, remove the tray from the oven and place it on the tray stand.
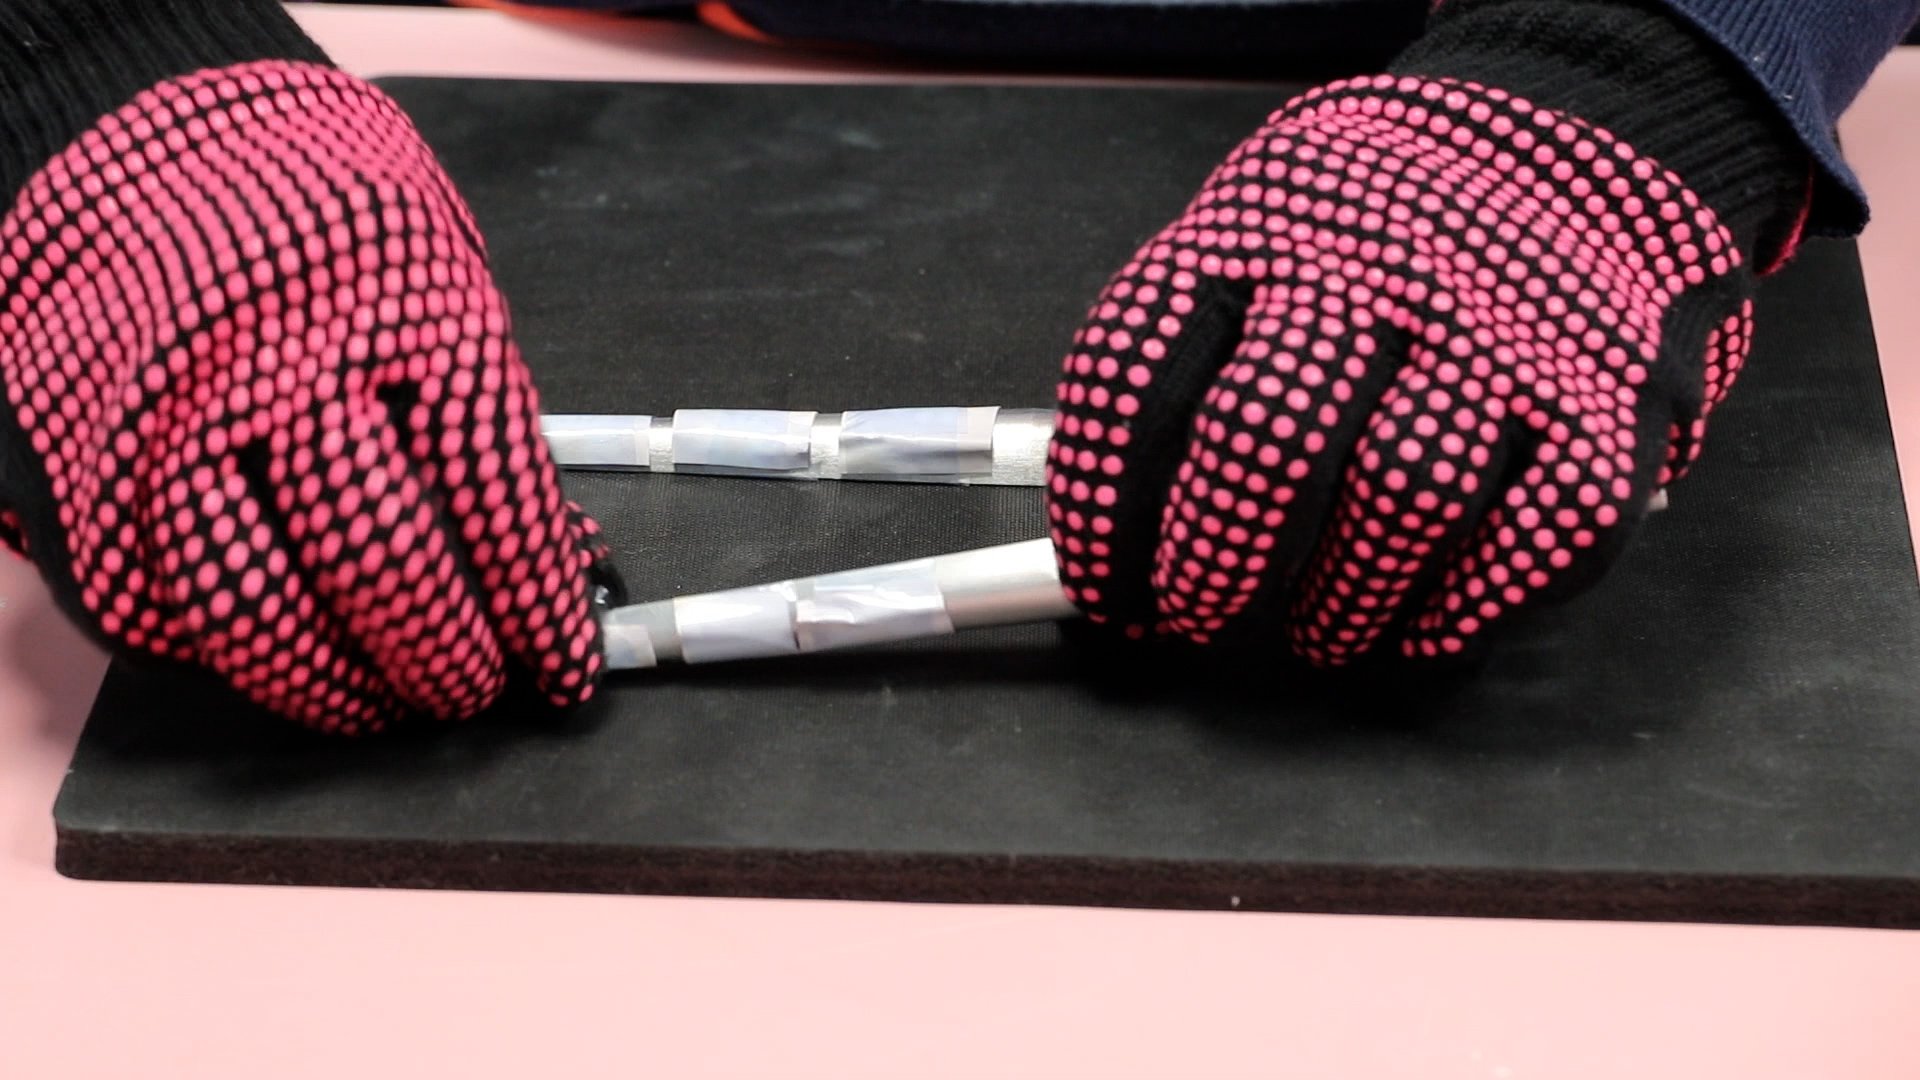
Open the tray, and you'll hear the vacuum seal release. Remove the sublimation nails from the tray and place them on a heat-resistant mat.
Because these are still hot, I used heat-resistant gloves and a craft knife to remove the tape from the back of the form to release the nails.
Tips and Tricks for Best Results
I did a couple of sets of these nails and when I fit the nails on the mold really well the results were better. I've found that having 2-3 nails on each side of the mold worked best for me.
I would also recommend using thin heat-resistant tape vs. wide tape. This will allow you to pull the print firm around the fingernail onto the form.

These nails were done using thinner heat-resistant tape, placing only a couple nails on each side of the form, and making sure there were at least a few inches between each mold in the vacuum tray. The results on these nails looks really good.

This set of nails was my first batch. I didn't use the tips above, and you can see they don't look quite as good. There is some ghosting and some areas that didn't sublimate at all.
Do You Need a Vacuum Sublimation Tray?
I think this tray is easy to use for something like sublimation nails that use regular sublimation paper and a form. You may need to test a few nails to begin with to see what works best.
I feel like the vacuum sublimation tray is a game changer for oddly shaped surfaces like sublimation slate, sublimation nails, sublimation plates, etc.
I am unlikely to use it for flat blanks like ornaments, coasters, etc. It's too easy to do those with a heat press.
There are other blanks that you can customize using the vacuum sublimation tray. These are more involved and require forms and a special film that you print onto.
Another reason you may love this vacuum tray is that it eliminates the need for shrink wrap. I've heard from a lot of you that you are frustrated with shrink wrap, so this may be a great option for you.
I hope I've answered any questions you have about the PYD Life Vacuum Sublimation Tray. If you have any additional questions or have projects you'd like to see me make with it leave them in the comments!