
Are you eager to dive into the world of fabric crafting with your Cricut Maker? If so, you're in for a treat! Join us as we explore a fun and easy tutorial on how to make your very own zipper pouch. Not only is this project charming and practical, but it's also the perfect starting point for anyone looking to unleash their creativity with fabric.
How To Make A Zipper Pouch Video Tutorial
This is a fairly easy sewing tutorial; however, it is a bit easier to see it put together on video. You can watch the video below to see me make a zipper pouch.
Can't watch the video or missed some of the steps? Follow along with the zipper pouch tutorial below.
How To Make A Zipper Pouch
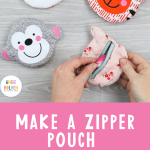
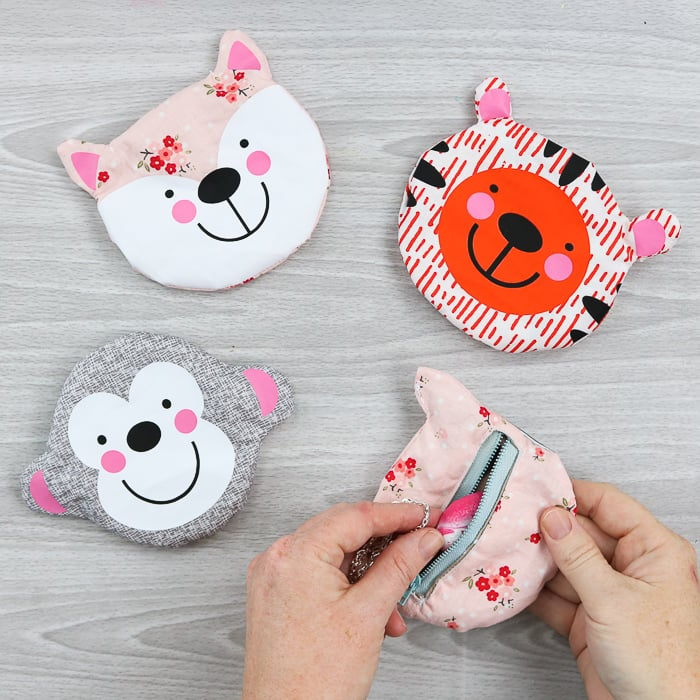
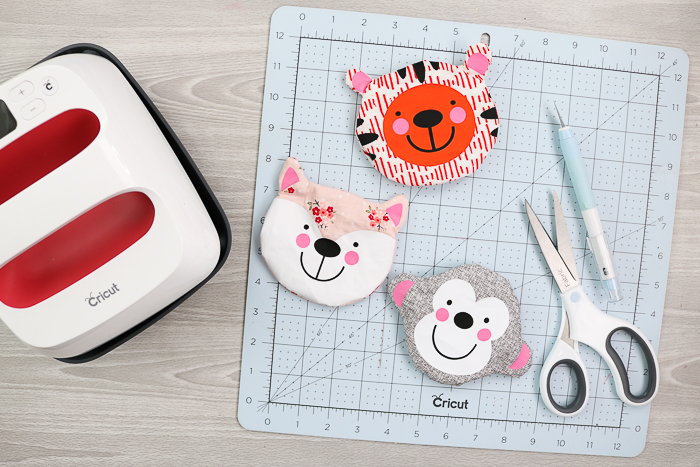
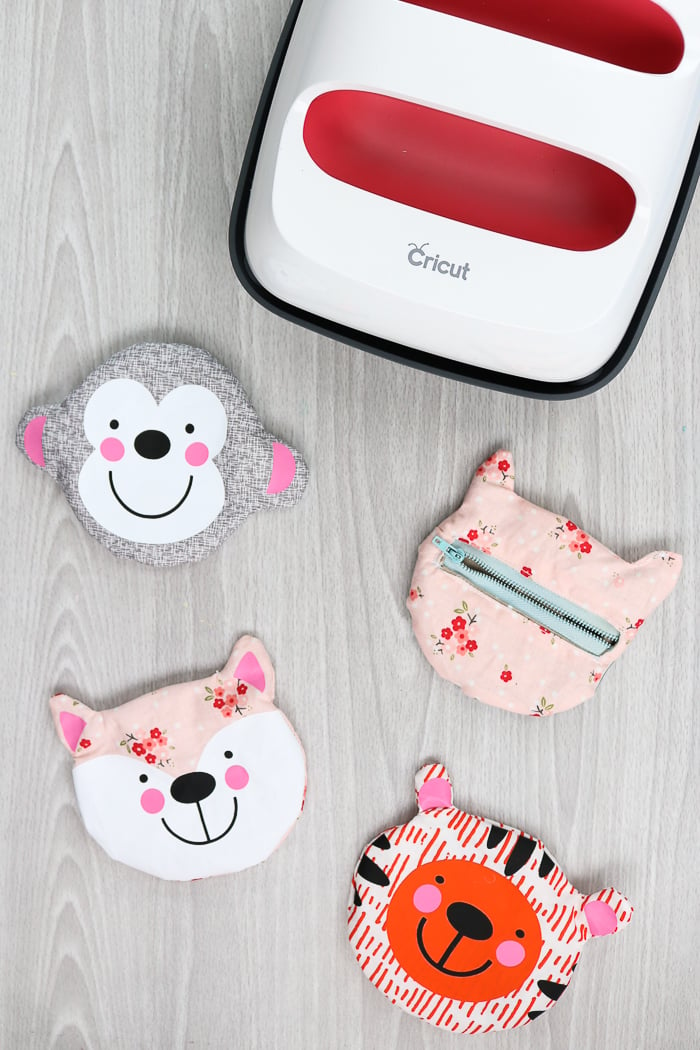
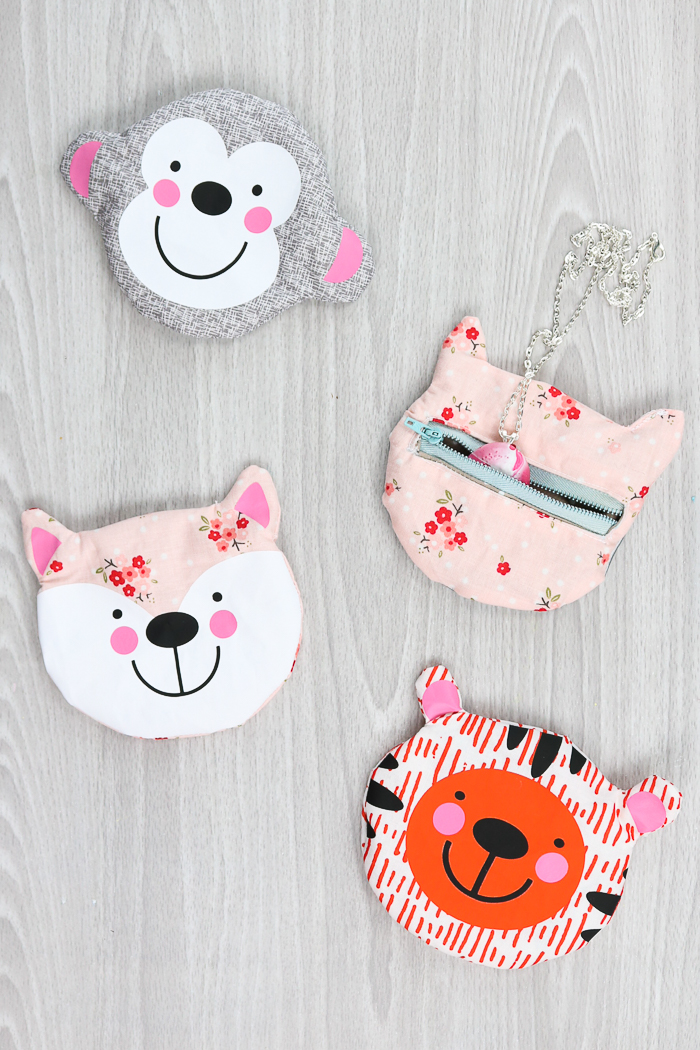
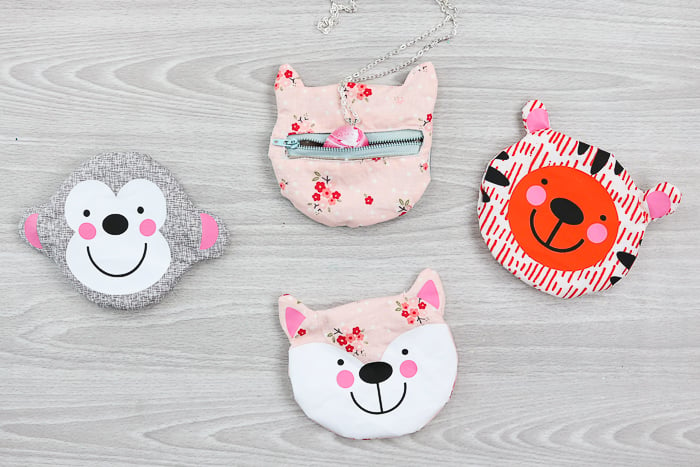
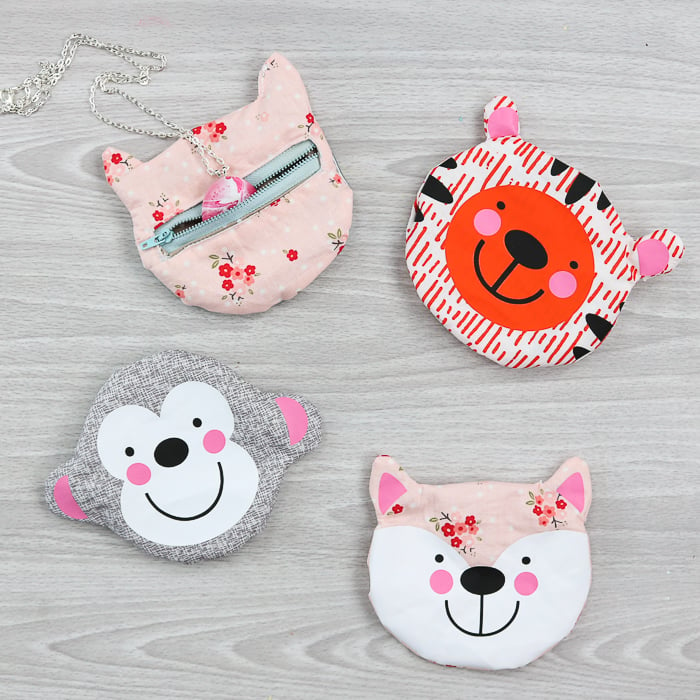
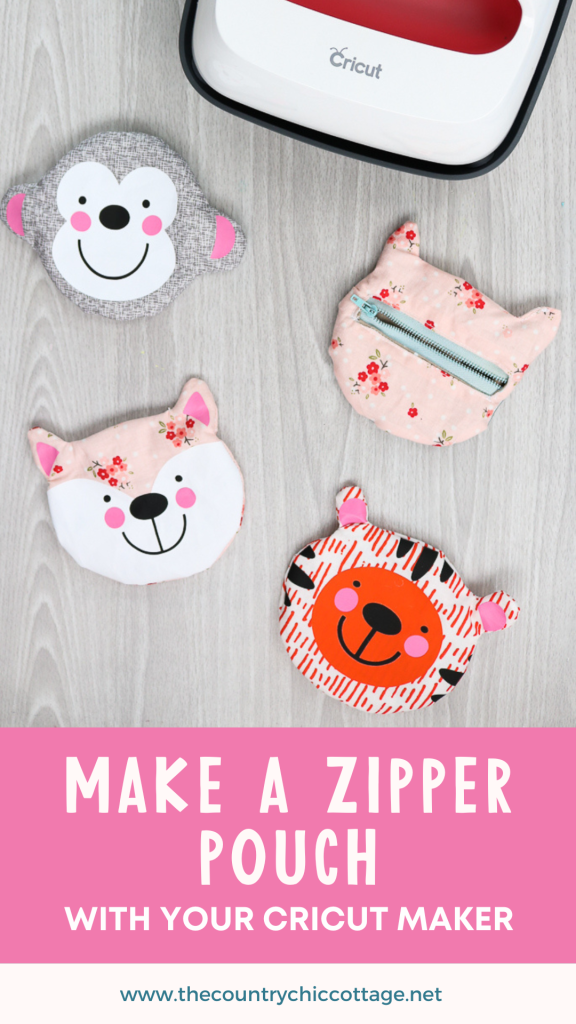
We are making a small zipper pouch in the shape of three animals today! Let's make a fox, monkey, or tiger into a cute zipper pouch that Mom or just about anyone will love. Once you learn how to make a zipper pouch, you will want to scroll to the bottom of this post to see tons of Mother's Day inspiration using your Cricut machine.
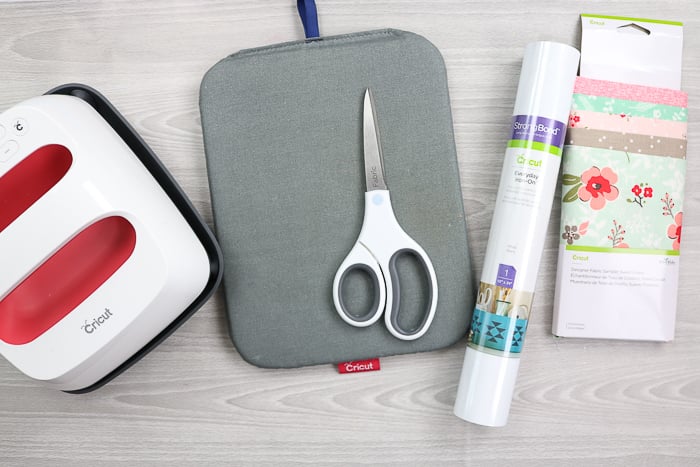
Supplies Needed
Some links below may be affiliate links, which means that you do not pay more; however, a small commission will go to this site.
- Cricut Maker (you can read more about how the rotary blade cuts fabric here)
- Fabric Mat
- Washable Fabric Pen
- Cricut Iron-on (in the colors of your choice)
- Fabric
- Zipper
- Sewing machine
- Thread
- Fabric Scissors
- Scissors
- Cricut TrueControl Knife
- Cricut Self-Healing Mat
- Weeding Tools
- Ruler
- Cricut EasyPress
- EasyPress Mat
- Parchment Paper
- Straight Pins
- Design Template
Cutting Pieces with Your Cricut Maker
Step 1: Upload File To Cricut Design Space
Start by cutting all the pieces for your zipper pouch with your Cricut Maker. You can click here to access the cut file. The file has all three designs on it, so delete any that you do not want to cut. Then size the remaining pouch to the desired size. Click Make to begin cutting your materials.
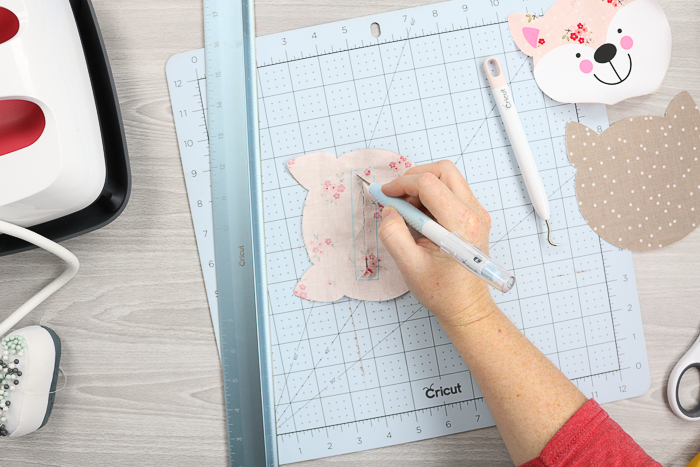
Step 2: Add Washable Fabric Pen
The fabric cuts will require the washable fabric pen, which you will add to the “pen” side of your Maker.
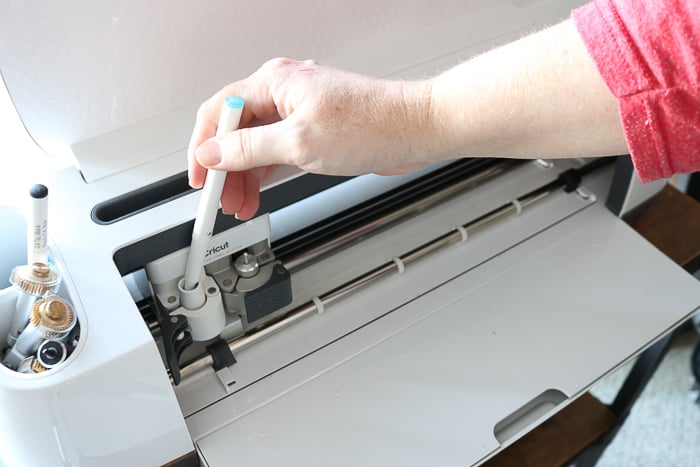
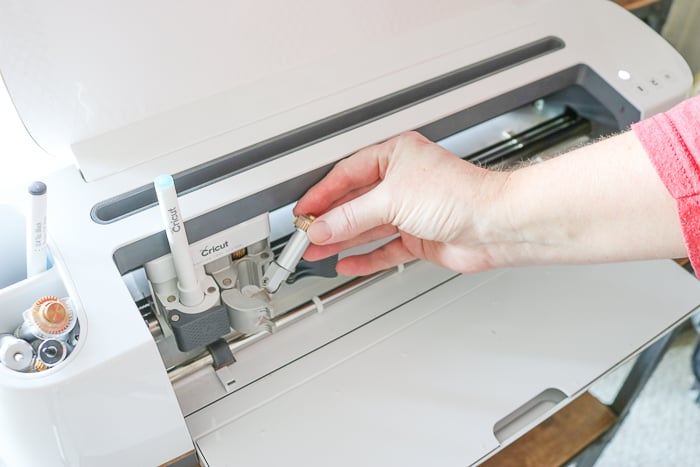
Step 3: Add Rotary Blade
Add the Rotary Blade to the cutting side for all the fabric pieces. You can see more about how the Rotary Blade works here.
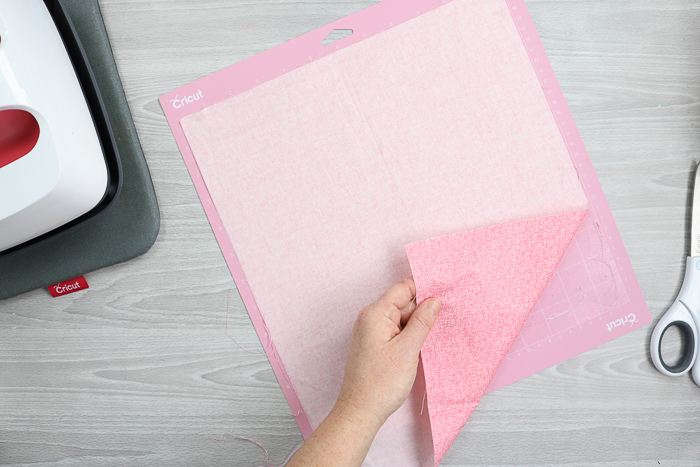
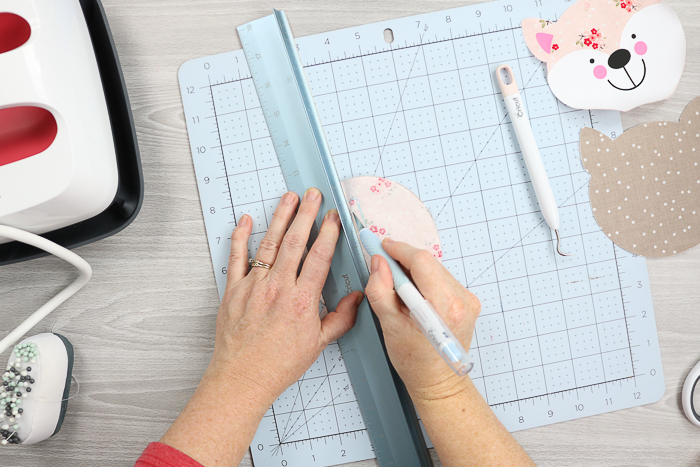
Step 4: Add Fabric To Mat
You will want to use the pink fabric grip mat for cutting fabric. Trim the material to 12 inches wide, then place it on the mat and press it into place with your hands or use a brayer. In this case, we are going to be writing on the back side of the fabric, so place the fabric's good side face down. In this case, you don't have to add any backing to your fabric when cutting with the Rotary Blade on the Cricut Maker (which makes the process super easy)!
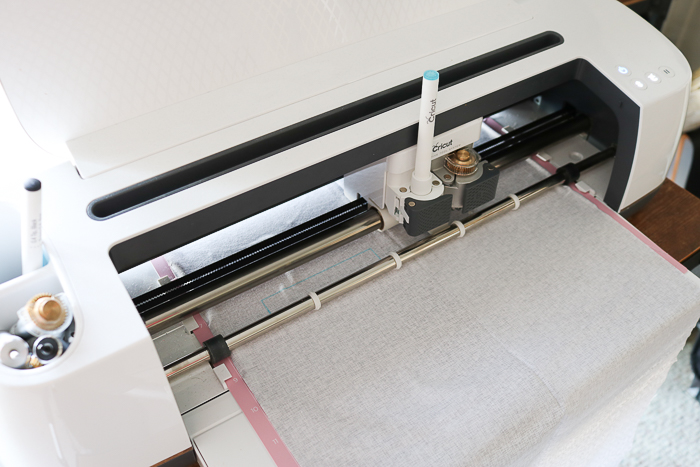
Step 5: Cut Fabric Pieces
Then just cut your materials with the Maker. Cut the fabric as indicated above. The iron-on material will need to be mirrored before cutting and cut with the shiny side down on the mat. You will also need to change the blade to the Fine Point Blade.
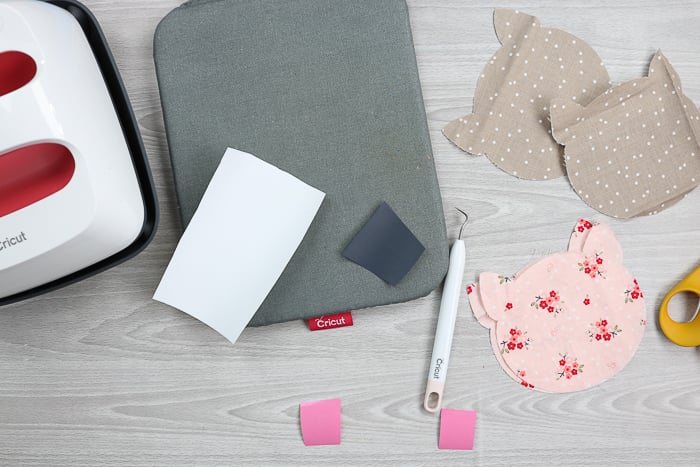
Adding Iron-on to the Zipper Pouch
Step 1: Weed Iron-On Pieces
You will want to weed all of your iron-on pieces first.
Want tips and tricks for weeding? You can find our post on making weeding easy here.
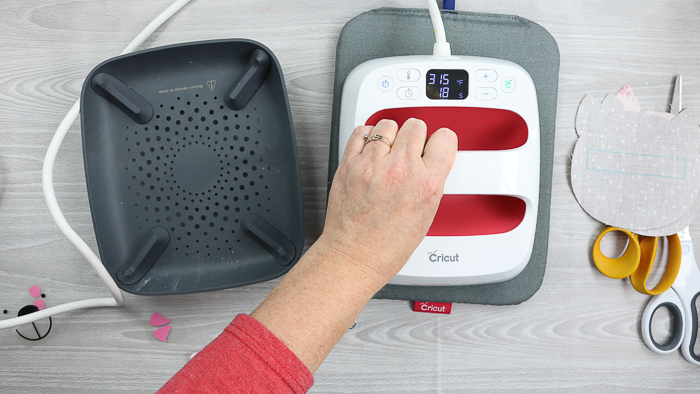
Step 2: Heat Up EasyPress
Once you have removed all excess material from around your iron-on pieces, you can start heating your EasyPress. Be sure to find the temperature and time for both the fabric and the type of iron-on you are using on the Cricut Heat Guide. You can use an iron or a heat press for this step.
Want to know more about the Cricut EasyPress? Use our comparison posts below!
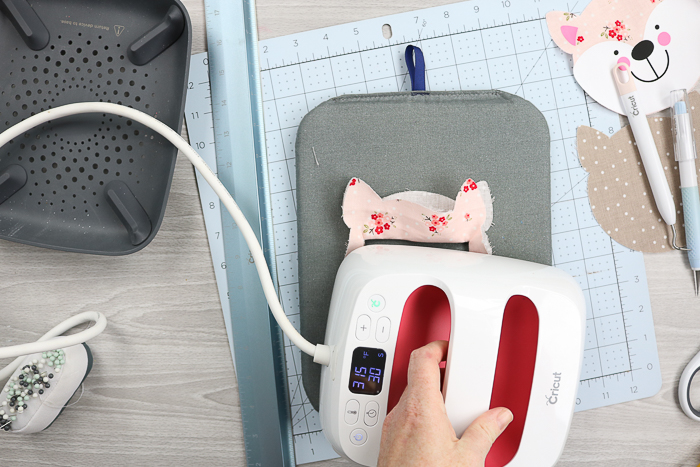
Step 3: Press Fabric Pieces
Press all of your fabric pieces with the Cricut EasyPress to remove any wrinkles.
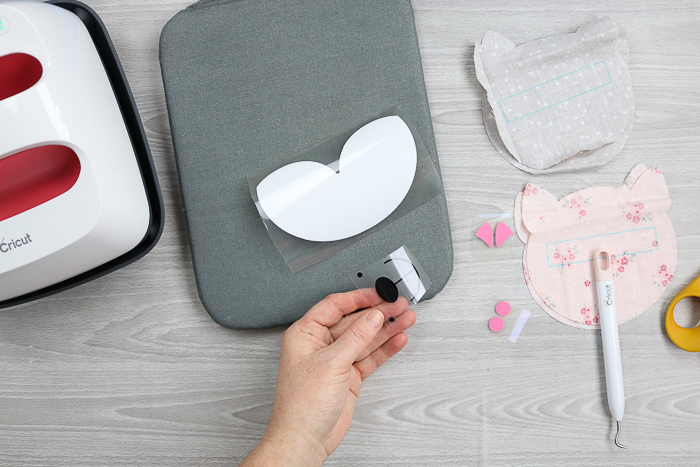
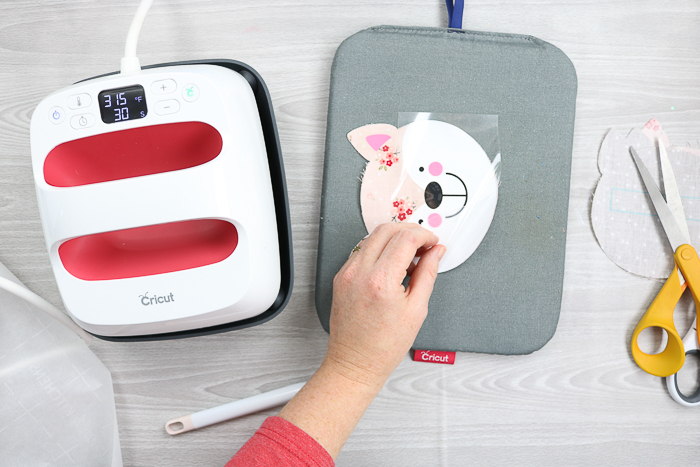
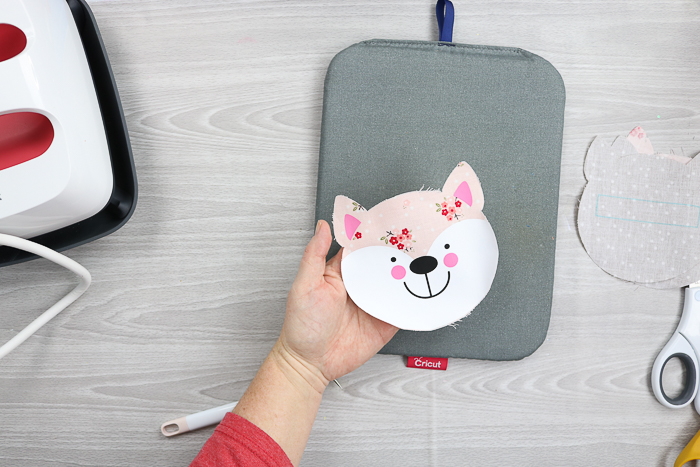
Step 4: Create Animals' Face
Then start by adding the first layer of iron-on to the front piece. In this case, we have a white bottom for the fox face that is added first. Press once from the front and remove the carrier sheet.
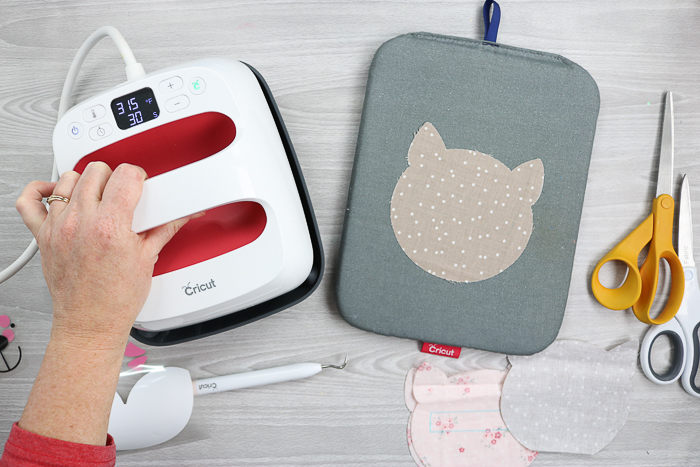
Then you can layer on the other colors of iron-on right on top of the white. Be sure to cut the carrier sheets small enough so nothing overlaps. Lay the protective sheet back over the white to protect it when pressing for the second time. Remove all carrier sheets BEFORE pressing from the back. You will have lines on your white iron-on from the other carrier sheets, and we want to remove those.
Add parchment paper over the front and flip the entire thing, and press from the back for the recommended amount of time. The parchment paper will help get out those lines. Now your front is complete!
Sewing Zipper Pouch
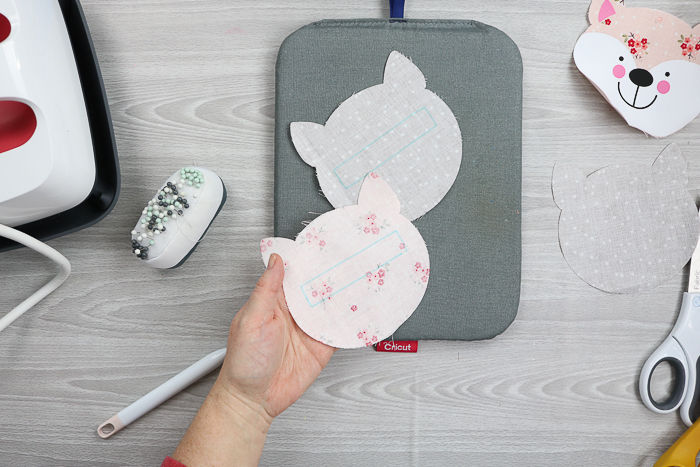
Step 1: Grab Back Pieces
You want to start with the back pieces that have the rectangle for the zipper placement.
Step 2: Pin Good Sides Together
Place those good sides together and pin.
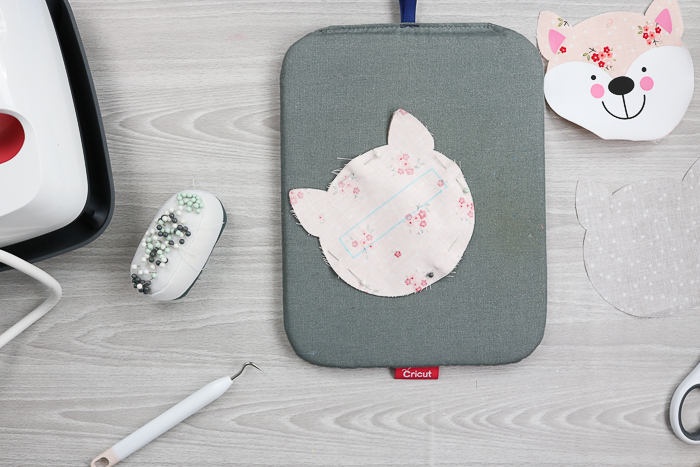
Step 3: Sew Around Blue Lines
Sew all the way around the blue lines. You can wash away the blue lines after sewing.
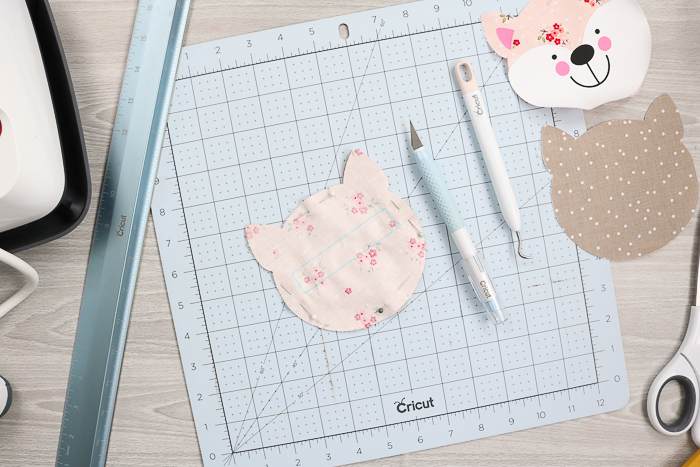
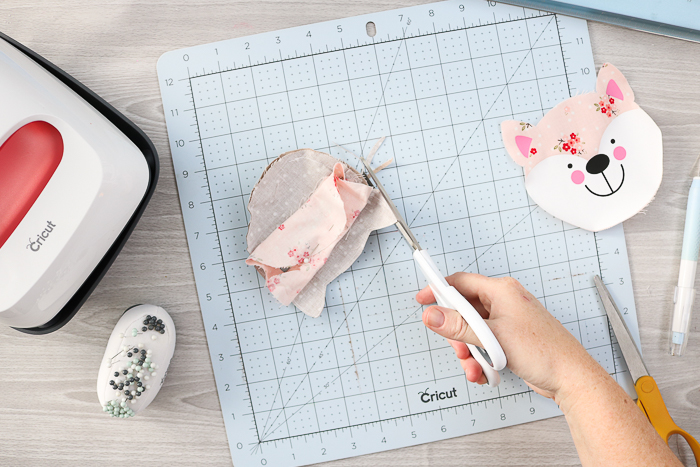
Step 4: Cut Inside Blue Box
Remove your pins and cut inside the box. Use a knife to cut along the middle, but be careful not to go over your stitched line.
You will also need to cut in from each corner to the center line you just cut. Again, be cautious not to go over the stitched box.
Step 5: Open Both Layers
Once cut, you will have an opening through both layers of fabric.
Step 6: Turn Pieces Right Side Out
Turn the lining piece through that opening.
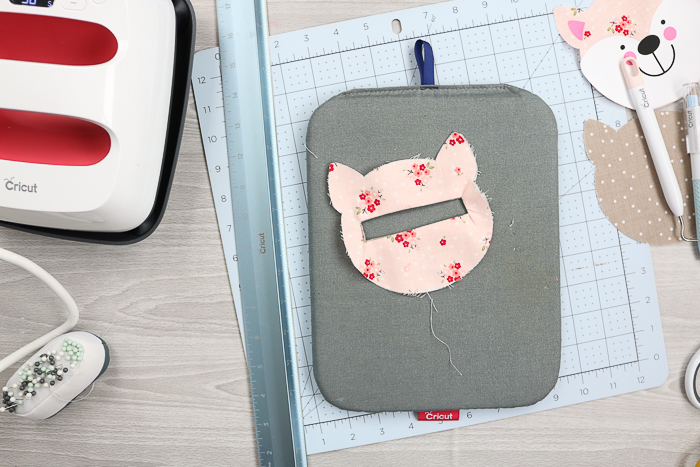
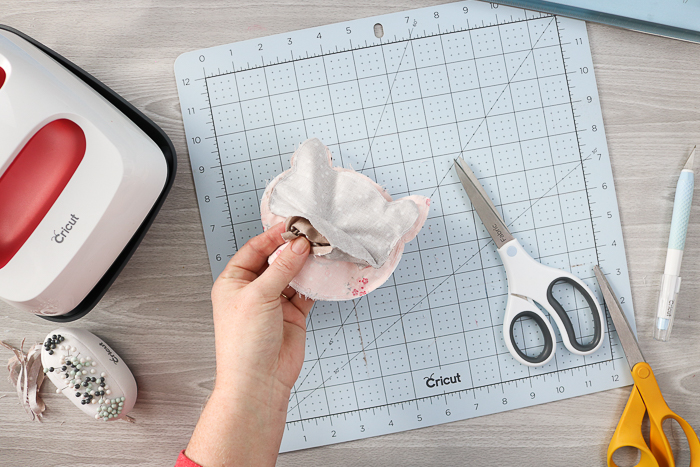
Step 7: Press Finished Box
Press all of the sides to create a finished box for your zipper.
Your piece should look like the image below once complete.
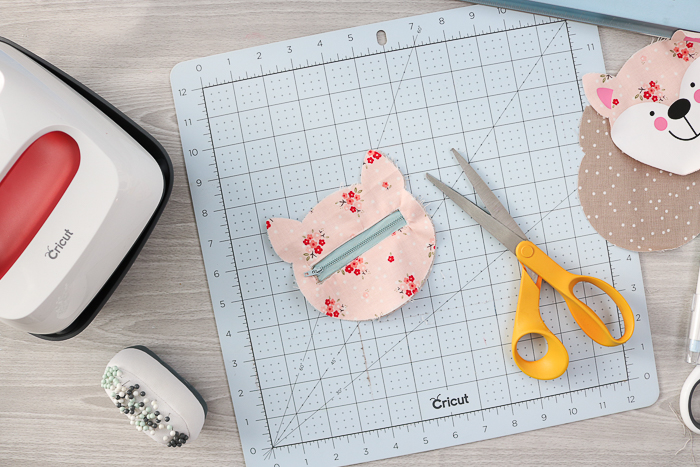
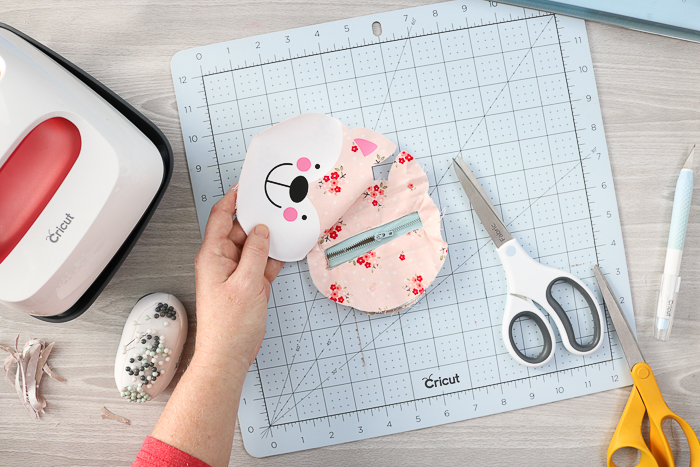
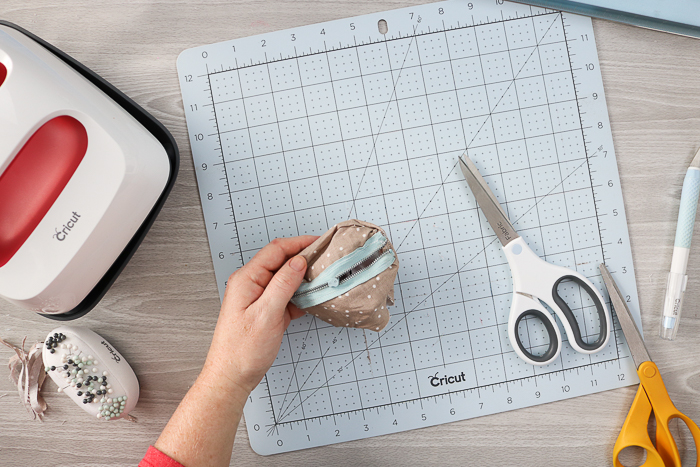
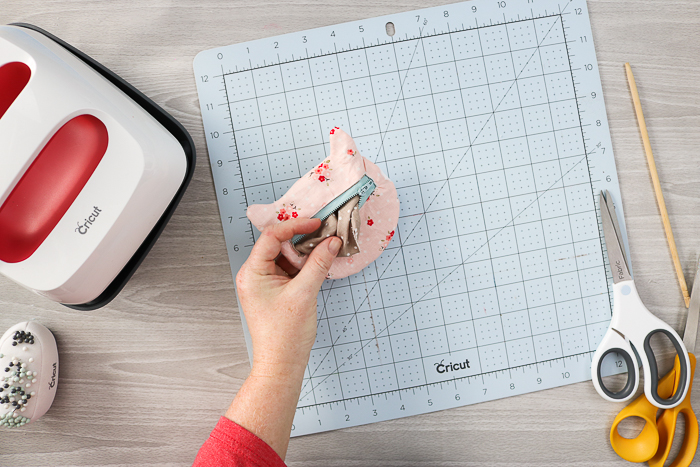
Step 8: Sew In Zipper
Add your zipper to the hole with a few pins.
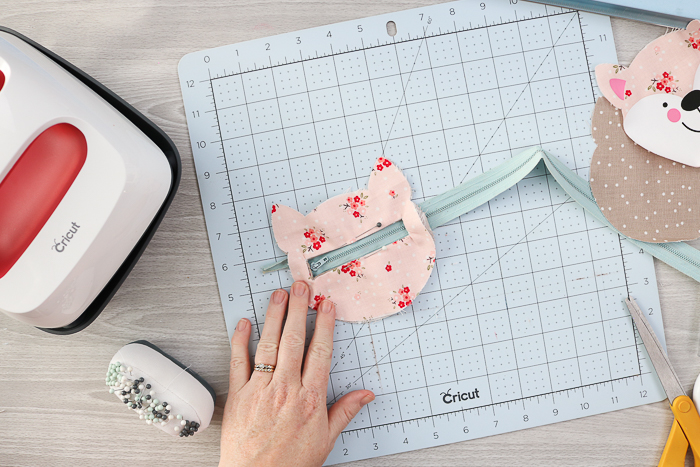
Sew all the way around all four sides, then trim the zipper with scissors on both ends. I used a zipper I had on hand, which is why it is so long.
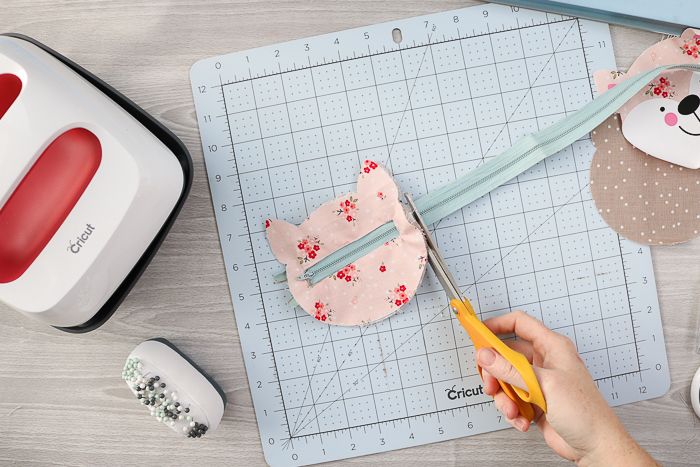
Your piece should now look like the image below.
Step 9: Pin Second Lining
Flip over the piece and add the second lining piece, right sides together, and pin all the way around. Make sure that the “back” piece of your zipper pouch does not get pinned with it.
To avoid getting that back piece into the stitches, you can pin it to itself as shown below.
Step 10: Sew Second Lining
Stitch around the edges, leaving about a 2-inch opening at the bottom.
Step 11: Trim Excess Fabric
Trim close to your sewing line all the way around with fabric scissors.
Step 12: Pin Animals' Face To Zipper Fabric
Then, put the face onto the back, with the right sides together. Be sure to open the zipper at least halfway before pinning and stitching.
Again, pin only the front to the back. Do not include the lining.
Pin all the way around the outer edge.

You can use the same trick and pin the lining to itself to keep it out of the way when sewing.
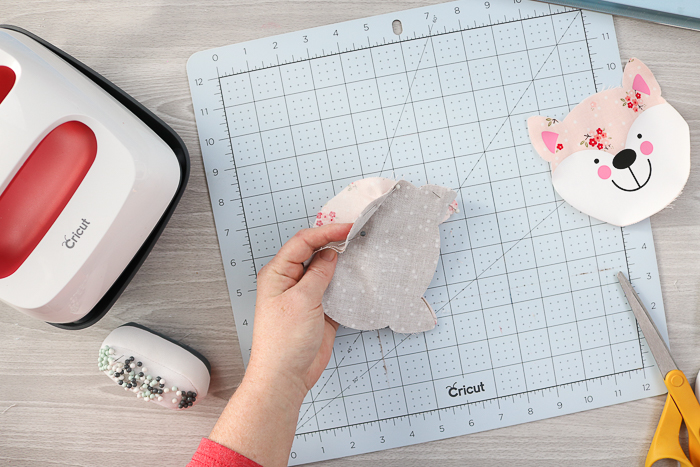
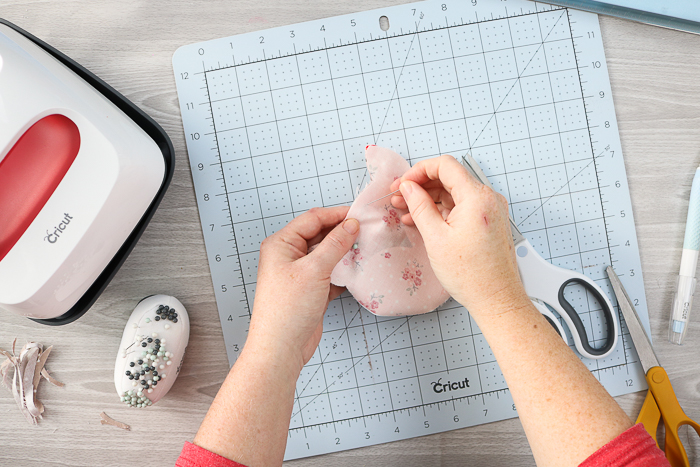
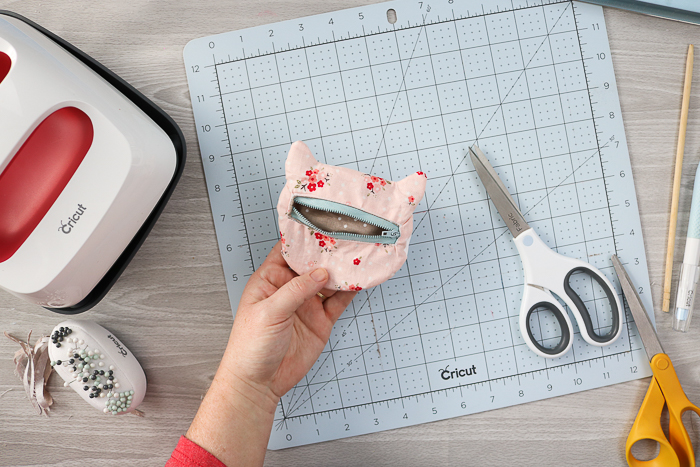
Step 13: Sew And Turn Right Side Out
Stitch all the way around the outer edge. Then, start turning the entire thing right-side out through the opening in the lining.
Turn until you can see the zipper.
Then turn the zipper pouch out through the zipper.
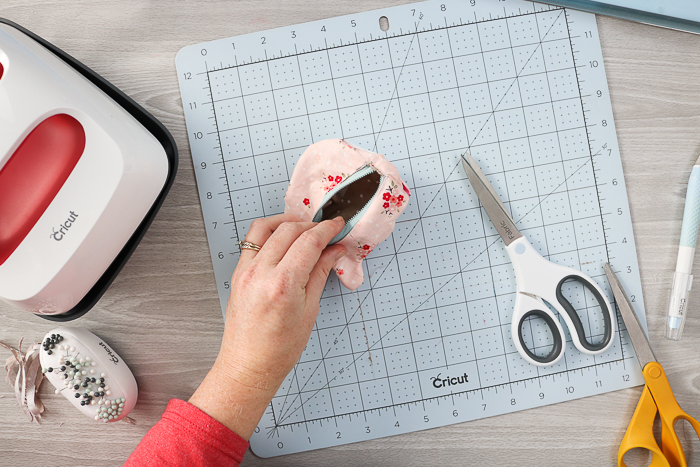
Pull the ears out. You can use a stick for turning.
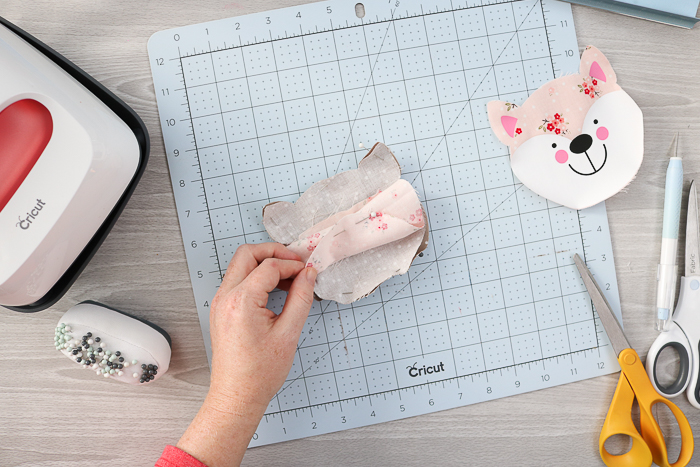
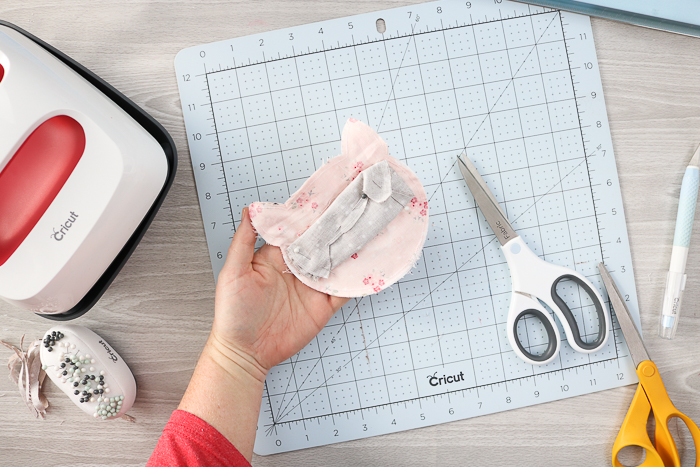
Step 14: Sew Opening Closed
Pull a little of the lining out through the zipper. Then stitch the opening closed.
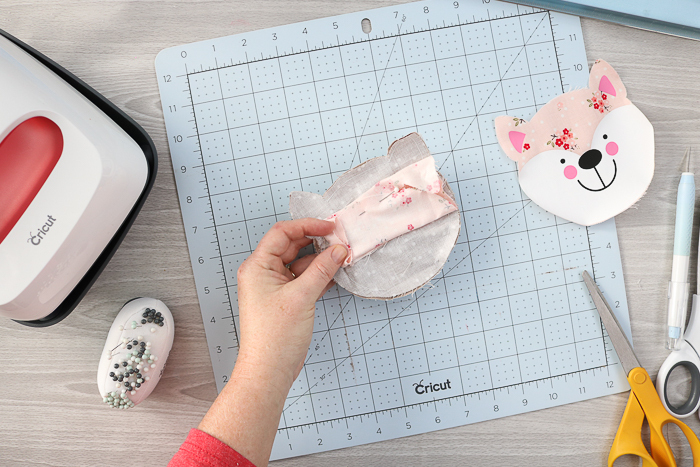
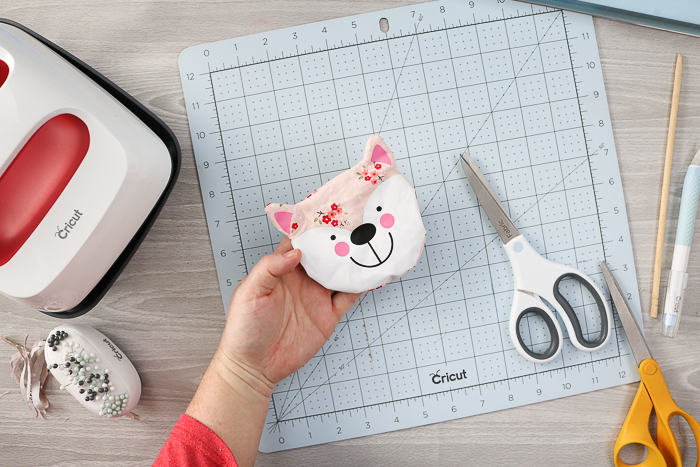
Step 15: Push Lining Back Into Zipper Pouch
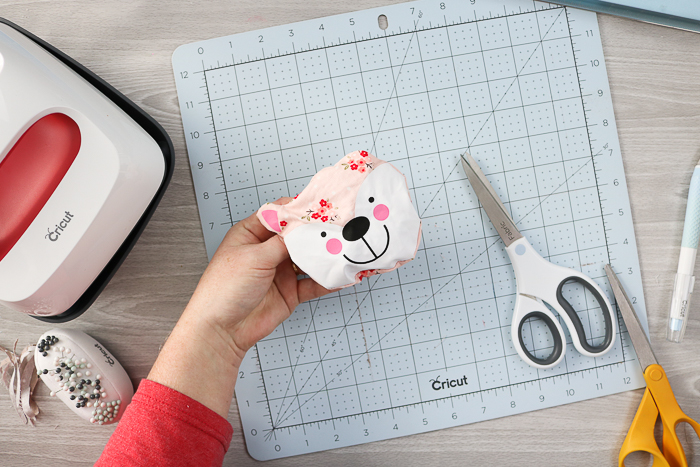
Put the lining back inside, and your zipper pouch is complete!
You can use this same zipper pouch tutorial for any of the animals shown. The steps are the same.
A small zipper pouch is easy to make with this step-by-step tutorial, and it is so cute as well!
Who Needs A Small Zipper Pouch?
You can make these for so many people! They make great gifts for moms, friends, kids, tweens, teens, and so many more! Make them in any size you wish, and be sure to buy enough materials to make several. Everyone is sure to want one when they see how cute they are!
I really can't decide which is my favorite! Which do you love?
I will just keep one of each on hand!
Be sure to add the supplies to make a zipper pouch (or two!) to your shopping list!
I hope y'all enjoyed this zipper pouch tutorial and will use your Cricut Maker for this fun project!
FAQs About How To Make A Zipper Pouch
Here are answers to some of the most frequently asked questions I receive about how to make a zipper pouch. If your question isn’t listed, feel free to drop it in the comments and I’ll be happy to help!
What Type Of Fabric Do You Recommend For This Project?
For this project, it is recommended to use cotton fabric. – A fat quarter would be great for this project!
Also, if you are looking for a place to buy fabric, check out my Where to Buy Fabric Online: My Top Sources blog post!
Where Can You Find Zippers?
Zippers can be found at your local craft store in the sewing section or online!
Can I Hand Sew This Project?
You could hand-sew this project, but I highly recommend using a sewing machine. This is because 1) we are sewing in a zipper, and 2) the project can be made much faster.
Can I Use Another Cricut Machine For This Project?
It depends! You can cut a variety of fabrics with the Cricut Explore Air series, Cricut Joy, Joy Xtra, Cricut Venture, and the Cricut Maker machines. The fabric you are using can dictate which Cricut machine you can use.
If you didn't have a Cricut Maker, my next suggestion would be to use a Cricut Explore.
To learn more about cutting fabric with your Cricut machine, check out the resources below!
Can I Make This Project Bigger?
Yes, you can! In Cricut Design Space, you can easily adjust the size to make your zipper pouch bigger. The only thing to keep in mind is that you will need more fabric and possibly a longer zipper to accommodate the size of the pouch you are making.
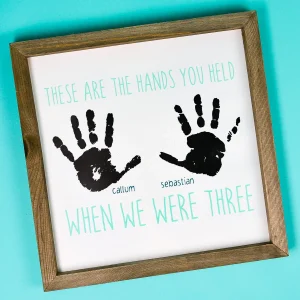
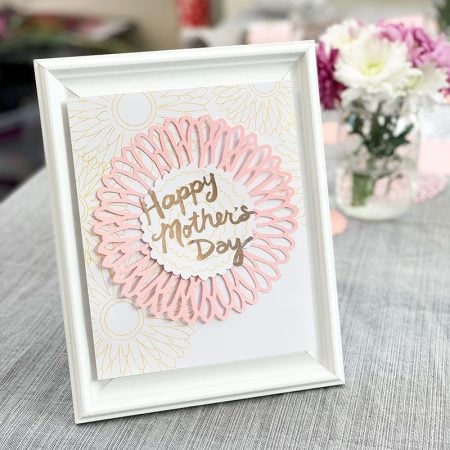
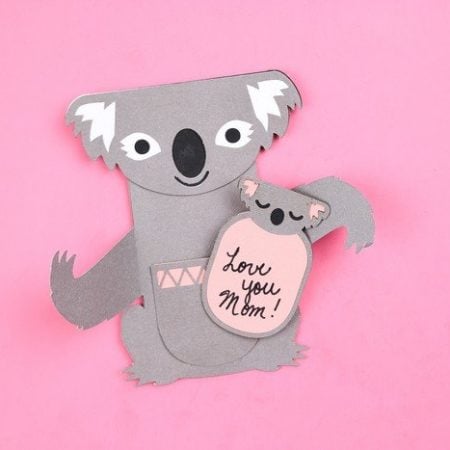
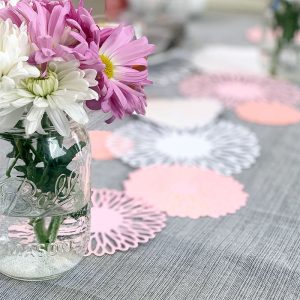
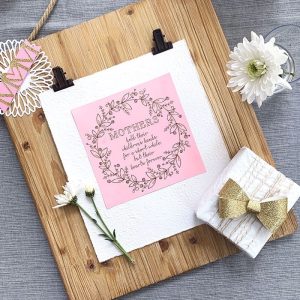
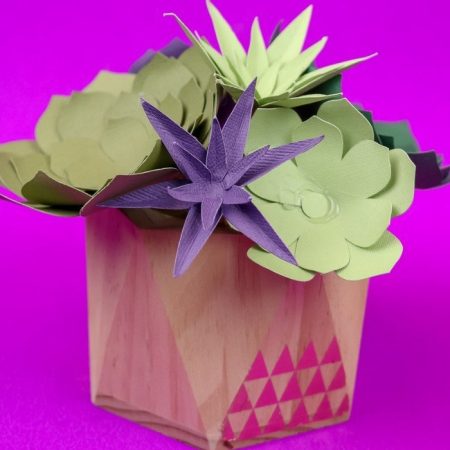
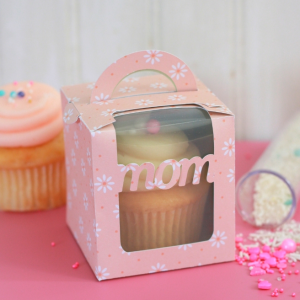
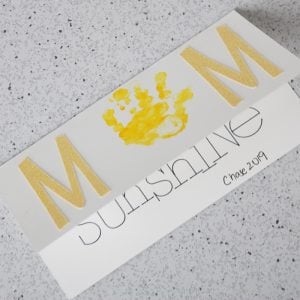
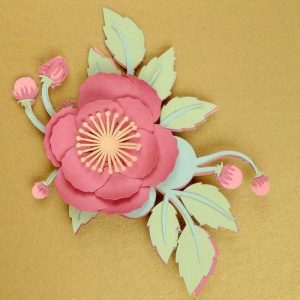
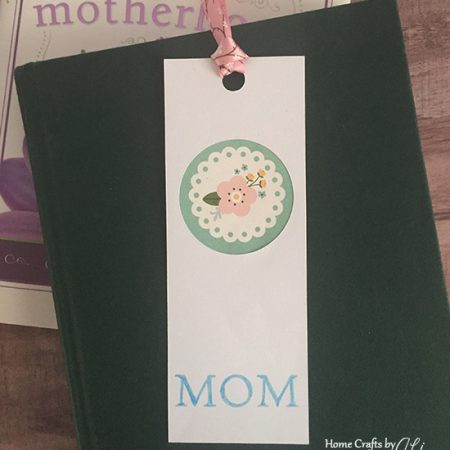
40+ Mother's Day Crafts
Did you love learning how to make a zipper pouch, and want more Mother's Day crafts? Check out the projects below!


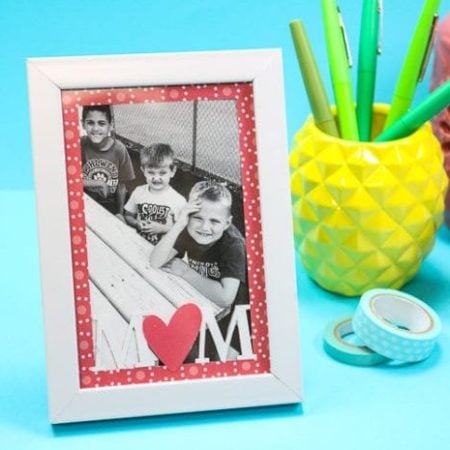


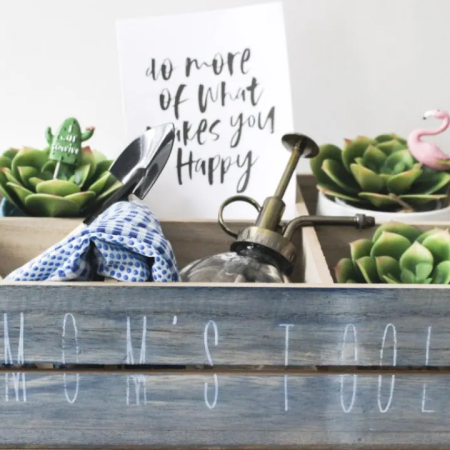


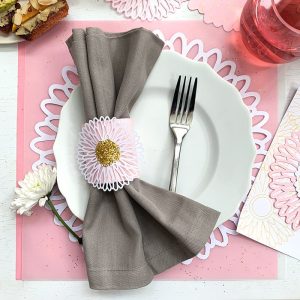
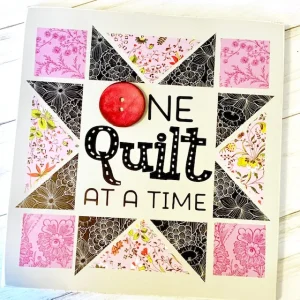


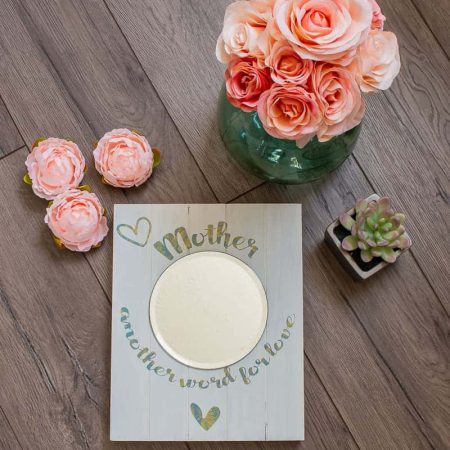


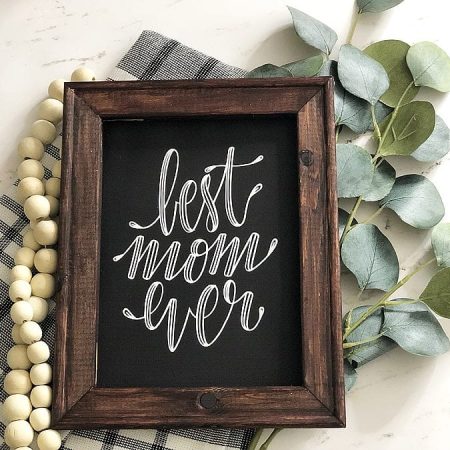
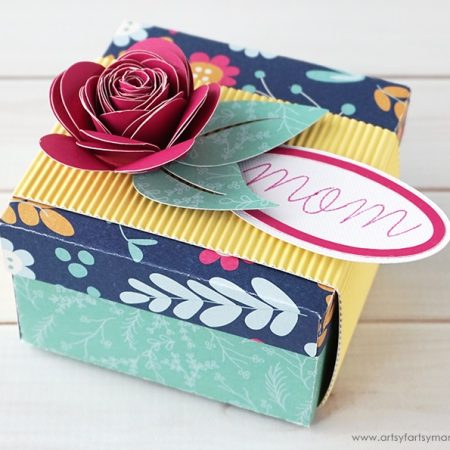
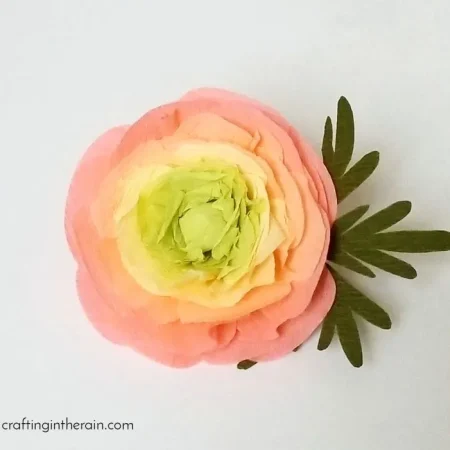


So, try your hand at making this zipper pouch or any of these other DIY Mother's Day gifts!


Omgoodness! These are too too cute!
omg i love these. i’m a retired teacher and you won’t believe the things parents send money in and expect it to get to the teacher!!
Hi there, I love them! I cannot find the file anymore on Cricut, could you send it otherwise? Thank you so much!!!!