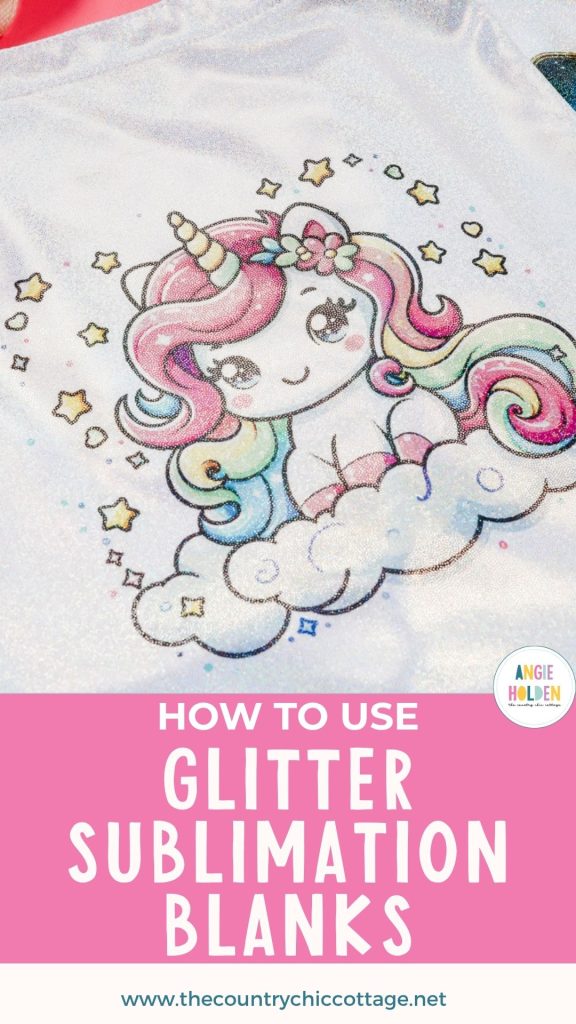
Are you looking for an easy way to add sparkle to your sublimation projects? Glitter sublimation blanks may be exactly what you're looking for.
These eye-catching blanks combine the brilliance of glitter with the smooth, professional finish of sublimation—giving you the best of both worlds.
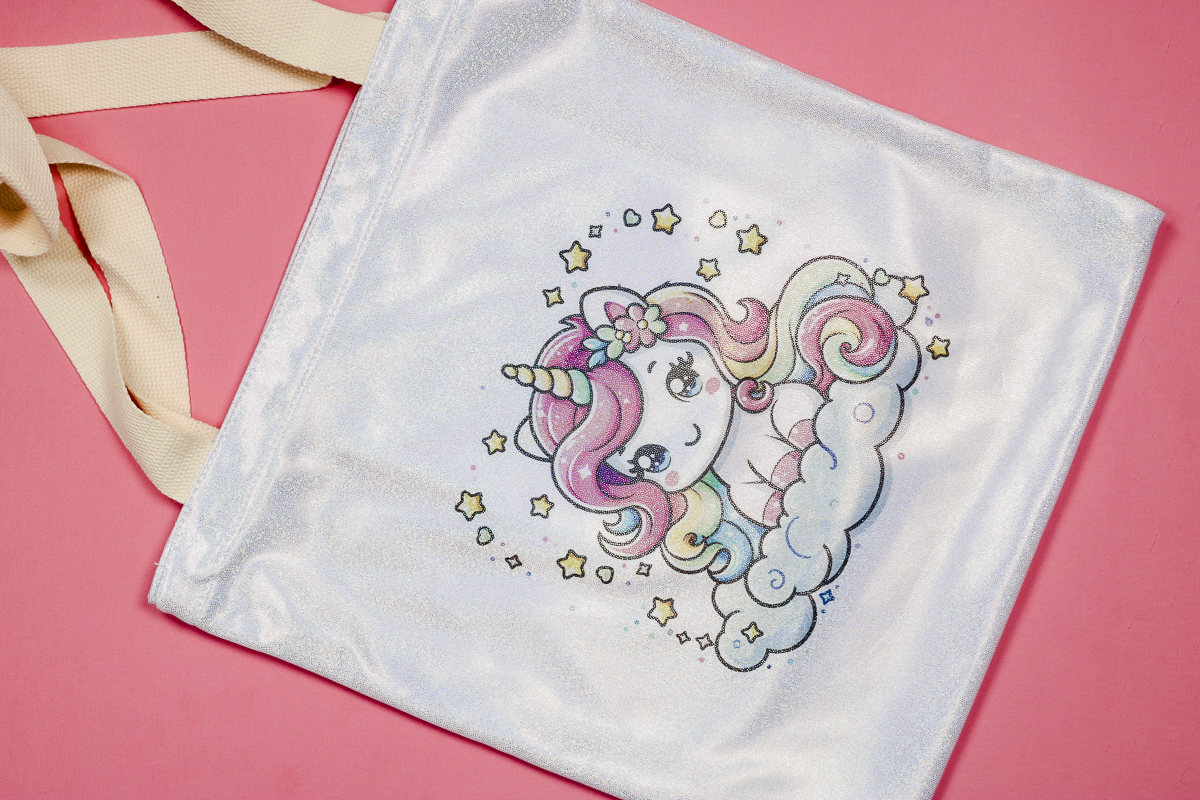
I'm using a glitter tote bag for today's project, but there are a lot of glitter blanks on the market. They all work the same; they have a glitter finish that is smooth, and you can press them just like other sublimation blanks.
Whether you’re making gifts, selling handmade items, or crafting for fun, you're going to love using glitter sublimation blanks.
Watch me make today's project by pressing play on the video below.
What Are Glitter Sublimation Blanks?
Glitter sublimation blanks are blanks that look like glitter when you purchase them. They are either pre-coated with a poly coating or have a high polyester count that will allow them to accept the sublimation ink.
Glitter sublimation blanks come in a wide variety of forms. Today, I'm using a glitter tote bag, but I've used glitter mugs and glitter zipper pouches in the past. There are also glitter tumblers, glitter keychains, glitter leather earrings, etc.
These blanks come ready to use. You don't have to add adhesive or anything else to them.
Sublimation ink is translucent, allowing the glitter finish to show through, creating a dimensional look that you can't achieve with standard white blanks.
I love that they're smooth to the touch, unlike projects where you're adding glitter that can have a rough, textured feel.
How to Sublimate a Glitter Tote Bag
If you've made a sublimation tote bag before, this process is going to be similar. Simply follow the steps below.
Supplies Used
- Unicorn Design
- Tarot Card Design
- Glitter Tote Bags
- EasyPress Mat
- Brother Sublimation Printer
- Sublimation Paper
- Lint Roller
- Heat-resistant Gloves
- Protective Paper
- Paper Dispenser
- Heat Press
Step 1 – Prepare the Design
You can use any design for this project. Open the design in your preferred software. I am using Canva.
Click Create and then Custom Size. I set mine to 8.5 inches by 11 inches, which is the size of my sublimation paper.
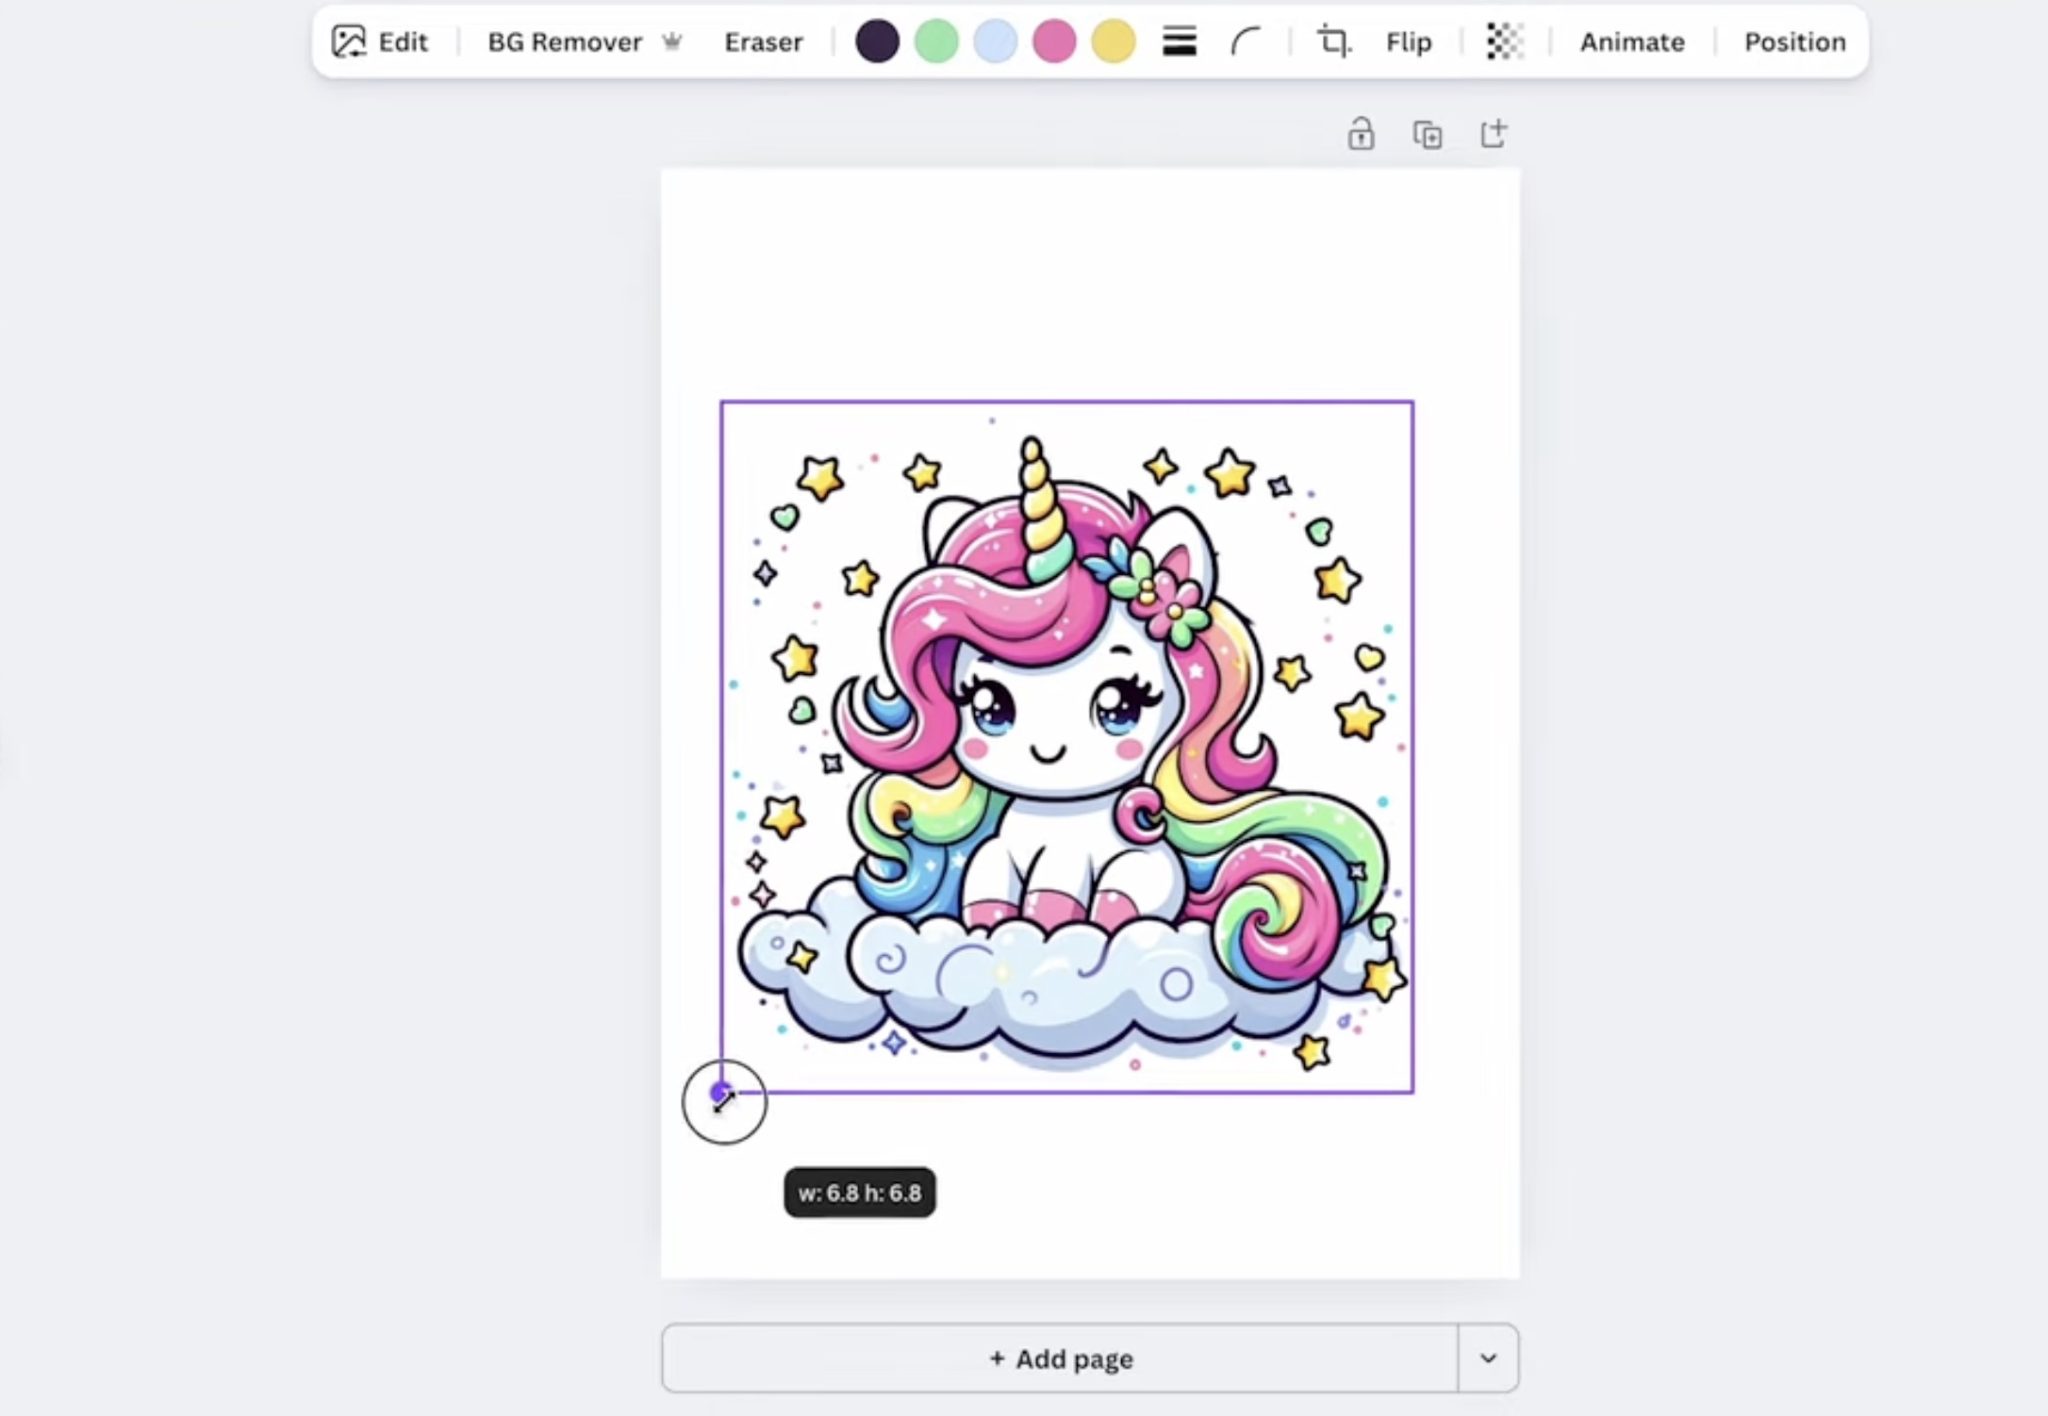
Resize the design to fit the tote, or whatever blank you're using. I resized my design as large as I could get it on the page so it will take up more room on the tote. With the design the correct size, save it to your device.
You cannot print directly from Canva. Click Share and then Download. With my printer, PDF for Print and CMYK is the best option.
You do need to mirror your design before adding it to the blank. If you don't do it during the download process, make sure to do it before you print.
You need to print on sublimation paper with sublimation ink from a sublimation printer.
Step 2 – Prepare the Blank
For glitter sublimation projects, you need to make sure you follow the recommendations for your blank.
I always preheat my sublimation blanks to remove any moisture. This is a great time to adjust the pressure on your heat press. I'm looking for medium pressure for this blank.
This tote has a lot of seams and zippers, and I want to lift the area I'm pressing away from those. To do this, I'm placing a heat-resistant mat inside the tote.
This is the EasyPress Mat. With it inside the tote, cover it with protective paper to prevent any sublimation ink from transferring to it. Make sure it's placed under where you want the design to be.
Lint roll the surface to remove any hair, dust, or other debris.
Step 3 – Locate the Print
To help prevent press marks, I like to feather the edges of the print by tearing the edge of the paper close to the print.
Place the print design side down on the blank and secure it in place with heat-resistant tape.
Make sure the heat-resistant mat is under the entire design.
Step 4 – Press the Glitter Sublimation Design
I have my heat press set to 360 degrees for 60 seconds. That is the recommendation for my blank. Make sure to check your blank for the recommended time and temperature.
I am using a 15 by 15 heat press today, so I can press the entire design at one time. You can make projects like this using any heat press that gets hot enough for sublimation.
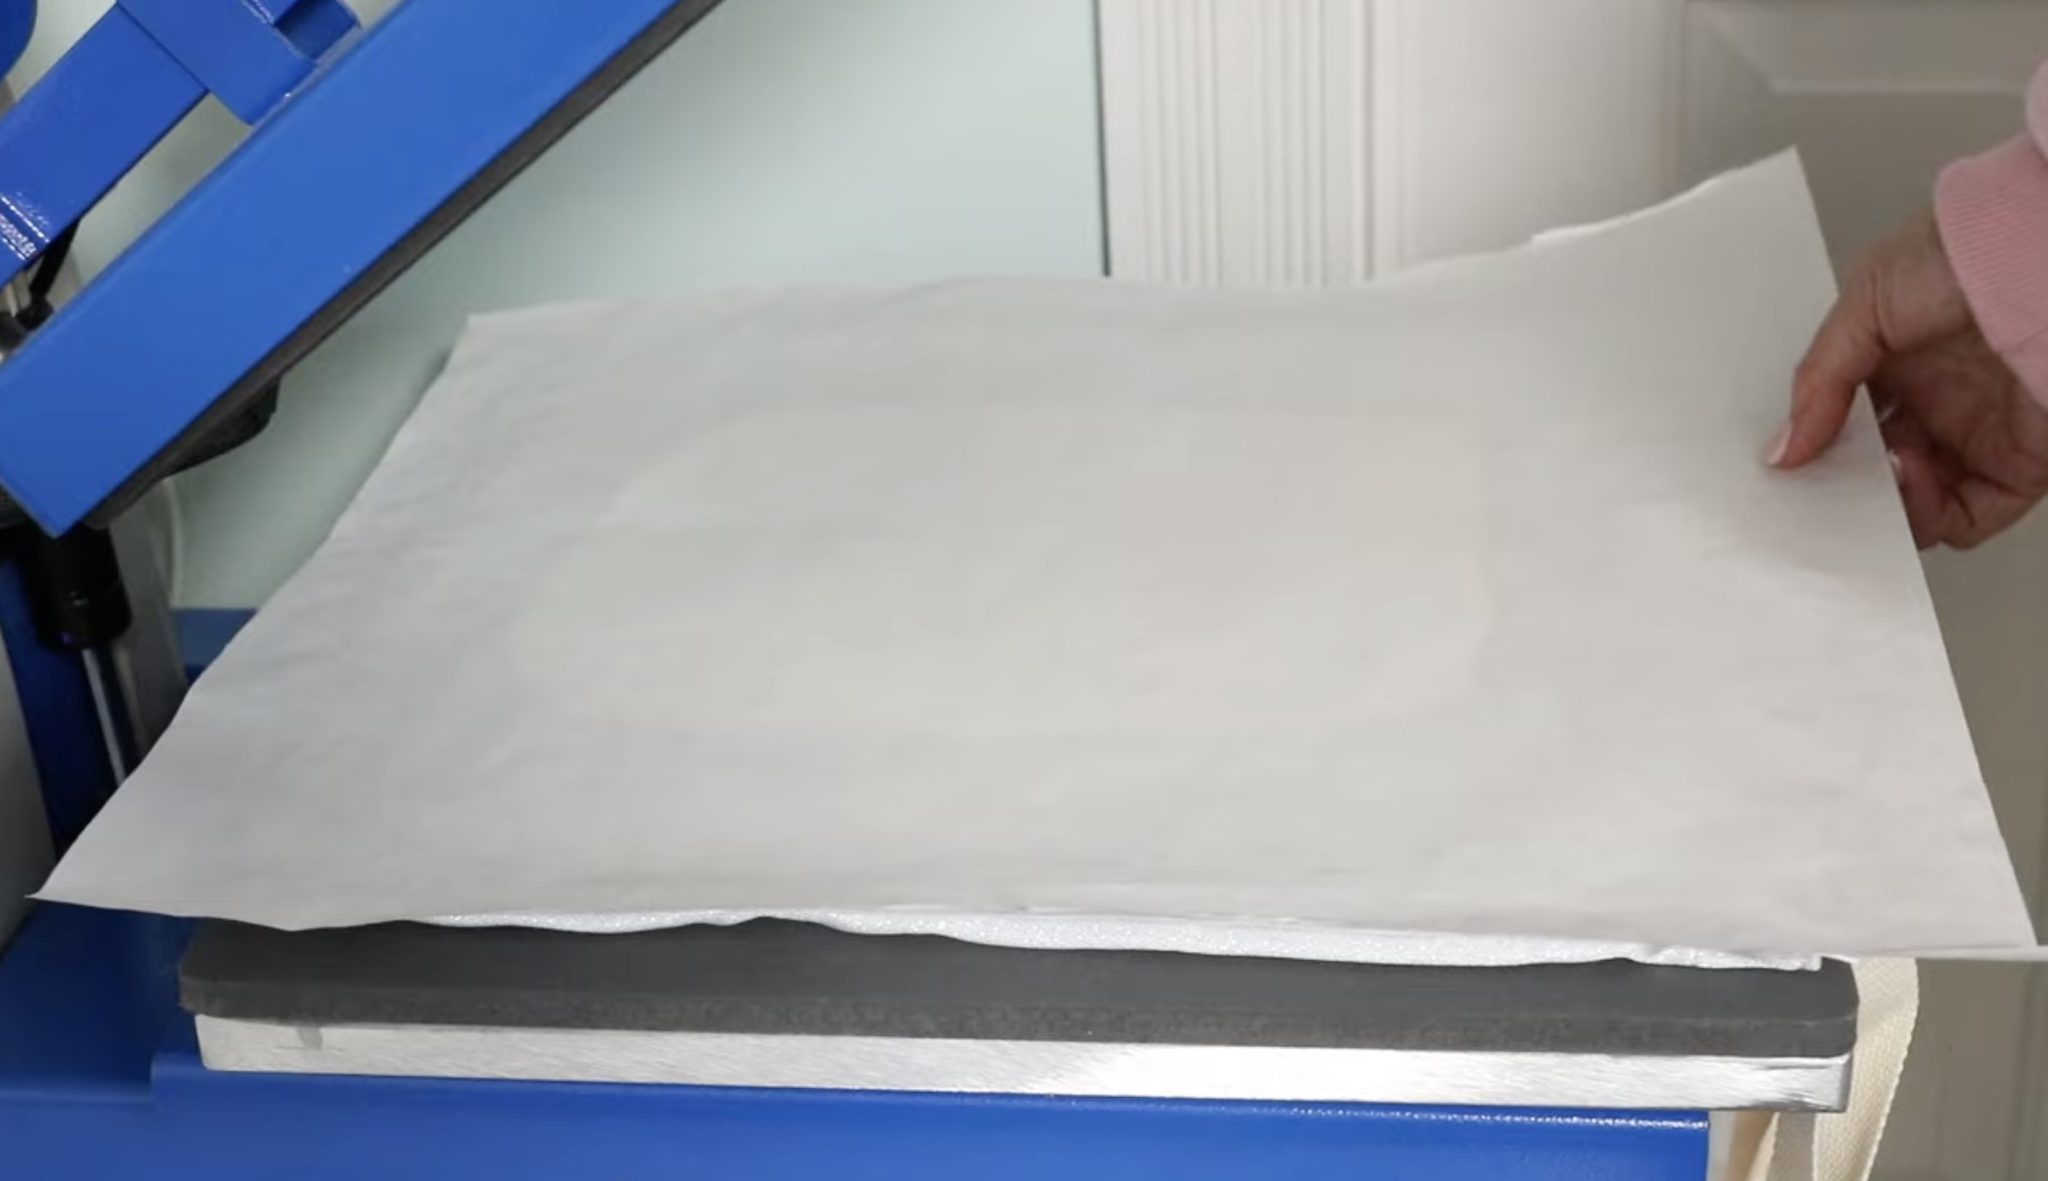
Place the tote in the heat press, cover the design with protective paper, and press for the full time.
Step 5 – Reveal the Finished Design
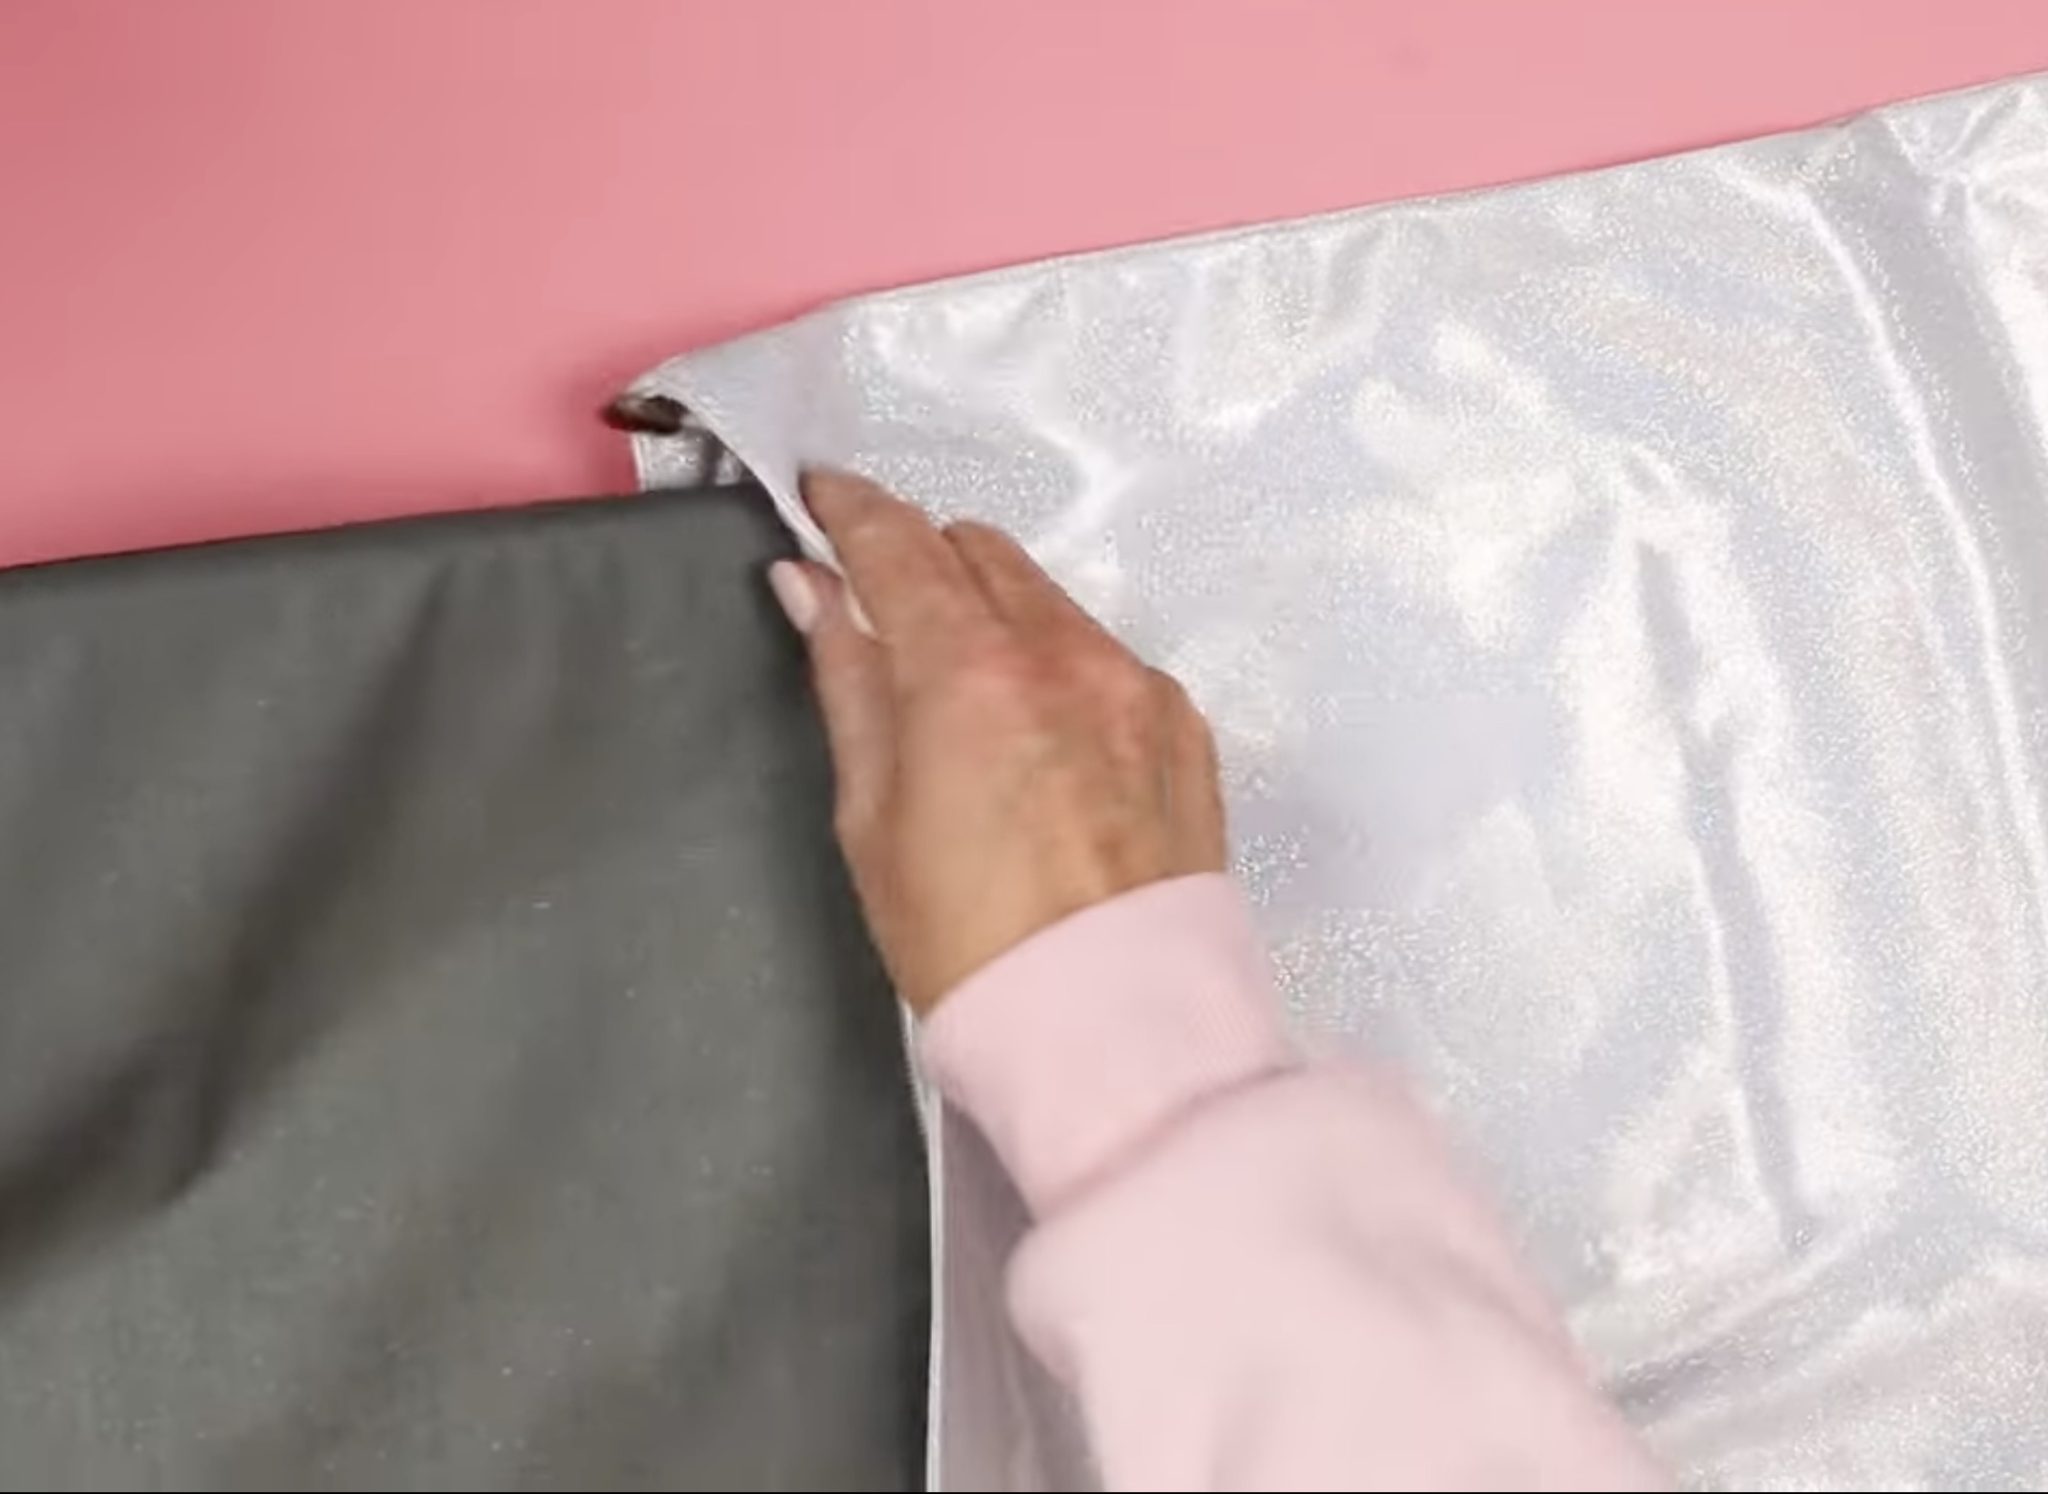
When the time is up, open the heat press and remove the protective paper and sublimation print.
As I was removing the protective paper, it stuck to the tote a little bit. Slowly peel back the protective paper so you don't tear it. This won't impact your project; it just happens sometimes.
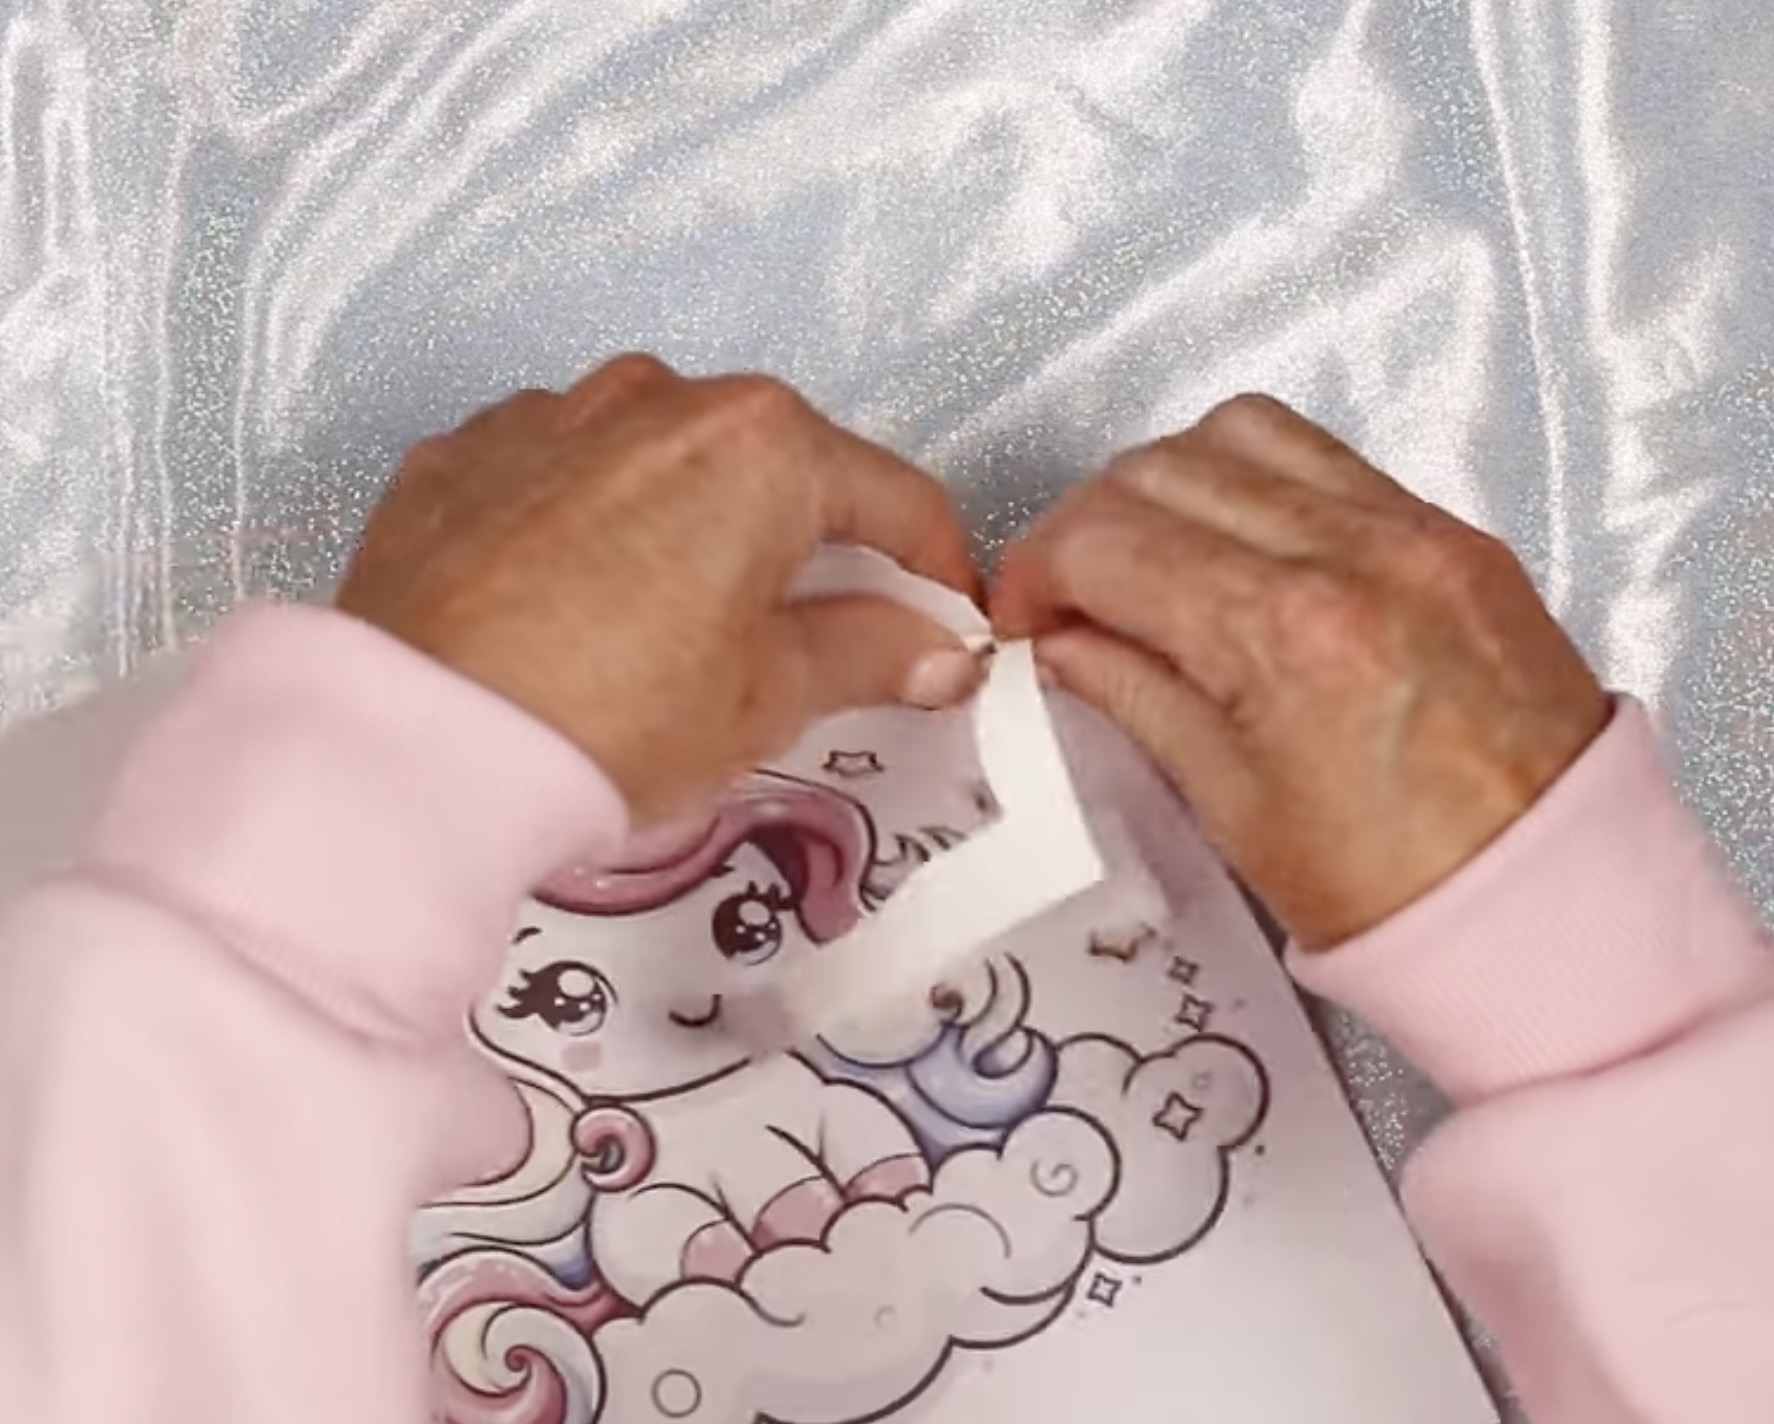
With the protective paper removed, we can remove the sublimation print.
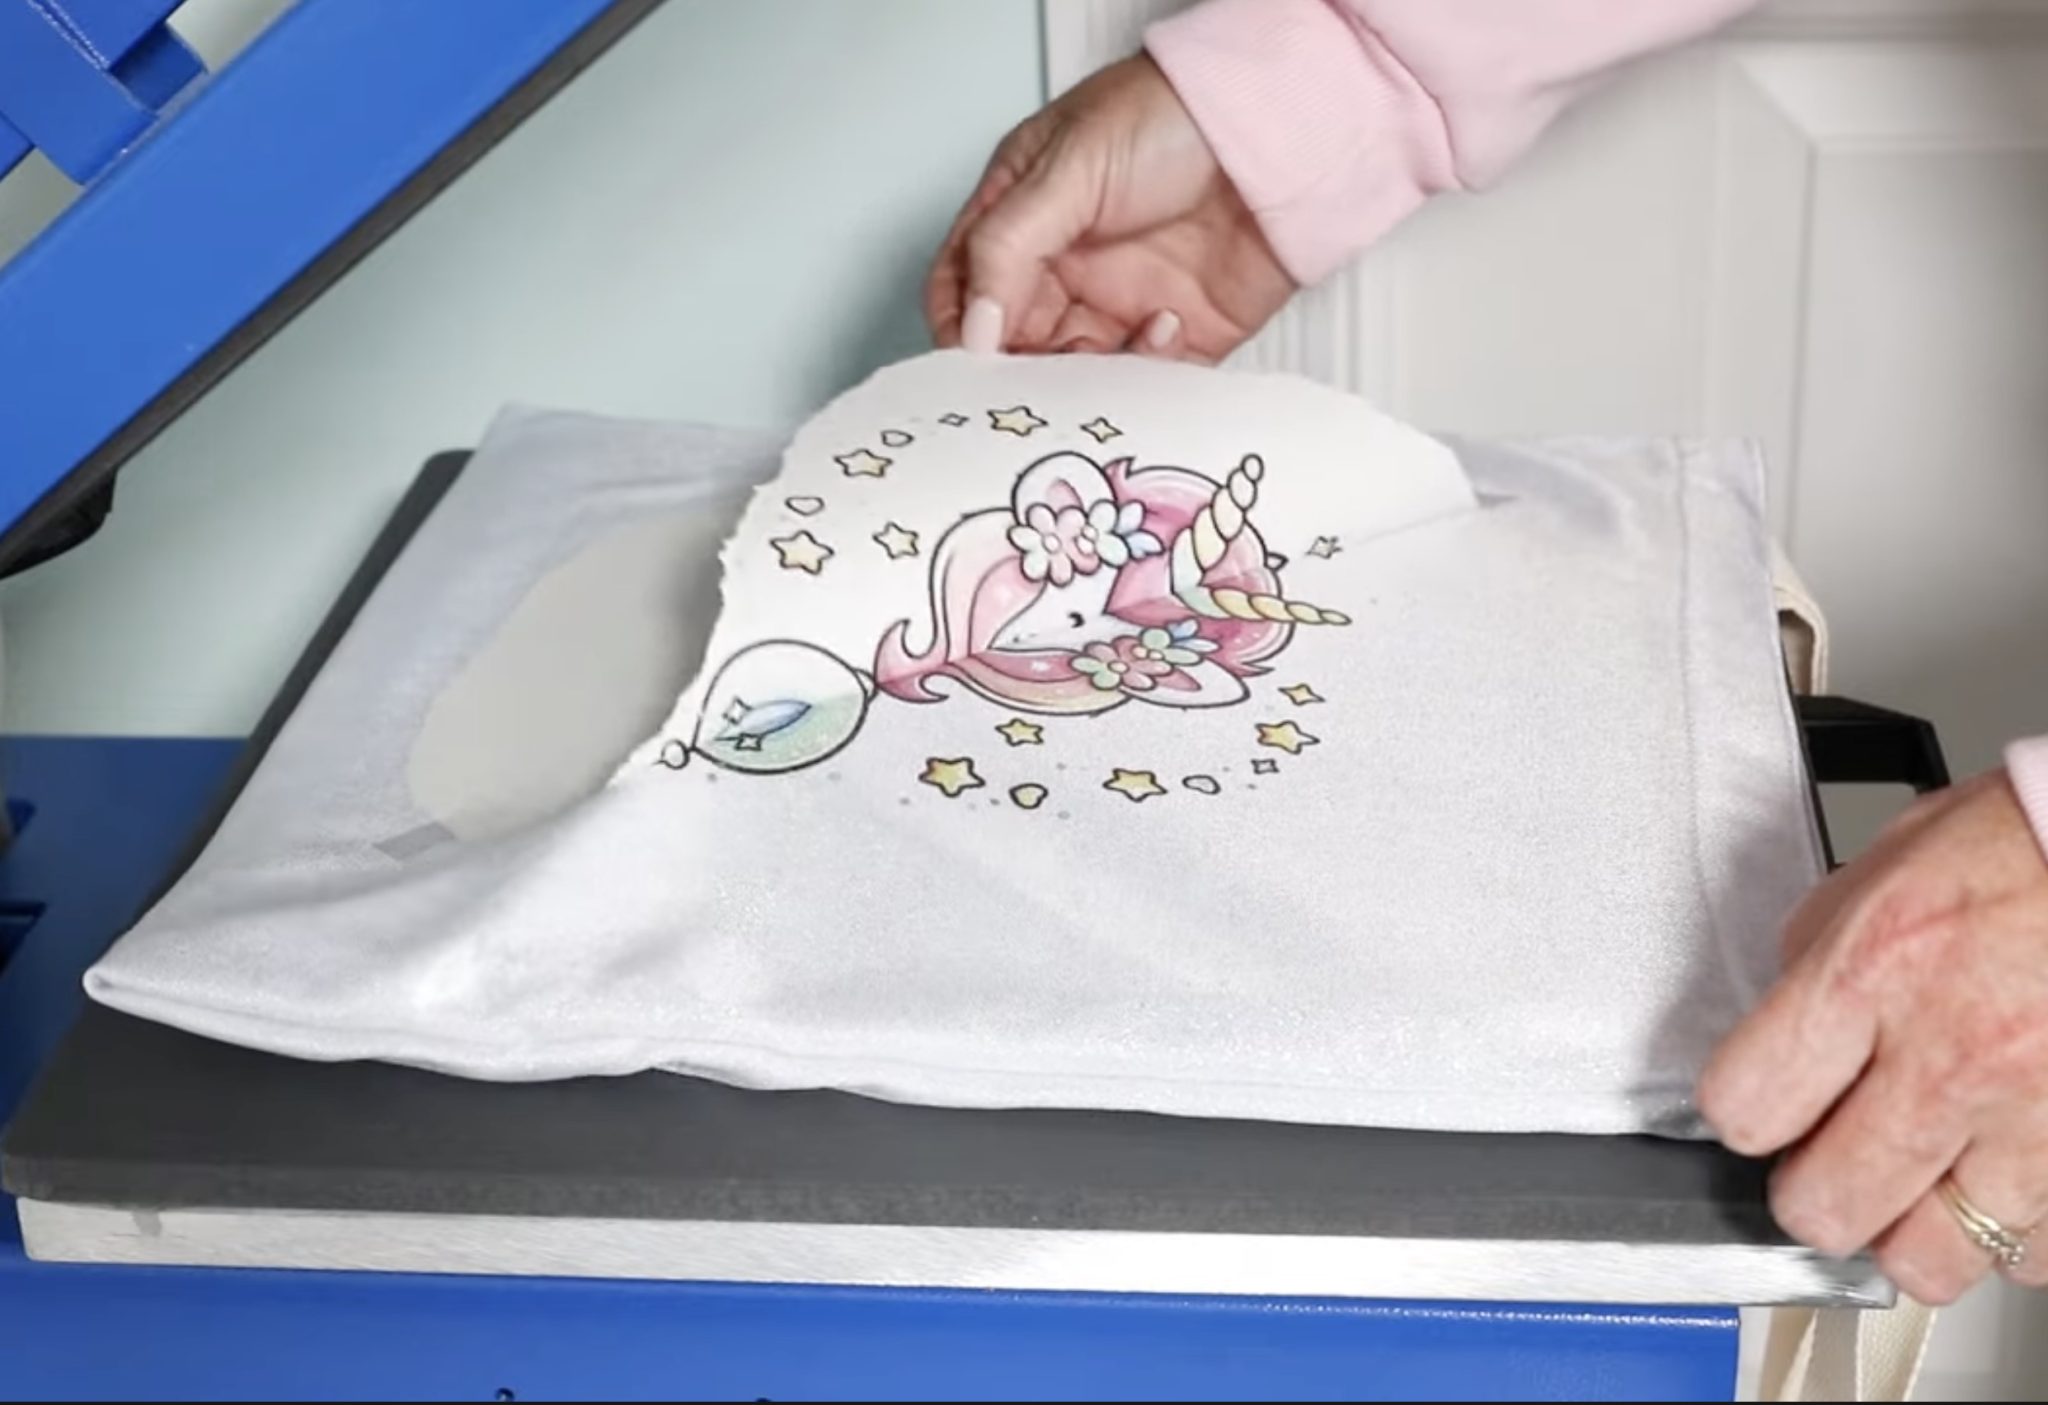
I always try to peek at one corner or edge of the design before I remove the entire thing to make sure it's transferred.
Mine transferred beautifully, so I removed the print, and now the glitter sublimation project is done.
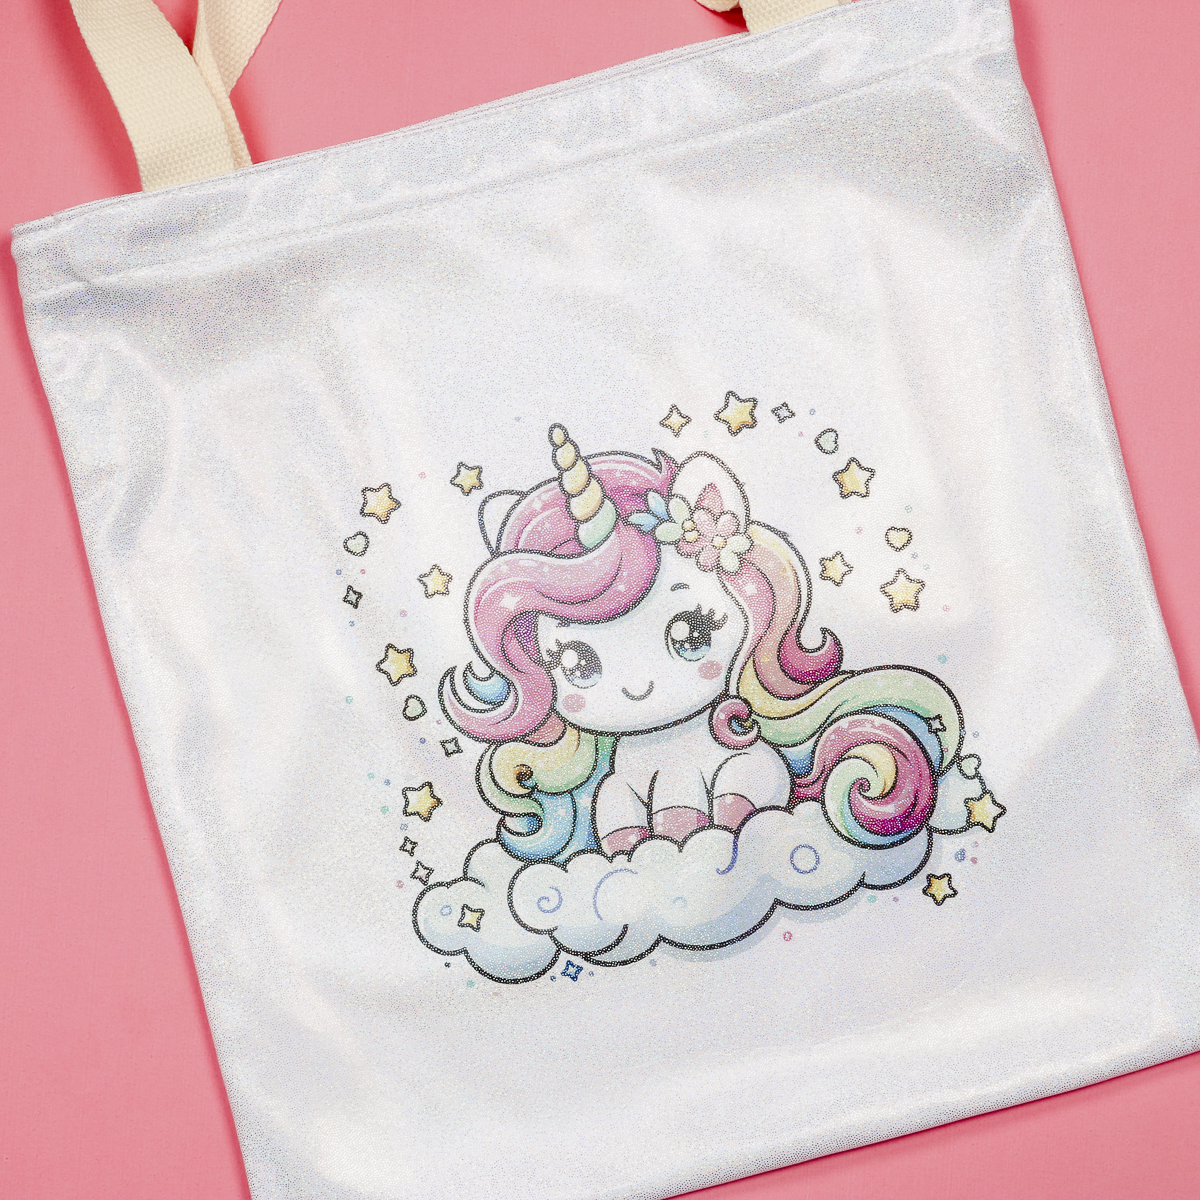
Step 6 – Enjoy Your New Glitter Sublimation Tote
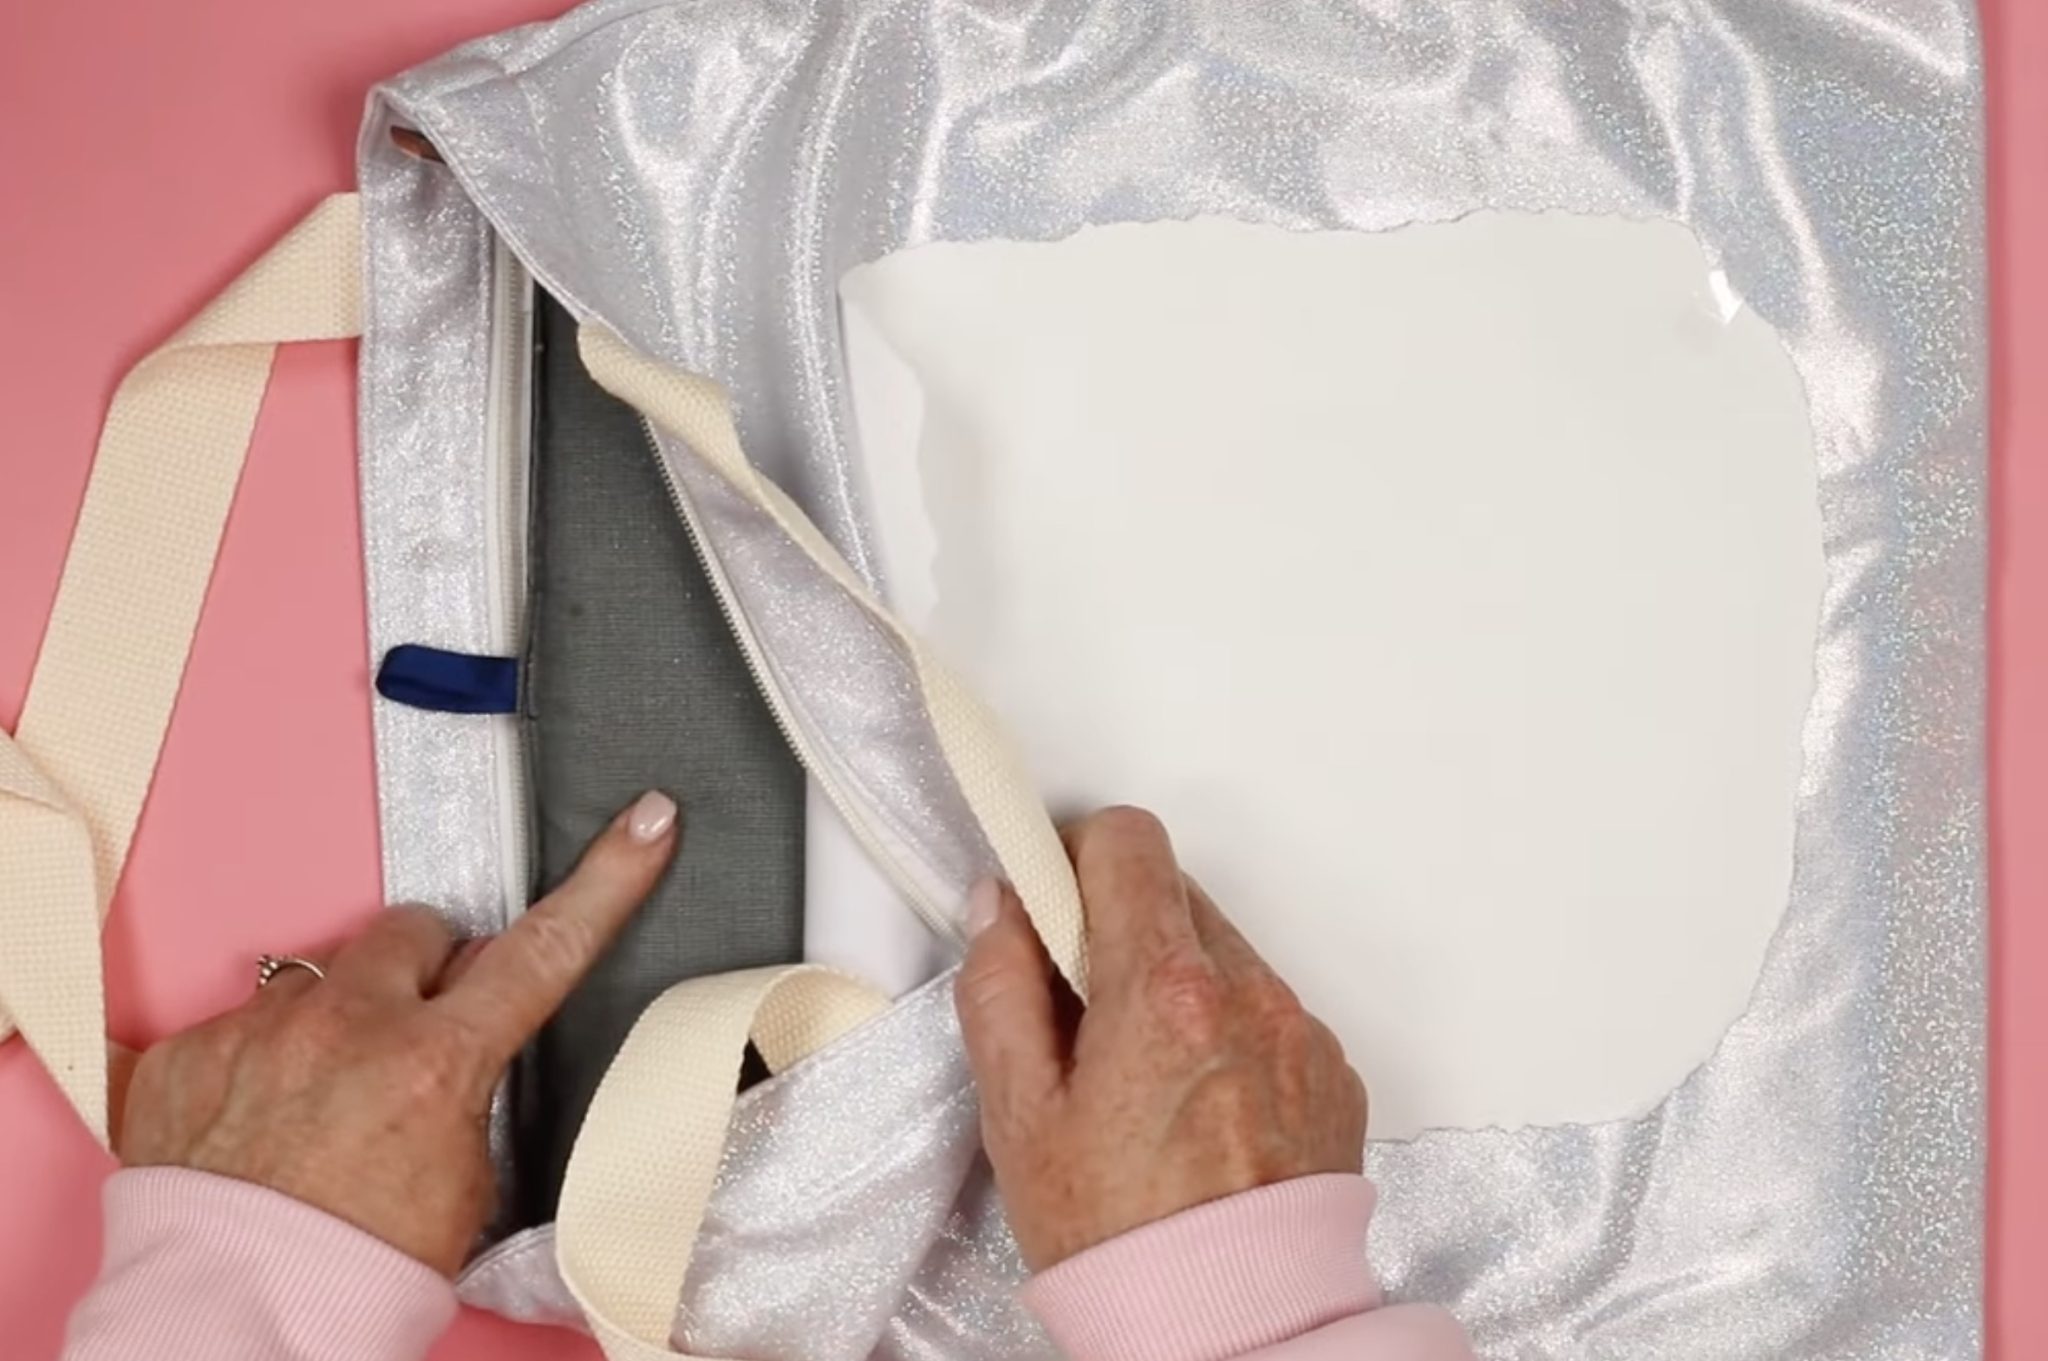
I love how the glitter shows through the entire design, including the dark areas. The surface is smooth but looks just like other glitter blanks.
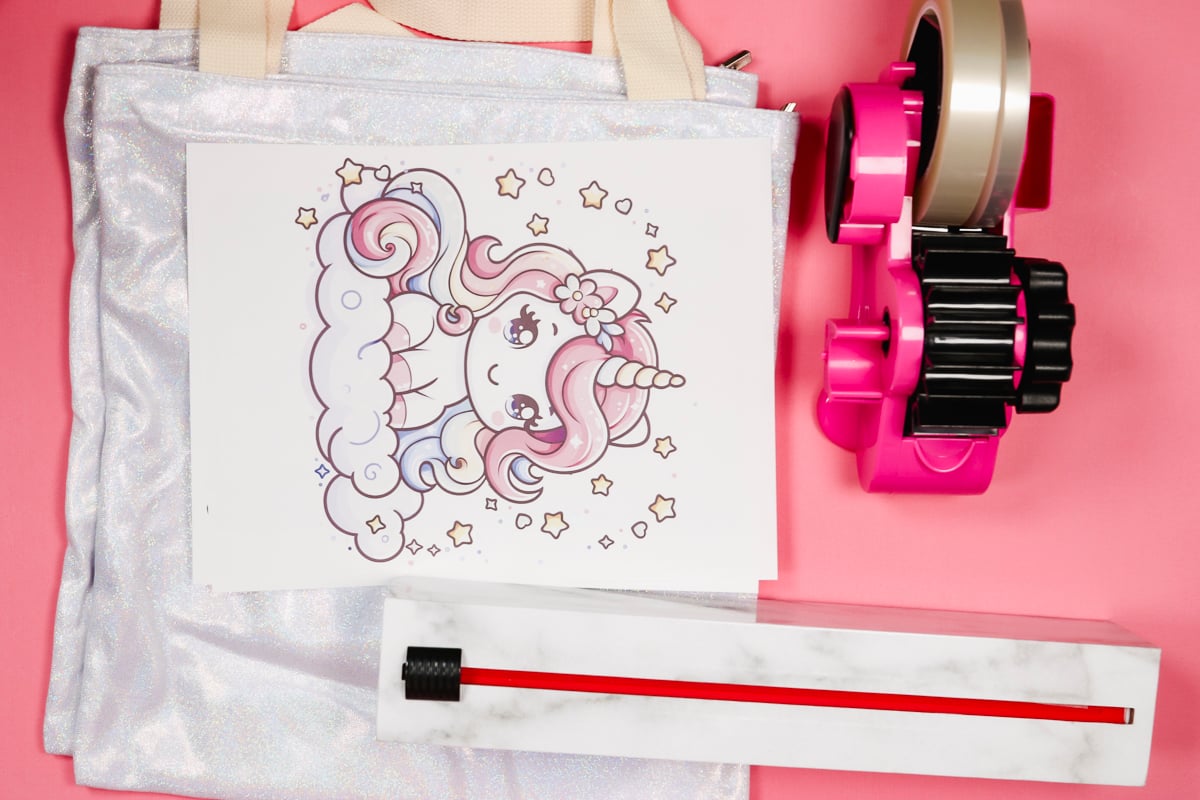
I did want to show you the print after pressing.
You may notice some dots that are darker on the print after pressing. This happens because some of the glitter flecks on the tote may accept more ink than others.
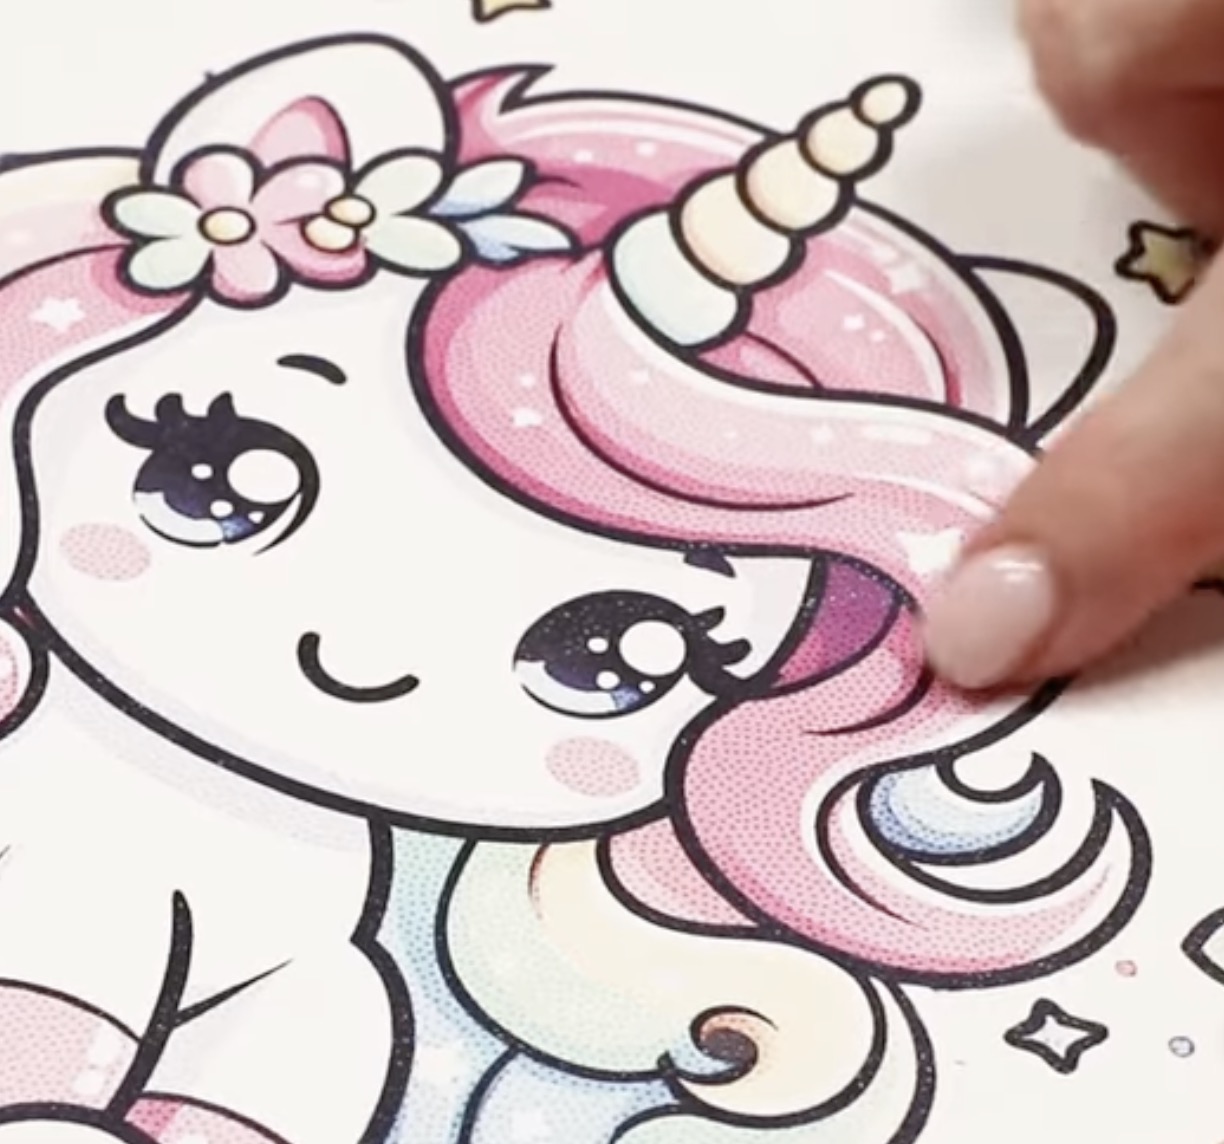
This is very normal and adds to the glitter look of the tote.
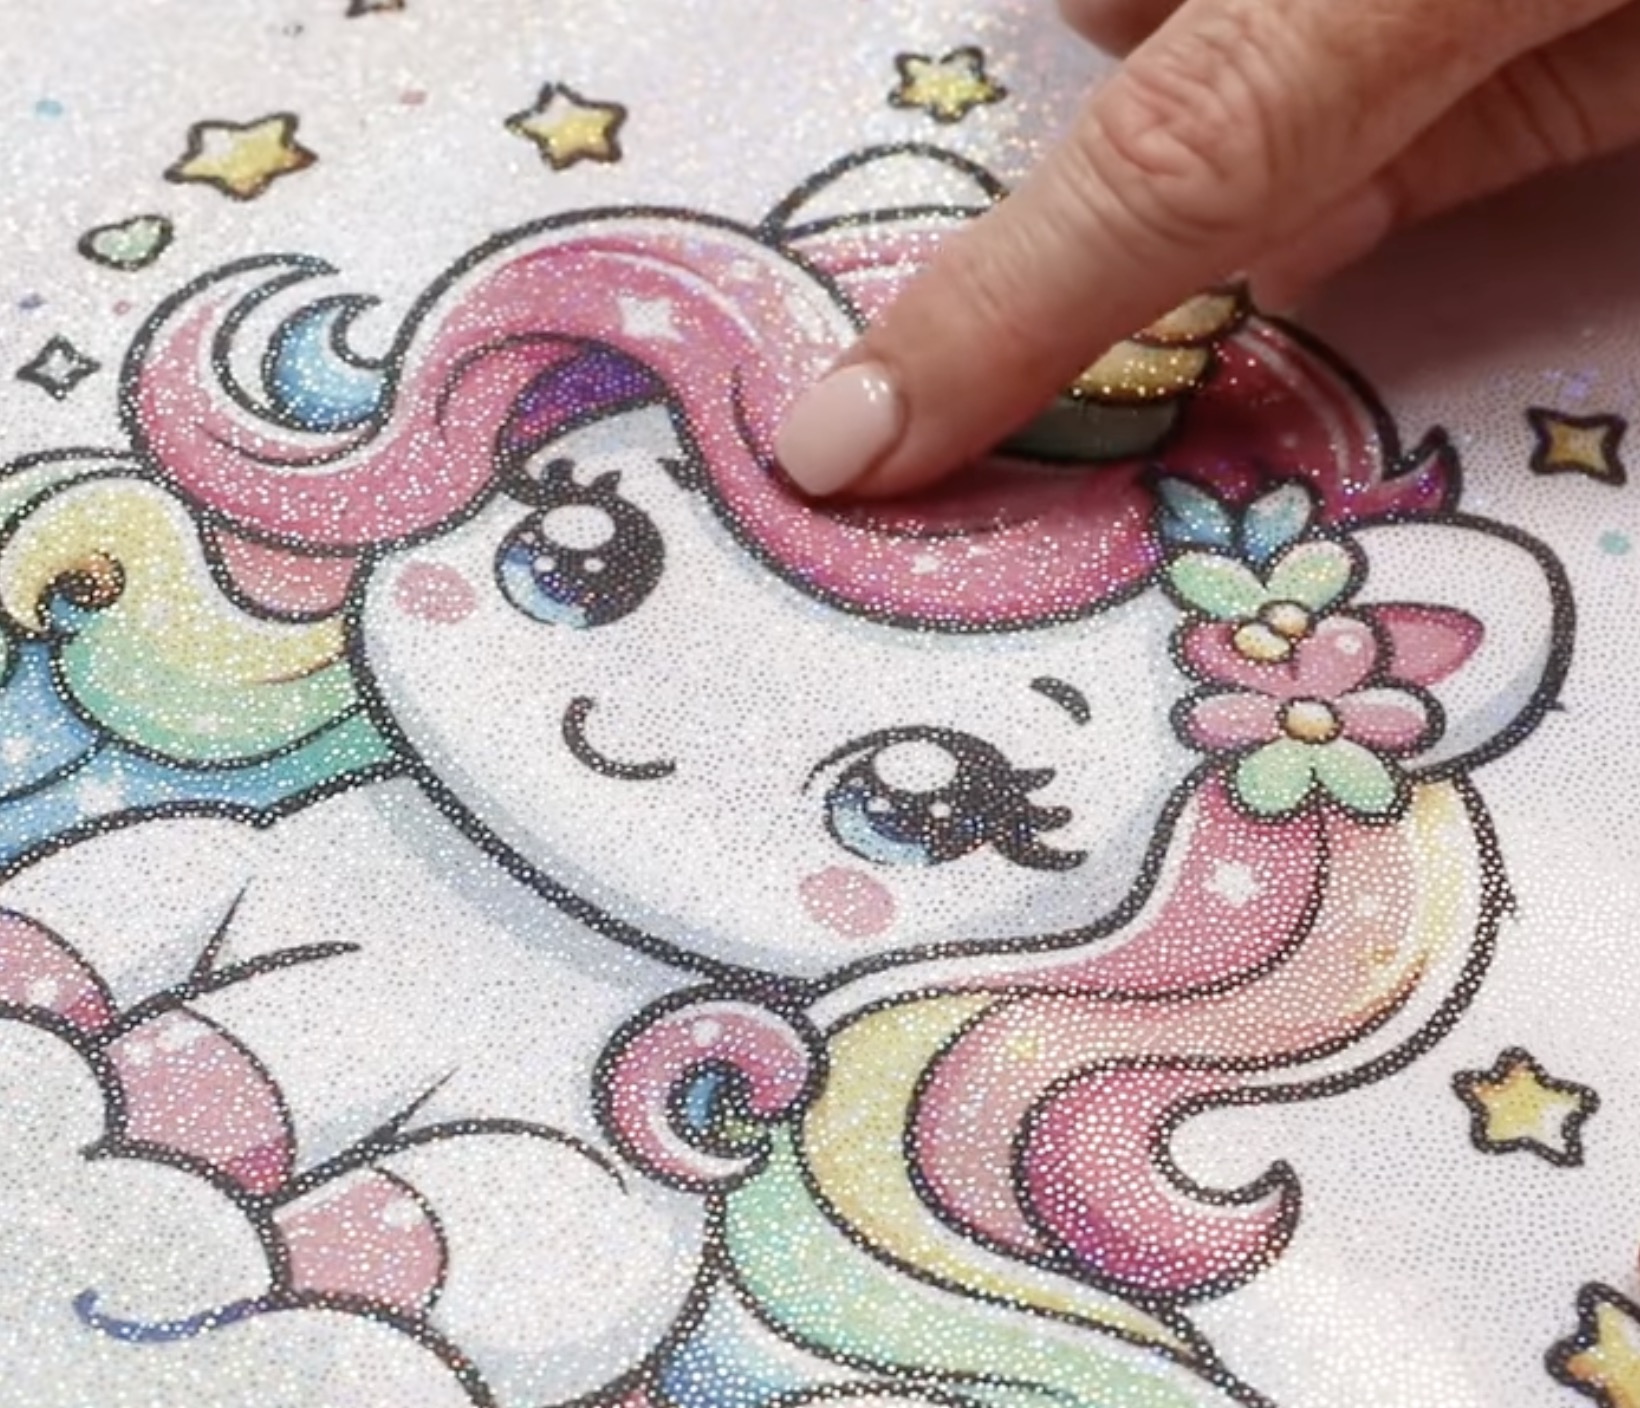
You can see below that even where the ink may not have transferred completely, the tote looks great and very glittery.
I pressed a second glitter sublimation tote to see how it looks with darker inks.
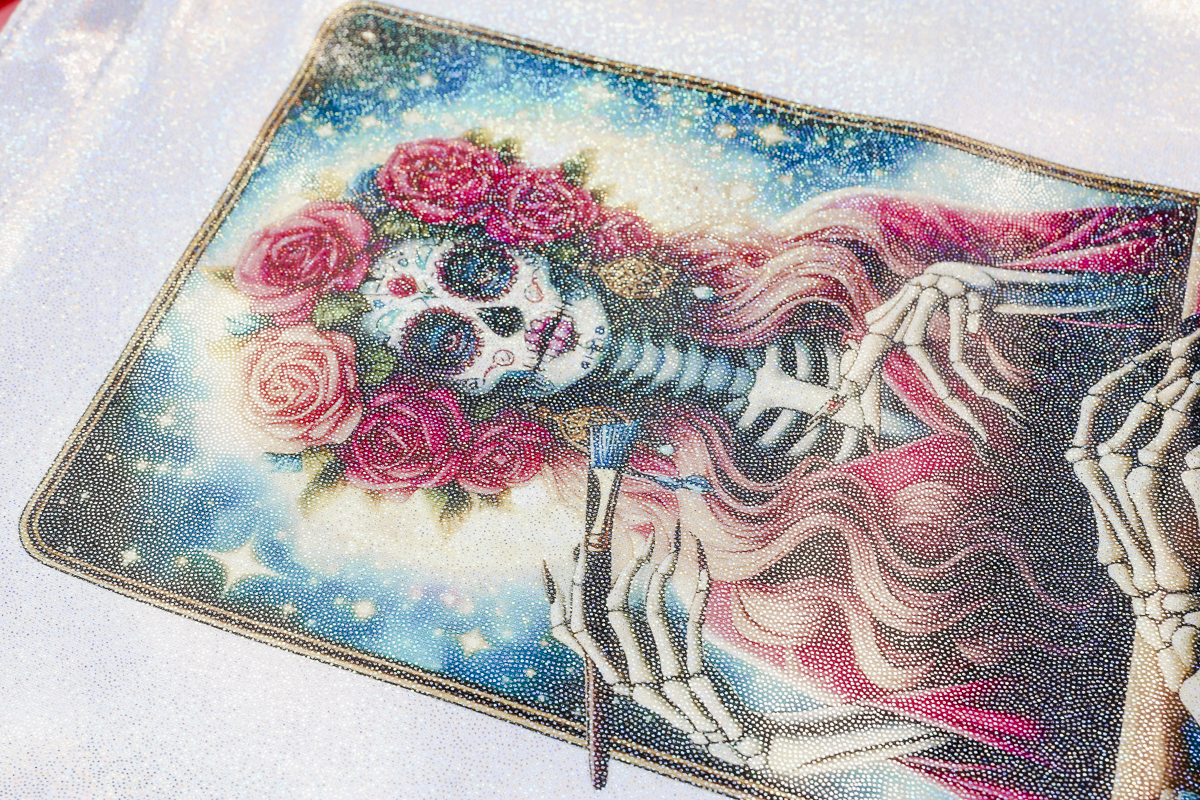
Even on designs that include a lot of black and other dark colors, the glitter comes through beautifully. I really like how this glitter tote turned out.
Are You Ready to Make Glitter Sublimation Projects?
Now that you've seen a couple of different glitter sublimation totes, are you ready to make your own?
I love that glitter sublimation blanks allow me to elevate my sublimation projects without adding any extra steps.
Making glitter sublimation projects with the right blanks is beginner-friendly and perfect for gifts or to add to your small business product line.
If you love the shimmer and shine of glitter, add some glitter sublimation blanks to your shopping cart and get crafting.
I hope I've answered any questions you have about glitter sublimation. If you have any additional questions, leave them in the comments and I'll be happy to answer them for you.