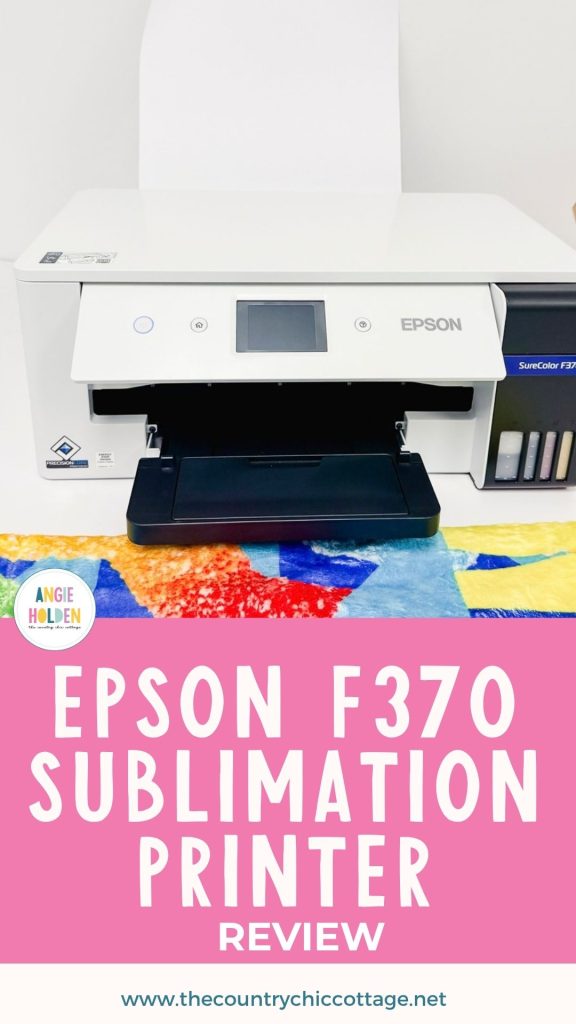
If you've been waiting for an affordable large-format sublimation printer, you're going to love the new Epson SureColor F370. The F370 is a 13-inch-wide sublimation printer that fits on a desktop and has affordable ink. I am very excited about this printer.
If you're just starting your sublimation journey, my Sublimation Beginner's Guide is a great place to start.
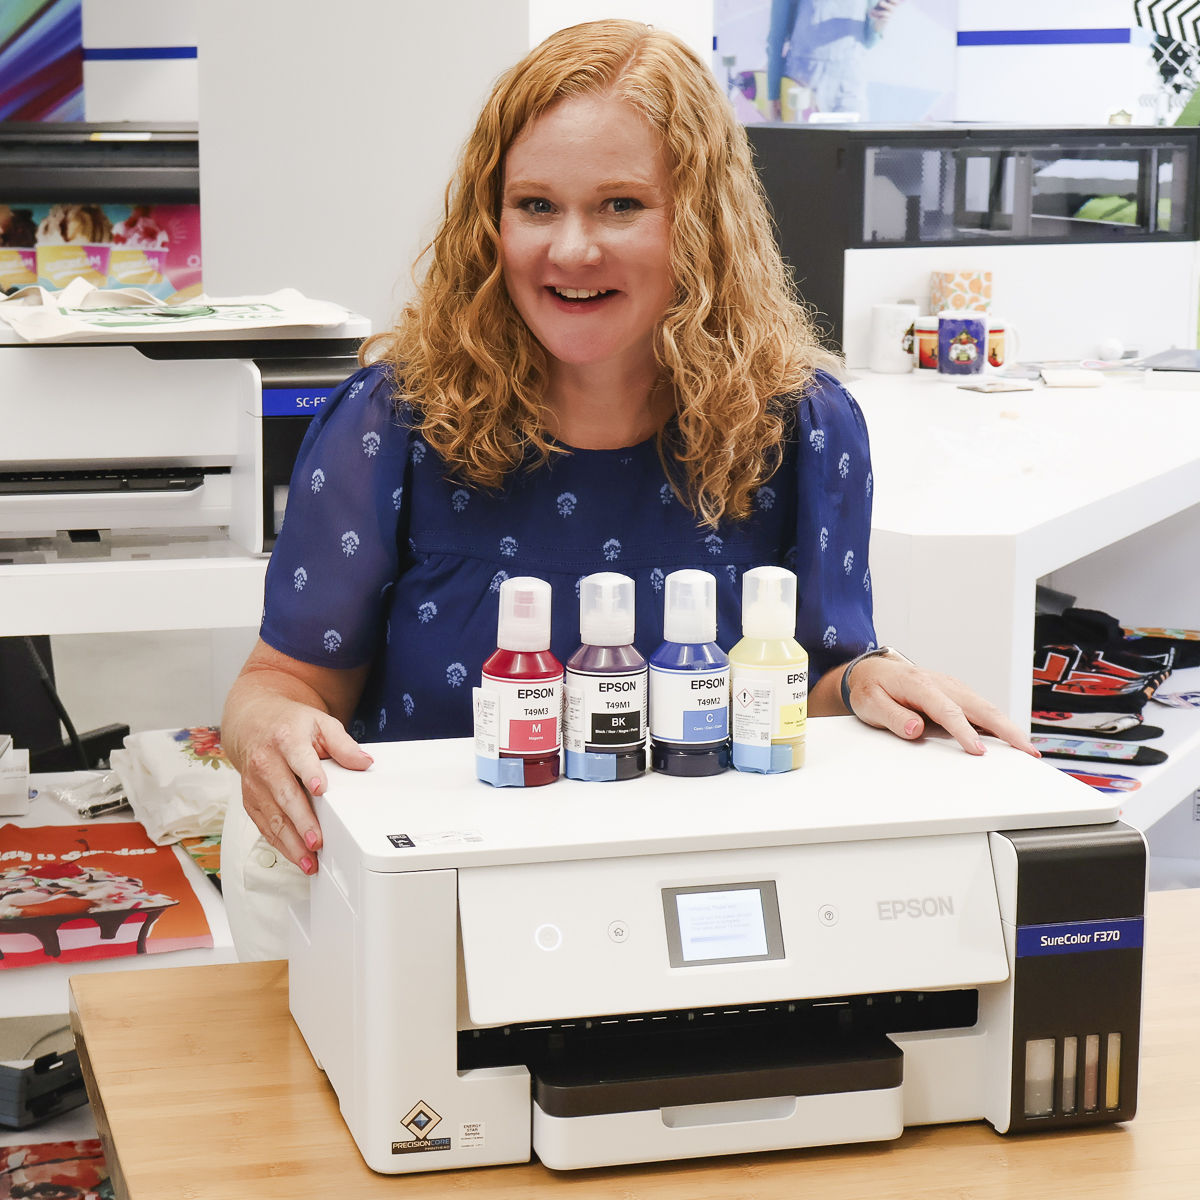
If you've been frustrated by the limitations of an 8.5 by 11-inch sublimation printer, but don't have room for a 24-inch printer, the F370 may be exactly what you're looking for.
You can watch me make projects using both 8.5 by 11-inch and 13 by 19-inch sublimation paper by pressing play on the video below.
Epson SureColor F370 13-inch Sublimation Printer
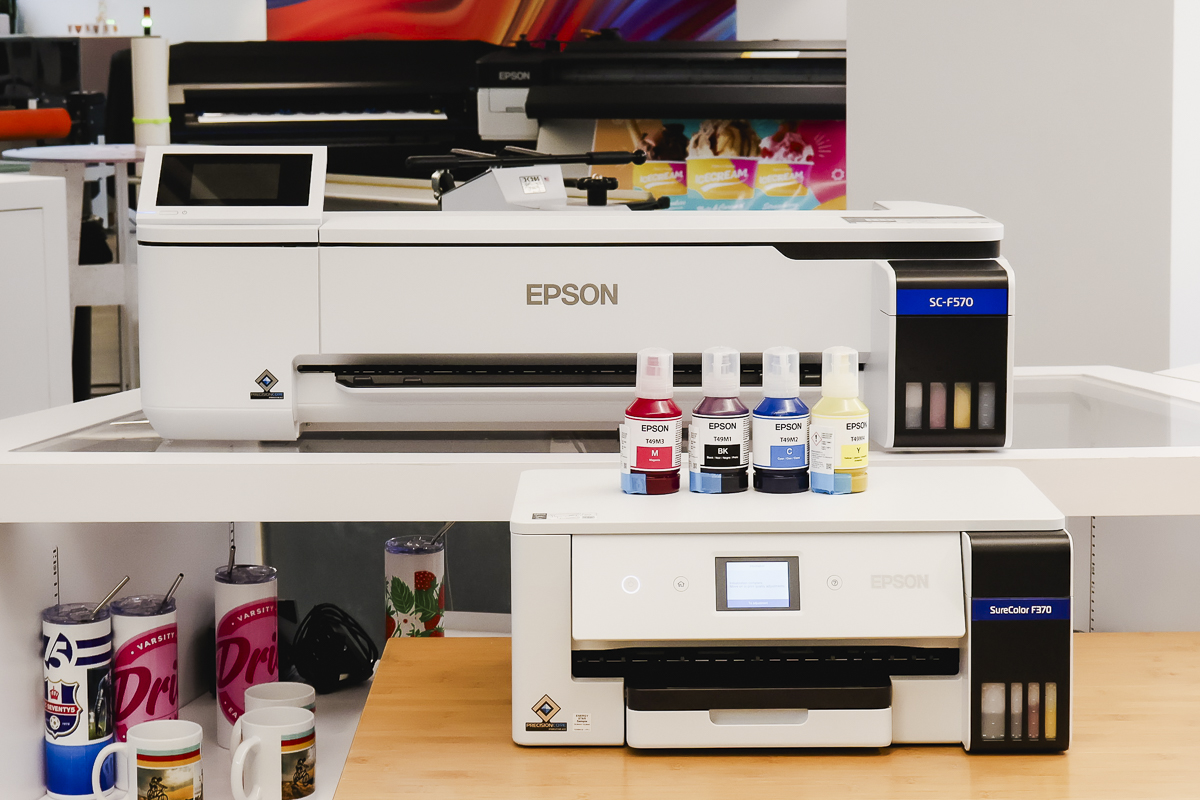
The Epson F370 is brand new to the Epson sublimation printer lineup. Falling between the F170 and F570, it allows you to print larger than 8.5 by 11 inches while remaining a desktop printer.
The Epson F170 sublimation printer prints up to 8.5 by 11 inches on letter-sized paper. The F570 prints up to 24 inches wide and prints on rolls of sublimation paper.
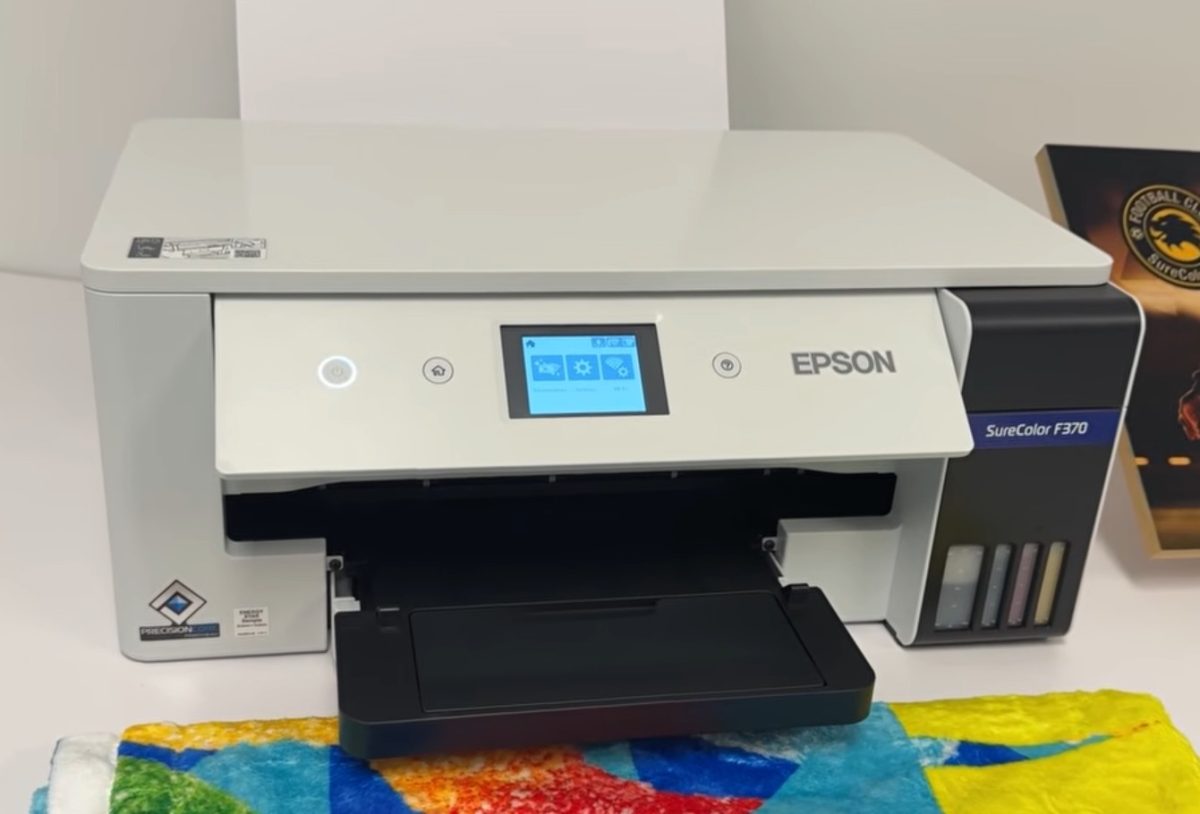
I've wanted a larger sublimation printer, but I don't have room for a printer that prints 24 inches wide. The F570 is a very large printer and is great for people who need to produce huge prints. If you're looking at the F570, remember you'll need a heat press that can handle those larger prints.
The F370 falls right between those two printers. You can print on 8.5-by-11-inch or 8.5-by-14-inch sublimation paper, and you can print on paper up to 13 inches wide.
The width is the constraining factor. The widest material it can accept is 13 inches wide, but you can print up to 47 inches long. The F370 doesn't accept rolls of material; it needs to be in sheets.
Note: The F370 has a 3mm margin on both sides of the print. You cannot print full bleed on this printer. The 3mm margin applies regardless of the paper size you're using.
Ready to buy the F370? Click here to see more!
Setting up the SureColor F370
Setting up the F370 is really simple. Everything you need is right inside the box.
What's in the box:
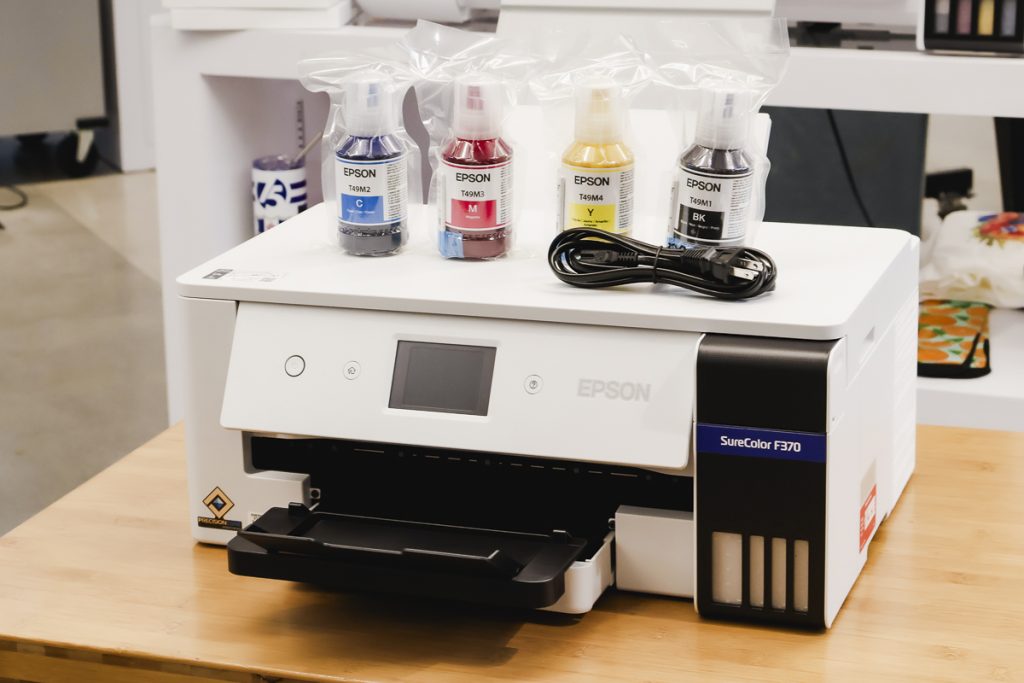
- F370 Printer
- CMYK Sublimation Ink Set
- Power Cable
- User Guide
Remove the printer from the box and remove all of the packaging tape and materials.
Fill the ink tanks, one at a time, matching the sublimation ink color to the tank color. The bottles sit right inside the tank opening. They are gravity-fed and will stop automatically when the tank is full. Don't squeeze the bottles.
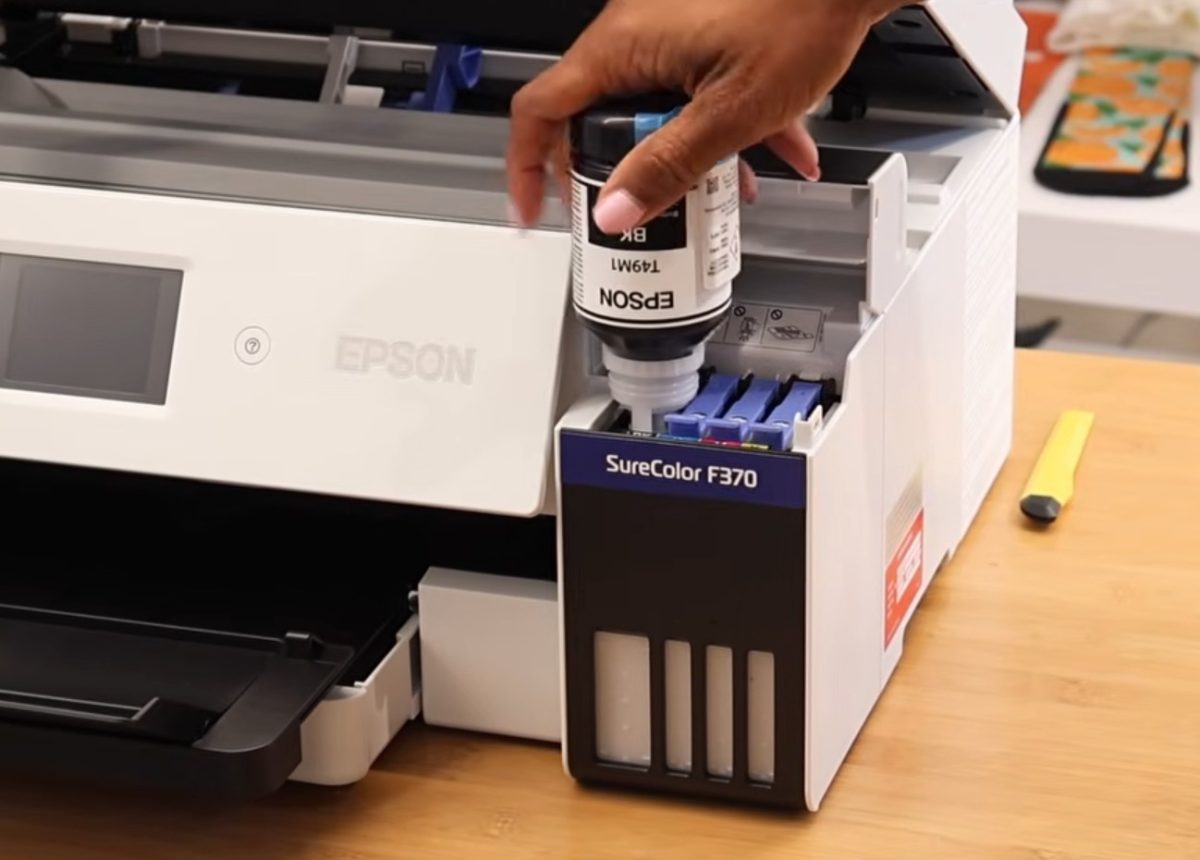
When the ink stops flowing into the printer, you can remove the bottle.
Next, plug in the printer and install the driver on your computer or the device you're using to print and connect to the printer via wi-fi.
How you load the paper will depend on the size of paper you're using. If you're using 8.5 by 11 paper, you'll load it in the tray. If you're using larger-sized paper, you'll use the rear feed tray.
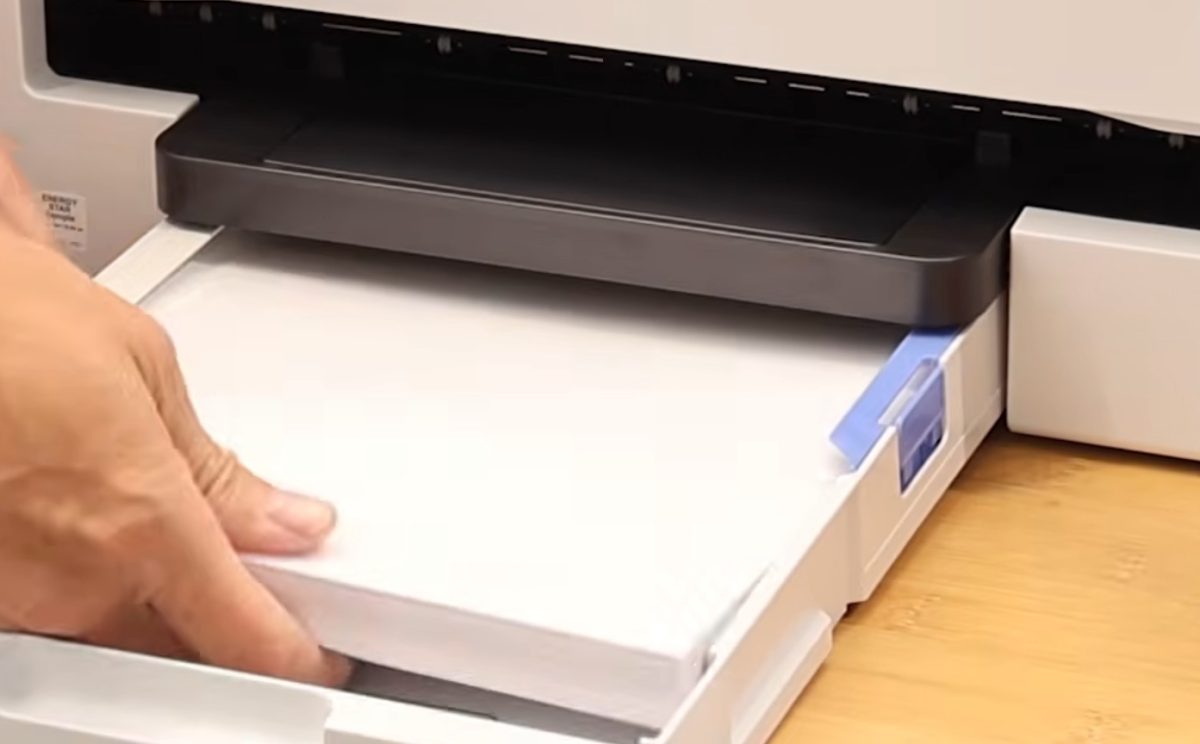
Follow the on-screen prompts on the printer to perform a nozzle check and printer alignment.
When you're done with all the setup steps you're ready to start using your Epson F370 sublimation printer.
How to Print to the Epson F370 Sublimation Printer
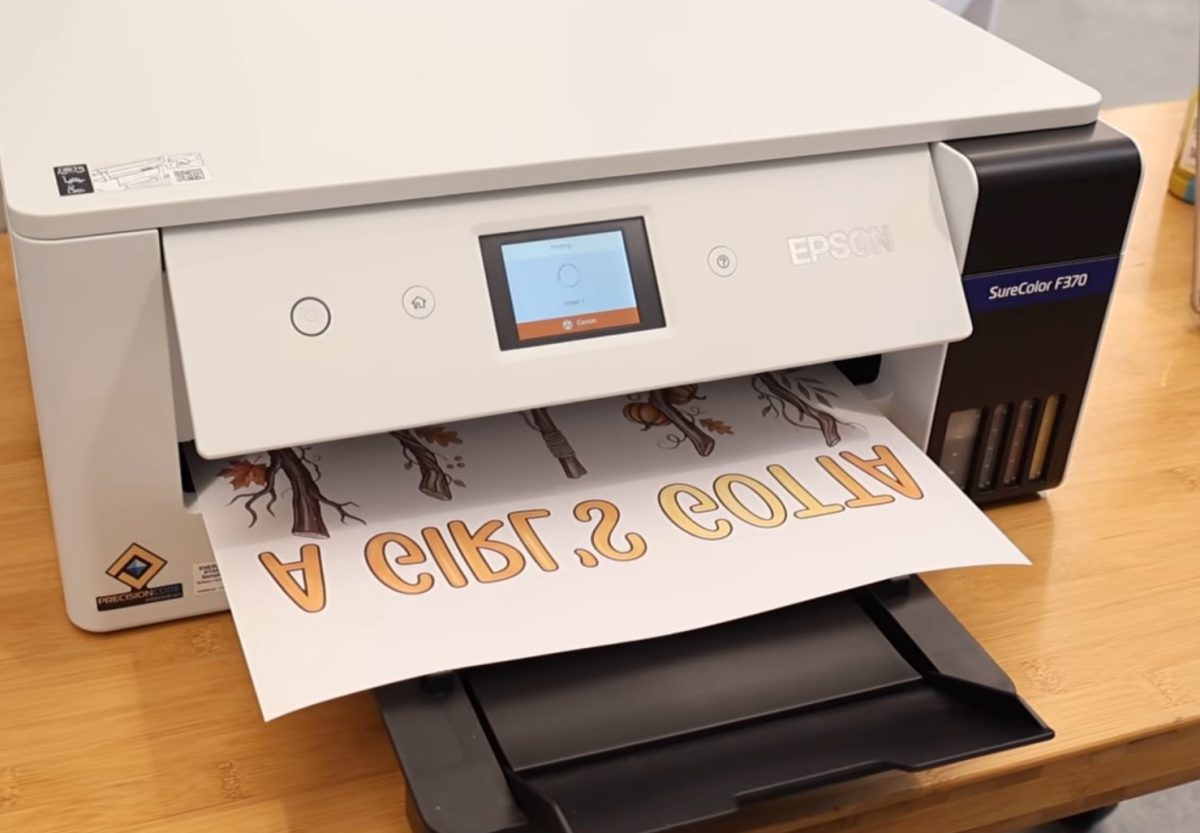
Printing to the F370 is extremely easy. You'll print to it just like you would any other printer.
Make sure you've selected the F370 as the printer, select the input tray, confirm the paper size, and print quality.
I am going to print on both an 8.5 by 11 and a 13 by 19 inch paper to see the whole process on both.
Note: Just like other sublimation printers, your print is likely to look faded compared to regular ink. This is normal for sublimation ink, and the image will become much more vibrant after it's pressed.
Ready to buy the F370? Click here to see more!
Small Sublimation Projects with the Epson SureColor F370
First, I'm going to use prints on 8.5 x 11 inch prints to make smaller projects. I printed a collection of small images on one paper and cut it apart to add to a variety of blanks.
Remember, we need a sublimation print. That is sublimation ink printed on sublimation paper using a sublimation printer.
Sublimation Zipper Pouch
Preheat the heat source to 385° and set the timer for 50 seconds. My zipper pouch had a lot of moisture in it, so I preheated it multiple times until the moisture was removed.
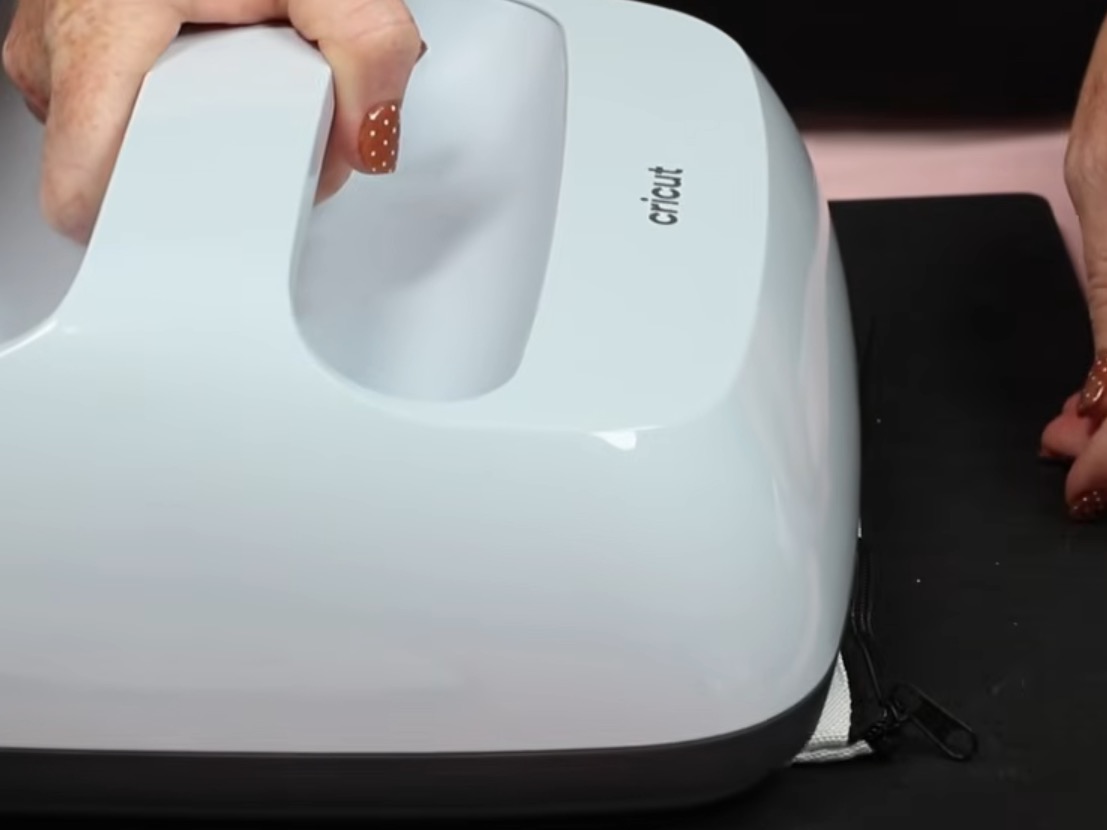
Place a pressing pillow inside the zipper pouch with a piece of protective paper on top of the pressing pillow.
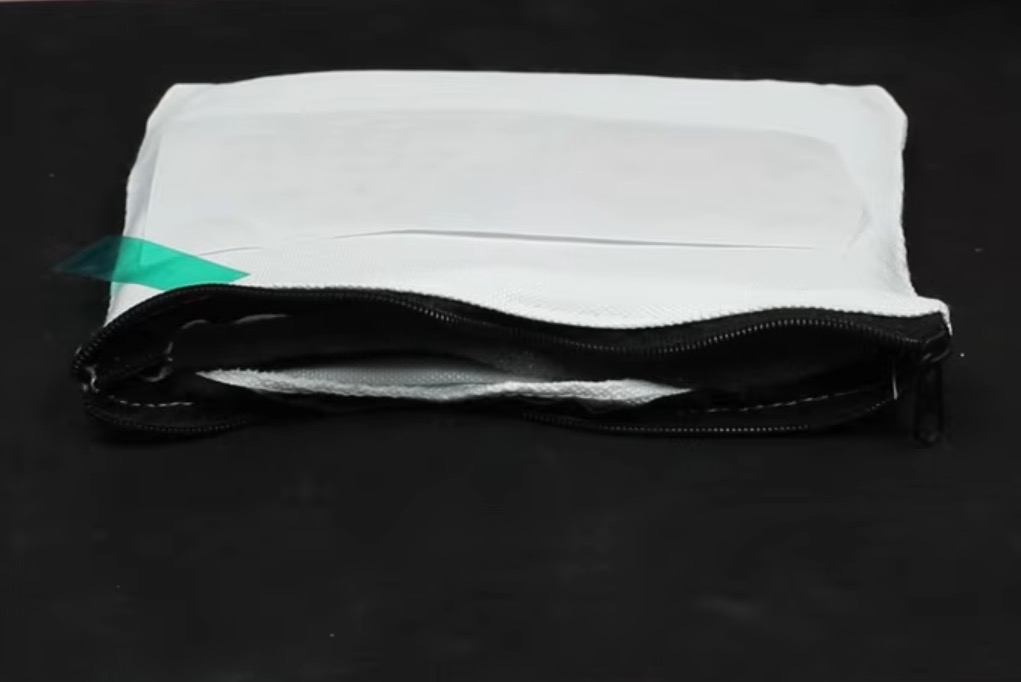
Lint roll the surface of the pouch and locate the sublimation print on it. Secure the print in place with heat-resistant tape and cover with protective paper.
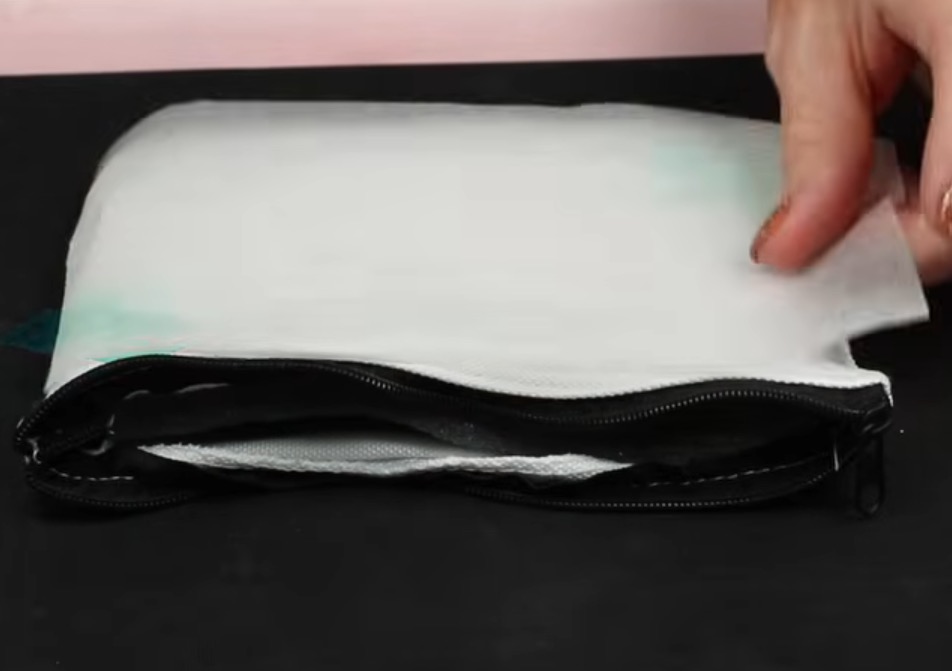
Press for the full 50 seconds. When the time is up, remove the press, protective paper, and sublimation print, and your zipper pouch is complete.
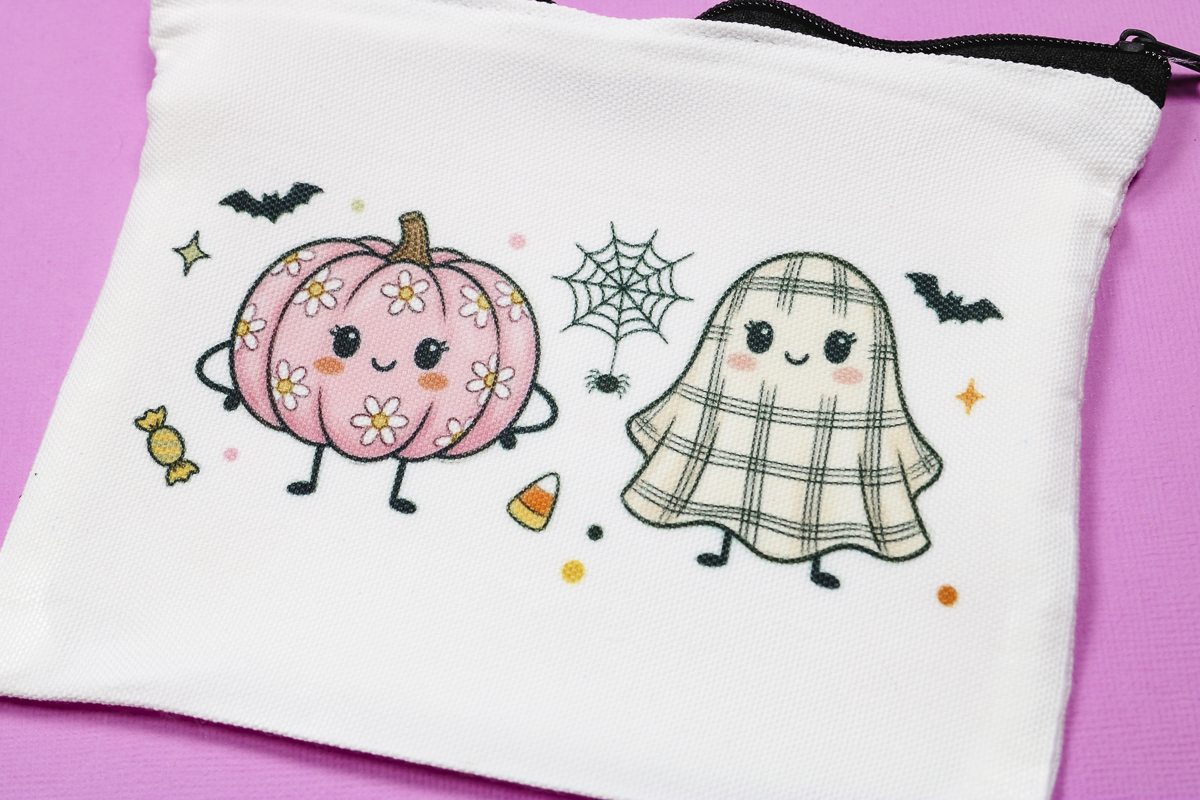
This turned out so cute. The design transferred perfectly. The colors are vibrant and pop off the pouch. This is a perfect little bag for Halloween.
Sublimation Car Coaster
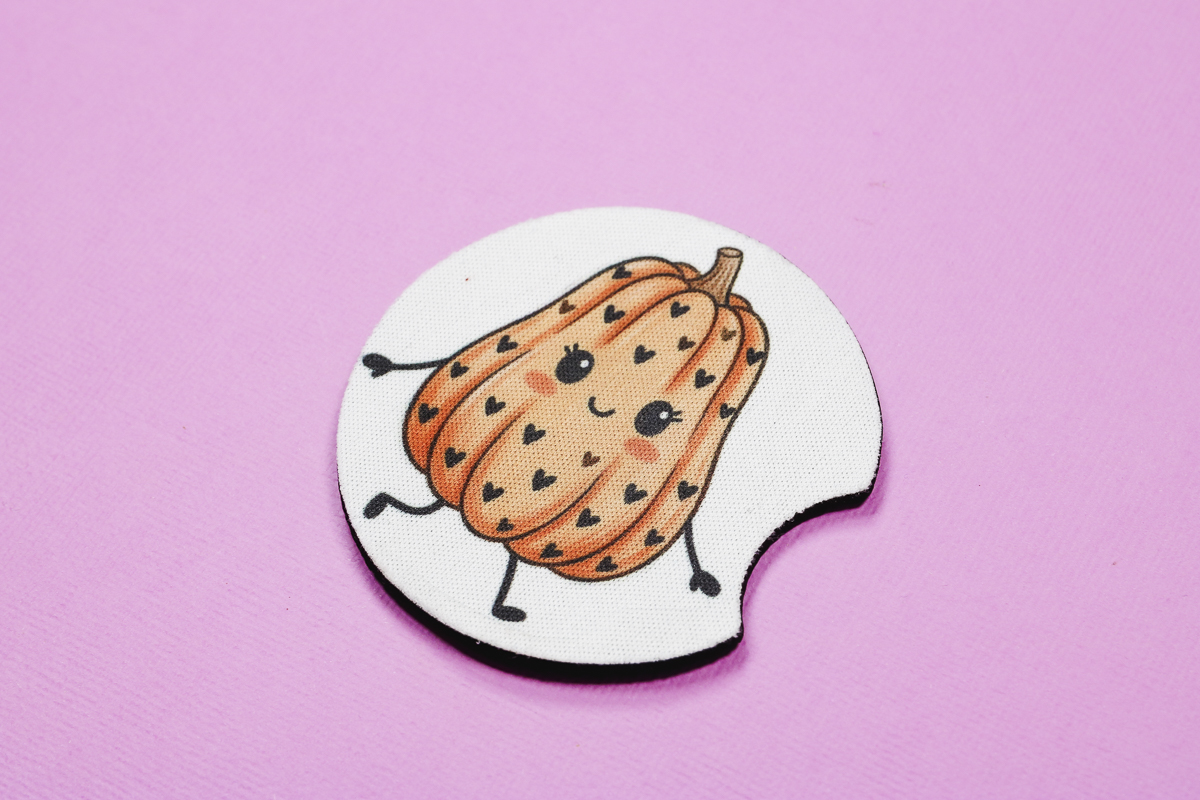
Sublimation car coasters are so fun. They're neoprene, easy to make, and perfect to change with the seasons.
Follow the same steps we did above:
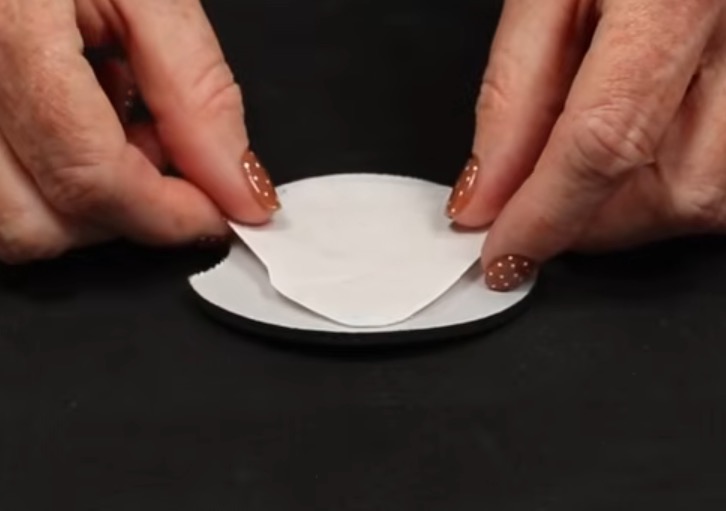
- Preheat to remove moisture.
- Lint roll to clean the surface.
- Locate the design and secure it with heat-resistant tape.
- Place protective paper under the car coaster and on top of the sublimation print.
- Press at 385° for 50 seconds.
- Remove the protective paper and sublimation print.
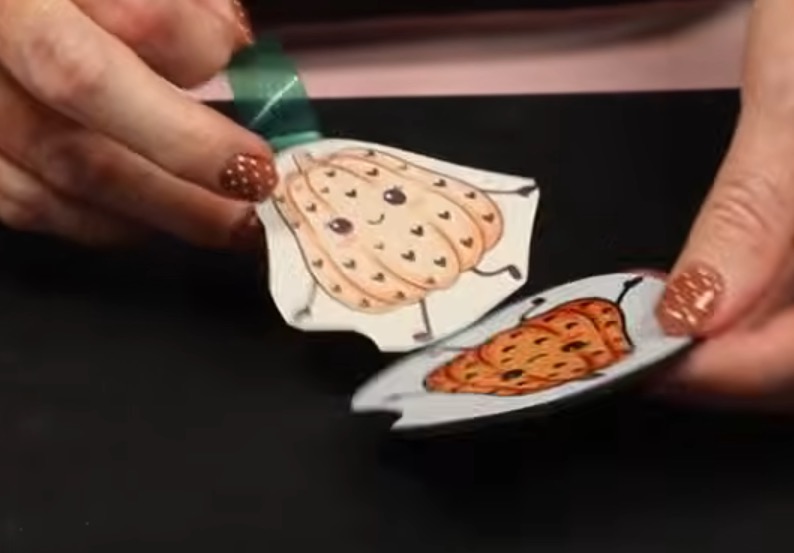
Once again, the coaster is perfect. The design is bright and vibrant, and the ink transferred perfectly.
Sublimation Ceramic Coaster
Since I've done soft surfaces already, next I'm going to make a ceramic coaster. The process for this is a little different.
First, clean the surface. You can use a lint roller or a lint-free cloth and rubbing alcohol. If you use rubbing alcohol, make sure it is completely dry before adding the sublimation print.
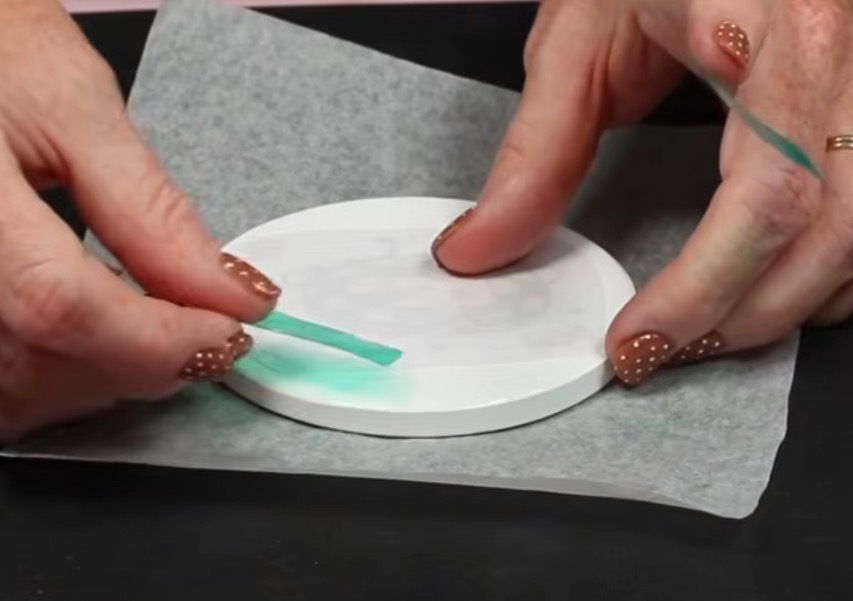
Locate the print on the coaster and secure it with heat-resistant tape.
Place protective paper under the coaster and on top of the print.
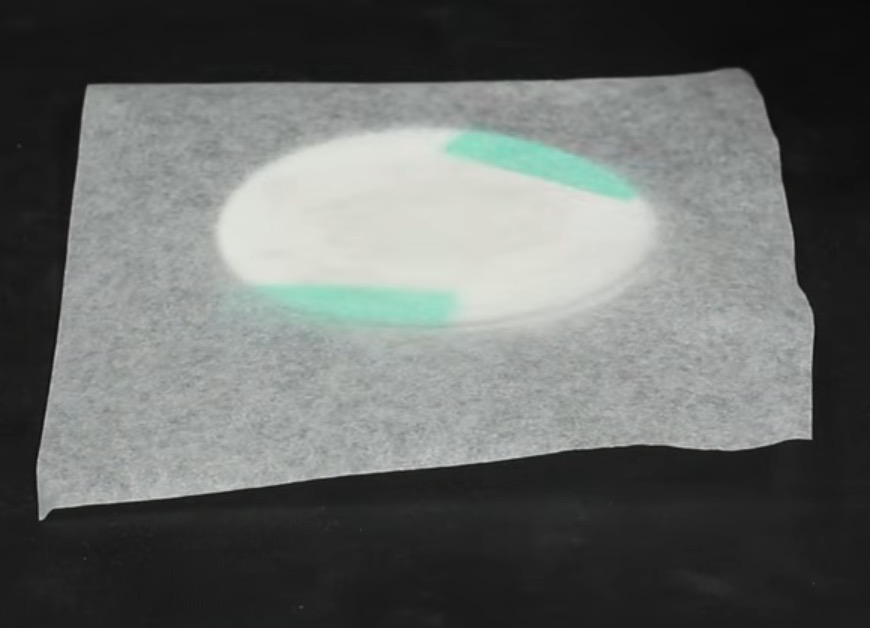
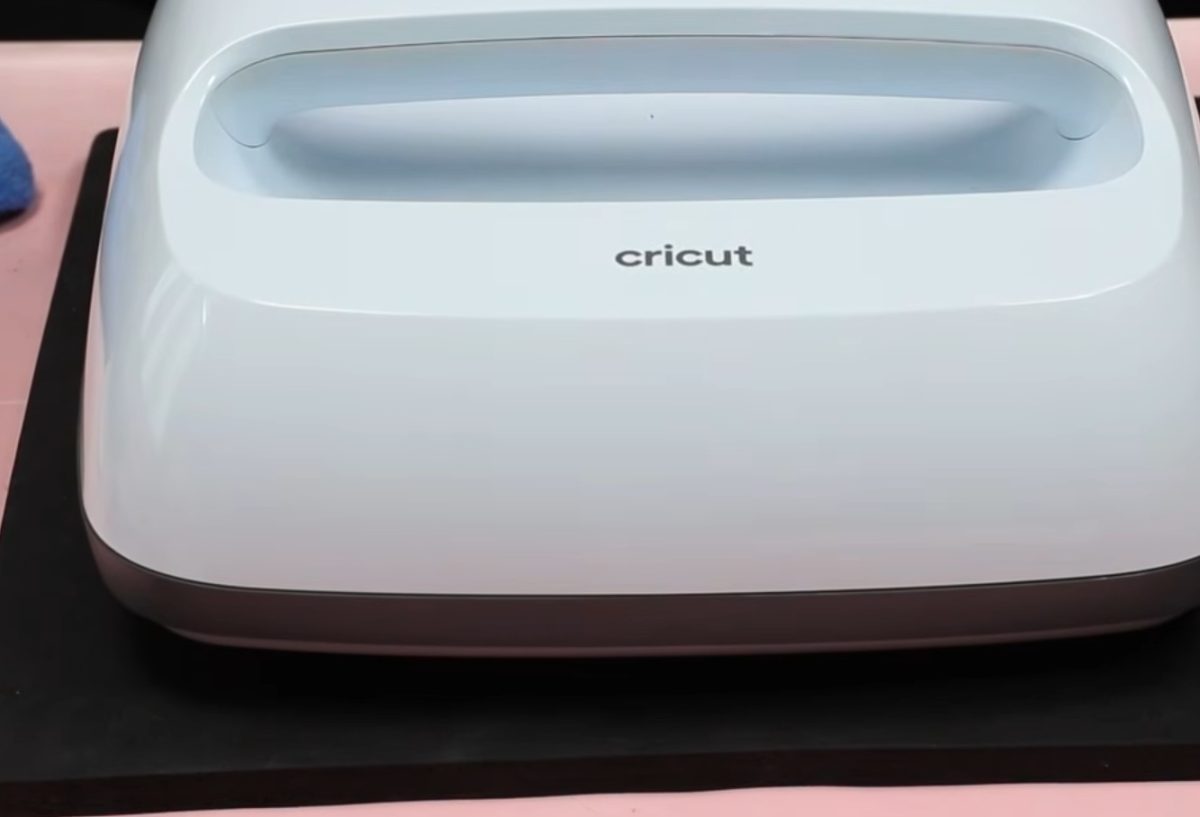
This time, press at 400° for 240 seconds. I am using an EasyPress. When using an EasyPress for ceramic coasters, you don't need to apply pressure.
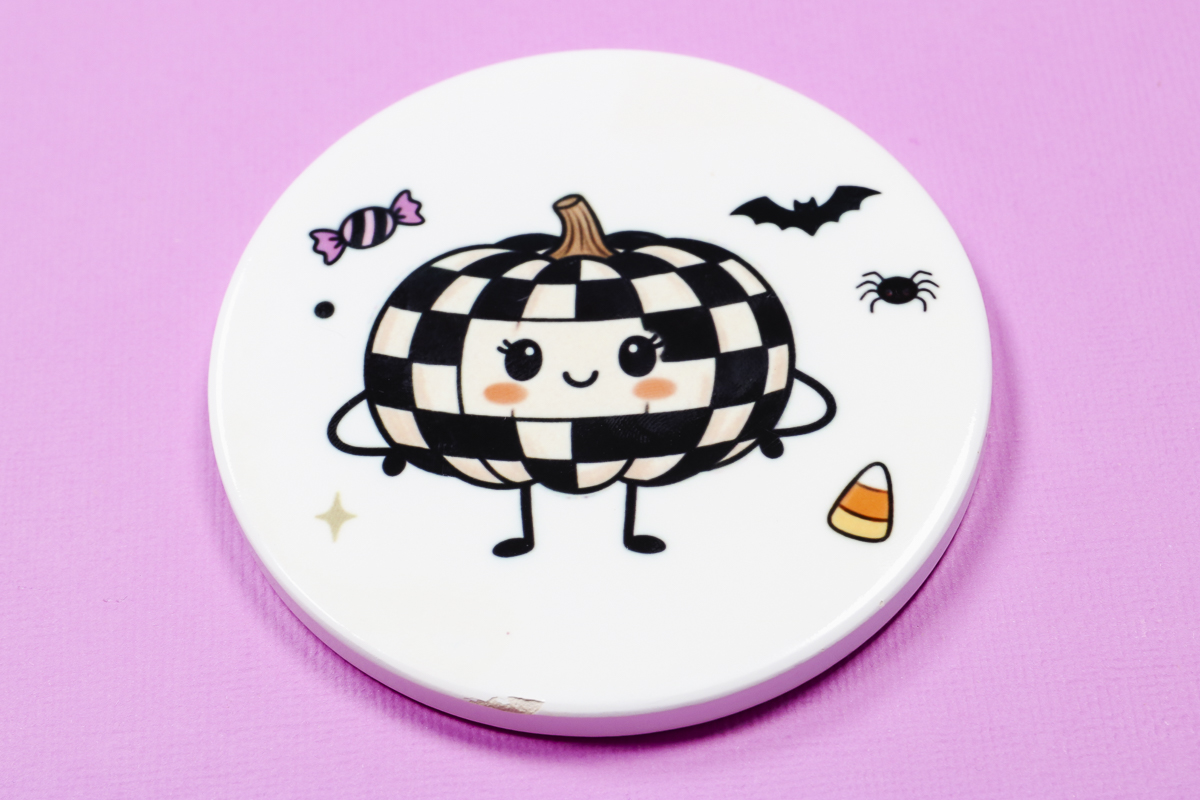
When the time is up, remove the protective paper and sublimation print.
I am so impressed with how the print transferred. The black is very black and even the lighter colors are vibrant.
Ready to buy the F370? Click here to see more!
Sublimation Tote Bags with the Epson SureColor F370
Next, I'm going to make two tote bags with prints from the Epson SureColor F370. One design will be printed on 8.5-by-11-inch paper, and the other will be printed on 13-by-9-inch paper.
Smaller Image Tote Bag
The first image I'm going to use is this cute Halloween design with patterned ghosts and pumpkins.
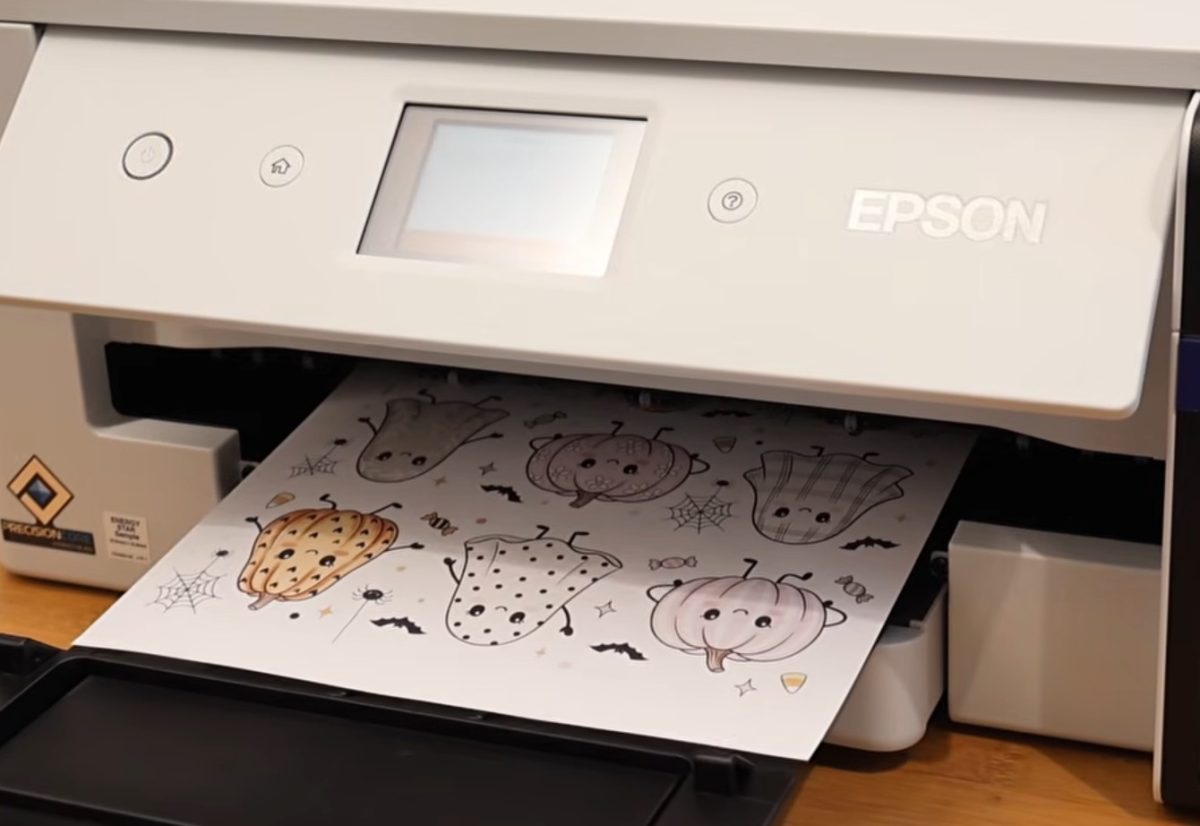
The design is about as wide as it is tall, and this is as large as I could make it on the 8.5 x 11 paper.
First, preheat the tote bag to remove any moisture.
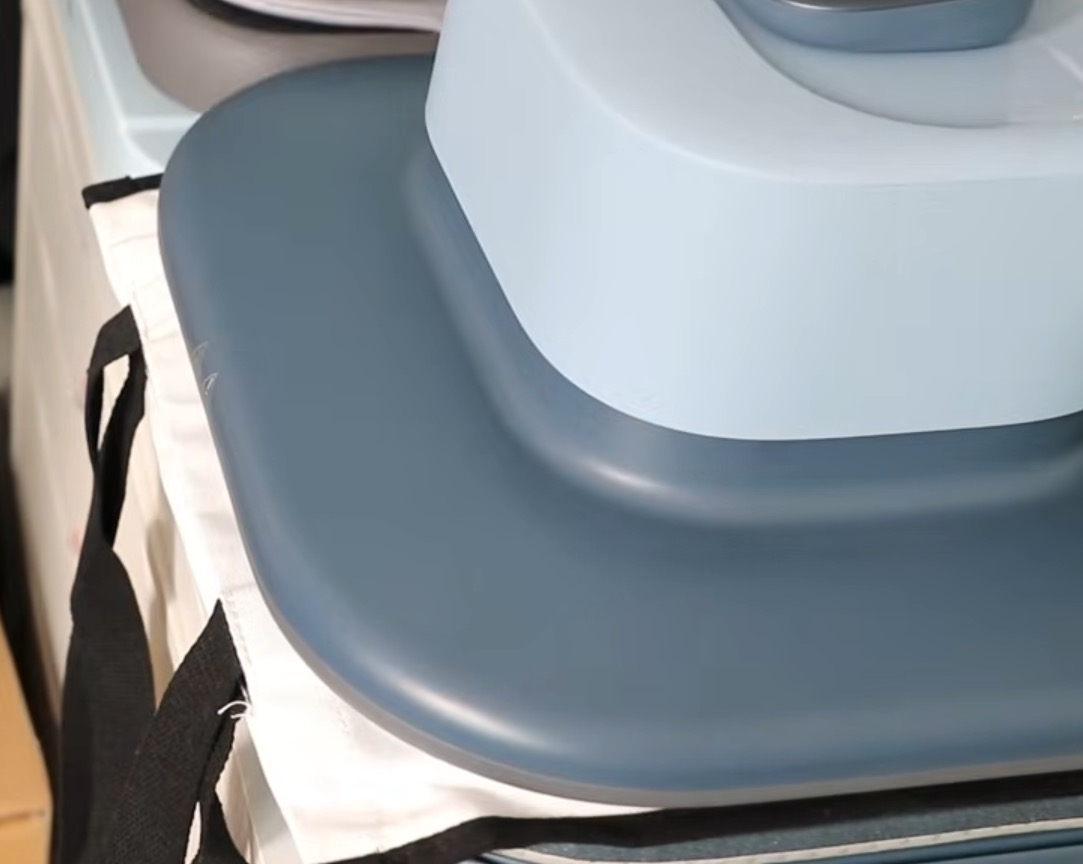
Add a pressing pillow inside the tote bag to help lift the pressing area above the seams and handles of the bag.
Lint roll the surface to remove any lint or other debris.
Locate the design on the tote bag and secure it in place with heat-resistant tape. I centered mine on the side of the tote bag.
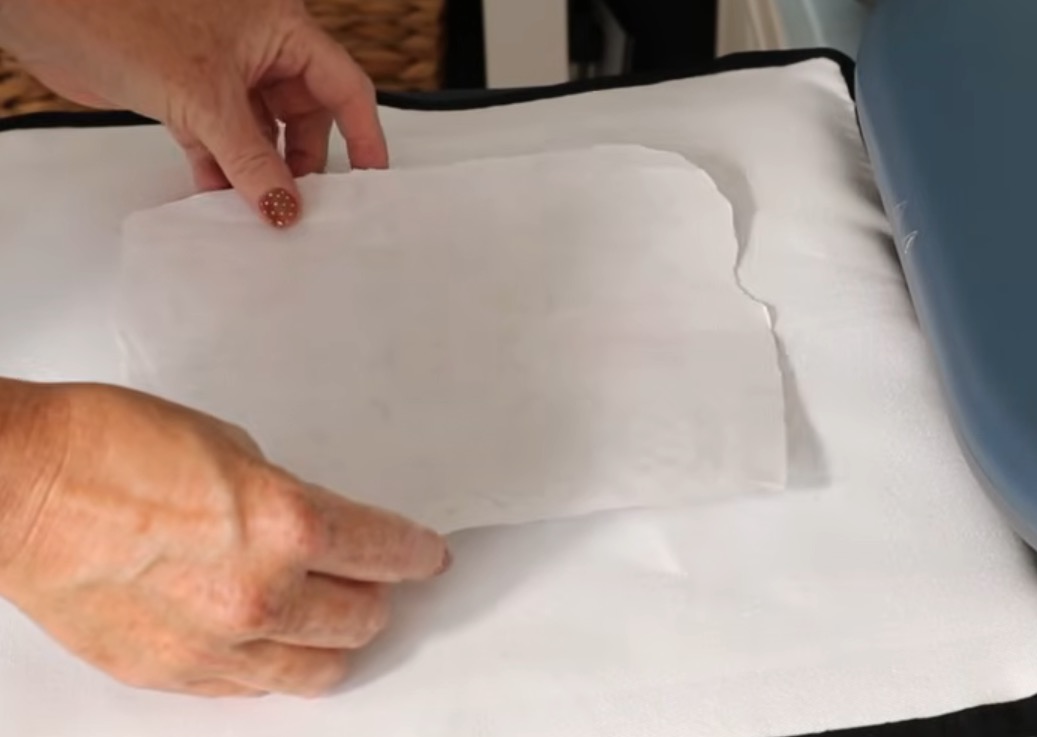
Place protective paper inside the bag between the pressing pillow and the tote bag. Add another piece of protective paper on top of the sublimation print.
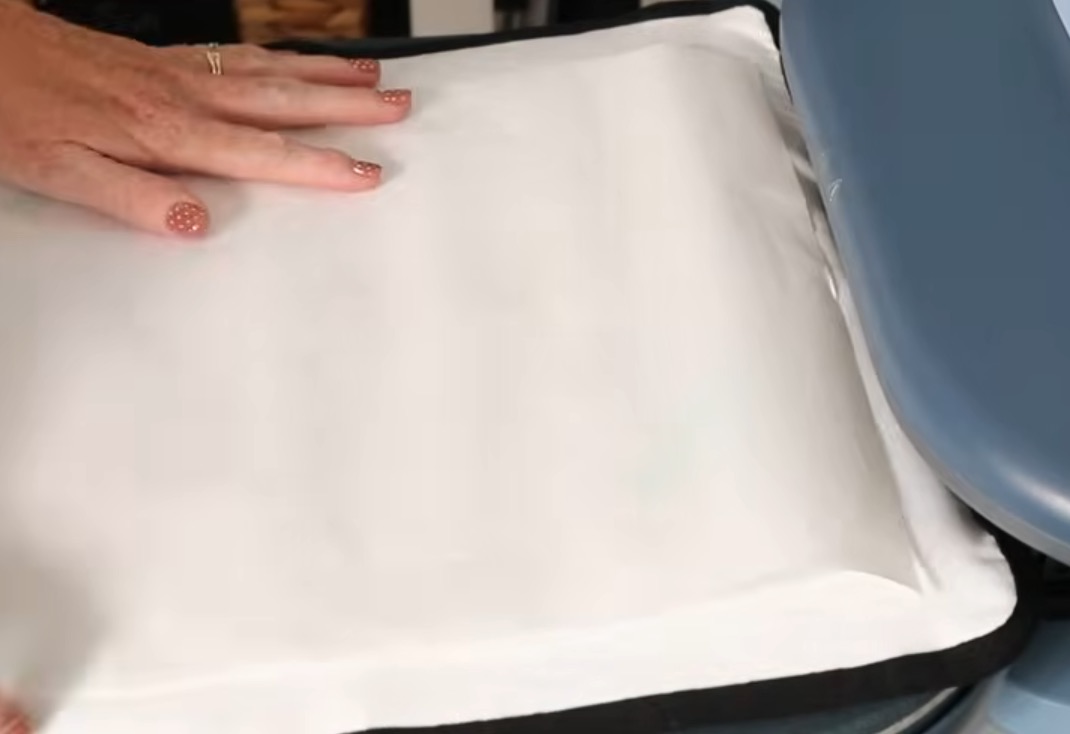
Press for 50 seconds at 385°. When the time is up, remove the heat, protective paper, and sublimation print.
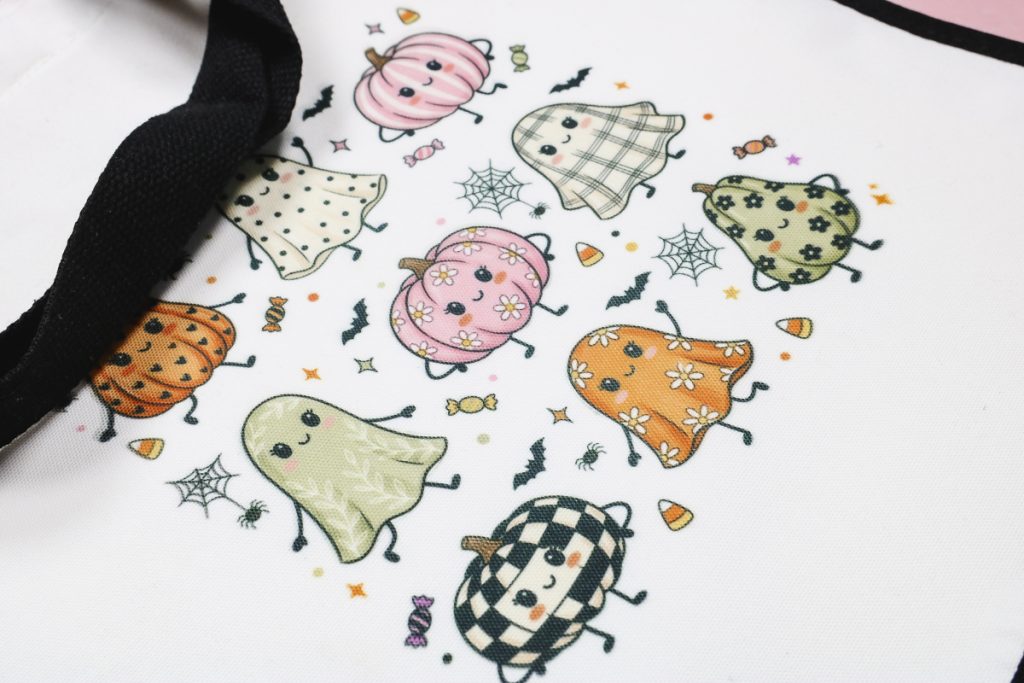
This tote turned out adorable. The image transferred perfectly, and I just love this design.
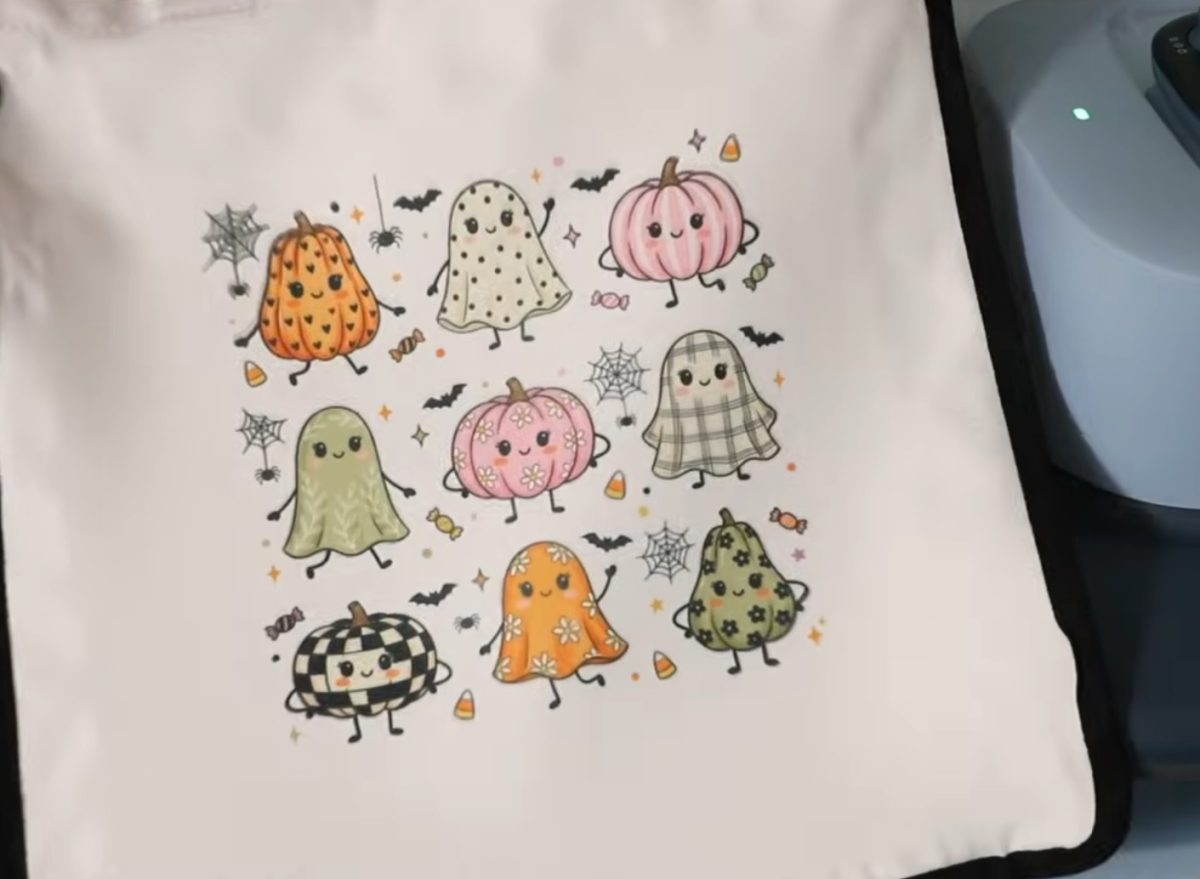
As you can see, with the 8.5 x 11 sublimation paper, there is a lot of white space left on the tote. I'm excited to see how much of that space we can fill using the larger paper size.
Larger Sublimation Tote Bag with the Epson SureColor F370
For this tote bag, I'm using a different image and the 13 x 19 sublimation paper.
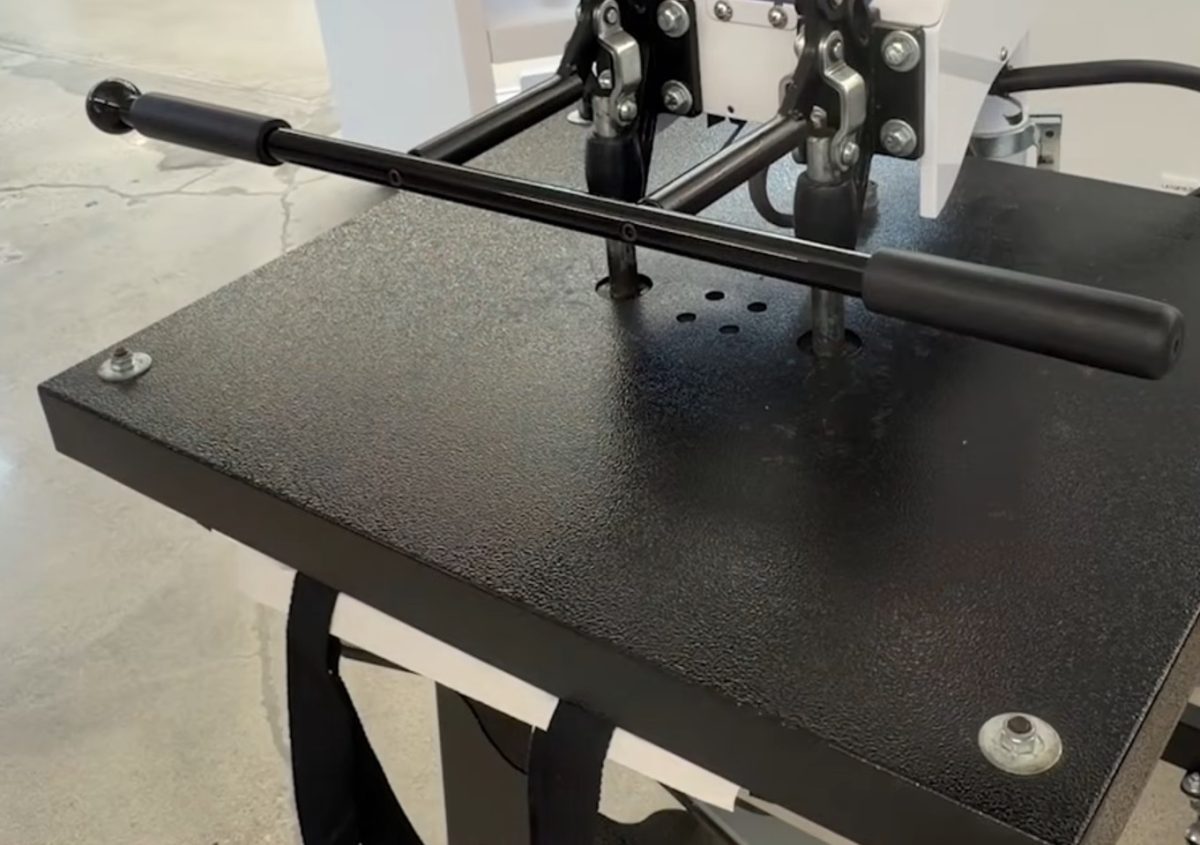
When doing projects with larger prints, you'll want to make sure you have a press large enough to press the entire design.
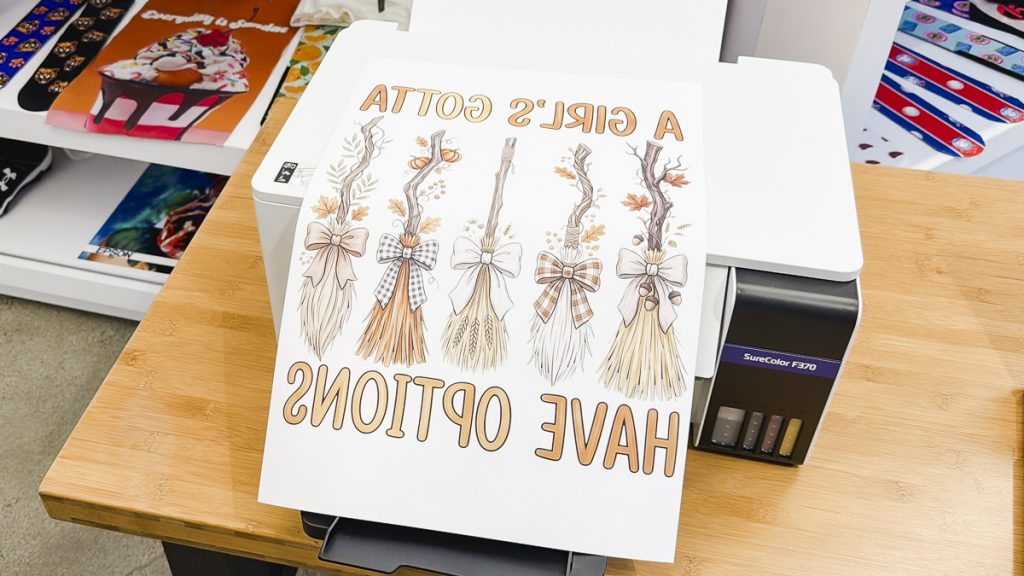
This print takes up the entire side of the bag.
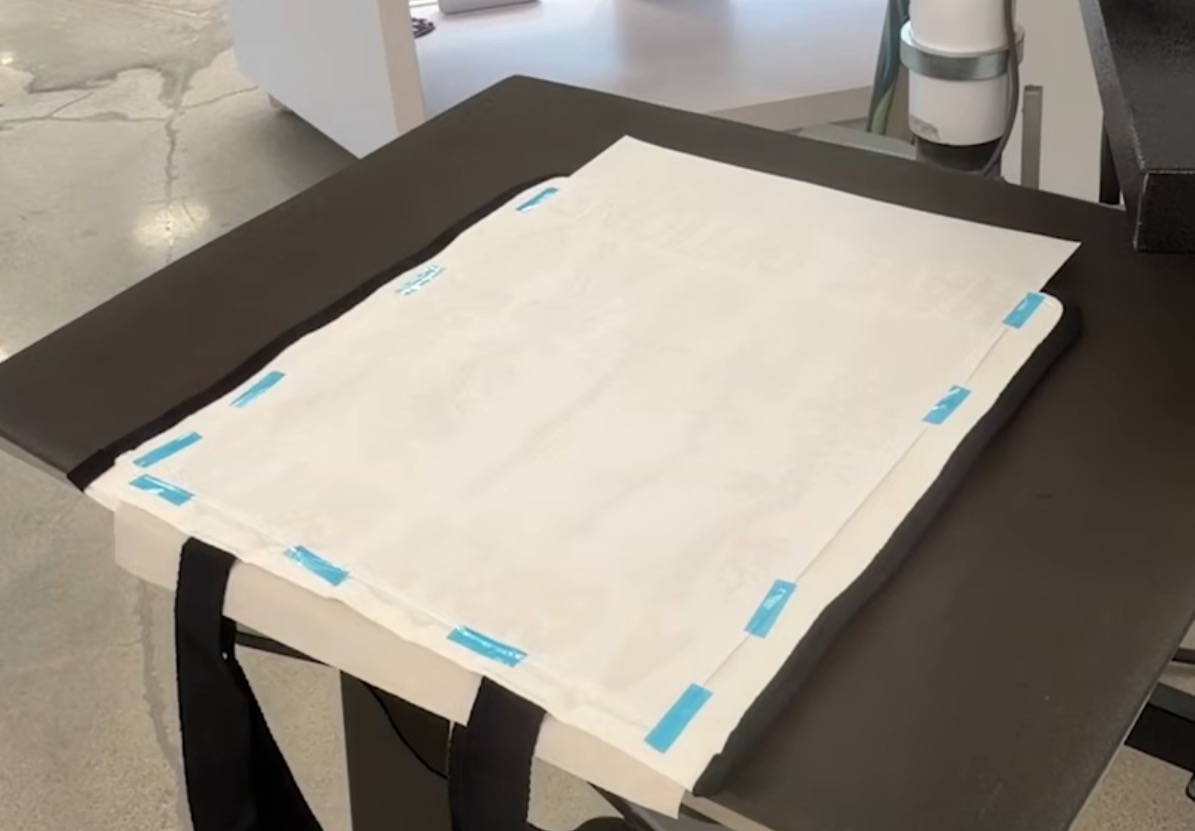
Prepare the bag the same way we did before. Preheat to remove moisture, lint-roll, and locate the design. Add a pressing pillow and protective paper inside the bag, and another piece of protective paper on top of the design.
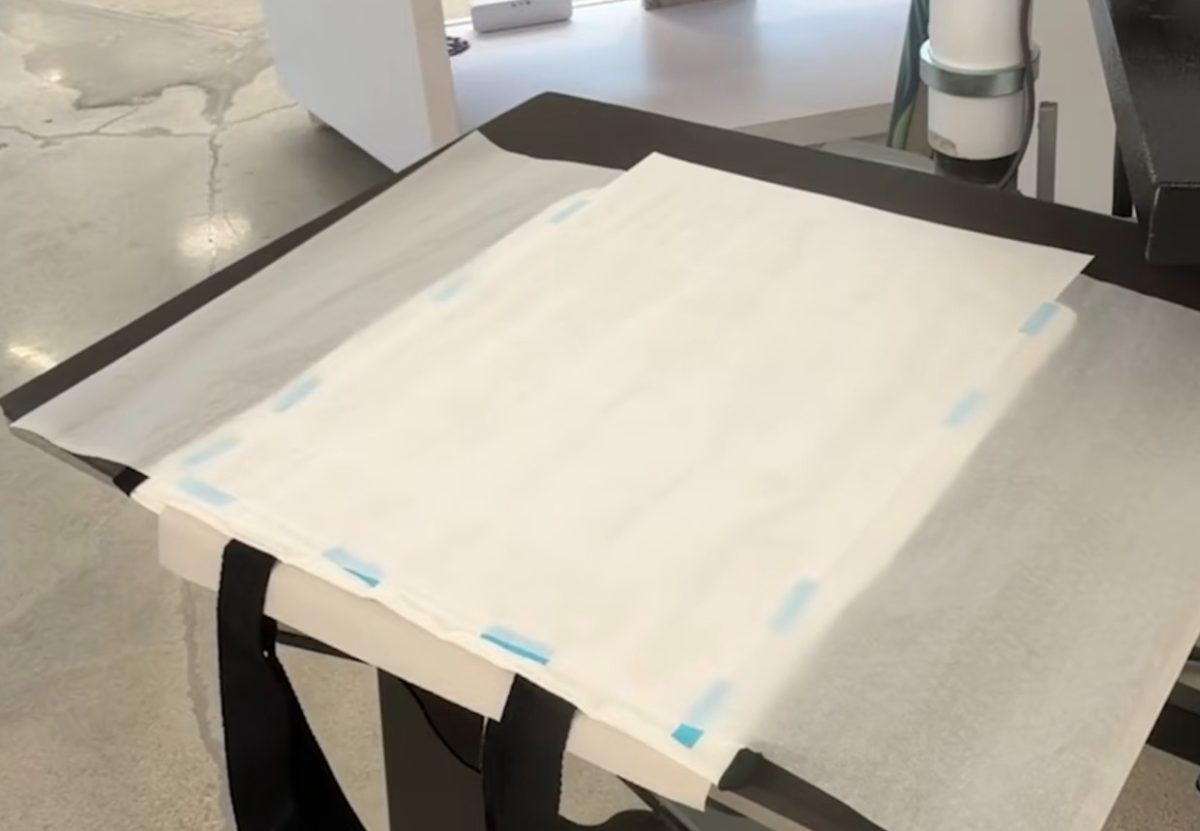
Press for the full time and remove the sublimation paper.
Didn't this turn out fantastic? I love being able to print large enough to add a design that fills the entire side of a tote bag.
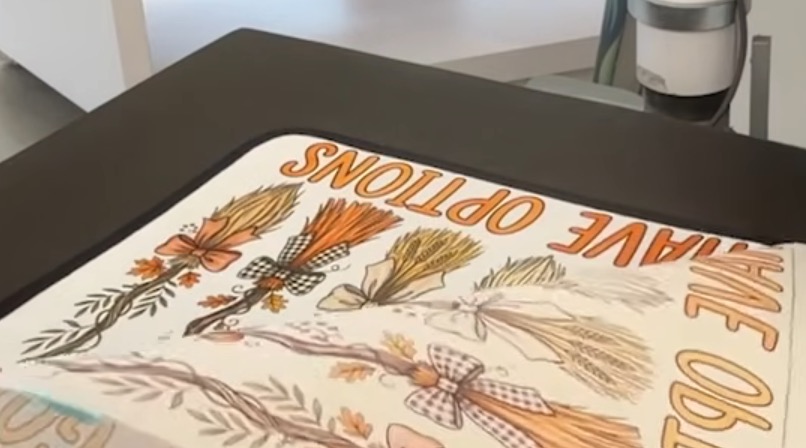
Note: We made this bag while we were on site, previewing the F370 before it was announced. There wasn't a pressing pillow available to place inside the bag, which caused a little ghosting near the top seam. Thankfully, it tends to work with the overall design.

Ready to buy the F370? Click here to see more!
Do You Need a Larger Sublimation Printer?
Whether or not you need the F370 will be determined by the sublimation projects you make.
Typically, I use smaller prints for the projects I make. Every once in a while, being able to print larger would help.
The second tote I made today is a prime example.
I'm really excited about the F370 because I can still print a letter-sized design for my typical projects, but I can also print larger for larger projects. The time I save by not having to piece together smaller prints for larger projects is definitely a pro for the F370.
Is the Epson SureColor F370 Right for You?
Now that you've seen the Epson F370 in action, you may be wondering if it's the right sublimation printer for you.
I was really happy with the printer and how easy it was to set up and use. The brightness and vibrancy of the finished projects are exactly what I expect from a sublimation printer.
Another bonus is the size of the printer itself. Somehow, Epson made a printer that can print over 4 inches wider than the F170, and it is nearly the same size.
While the print size falls between the F170 and the F570, it is significantly smaller than the F570, making it perfect for someone who is limited on space.
Buy the Epson F370
I also encourage you to compare the price of the Epson sublimation ink with that of other large-format sublimation printer inks. I think you'll be pleasantly surprised.
Ready to buy the F370? Click here to see more!
If a sublimation printer that can print larger prints is something you've been looking for, consider this: this printer has a lower price point, and the ink has a lower price point. It's definitely the large-format sublimation printer I'm looking at.
If you're frustrated with the size limitations of your current printer or frustrated by the cost of the ink for your printer, the F370 may be exactly what you're looking for.
If you want to easily make tote bags, larger shirts, pillowcases, and garden flags, while still being able to print on 8.5 x 11 paper, the F370 could be right for you.
As with other tank-style sublimation printers, you'll need to print to this printer regularly to prevent clogs. Since this printer is so easy to print to, with no extra software required, this is not a difficult process.
I hope I've answered any questions you have about the Epson SureColor F370 sublimation printer. If you have any additional questions, leave them in the comments, and I'll be happy to answer them for you. I'd also love to hear what type of projects you'd like to see me make with the F370. Leave those in the comments too.