Use your Cricut to create personalized Halloween bags in just a few minutes. We'll be using glow-in-the-dark HTV to add some extra spookiness to Halloween night. These bags can be used for trick-or-treating or filled with candy and gifts for a night in. Either way, your kids will love the glow and having a bag with their name on it.
Personalized Halloween Bags
Let's learn how to make a Halloween bag! It's as easy as letting the kids pick a design and adding their name right in Cricut Design Space. In no time at all, you will have a personalized trick-or-treat bag that they will love.
Supplies needed
- Siser heat press
- Siser HTV (multiple colors, including Glow in the Dark!)
- Weeding tool
- Cricut machine
- Tote bags
- Cut files for all designs

Video Tutorial
Take a look at how to make a Halloween bag by watching the video below.
Can't watch the video or missed some of the steps? You can also follow along with the instructions below.
How to Make a Halloween Bag
Now that you have your supplies, you are ready to make some cute bags for Halloween. Your kids will love the addition of their name and that amazing glow-in-the-dark HTV.
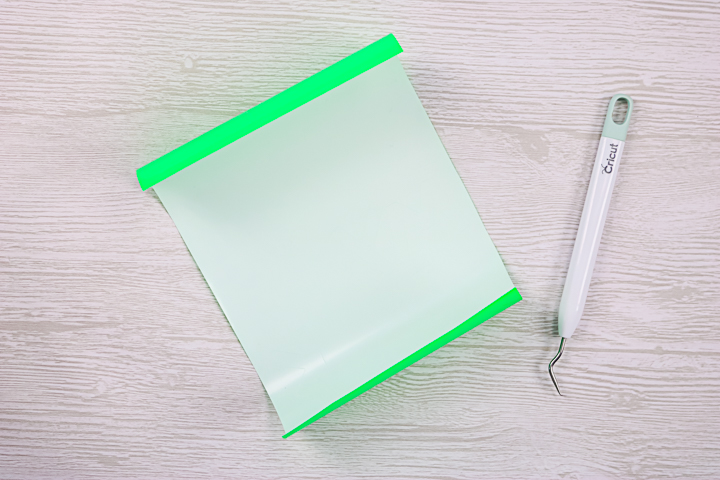
Step 1 – Cut HTV
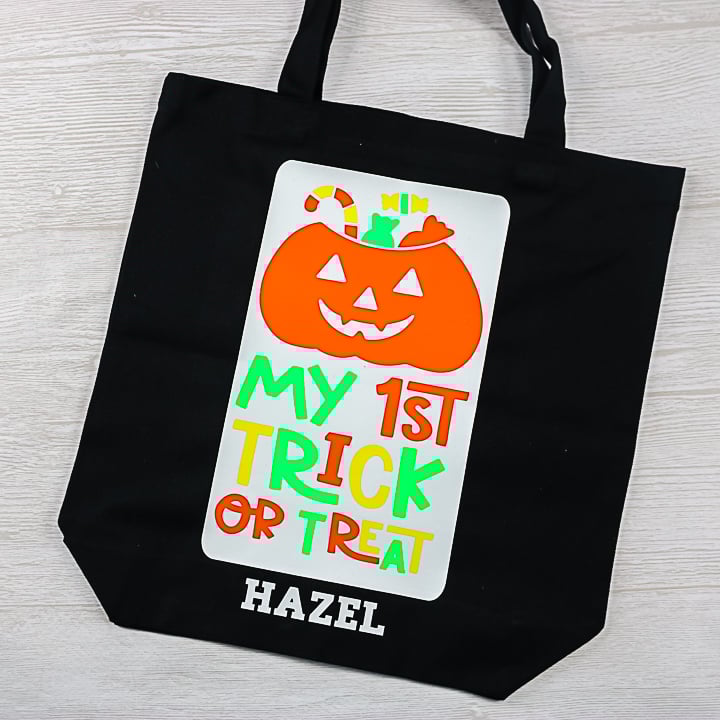
Cut the HTV for the design you would like. You will need to cut all of the colors of the design. Be sure to size to fit your bag and mirror before cutting. You will also want to change the name to the name of whoever you are giving the bag to. Place the HTV shiny side down on your mat before cutting.
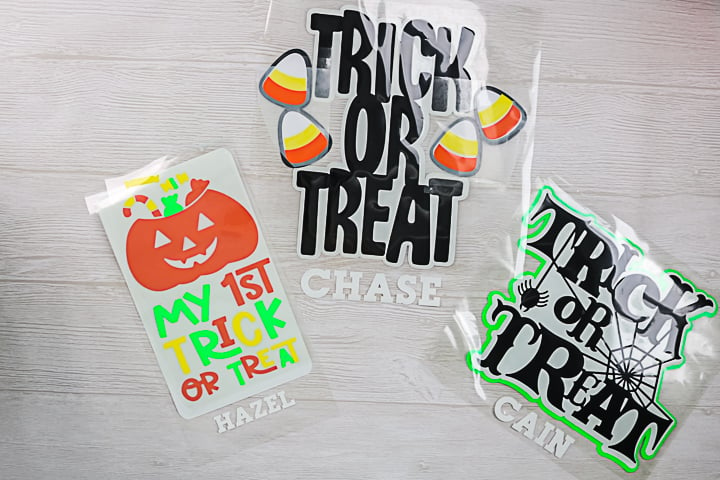
Step 2 – Weed design
Using the weeding tool, remove all excess from all colors. Be sure to remove things like the centers of letters as well.
Step 3 – Press first layer
Press each color with the heat press. You will want to press the bottom layer first. My designs were larger than my heat press base. Just press once and cover as much as possible. Then move and press again.
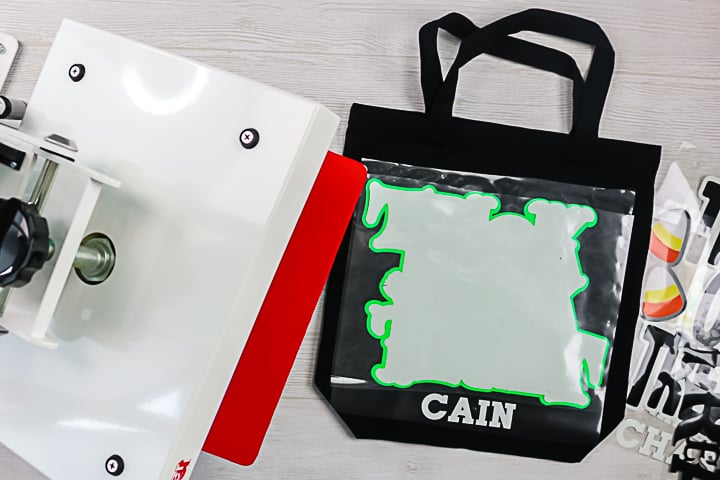
Step 4 – Press second layer
Remove the carrier sheet from layer 1. Add layer 2. Replace the carrier sheet to protect layer 1 and press again. Remember to get the time and temperature from the Siser website.
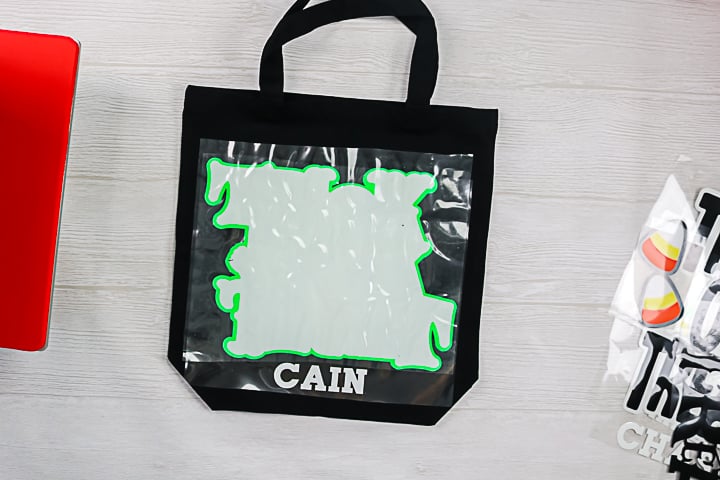
Step 5 – Continue layering HTV
Continue this same procedure until all layers are pressed and adhered to your tote bag. Then remove the carrier sheet, and you will have one bag done!
Step 6 – Repeat and enjoy!
Repeat for as many designs and Halloween bags as you would like to make for your little ones.
Once your bag is done, you can send it out with your little ones for trick-or-treating or use it for a fun night in with a candy scavenger hunt. Either way, they will love these cute bags and using them to celebrate Halloween this year.
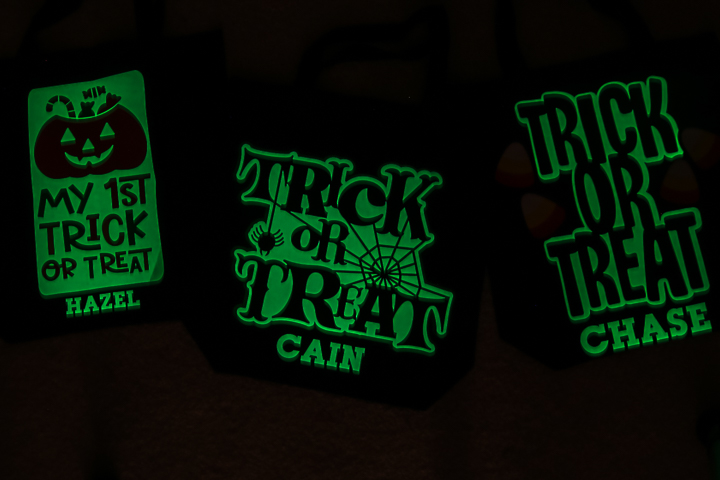
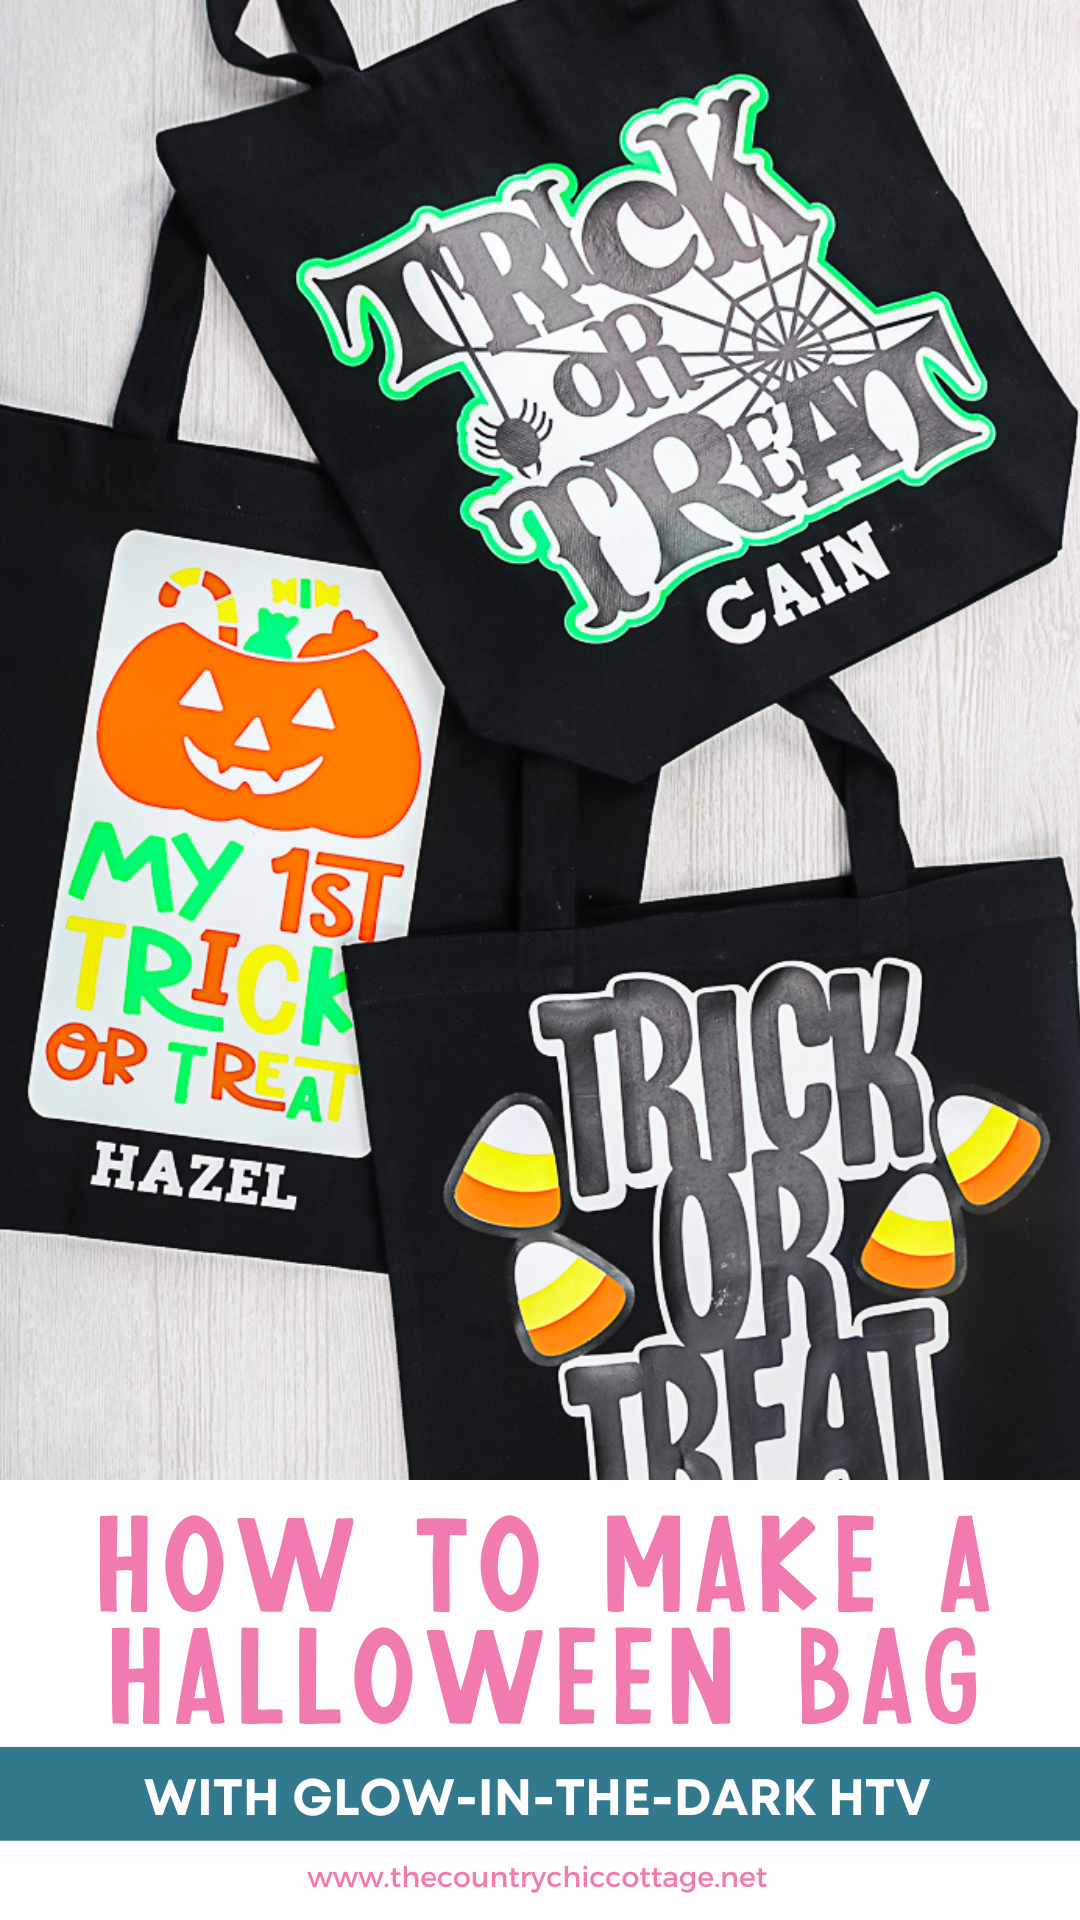
They will really love these bags when the lights go out, as that white HTV actually glows in the dark. It is actually a bit off-white in person, but its glow is amazing and perfect for a spooky addition to your Halloween celebrations.
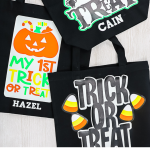
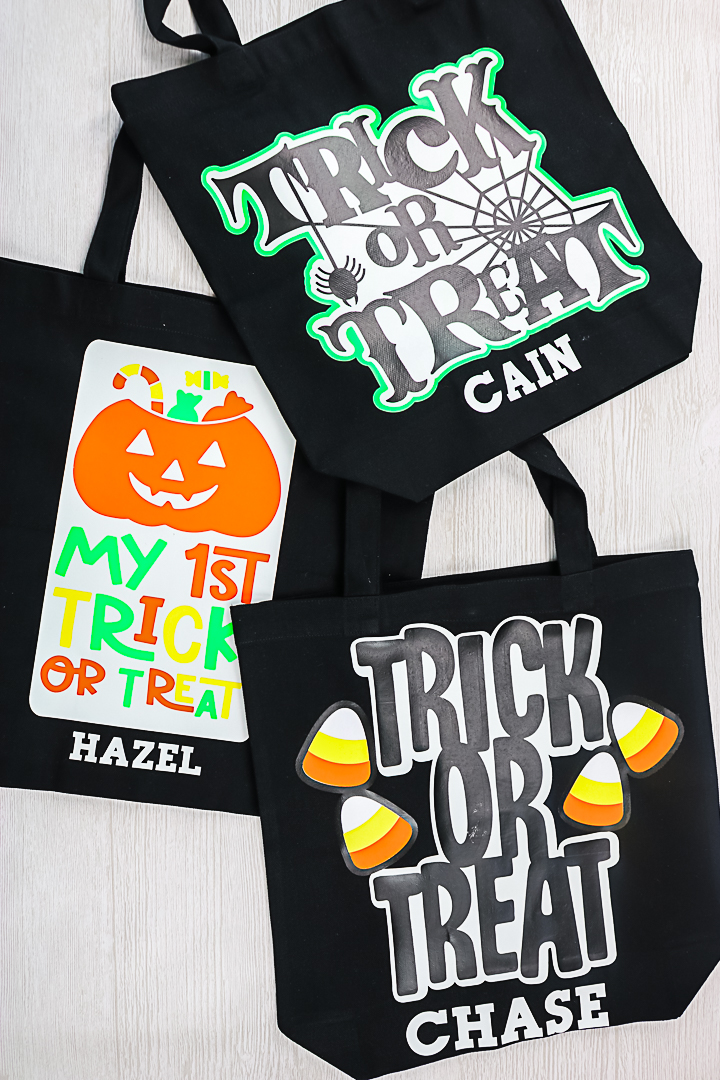
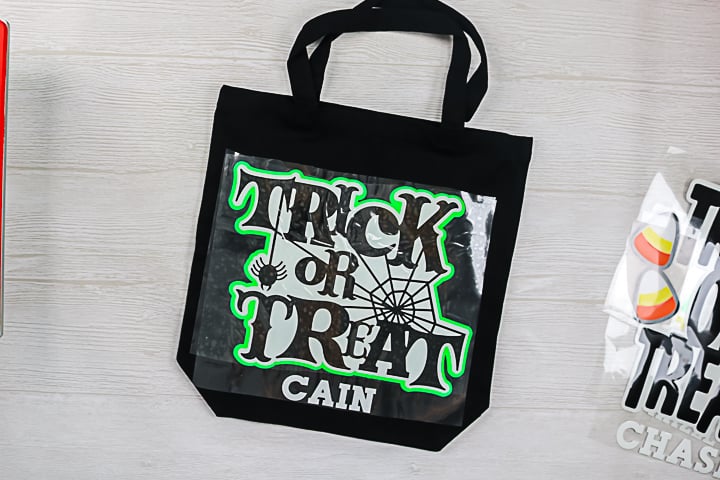
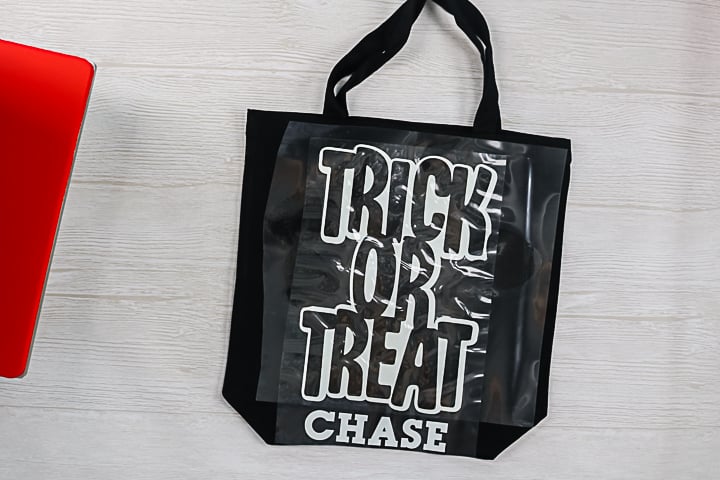
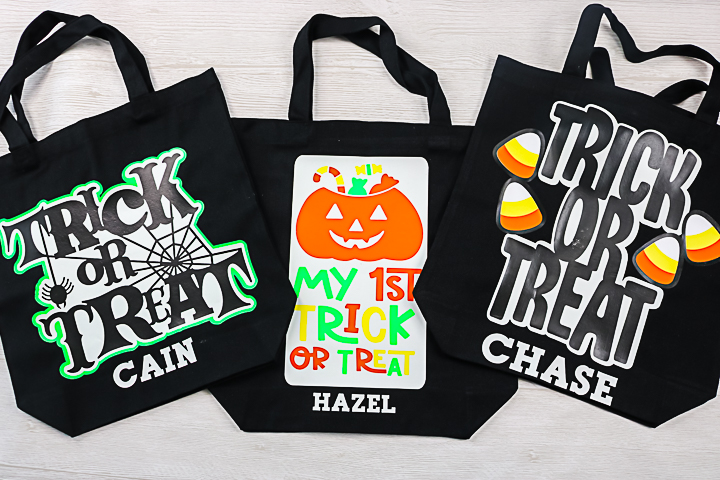
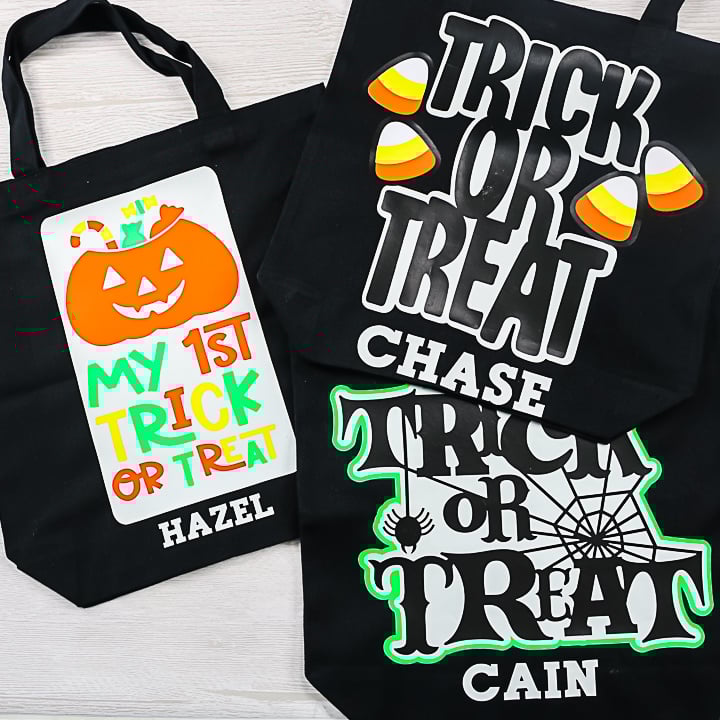
Handmade Trick or Treat Bag Designs
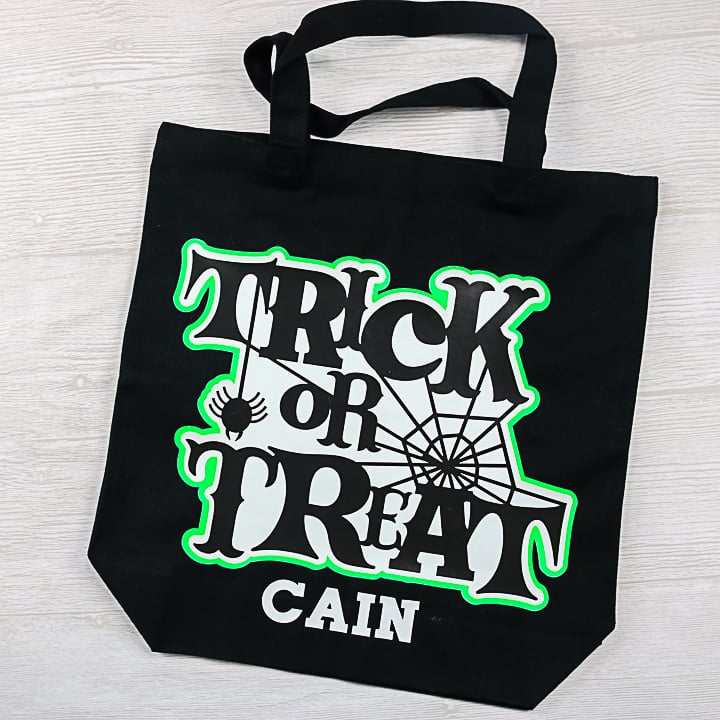
I have three designs you can choose from, or you can make your own. Pull them up in Cricut Design Space and change the name before cutting your favorite. First, you have the trick-or-treat with a spider.
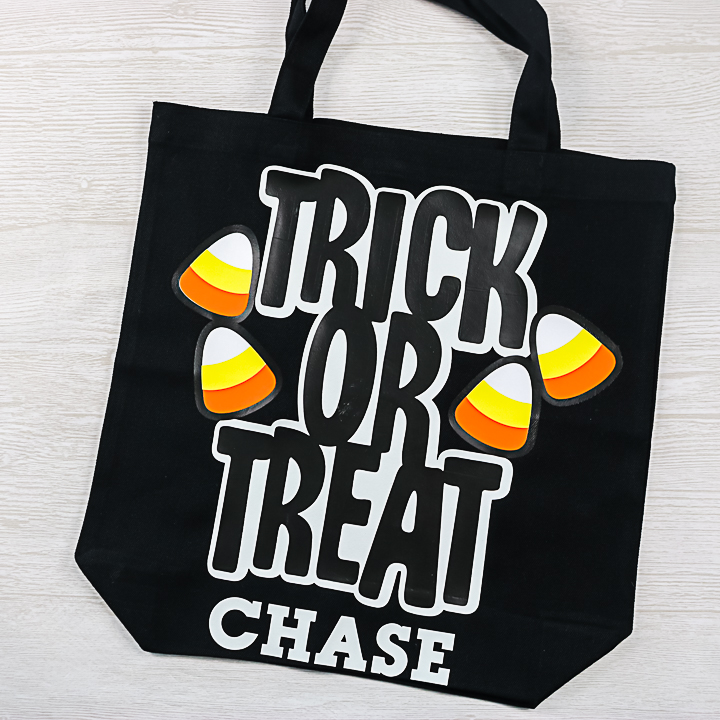
If a spider is a bit too scary for your little one, try this candy corn version. Candy corn is cute and tasty, which makes it perfect for decorating DIY Halloween bags.
And this design is perfect for a baby's first trick or treat.
With all these choices, you are sure to find a design they will love, but you can definitely make your own design as well. Just be sure to add that glow-in-the-dark HTV to your design, for a little spooky fun!
So, pick up your supplies and use them to make some DIY Halloween bags of your own. I know the kids will love these bags, whether they are enjoying a fun night at home or heading out to trick or treat this year.
More Halloween Projects
Love this Cricut Halloween craft and want more? Try the links below as well!