Baby onesies and baby’s first Christmas items are always so much fun to create! Combine the best of both worlds and make this baby Christmas onesie that any new parent will love.
DIY baby onesies are always so much fun, whether you’re going for cute or funny! Plus, when you add in a holiday theme, it makes the whole onesie even better!
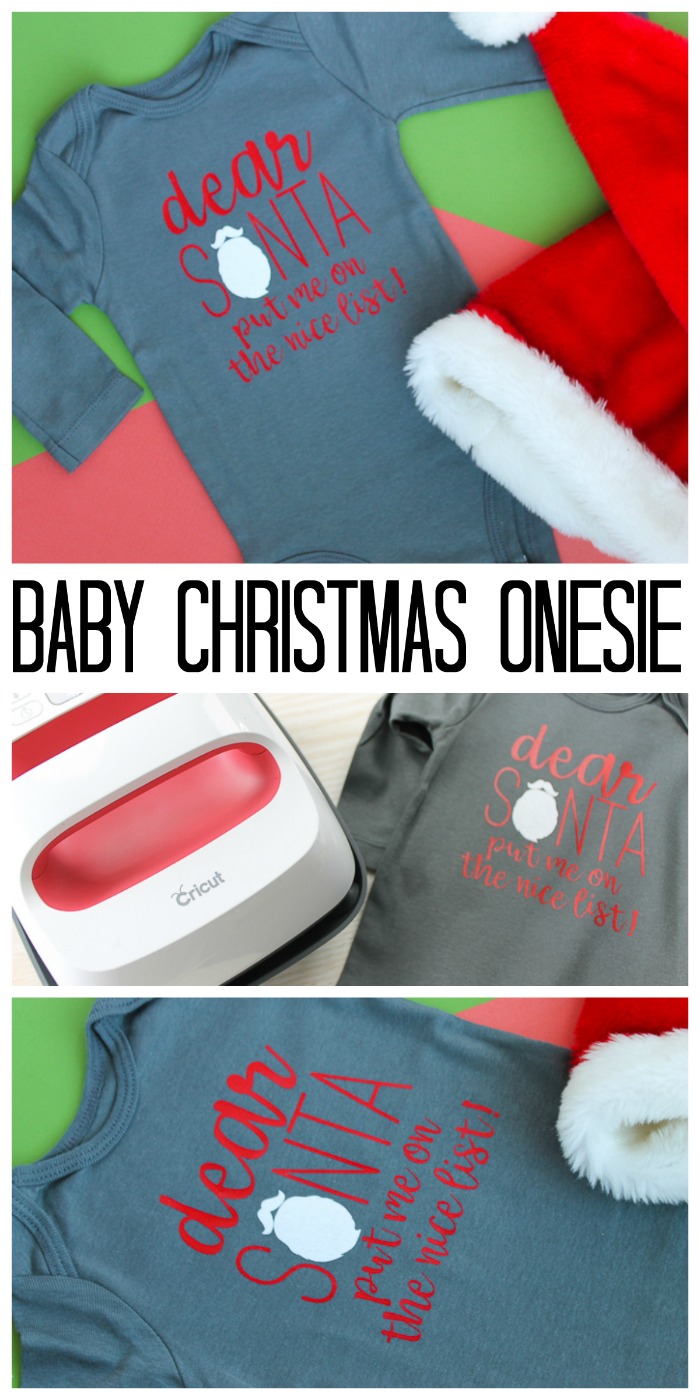
Make your favorite little bundle of joy this newborn Christmas onesie with your Cricut machine in just minutes. This quick and easy project is perfect for those who want to add a little something funny to their baby’s wardrobe! Also, it makes a great gift if you know someone who is expecting or who just had a baby!
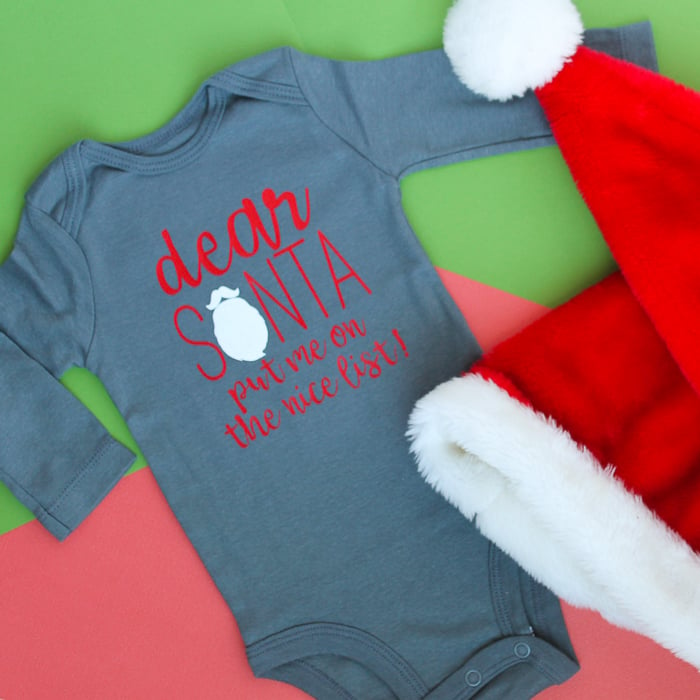
How To Make A Baby Christmas Onesie
Here’s everything you need to know about making a baby Christmas onesie. Before you know it, you’ll have it ready to wear!
Note: If you are looking for other FREE designs to add to a onesie, check out the projects below!
- ”Who needs mistletoe when you are this cute”
- ”Chill Out” snowman onesie
- ”My mom thinks she’s in charge”
- Father’s Day-themed onesies
Supplies Needed To Make Baby Christmas Onesie
- Onesie
- Iron-on Material (I used regular red and glitter white)
- Cricut machine (the Explore or Maker will work here) (Which is my favorite? Find out!)
- Iron or EasyPress (Here’s why I like the EasyPress)
- Weeding Tools (Optional)
- Cut File
Step 1: Download Cut File
Get the design file and cut it from the iron-on material. Be sure to size the design to fit your onesie.
Step 2: Cut & Weed Design
Place the material (shiny side down) on the mat and mirror the images before cutting. Then use weeding tools to remove all excess, including the centers of letters.
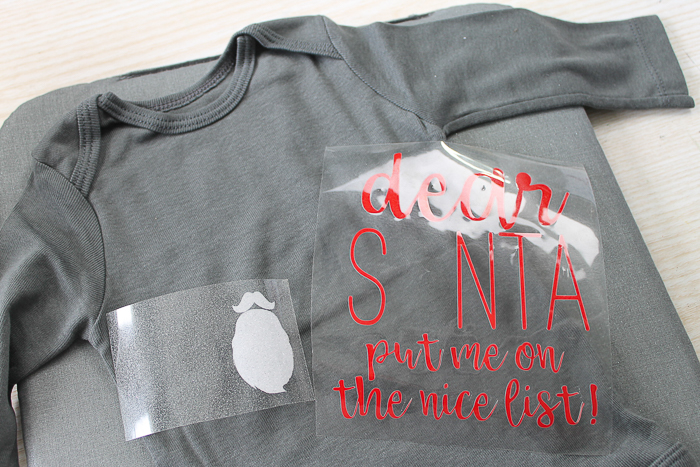
Step 3: Add Design To Onesie
Next, use your Cricut EasyPress to add the design to the front of the newborn Christmas onesie.
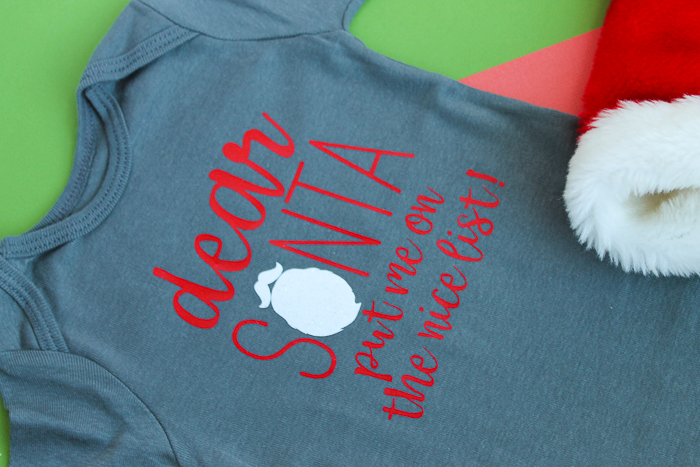
Just put the design in place and press according to the recommendations for time and temperature on the Cricut website. I pressed my red first, removed the liner, then pressed the white.
Pro Tip: Just be sure to put the liner back over the red before pressing it for the second time to protect the iron-on. You can watch an IGTV video here of how to layer iron-on if these steps seem confusing.
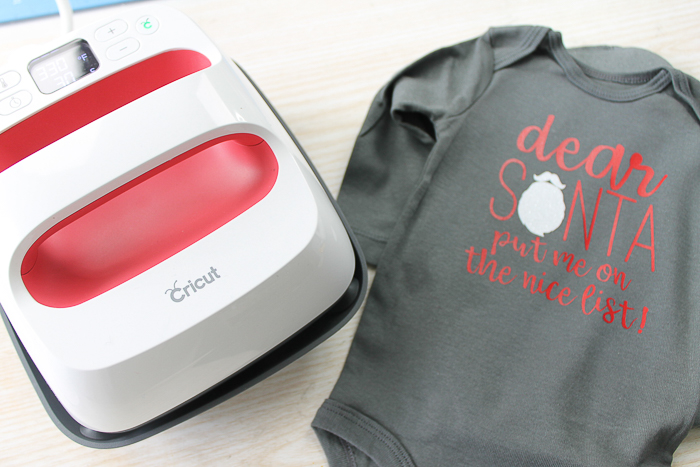
Then all that is left is to step back and admire your baby Christmas onesie! Every baby will look stylish in this custom-made Santa onesie.
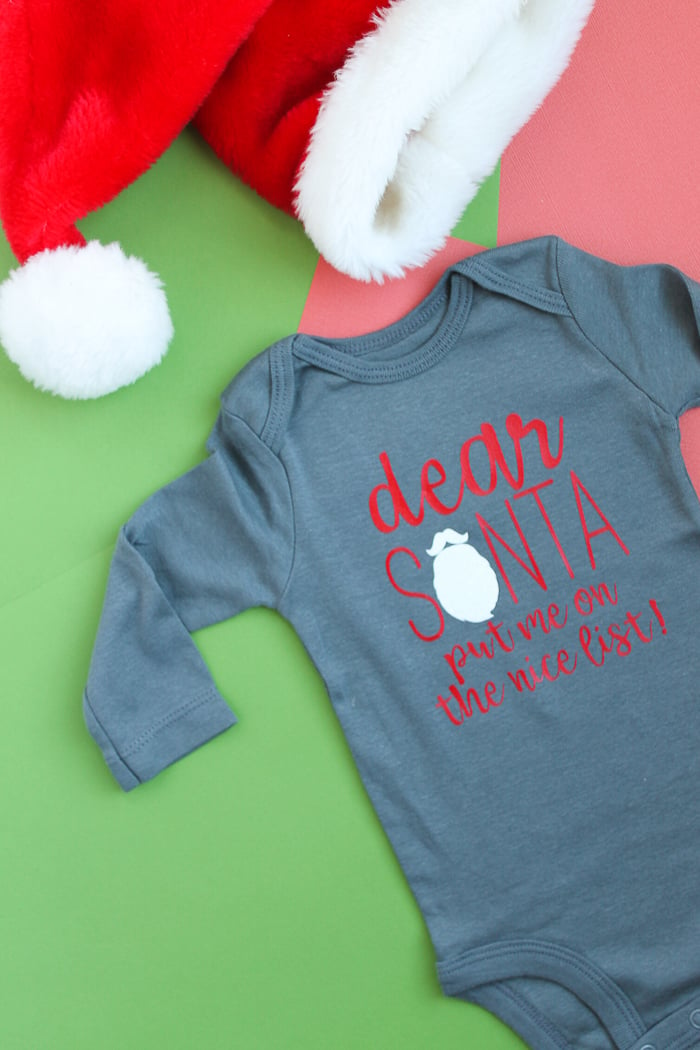
Imagine all of the onesies you can make with this same technique! I’m always coming up with new designs, so be sure to come back and check out what’s new!
Do you think your little one will be on the nice list this year?
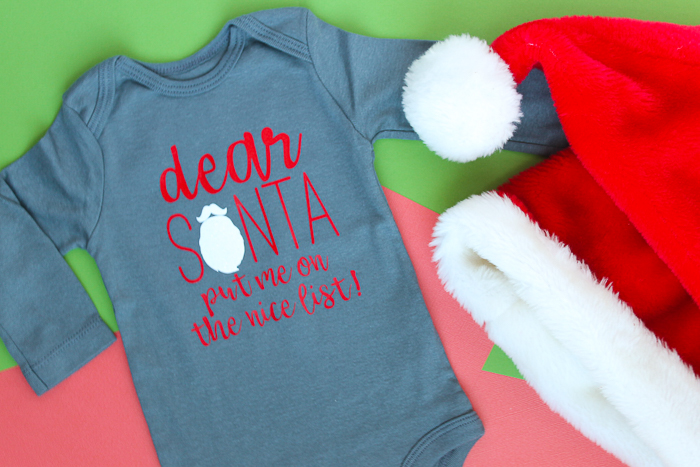
I hope you love this newborn Christmas onesie project and try making it for that adorable baby in your life this year!
FAQs About Baby Christmas Onesie
Here are a couple of questions that I see readers ask about making baby Christmas onesie. If you have a question, please check to see if I’ve already answered it below. Don’t see your question? Leave it for me in the comments!
Can I Use This Same Technique To Make Different Sizes Of Garments?
Yes, you don’t need to only make infant onesies with this design or this technique. In fact, I think this same design would look adorable on a toddler’s shirt. It would be so fitting for all the mischief toddlers get into, right?
As far as the process is concerned, this process works the same whether you’re making onesies or shirts, so feel free to have fun with it!
What Cricut Machine Can I Use For This Project?
All of them! The Cricut Maker, Cricut Explore series, Cricut Joy, Cricut Joy Xtra, and Cricut Venture, can all cut SVG files!
The only thing to keep in mind is that each Cricut machine is different in regard to project size capabilities and the materials it can cut. So, depending on what project you have in mind, you might need to resize the SVG file or cut it out in a different material.
Can I Use An Iron If I Don’t Have An EasyPress?
Yes, definitely! Just be careful not to use a setting that’s too hot and melts the vinyl, ruining the onesie. Learn more about the Cricut EasyPress versus the iron by checking out our Cricut EasyPress Versus Iron: Which is Better? blog post!
How Can I Personalize This Baby Christmas Onesie Project?
I think the best way to personalize it is to change the color of the onesie. Can’t you see this design on a green onesie or a white one? So cute!
5 More Christmas Cricut Crafts
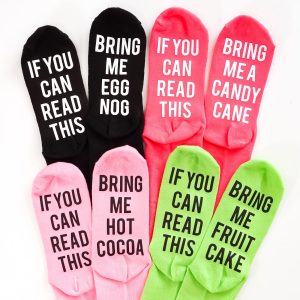
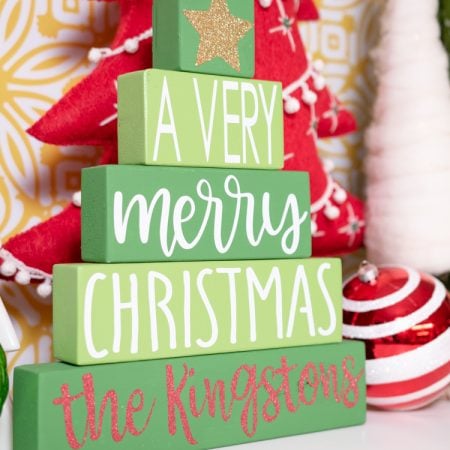
Do you love this baby Christmas onesie project and want more ideas to put your Cricut machine to work? Then check out these projects!


New to Cricut?

Sign up for our email list to download the Beginner's Guide to Cricut Design Space for FREE today!
Sign up to get the guide emailed to you!


I love this!
That is so cute. This technique would be so great for personalized baby shower gifts!
Thanks for sharing how you can do such cool things. I had no idea!
https://enjoyingwomanhood.com/
Super, super cute and you make it look so easy! Thank you for sharing at Celebrate it!