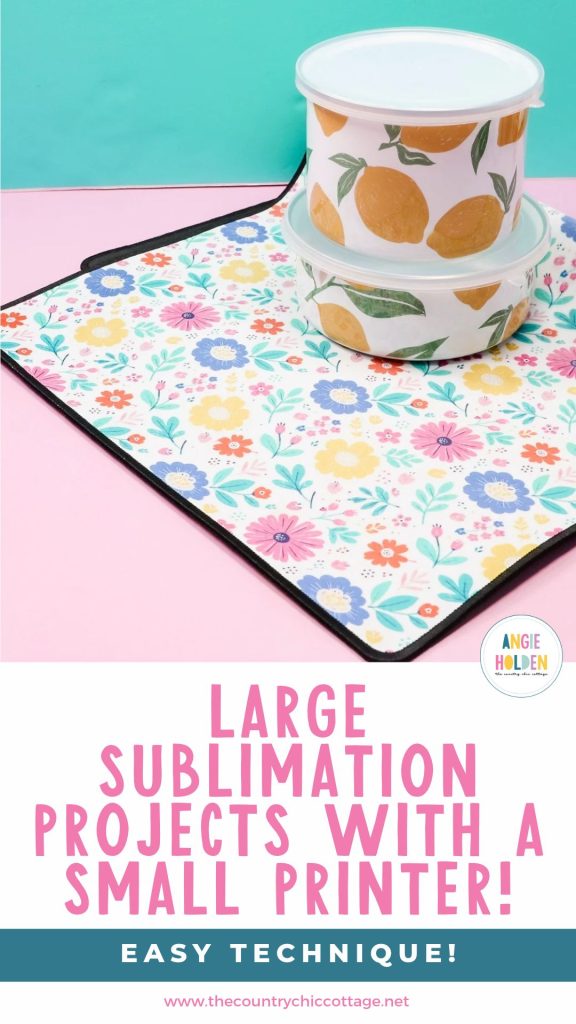
If you own a regular-sized sublimation printer and want to make large sublimation projects, you're going to love the tips I'm sharing today. Learn how to make big projects with a small printer quickly and easily.
Years ago, I shared another tutorial for making large sublimation projects with a regular-sized printer, and this process is both easier and consistently gets better results.
If you're brand new to sublimation and aren't sure how to get started, my Sublimation for Beginners Guide is a great jumping-off point.
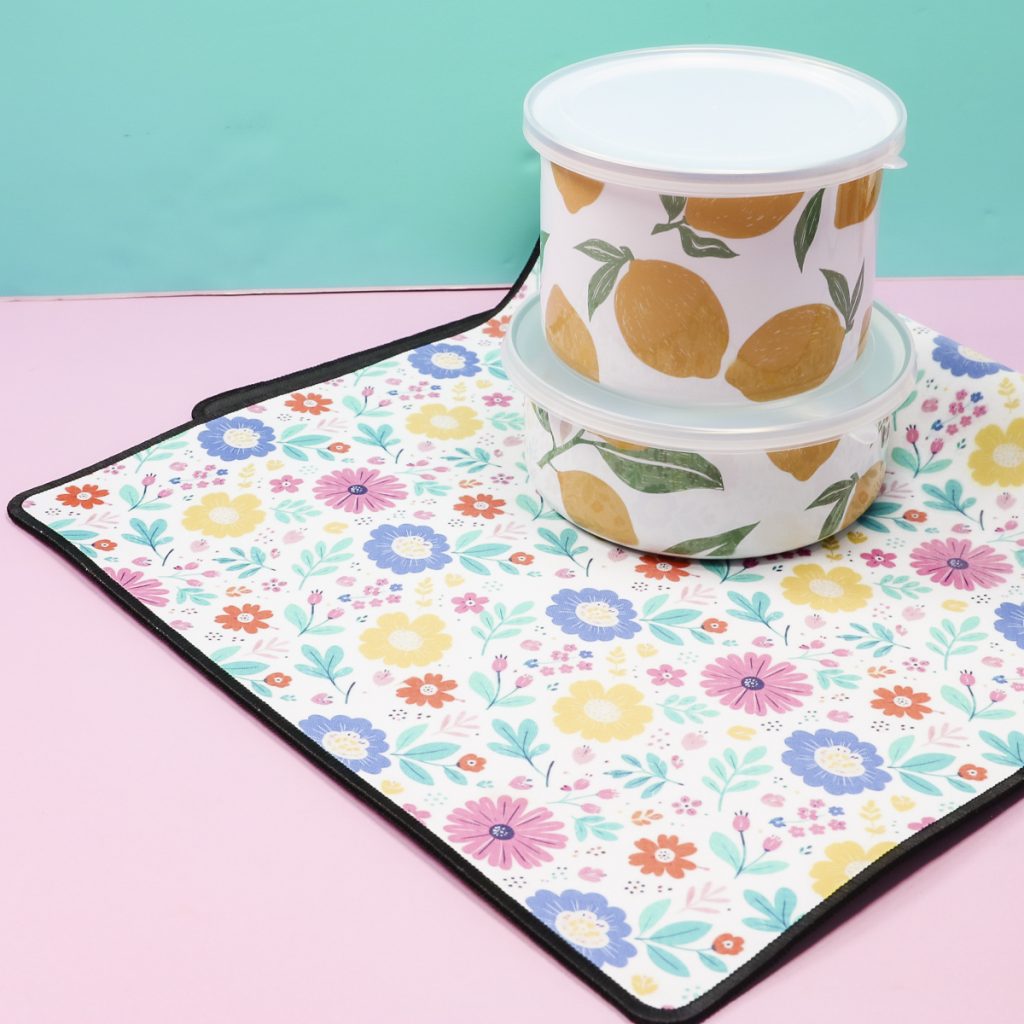
In this tutorial, I'm going to use a standard-sized sublimation printer to create a custom gaming mat and metal bowls. Due to their size and shape, these blanks are too big for a single print. I'll show you how to use smaller prints to create amazing projects.
How to Make Big Projects with a Small Printer
Before we really get into this process, I want to note that it involves using prints that have a white background. We need the white background for this technique to work.
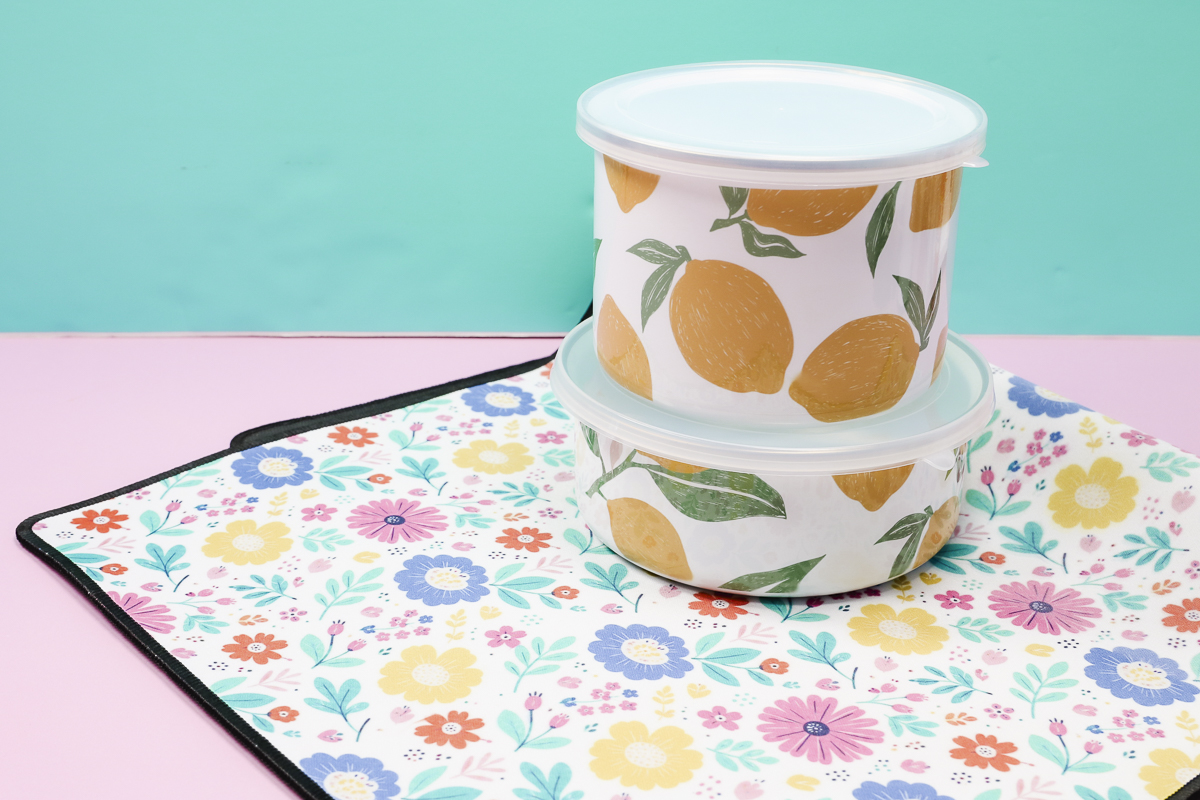
I'm using two different types of blanks today, and the technique is the same for both the metal bowls and the gaming mat.
Supplies Used
Now, let's look at the supplies we're going to use today. The supplies you need depends on which project you're making.
Supplies for Both Projects
Sublimation Gaming Mat
This is a gaming mat; it's also great as a desk mat and for under pet food and water bowls.
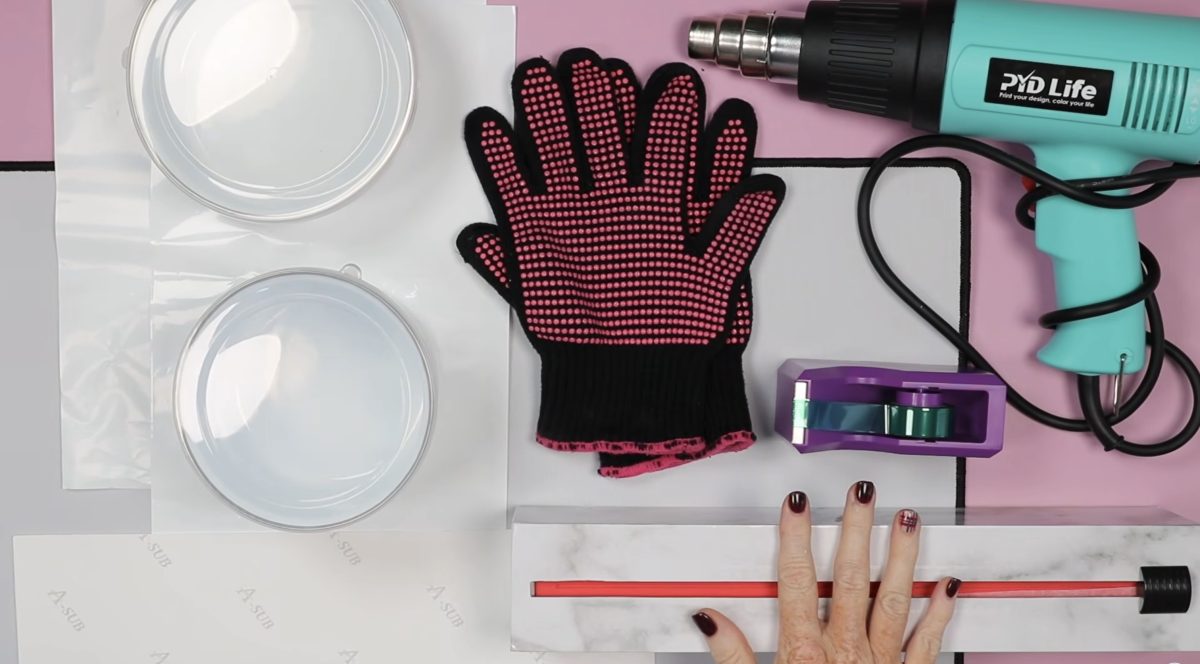
Sublimation Metal Bowls
You can't just use a regular bowl for this project. These have a sublimation coating on them and also come with a plastic lid.
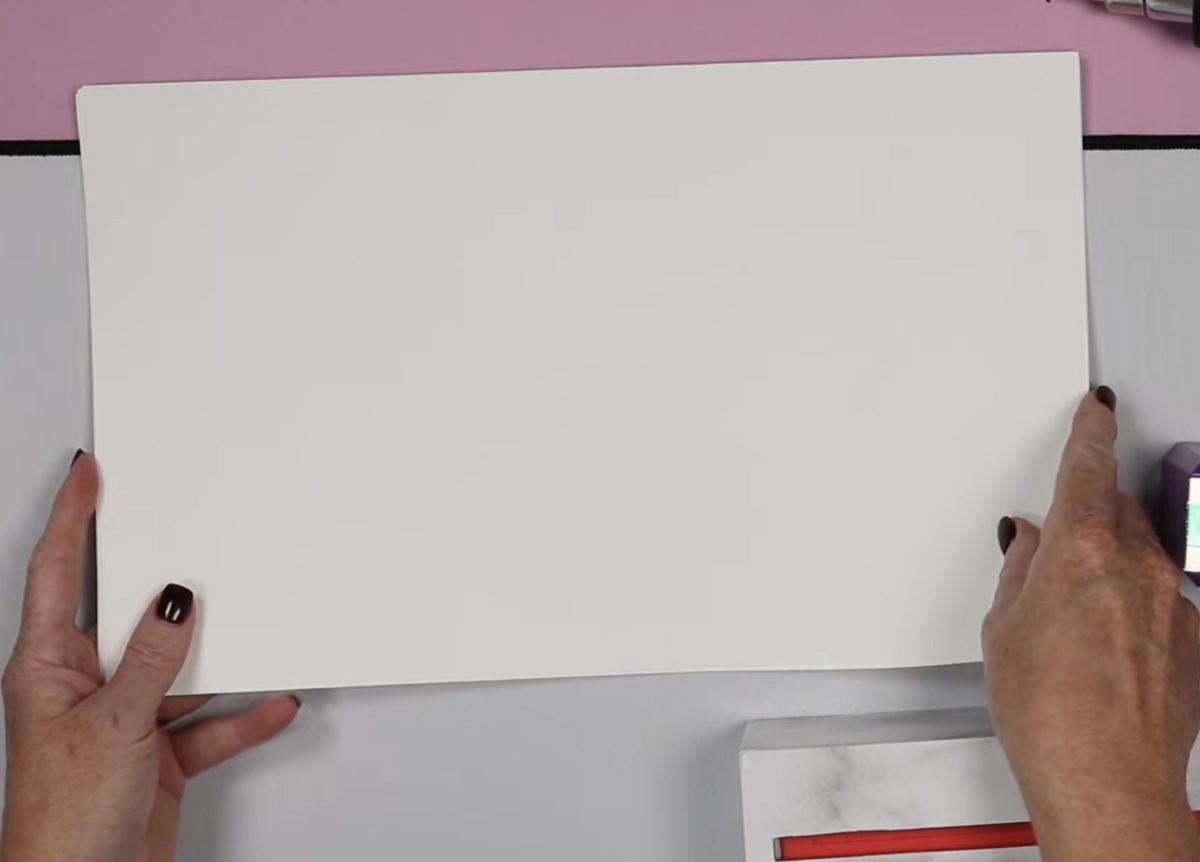
For both projects, I'm using 8.5-by-14-inch sublimation paper. This paper works in regular sublimation printers. If you only have 8.5-by-11 sublimation paper, you can use that; you'll just need to make some adjustments.
Create Designs in Canva
I'm using Canva today. First, create a canvas that is 8.5 inches by 14 inches so it's the same size as the sublimation paper.
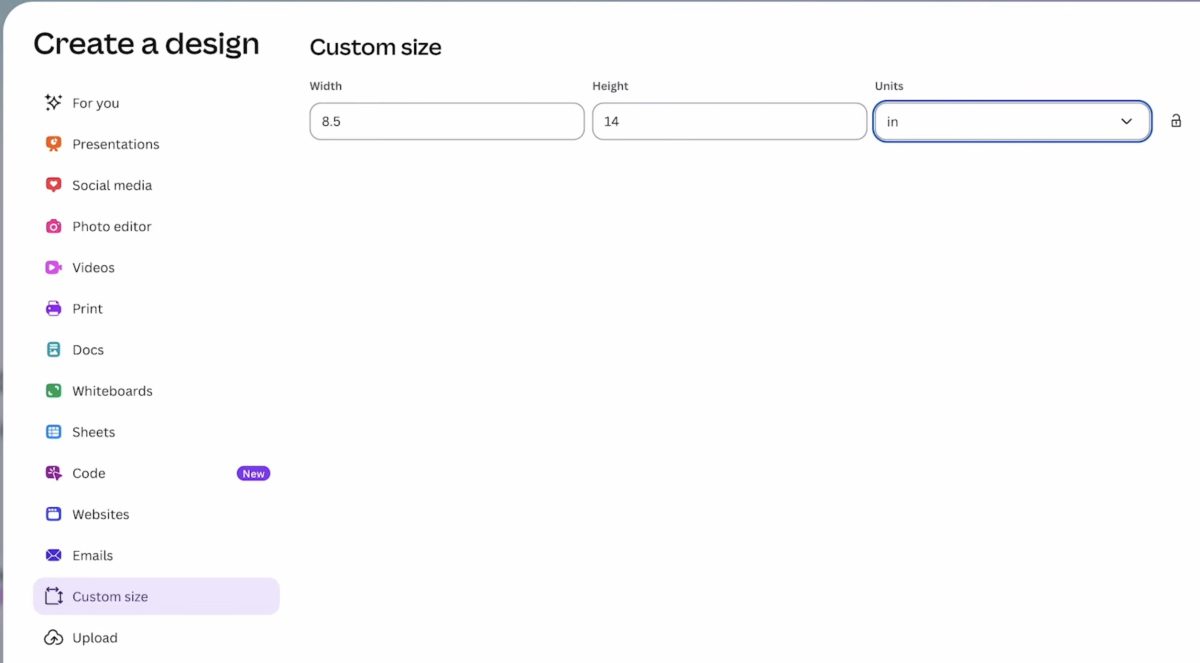
For these projects, I'm not measuring anything; I'm just filling the whole canvas with the design.
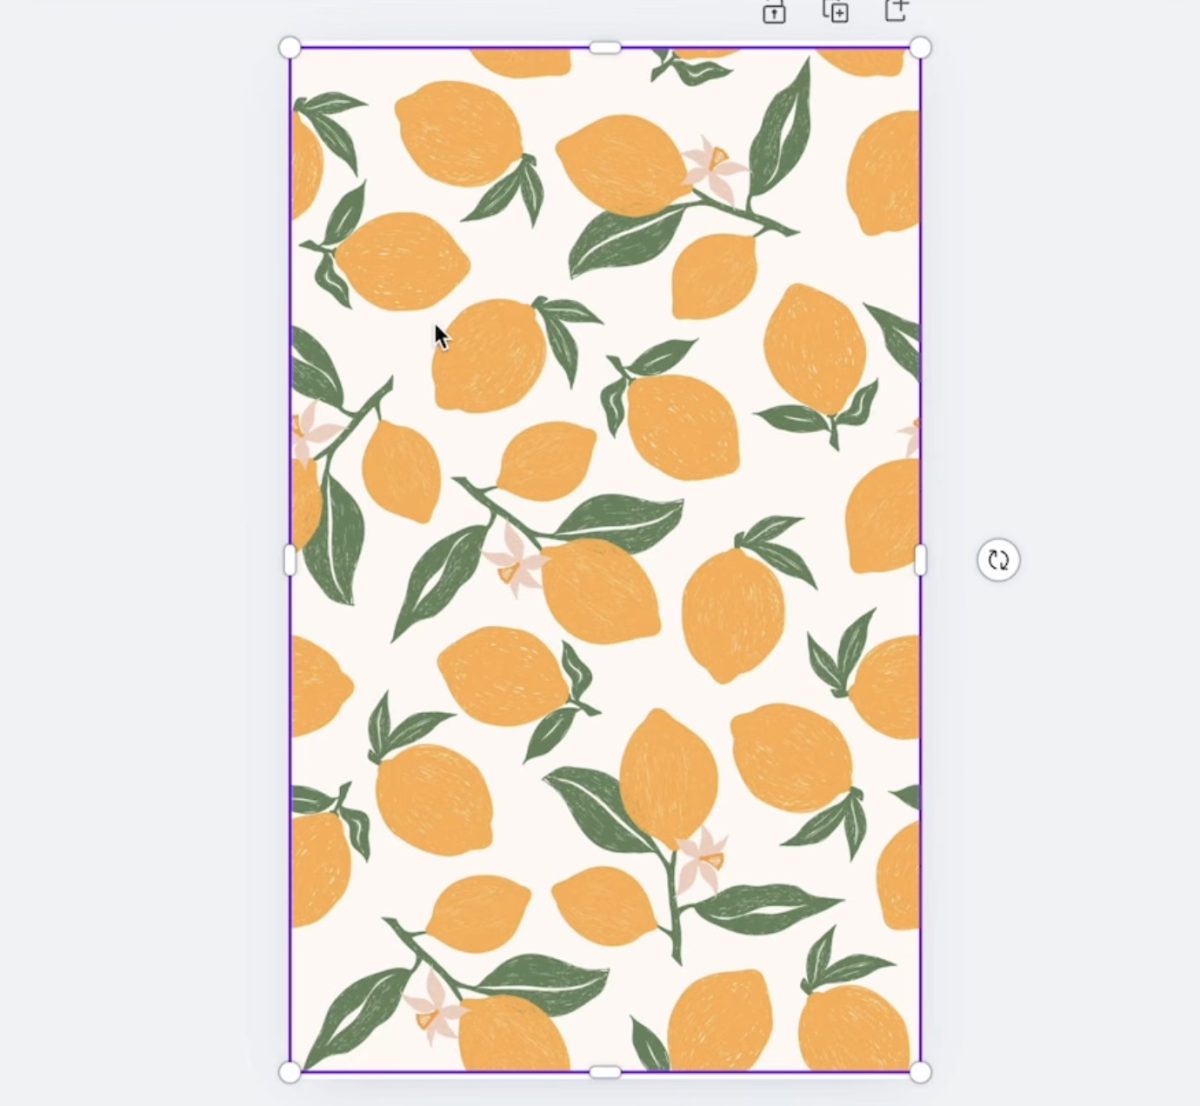
Click Upload and upload the files.
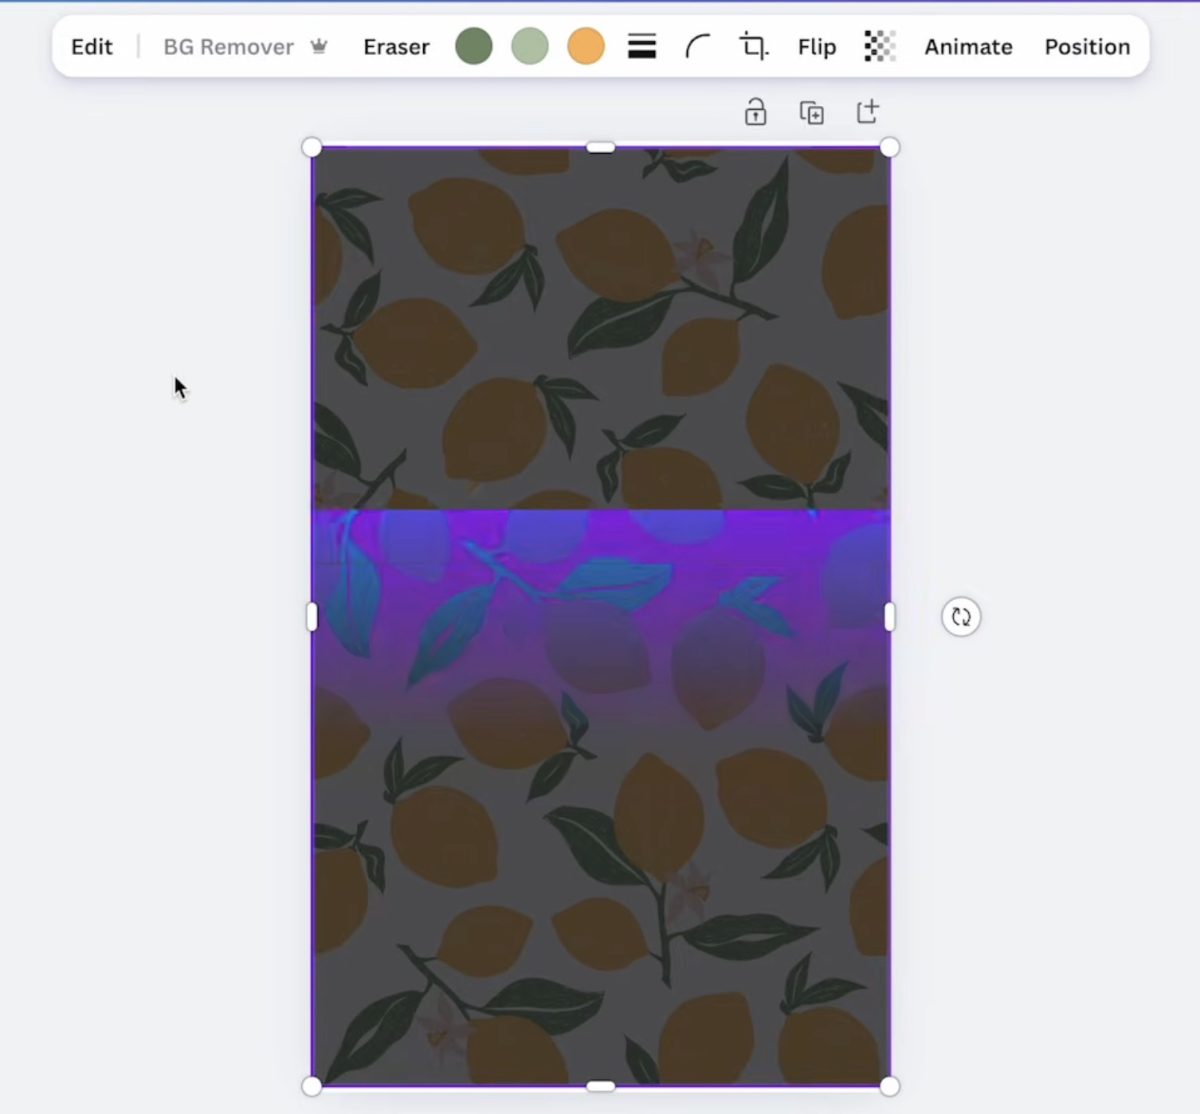
For the lemon design, I am going to fit it to my paper. This design does have a slight color to the background. Since the technique works best with a white background, I used the Background Remover tool to erase the entire background.
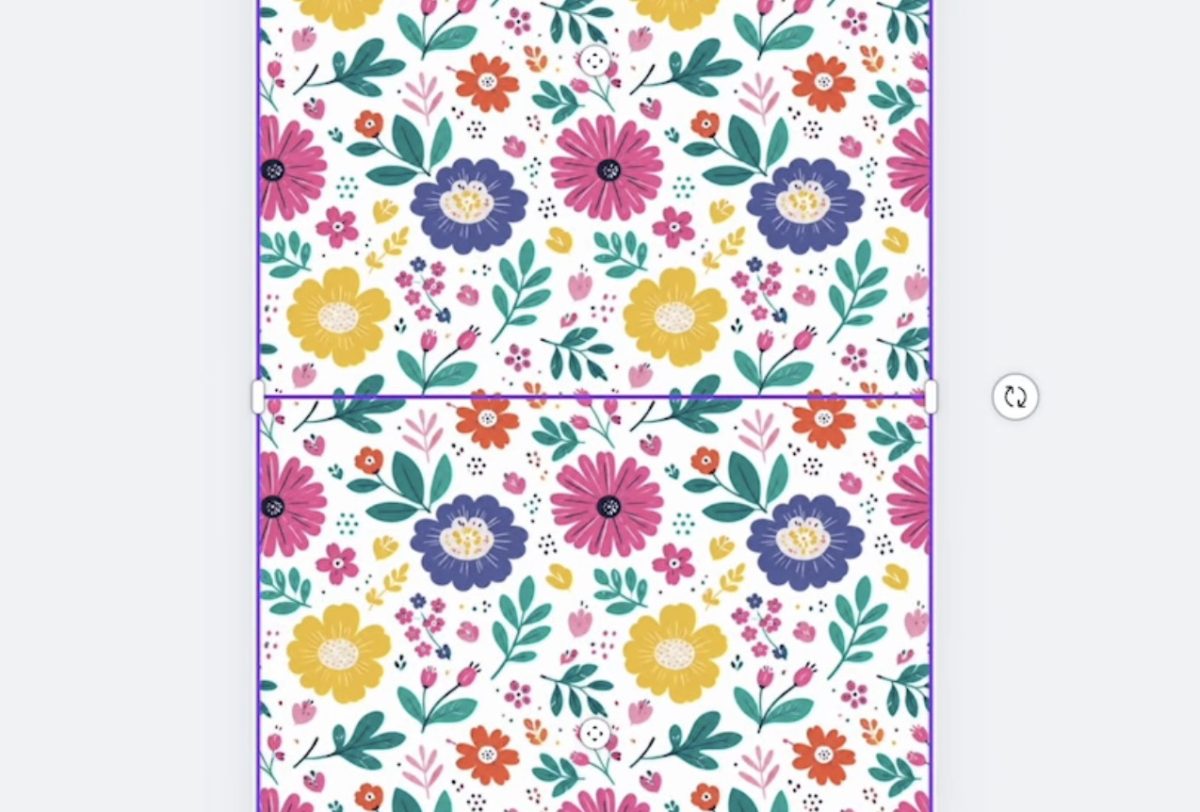
For the floral design, the background is already white, so I can either enlarge the design to fill the whole page or duplicate the image to fill the page, keeping the flowers small.
If you duplicate the image, zoom in to make sure you have things lined up so there is no gap between the images.
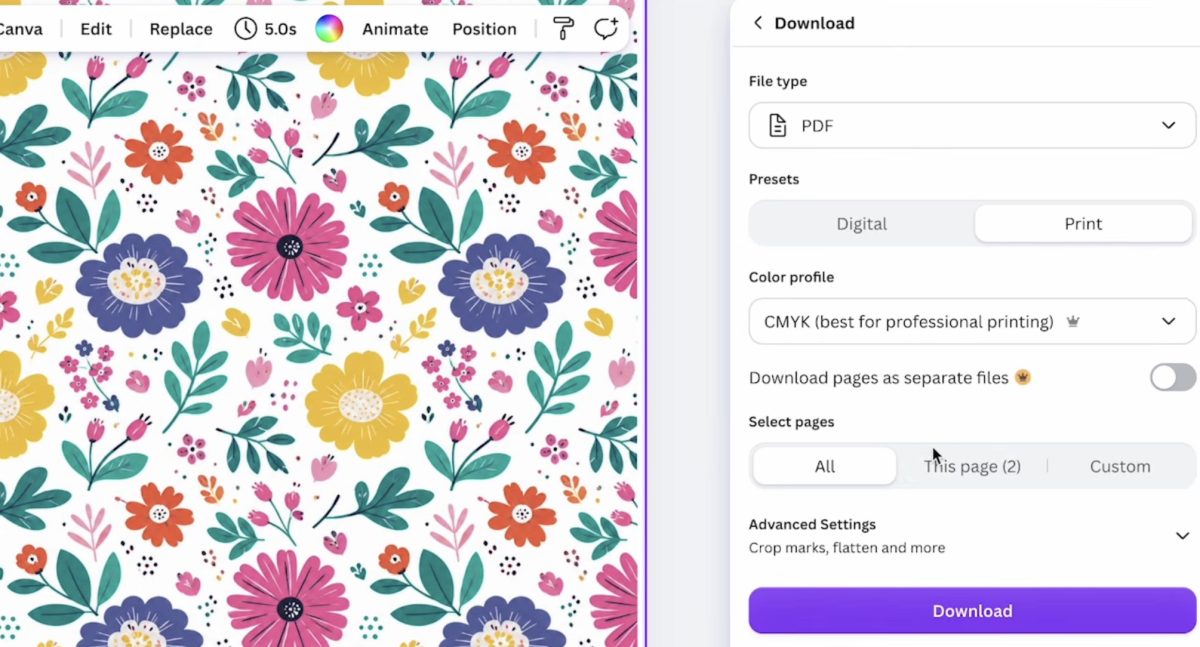
When you have everything set up how you want it, click Share, then Download. I like to download as a PDF for print using CMYK.
Open the images and print them to your sublimation printer.
Sublimating a Large Gaming Mat
The first large project I'm going to make with small prints is the gaming mat. I am using my large heat press for this project. I have it set at 390° for 60 seconds.
Step 1: Preheat Mat
The first thing we need to do is preheat the mat. I'll need to press the mat multiple times to cover the entire surface.
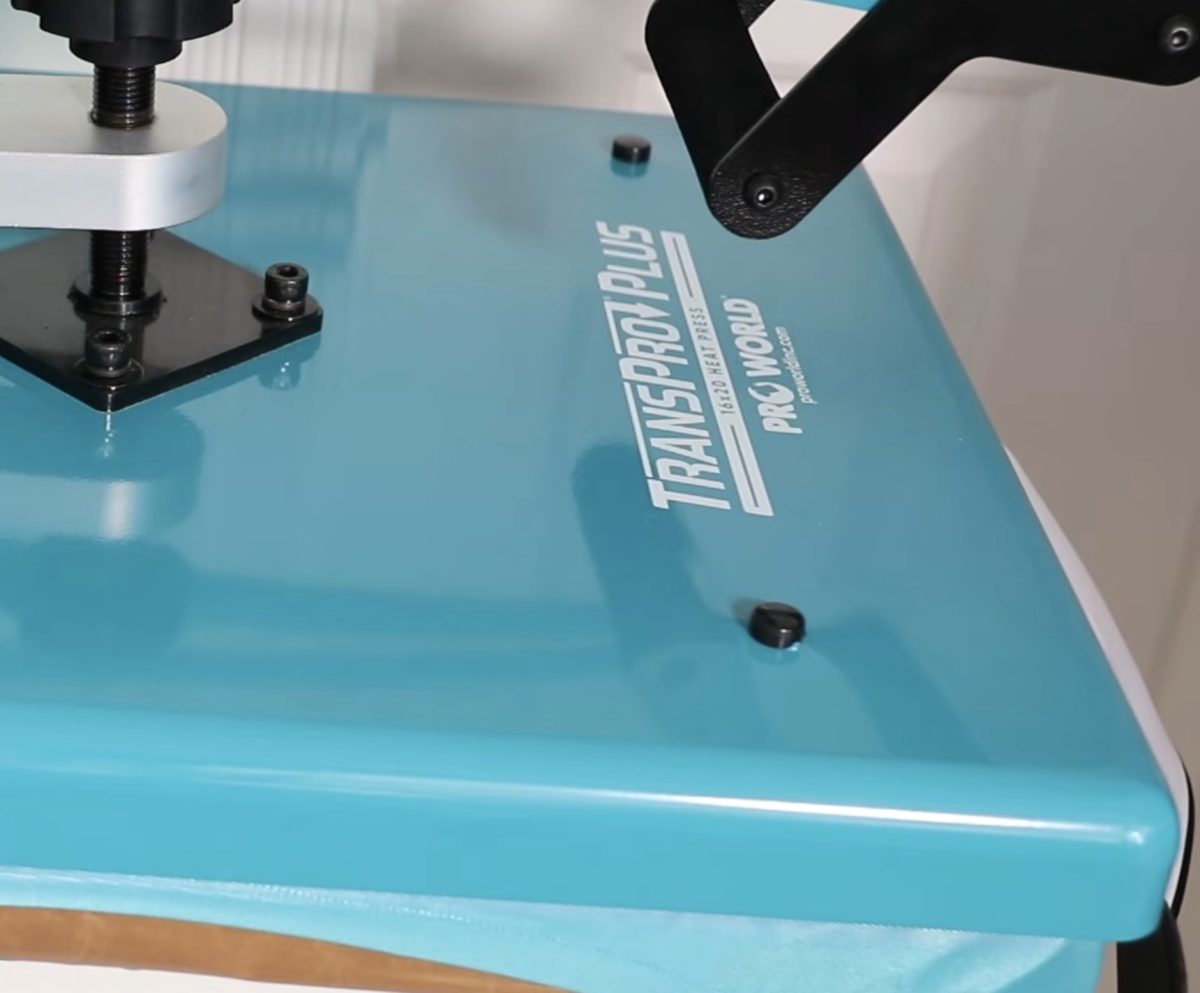
The type of material tends to hold a lot of moisture. I did several preheat cycles to remove as much moisture as possible. Allow the mat to cool completely before locating the print.
Step 2: Piece Together the Sublimation Prints
With all the prints printed and the gaming mat preheated and cooled, we're ready to start the puzzle-like assembly process. Because this print has a white background, it's much easier to piece together multiple prints.
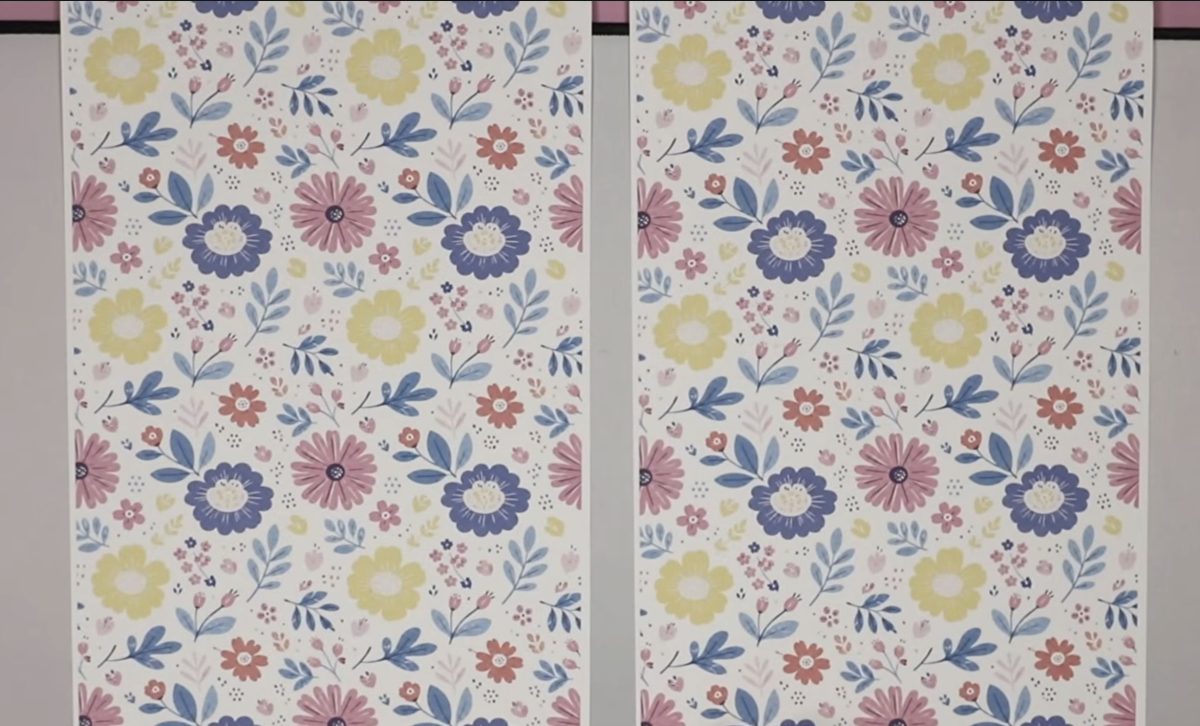
To make everything look seamless, I'm going to begin by trimming the half-flowers off one short end and one long side.
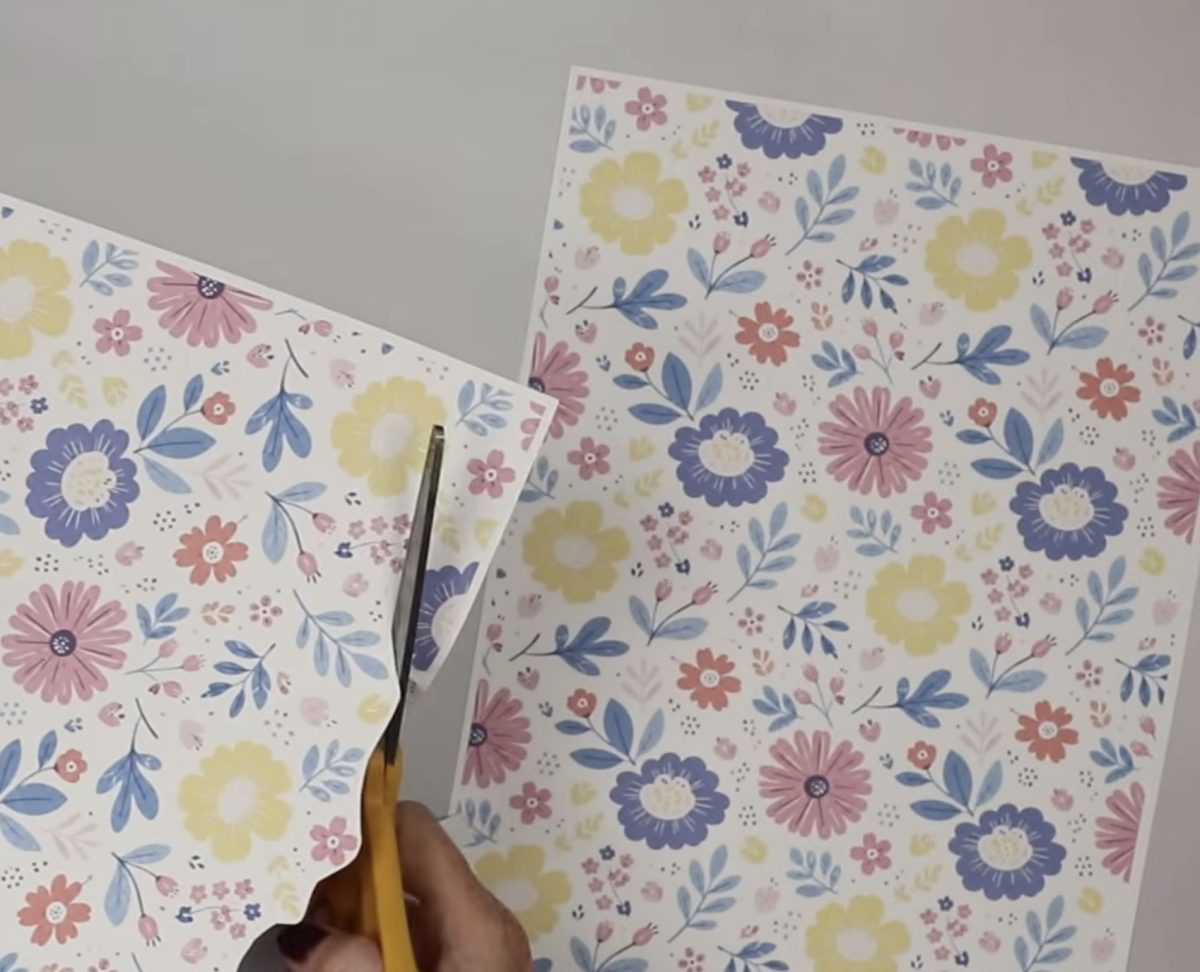
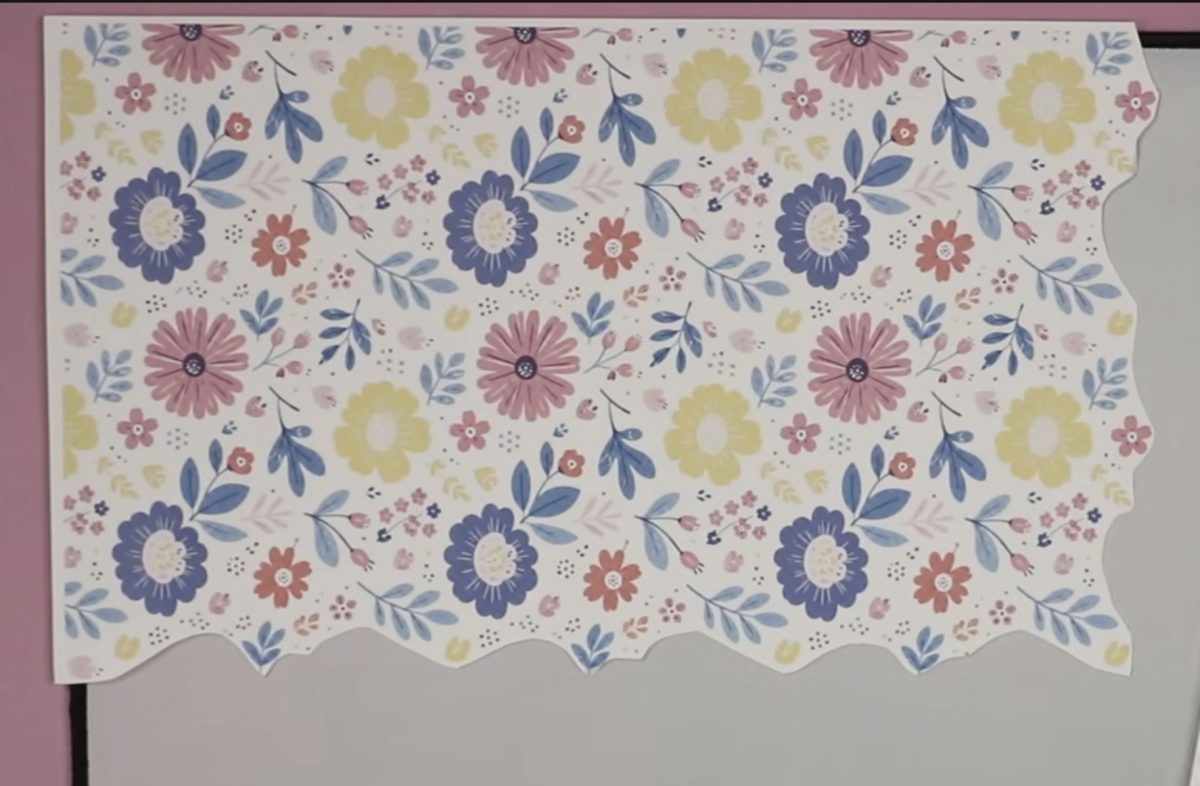
Then, I'm going to take another piece and line it up with the short side.
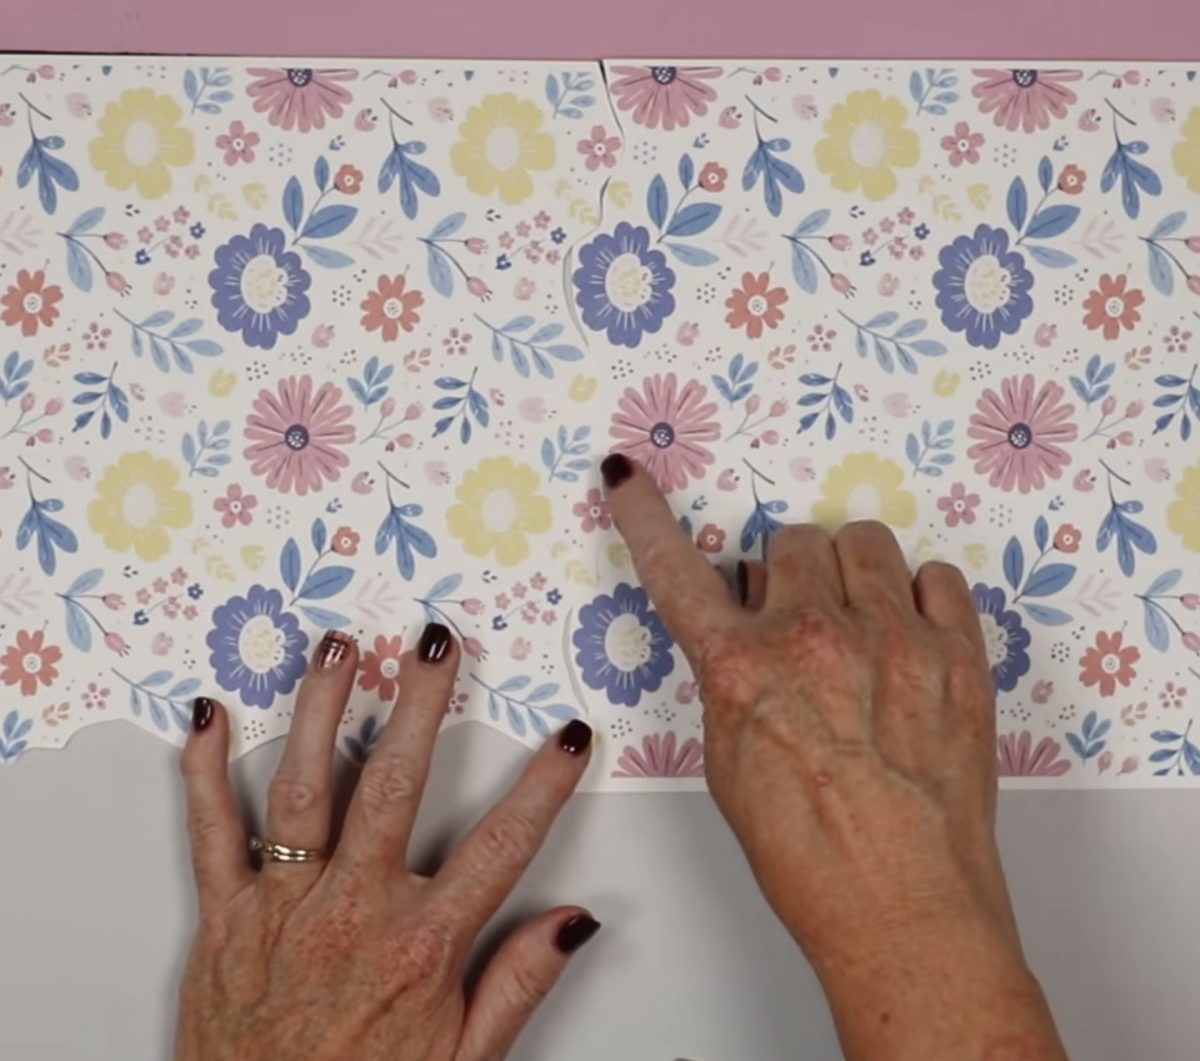
Here, I can see which pieces are duplicated and cut those away, making the pattern look seamless. I like to keep all those little pieces just in case I need to use them to fill in any large gaps I may end up with.
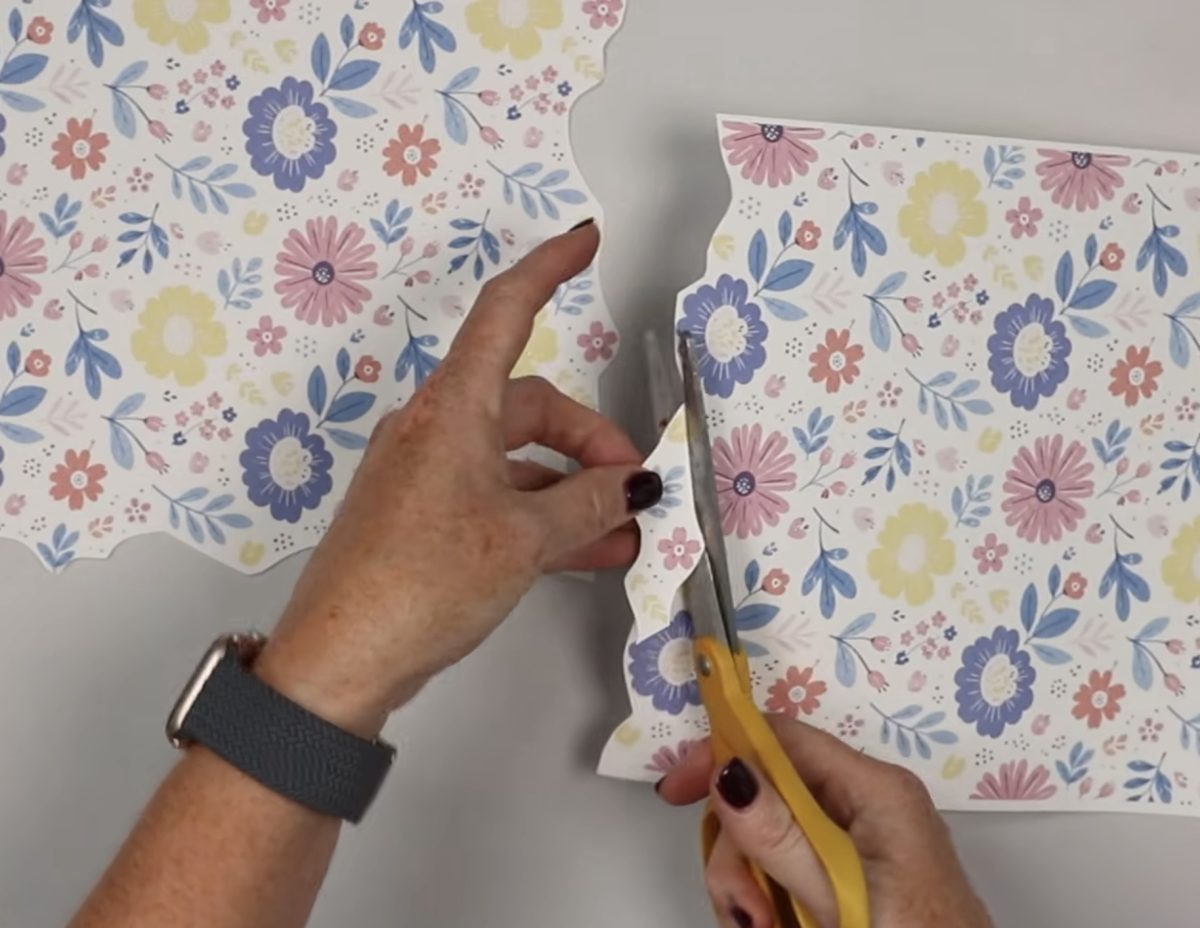
Remember, we don't want the prints overlapping at all. Sublimation ink can bleed through the paper, ruining the final product.
Now I'm going to repeat this process until all the pieces line up like a puzzle and my print is large enough to cover the entire gaming mat.
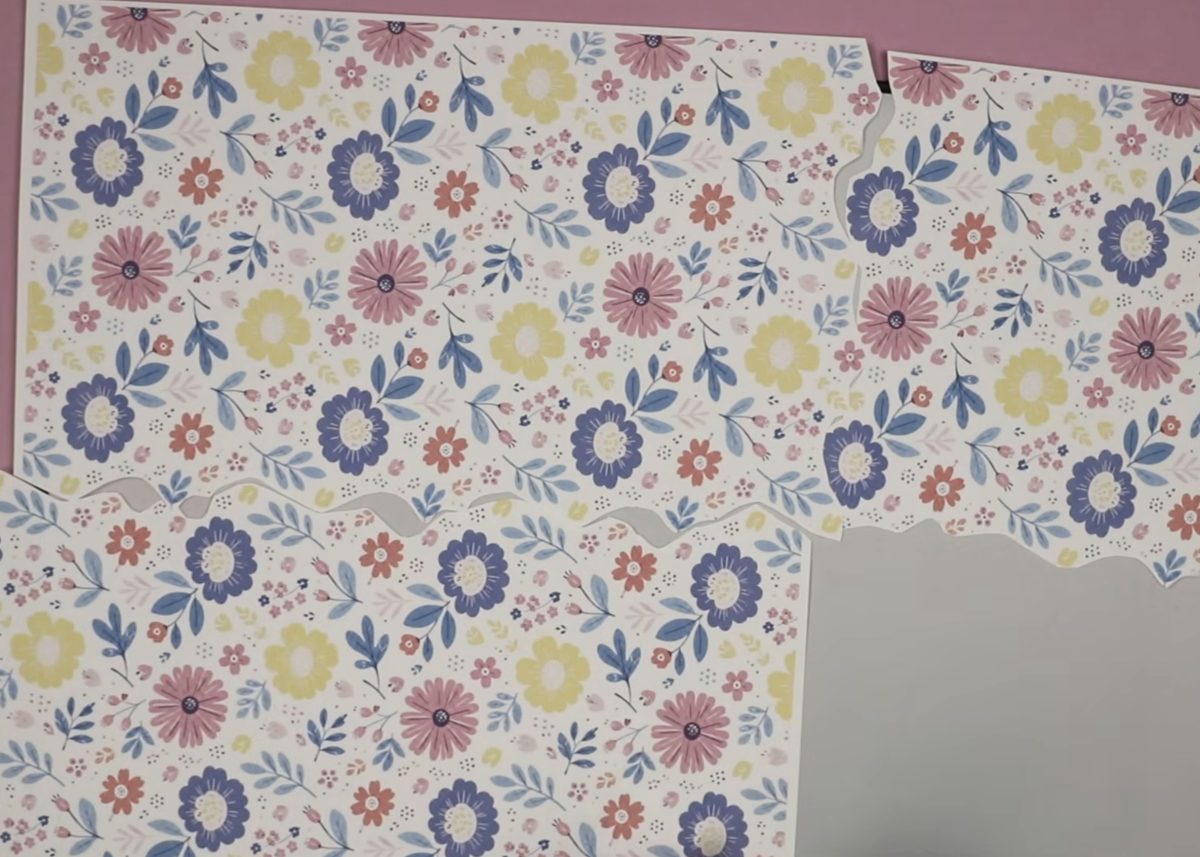
The goal is to line things up and keep the gaps (aka white area) consistent with the other portions of the print.
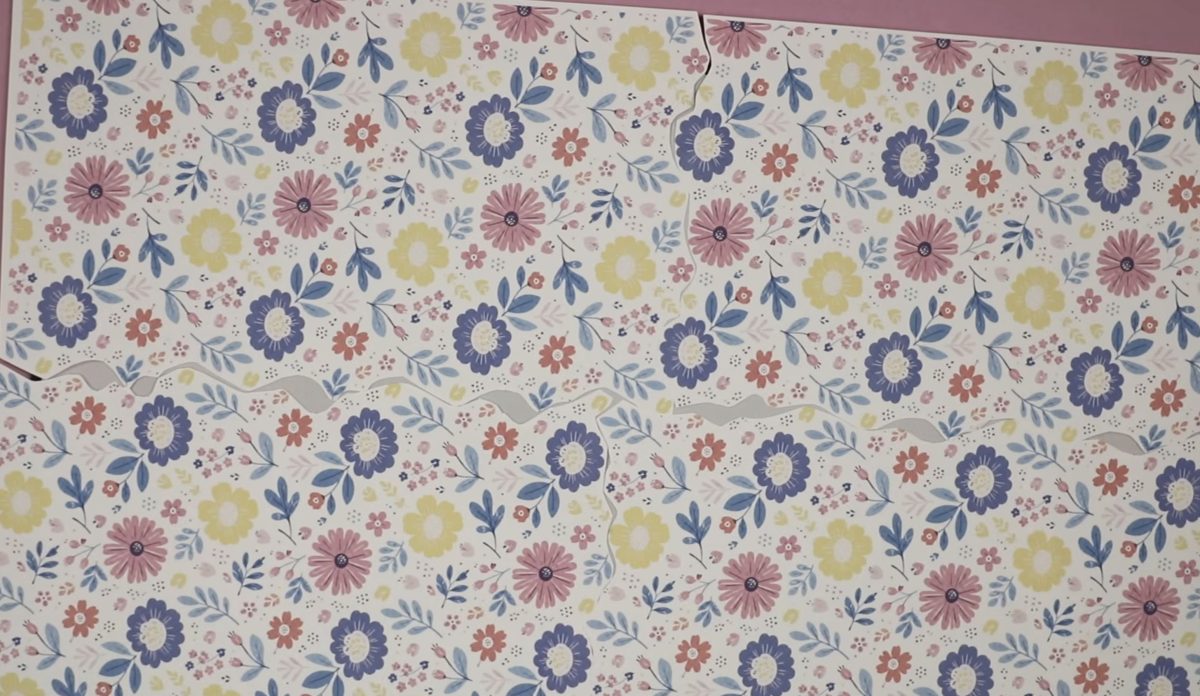
With all of the pieces laid out, add pieces of heat-resistant tape to the back of the prints to secure them all together.
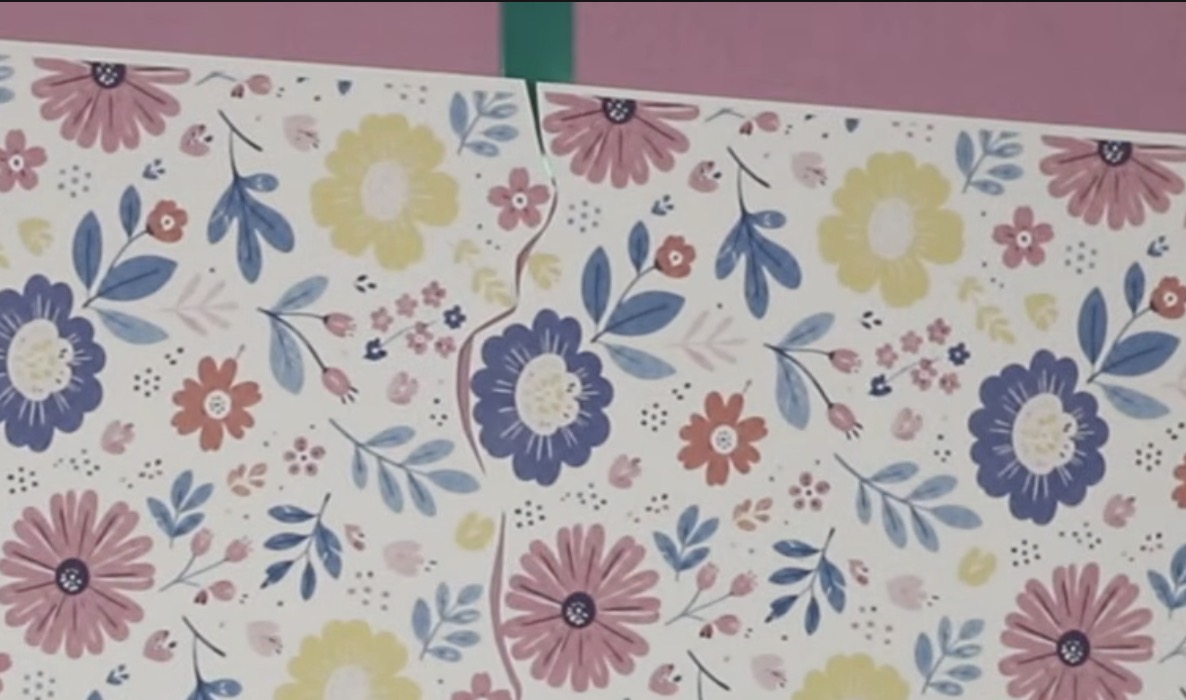
Step 3: Locate the Sublimation Print on the Gaming Mat
Before locating any pieces on the mat, use a lint roller to remove any dust, hair, or other debris from the mat.
Next, flip the mat over so the white side is down on the printed side of the sublimation print.
I like to make sure I can see the sublimation print all the way around the mat so that I know it's covering the whole mat and it gives me something to tape to.
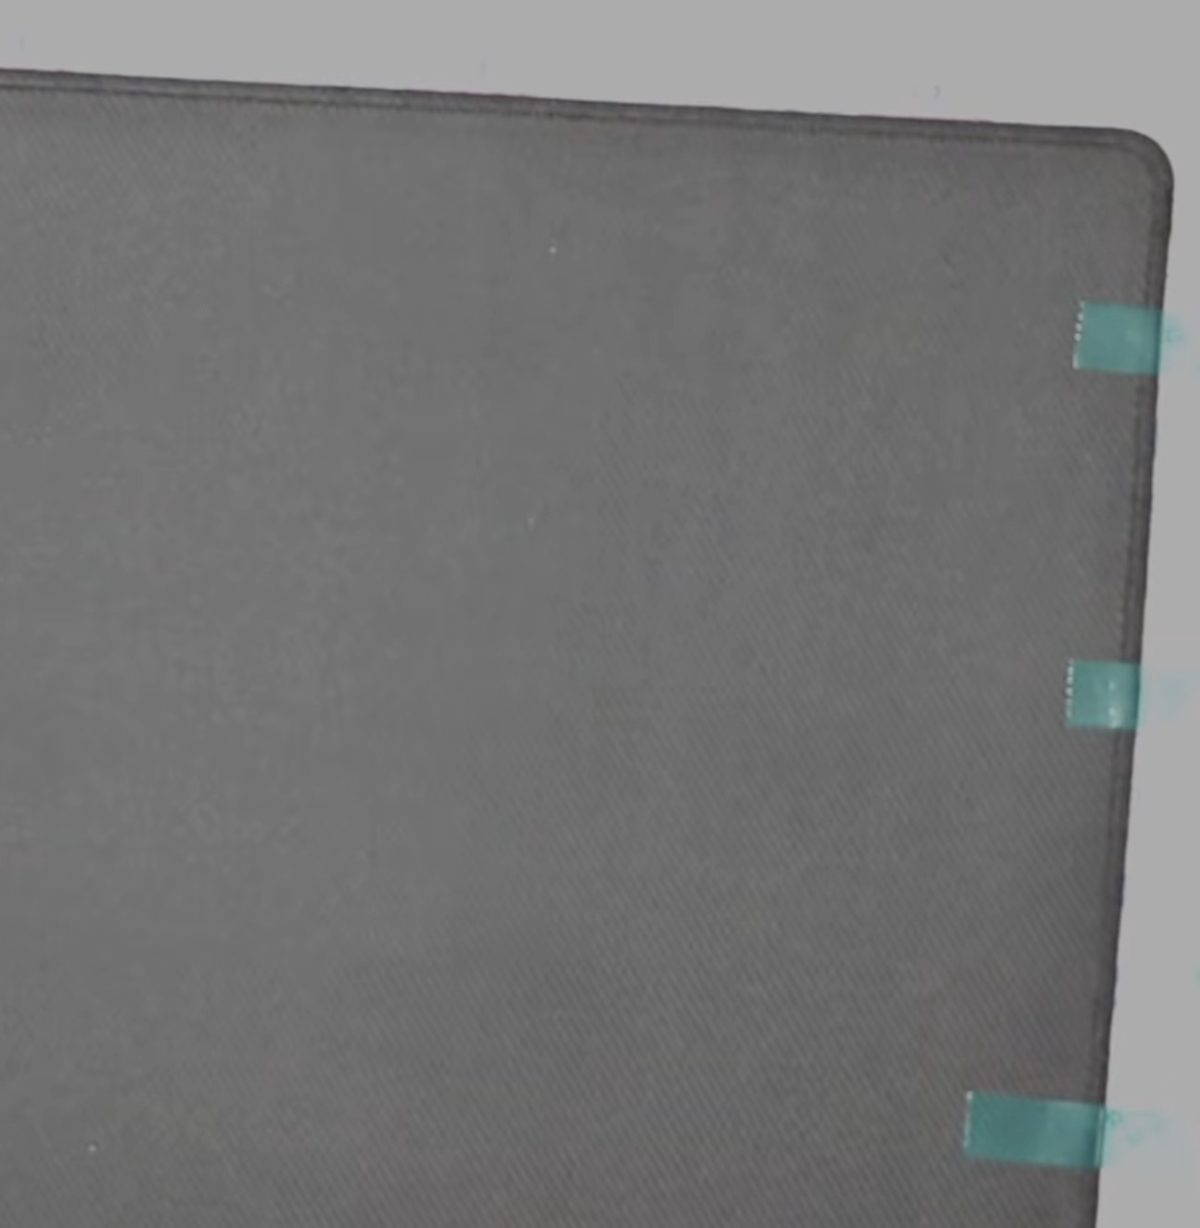
Use heat-resistant tape to secure the mat to the sublimation print. I like to do this from the back to help avoid pressing marks from the tape as much as possible.
Step 4: Press the Gaming Mat
Add protective paper to the top and bottom of the mat and press at 390° for 60 seconds. If the mat is too big for your heat press, like mine is, you're going to have to press it twice.
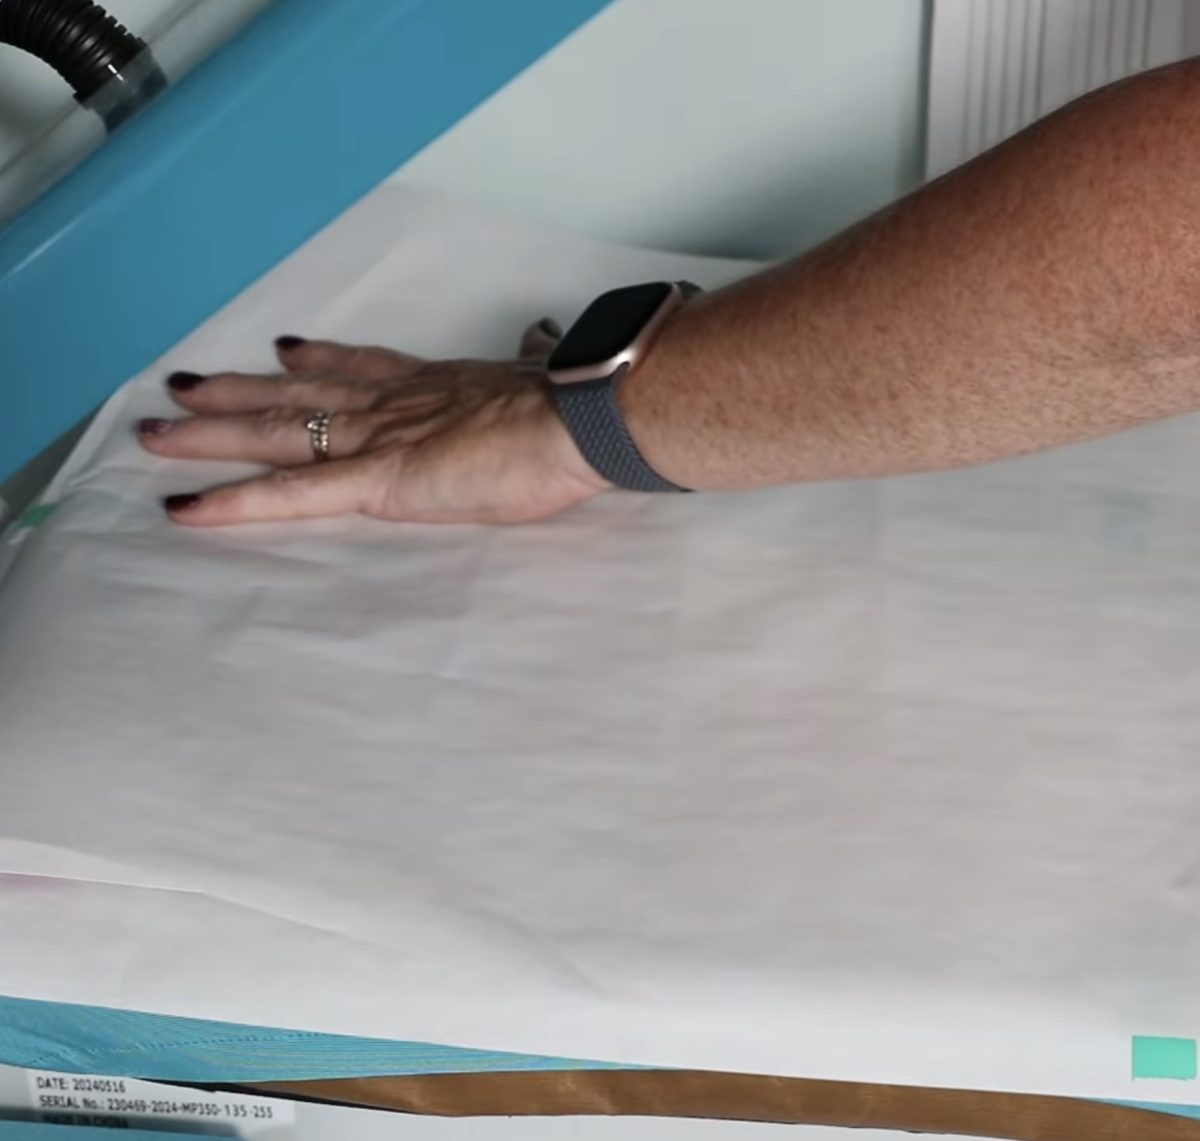
With sublimation, it's important to not move the print during the pressing process. If your heat press is smaller than your design, make sure to tape the print in place really well so it doesn't move as you're pressing each section.
Another trick when pressing sublimation twice is to press the second time immediately after the first. This can help prevent ghosting.
Step 5: Finish Large Gaming Mat
When you're done pressing, take the gaming mat out of the press and remove the protective paper and sublimation print.
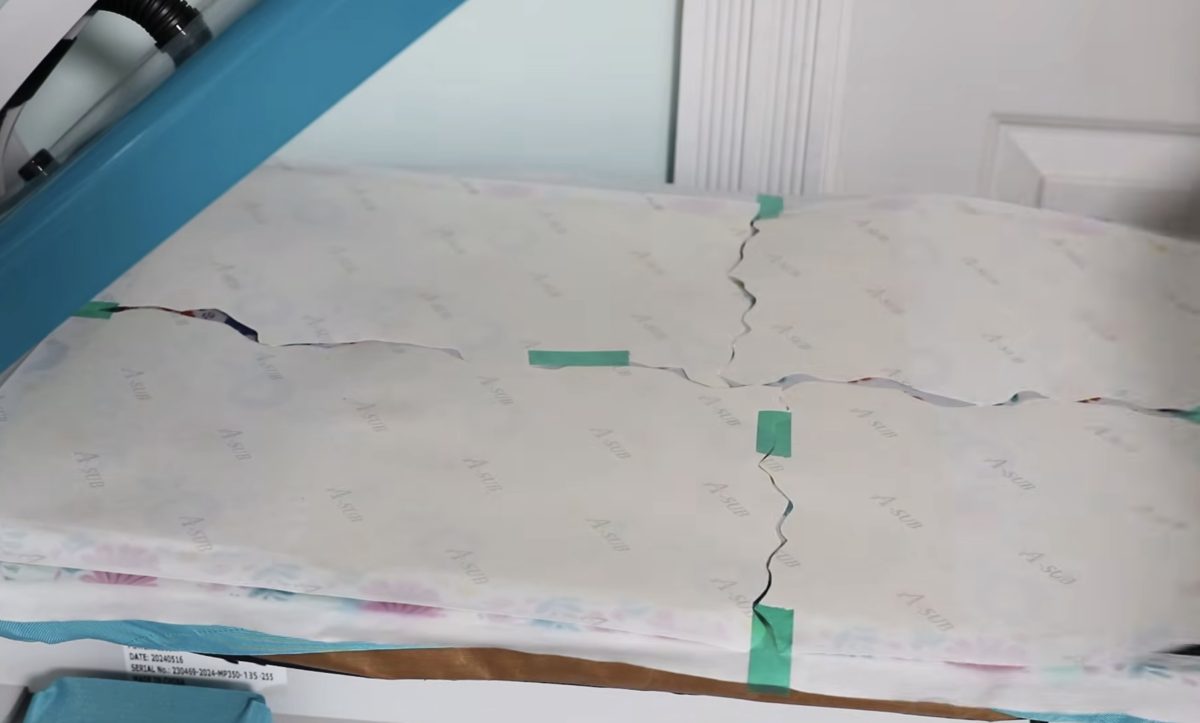
I'm really impressed with how this turned out, but let's take a closer look.
I want to note that I think this looks really good, but it is not perfect. I ended up with a little ghosting in the middle of the mat. I think this is because the print moved a little bit. Next time, I know to add more tape to the middle area to help keep it in place and tighter to the mat.
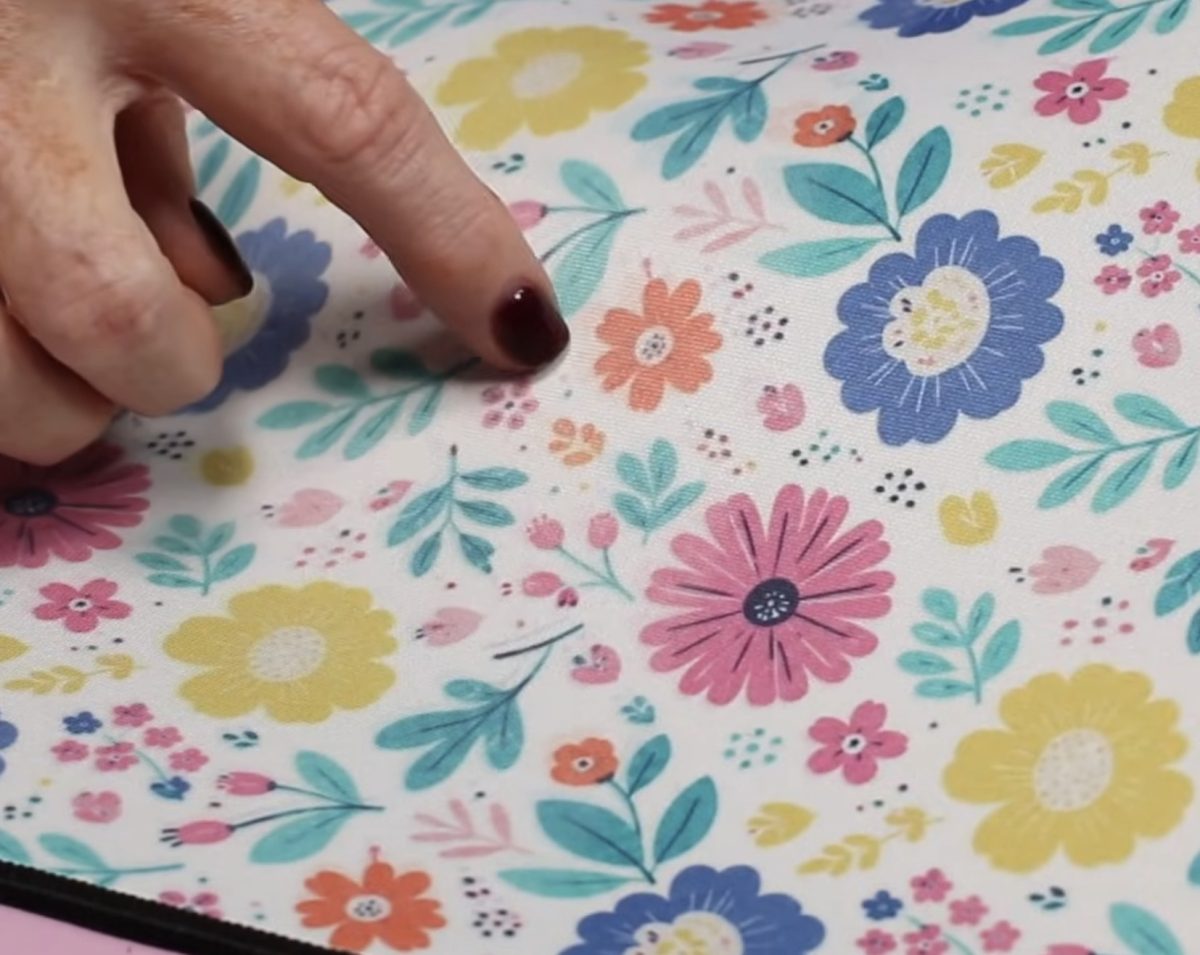
You can also see that there is a little extra white space in this area. I don't think it's noticeable from a distance, and I'm not sure if it's noticeable at all if I didn't know where the seams would be because I made it.
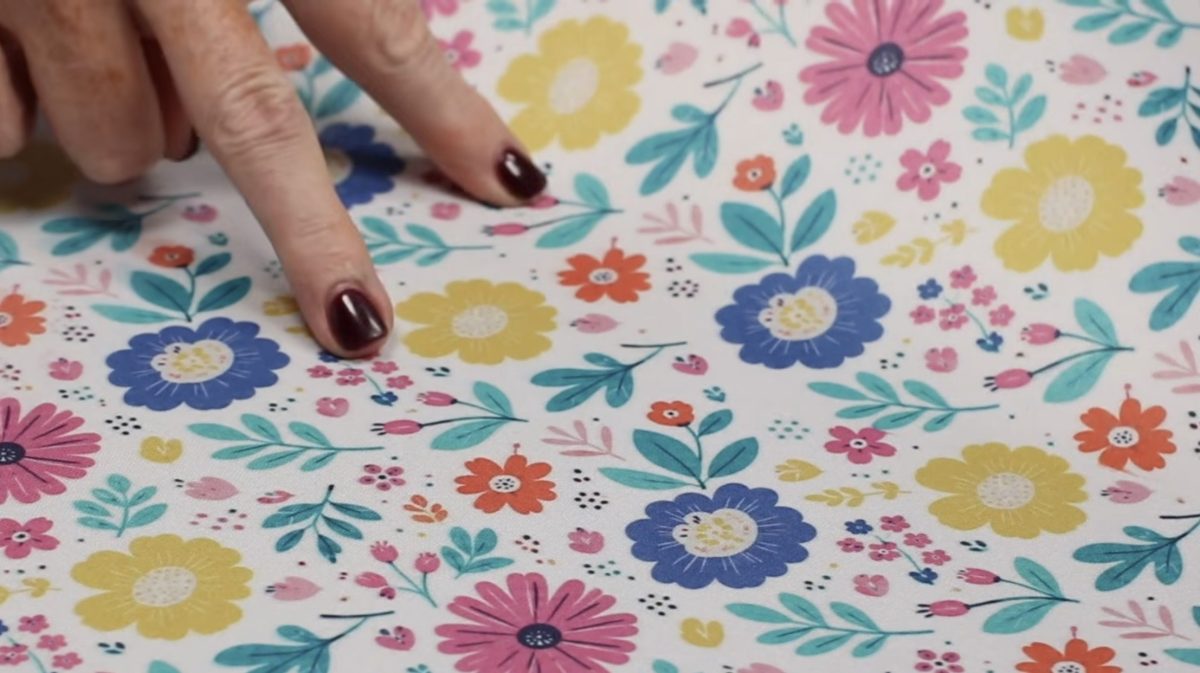
I think this is a great example of how to make big projects with a small printer. I have a gaming mat that is much larger than a single printed image, and I was able to add a design to the entire surface, not just one small section.
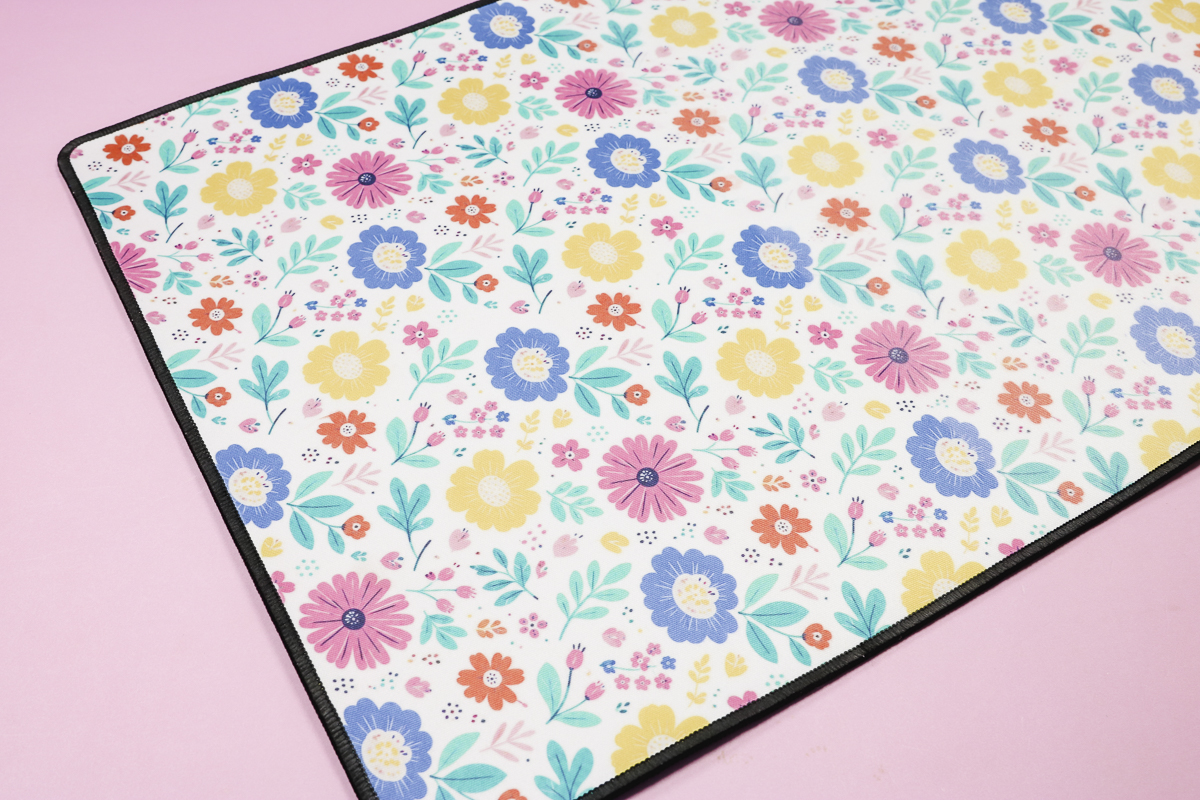
The gaming mat is fun because it can be used for so many different things. It's a large cushioned mat with a black backing that is a neoprene material. While it's a gaming mat, it can also be used as a desk mat.
I almost added a pet design to it because I think it would be great for putting pet bowls on it to help with spills.
Add Large Designs to 3D Items like Sublimation Bowls
We've seen how this new technique works on flat surfaces; let's see how it works on 3D items like these metal sublimation bowls.
The process is very similar.
- Clean the bowl with a lint roller.
- Trim the sublimation image to fit the bowl. My print does not fit all the way around the bowl.
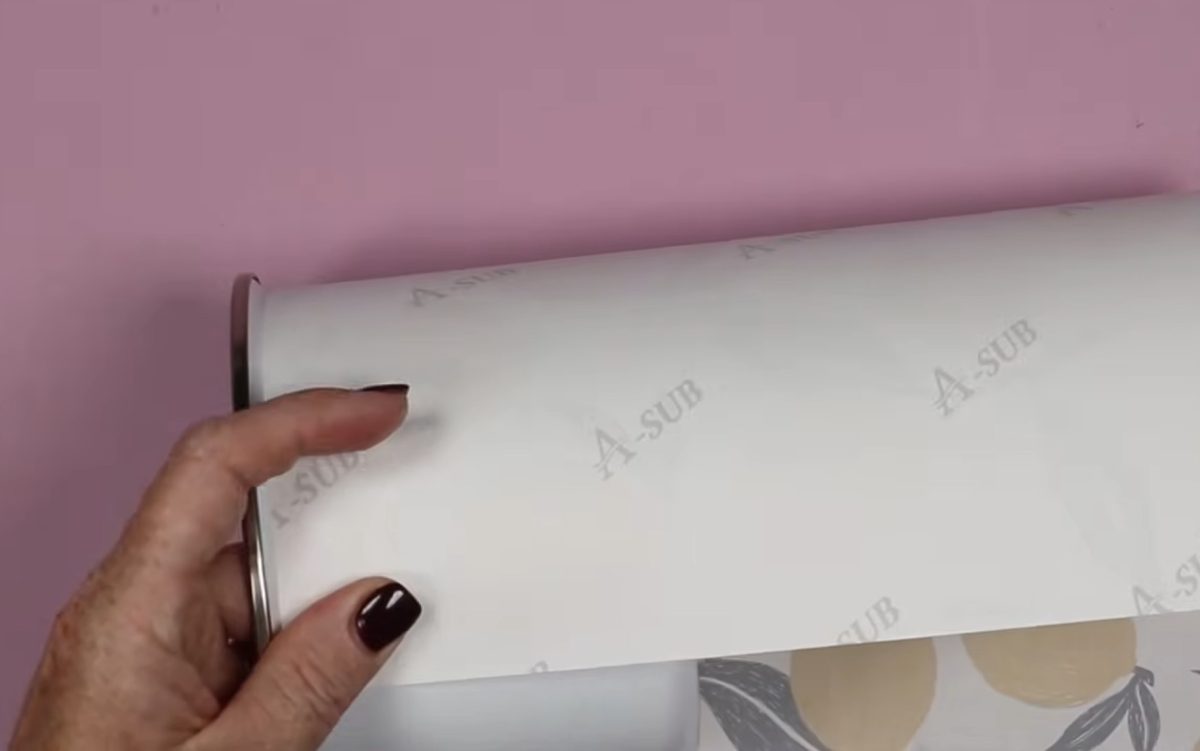
- Cut additional pieces to fill in the gaps.
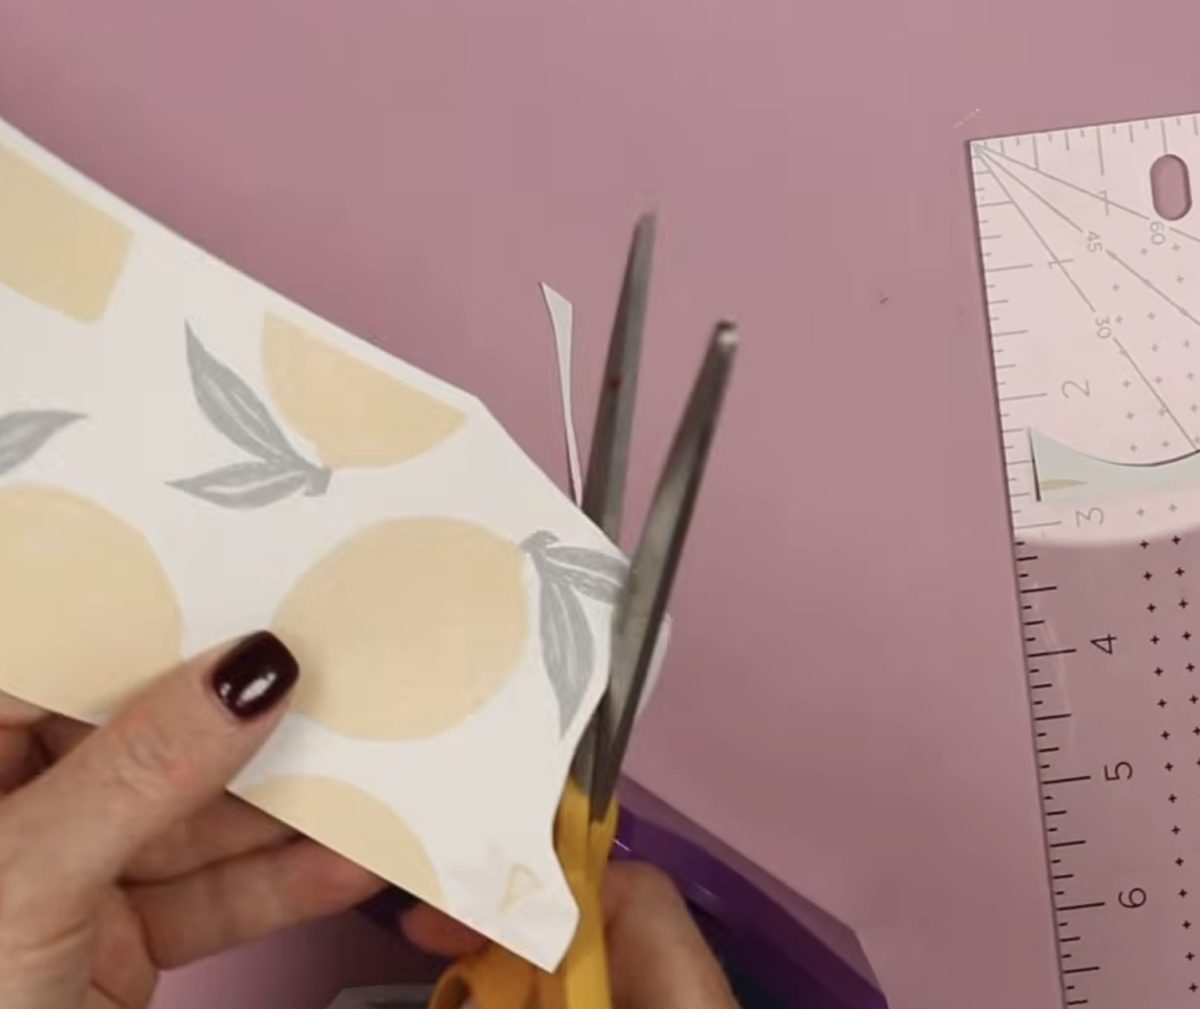
- Use heat-resistant tape to secure the large piece.
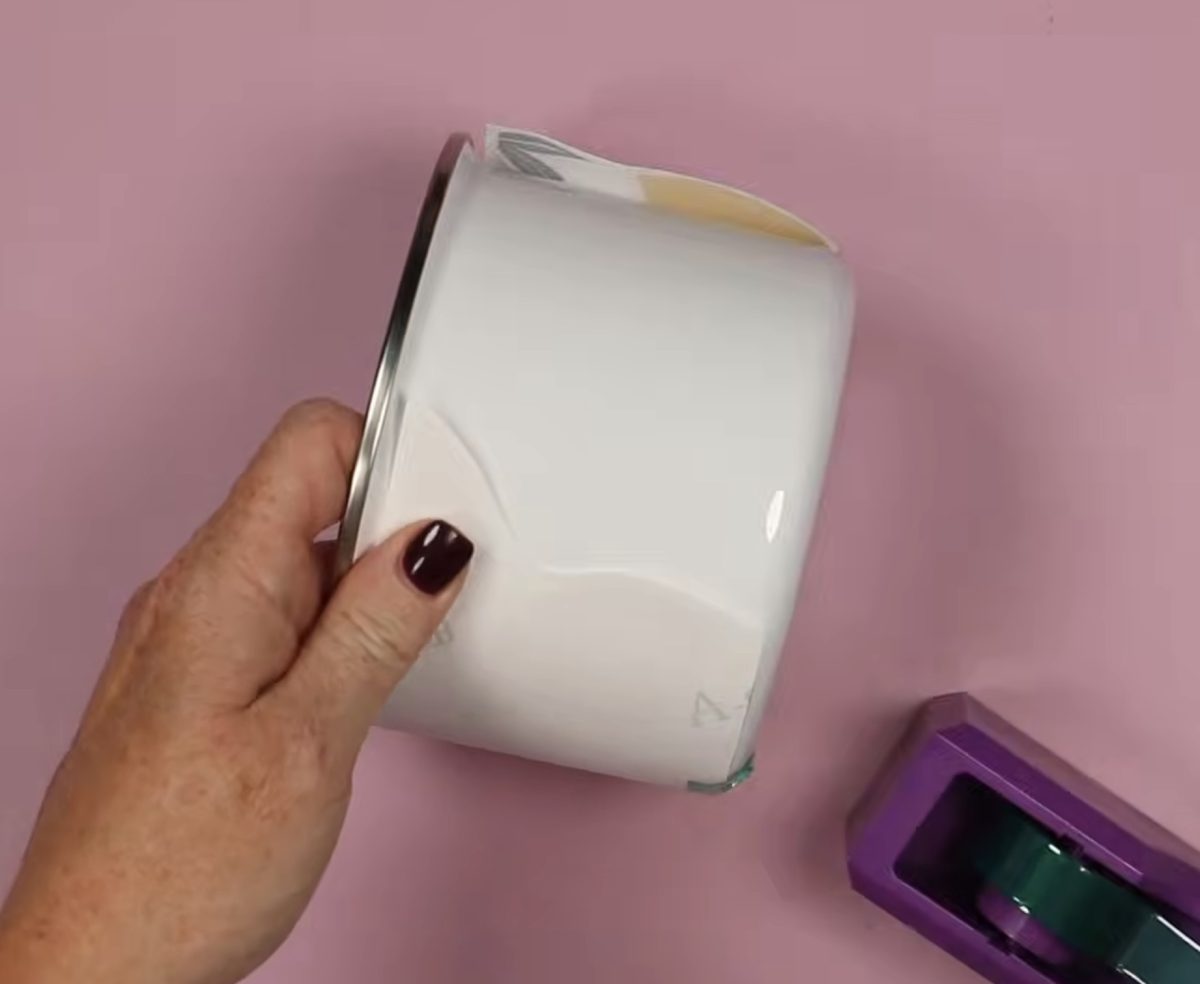
- Locate other small pieces to fill in the gap and secure with heat-resistant tape.
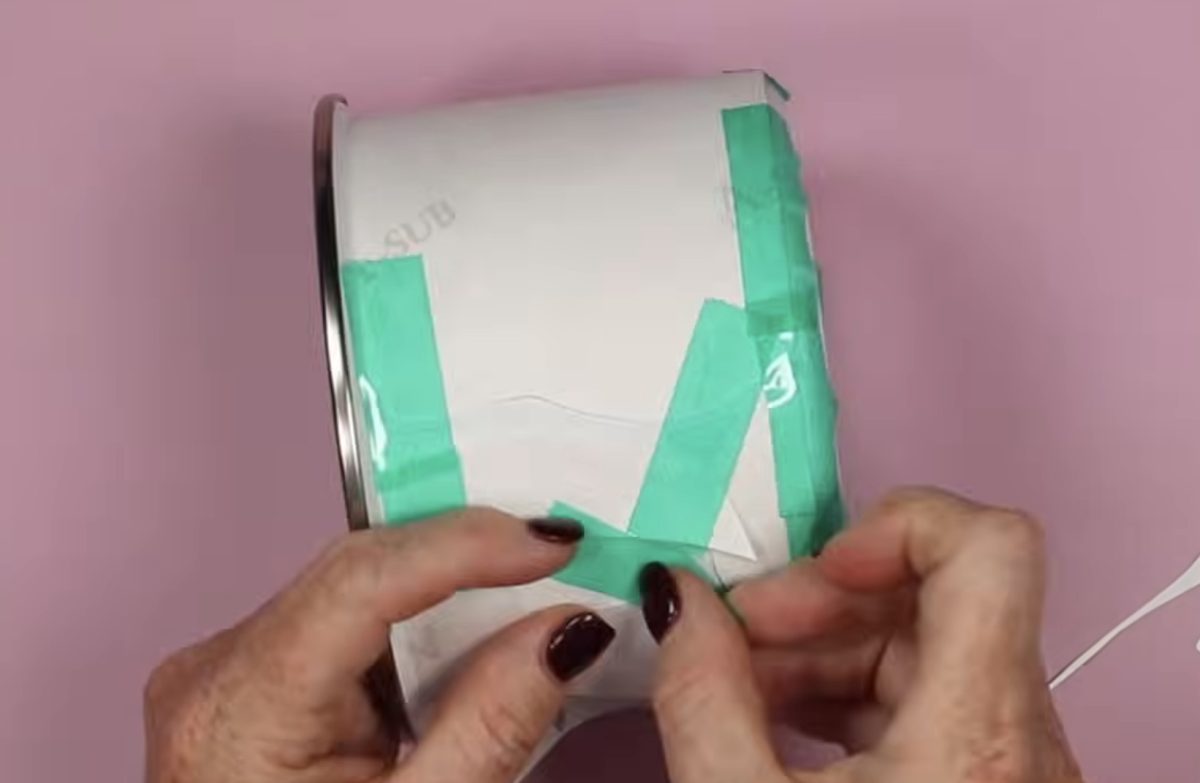
- Make sure you don't have heat-resistant tape anywhere between the bowl and the sublimation print.
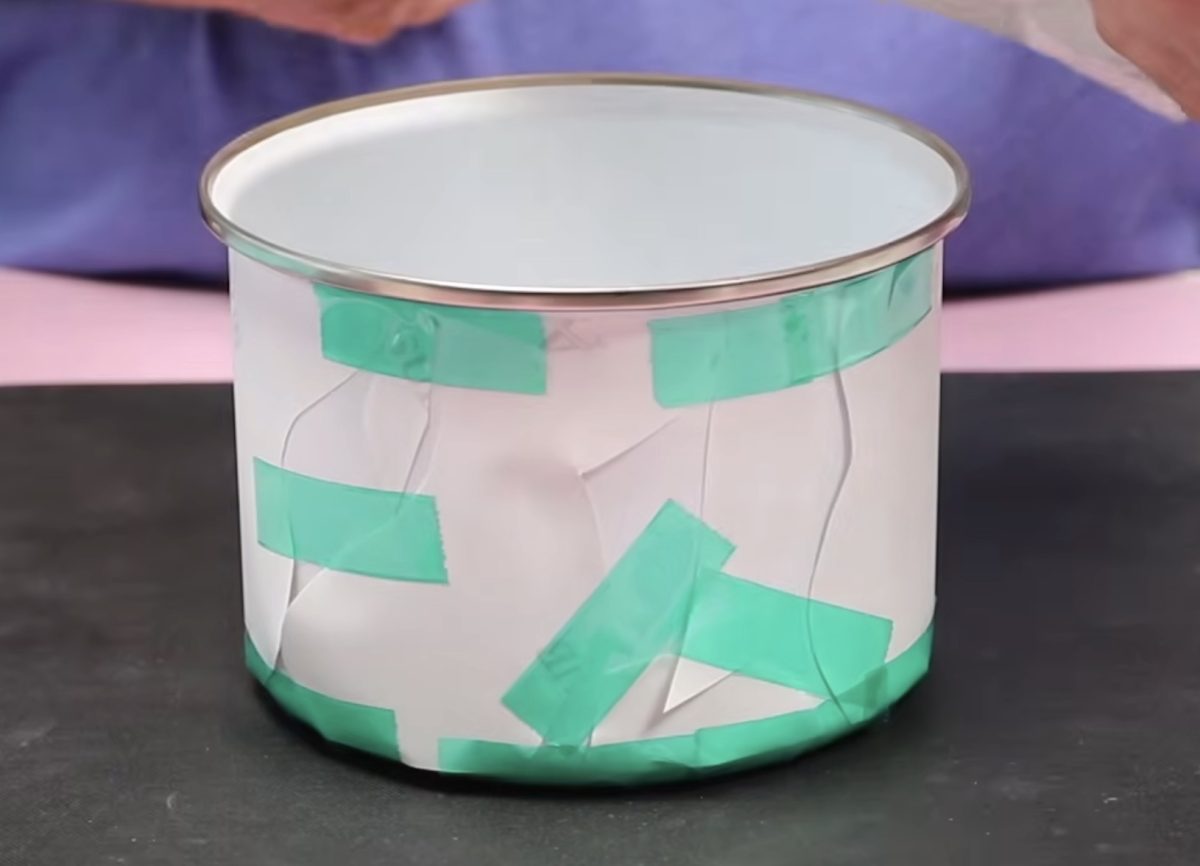
- Place the bowl inside a shrink sleeve. I cut mine in half because of how long it is I can use it for two bowls.
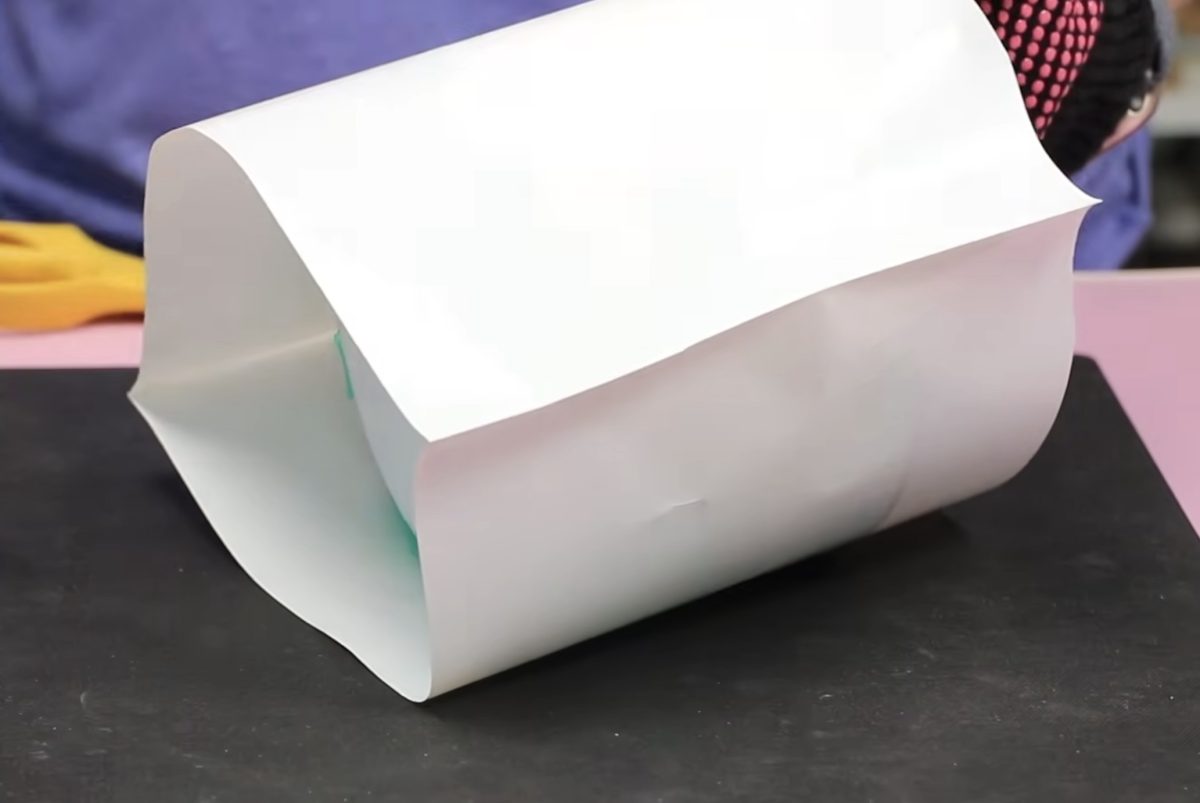
- Use a heat gun to shrink the sleeve around the bowl so it adds pressure to the sublimation print.
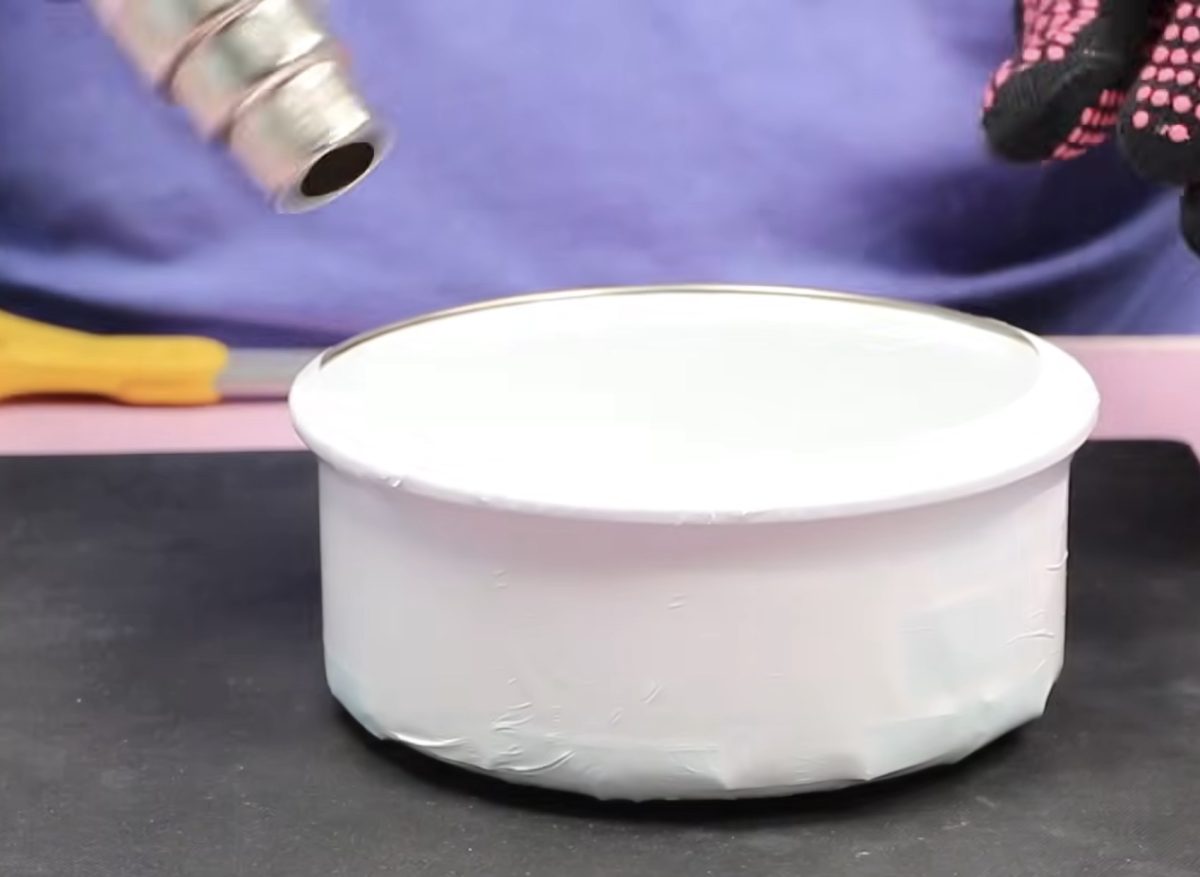
- Repeat this process for a second bowl.
- Place the bowl in a preheated sublimation oven set for 4 minutes at 370°.
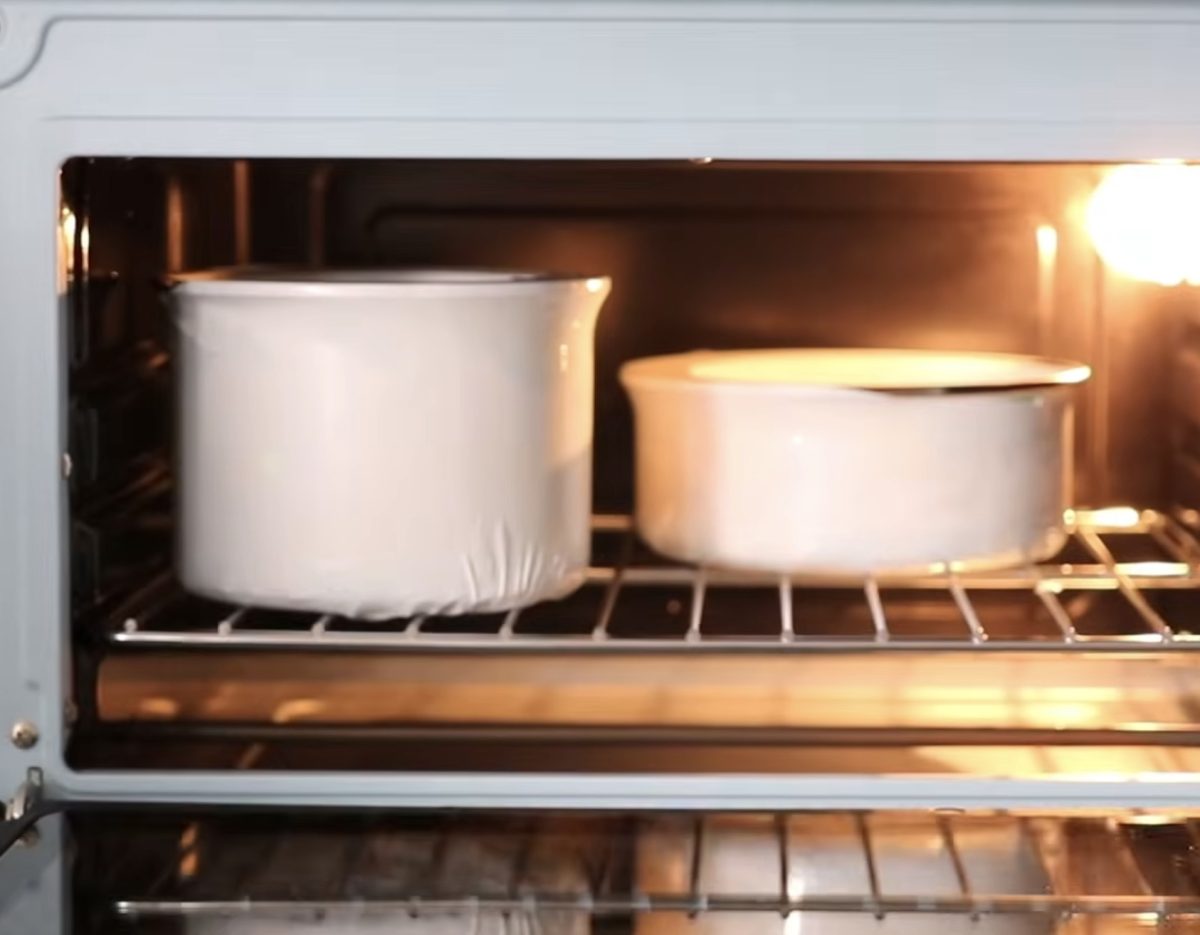
- Heat for the full time, remove from the oven, and place on a heat-resistant mat.
- Immediately remove the shrink wrap. The shrink wrap becomes harder to remove as it cools.
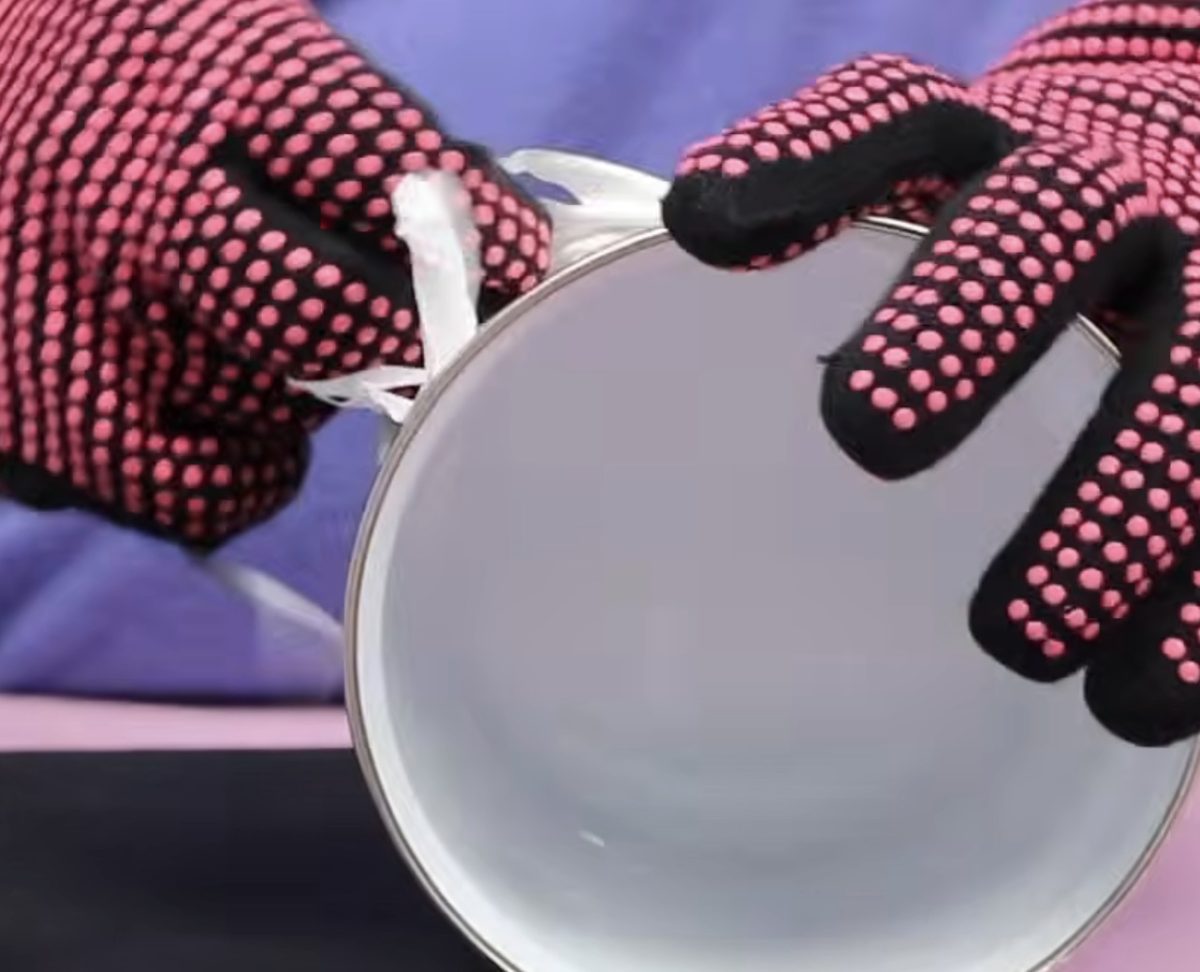
- Remove the heat-resistant tape and sublimation print.
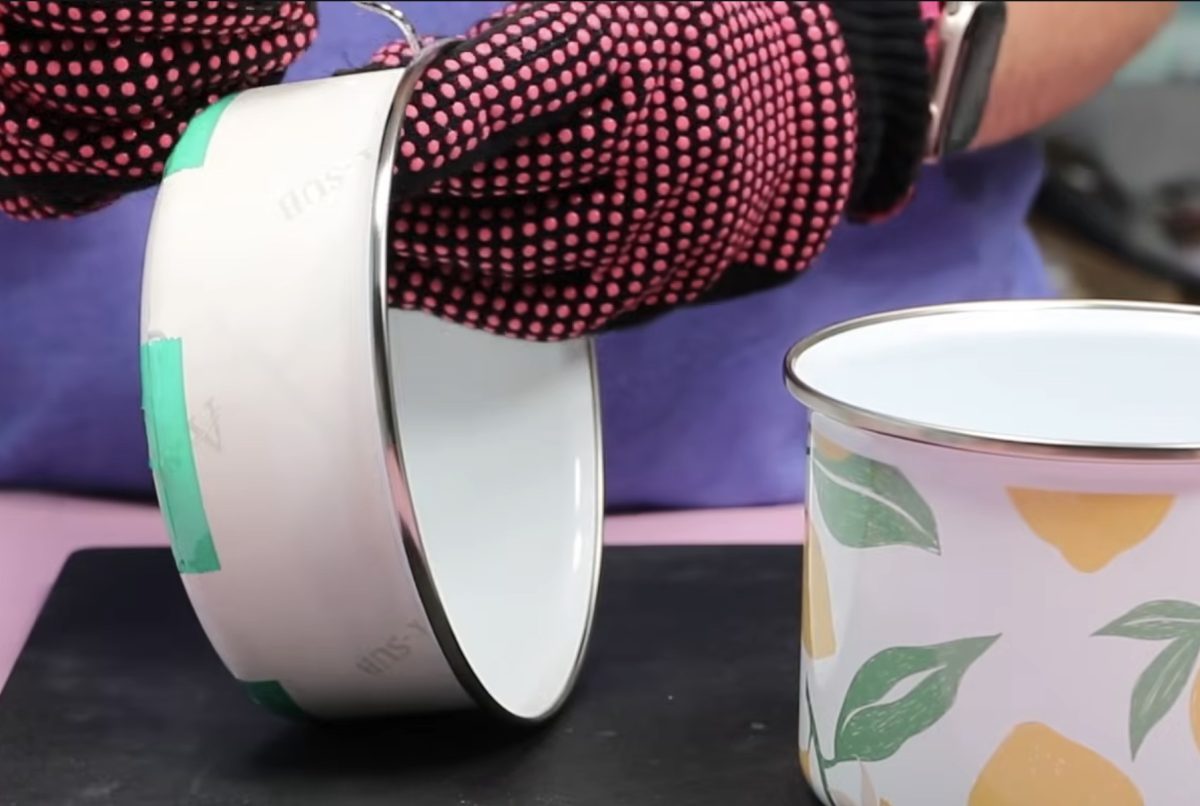
- Enjoy your finished and ready-to-use sublimation bowls.
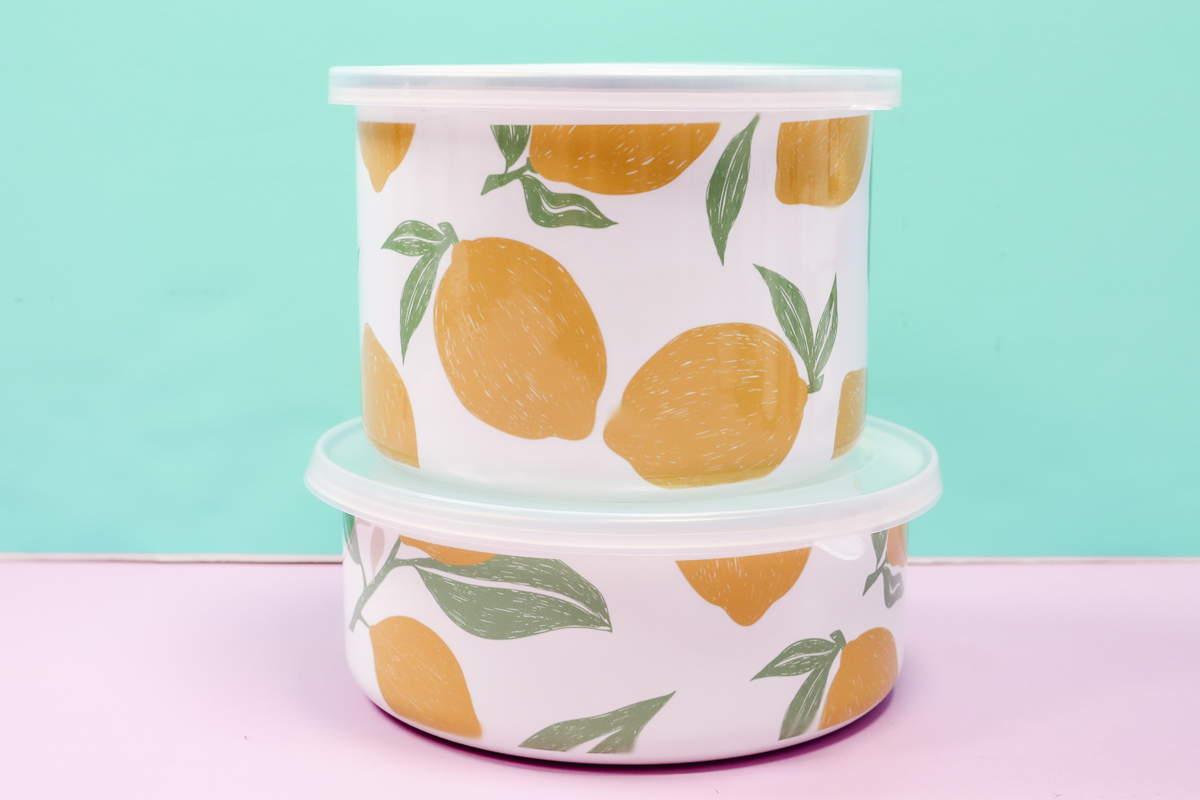
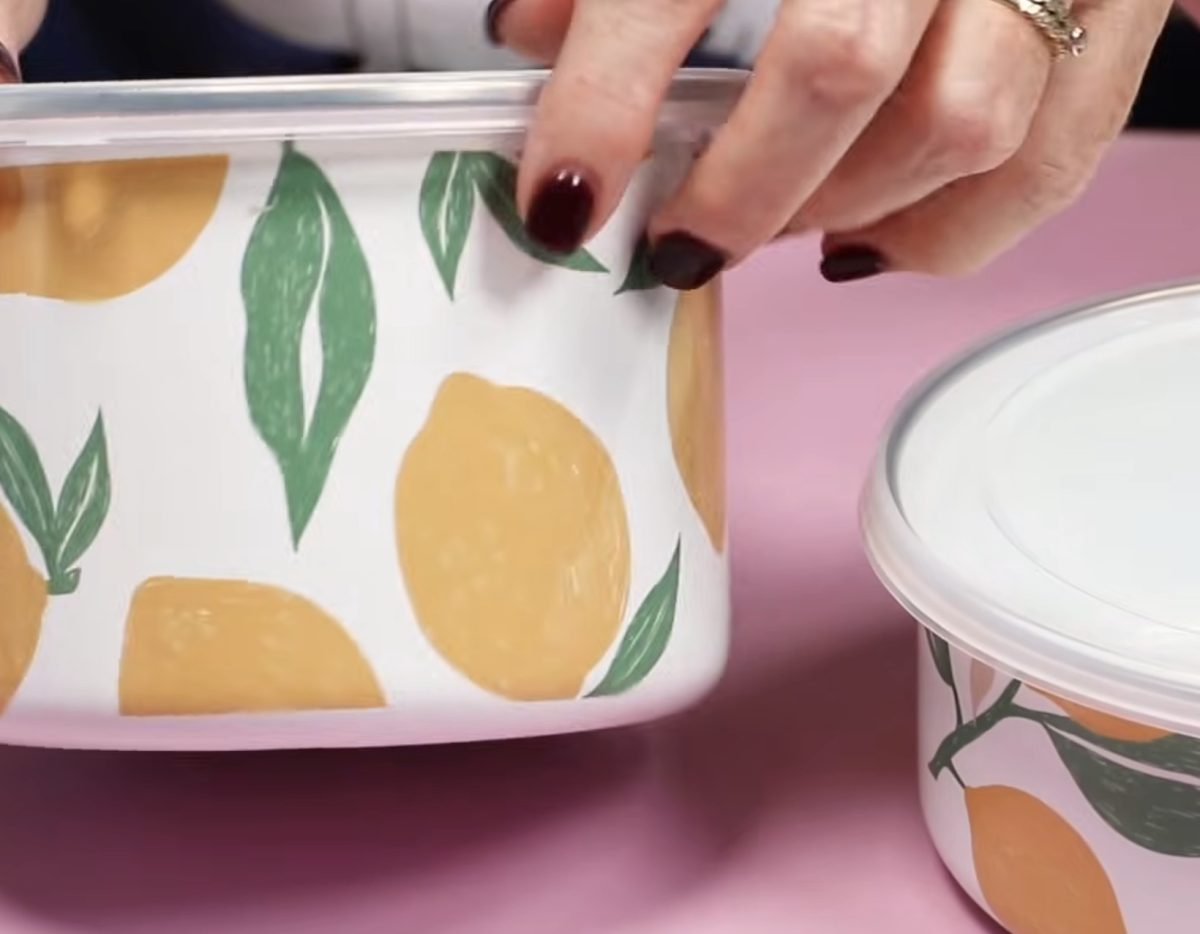
These bowls turned out so cute. Unless you're the person who made them, you'd have no idea where the single piece ends and the additional pieces start.
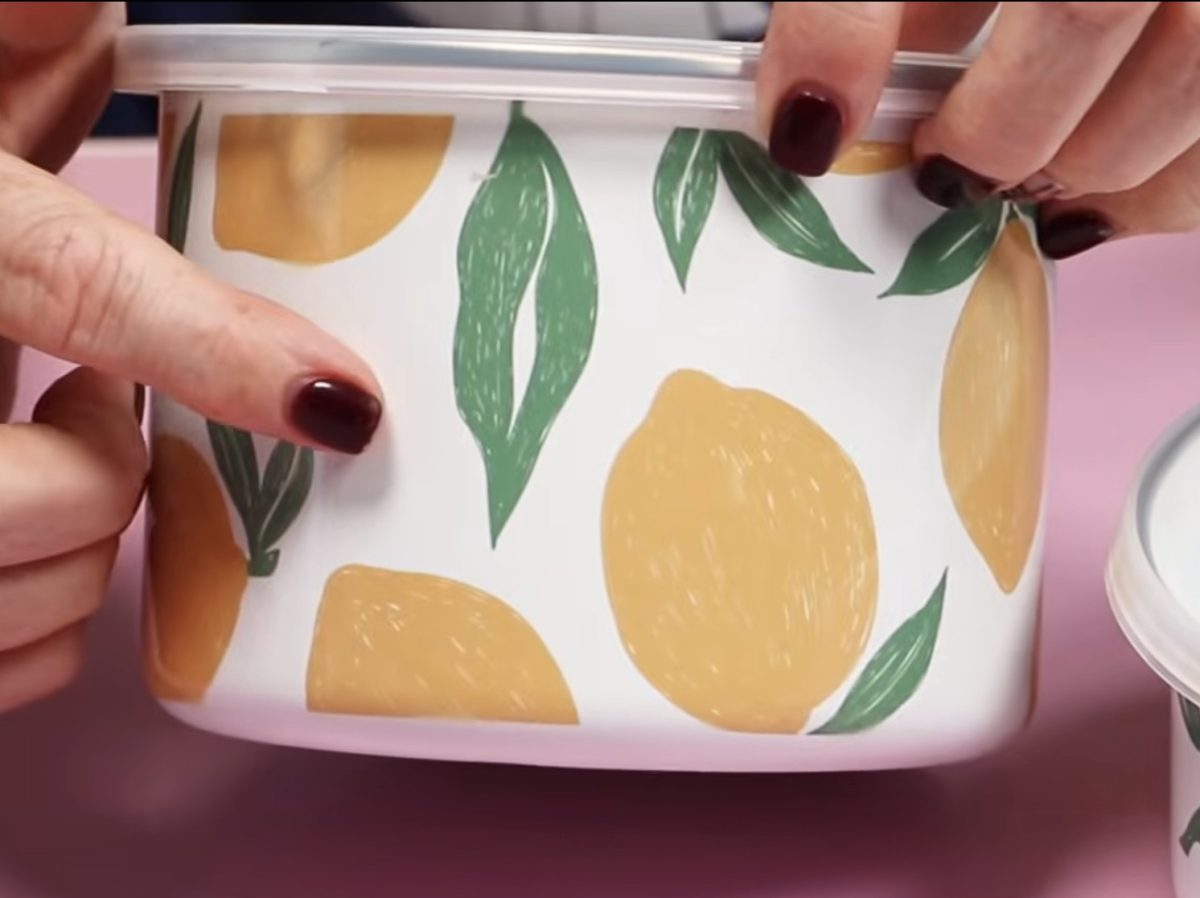
This process really works well with repeating images that have a white background.
Are You Ready to Make Big Projects with a Small Printer?
So, now you know, even if you only have a small printer, yes, you can still make large projects with a small printer.
Images with a white background are so easy to piece together to make larger projects.
The bowls look so professional. No one would ever guess the image was pieced together.
I had a little issue with ghosting in the middle of the gaming mat, but that is likely more due to the size of my heat press than the sublimation print.
Pressing a sublimation project in multiple pressings can cause issues, even when you're using one solid print, because pressing twice and moving something between pressings can cause the image to move, even just a little bit.
Having a small-sized printer does not mean that you can't make big projects. The design matters. I wouldn't say every image can be used for this technique, but images with a white background are perfect for this process.
I hope I've answered any questions you have about making big projects with a small printer. If you have any additional questions, leave them in the comments, and I'll be happy to answer them for you.