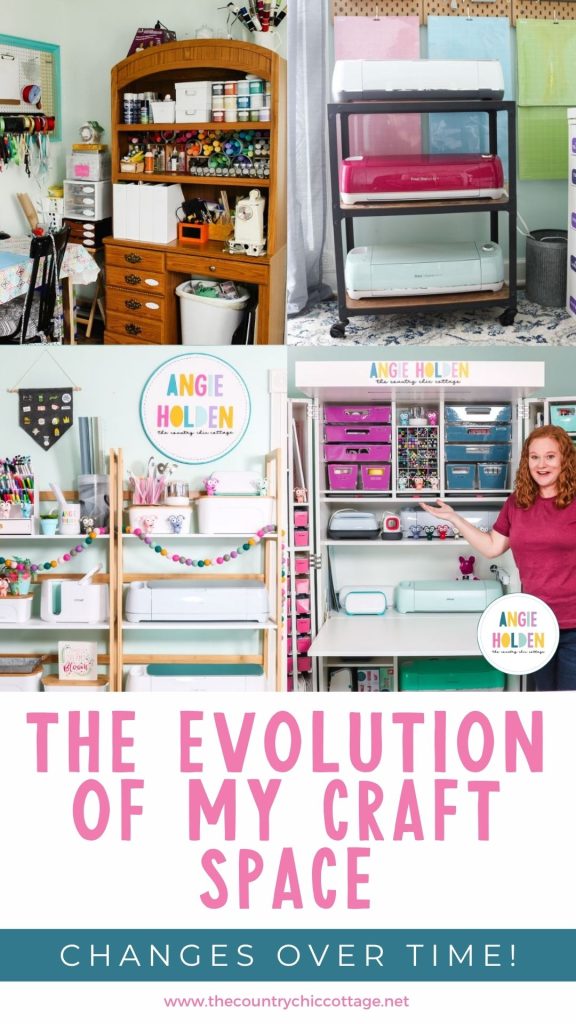
If you're just starting on your crafting journey, it can get discouraging to see these beautiful, organized, bright, and clean craft rooms in videos and on social media. I thought I would share my craft room evolution to help you see how things can change over time, for the better.
Whether you're just starting out, ready to make a change, or you're simply looking for inspiration, I'm here to help.
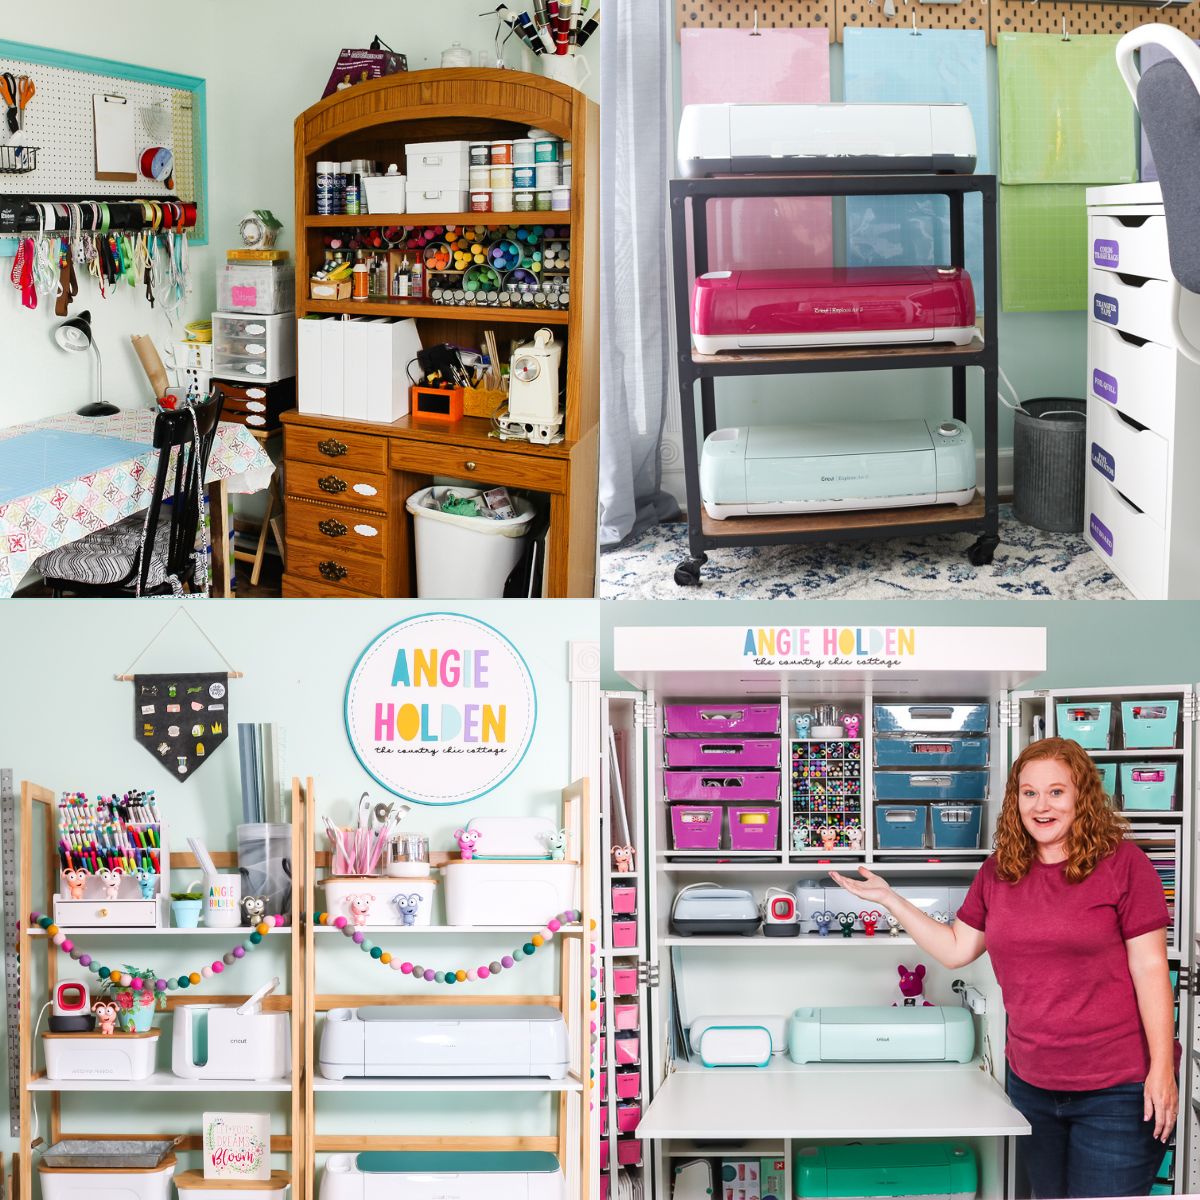
In my most recent videos, my backdrop is a beautiful DreamBox. The space tends to look picture-perfect, but it didn't always look that way.
For a full tour of where I started and where I am now, click play on the video below.
How My Craft Room Has Evolved Over the Years
As someone who's been crafting in various parts of my house over the last 16 years, I know how easy it is to look at another person's crafting space and think, “I'll never have room to be that organized,” or “I'll never have the budget for a craft space that looks like that.”
Don't let comparison or discouragement take you out of the crafting game before you even begin.
Today, I'm pulling back the curtain on my craft room evolution so you can see what things looked like 16 years ago and how that helped me get where I am now.
From corners in closets and hand-me-down furniture to tiny houses and, yes, even the DreamBox, I have crafted in spaces you may not have even considered.
I encourage you to start where you are and trust that in time, your space can grow and evolve.
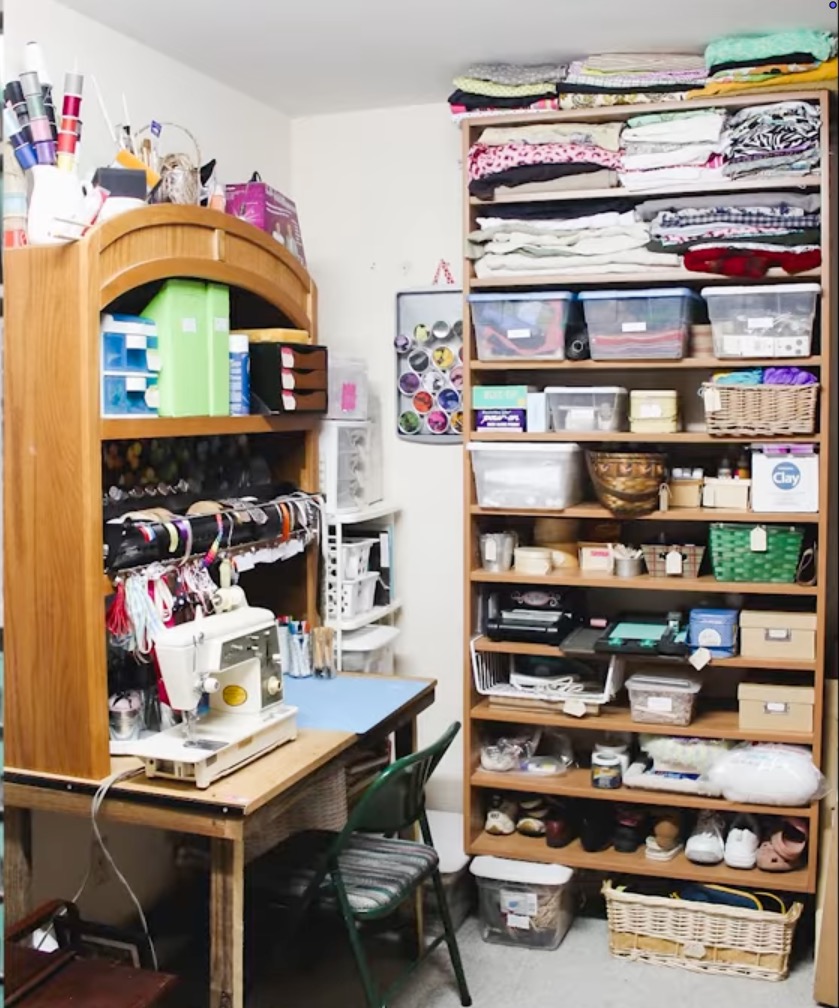
Stage 1: The Closet Corner and Kitchen Table
The beginning of my craft room evolution started back in 2010. When I started The Country Chic Cottage, I didn't have a craft room. I didn't even have a designated craft desk.
In the beginning, I used a small corner of our walk-in closet to store my craft supplies, and when I was ready to make a craft, I pulled everything out and crafted at the kitchen table.
This is what I was doing when I first started sharing tutorials on my blog.
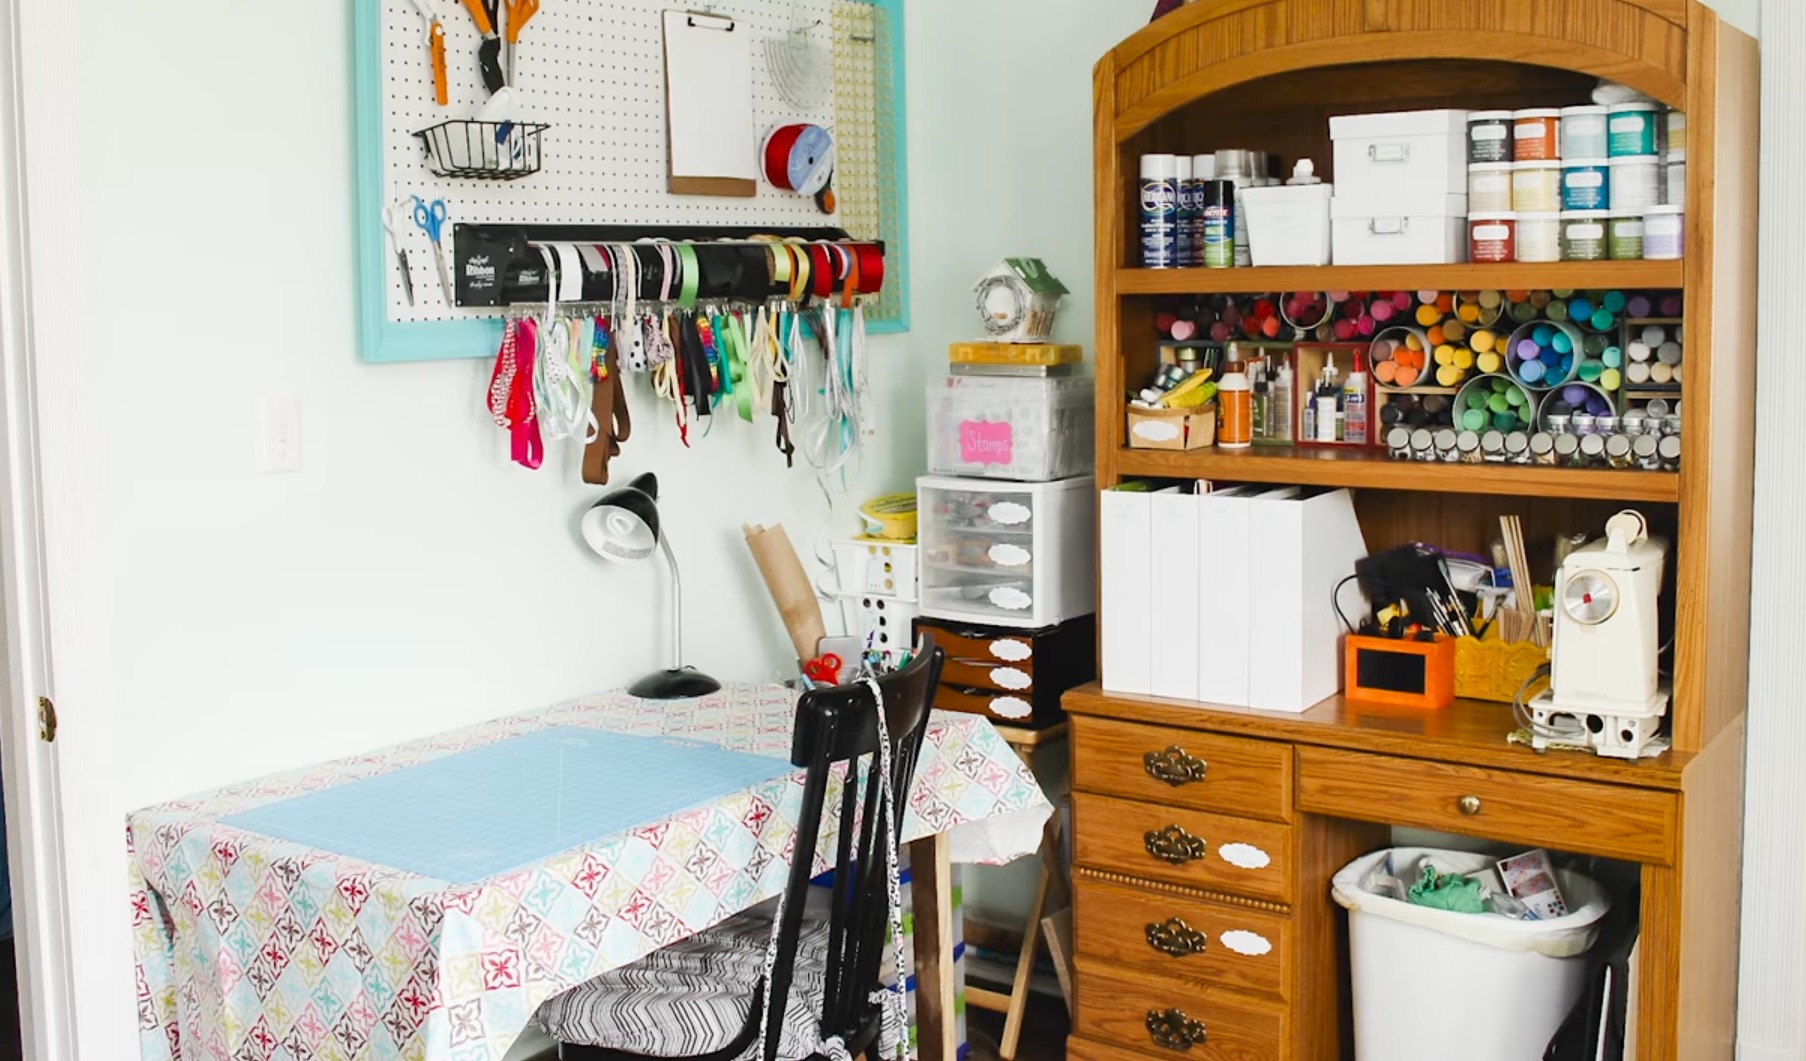
I used furniture that we weren't using from other parts of the house and took advantage of vertical space. I added a hutch over a small table to help maximize every inch of height since I didn't have a lot of square footage.
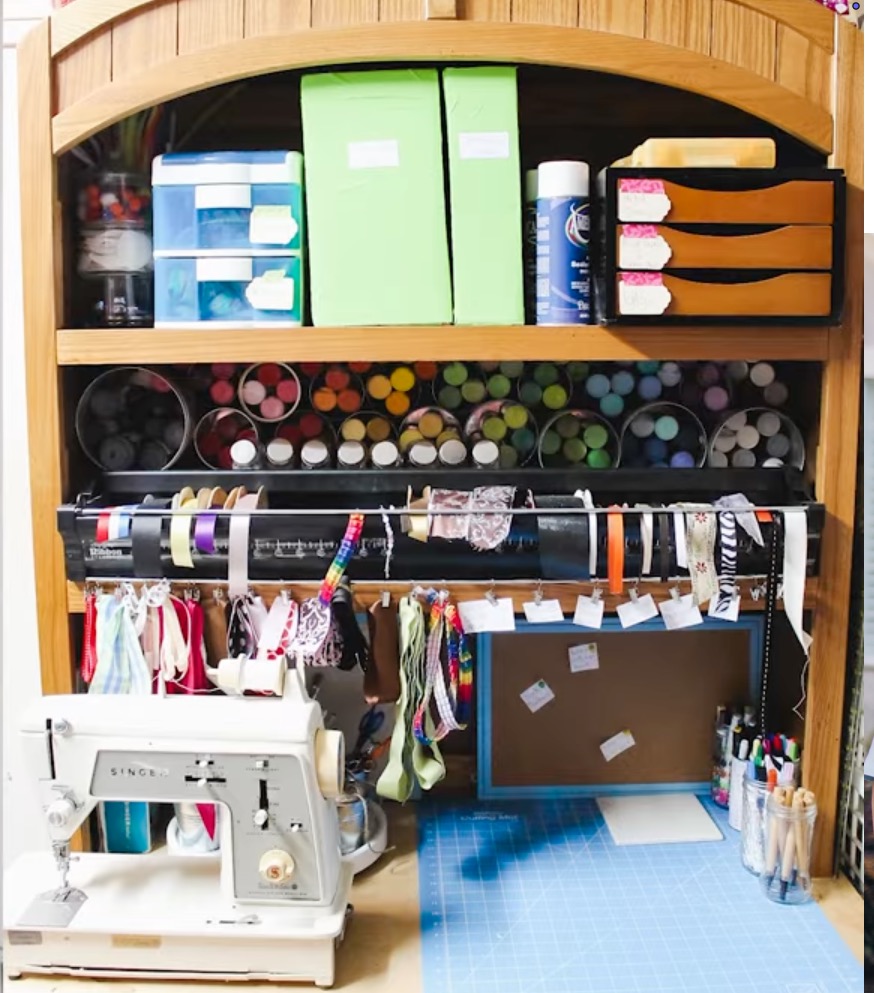
When I had a need, I kept an eye out at garage sales and thrift stores, and any time someone I knew was getting rid of furniture, if it could help me get organized, I took it.
This space was not pretty, it was not picture perfect, and it was not always organized. It was space I could use, and it worked for the type of crafting I was doing and the supplies I had.
Stage 2: The Living Room Take-Over
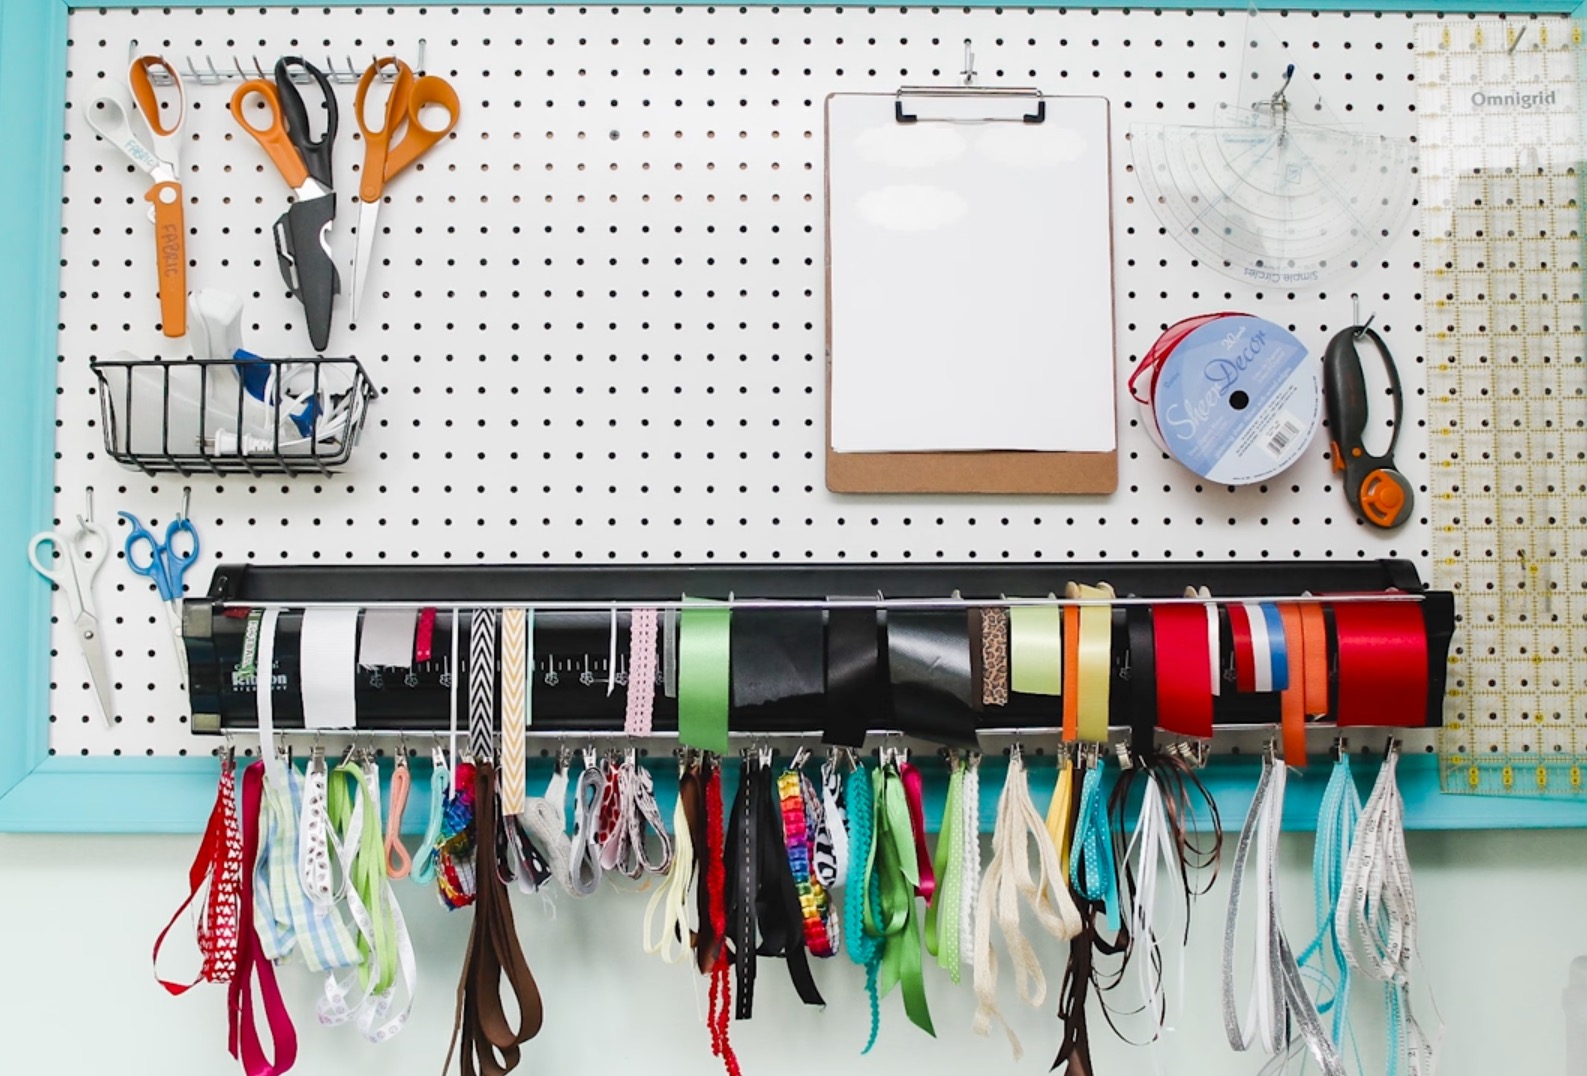
As I got further in my crafting journey, my supplies continued to grow. In time, I had a Cricut machine and many of the accessories that go with it, and I realized I couldn't always be running back and forth between the closet and the dining room.
This was the next step in my craft room evolution.
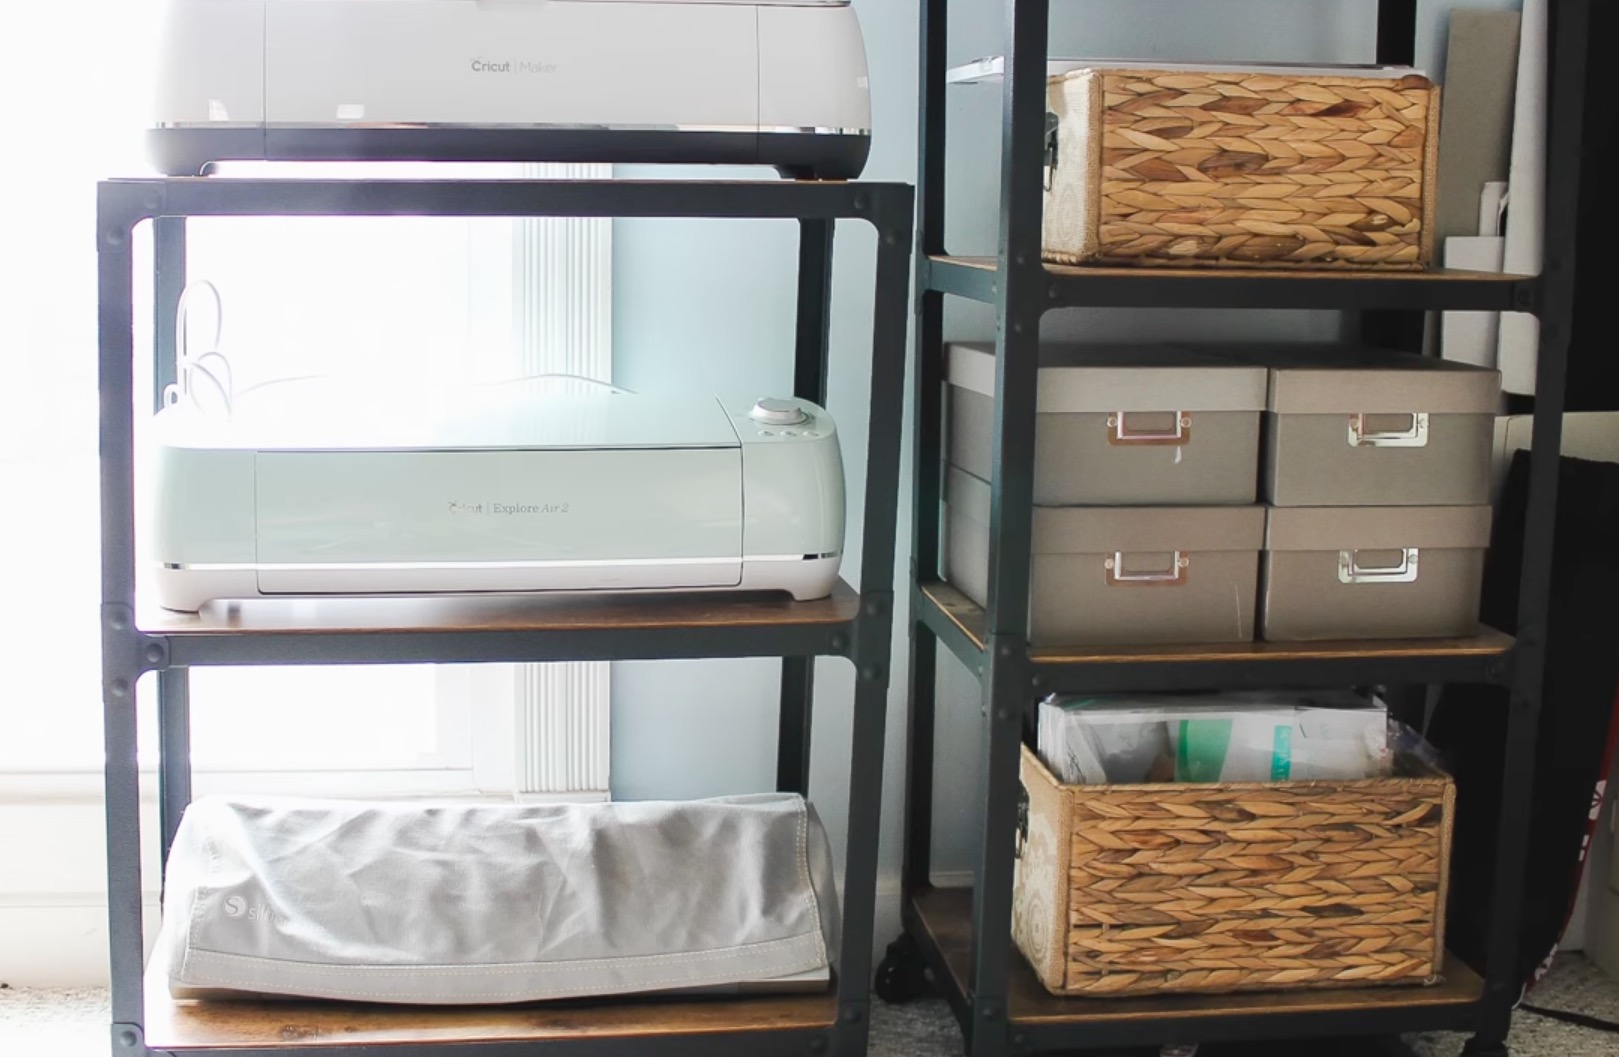
We didn't have extra bedrooms I could take over. Looking at the options in front of me, I ended up taking over a section of our living room.
We had a desk in that space, and by adding a rolling cart, I was able to make space for my Cricut and the supplies I regularly used with it while still keeping most of my supplies in the corner of my closet.
If you're like me and don't have an entire room you can make over for a craft space, look around your house and see if there is a place you can set up specifically for your craft needs.
If you typically craft at the counter, are there any cabinets nearby that you can use to store craft supplies? Could you move items that aren't regularly used from a desk area and use that?
Just because you're crafting at the kitchen table now doesn't mean you will be forever. Find something that works for now and keep watching; inspiration may strike, or your situation may change.
Stage 3: Guest Room/Craft Room and a Surprise Closet
The first time I had somewhat of a craft room was when my oldest child moved away to college.
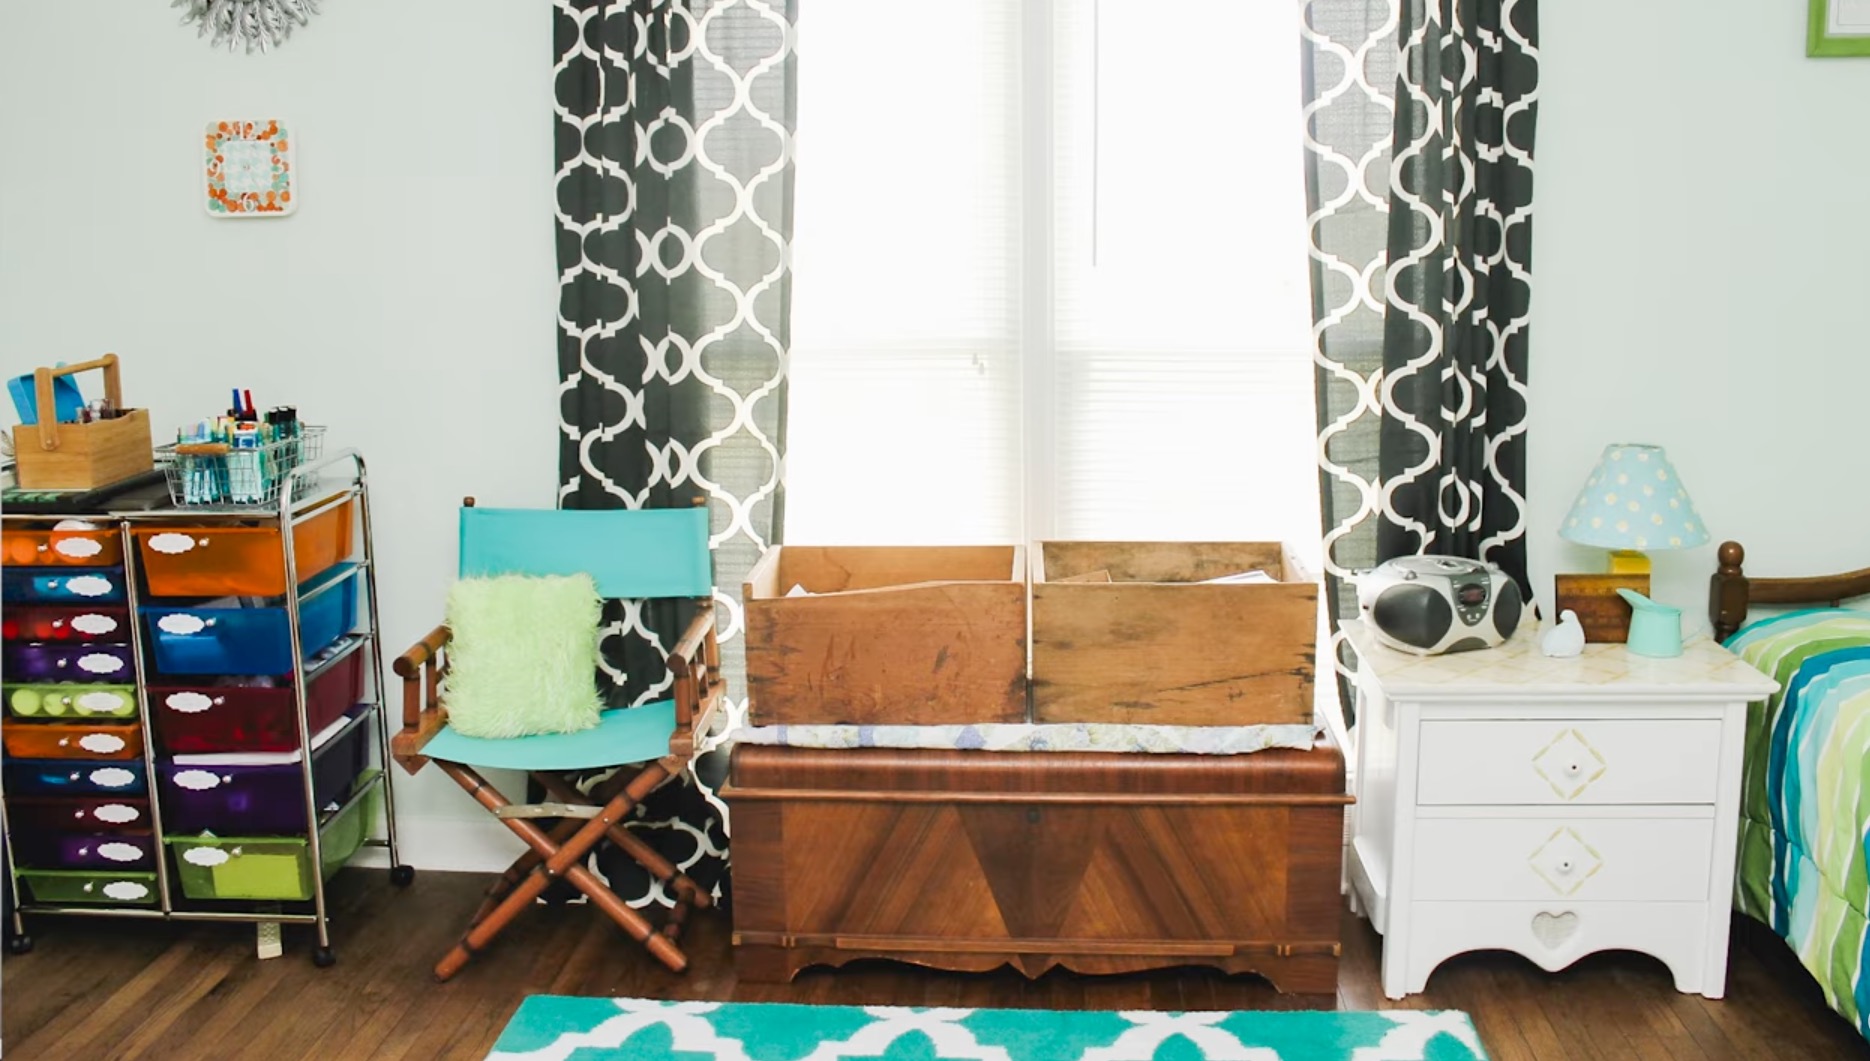
We shuffled bedrooms, which allowed me to take over the smallest bedroom in the house.
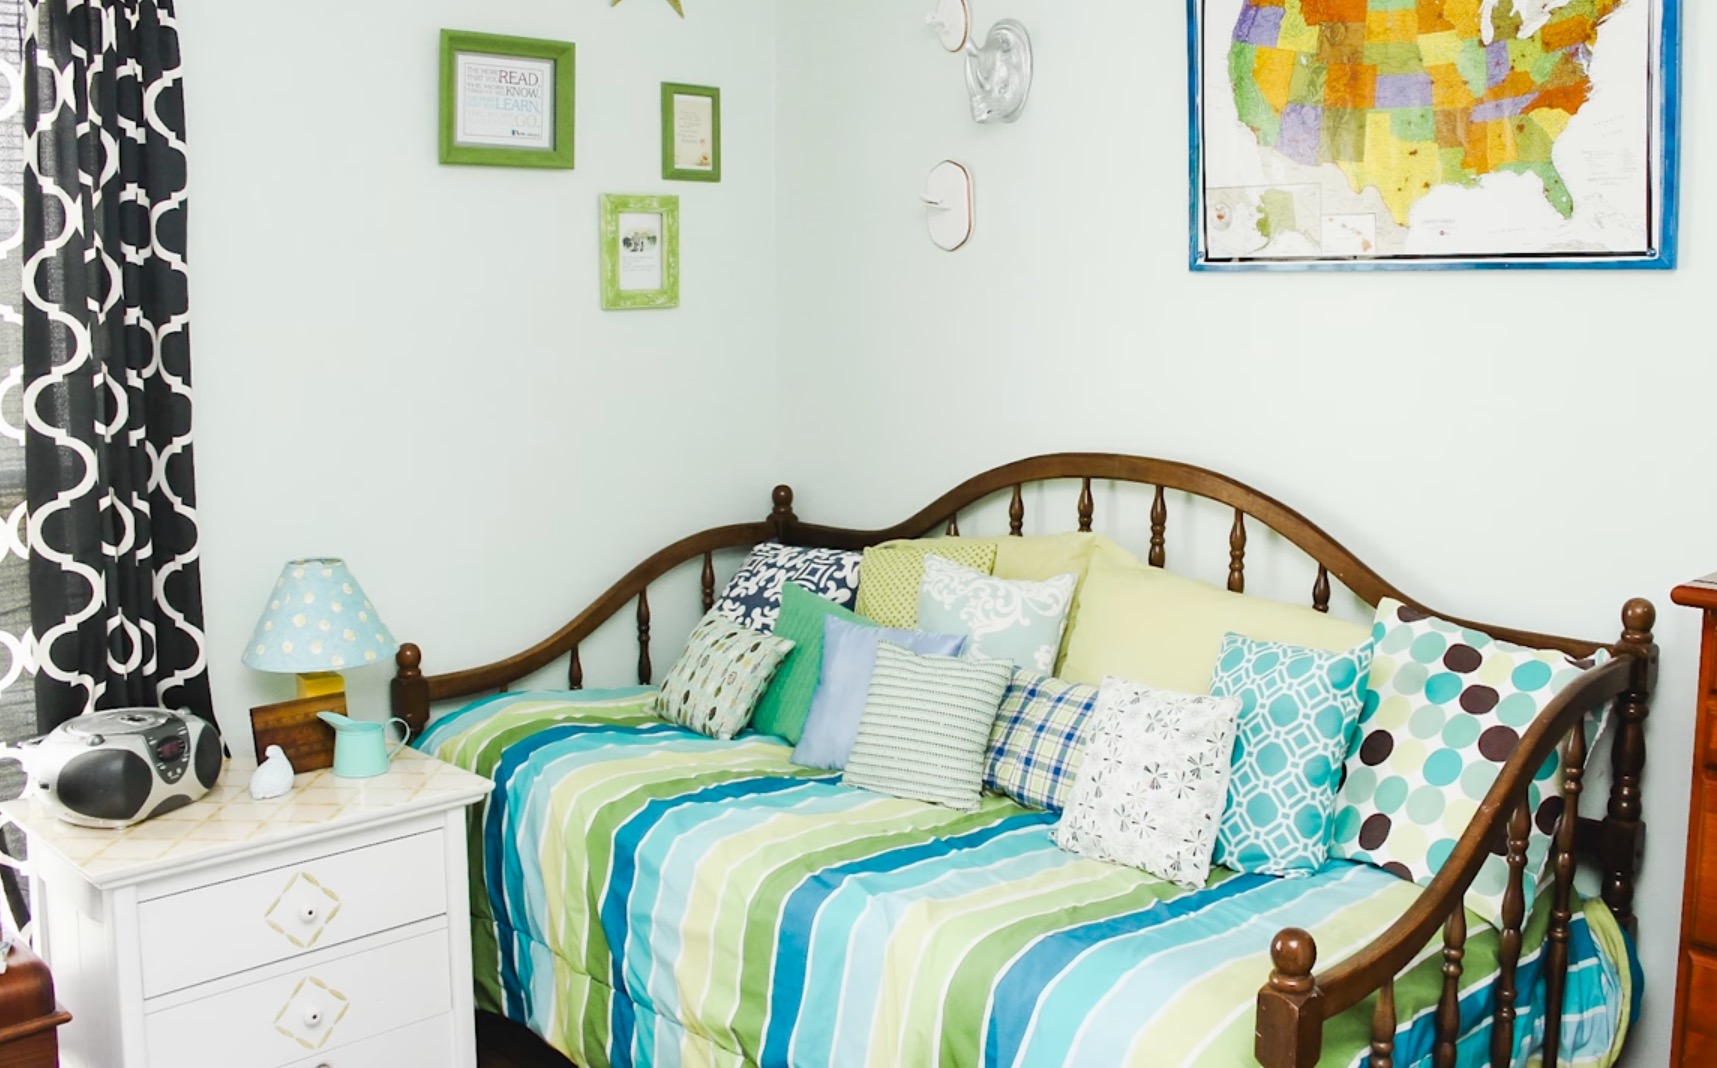
Now, I couldn't totally claim this 10×14 space since my daughter was still coming home regularly, but even half of a bedroom was better than what I had before.
I was still storing supplies in my walk-in closet, and I was still using a small section of the living room, but this felt like a huge step up.
This was the space where I started filming more videos. My furniture was still inexpensive pieces I found on Amazon or Walmart and pieces left behind by my daughter, but it worked, and I was starting to feel more organized.
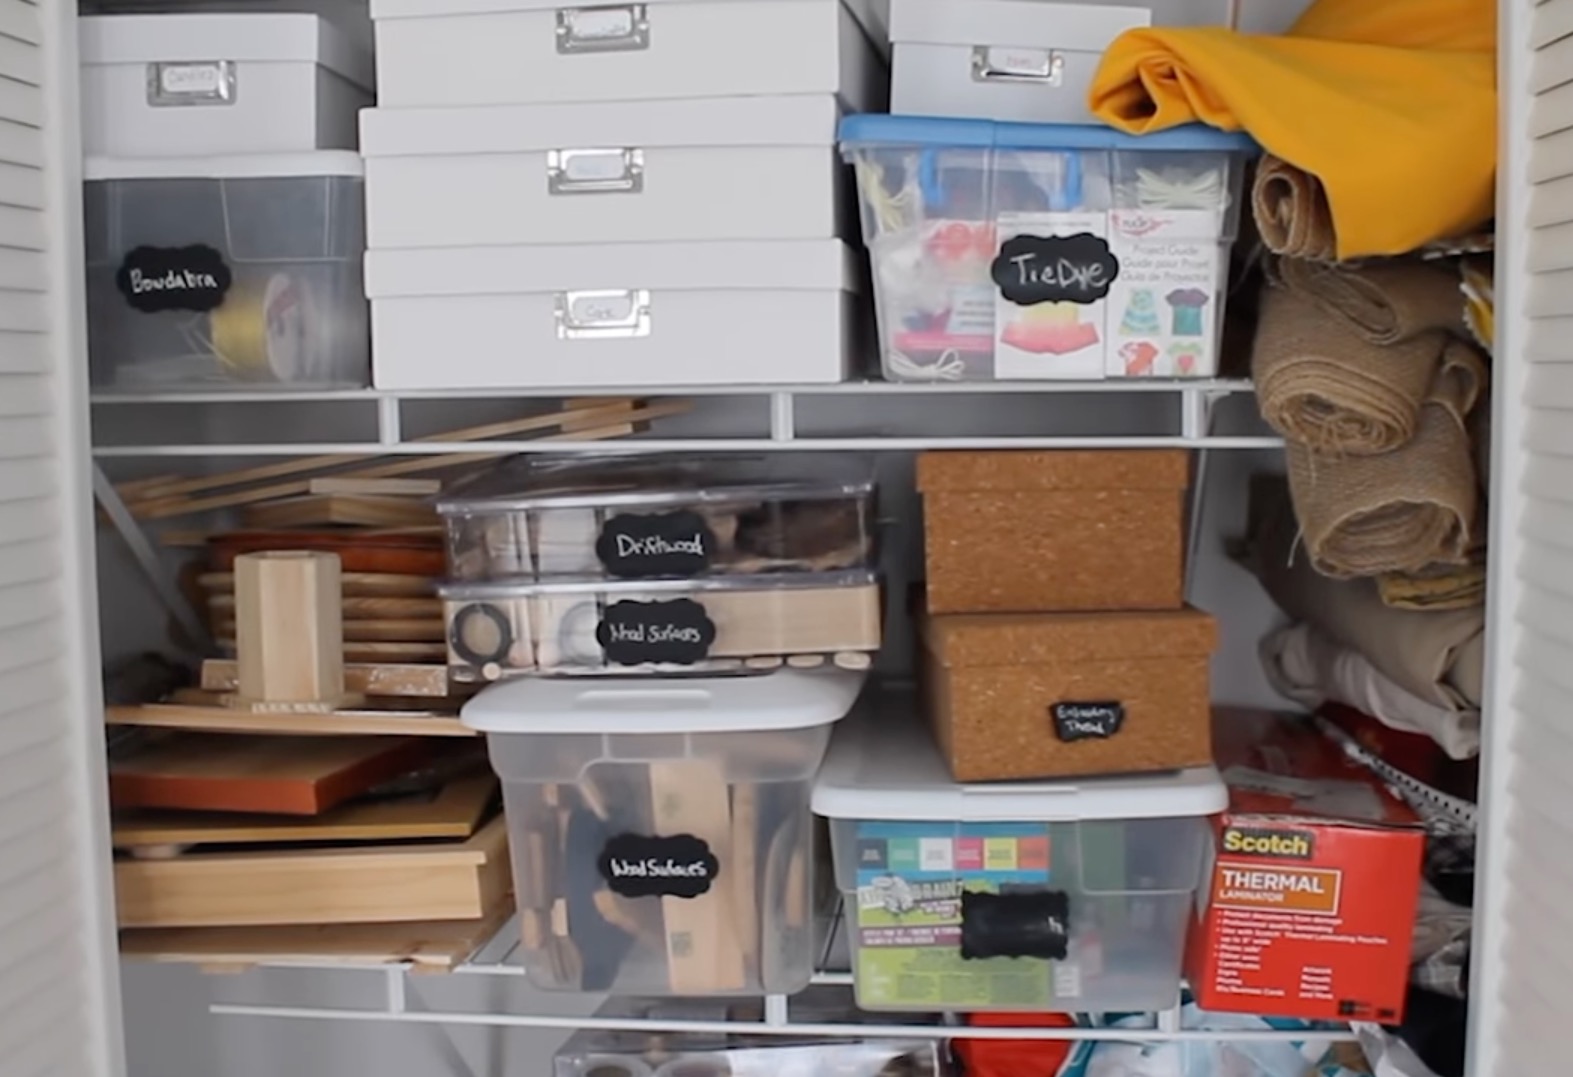
Surprise Craft Closet
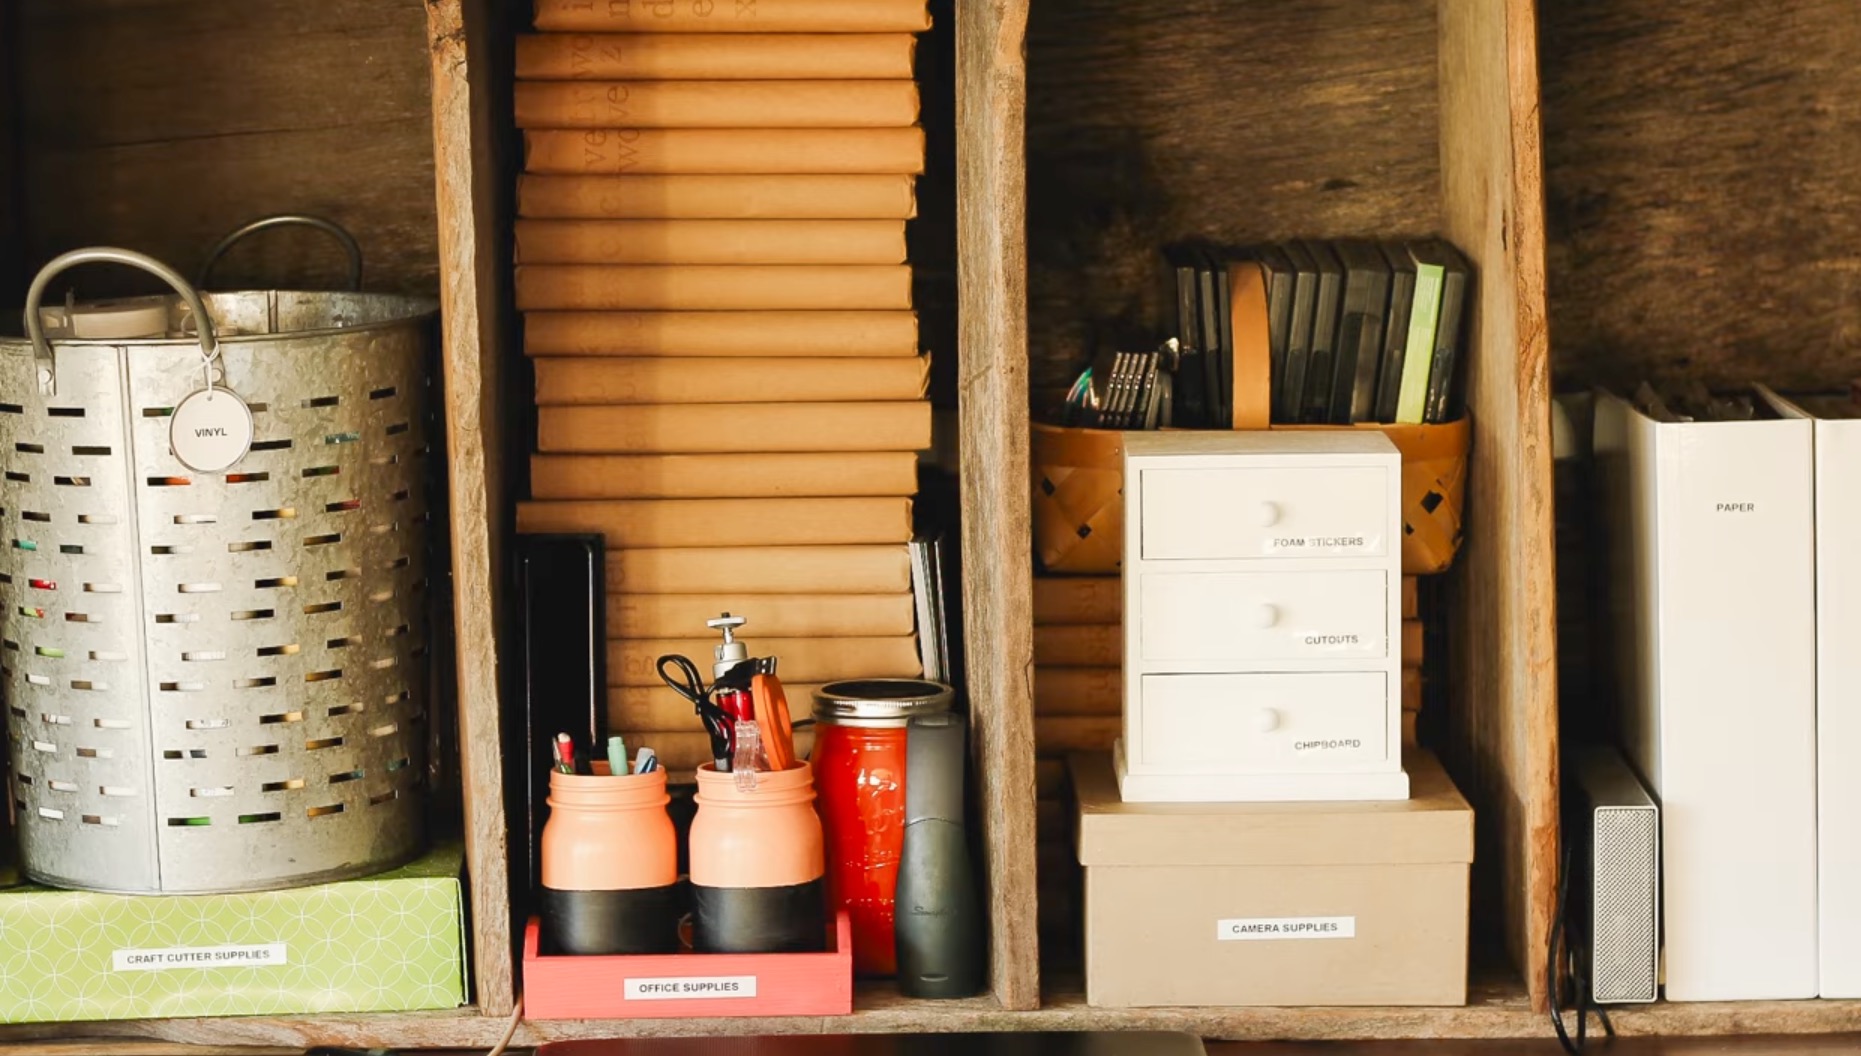
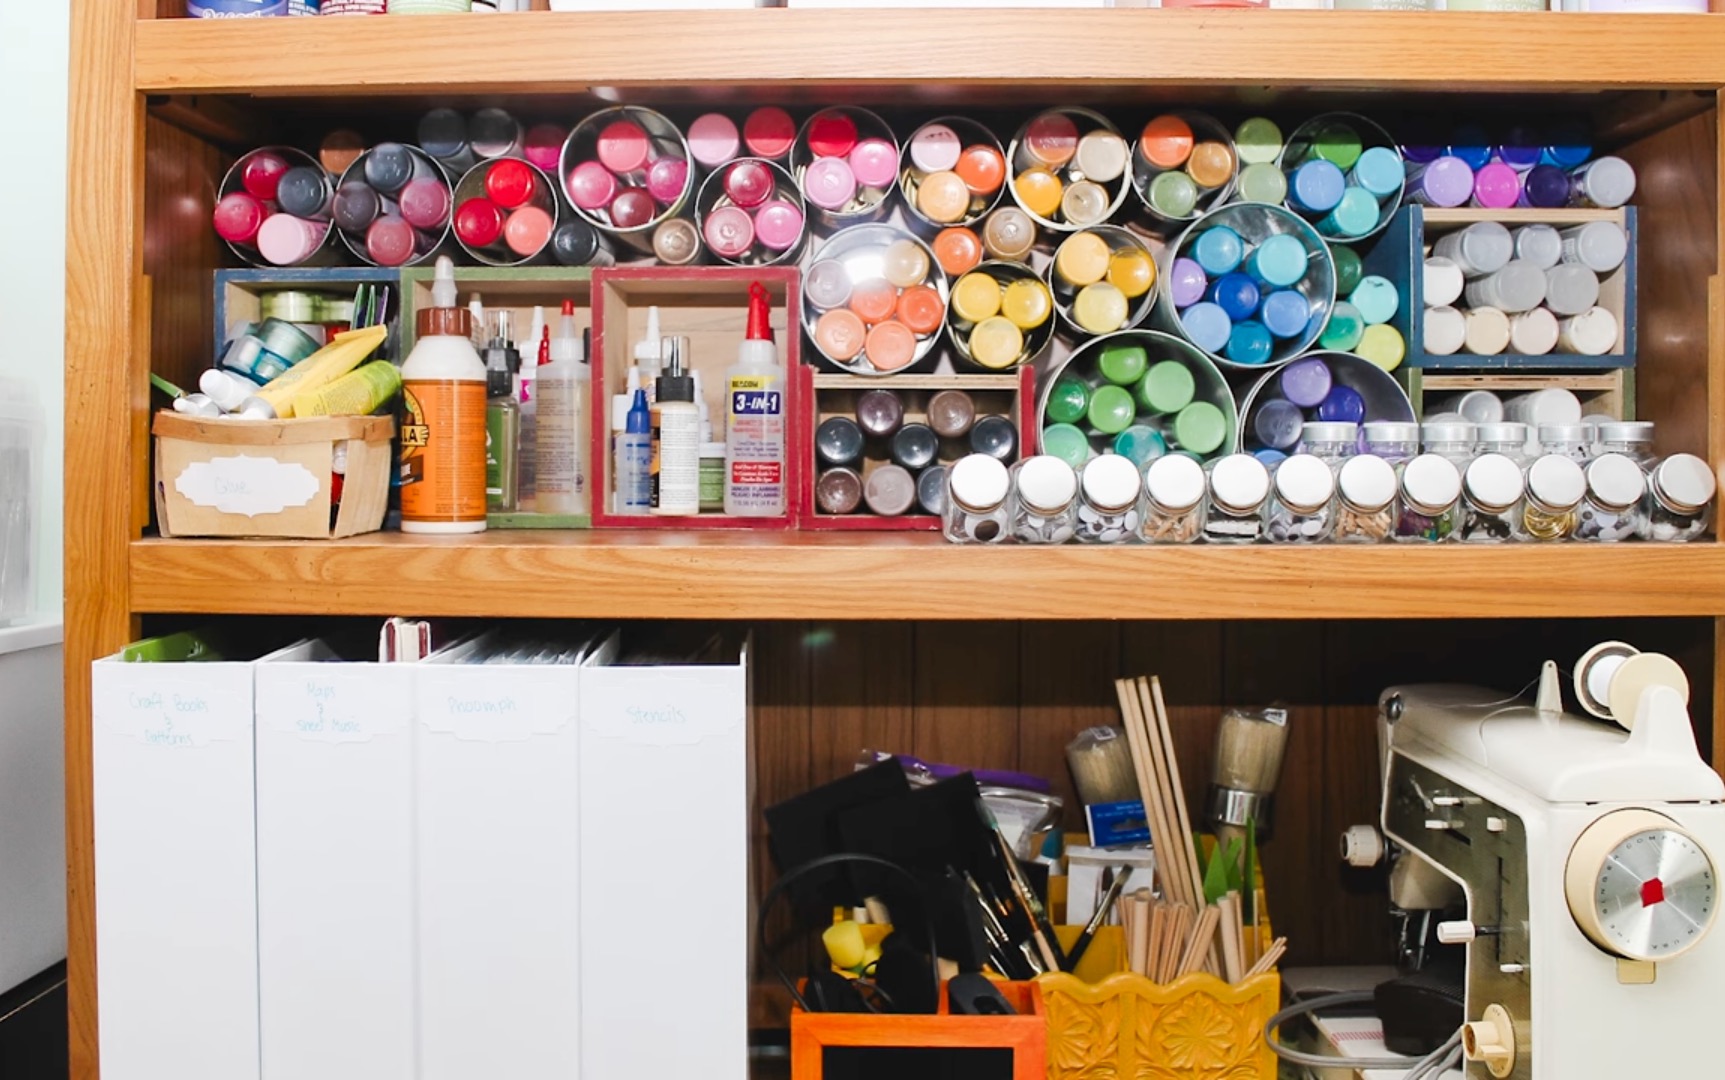
The biggest change in my craft room evolution happened when I realized the room next to my new craft space had a large closet that was filled with things that could be relocated easily.
Nothing in that closet had to be there, so I took it over and turned it into my Craft Closet.
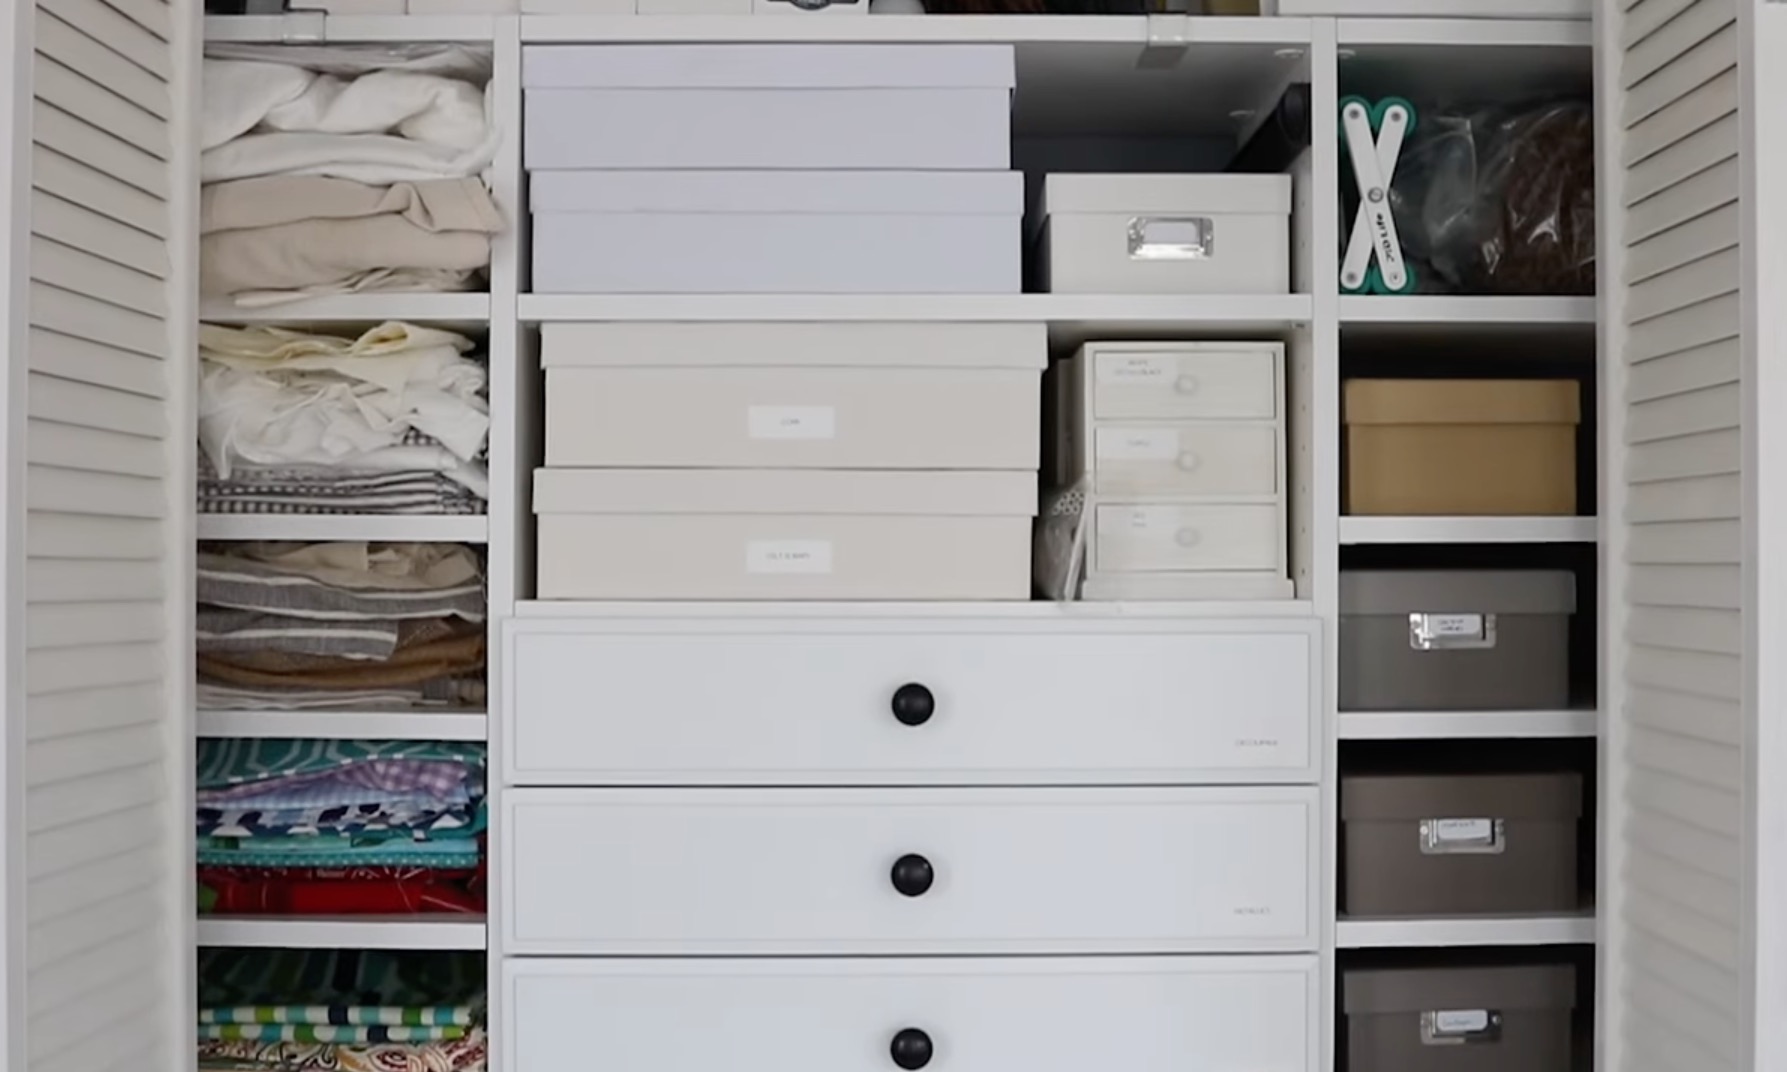
Even though it wasn't connected to the room I was in, I was able to take it over completely. Just like my other craft spaces, in time, I was able to add some organizational elements that have really made that craft closet one of the best decisions I've made, and I still use it to this day.
Between my half of the guest room and the craft closet, for the first time, I really felt like I was getting things organized in a way that made things easier to find.
I was no longer storing craft supplies in multiple rooms and wasting time trying to remember which location had the craft supply I needed now.
When it comes to craft spaces, don't be afraid to think outside the box (or bedroom). Your storage doesn't all have to be right where you are.
Consider the seasonal items you use in your crafting. If there are supplies or tools you only use during certain seasons, find somewhere else for them to live the rest of the year.
That may be in an attic space, in a garage, or under a bed.
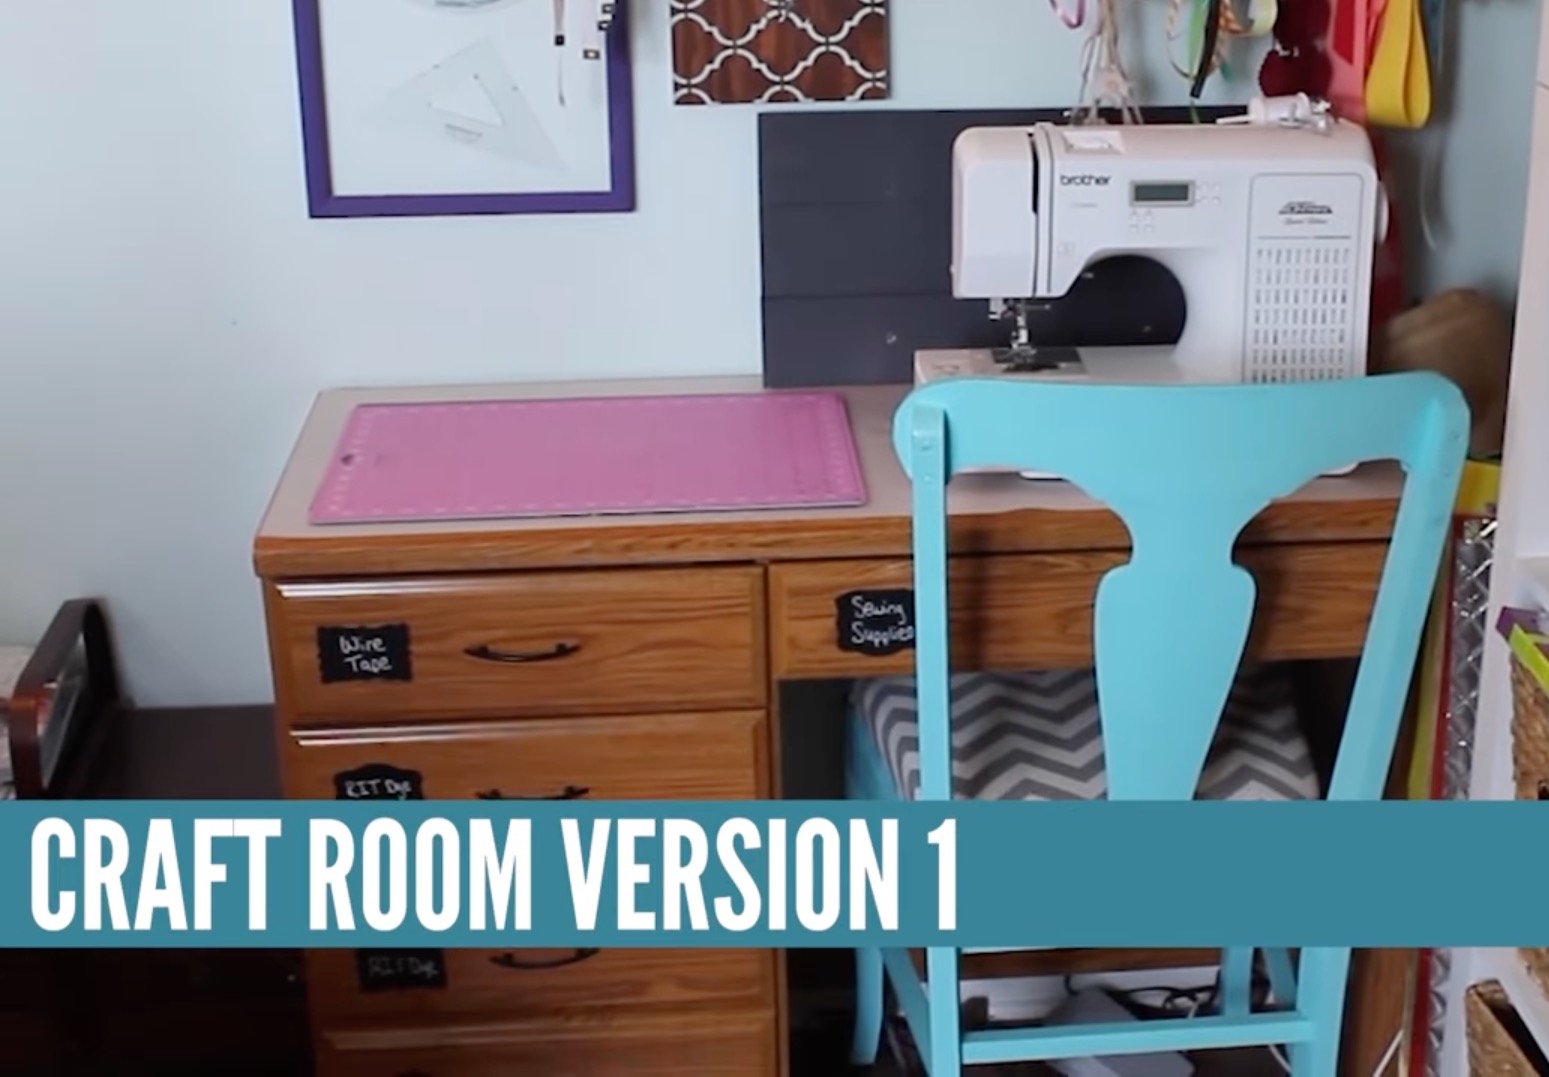
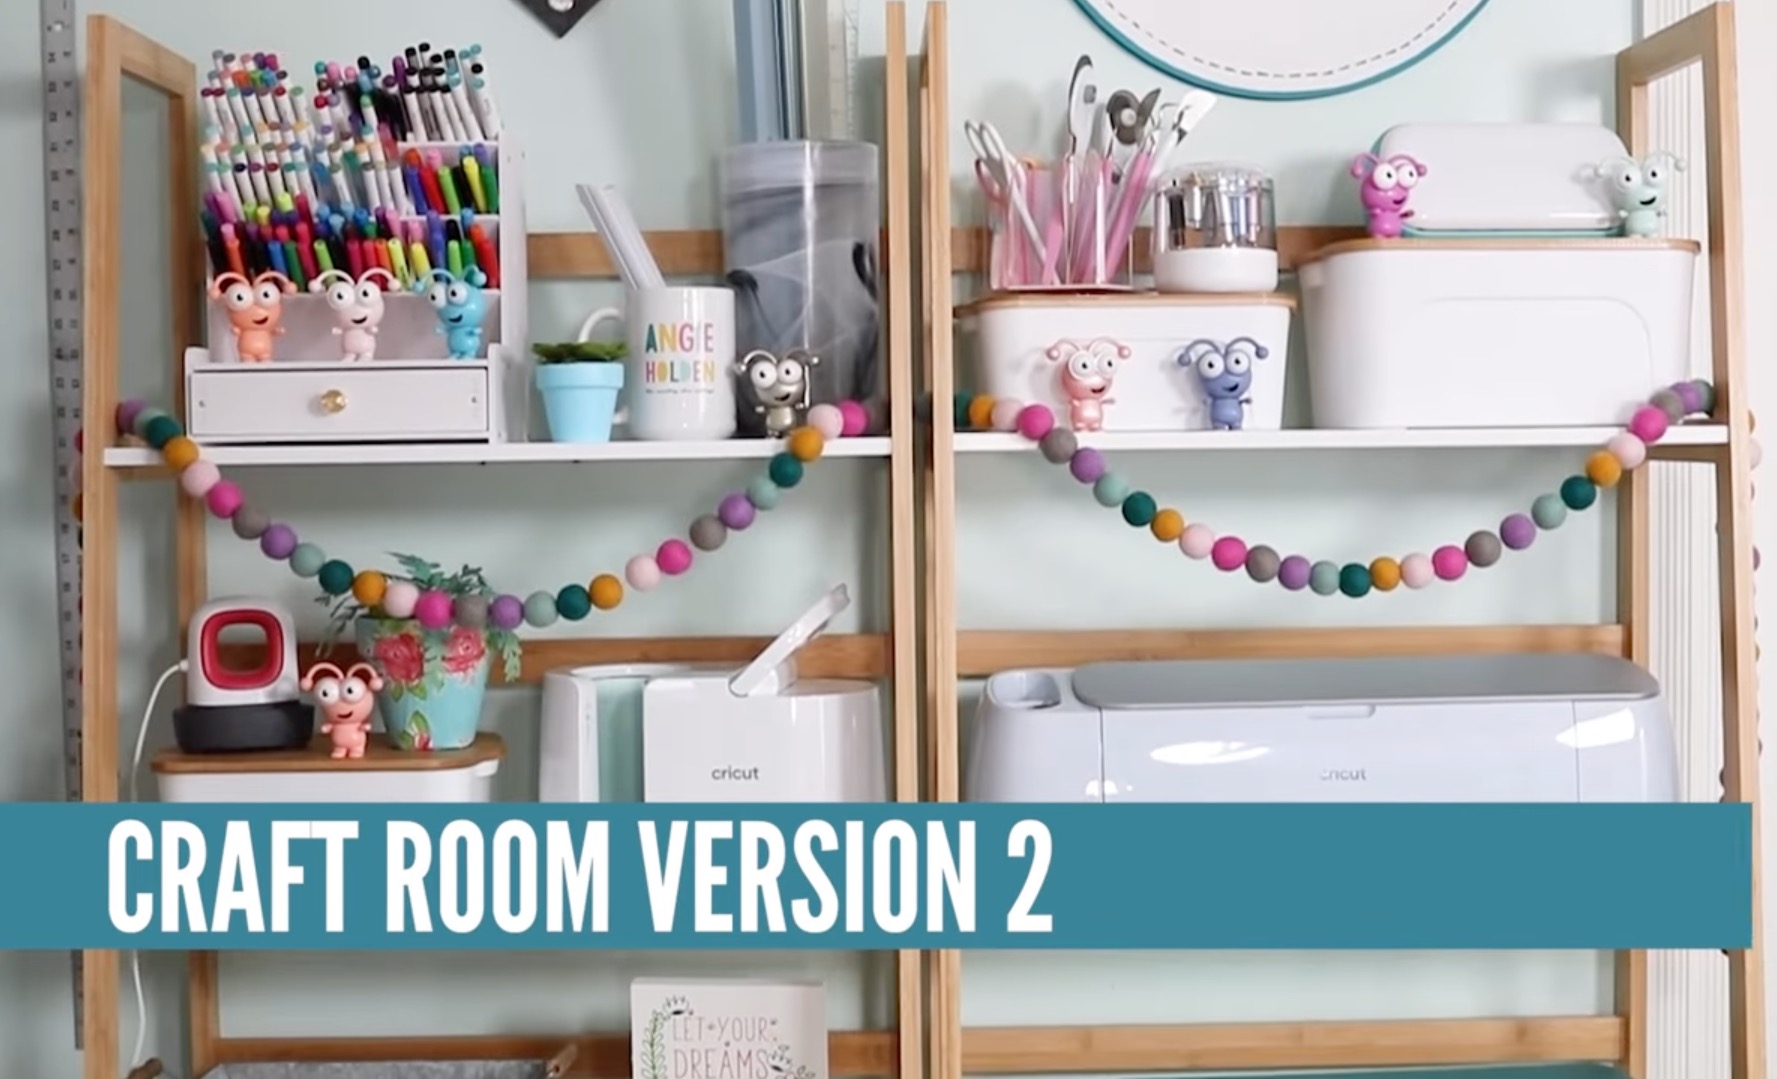
Stage 4: Full Bedroom Craft Studio
In time, as my children continued to grow, I was able to get rid of the guest bedroom portion of my craft space and turn it into my craft studio.
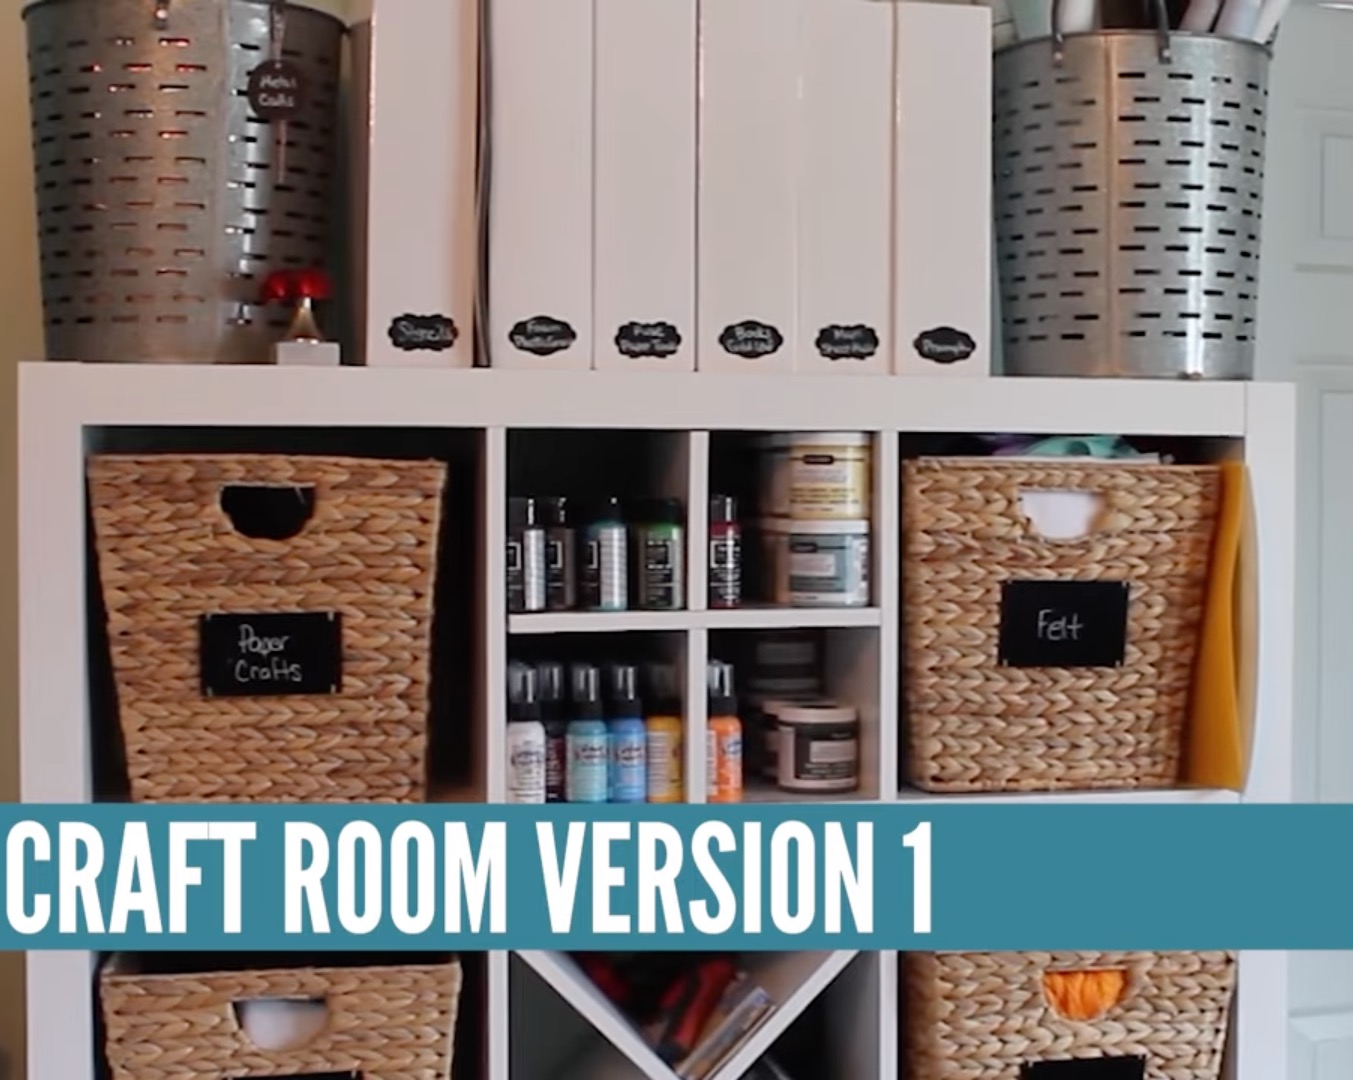
That 10×14 room is the same room I craft in today. This is where I film my video tutorials, and it continues to evolve.
When I first took over the entire room, my husband built me a large table using plywood and 2x4s. This table is one of the best things we did for the craft space. It's sturdy, I can recover it as needed, and because he built it, we were able to make sure it fit the space exactly how I wanted it to.
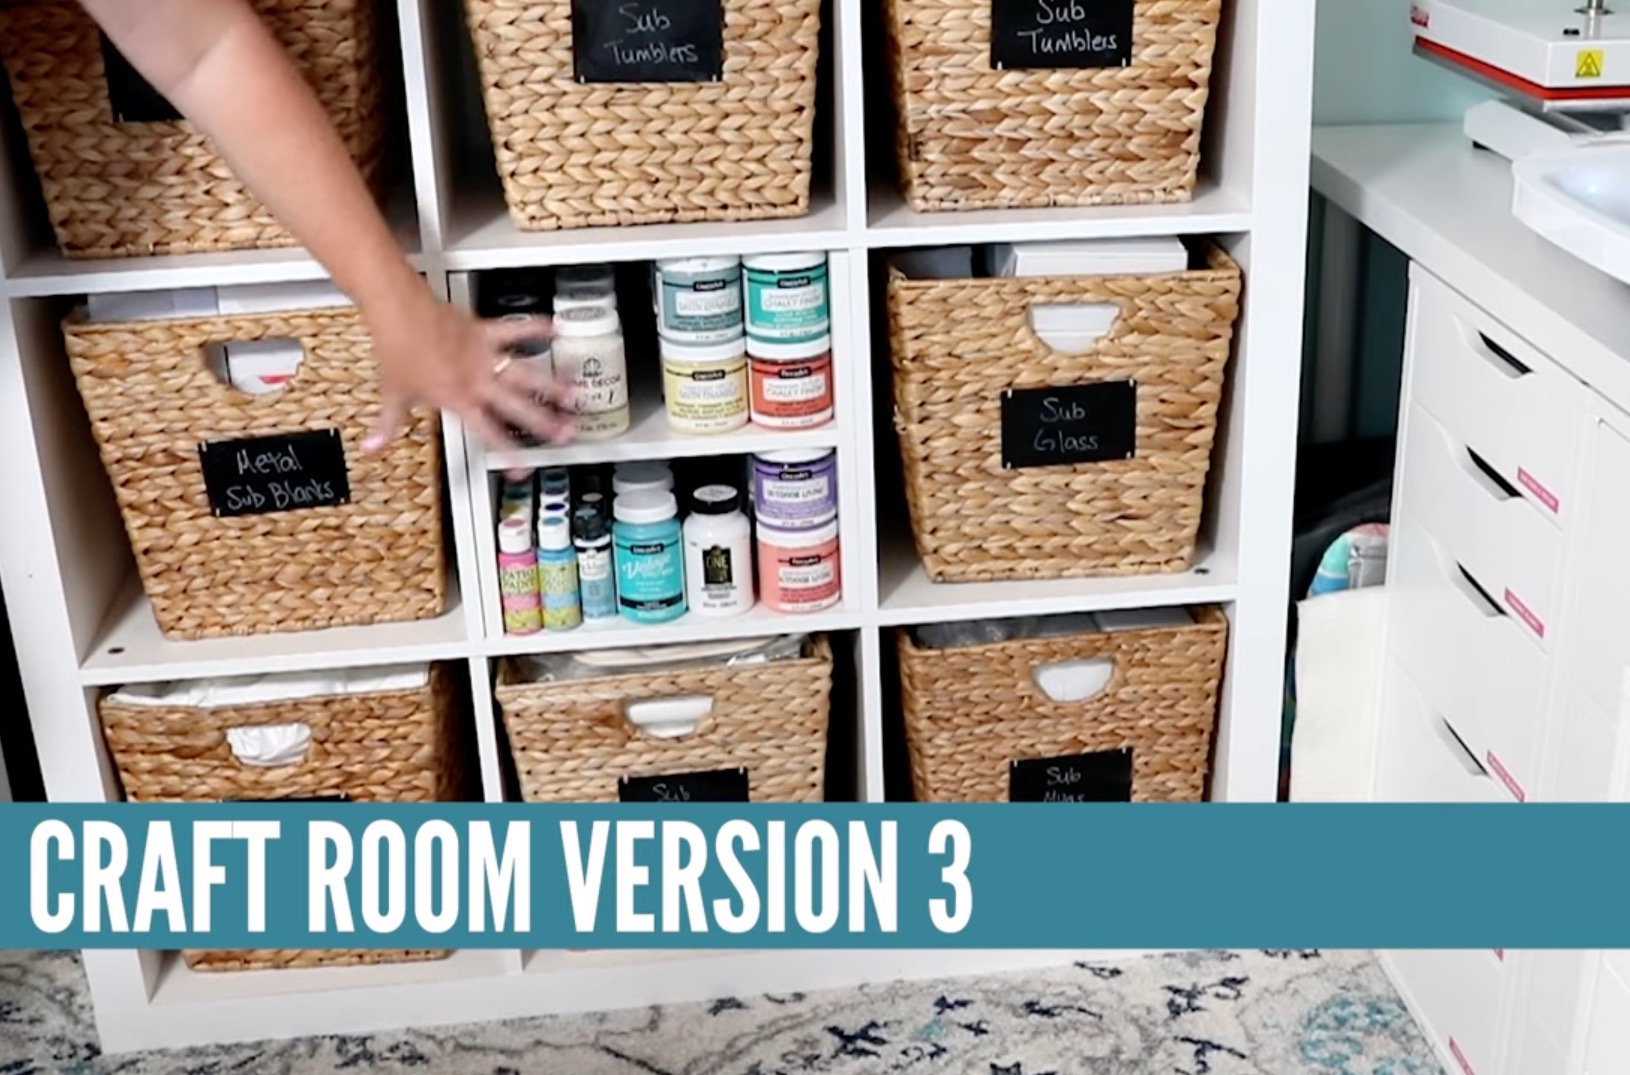
I have cube shelves that I purchased from Walmart years ago that are still in this space, and they've served me well over the years.
Remember, when investing in furniture for your craft space, you don't have to do it all at once. Start by using things you already have in your house, or look for inexpensive options that will work for you now.
The DreamBox has been a great addition. It holds a lot of things for me and makes a great video backdrop. It is also not a necessity. I crafted successfully for years without one, and you can too.
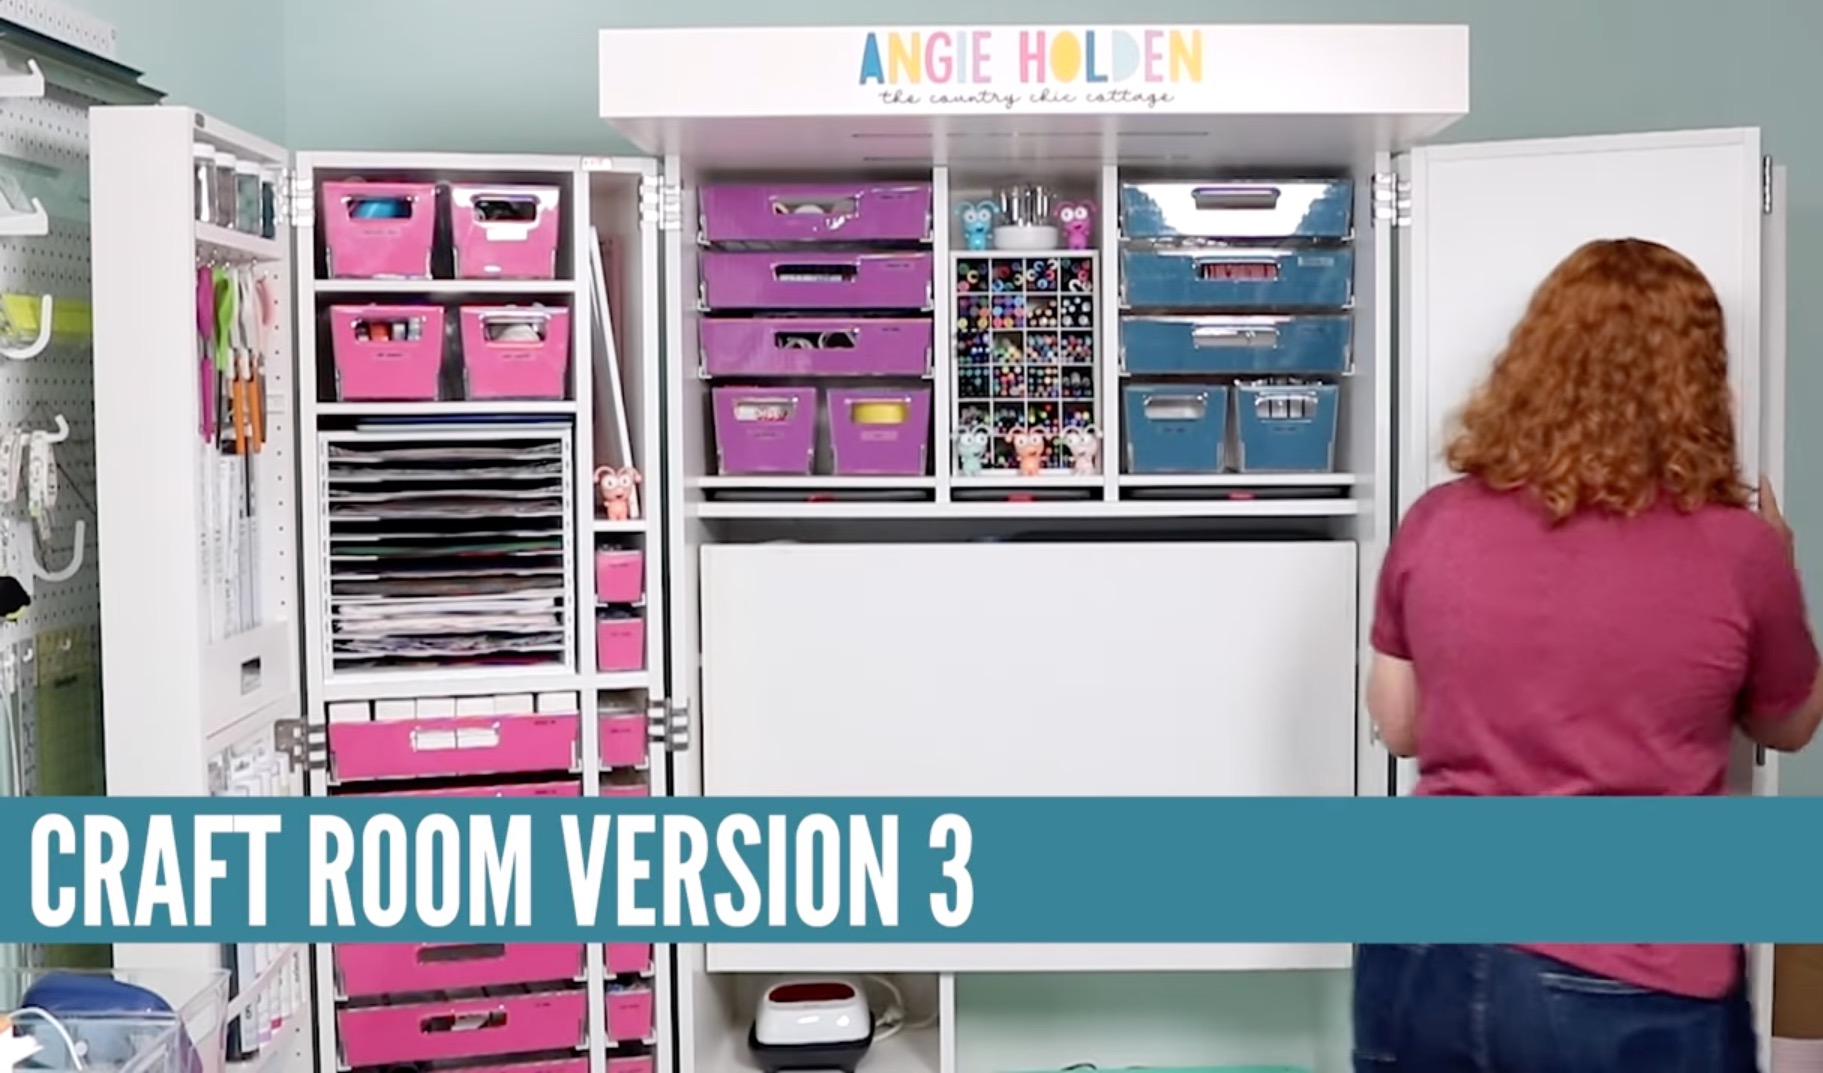
If something like a DreamBox is exactly what you want, but you don't have the budget for it right now, start smaller and build up to it.
Stage 5: The Tiny House Expansion
We live on a farm in Tennessee, and recently we added a tiny house to our property. This tiny house is climate-controlled and has become my laser crafting studio.
Even with my 10×14 craft room and my beautifully organized craft closet, I did not have room for larger machines like lasers.
In order to bring you the content I wanted to, I needed more space, and the tiny house has become that space.
I do have a full tour of the tiny house to help you see how that is set up.
Remember, while I love to craft, this is also my job. Unless you decide to start a small business from your craft space, you probably don't need a space that can house all of the Cricut machines, multiple heat presses, more printers than I can currently count, and, of course, all the lasers.
What Does Your Dream Craft Space Look Like?
As you can see, from 2010 to 2026, my craft space has changed a lot. Not only in look but also in location.
I don't know if back then I could have imagined what I'd need today. That is one of the great things about starting where you are. Start small, start with what you have on hand, and let your space grow as your crafting does.
No two craft spaces are going to be exactly the same. Even if a room is the same size, the type of crafts may be different, so the furniture and storage needs will be different.
Whether you dream of a craft room large enough to do every craft under the sun, or simply want an organized cabinet you can visit when the mood to craft strikes, I know, in time, you'll be able to have the craft space you need.
I hope seeing my craft room evolution has inspired you to stop comparing and start looking at what you currently have. Don't let the discouragement of seeing other craft spaces get you down. The goal is to craft, and trust me, the majority of us started on our kitchen tables.
If you have any questions about my craft space, feel free to leave them in the comments. I'll be happy to answer them.