

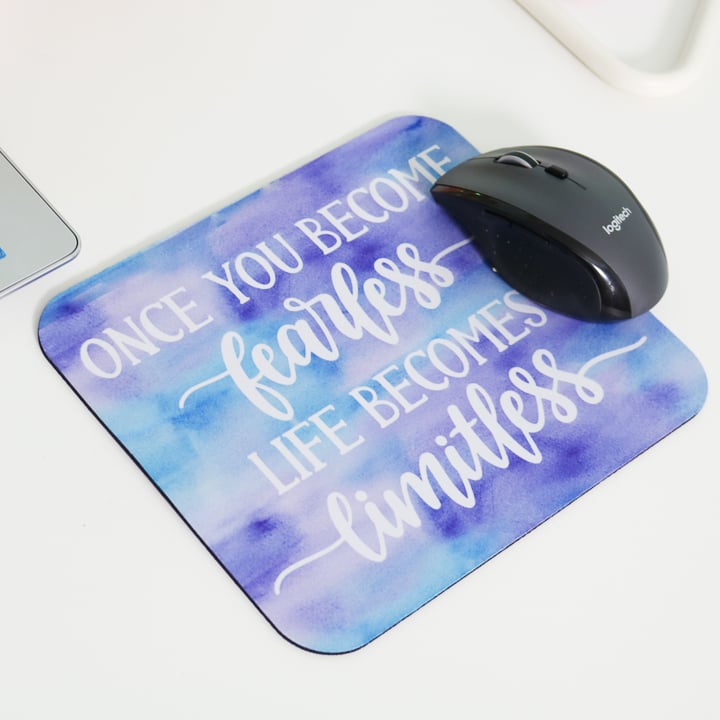
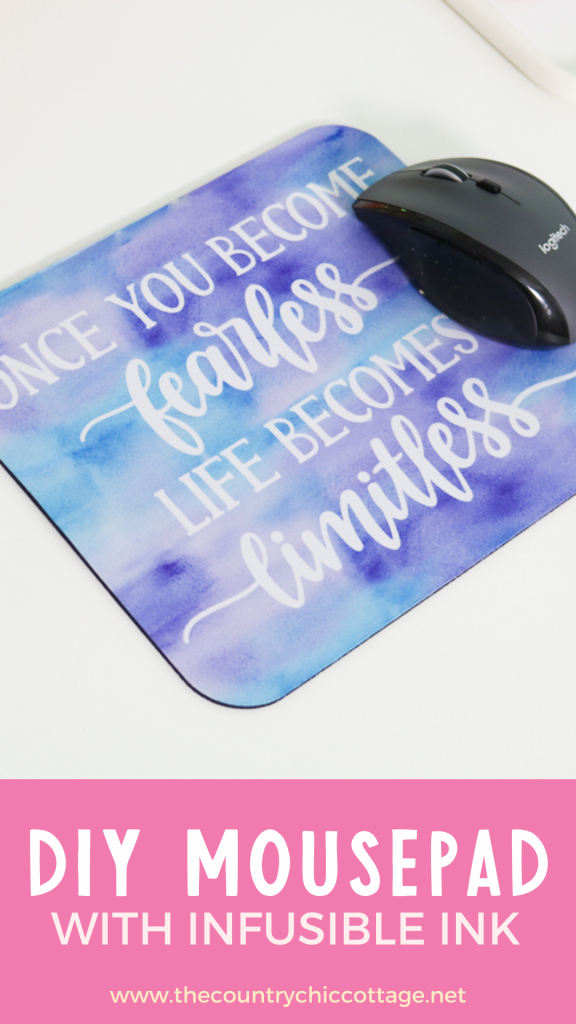
Learn everything you need to know about making your own DIY Mouse Pad with this easy tutorial! Made without cork and ready in just a few simple steps with Cricut Infusible Ink, you can transfer any design you'd like! This project is super easy and requires just a handful of crafty materials that are usually easy to find.
If you love the idea of creating a mouse pad but not from Cricut Infusible Ink, then check out our blog post about how to make Sublimation Mouse Pads!
DIY Mouse Pad Video Tutorial
If you would like to see a video of me making this DIY mouse pad, you can watch it below!
If you can't watch the video or need more help, just keep reading for instructions.
Make Your Own DIY Mouse Pad
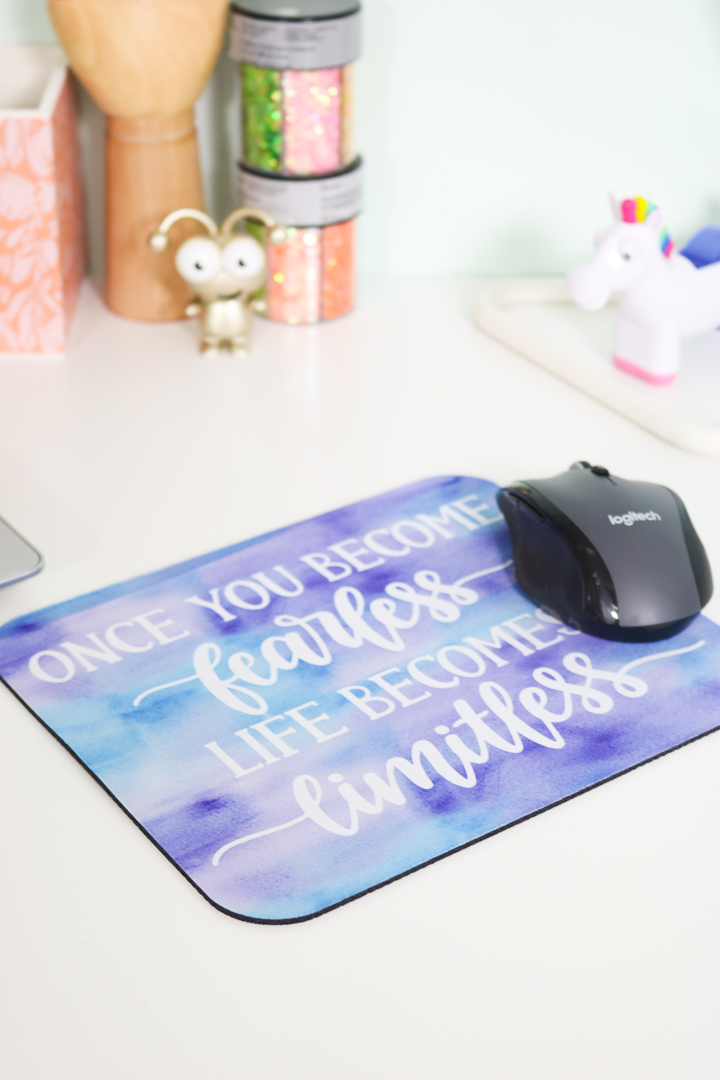
Have you ever considered customizing your mouse pad? If you want to have some inspirational quotes or words in view while you work, this DIY mouse pad tutorial is perfect for you. It will guide you through the process of transferring quotes onto a mouse pad.
How To Make A DIY Mouse Pad
This Cricut tutorial is easy and foolproof! After mastering this method, you'll feel great about creating your own custom mouse pad!
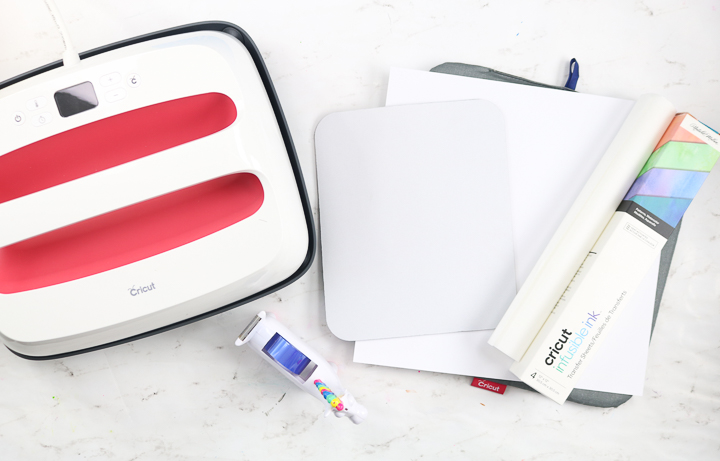
Supplies Needed To Make DIY Mouse Pad
- Cricut machine
- Cricut Infusible Ink
- Mouse pad (rated for sublimation like these)
- Cricut EasyPress
- EasyPress mat
- Butcher paper
- White cardstock
- Heat-resistant tape
- Tweezers
- Cricut cut file
Note: You can also find some of these items at craft stores such as Hobby Lobby or Michaels.
Step 1: Cut Design From Cricut Infusible Ink
First, cut a design from an Infusible Ink sheet. Below are a few things to keep in mind:
- Place the sheet liner side down on the mat.
- Mirror your image before cutting. You can see how to do that here.
- Be sure that your hands are clean and dry before handling Infusible Ink.
- You will want to locate your cut so that 1) you have enough of the sheet to cover your entire mouse pad and 2) check that your design is centered.
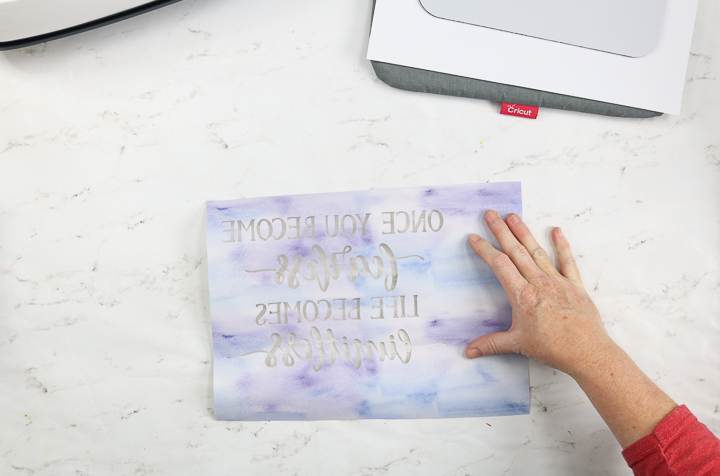
Step 2: Weed Design
Once cut, you will need to weed away the excess sticker material. Below are a few things to keep in mind:
- Crack the piece by bending it several times before weeding.
- Remember not to use traditional weeding tools with Infusible Ink. If you have any issues with any of the pieces, just use tweezers to lift them.
- I used a reverse-weeding technique on this project, leaving the background but removing the letters. In this case, you will want to leave the letter centers in place.
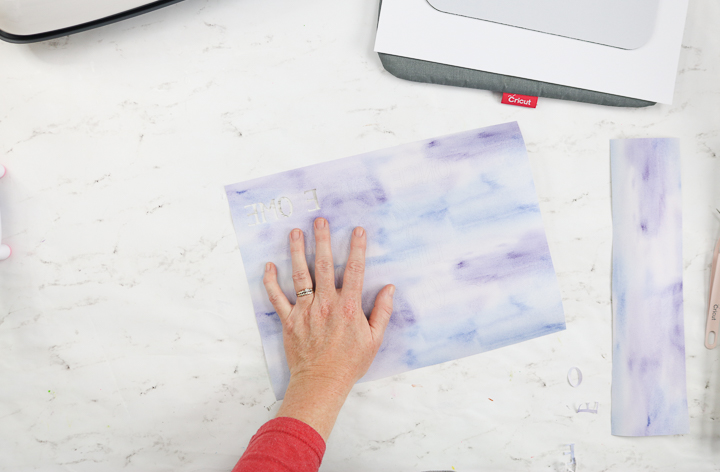
Step 3: Add Infusible Ink Design To Mouse Pad
Now that you have your Cricut Infusible Ink sheet ready, you can add it to your mouse pad.
Start by covering the EasyPress mat with white cardstock. Then add your mouse pad and place the weeded infusible ink sheet in place. You will need to tape this down really well. I found that taping to my cardstock worked best as the tape did not stick well to the mouse pad itself.
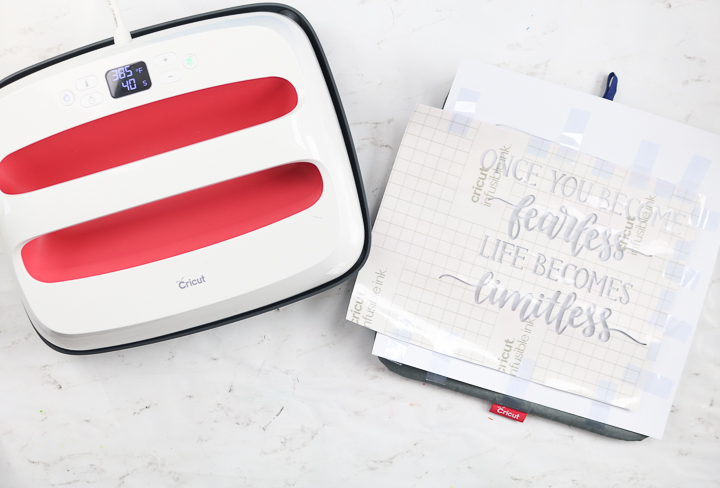
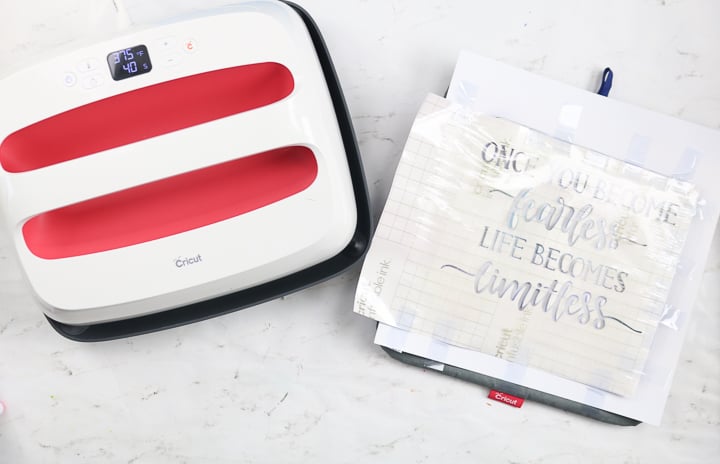
Step 4: Press Design
Next, cover your design with butcher paper and press with Cricut EasyPress according to the instructions in the Cricut heat guide. Pick a substrate close to the mouse pad, like a tote bag. I used my large EasyPress so I could do this all in one press. I have made projects like this Infusible Ink blanket, where I pressed more than once, so a smaller size EasyPress will definitely work in this case.
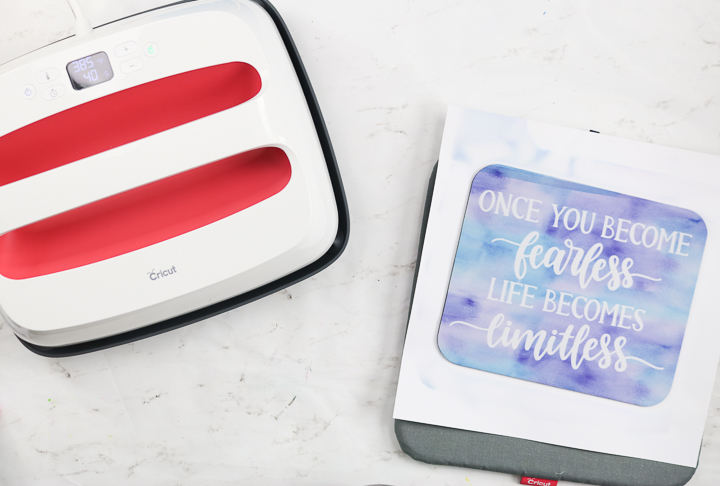
Step 5: Peel Away Carrier Sheet
Allow your project to cool completely, as it will be really hot. Next, peel away your design from the DIY mouse pad to reveal the magic!
NOTE: Remember to discard the cardstock, as it will have excess ink, and you do not want that to get on other projects you make.
How To Use This DIY Mouse Pad
You can use this mouse pad for all of your gaming needs, office-related tasks, school, and so much more! Plus, it would make such a great gift for someone who has just started a new job, a new business, or is just starting college!
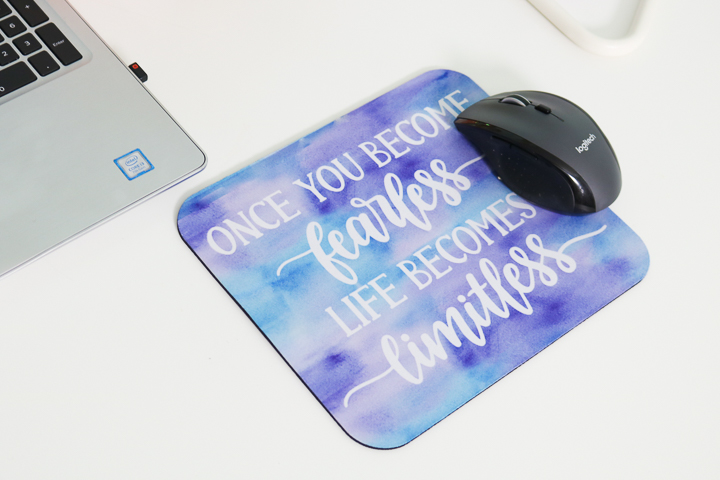
Basically, anytime you need to use a mouse, you can use this customized mousepad! You'll love looking at your creations!
FAQs About DIY Mouse Pad
Here are answers to some of the most frequently asked questions I receive about creating a DIY mouse pad. If your question isn’t listed, feel free to drop it in the comments, and I’ll be happy to help!
What Size Did You Make The Template To Get Full Design?
I measured my mouse pad and went a little larger to account for placement mistakes.
What Was The Heat And Length Of Time You Used For This Mouse
Pad?
I always use what is recommended by the place where I purchase the mouse pad.
Any Idea Why My Design Would Come Out With Colors Faded In Some Parts?
Most likely, it is uneven heating or not heating long enough.
I Used My 9×9 Easy Press On My Mouse Pads And Got Lines On My Pads. I Did Not Apply Extra Pressure At All. How Do I Prevent These Lines?
Neoprene blanks are the WORST for marks. There is not a ton you can do about them other than get a larger press.
Can Infusible Ink Be Used On A Black Mouse Pad?
Whatever the surface color is, you will be able to see it through the Infusible Ink. So, no, it won't really work on black.
Is It Possible To Put A Photo On The Mouse Pad? And how?
You would use sublimation for that! To learn more about creating a sublimation mouse pad, check out this blog post!
Can You Do Designs On A Mouse Pad Without Sublimation And Without Infusible Ink?
I guess you could add HTV, but you would have raised areas, and those may not be best for a mouse pad.
6 More Infusible Ink Crafts
Did you love learning how to make a DIY mouse pad and are now looking for more infusible ink crafts? Then check out the projects below!
- How to Make Infusible Ink Ceramic Coasters
- Distressed Infusible Ink Shirt How-To Tutorial
- Infusible Ink Baby Bodysuit
- DIY Makeup Bag with Cricut Infusible Ink
- The Basics of Image and SVG Licensing and Your Cricut
- 10 Minute Cricut Infusible Ink Pencil Pouch


How many mousepads do you think you could make with one pack of infuseable ink? I’ve never used it before, so I’m just curious to know how much I can get out of one container.
The listing for the product tells you how many 12×12 sheets you get. If you are covering the entire mousepad, you are probably looking at one sheet per item.