Did you know that you can make an Infusible Ink blanket? This simple idea is perfect for a custom-made gift that will be cherished for years to come! All you need is a polyester blanket, Infusible Ink sheets, and your Cricut to get started. If you have a wedding shower coming up, this is one easy gift idea that the bride and groom will cherish forever!
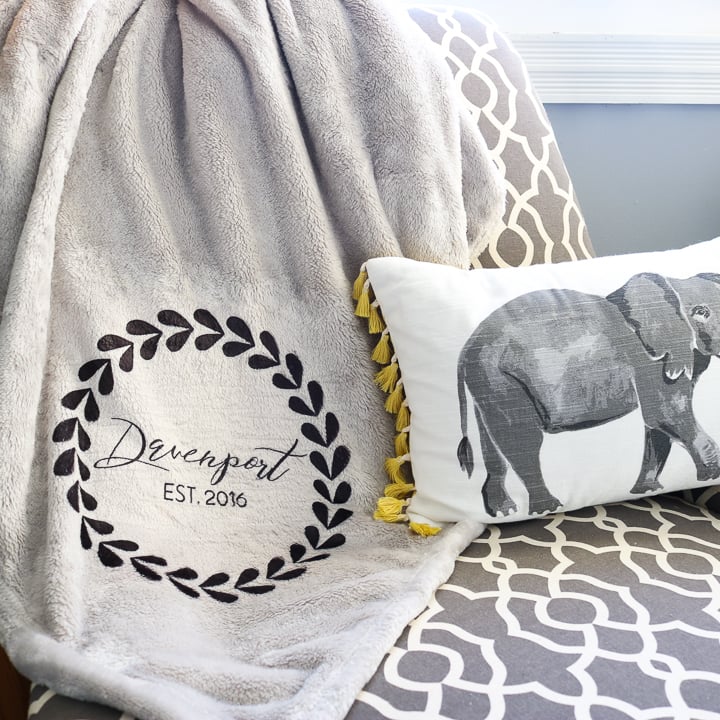
Infusible Ink is such an awesome tool! You can use it to personalize gifts, add designs and lettering to fabric, and so much more! If you are looking for other infusible ink projects, try infusible ink mousepad, coasters, tote bag, shirts, mugs, and more. If you are just getting started with infusible ink, start with my comprehensive guide on Infusible Ink where you can find more information on how to use infusible ink, weeding infusible ink, and so much more!
For this craft, you must use a blanket that is 100% polyester for the ink to react properly. Infusible Ink will work on any 100% polyester surface, not just the Cricut surfaces that you may have seen for sale. I grabbed this blanket at Target and just made sure of the polyester content on the tag. Then, you are just a few steps away from having a customized blanket that is a great gift for weddings, anniversaries, and so much more!
How to Add Infusible Ink to a Blanket
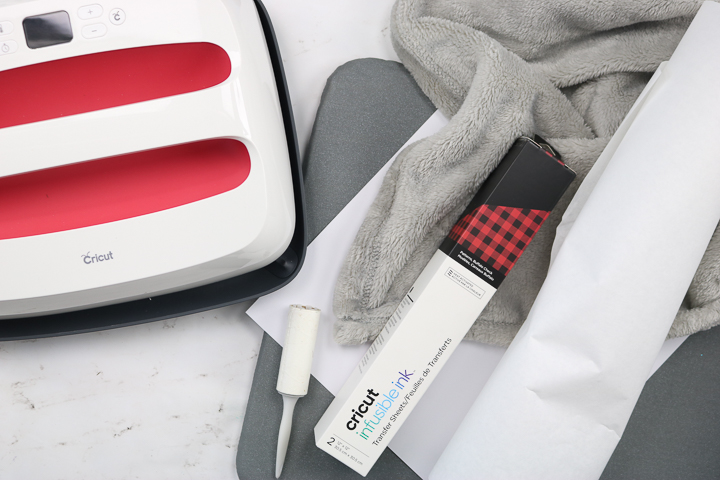
Supplies needed to make a blanket with Infusible Ink:
- Infusible ink sheets
- 100% polyester blanket
- Cricut EasyPress
- Cricut machine
- Tweezers
- Brayer
- EasyPress Mat
- White cardstock
- Butcher paper
- Lint roller
- Cricut cut file (a similar one in Design Space is #M5059F5E4)
Cricut Blanket Video Tutorial:
Sometimes it is easier to see something being made rather than reading the instructions. You can watch how I made this Infusible Ink blanket below.
Can’t watch the video or missed some of the steps? Try our written instructions below.
Cutting Your Design
Pull up the design in Cricut Design Space (M5059F5E4 is a similar file). You will need to customize your name and year. Click the text with the year and edit. For the name, add a new text block with the font Merlot. You will need to adjust spacing and weld the word together. I show you how to do this in the video above.
Cut the Infusible ink sheet with your Cricut machine. Place the sheet face down on your mat and use a brayer to press down onto the mat. Mirror the image in Cricut Design Space and cut. You may want to do a test cut in the corner of your Infusible Ink sheet. Every color is actually a different thickness. For the black, I cut it on the Infusible Ink setting with more pressure and did two passes. To do an additional pass, press the C when the cut finishes before removing the mat from the machine.
NOTE: The sheet looks brown when you pull it out of the package. Infusible Ink darkens once pressed so you will need to look at the color on the box to determine when it will be once pressed. Also, remember that any color in your blanket will show through the Infusible Ink once pressed. So, if using black ink on a yellow blanket, the black may come out slightly lighter with a yellow tint.
Weeding Your Design
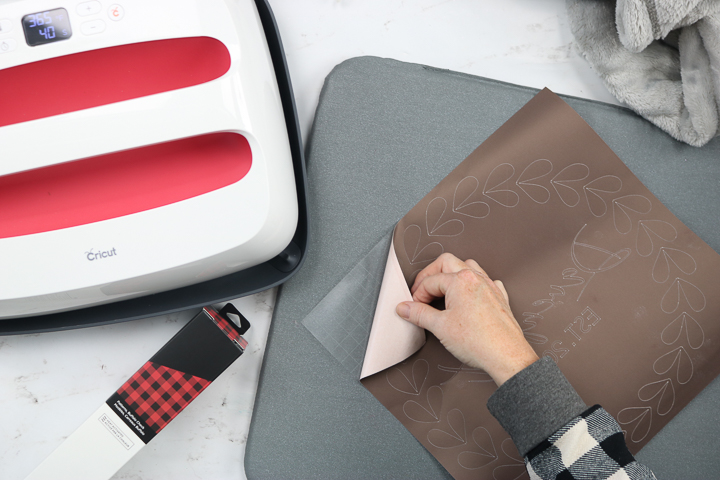
Then you will want to weed away the excess from your design. Weeding Infusible Ink is different than any other material. You do not want to use weeding tools. You will want to bend the material to crack the cuts then peel away the excess. Tweezers can be used anywhere the pieces will not come off.
Pressing Your Design
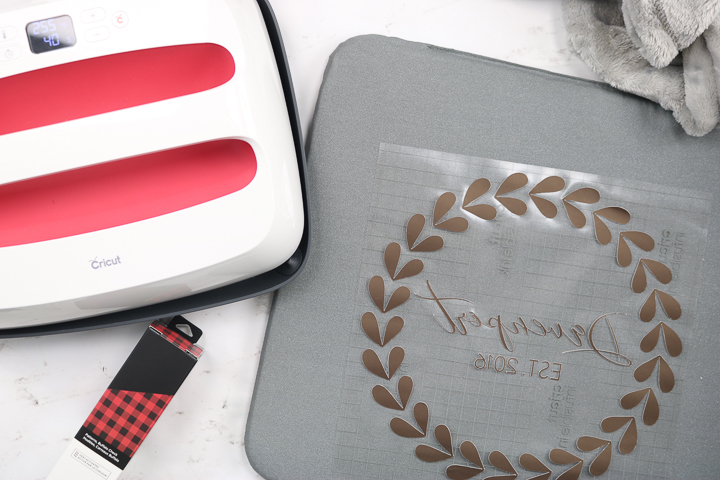
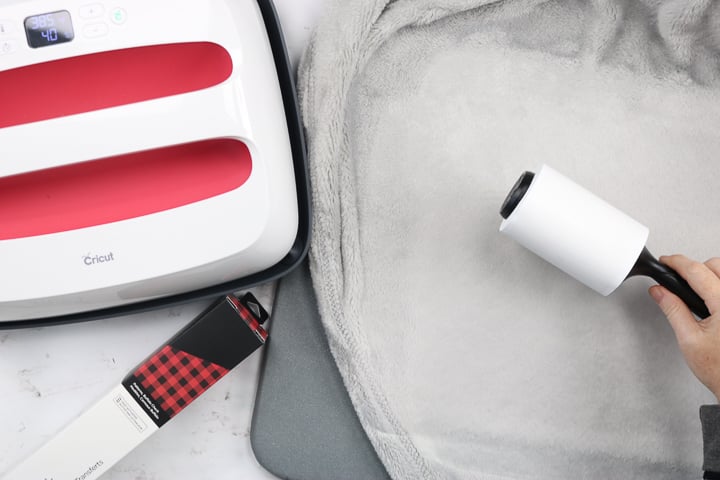
Once weeded, it is time to apply the design to your blanket. Please note that Infusible Ink needs a polyester surface to work. Place white cardstock on an EasyPress mat. Then put the corner of your blanket on the mat. Use a lint roller over the surface to remove any debris. You will want to smooth the blanket down all in one direction.
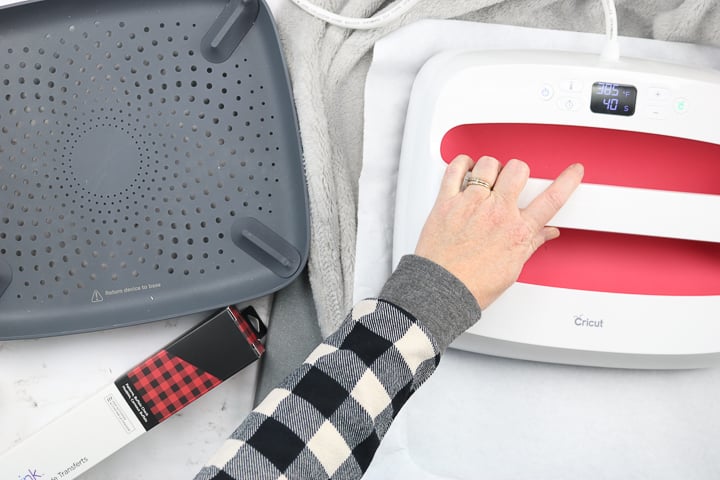
Put butcher paper over the blanket and heat with the EasyPress for 15 seconds or so. Remove the paper and EasyPress and allow it to cool completely.
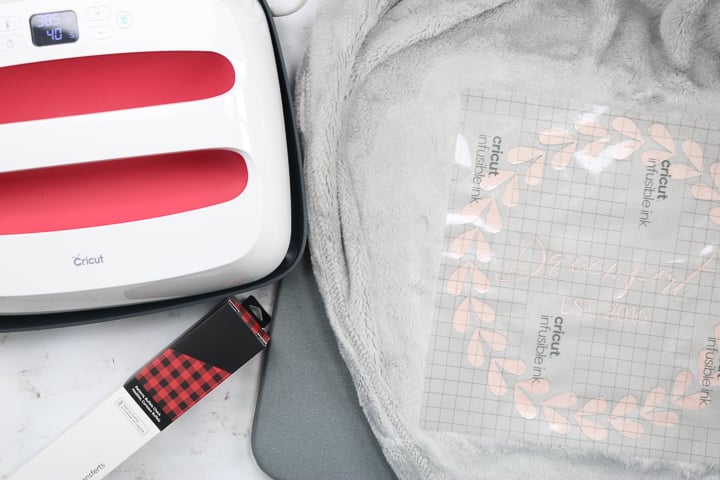
Then place the Infusible Ink Design on the blanket in the proper location.
Put butcher paper over the design and press with the EasyPress. You can find times and temperatures in the Cricut Heat Guide. You can use the information for pressing on a tote since a blanket is not an option. I am using my largest EasyPress and needed to press twice to cover the entire design. I would recommend using the largest EasyPress you have.
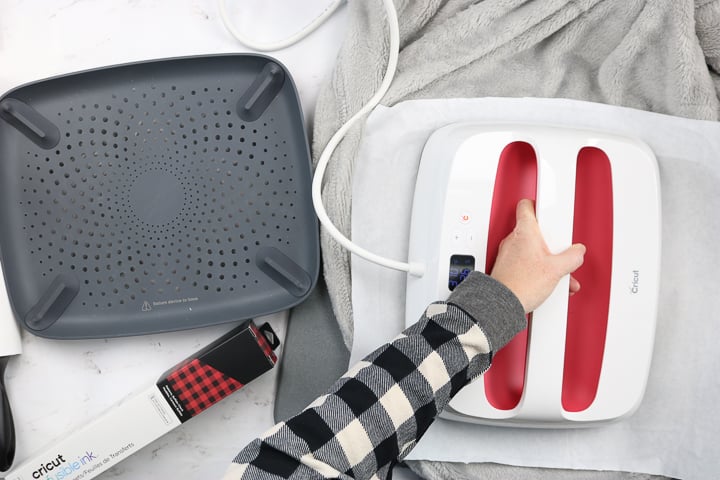
Once pressing is complete, remove the butcher paper and allow it to cool enough that you can touch it.
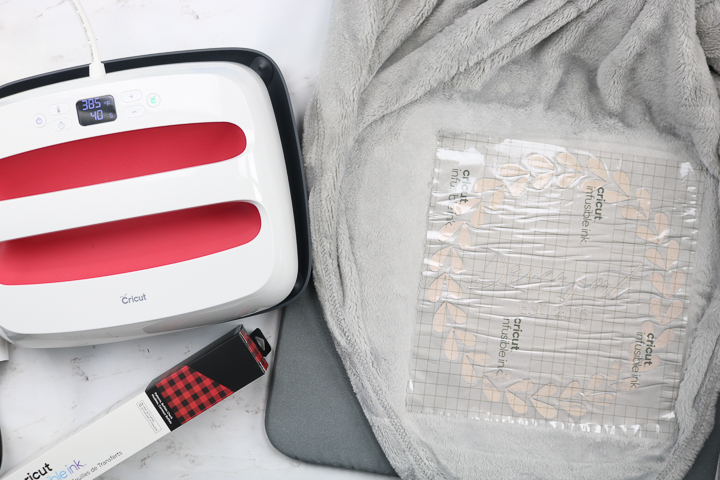
Then remove the carrier sheet. For any pieces that remain on the blanket, use the tweezers to remove.
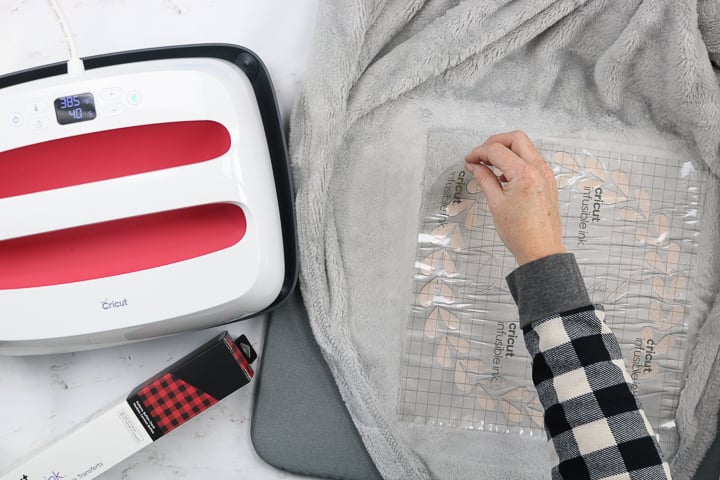
That is it! An Infusible Ink blanket is easy to make and will last a really long time.
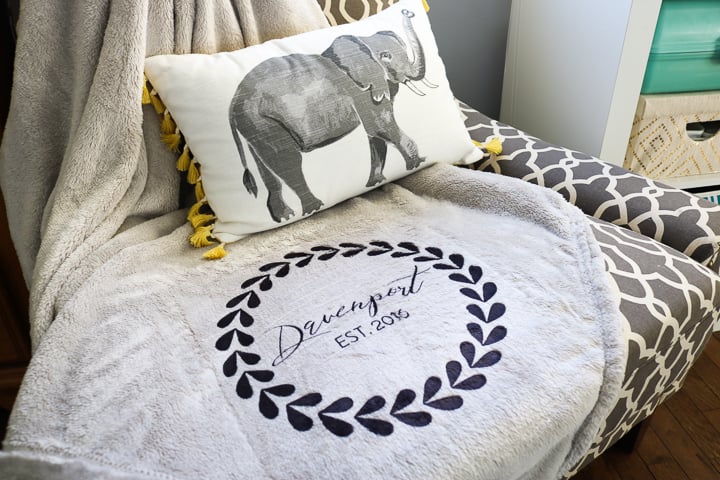
The ink infuses into the blanket for a long-lasting custom-made gift idea. If you have a wedding shower coming up, this is one easy gift idea that the bride and groom will cherish for years to come.
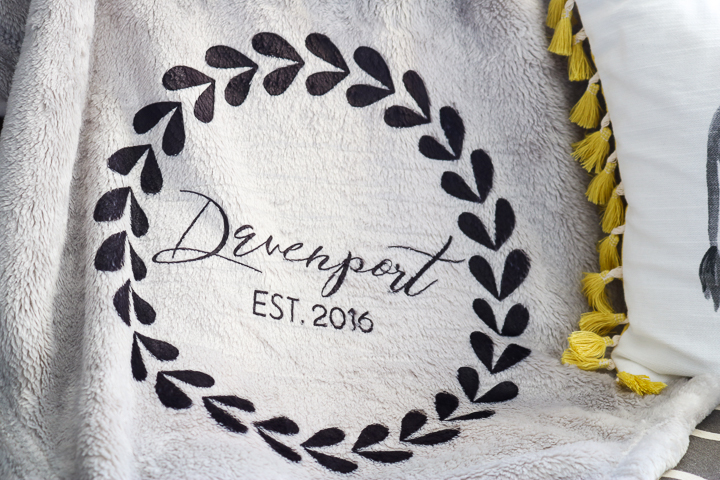
Now that you know Cricut Infusible Ink will work on other surfaces, what polyester item will you customize? There are so many options with this product and I love how permanent it is.

So, shop for a blanket, grab some Infusible Ink and make something custom for a gift or for your own home. You are going to love how easy this project is to make!
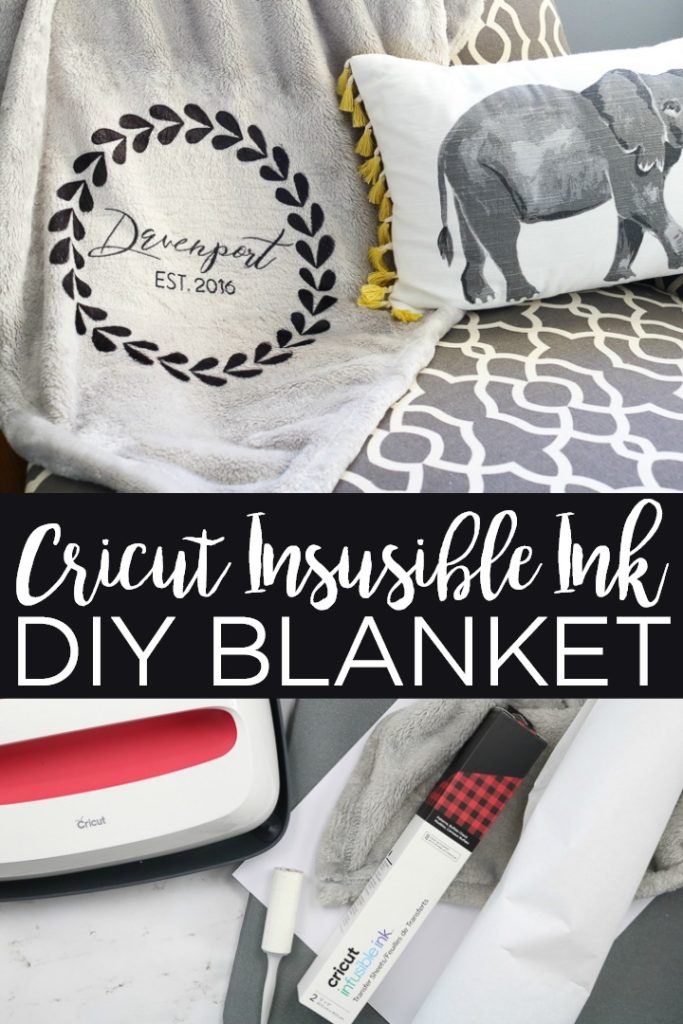
Love this Infusible Ink blanket and need more ideas? Try the links below as well!
- How to Make Infusible Ink Ceramic Coasters
- Distressed Infusible Ink Shirt How-To Tutorial
- DIY Makeup Bag with Cricut Infusible Ink
- Infusible Ink Watercolor Coasters
Want to print these instructions for using Infusible Ink? Try the card below.

Equipment
- Cricut EasyPress
Supplies
- Infusible ink sheets
- 100% polyester blanket
- White cardstock
- Butcher paper
- Lint roller
- Cricut cut file
Instructions
Cutting Your Design
- Pull up the design in Cricut Design Space. You will need to customize your name and year. Click the text with the year and edit. For the name, add a new text block with the font Merlot. You will need to adjust spacing and weld the word together. I show you how to do this in the video above.
- Cut the Infusible ink sheet with your Cricut machine. Place the sheet face down on your mat and use a brayer to press down onto the mat. Mirror the image in Cricut Design Space and cut. You may want to do a test cut in the corner of your Infusible Ink sheet. Every color is actually a different thickness. For the black, I cut it on the Infusible Ink setting with more pressure and did two passes. To do an additional pass, press the C when the cut finishes before removing the mat from the machine.
- NOTE: The sheet looks brown when you pull it out of the package. Infusible Ink darkens once pressed so you will need to look at the color on the box to determine when it will be once pressed. Also, remember that any color in your blanket will show through the Infusible Ink once pressed. So, if using black ink on a yellow blanket, the black may come out slightly lighter with a yellow tint.
Weeding Your Design
- Then you will want to weed away the excess from your design. Weeding Infusible Ink is different than any other material. You do not want to use weeding tools. You will want to bend the material to crack the cuts then peel away the excess. Tweezers can be used anywhere the pieces will not come off.
Pressing Your Design
- Once weeded, it is time to apply the design to your blanket. Please note that Infusible Ink needs a polyester surface to work. Place white cardstock on an EasyPress mat. Then put the corner of your blanket on the mat. Use a lint roller over the surface to remove any debris. You will want to smooth the blanket down all in one direction.
- Put butcher paper over the blanket and heat with the EasyPress for 15 seconds or so. Remove the paper and EasyPress and allow it to cool completely.
- Then place the Infusible Ink Design on the blanket in the proper location.
- Put butcher paper over the design and press with the EasyPress. You can find times and temperatures in the Cricut Heat Guide. You can use the information for pressing on a tote since a blanket is not an option. I am using my largest EasyPress and needed to press twice to cover the entire design. I would recommend using the largest EasyPress you have.
- Once pressing is complete, remove the butcher paper and allow it to cool enough that you can touch it.
- Then remove the carrier sheet. For any pieces that remain on the blanket, use the tweezers to remove.
- That is it! An Infusible Ink blanket is easy to make and will last a really long time.
New to Cricut?

Sign up for our email list to download the Beginner's Guide to Cricut Design Space for FREE today!
Sign up to get the guide emailed to you!


If you are using Infusible ink and part of the design is on a seam, do you use the mini easy press on that part only and the larger easy press 2 on the rest ?
Thanks
Infusible ink on a seam is going to be TOUGH! I would try the mini on the seam to see if you can get it to transfer.
What is butcher paper? Is it parchment?
It is NOT parchment. Butcher paper is recommended by Cricut for Infusible Ink. I get mine from Amazon.
Thank you for the video. Everything was very well explained!
Wondering where you go the blanket polyester blanket?
I got this one at Target I think. Just check the tag before you buy.
Could I use pink infusible ink on a purple blanket or would it not look right?
I would use a light colored blanket if I was using a light Infusible Ink.
Thank you, this is a project. Will dark infusible ink work on dark fabric? For example black ink on purple.
Thank you, this is a project. Will dark infusible ink work on dark fabric? For example black ink on purple.
Does the heat press marks come on a blanket? I’ve washed it & it’s still there!
Mine came right off!
Maybe try ironing with an iron around it to see if you can blend it into the blanket.
Should the blanket be washed before ironing on the Infusible ink?
You do not need to wash your blanket first. Whether you wash it or not you do need to go over it really well with a lint roller to make sure you remove any lint/hair/fuzzies that aren’t supposed to be there.
Can you still do this if your blanket is 100% polyester but says “do not iron”
I would be cautious due to the high heat required for Infusible Ink if the item says do not iron – you could try just adding heat to an area that won’t be seen in case it melts.
Can you use infusible ink markers instead of sheets??
You can try it for sure! The look won’t be the exact same because with the markers it will draw the outline. To get a similar look you’ll need to color in the open areas. I hope that helps 🙂