

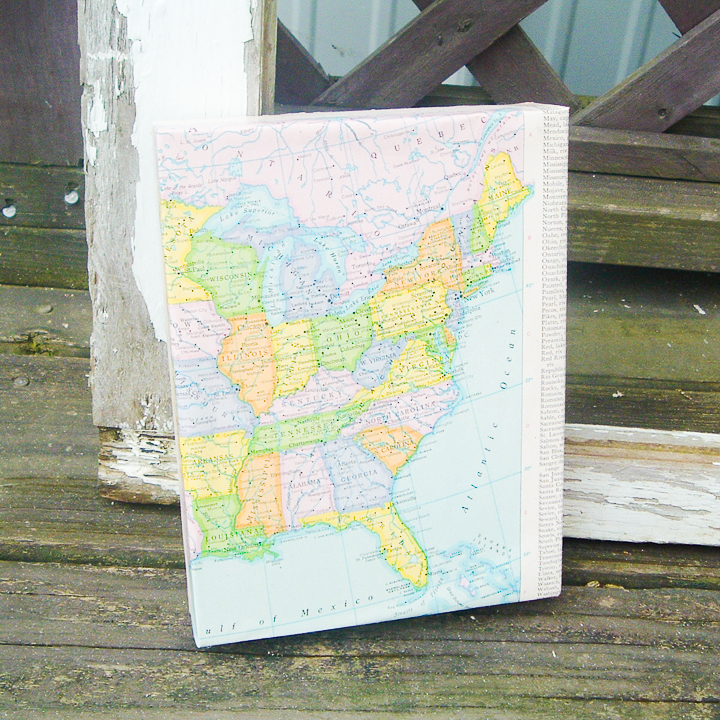
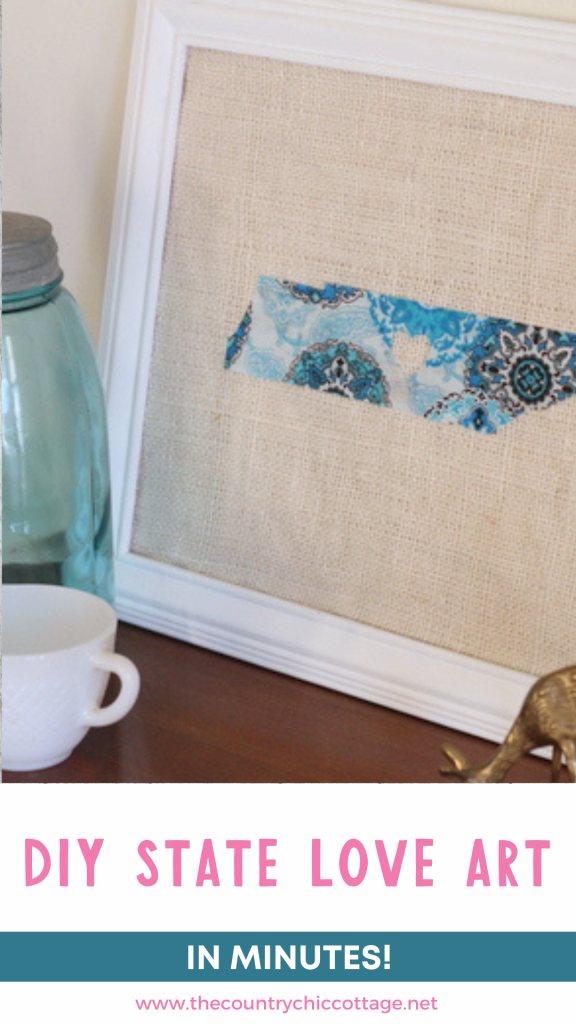
Create a simple DIY fabric art piece to express your love for a cherished state. This craft is perfect for anyone who loves the state they currently reside in or a state they have previously lived in. Pay homage to your state with this easy project, which only takes a few minutes to complete.
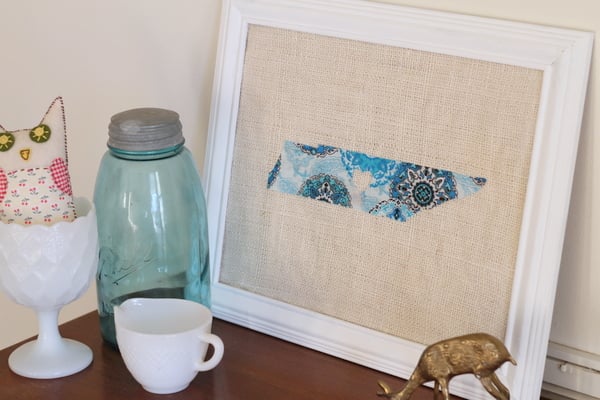
It is probably no secret that I love Tennessee. You may have seen my Cricut engraving tool project, watercolor hoop art of Tennessee, or my state love ornament (featuring the Volunteer State). I created this easy DIY fabric art piece to pay homage to the southern state I love.
You can make this for yourself or a loved one who lives far away!
Supplies Needed
- Cut file of your state
- Bold print fabric
- Cricut Maker
- Rotary Blade for the Cricut Maker
- Fabric grip mat
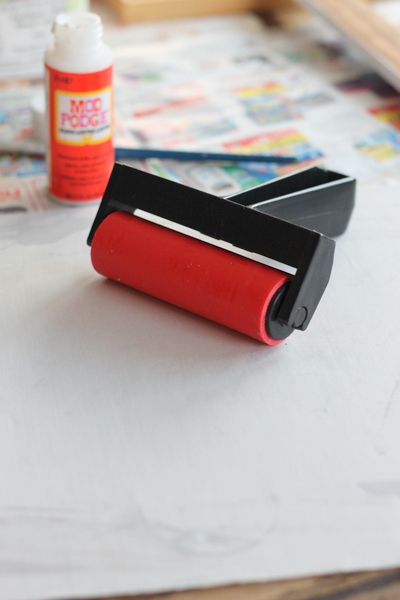
- Brayer
- Burlap
- White fabric for backing
- Frame
- Paint
- Fabric Bonding
- Mod Podge
How to Make this DIY Fabric Art Piece
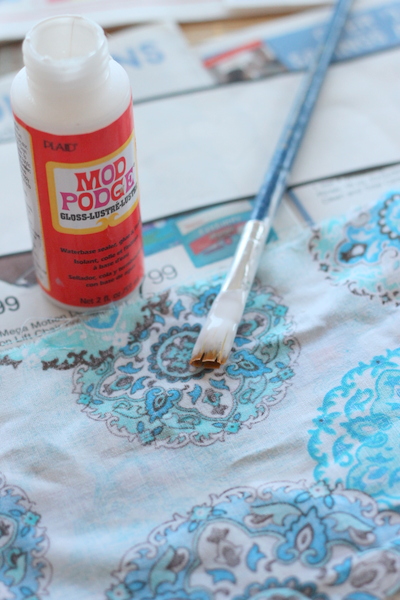
Step 1 – Prep Fabric
Apply Mod Podge or fabric bonding to the back of your printed fabric and allow it to dry. This will ensure that when you cut your state out of the fabric, it will not fray. If you've never cut fabric with your Cricut Maker before, prepare to be amazed!
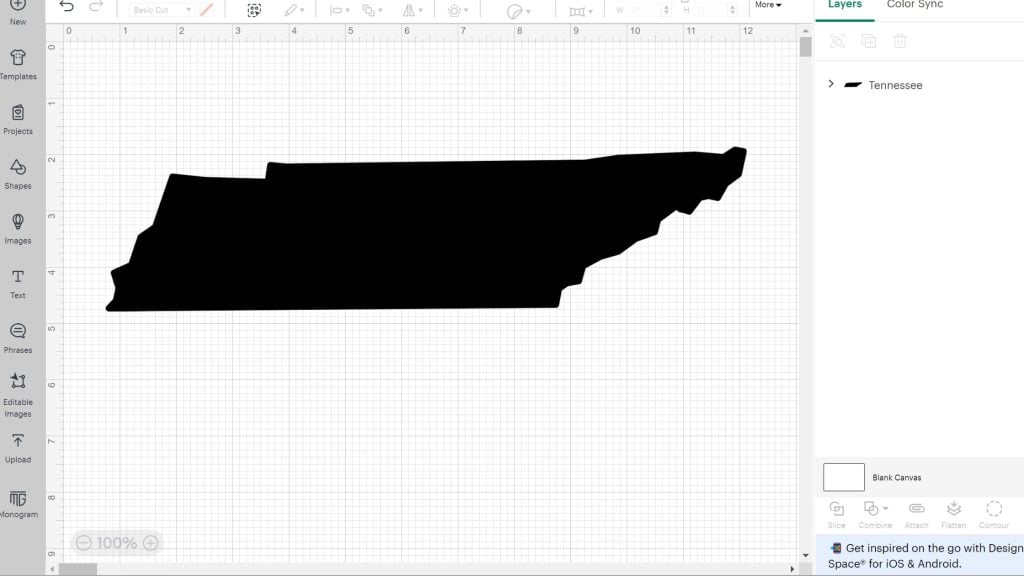
Step 2 – Create your Design
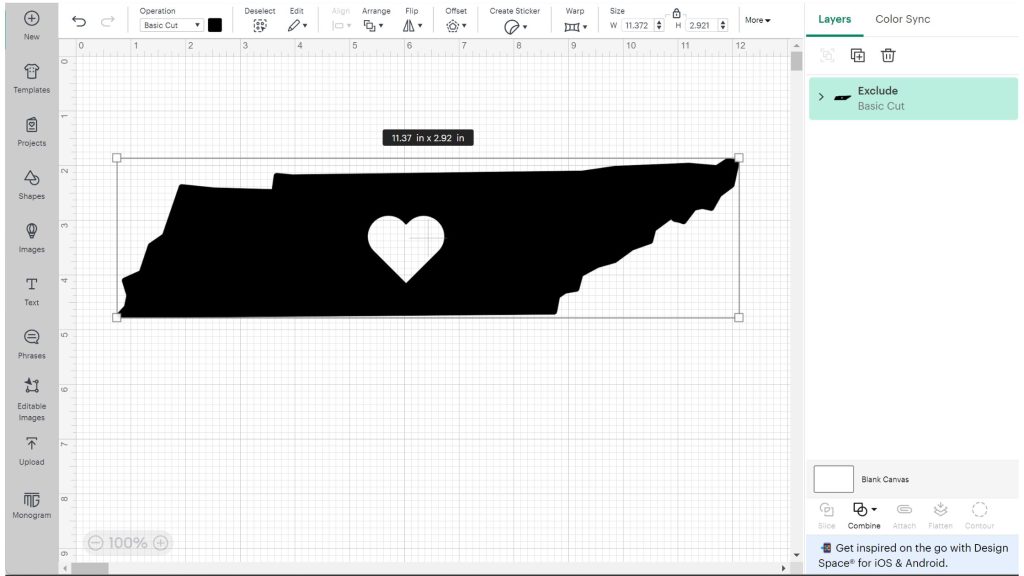
The beauty of this DIY fabric art project is the opportunity to personalize it. Open up Cricut Design Space and search for an image of your state. I searched for “Tennessee” and got several results. Alternatively, you may already have an SVG of your state or a different shape that you want to use. Note: When choosing a design, select one that is solid rather than just an outline of the state.
Then add a heart to your state. You can use the free heart in the shapes section of the canvas.
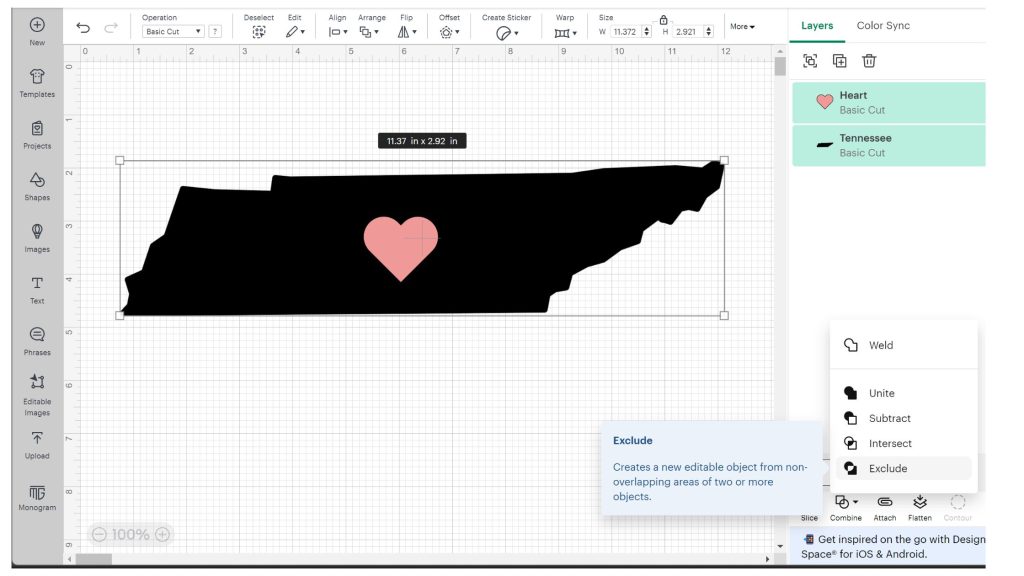
Once I had the heart placed where I wanted it. I used the “exclude” feature to remove it from the state shape. (You could also cut the heart from HTV in a contrasting color for a different look.)
Step 3 – Cut the Fabric Shape
Add your fabric to your fabric grip mat. Use your brayer to make sure the fabric is on the mat smoothly. Then follow the prompts in Cricut Design Space to add your rotary blade to your Cricut Maker. Load your mat into your machine and let it cut your fabric for you.
Step 4 – Update the Frame
In the meantime, if your frame is not the color you prefer, paint it and allow it to dry. Mine required a couple of coats of white to achieve the desired look.
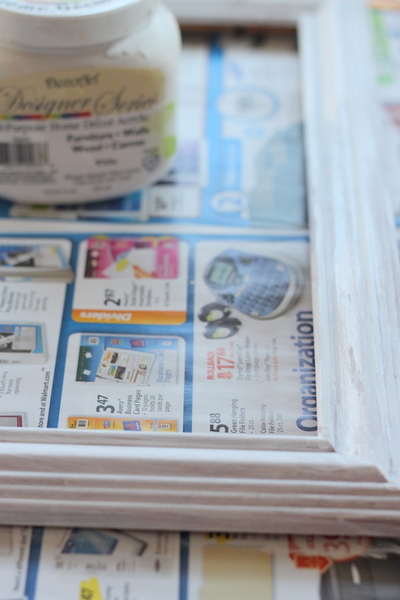
While the frame dries, use the cardboard that was already in the frame and apply two layers of white fabric onto the cardboard with Mod Podge. This will ensure that your cardboard will not peek through your burlap. I used my brayer to smooth my pieces of fabric.
Step 5 – Add Burlap and State Design
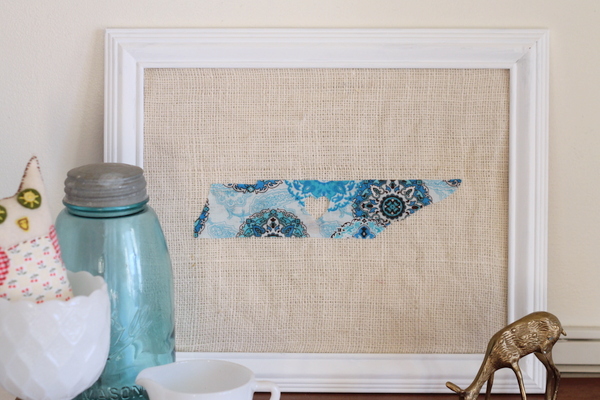
Then add your burlap to the top of the fabric-covered cardboard. I just used hot glue to secure the edges. Put the burlap-covered piece into your frame and center your state. To finish off your DIY fabric art, use hot glue to hold your fabric state into place.
That's it!
This DIY fabric art piece would be a great centerpiece for your Valentine's Day decor. Actually, this one will probably stay out all year in my home. With Valentine's Day right around the corner, I used this as an excuse to add decor to this table.
More Fabric Projects
If you liked this DIY fabric art project, check out these other home decor ideas:


This is so cool! I love the heart in the middle!
So glad I found this Angie! I’ve seen something similar to this on Etsy but this is the first tutorial I’ve seen and I love it! I’m in Knoxville and will definitely be adding one of these to our wall gallery. Now, I’ll be off to find some orange fabric! 😉