
Jen Goode from 100 Directions is back this month with easy watercolor banner decor you can make for your home. I love watercolor! If you do as well, be sure to follow along below!
Over the years, I've been working to transform my craft room into a space I truly enjoy, not just a place for making things. I've been adding personal touches and decorative accents to enhance the atmosphere. Today, I’m excited to show you how to create your own art banner to decorate your craft room. This easy watercolor banner is also a great option for parties!

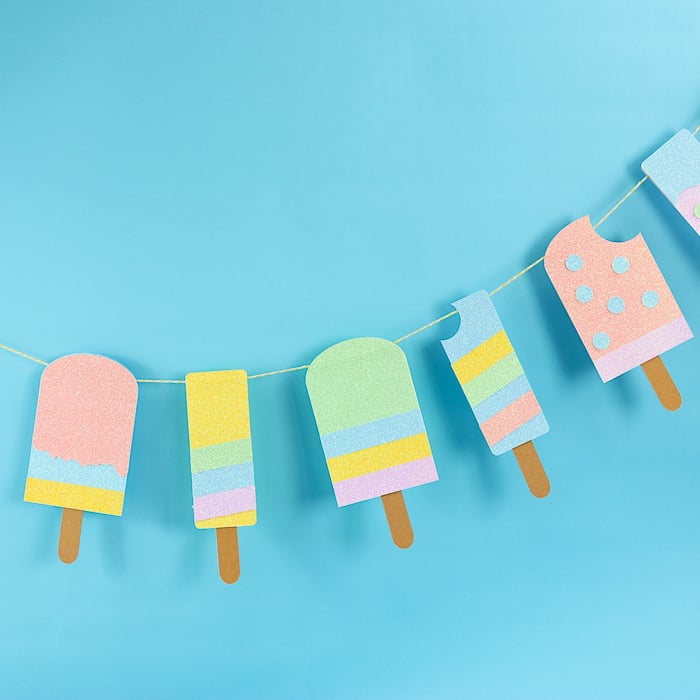
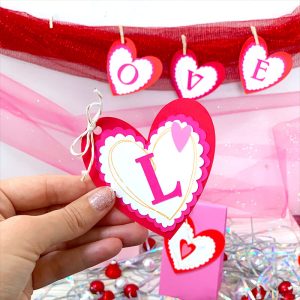
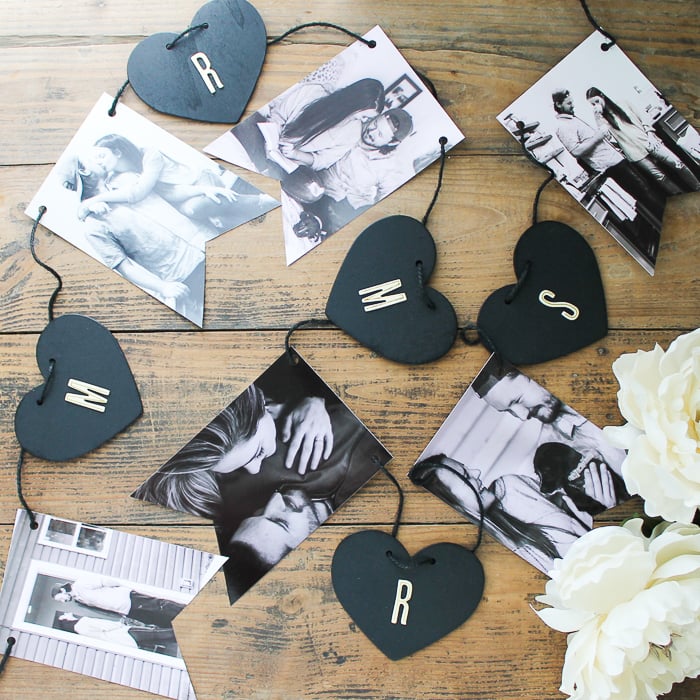
Banners are the perfect way to add a festive touch to any celebration, transforming ordinary spaces into vibrant and welcoming environments. Whether it's a birthday bash, a baby shower, or a holiday gathering, banners serve as eye-catching decorations that instantly set the mood for the occasion.
From colorful paper banners strung across doorways to elegant fabric banners draped along walls, there are endless possibilities to suit every style and theme. Personalized with messages of love, congratulations, or holiday cheer, banners not only add visual flair but also convey heartfelt sentiments to guests. Plus, they're versatile enough to be reused for future celebrations, making them a sustainable and budget-friendly decor option.
I have several different types of banners to choose from for all kinds of celebrations! Everything from patriotic styles, summer vibes, and even Christmas gnomes!
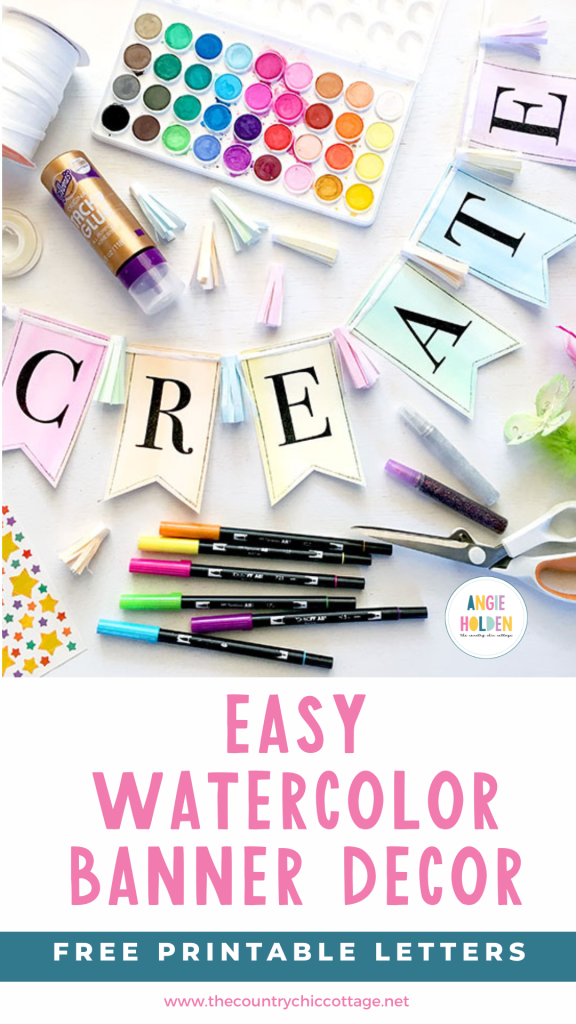
Easy Watercolor Banner Decor
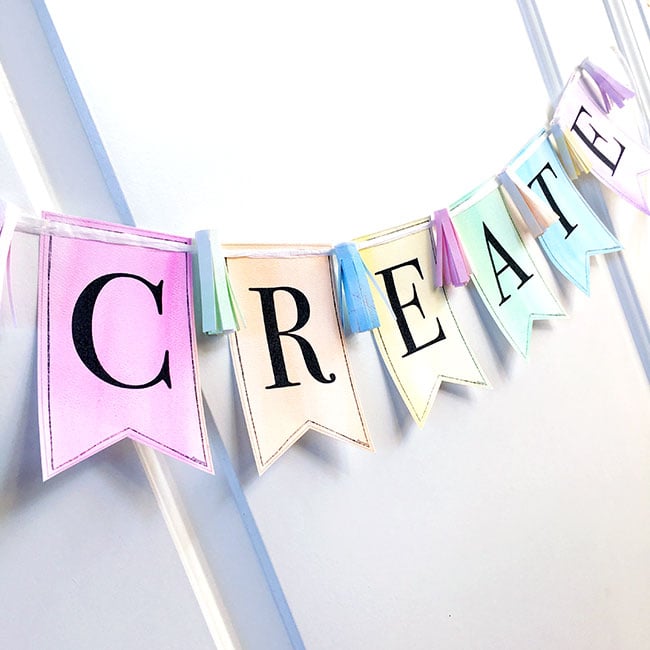
For this project, I made the word “Create”. You can make any word you'd like. Pick something that inspires you and adds a little extra fun to your creative space. I also made my own quick watercolor wash to add additional color to the banner. You can also use colored paper if you prefer.
Supplies needed
- White cardstock
- Watercolor paints and brushes
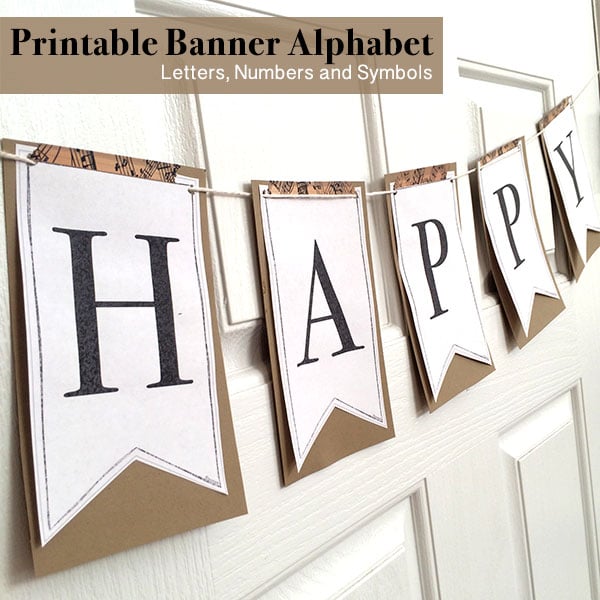
- Printable alphabet banner
- Twine or ribbon
- Printer
- Glue or tape
- Scissors
- Cricut Machine (optional)
Instructions
You'll love how easy this project is! Just follow the instructions below to get started, and you'll have a beautiful custom watercolor banner to hang today in no time.
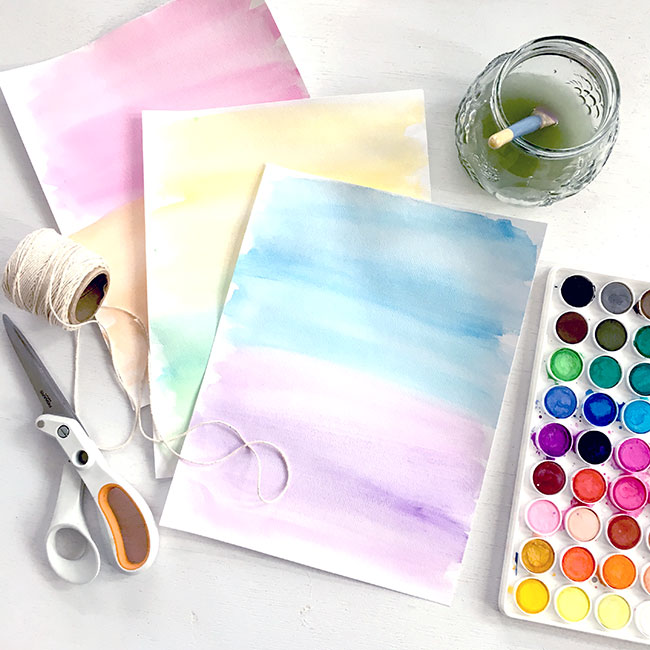
Step 1
Paint the cardstock with a watercolor wash and allow it to dry. I added two colors to each page, making sure to apply the colors in the order you want to create your banner. In this case, I made a rainbow with the colors red (pink) and then orange, yellow, etc.
Step 2
Print the alphabet letters onto the cardstock. Make sure to flip the paper in the correct order so your printer prints on the colored side. I like to test this on a blank page first. Resize the letters to the size you'd like for the banner. I printed these letters at 70% of the original size.
Optional: You can use the Print then Cut feature with your Cricut machine (any of the Cricut models except for the Cricut Joy). Since the banner files are in PDF format, you'll need to convert them into a PNG or JPEG before uploading them to Cricut Design Space. There are several ways to convert the files, but a free option is to use a PDF Converter. If you have a subscription to Adobe or Canva, you can use them as well. If you choose to use the Print then Cut method, you can skip to Step 4.
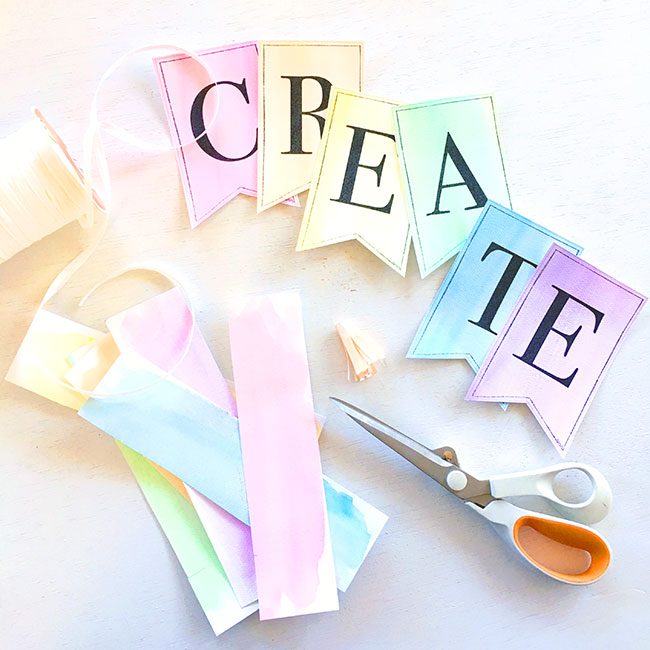
Step 3
Once you have all of your letters printed, carefully cut out each banner piece.
Step 4
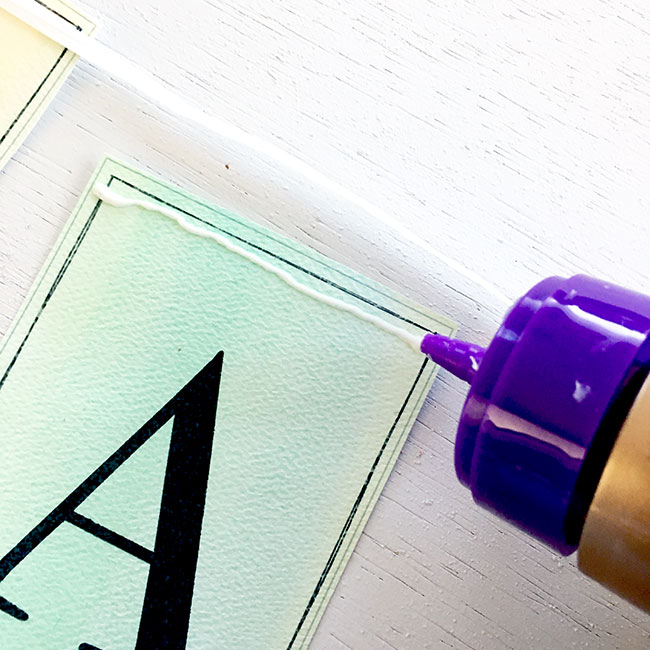
Lay all the letters out in order and then glue the twine to the front of each letter. Allow to dry.
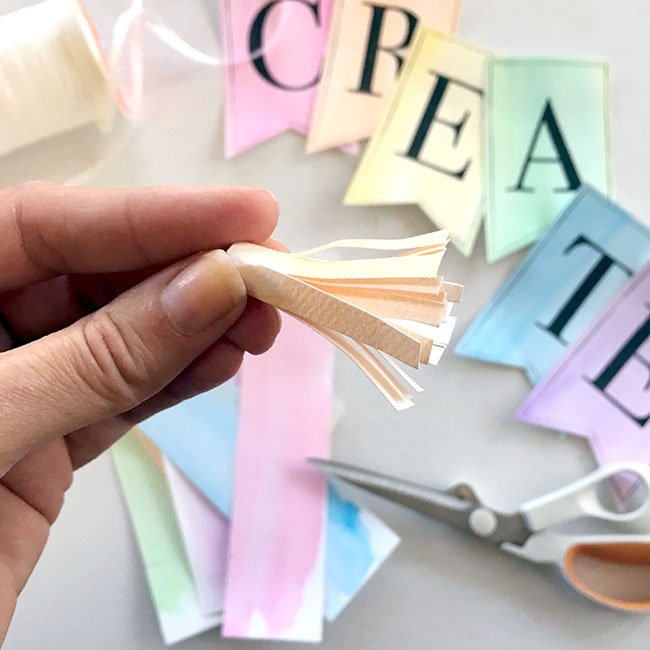
Pro tip: For extra fun, use the leftover colored paper to make your own tassels, then glue them to your banner.
Step 5
Hang up your watercolor banner to display and enjoy!
You can have so much fun with this watercolor banner project. Make a bunch of different words and string them up together to create a motivational banner for your craft room. Or make multiples of the same word to hang as a decorative garland. You can also make mini banners to use for fun party decor.
Download your copy of the alphabet banner letters.
I can't wait to hear what you create!
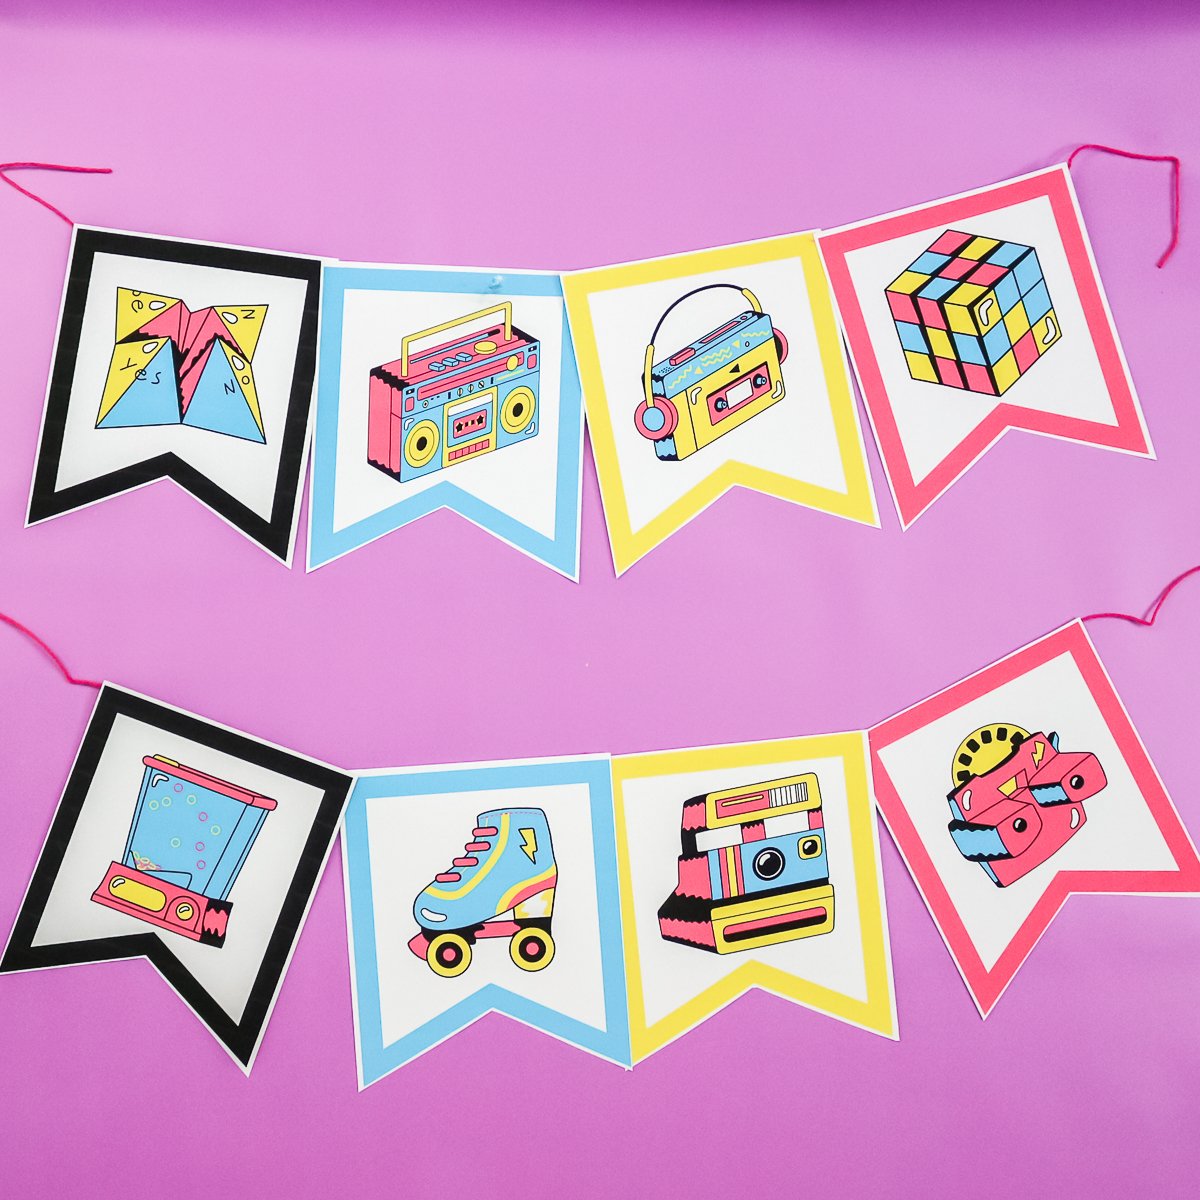
More Banners
If you can't get enough banner projects, check out the additional banner crafts below:


Very pretty!
Lovely idea. I am also working on my craft room. I have organized 80% of it made some pretty labels, sewed some curtains and am looking at DIY art projects. This is perfect inspiration. Thank you for sharing.
Oh gosh…this looks so fun! I LOVE this! 🙂
I would love for you to share this with my Facebook Group for recipes, crafts, tips, and tricks: https://www.facebook.com/groups/pluckyrecipescraftstips/
Thanks for joining Cooking and Crafting with J & J!
This is lovely! Such a simple way to make a cute and unique banner. Should work great for parties too. Thank you for sharing. 🙂
Oh my goodness I love this so much and so simple! Beautiful creation!!
This is so gorgeous!
Loved the idea of creating motivational banners! I enjoy working with watercolors, but this is a really fun way of exploring more with it 🙂
This looks so springy! 🙂 Thank you for sharing at Dishing It & Digging It. 🙂
Oh I love this. What a great project with a super tutorial!
This post/project is perfect to share on the Fabulous Welcome Spring/Easter party over here:
http://ourholidayjourney.blogspot.com/2017/02/fabulous-welcome-spring-link-party.html
I hope you’ll come over and join the party!
Happy Spring.
Hi Angie – I came across your blog this past week at the Favorite Things Blog Hop and fell in love with this adorable banner project. I have featured it in my Monday blog post, “A Collection of Creativity” at Vintage Mama’s Cottage. Hope you’ll stop by for a visit! http://vintagemamascottage.com/2017/03/06/a-collection-of-creativity/
Hope to connect with you again this week at the blog hop! Nina @ Vintage Mama’s Cottage